25 Winter Crafts for Adults to Make Your Home Feel Cozy

Soft candlelight flickers across knitted throws and handmade ornaments, turning every corner of your home into a quiet sanctuary. The air carries the faint scent of pine and vanilla as you settle in with a mug of tea and a project that warms more than just the room.
These crafts aren’t just decorations—they’re small acts of care that invite stillness, comfort, and presence. Each one is chosen for its ability to bring texture, warmth, and personal touch to your space without needing a studio or years of practice.
1. Knit Cable Throw Blanket
Advanced
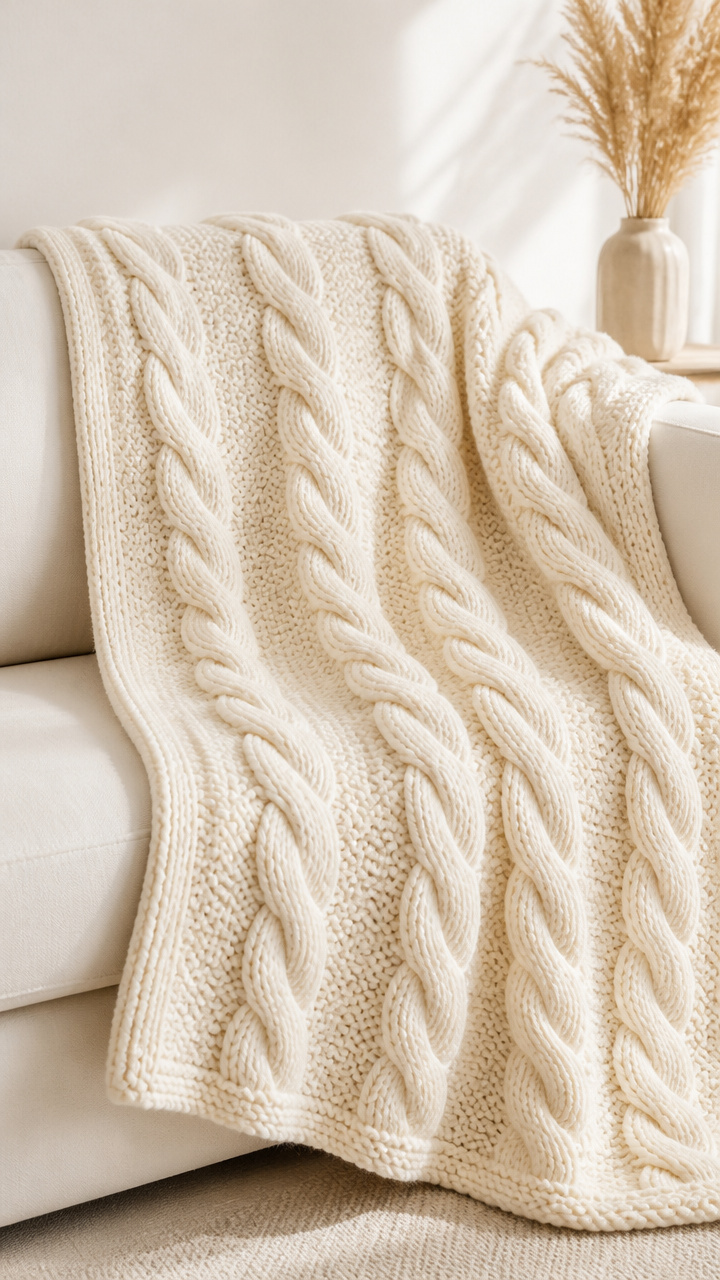
Rich, textured stitches drape over your favorite chair like a quiet promise of warmth. This blanket becomes a staple in moments when cold windows and early dark make you reach for something soft.
Materials Needed
- 4 skeins of bulky weight cream merino wool yarn
- US size 13 (9 mm) 24-inch circular knitting needles
- Stitch marker
- Yarn needle
How to Make It
- Cast on 120 stitches loosely using the long-tail method.
- Work in k2, p2 ribbing for 6 rows to create the border.
- Switch to cable stitch pattern: knit 6, *purl 2, knit 6, slip 3 stitches to cable needle and hold at back, knit next 3, then knit 3 from cable needle*—repeat from * to * across row.
- Repeat cable pattern for 48 inches, placing a stitch marker every 24 stitches to track repeats.
- End with 6 rows of k2, p2 ribbing, then bind off loosely and weave in ends with yarn needle.
2. Frosted Pinecone Wreath
Moderate
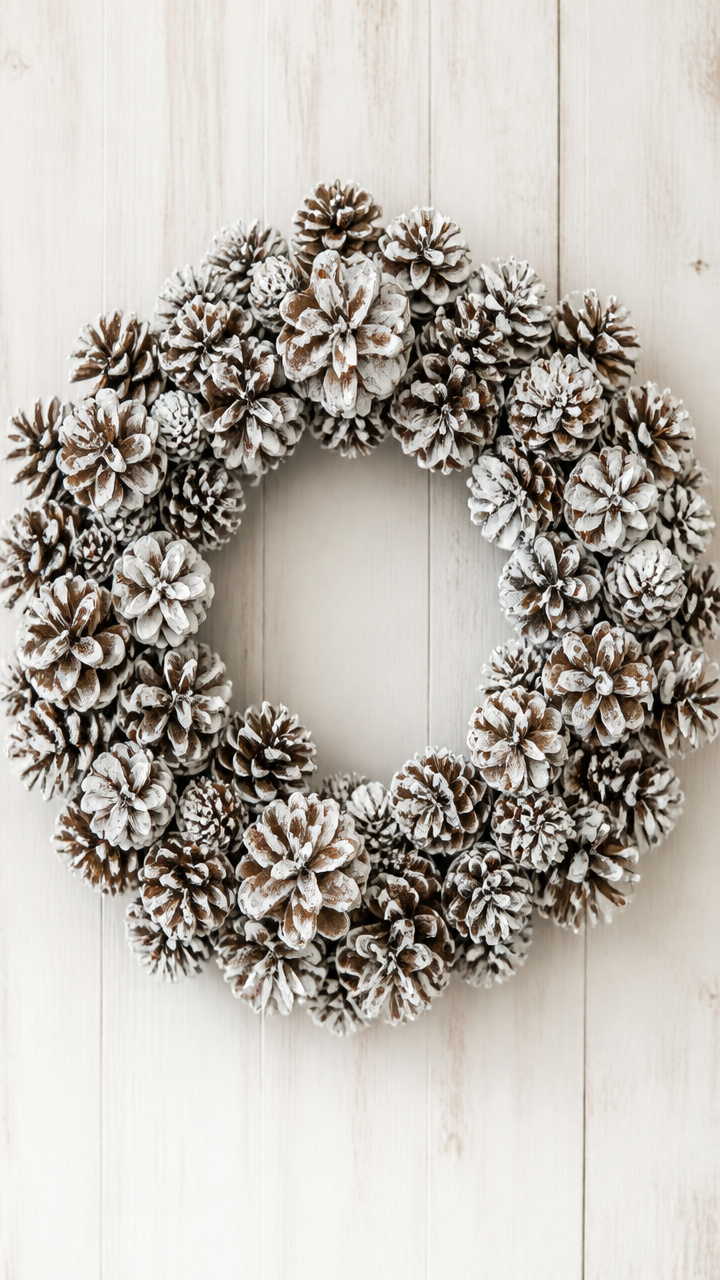
A shimmering ring of pinecones catches the light like frost at dawn. Hang it on your door or above the mantel for a natural centerpiece that feels both wild and refined.
Materials Needed
- 18 medium-sized pinecones
- 12-inch metal wreath frame
- Hot glue gun and 2 glue sticks
- White acrylic paint
- Small paintbrush
- Artificial snow spray
How to Make It
- Lay out pinecones and brush each with white acrylic paint, focusing on tips and ridges.
- Let painted pinecones dry completely on parchment paper for 2 hours.
- Spray artificial snow lightly over dried pinecones and let sit 30 minutes.
- Attach pinecones to the metal frame using hot glue, overlapping bases to hide the wire.
- Spray entire wreath lightly with additional snow spray and let cure overnight.
3. Linen Candle Bundle Set
Easy
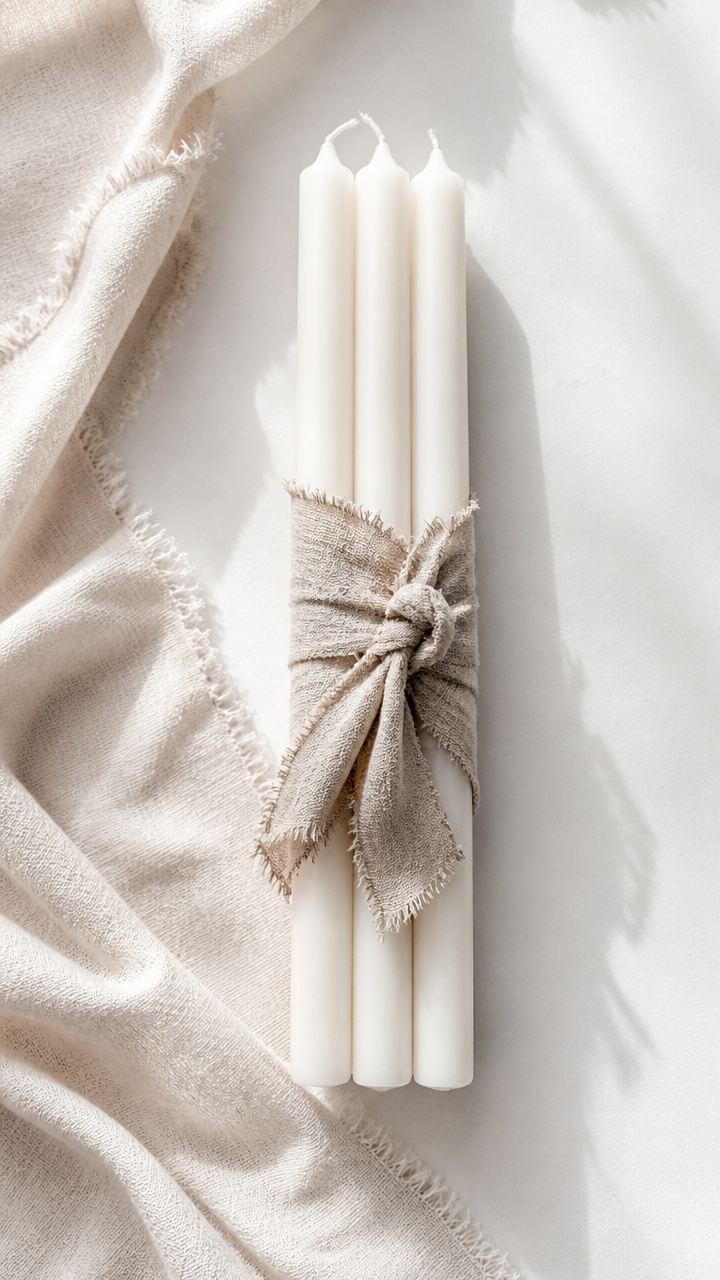
Tightly wrapped linen strips bind three taper candles together, creating an elegant cluster for your coffee table or dining centerpiece.
Materials Needed
- 3 unscented white taper candles, 10 inches tall
- 1 yard unbleached linen fabric strip, 2 inches wide
- Craft scissors
- Double-sided tape, 1/4 inch wide, 1 roll
How to Make It
- Cut linen fabric into three 12-inch strips.
- Align three candles side by side and wrap one linen strip around all three near the base.
- Secure the back with a 1-inch piece of double-sided tape.
- Repeat wrapping and taping 2 inches up the candles until fully bundled.
4. Maple Wood Coasters
Moderate
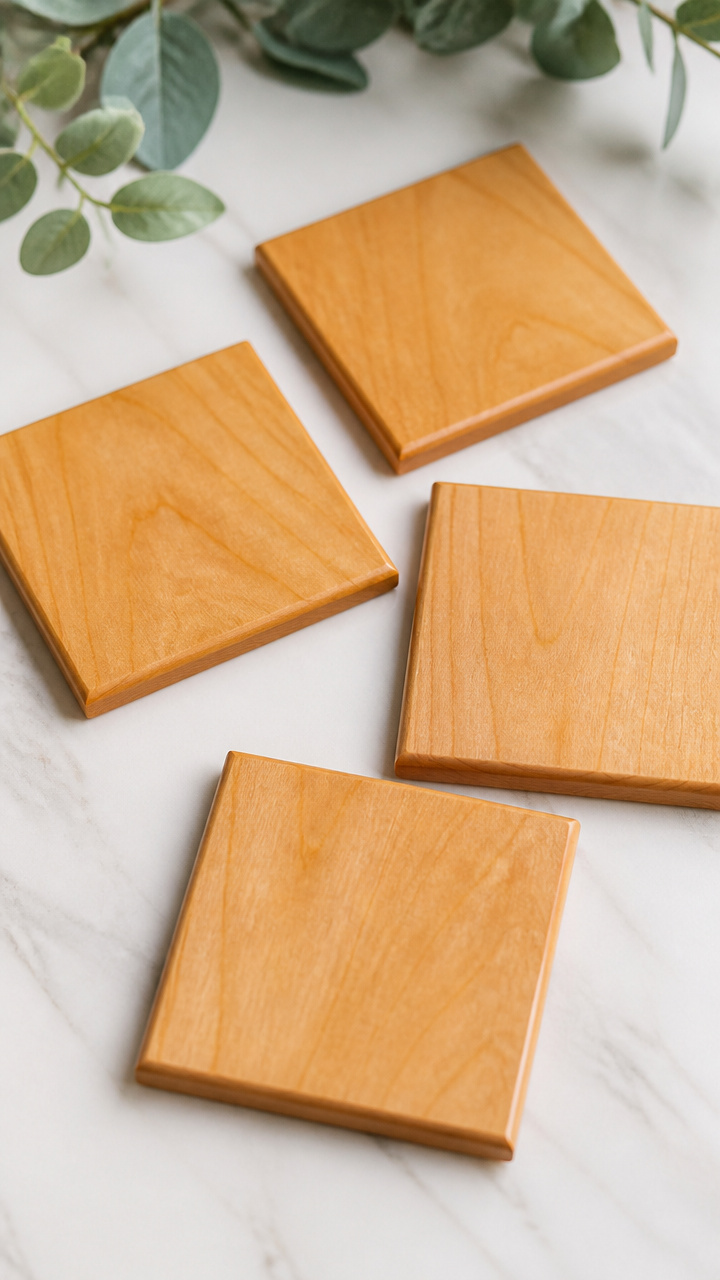
Smooth maple squares with beveled edges protect surfaces while adding subtle grain beauty to your coffee table.
Materials Needed
- 4 pieces 4×4 inch maple wood blanks, 1/2 inch thick
- Orbital sander with 120-grit sandpaper
- Beeswax polish
- Soft cotton cloth
- Pencil
- Ruler
How to Make It
- Use ruler and pencil to mark a 1/4 inch bevel line around each edge of the coasters.
- Sand along the marked lines using orbital sander to create a smooth beveled edge.
- Sand entire surface with 120-grit until smooth, removing any rough spots.
- Wipe away dust with damp cloth and let dry.
- Apply beeswax polish with cloth in circular motion, then buff to shine.
5. Hand-Stamped Tea Towels
Moderate
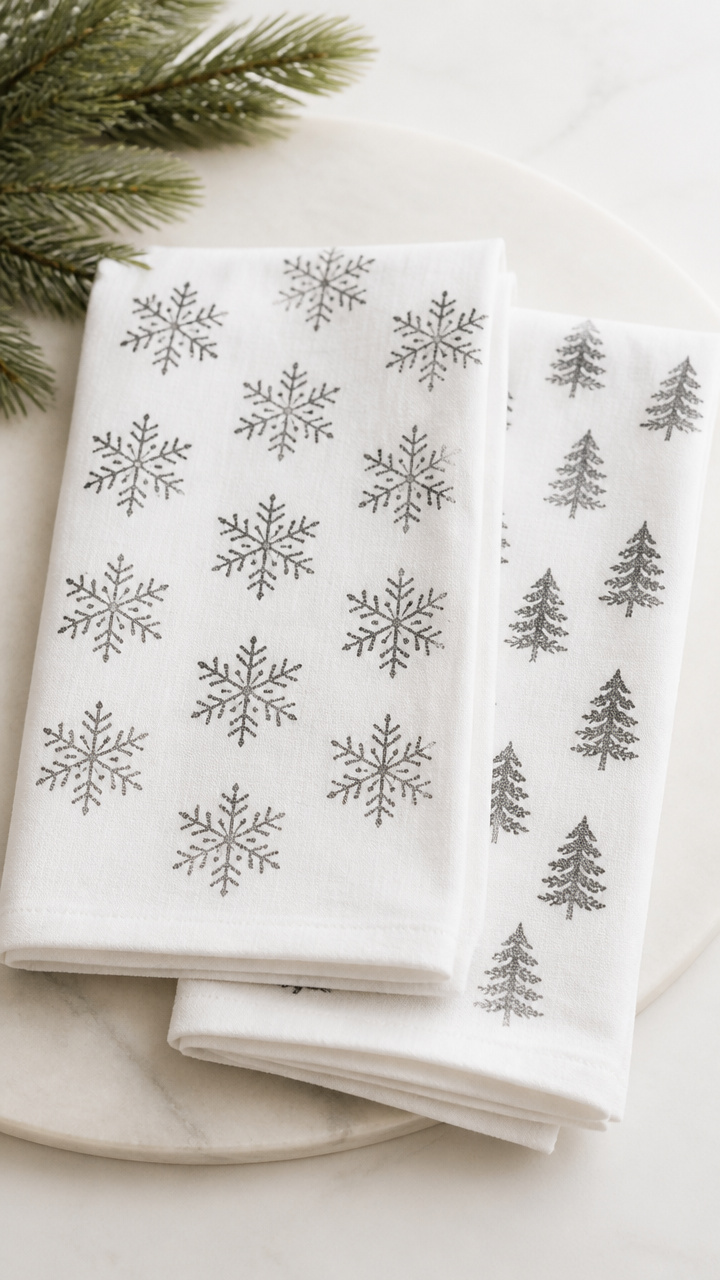
Crisp flour-sack cotton towels carry hand-pressed winter motifs like snowflakes and evergreens, making everyday chores feel intentional.
Materials Needed
- 2 white cotton flour-sack tea towels, 20×28 inches
- Linen stamp ink pad in deep gray
- Snowflake rubber stamp set
- Stamp positioning guide tool
- Iron
How to Make It
- Lay first towel flat and use positioning guide to place stamps evenly in corners and center.
- Press snowflake stamp firmly onto ink pad, then transfer to towel with even pressure.
- Allow ink to dry for 10 minutes before moving.
- Repeat for second towel, varying stamp placement slightly.
- Heat-set design by ironing on cotton setting for 2 minutes per towel.
6. Wool Felt Garland
Easy
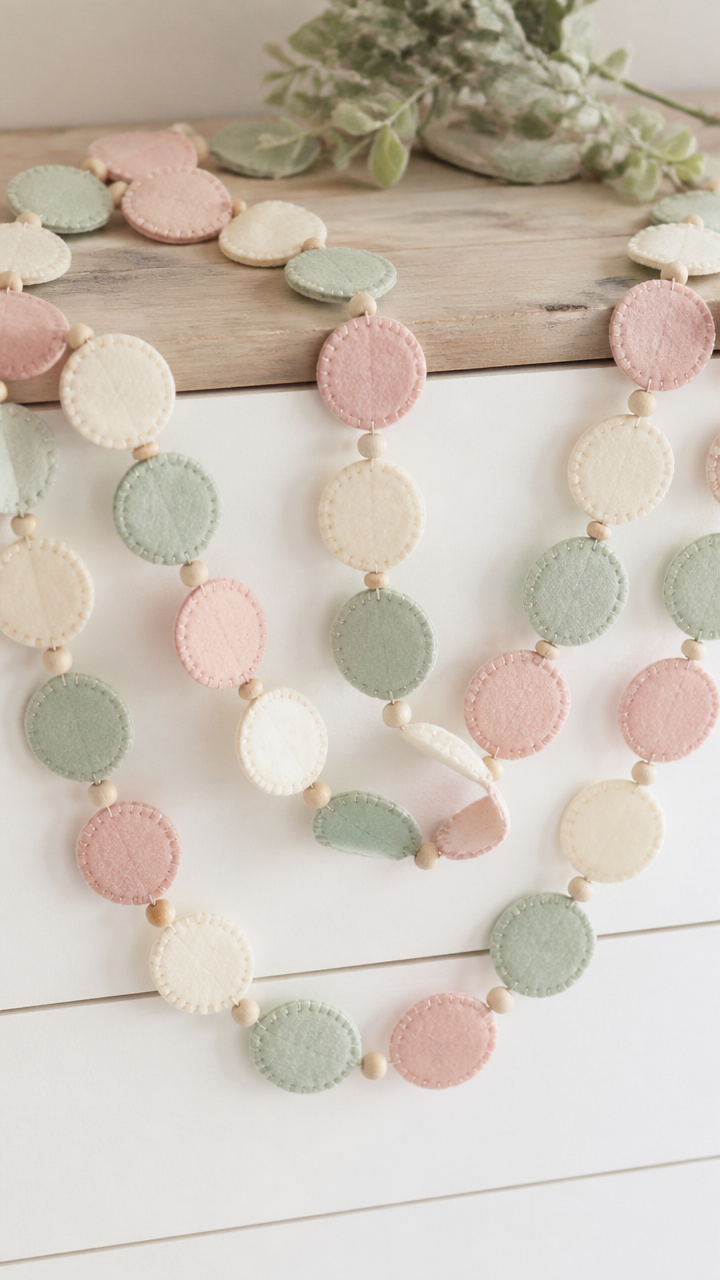
Pastel-colored felt discs link together in a soft chain that drapes gently across a bookshelf or window.
Materials Needed
- 6 sheets wool blend felt: 2 mint, 2 blush, 2 ivory
- 1-inch circle punch
- Embroidery floss in matching colors
- Needle
- Scissors
How to Make It
- Punch 30 circles from each felt sheet using the circle punch.
- Thread needle with 18 inches of mint embroidery floss.
- String one mint circle, knot behind, then add one blush, one ivory, repeating pattern.
- Knot after every third circle to secure sections.
- Continue until garland reaches 7 feet, then tie ends.
7. Cinnamon Stick Bundles
Easy
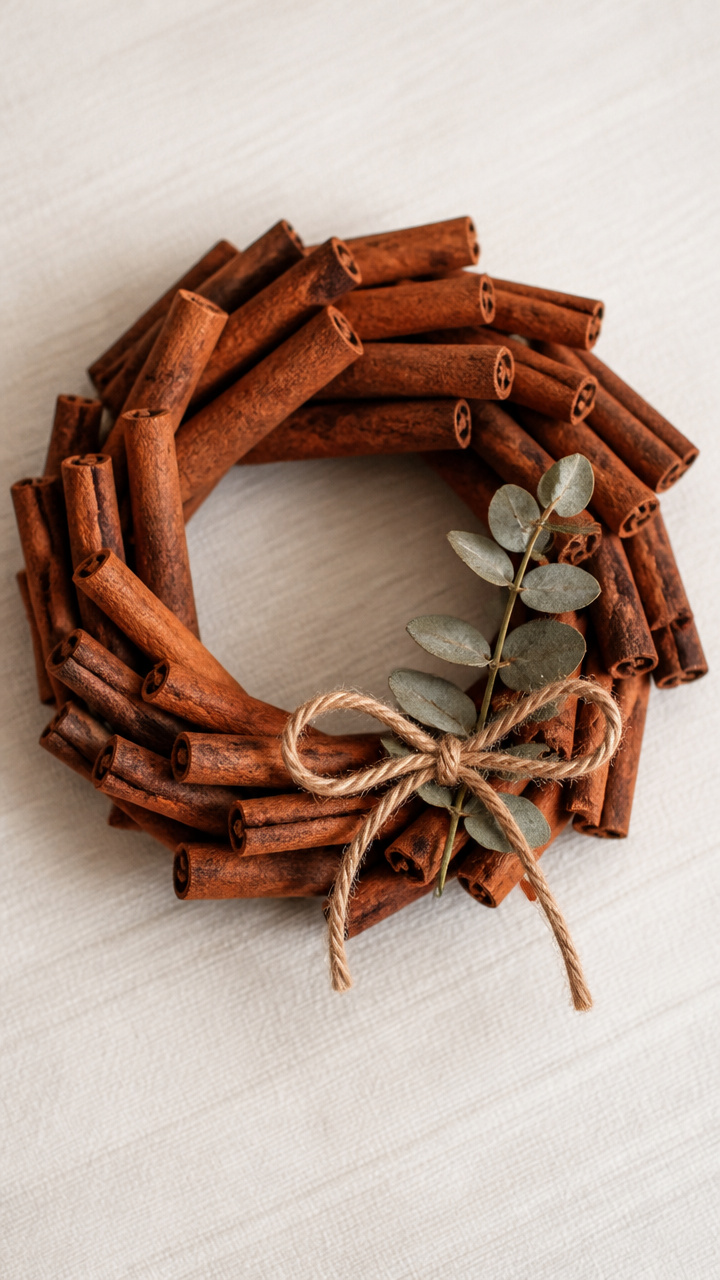
Tied bundles of cinnamon sticks release a warm spice aroma when placed in bowls or hung with ribbon.
Materials Needed
- 15 cinnamon sticks, 3 inches long
- Natural jute twine, 1 yard
- Small sprig of dried eucalyptus
- Scissors
How to Make It
- Gather 5 cinnamon sticks into a bundle and align ends.
- Wrap jute twine 1 inch from top and tie with double knot.
- Trim twine ends at 2 inches.
- Slide eucalyptus sprig under twine before final knot.
- Repeat to make three bundles.
8. Pressed Fern Wall Art
Moderate
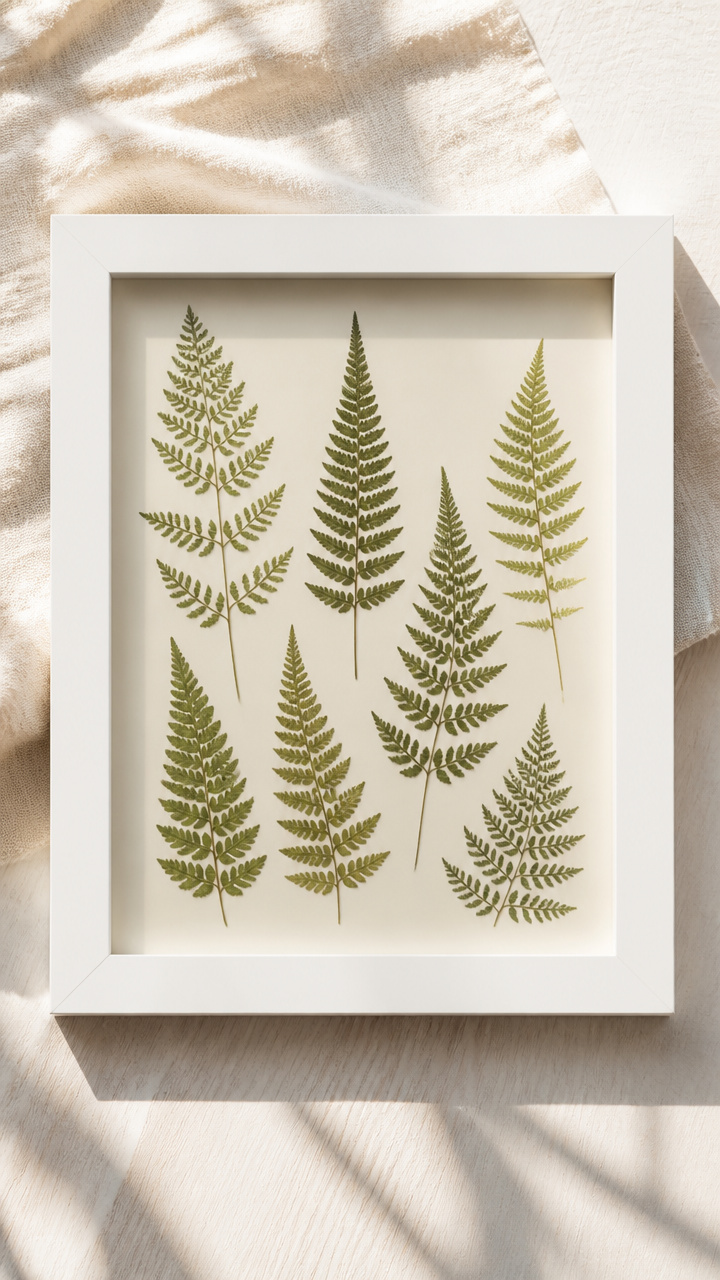
Delicate winter ferns preserved between glass glow softly when backlit by afternoon sun.
Materials Needed
- 6 fresh winter fern fronds
- Heavy book and parchment paper
- 8×10 inch picture frame with glass front and back
- White cardstock
- Glue stick
How to Make It
- Place ferns between two sheets of parchment paper and press inside a heavy book for 7 days.
- Remove dried ferns carefully, keeping shapes intact.
- Cut cardstock to fit frame backing.
- Arrange ferns on cardstock in staggered pattern and glue tips only.
- Insert cardstock into frame with glass on both sides and seal.
9. Spice-Scented Room Spray
Easy
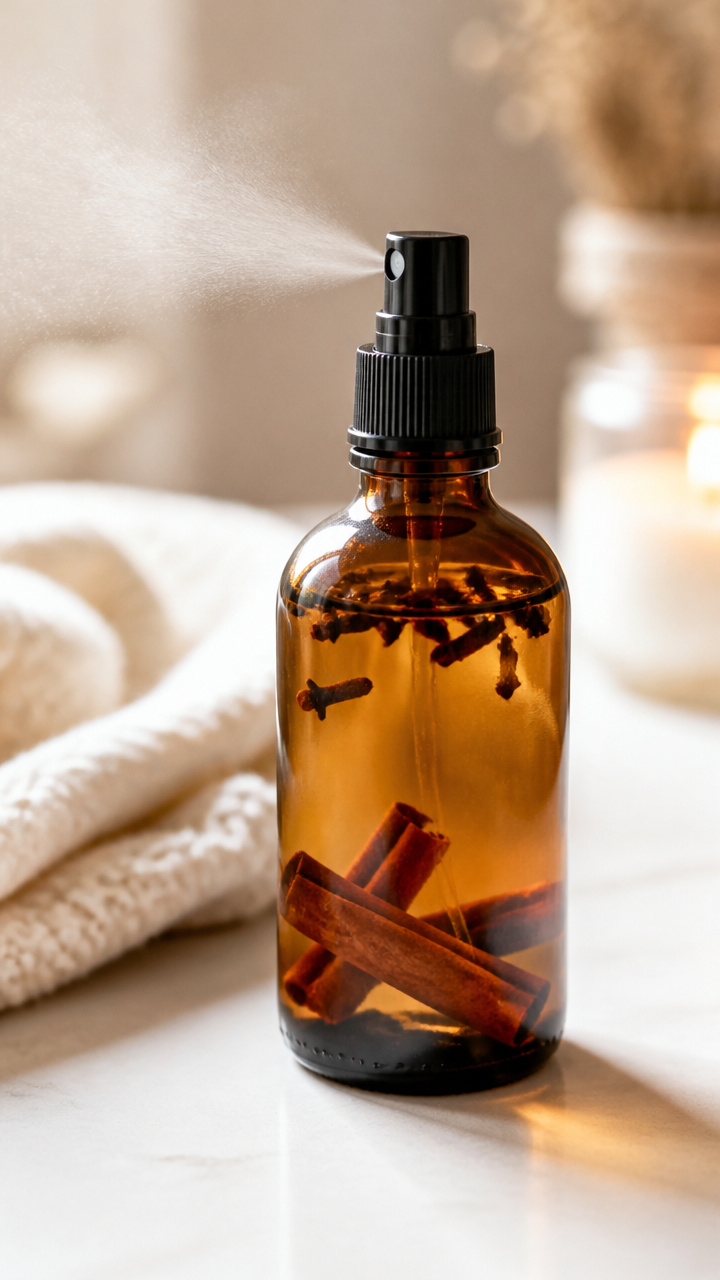
A fine mist of orange and clove fills the air with the quiet luxury of simmering stovetop potpourri.
Materials Needed
- 8 oz amber glass spray bottle
- Distilled water, 6 oz
- Vodka, 2 oz
- 6 drops orange essential oil
- 4 whole cloves
- 1 cinnamon stick, broken
How to Make It
- Combine vodka and distilled water in spray bottle.
- Add orange essential oil, cloves, and cinnamon stick pieces.
- Screw cap on tightly and shake for 10 seconds.
- Let mixture steep in a cool, dark place for 48 hours before use.
10. Braided Wool Rug
Advanced
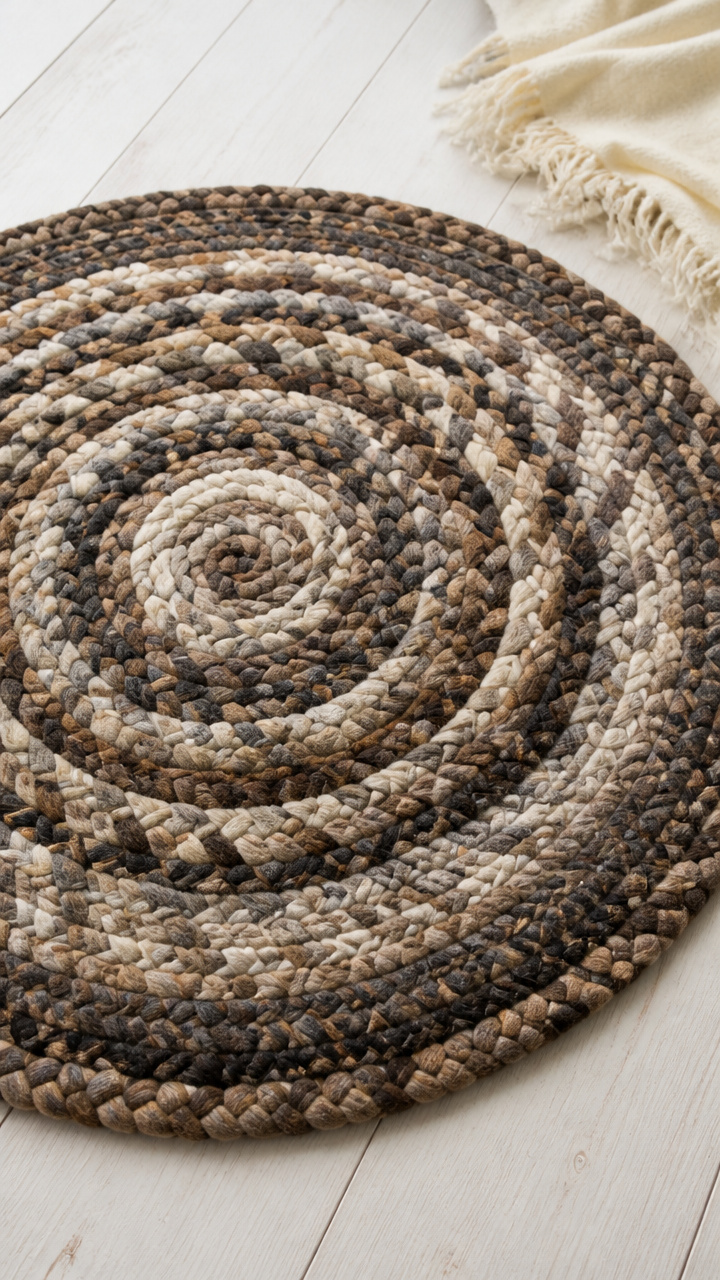
A thick, round rug made from recycled sweaters cushions bare feet and anchors seating areas with handmade charm.
Materials Needed
- 3 old wool sweaters, felted in wash
- Scissors
- Measuring tape
- Fabric chalk
- Needle and waxed thread
How to Make It
- Cut each sweater into three 2-inch wide strips, yielding 9 total strips.
- Braid three strips tightly, knotting ends, to form first strand.
- Repeat to make three braided strands.
- Coil first braid into a spiral, stitching end to start with waxed thread.
- Attach second braid to end of first, sewing seam densely; repeat with third braid to complete rug.
11. Copper Pipe Candle Holders
Moderate
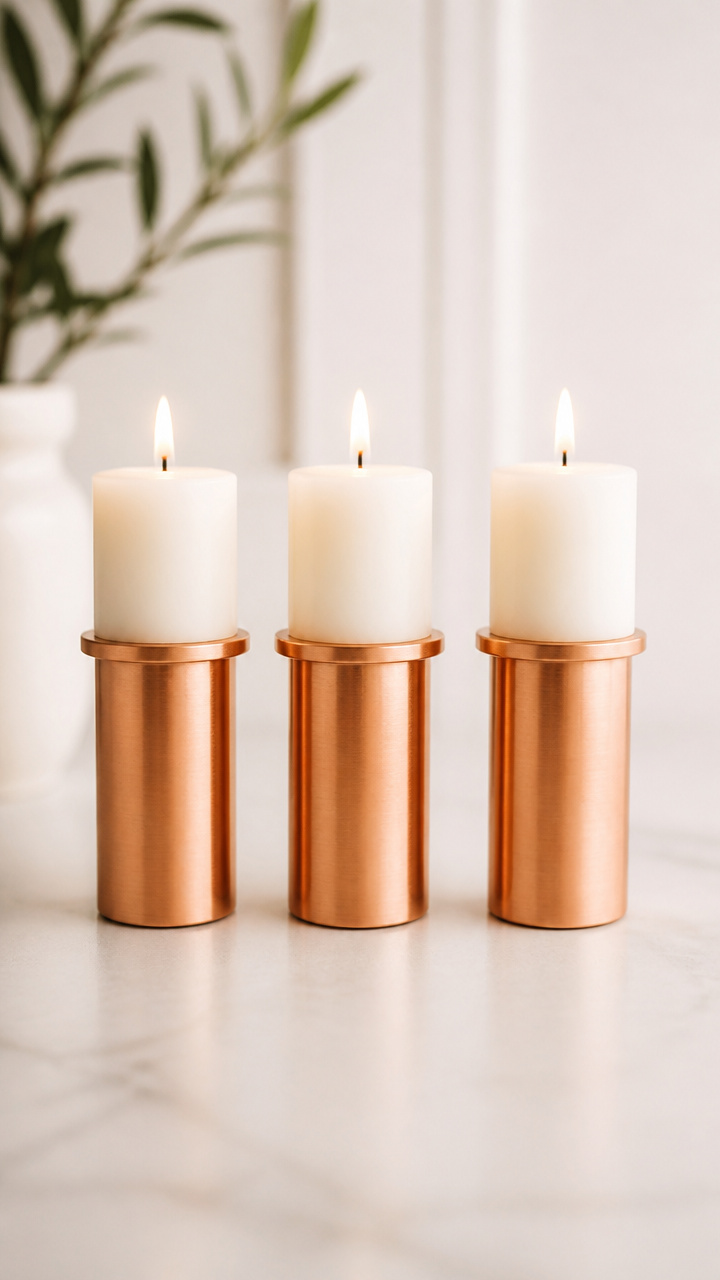
Geometric tubes of brushed copper cradle pillar candles with industrial grace.
Materials Needed
- 3 copper pipes, 3 inches tall, 2.5 inch diameter
- Copper pipe cap, 2.5 inch, 3 pieces
- Pipe cleaner solution
- Soft cloth
- Emery cloth
How to Make It
- Scrub inside and outside of each pipe with emery cloth to remove oxidation.
- Wipe clean with damp cloth and dry thoroughly.
- Polish each pipe cap with emery cloth until shiny.
- Apply pipe cleaner solution to each pipe, wait 1 minute, then rinse.
- Dry completely and screw caps onto base of each pipe.
12. Lavender Sachets
Easy
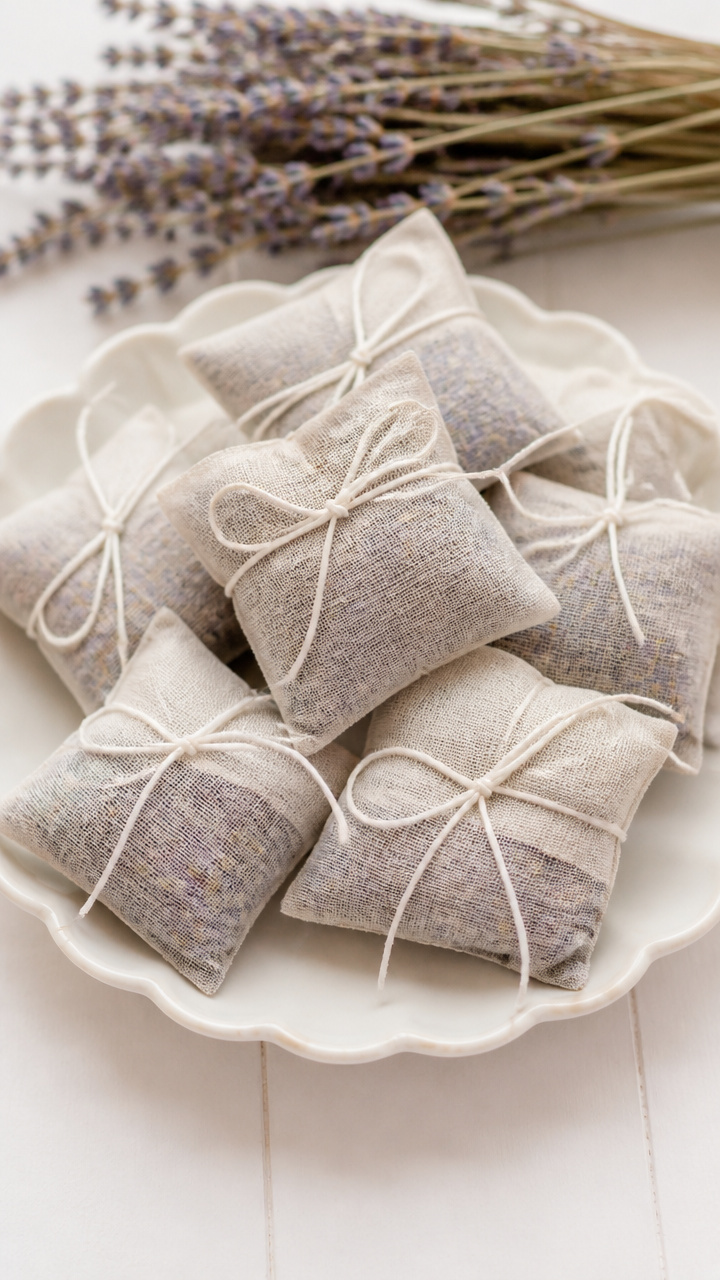
Tiny muslin pouches filled with dried lavender rest in drawers, offering calm and freshness with every opening.
Materials Needed
- 4 muslin fabric squares, 5×5 inches
- Dried lavender buds, 1/2 cup
- Needle and white thread
- Scissors
- Ruler
How to Make It
- Fold each muslin square in half diagonally to form a triangle.
- Thread needle and sew along open edge with 1/4 inch seam allowance.
- Leave 1 inch open at the base for filling.
- Turn right side out and fill with 2 tablespoons of lavender buds.
- Sew shut with ladder stitch.
13. Salt Dough Ornaments
Easy
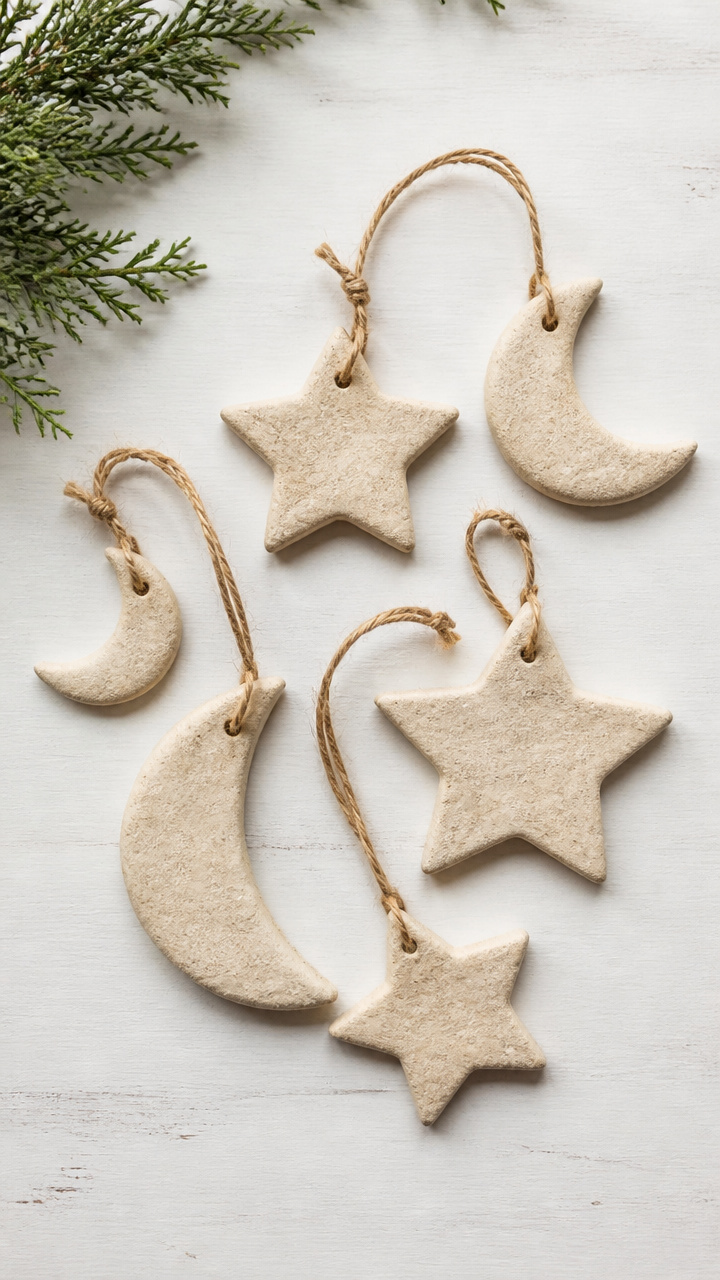
Simple dough shaped into stars and moons bakes hard and hangs with rustic charm from twine.
Materials Needed
- 2 cups all-purpose flour
- 1 cup table salt
- 3/4 cup warm water
- Rolling pin
- Star-shaped cookie cutter, 2 inch
- Parchment paper
- Oven
- Brown craft twine
How to Make It
- Mix flour, salt, and warm water in a bowl until dough forms a ball.
- Roll dough to 1/4 inch thickness on floured surface.
- Cut out 12 star shapes with cookie cutter.
- Poke hole near top with skewer for twine.
- Bake at 200°F for 3 hours on parchment-lined baking sheet, then string with twine.
14. Peppermint Beaded Garland
Easy
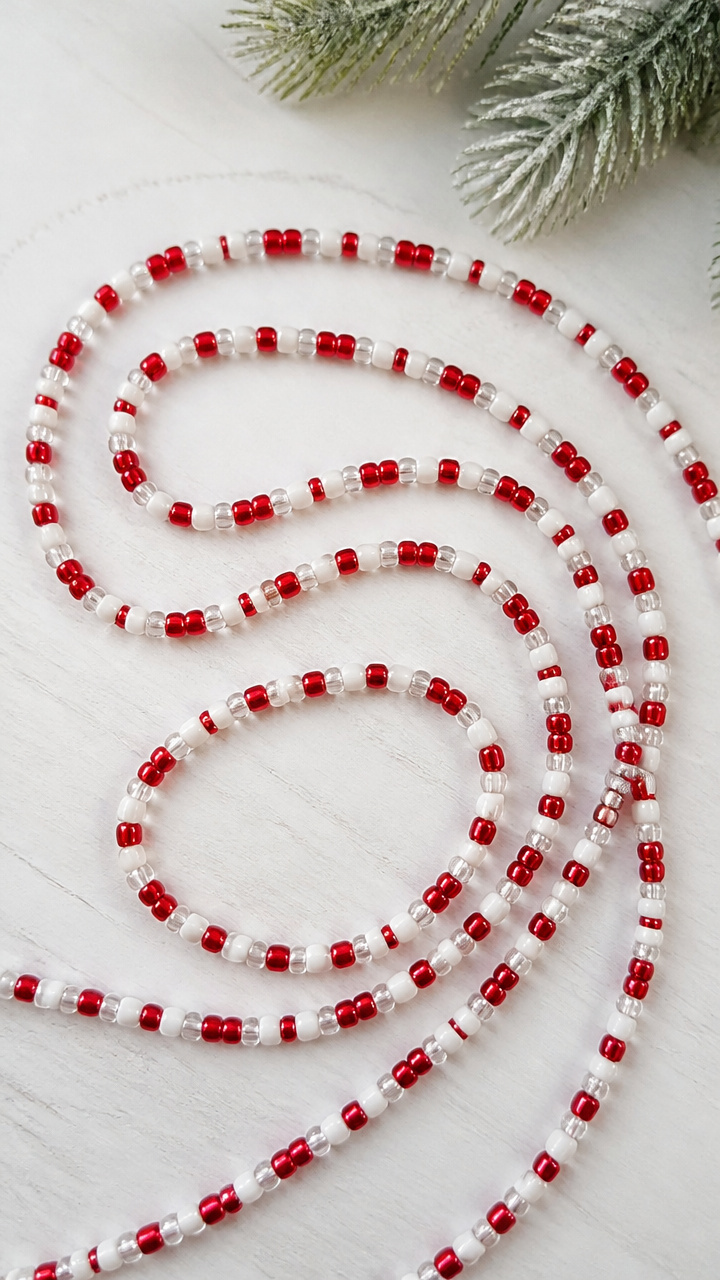
Alternating red, white, and clear beads mimic candy canes strung into a cheerful mantle decoration.
Materials Needed
- Size 10/0 red seed beads, 20 grams
- Size 10/0 white seed beads, 20 grams
- Size 10/0 clear crystal beads, 20 grams
- Beading needle
- Nylon beading thread, 6 feet
- Scissors
How to Make It
- Thread needle with nylon beading thread and knot end.
- String one red, one white, one clear bead, repeating pattern.
- Continue until garland measures 6 feet.
- Tie ends of thread together tightly and trim excess.
15. Vintage Book Page Wreath
Moderate
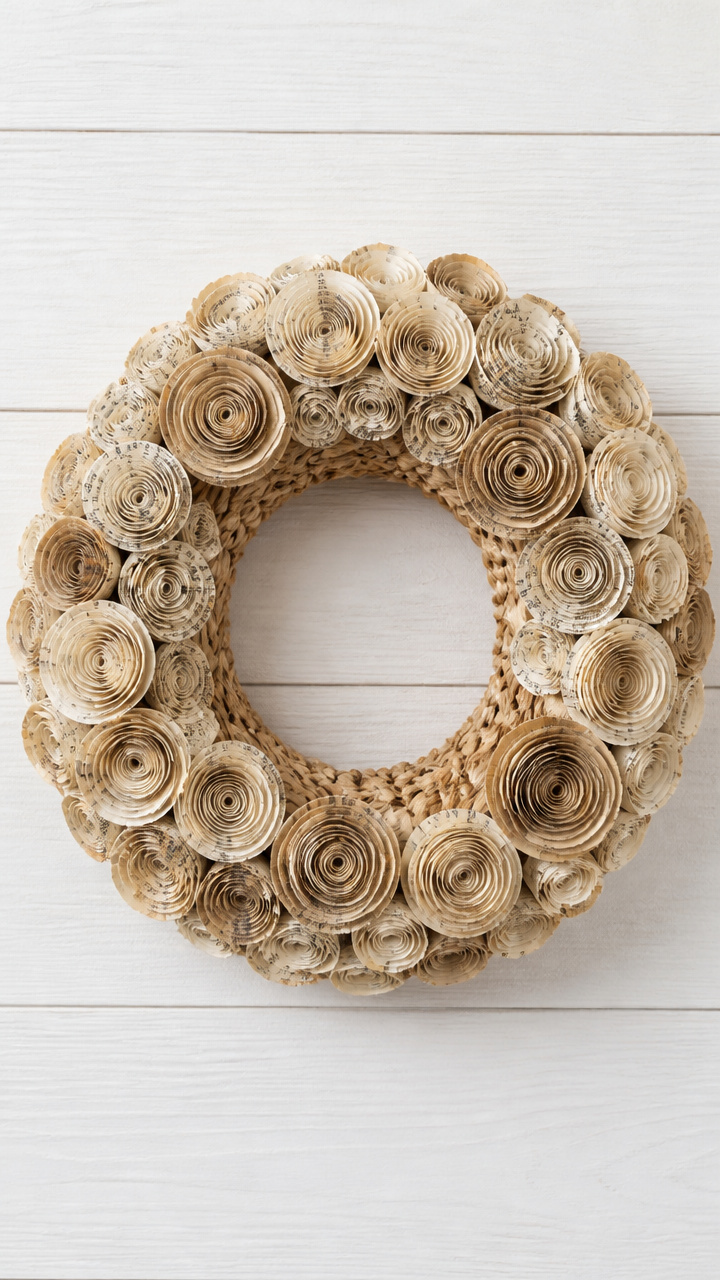
Fragile pages from old novels twist into tight coils that form a literary halo for your wall.
Materials Needed
- 12 pages from discarded hardcover book
- Hot glue gun and 1 glue stick
- 9-inch straw wreath base
- Craft scissors
- Ruler
How to Make It
- Cut pages into 1×6 inch strips using ruler and scissors.
- Roll each strip tightly from one corner into a coil, securing end with dot of glue.
- Make 45 coils total.
- Glue coils side by side around the wreath base, overlapping slightly.
- Fill gaps with smaller partial coils.
16. Knit Hat Doormat
Advanced
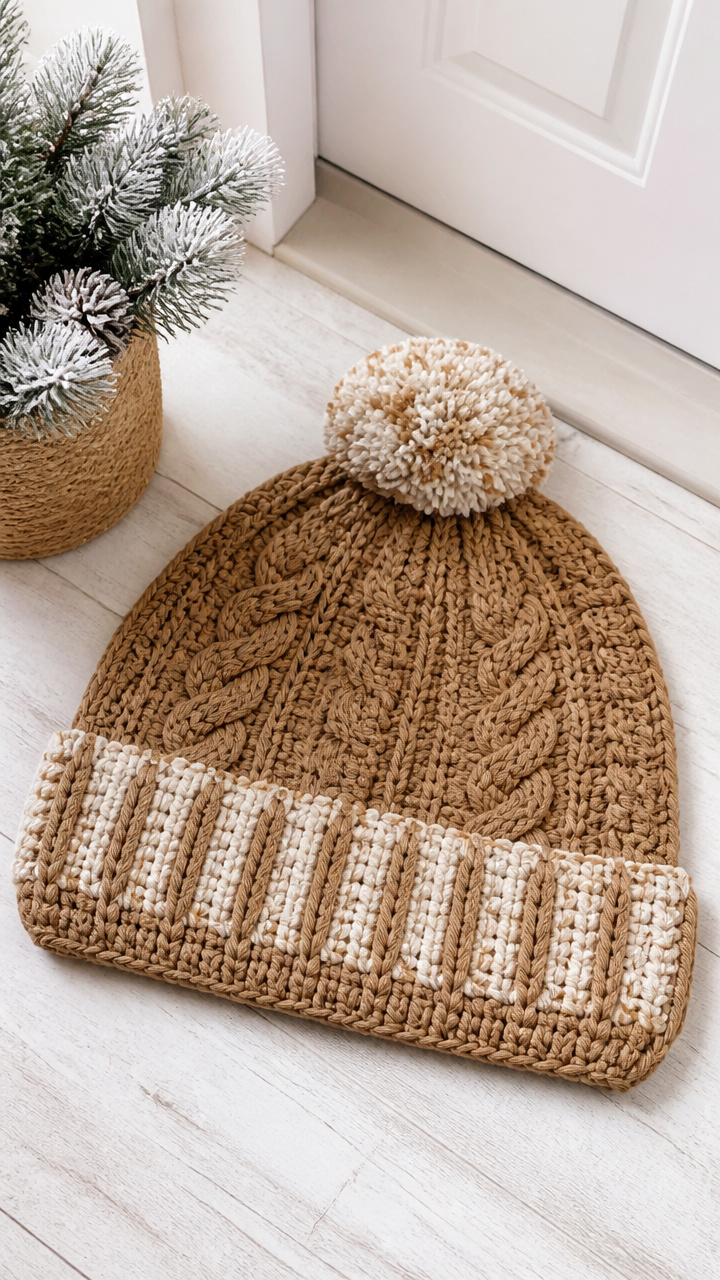
A life-size replica of a chunky knit hat stands guard at your entry, welcoming guests with whimsy.
Materials Needed
- Jute rope, 3/8 inch diameter, 50 feet
- Non-slip rubber mat, 18×30 inches
- Hot glue gun and 3 glue sticks
- Scissors
- Clothespins
How to Make It
- Coil jute rope tightly into a flat circle, 18 inches wide, gluing each turn.
- Shape next layer upward to form brim, pinning with clothespins as you go.
- Continue coiling and gluing until hat shape reaches 6 inches high.
- Let dry 2 hours, then attach to non-slip mat with adhesive dots.
- Press down firmly for 1 minute to bond.
17. Cranberry Dried Garland
Easy
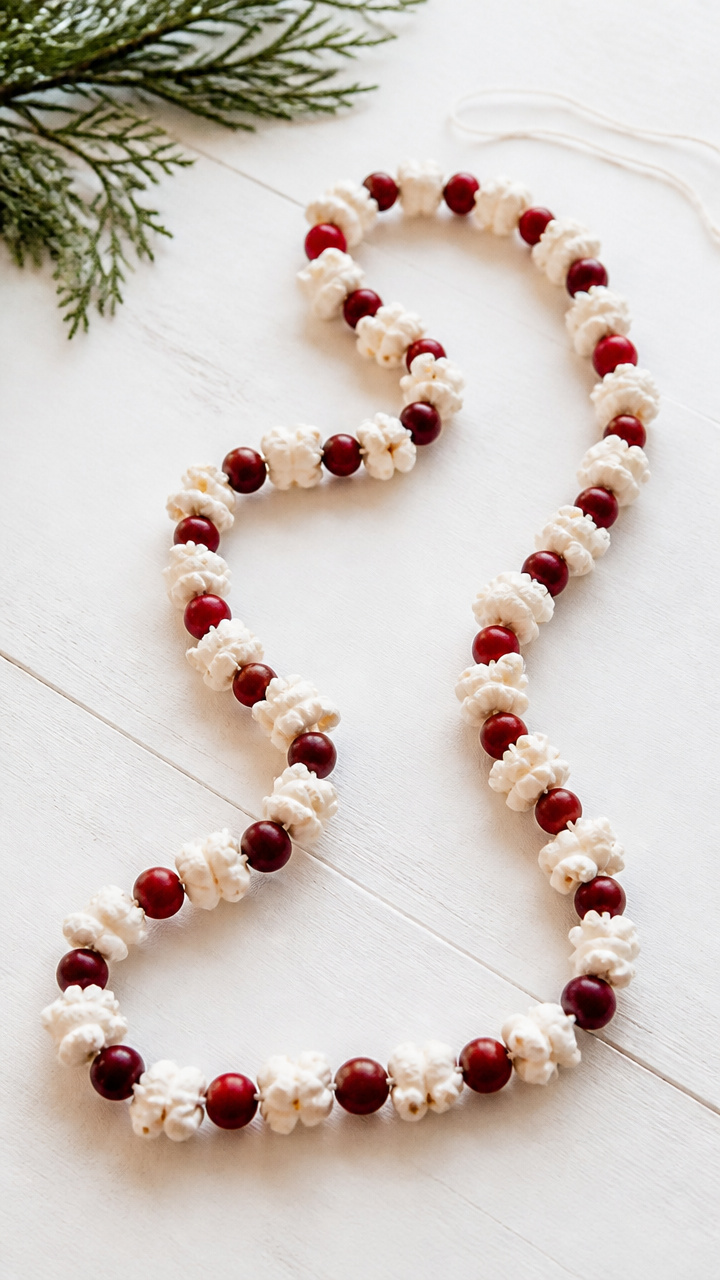
Strings of real cranberries interlaced with popcorn create a festive strand perfect for holiday trees.
Materials Needed
- 2 cups fresh cranberries
- 1 cup air-popped popcorn, unpopped kernels removed
- Embroidery needle
- Unwaxed dental floss, 6 feet
- Scissors
How to Make It
- Thread dental floss through needle and knot tail end.
- String one cranberry, then one popcorn piece, alternating.
- Continue until garland reaches 6 feet.
- Tie ends together and hang in cool, dry area to dry completely over 5 days.
18. Wool Yarn Wall Hanging
Moderate
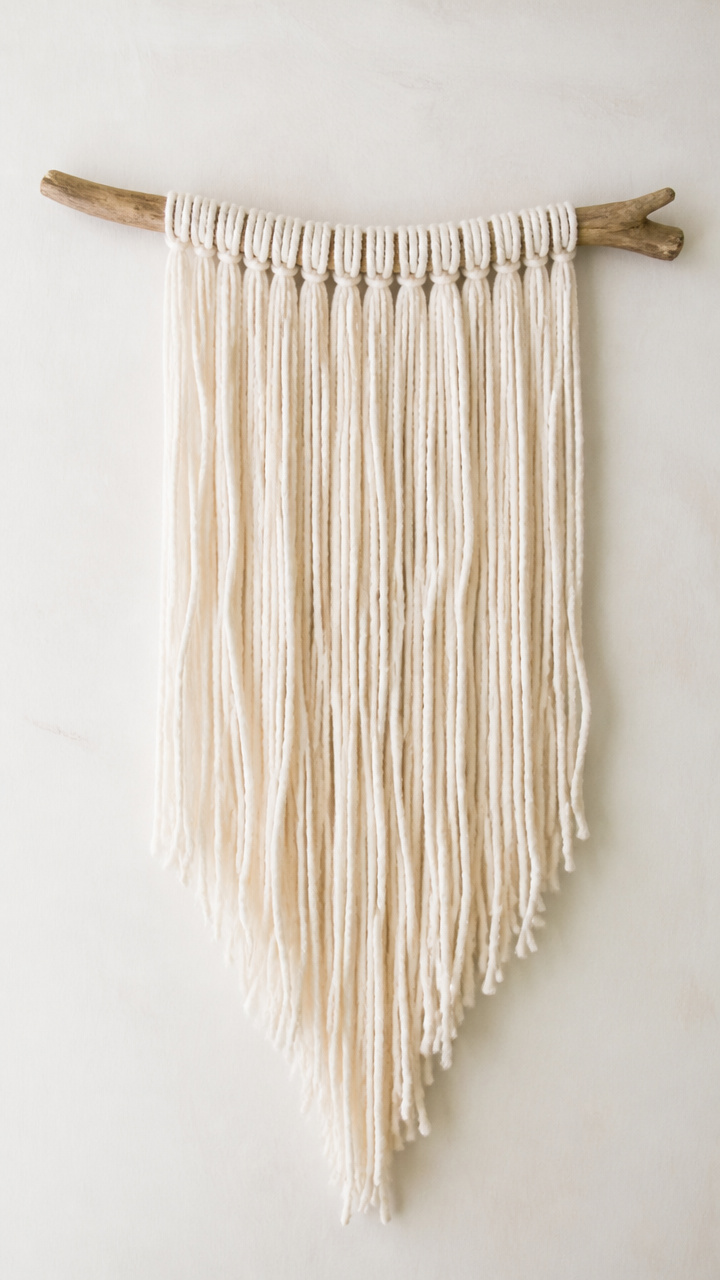
Long strands of undyed wool cascade from a driftwood branch, bringing organic texture above your sofa.
Materials Needed
- Driftwood branch, 18 inches long
- 1 skein raw white wool yarn
- Scissors
- Ruler
How to Make It
- Cut 15 strands of yarn, each 72 inches long.
- Fold one strand in half and loop around branch using lark’s head knot.
- Repeat spacing knots 1 inch apart across branch.
- Trim bottom ends evenly at 36 inches.
- Fluff individual strands to create wispy texture.
19. Citrus Peel Fire Starters
Easy
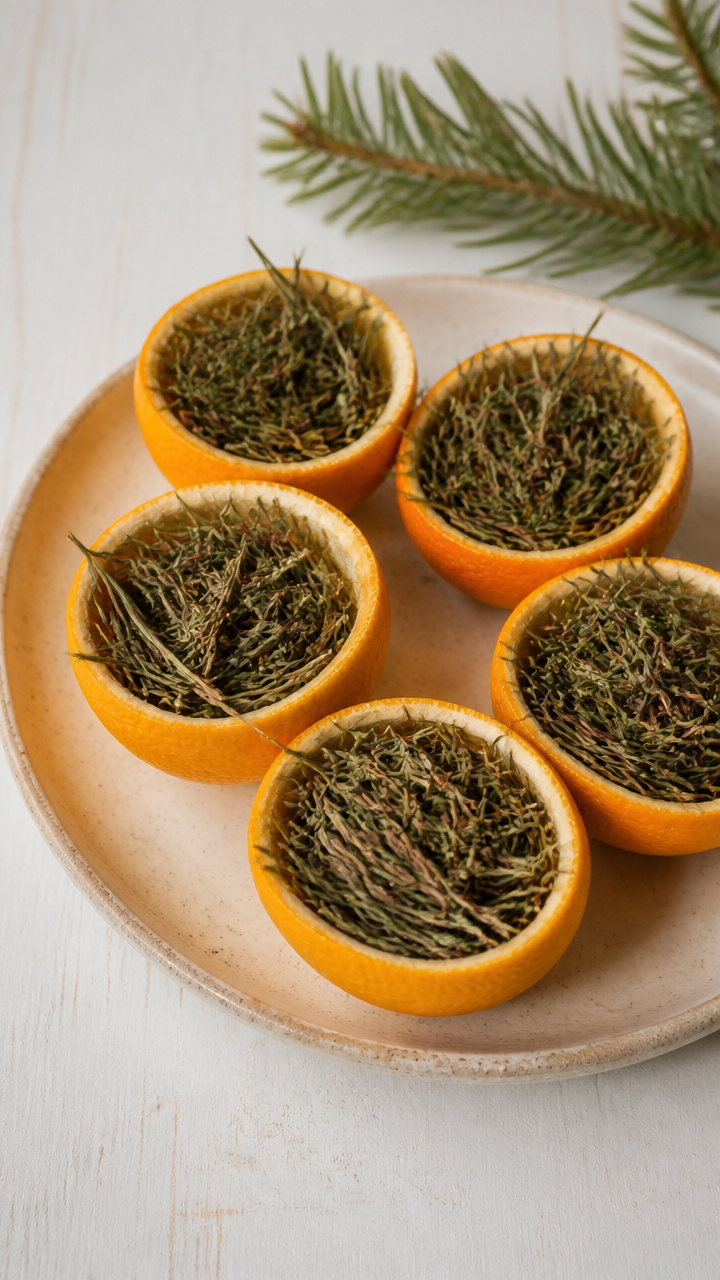
Dried orange peels stuffed with pine needles catch flame easily and scent your fireplace with bright notes.
Materials Needed
- 6 large orange peels, halved
- 1 cup dry pine needles
- Mason jar lid ring
- Paper plate
- Drying rack
How to Make It
- Fill each orange peel half with a handful of pine needles.
- Place on drying rack over paper plate to catch drips.
- Let dry in a warm, dry room for 5 days until peels are crisp.
- Store in mason jar with lid ring for easy access.
20. Clay Incense Burner
Moderate
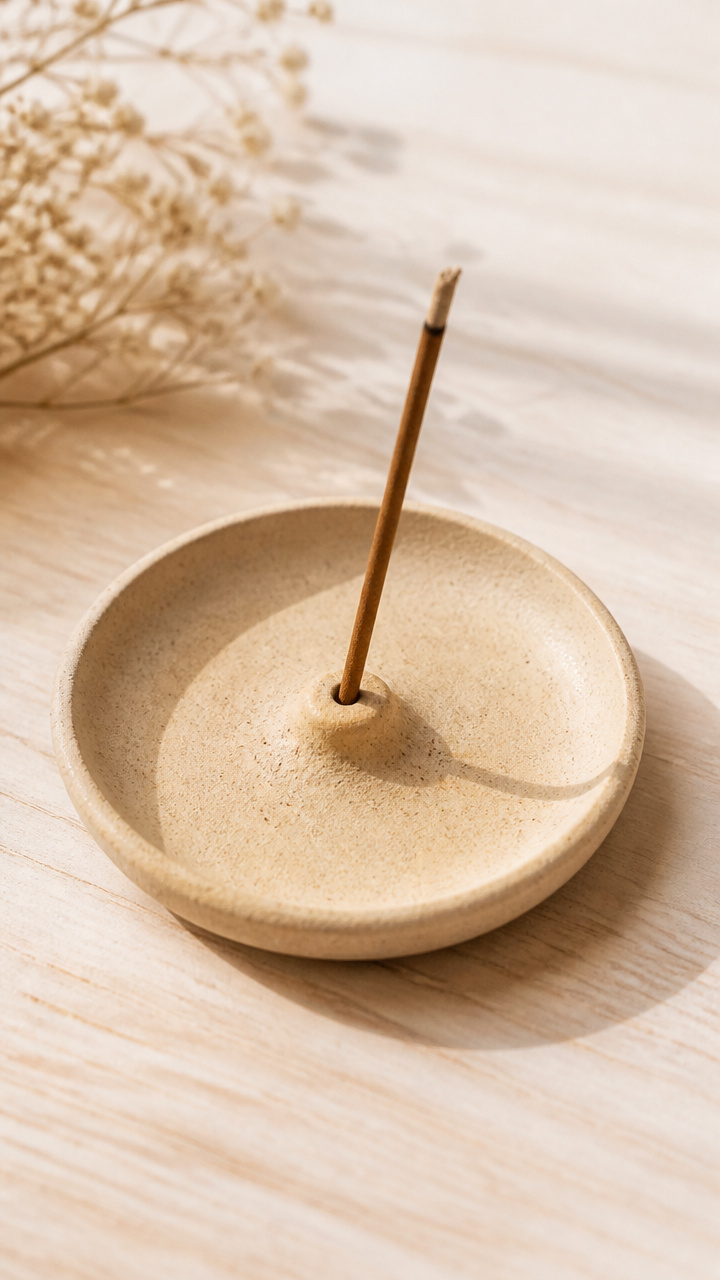
A shallow handmade dish with a centered indentation holds smoldering sage or palo santo with dignity.
Materials Needed
- Air-dry clay, 1 pound
- Rolling pin
- 3-inch circular cookie cutter
- Spoon
- Sandpaper
How to Make It
- Roll clay to 1/2 inch thickness on flat surface.
- Cut out circle using cookie cutter.
- Press spoon into center to form a 1-inch wide, 1/2 inch deep indentation.
- Smooth edges with wet finger.
- Let dry 24 hours, then lightly sand rim with sandpaper.
21. Quilted Placemats
Advanced
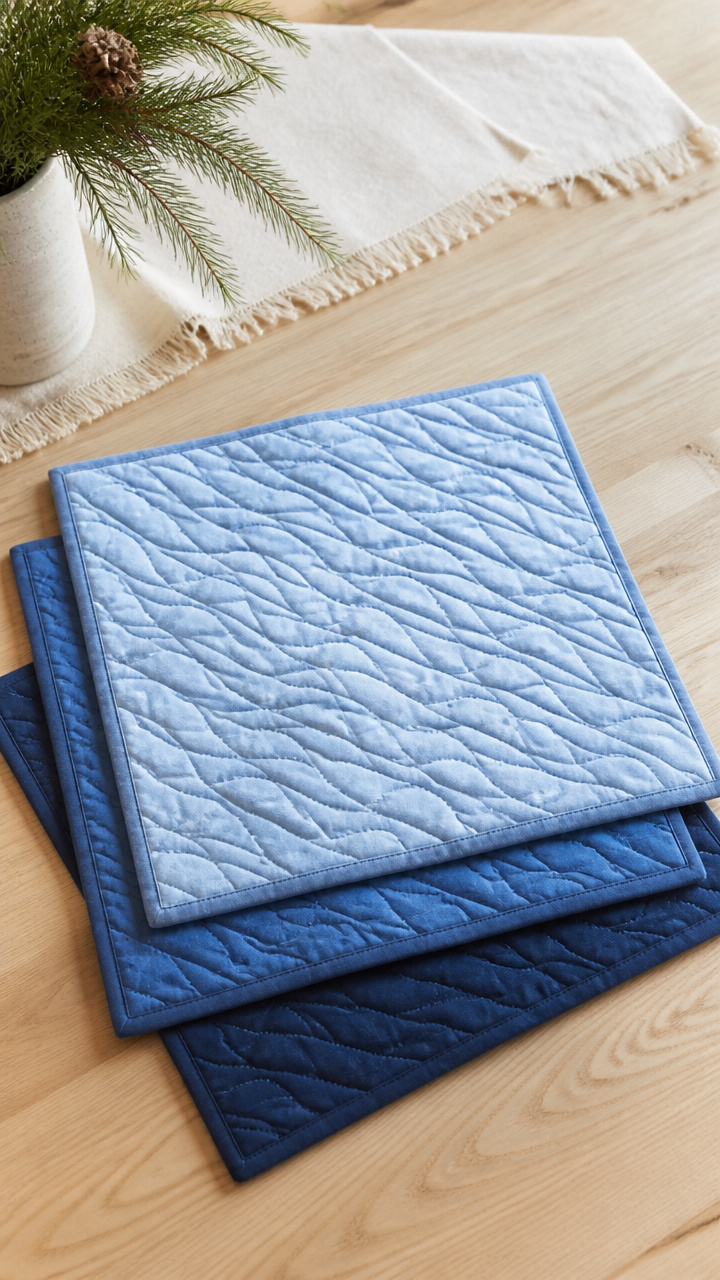
Triple-layer cotton squares stitched in wavy lines feel substantial under plates and glasses.
Materials Needed
- 2 fat quarters of cotton fabric in winter blue
- 1 fat quarter of cotton batting
- Sewing machine
- Thread to match
- Rotary cutter
- Self-healing mat
- Quilting ruler
How to Make It
- Cut two 14×18 inch rectangles from cotton fabric and one from batting.
- Layer fabric right sides together with batting in middle.
- Pin layers and stitch around edges with 1/4 inch seam, leaving 3 inch gap.
- Turn right side out and press edges flat.
- Topstitch 1/8 inch from edge across entire surface in gentle waves.
22. Pine Essential Oil Soak
Easy
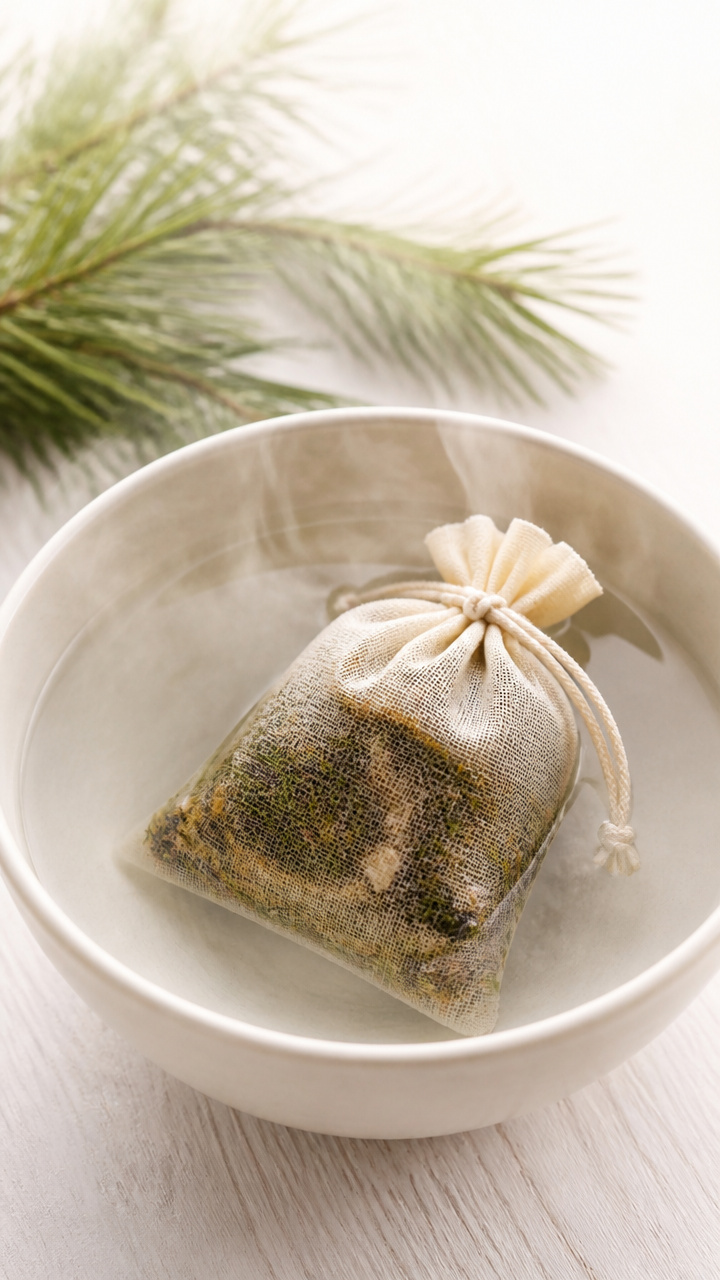
A cotton drawstring bag infused with pine resin steeps in hot water to scent your bath naturally.
Materials Needed
- 100% cotton drawstring bag, 4×4 inches
- 1/4 cup dried pine needles
- 6 drops pine essential oil
- Small glass dropper
How to Make It
- Place dried pine needles into cotton bag.
- Add 6 drops of pine essential oil directly onto needles.
- Pull drawstring closed and knot securely.
- Drop into hot bathwater and let soak for 5 minutes before entering.
23. Twine-Wrapped Vase
Easy
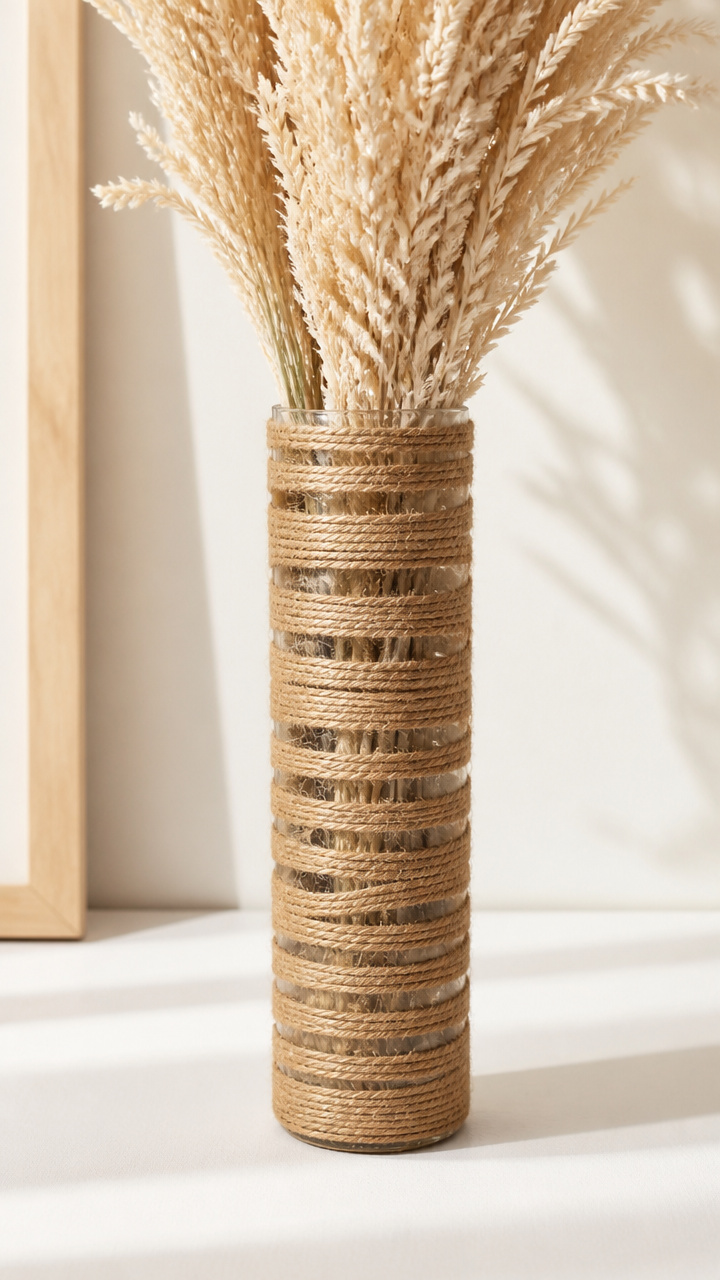
Clear glass vases become earthy vessels with tight, spiraling twine bands.
Materials Needed
- 1 clear glass vase, 8 inch tall
- Natural twine, 50 feet
- Craft glue
- Paintbrush
- Scissors
How to Make It
- Apply thin line of craft glue around base of vase with paintbrush.
- Press twine end to glue and hold 10 seconds.
- Wrap twine tightly around vase, adding glue every 2 inches.
- Overlap rows slightly to cover glass completely.
- Cut twine and secure end with glue, letting dry 1 hour.
24. Hand-Carved Butter Stamp
Advanced
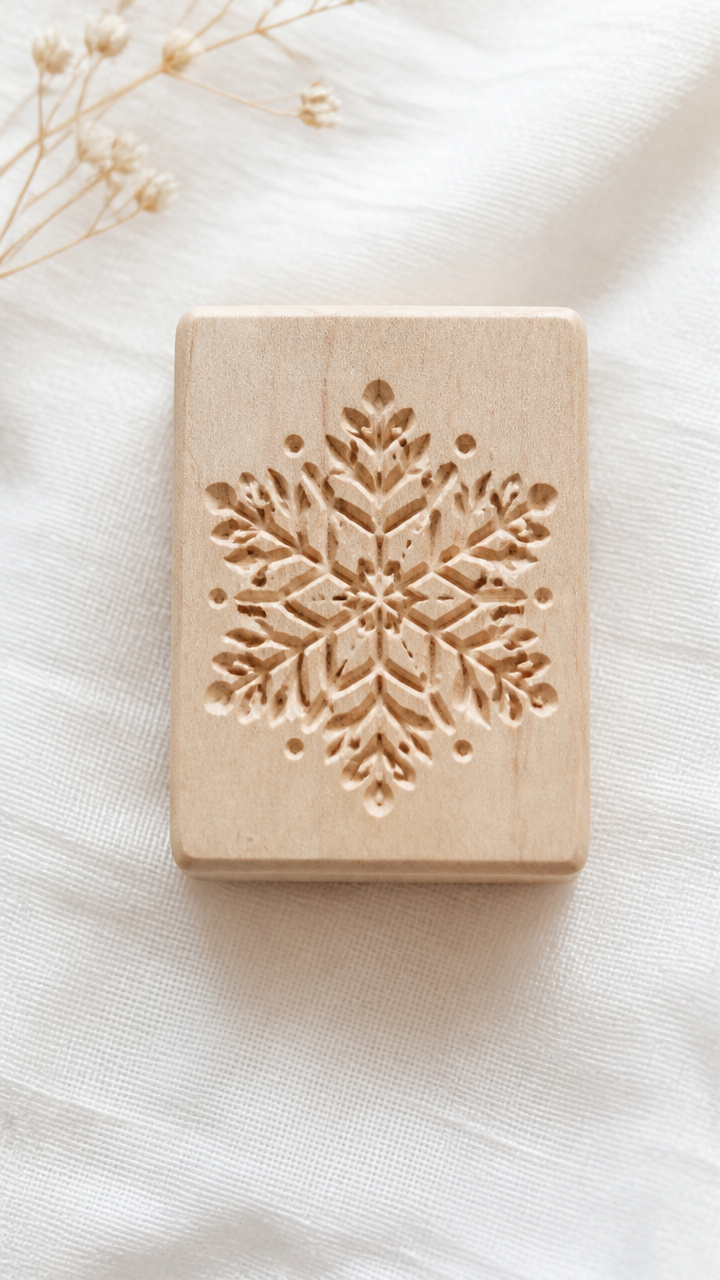
A carved wooden block presses snowflake patterns into softened butter for special occasion spreads.
Materials Needed
- Birch wood block, 2x2x1 inches
- Linoleum carving set
- Pencil
- Sandpaper
How to Make It
- Draw simple snowflake design on birch block with pencil.
- Use small gouge from carving set to cut away background around design.
- Carve deeper around lines to create raised impression.
- Smooth edges with sandpaper.
- Wash with soapy water and dry completely before use.
25. Felted Wool Boot Slippers
Advanced
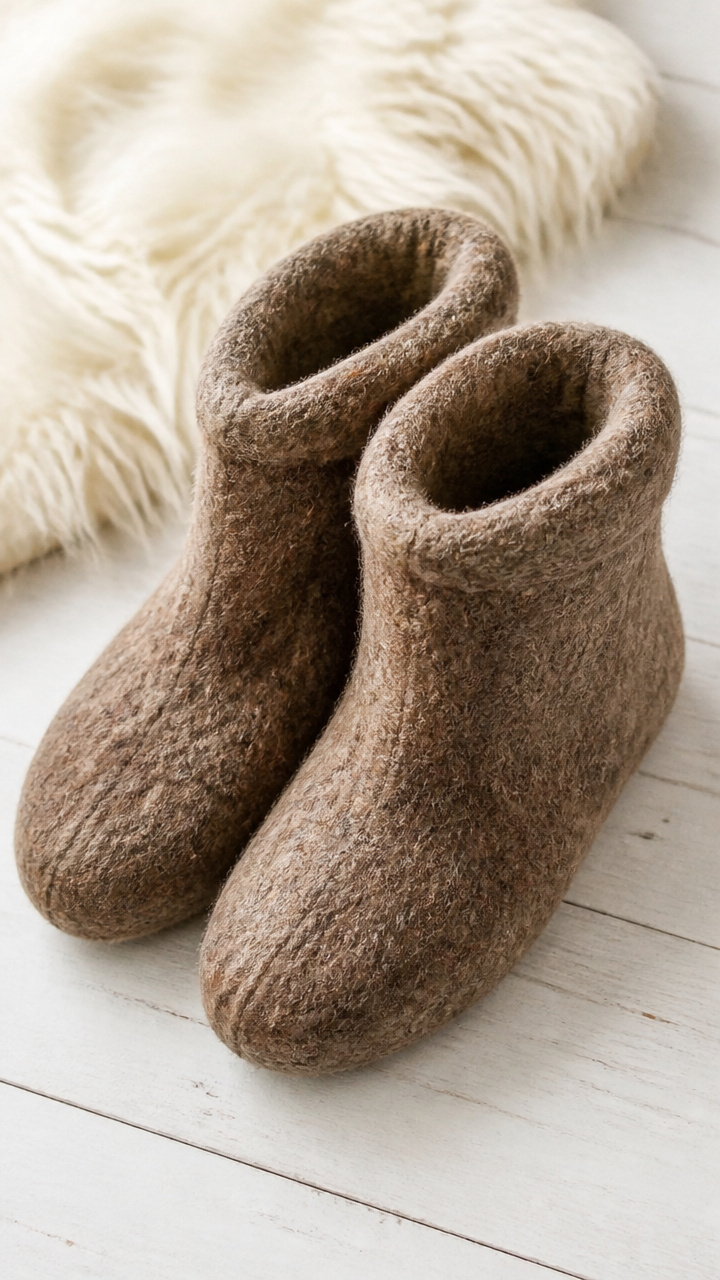
Fully felted wool slippers shaped like boots keep toes warm with a handmade silhouette.
Materials Needed
- 2 pairs of wool socks, 100%
- Plastic bag
- Large needle
- Thread
- Scissors
- Boiling water
How to Make It
- Place wool socks inside plastic bag and submerge in boiling water for 5 minutes.
- Remove and let cool, then check for full felting.
- Trace foot outline on soap and cut sole from thick bar.
- Sew sock upper to soap sole using whip stitch.
- Reinforce toe and heel with extra thread.
Each of these crafts invites you to slow down, create with care, and surround yourself with things that feel truly yours. Pick one that calls to you and let the making begin.