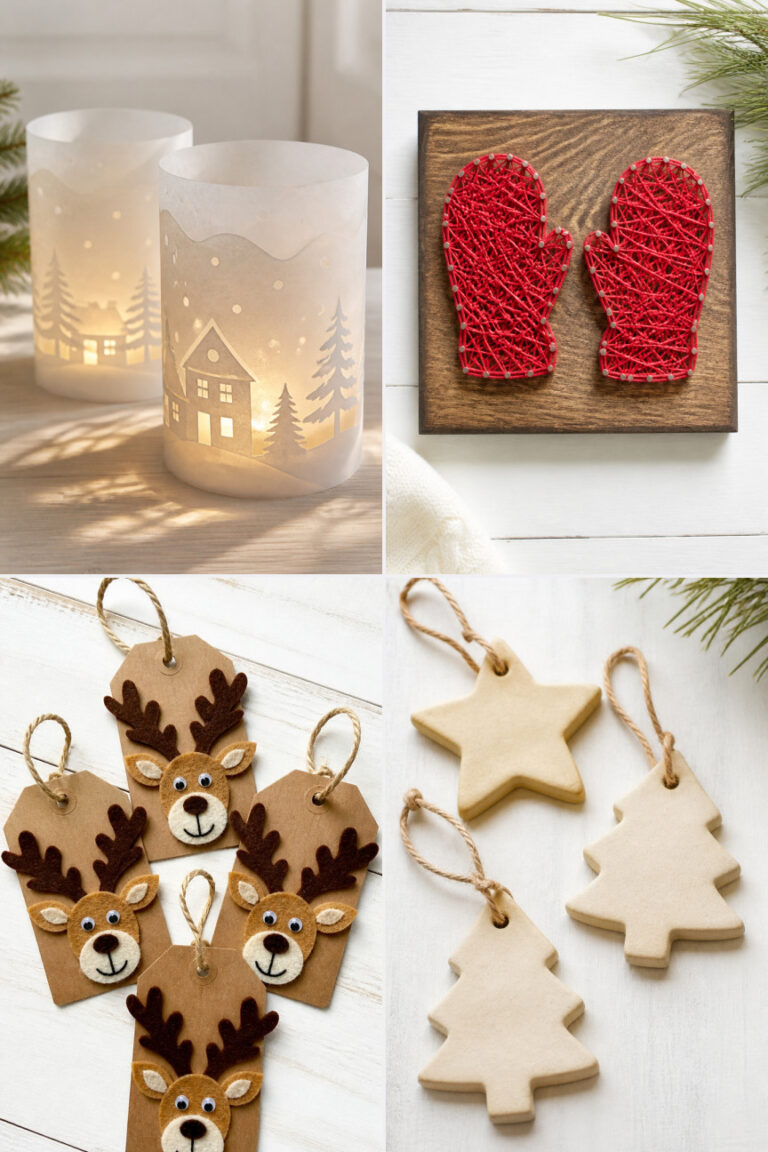
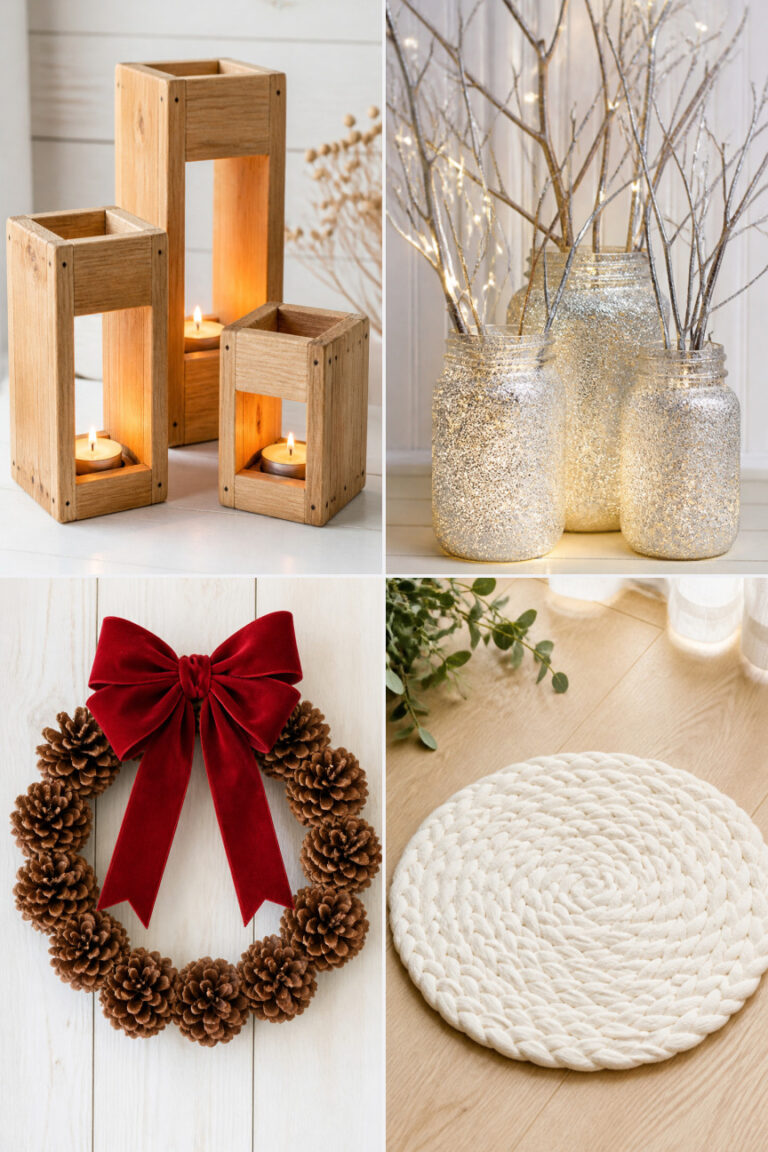
20 Dollar Store Winter Crafts Under $5

Frosty windowpanes, cozy mittens drying by the heater, a steaming mug in hand—winter wraps your home in quiet charm. You can add to that warmth with handmade touches that cost almost nothing.
These small projects use supplies you can find at any dollar store. Each one brings texture, light, or cheer without stretching your budget.
1. Salt Dough Ornaments
Easy
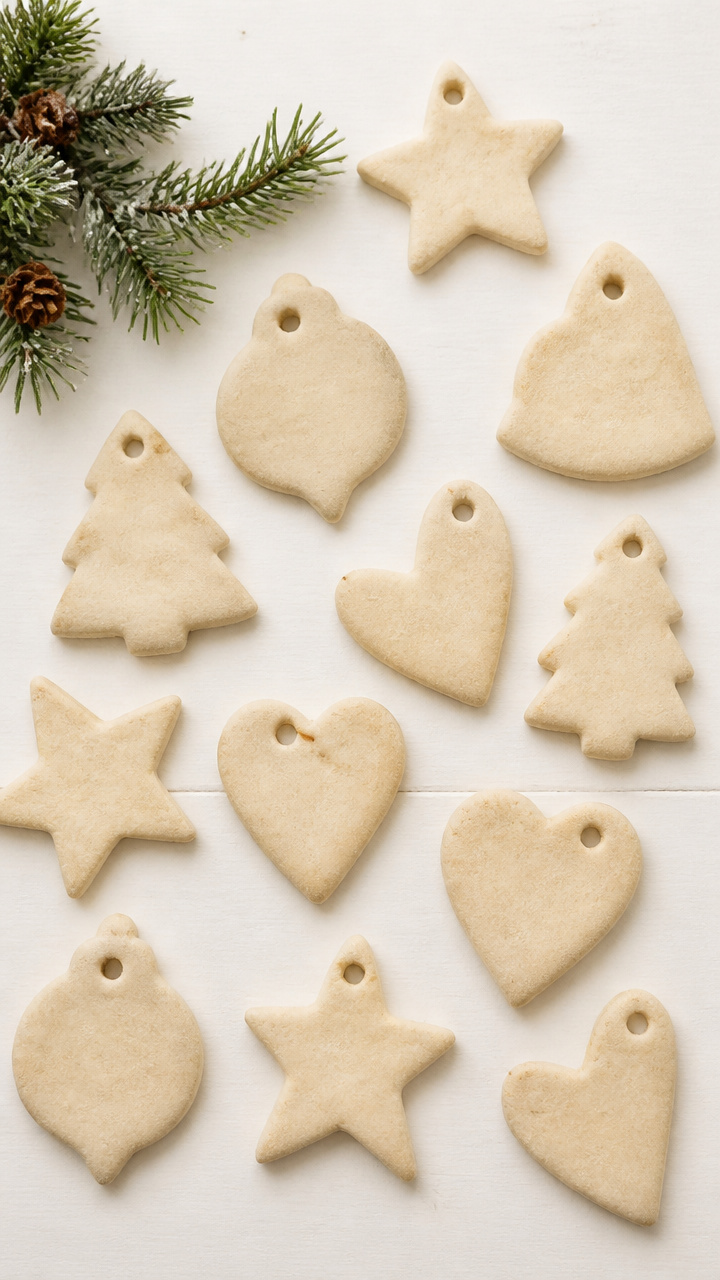
Soft, handmade shapes scent your tree and last for years if stored right. Kids love pressing stamps into the pliable dough.
Materials Needed
- 2 cups all-purpose flour
- 1 cup table salt
- 1 cup warm water
- Parchment paper
- Baking sheet
- Straw
- Natural twine, 6 feet
- Clear acrylic sealer spray
How to Make It
- Mix flour, salt, and warm water in a bowl until a smooth dough forms, kneading briefly on a floured surface if sticky.
- Roll dough to 1/4 inch thick and cut into shapes using cookie cutters.
- Push a straw through the top edge of each ornament to make a hanging hole.
- Place ornaments on a parchment-lined baking sheet and bake at 200°F for 3 hours until hard and dry.
- Thread twine through each hole and spray both sides with clear acrylic sealer to preserve.


2. Yarn-Wrapped Pinecones
Easy
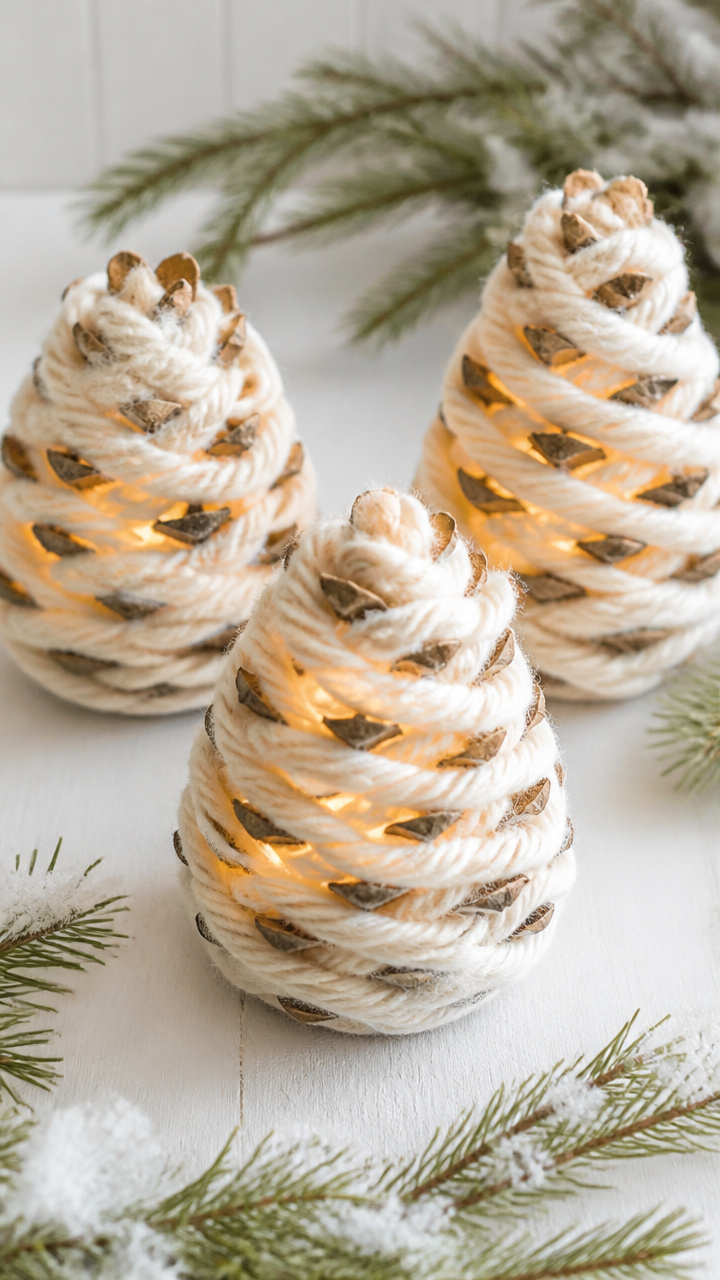
Rustic pinecone centers glow softly when lit from within. Wrap them in cream yarn for a snowy forest feel.
Materials Needed
- 3 large dried pinecones
- White craft glue
- Natural cream yarn, 50 yards
- Battery-powered tea light
How to Make It
- Dot the base of each pinecone scale with white craft glue using a toothpick.
- Press the end of the yarn onto the glued base and begin wrapping it tightly around the cone, covering each scale.
- Continue wrapping and gluing every few rows to secure the yarn as you spiral upward.
- Let dry completely for 2 hours before placing a tea light inside the open base for a soft glow.


3. Glittered Mason Jar Luminaries
Moderate
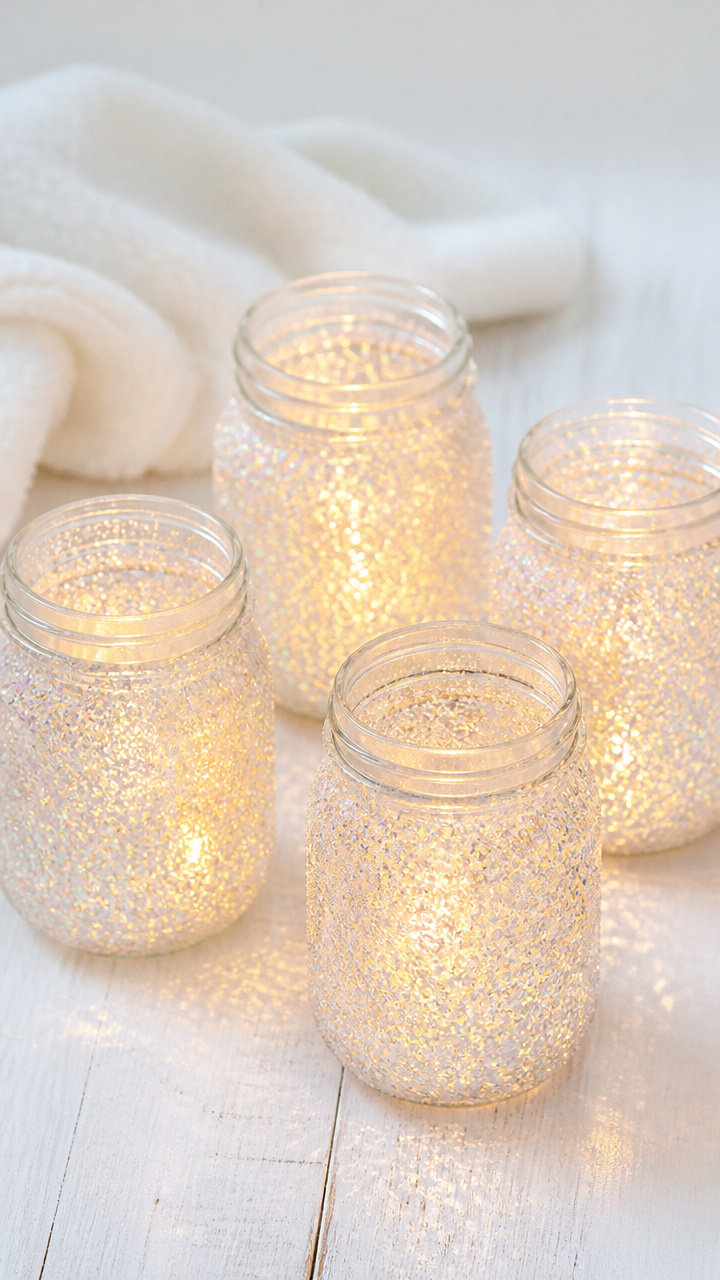
Sparkling jars cast dancing light across walls and tables. The fine glitter catches every flicker from a candle inside.
Materials Needed
- 4 clear 8 oz mason jars
- White school glue, 4 oz
- Fine iridescent glitter
- Paintbrush, 1/2 inch flat
- Battery-powered tea lights, 4
How to Make It
- Brush a thin, even layer of white school glue onto the lower third of the outside of a jar.
- Pour iridescent glitter over the glued area, turning the jar to coat evenly.
- Tap off excess glitter and let dry for 1 hour before repeating on three more jars.
- Place one tea light in each jar to see how the glitter scatters the light like frost.


4. Felt Snowflake Garland
Moderate
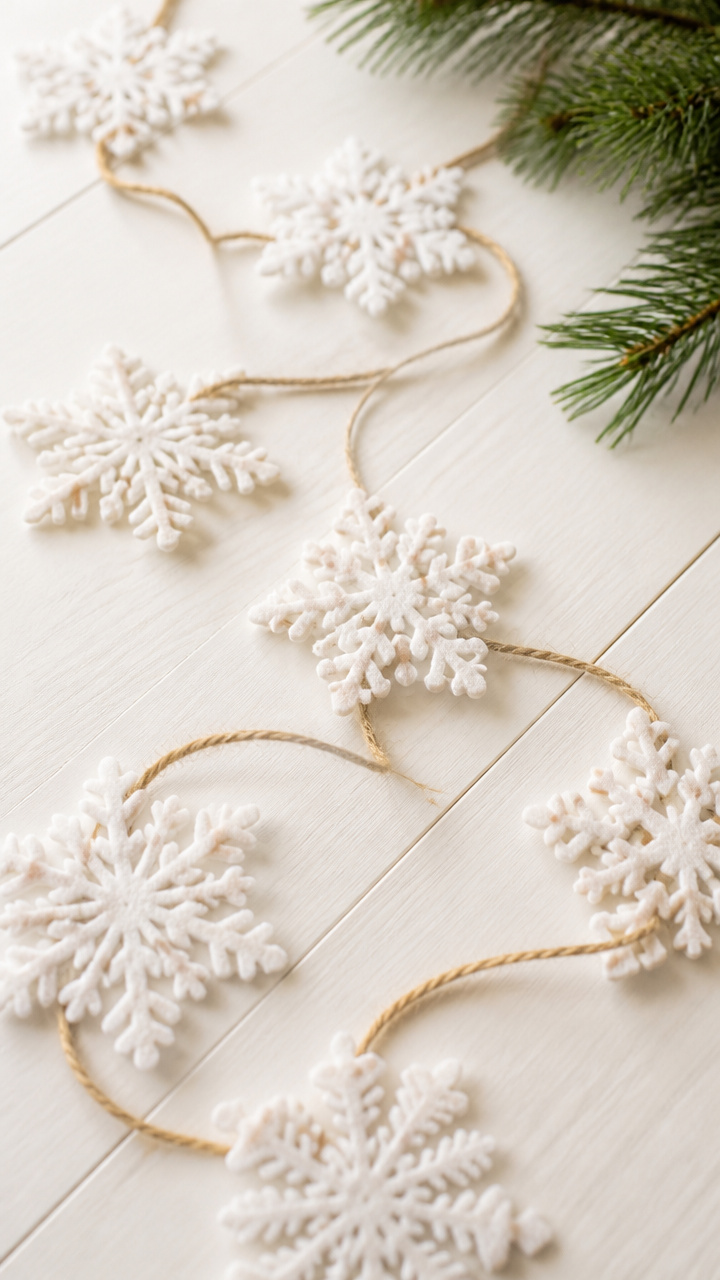
Delicate layered snowflakes drape across mantels with a soft, woolly texture. Cut from bright white felt for crisp contrast.
Materials Needed
- White craft felt sheet, 9×12 inches
- Scissors
- Pencil
- Ruler
- Hole punch
- Jute cord, 6 feet
How to Make It
- Use ruler and pencil to draw six 3-inch squares on the felt, then fold each diagonally to form triangles.
- Cut small shapes from the folded edges to create snowflake patterns, unfolding carefully.
- Punch a hole in the top center of each snowflake.
- Thread jute cord through each hole, spacing flakes 4 inches apart, and tie knots behind to secure.


5. Popsicle Stick Ice Frames
Easy
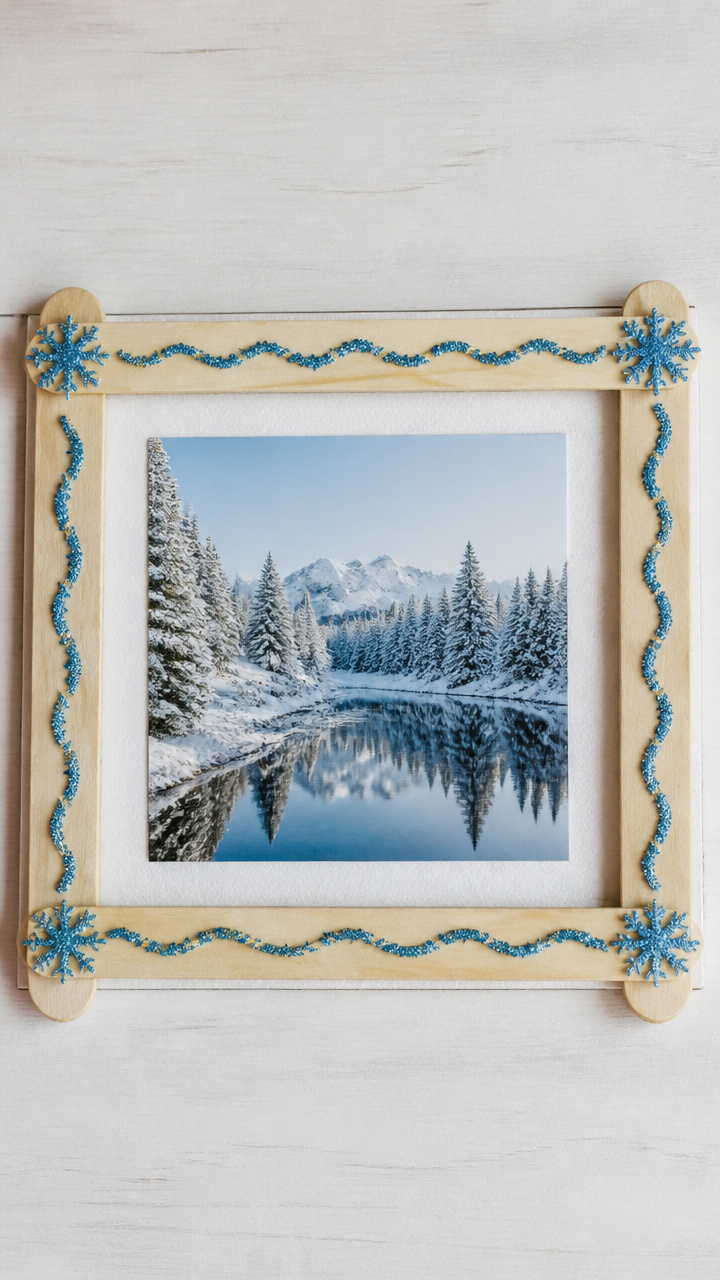
Mini frozen scenes hold tiny photos or drawings behind a shimmering front. Kids enjoy making these for holiday cards.
Materials Needed
- 8 flat wooden popsicle sticks
- Clear school glue
- Glitter glue, blue
- Small photo print, 1.5×1.5 inches
- Craft foam square, 2×2 inches, white
How to Make It
- Glue four popsicle sticks side by side in a square frame shape, letting dry 30 minutes.
- Apply clear glue to the back inner edge and press the photo face down onto the glue.
- Center the white craft foam behind the photo as a backing and glue in place.
- Outline the front edges with blue glitter glue and let dry overnight for a frosty look.


6. Cinnamon Stick Bundles
Easy
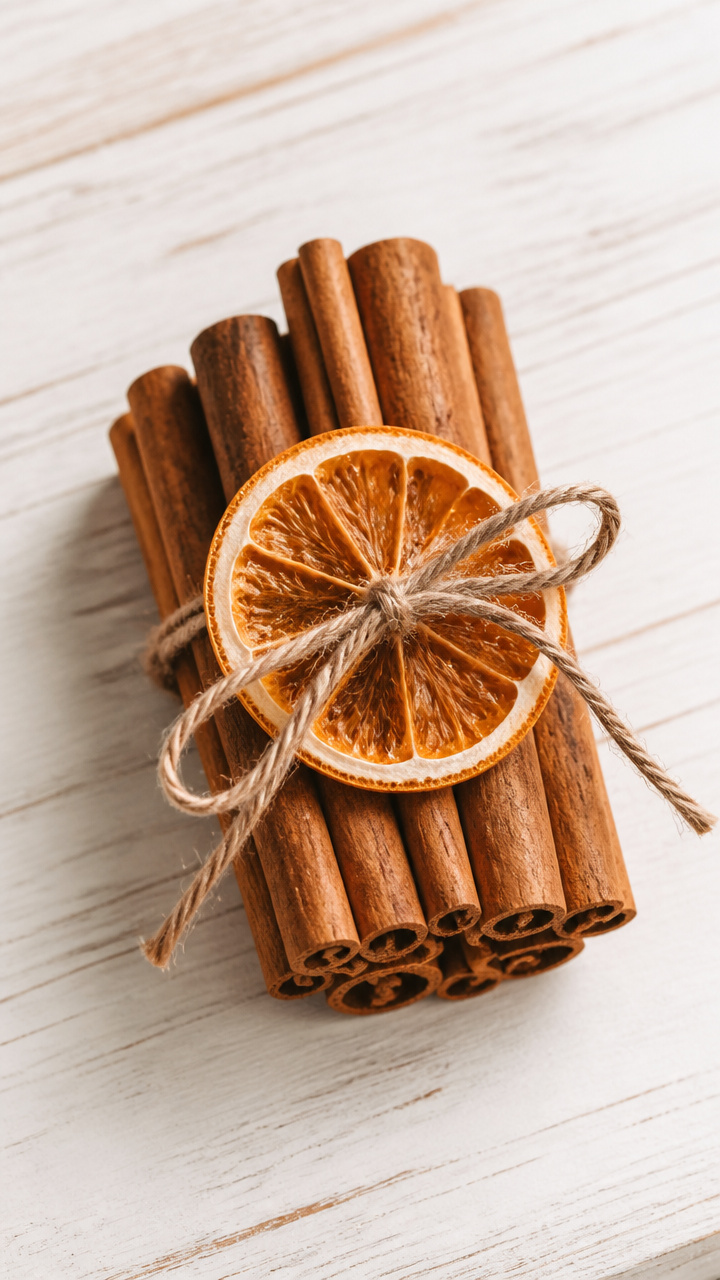
Tied bundles release spicy warmth when touched. Display them in a ceramic dish near entryways.
Materials Needed
- 15 cinnamon sticks
- Twine, 12 inches
- Dried orange slice
- Hot glue gun
- Glue sticks
How to Make It
- Gather five cinnamon sticks into a bundle and wrap twine around one end, tying a knot to secure.
- Repeat to make three bundles.
- Hot glue one dried orange slice to the front of each bundle where the twine sits.
- Arrange all three in a small bowl to scent your space naturally.


7. Washi Tape Candle Holders
Easy
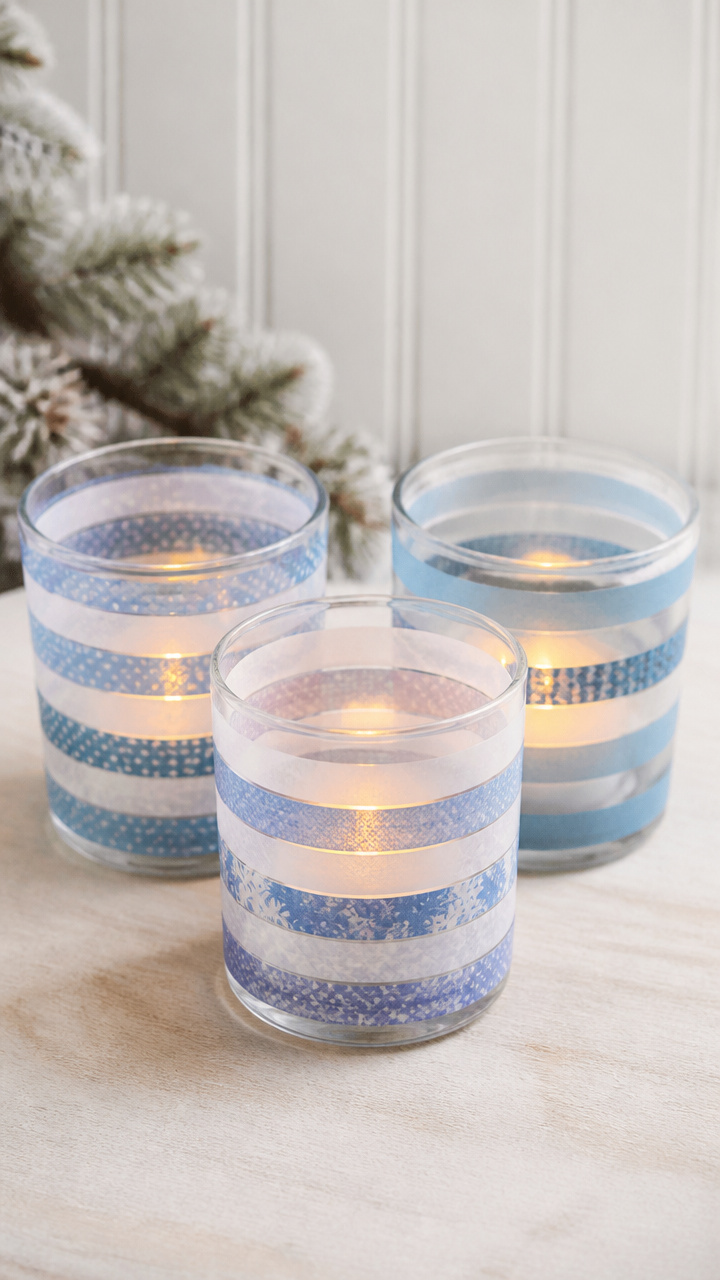
Colored tape transforms plain glass into glowing winter scenes. Stripes mimic falling snow or icy layers.
Materials Needed
- 3 clear glass tumblers, 6 oz
- Blue and white washi tape, 3/4 inch wide
- Scissors
- Battery-powered pillar candle, 3 inches tall
How to Make It
- Cut strips of blue and white washi tape, each about 6 inches long.
- Wrap tapes around the outside of each tumbler in diagonal or horizontal stripes, pressing firmly.
- Overlap ends neatly and trim any excess with scissors.
- Place one battery candle inside each tumbler and turn on for a soft, patterned glow.
8. Button Snowmen
Easy
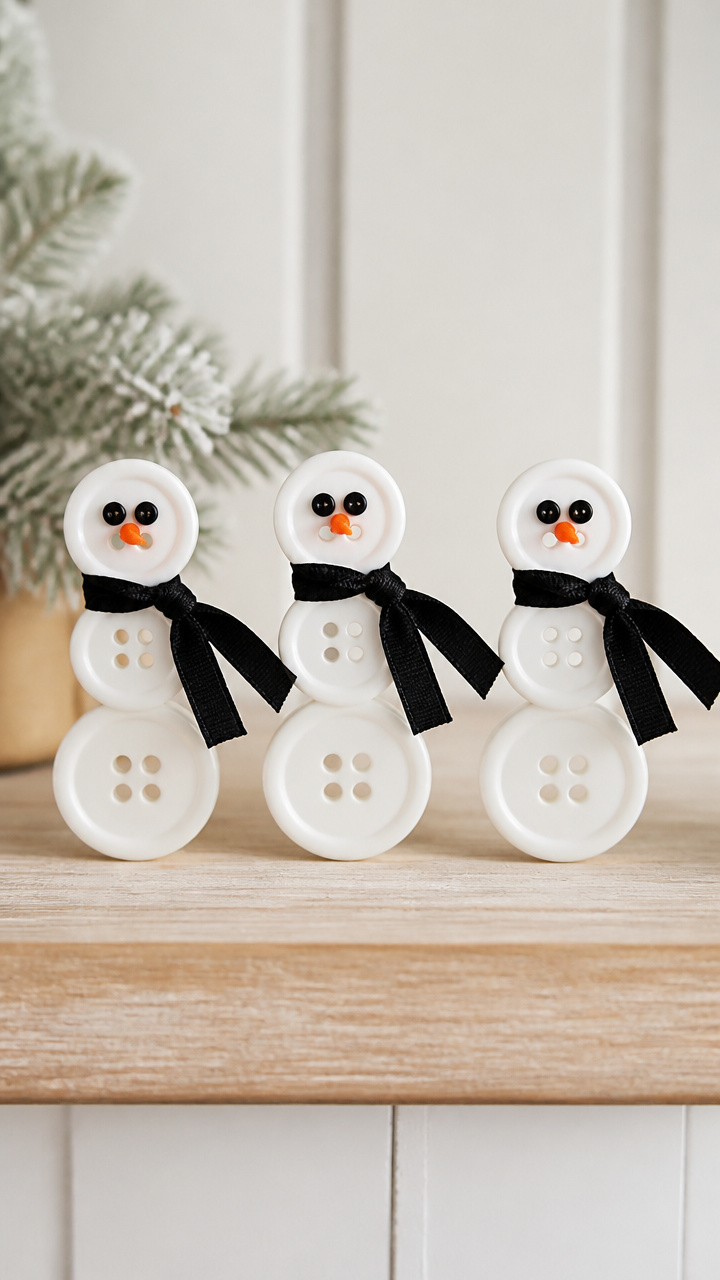
Tiny snowmen sit on shelves with black button eyes and carrot noses. Use mismatched buttons for playful charm.
Materials Needed
- Black, white, and orange buttons: 2 black (8mm), 6 white (12mm), 1 orange (4mm)
- Hot glue gun
- Glue sticks
- Toothpicks, 3
- Small black ribbon scrap, 3 inches
How to Make It
- Break each toothpick into thirds and insert one piece into the back of the orange button to form a nose.
- Glue three white buttons vertically on a flat surface to form the body.
- Attach the orange nose just above the top button and press the two black buttons above that for eyes.
- Wrap the ribbon around the middle button and glue in place as a scarf.


9. Clothespin Reindeer
Moderate
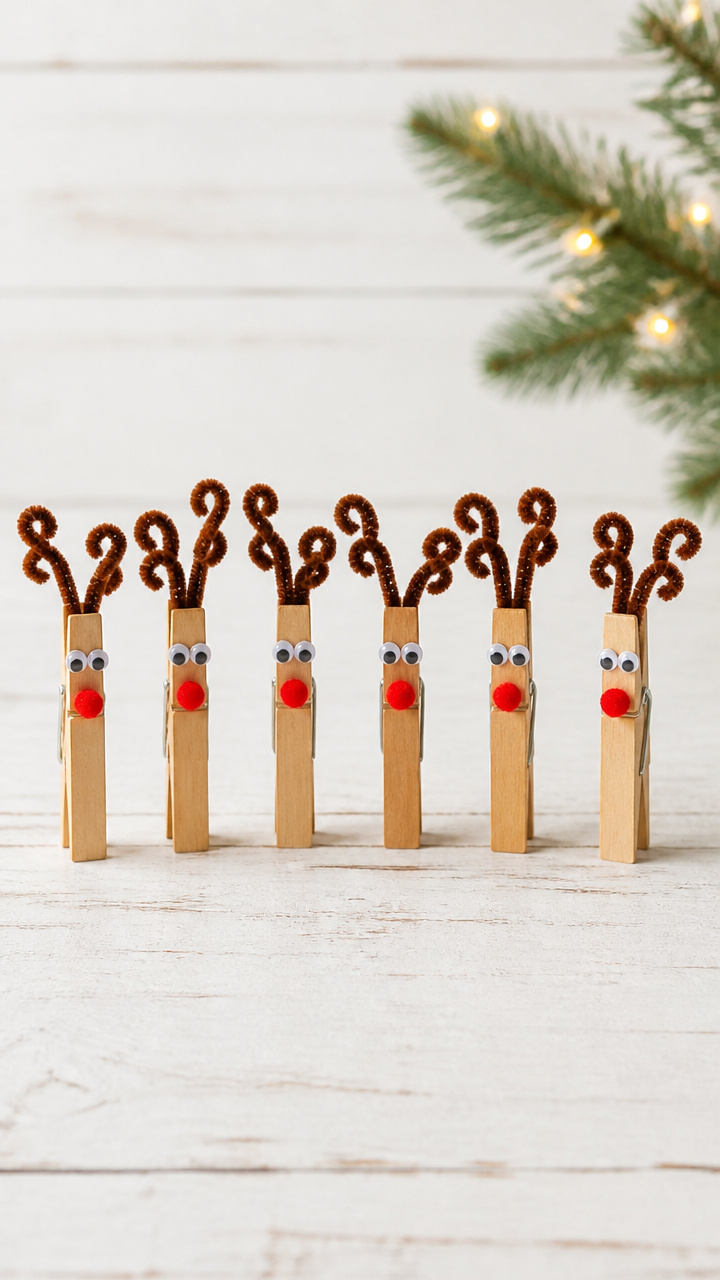
Wooden clothespins become tiny reindeer with curled wire antlers. Line them up on a windowsill for a mini herd.
Materials Needed
- 6 wooden clothespins
- Brown pipe cleaners, 12 inches long, 2 per reindeer
- Red pom-pom, 6mm, 6 pieces
- Googly eyes, 6mm, 12 pieces
- Hot glue gun
- Glue sticks
- Scissors
How to Make It
- Cut each pipe cleaner in half and twist one end of each piece into a small spiral to form an antler.
- Bend the other end into a U-shape and insert both into the top of a clothespin to attach.
- Glue one red pom-pom to the tip of the clothespin for the nose.
- Add two googly eyes above the nose and let dry completely before displaying.
10. Paper Quilled Snowflakes
Advanced
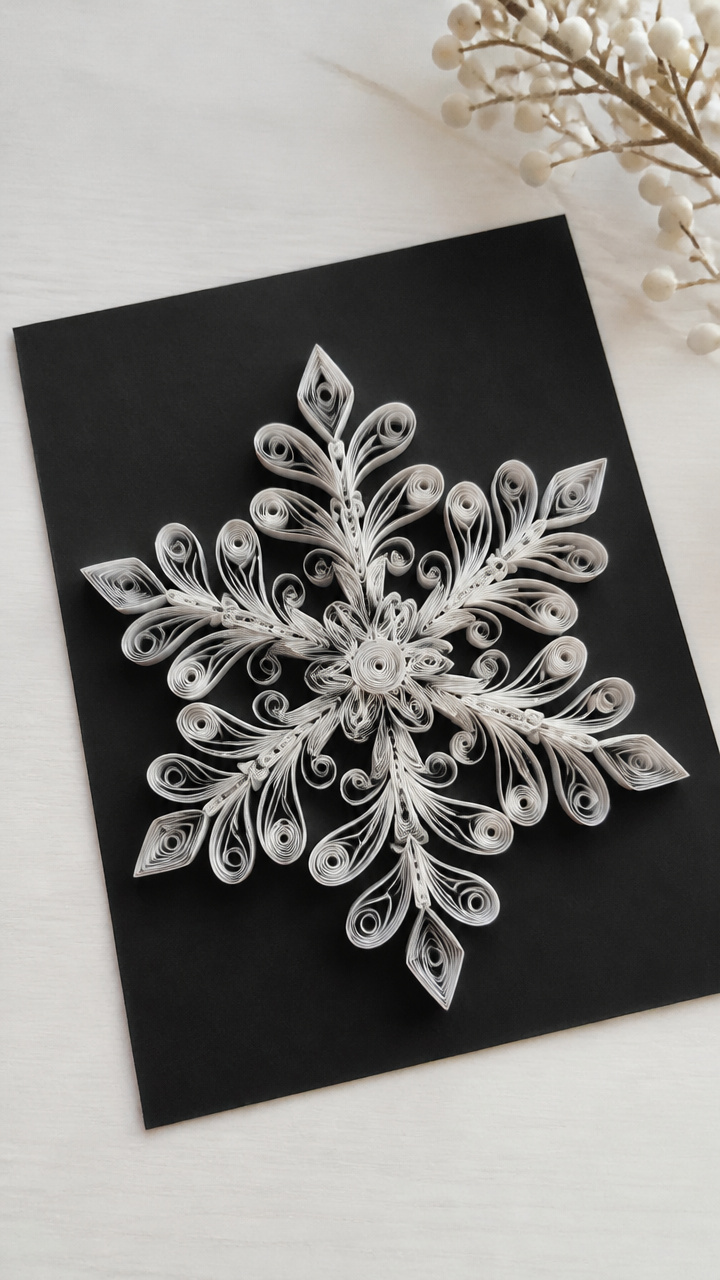
Tightly coiled paper strips form intricate snowflake designs. Mount them on dark card for bold contrast.
Materials Needed
- White quilling paper strips, 1/8 inch wide, 24 inches long, 6 pieces
- Quilling tool
- Tweezers
- White craft glue
- Black A4 cardstock
- Scissors
How to Make It
- Wrap one paper strip around the quilling tool and slide it off, pinching one end to form a loose coil.
- Glue the end to hold the shape and let dry for 5 minutes.
- Pinch opposite sides of the coil to form a teardrop, then pinch the rounded end again to make a marquise.
- Repeat to make six identical shapes and arrange them in a star pattern, gluing tips together at the center.
- Glue the finished snowflake onto black cardstock and let dry flat for 1 hour.


11. Mitten String Lights
Moderate
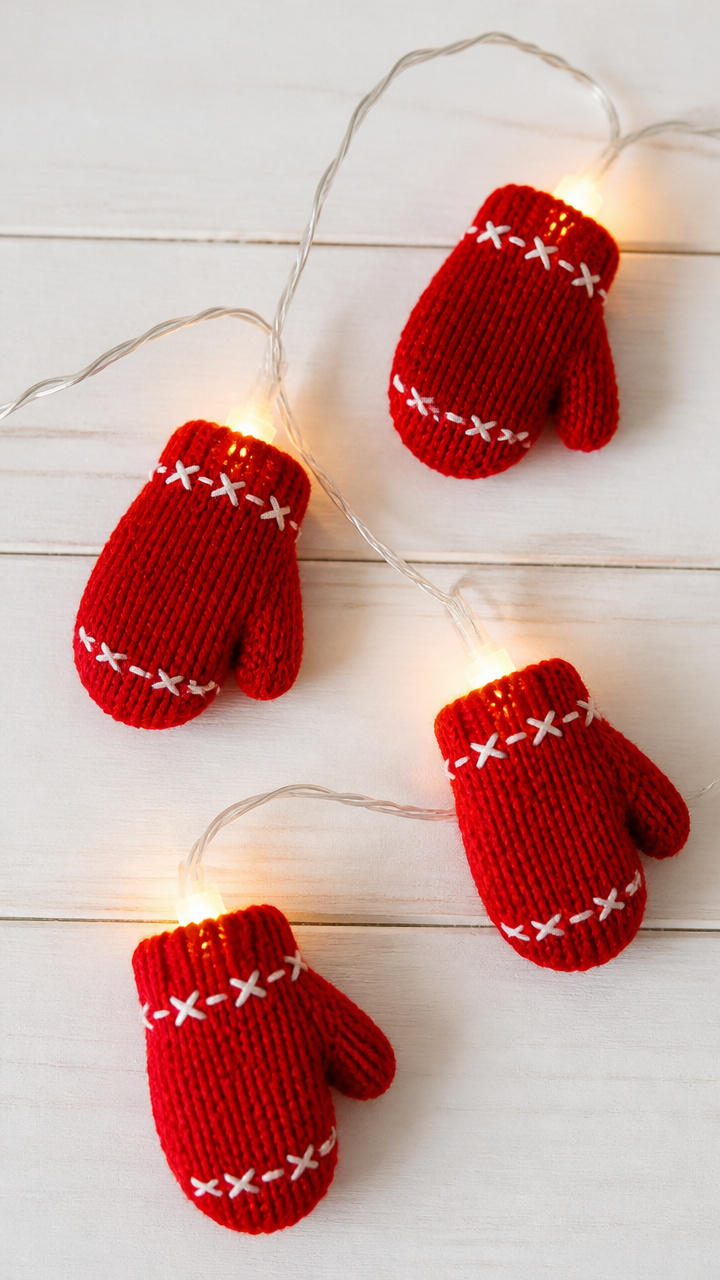
Tiny knit mittens cradle warm LED bulbs along a string. Hang them above a child's bed for cozy nights.
Materials Needed
- 4 knit baby mittens, red
- LED string lights, 10 bulbs, battery-powered
- Needle
- Red embroidery floss
- Scissors
How to Make It
- Slide one mitten over a bulb, pushing it down the wire until snug against the base.
- Use needle and red floss to stitch the cuff closed around the wire, hiding the bulb inside.
- Repeat for three more mittens, spacing them every third bulb.
- Turn on the lights and drape gently over a shelf or headboard.


12. Pine-Scented Drawer Sachets
Easy

Small fabric pouches freshen linens with natural evergreen scent. Tuck them into dresser drawers after folding sweaters.
Materials Needed
- Muslin fabric squares, 4×4 inches, 4 pieces
- Dried pine needles, 1/4 cup
- Lavender buds, 2 tablespoons
- Ribbon, 8 inches per sachet
- Needle
- White thread
How to Make It
- Place one muslin square flat and add 1 tablespoon pine needles and 1/2 tablespoon lavender buds in the center.
- Fold corners up to meet in the middle and gather the edges tightly.
- Thread needle and sew through all layers once to secure, leaving a tail.
- Tie ribbon around the gathered top and knot it to finish each sachet.


13. Ice Lantern Centerpiece
Moderate

A ring of frozen flowers and berries glows under candlelight. Make it outdoors on a cold night.
Materials Needed
- Plastic bowl, 6 inch diameter
- Water
- Fresh cranberries, 1/2 cup
- Small pine sprigs, 4
- Freezer-safe container
- Tea light
How to Make It
- Fill the bowl with 2 inches of water and freeze overnight in a level spot in the freezer.
- Arrange cranberries and pine sprigs on the frozen surface.
- Add more water to cover and freeze for another 6 hours or until solid.
- Run warm water over the outside of the bowl to release the ice ring.
- Place tea light in the center hole and set on a heat-safe tray outside or on a stone surface.
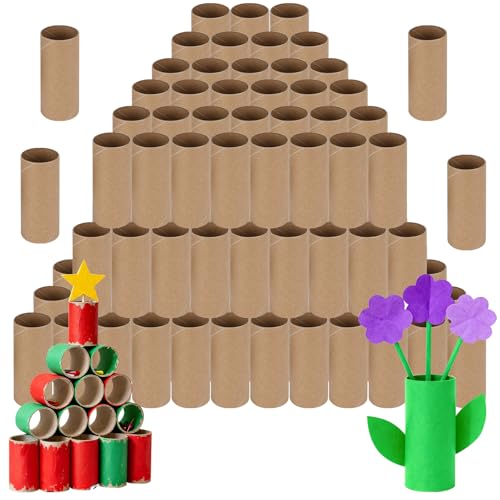
14. Cardboard Tube Snow Rollers
Easy
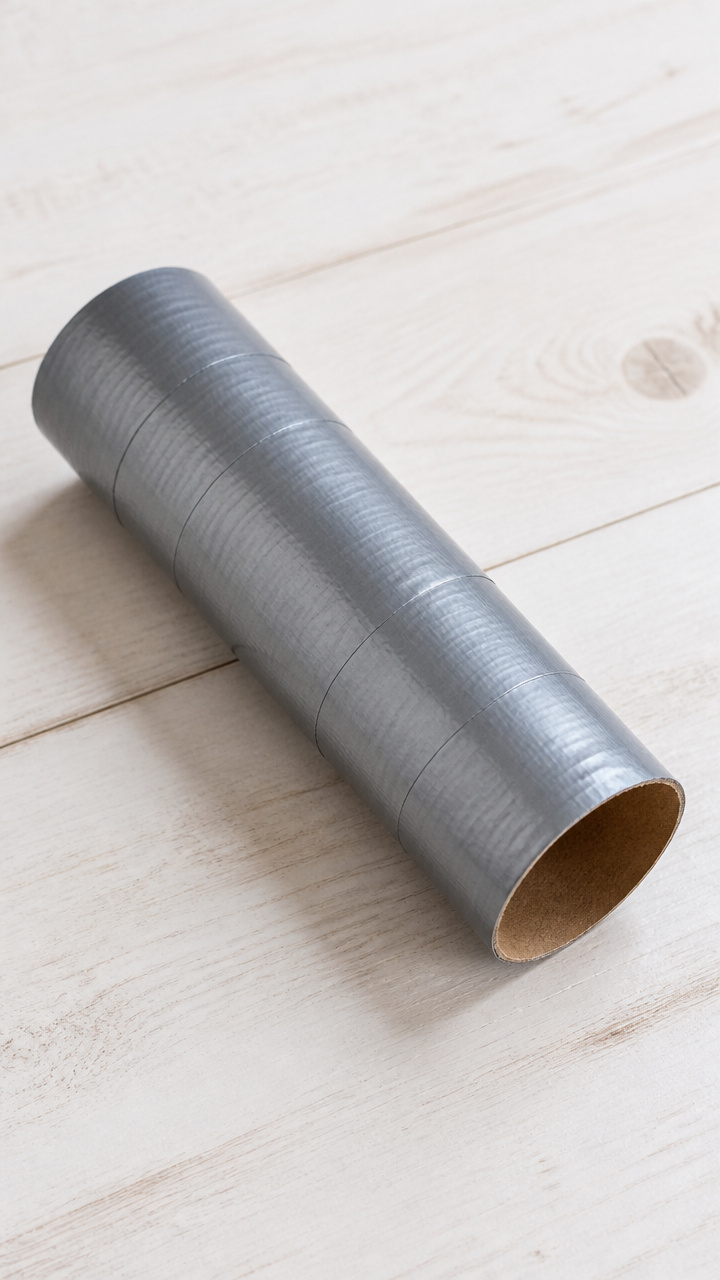
Sturdy tubes roll perfect snow circles for building animals or decorations. Wrap them in duct tape for grip.
Materials Needed
- Cardboard tube, 8 inches long, from paper towels
- Gray duct tape
- Scissors
- Permanent marker
How to Make It
- Wrap gray duct tape around the entire tube, overlapping slightly and smoothing as you go.
- Trim excess tape at both ends with scissors.
- Draw snowflake patterns on the tape with permanent marker for decoration.
- Use the roller in fresh snow to pack tight snow cylinders for crafting.


15. Fabric Scrap Wreath
Moderate
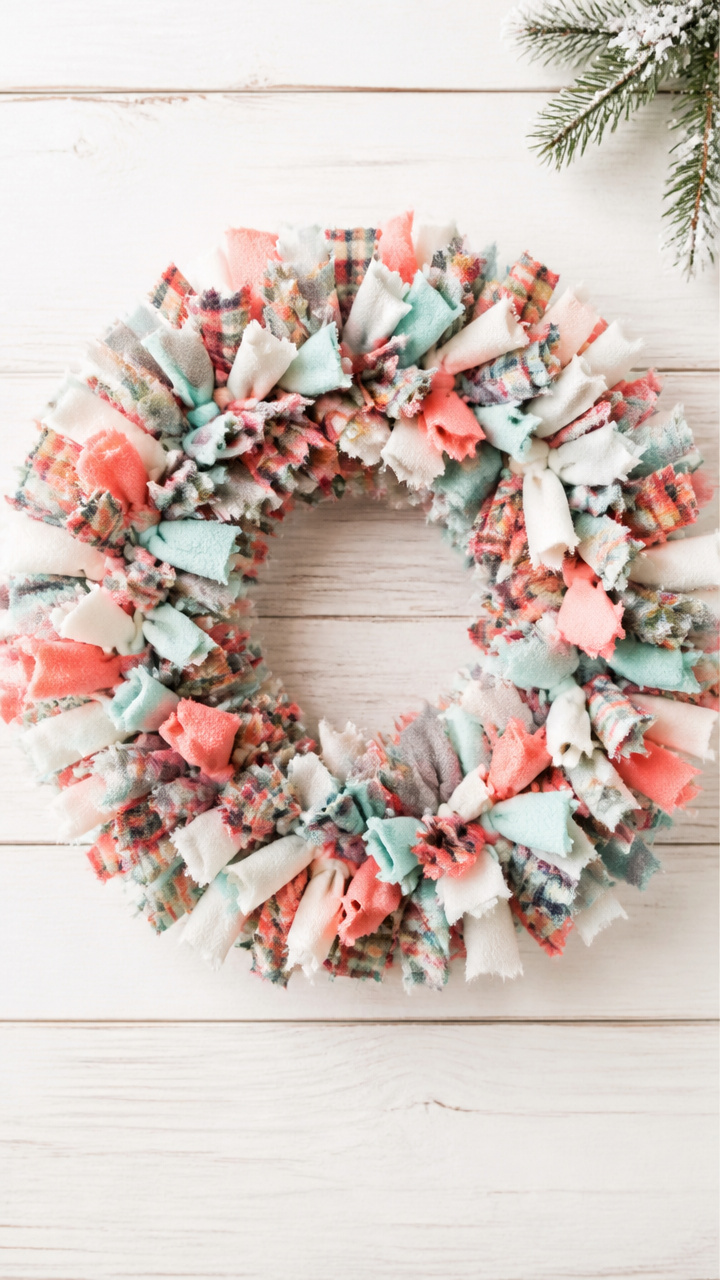
Colorful strips knotted onto a wire ring create a fluffy winter wreath. Use flannel and fleece for softness.
Materials Needed
- Metal coat hanger
- Wire cutters
- Flannel and fleece scraps, 1×6 inches, 30 pieces
- Pliers
How to Make It
- Straighten the coat hanger and twist the hook into a circle, using pliers to close the loop.
- Cut each fabric scrap into a continuous 1×6 inch strip.
- Fold one strip in half and loop it through the wire ring, pulling ends through the fold to knot.
- Repeat every inch around the ring until fully covered with knotted fabric.


16. Clay Animal Figurines
Advanced
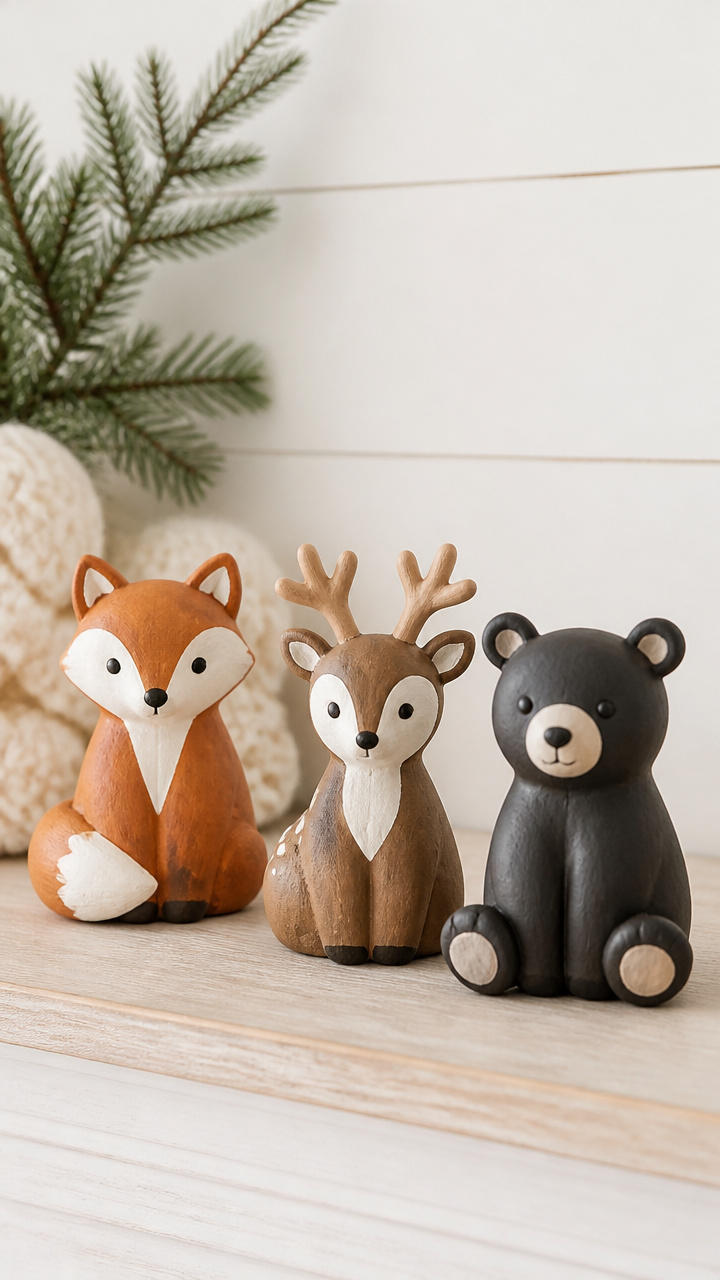
Air-dry clay shapes dry solid and take paint well. Sculpt foxes, deer, or bears for a woodland shelf scene.
Materials Needed
- White air-dry clay, 1/2 pound
- Rolling pin
- Butter knife
- Toothpick
- Acrylic paints: brown, black, white
- Paintbrush, small round
How to Make It
- Knead clay until soft and roll to 1/2 inch thickness on a clean surface.
- Cut a rough animal shape with the butter knife, refining legs and head with fingers.
- Use toothpick to add facial details like eyes and mouth.
- Let dry undisturbed for 24 hours on a flat plate.
- Paint with acrylics using small brush, adding fur texture with quick strokes.


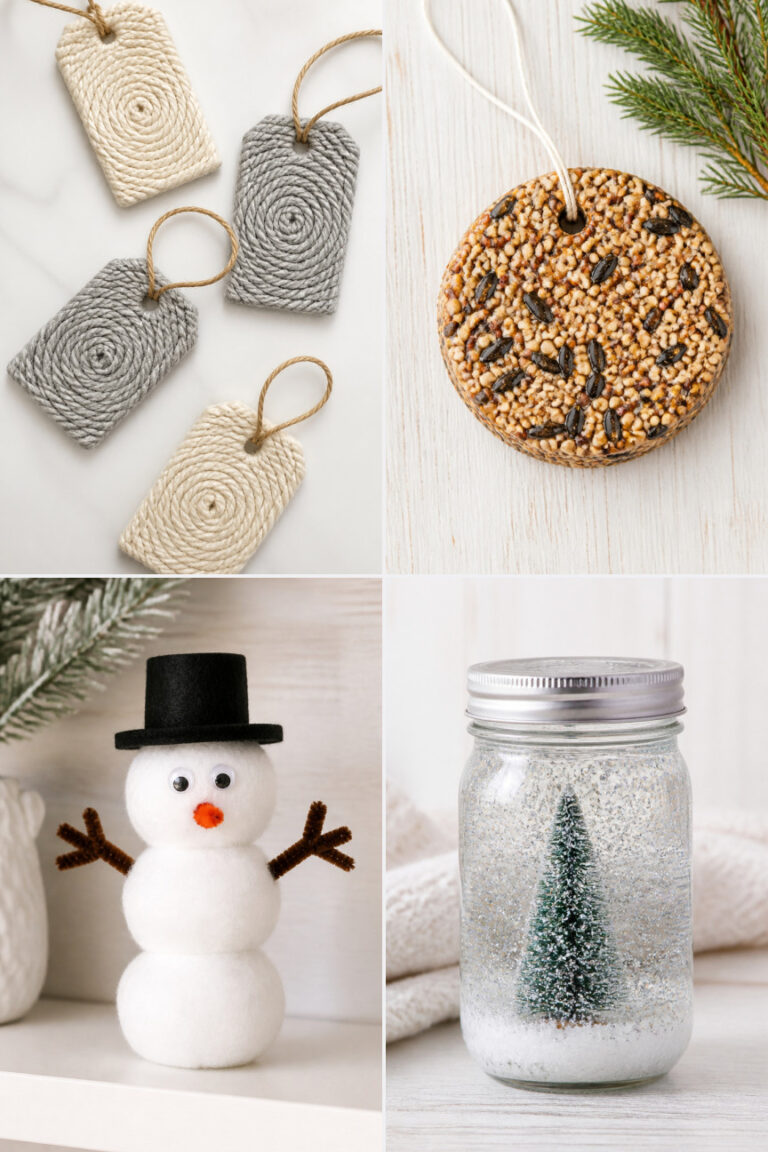
17. Snow Globe Jars
Moderate
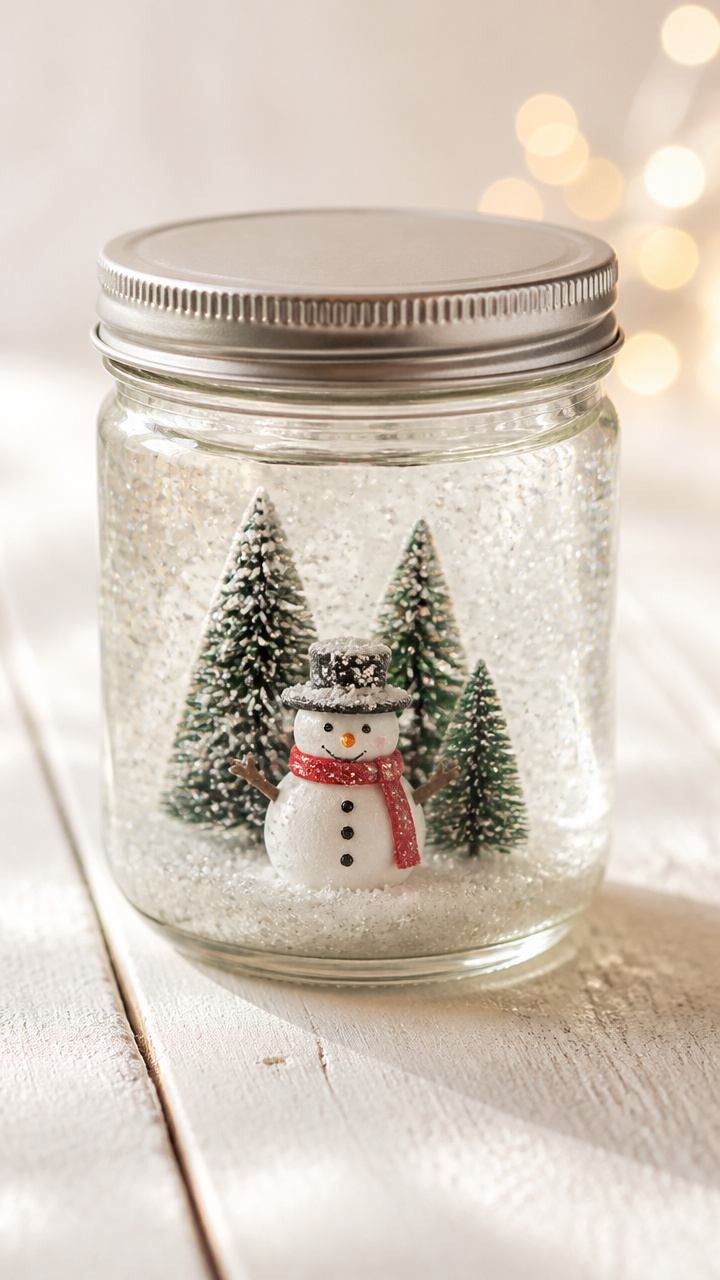
Mini scenes float in liquid-filled jars that wobble with magic. Use fake snow and tiny trees for effect.
Materials Needed
- Small glass jar with lid, 4 oz
- Waterproof figurine, 1 inch tall
- Distilled water
- Glycerin, 1 teaspoon
- Glitter, fine white
- Hot glue gun
- Glue sticks
How to Make It
- Glue the figurine upside down to the inside of the jar lid and let cure for 1 hour.
- Fill the jar with distilled water, leaving 1/2 inch space at the top.
- Add glycerin and a pinch of glitter, then screw the lid on tightly.
- Shake gently to swirl the glitter and watch it fall slowly like snow.

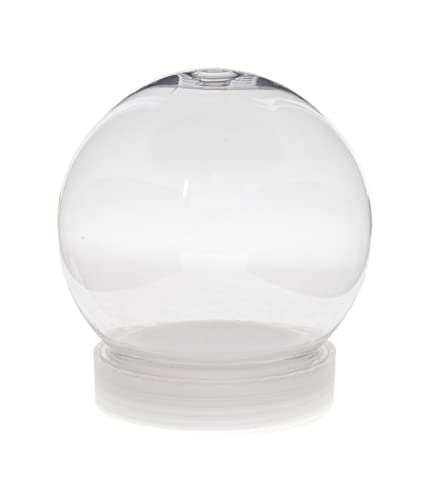
18. Knit Hat Mini Trees
Easy
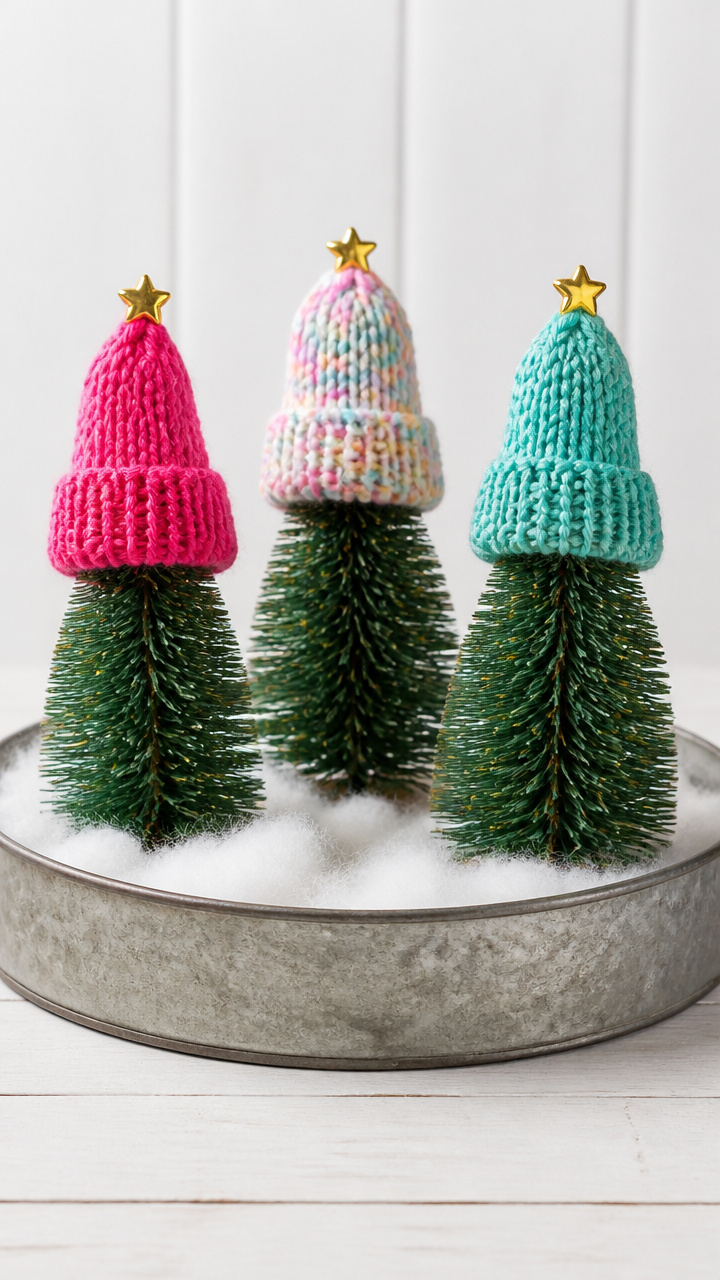
Tiny conifers wear colorful hats made from scrap yarn. Cluster them in a shallow tray for a festive centerpiece.
Materials Needed
- Plastic evergreen saplings, 4 inches tall, 3 pieces
- Assorted yarn scraps, 12 inches each
- Hot glue gun
- Glue sticks
- Small star bead, 1 per tree
How to Make It
- Wrap yarn around two fingers four times and slide off carefully.
- Tie a knot through the center to form a pom-pom and trim ends evenly.
- Stretch the pom-pom slightly and press it onto the top of one sapling.
- Glue a star bead to the center of each pom-pom to finish the tree.


19. Chalkboard Paint Tags
Moderate
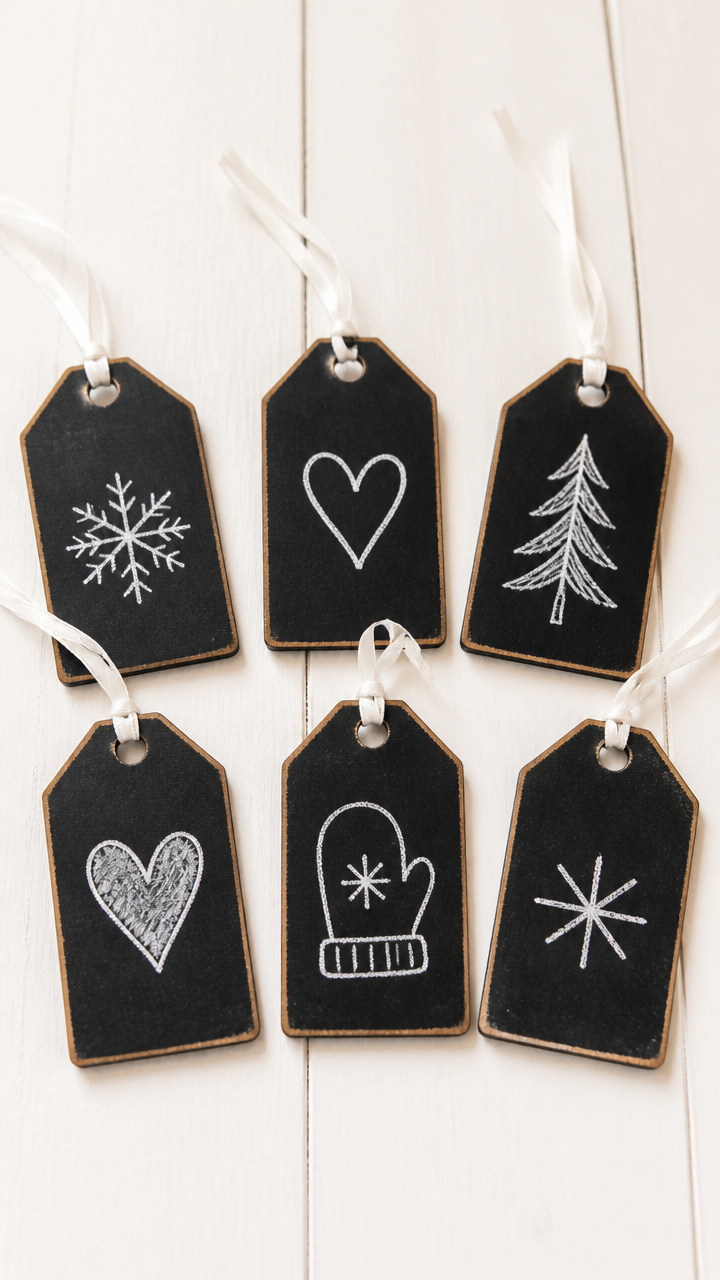
Reusable gift tags let you write messages in frosty script. Wipe and rewrite year after year.
Materials Needed
- Wooden tags, unpainted, 2×3 inches, 6 pieces
- Chalkboard paint, 2 oz
- Foam brush, 1/2 inch
- Chalk stick, white
- Ribbon, 6 inches per tag
How to Make It
- Shake chalkboard paint and apply a thin coat to the front of one tag using the foam brush.
- Let dry for 2 hours, then apply a second coat and cure for 24 hours.
- Rub chalk over the surface and wipe with a soft cloth to prime.
- Write a name or greeting with the chalk and tie ribbon through the hole for hanging.


20. Tin Can Snow Stamps
Easy
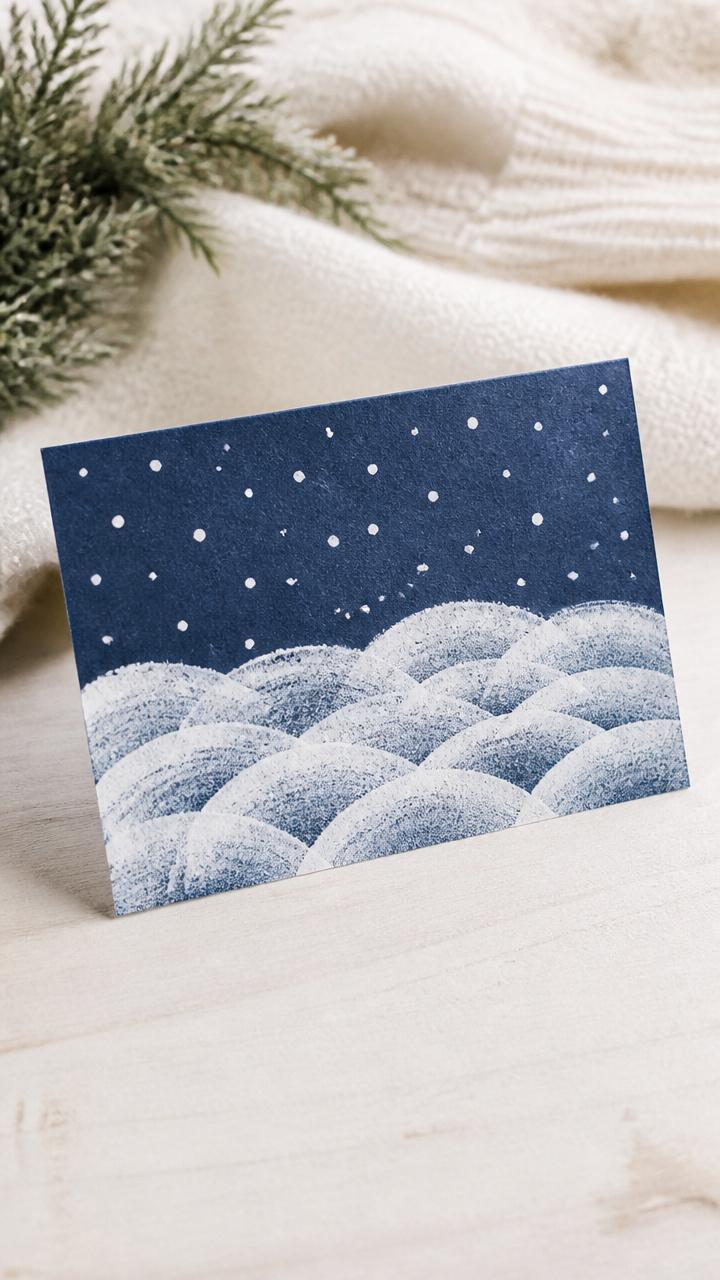
Rolled edges stamp perfect snowdrifts on cards and wrapping. Dip in paint and press for soft textures.
Materials Needed
- Empty soup can, clean and label removed
- Sandpaper, 120 grit
- White acrylic paint
- Paint tray
- Index cards, 3×5 inches, 5 pieces
How to Make It
- Rub sandpaper around the open edge of the can to dull any sharpness.
- Pour white acrylic paint into the tray and roll the can’s edge through it evenly.
- Press the painted edge onto an index card to leave a curved snowbank mark.
- Repeat to create a winter scene and let dry flat for 30 minutes.


Grab a basket and walk the aisles with this list in hand. You’ll come home with everything you need to make winter feel like magic.