15 DIY Christmas Crafts You Can Make in One Afternoon

The air is crisp, the lights are twinkling, and there’s something special about making holiday decorations with your own hands. These crafts bring warmth to your home and joy to your day, all finished before dinner.
Each one fits neatly into a single afternoon. You’ll use simple tools and clear steps, no experience required. Just gather your supplies and begin where you feel inspired.
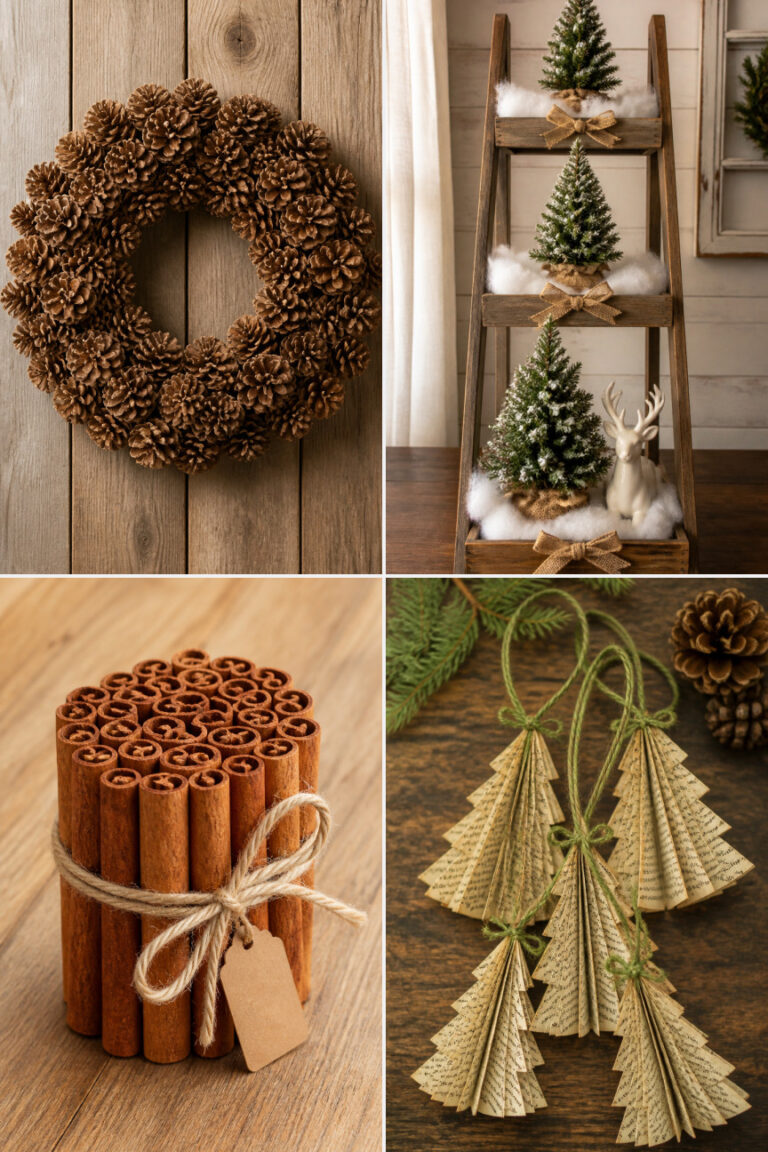
1. Mini Pinecone Wreaths
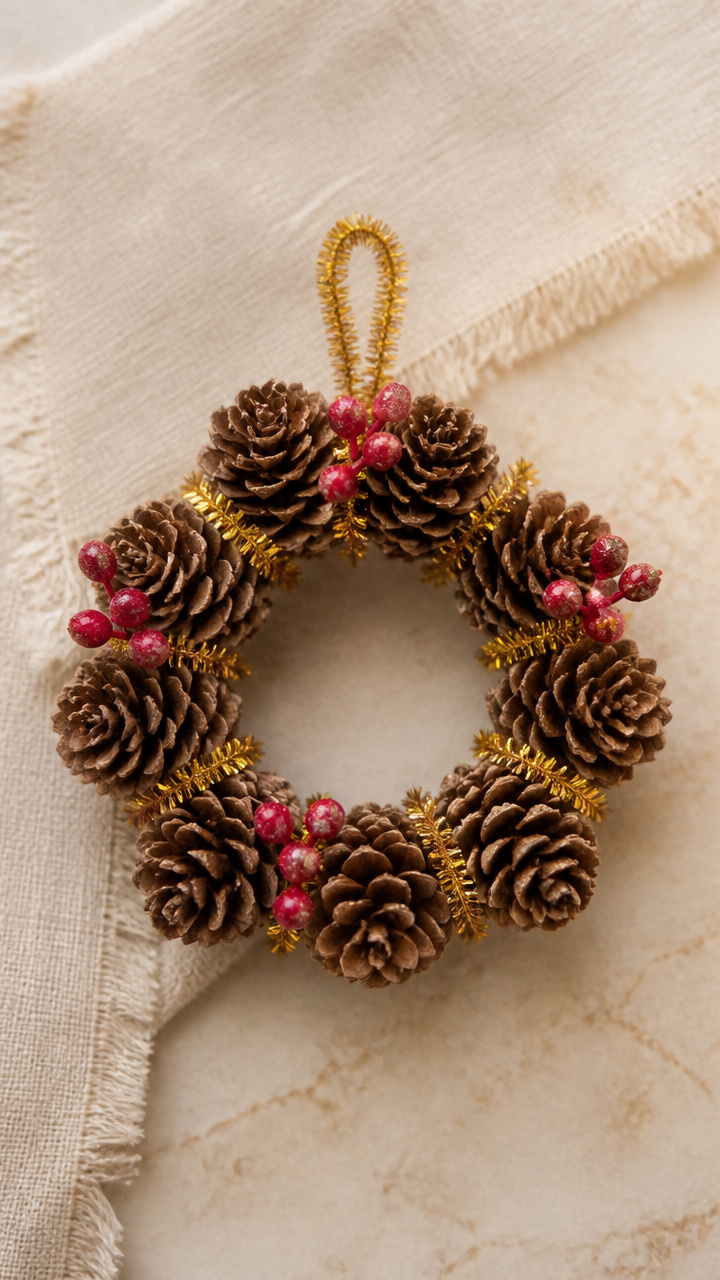
Tiny pinecone wreaths hang beautifully on windows, mirrors, or as tree ornaments. Their natural texture catches the light and adds rustic charm.
Materials Needed
- 12 small pinecones, about 1.5 inches long
- 6-inch gold pipe cleaners, 4 needed
- Hot glue gun with glue sticks
- Small red berry sprigs, 12 pieces
- Scissors
How to Make It
- Lay out 3 pinecones per wreath and arrange them in a circle, tips pointing outward.
- Wrap a pipe cleaner around the base of each trio, twisting tightly at the back to form a ring.
- Add a dot of hot glue between each pinecone to secure them together.
- Glue one berry sprig to the bottom right side of each wreath.
- Trim excess pipe cleaner with scissors and let glue dry for 10 minutes.


2. Salt Dough Ornaments
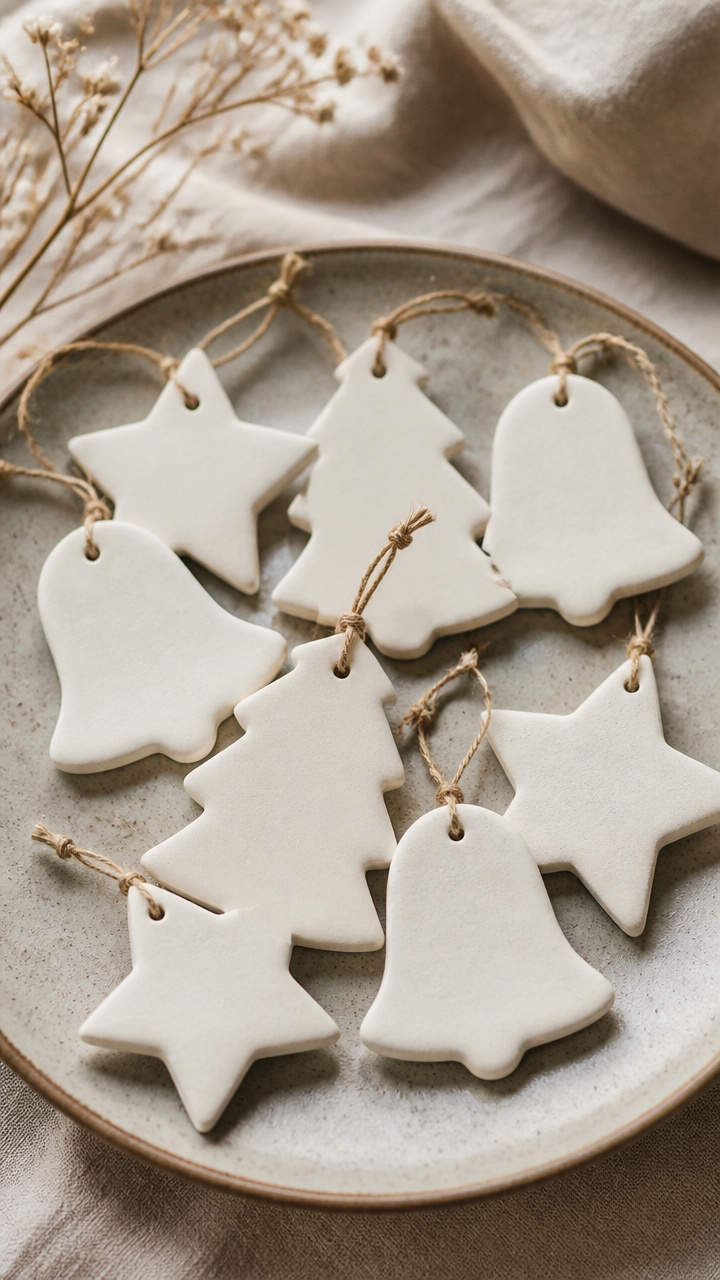
Soft white salt dough shapes hold fine details and can be personalized with names or dates. They’re lightweight, classic, and perfect for kids to help make.
Materials Needed
- 2 cups all-purpose flour
- 1 cup table salt
- 3/4 cup warm water
- Rolling pin
- Straw
- Cookie cutters (star, bell, tree), 3 types
- Parchment paper
- Baking sheet
- Acrylic paint (red, green, gold), 1 bottle each
- Ribbon, 1/8-inch wide, 6 feet
How to Make It
- Mix flour, salt, and warm water in a bowl until a smooth dough forms, kneading by hand for 3 minutes.
- Roll dough to 1/4-inch thickness on parchment paper using the rolling pin.
- Cut shapes with cookie cutters and use a straw to poke a hole near the top edge.
- Bake at 250°F on a baking sheet for 2 hours, then cool completely.
- Paint each ornament and let dry for 30 minutes.
- Thread ribbon through holes to hang.


3. Felt Stocking Tags
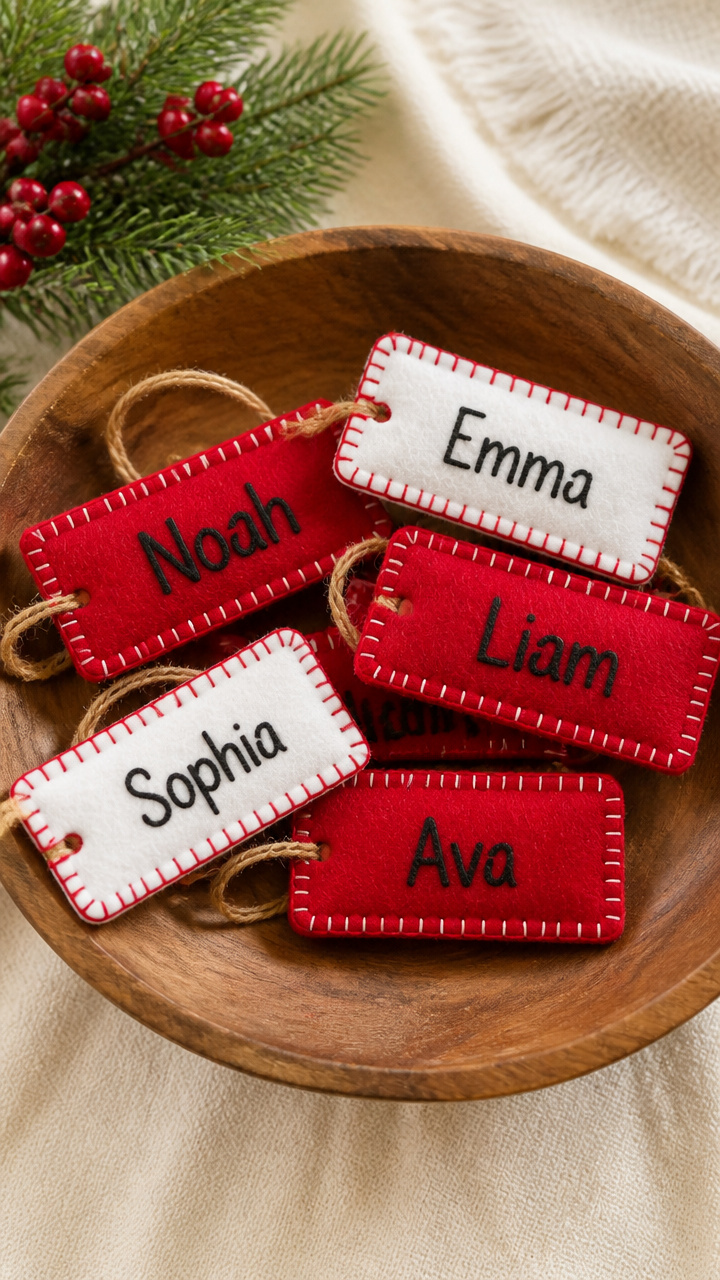
These soft tags label gifts with handmade care. Each one has a stitched edge and room for a name in bold ink.
Materials Needed
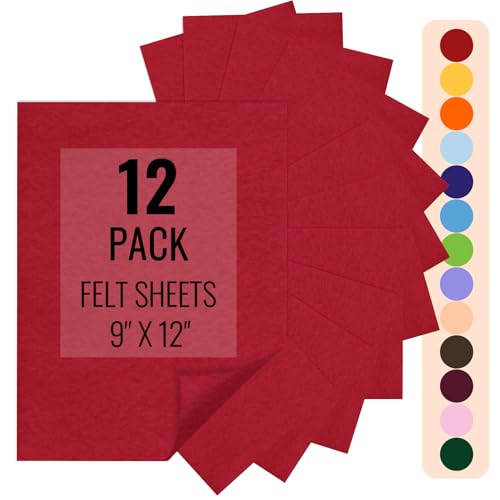
- Red felt sheet, 9×12 inches
- White felt sheet, 9×12 inches
- Fabric scissors
- Embroidery needle
- White embroidery floss, 6 strands twisted
- Chalk marking pencil
- Ruler
- Black fabric marker
How to Make It
- Cut 5 rectangles from red felt: 3 inches wide by 4 inches tall.
- Cut 5 smaller white rectangles: 2.5 inches wide by 1.5 inches tall.
- Mark center top of each red tag with chalk, 1 inch down from edge.
- Place white rectangle just below mark and stitch around edges with backstitch using the needle and floss.
- Write a name on each white patch with the black fabric marker.


4. Cinnamon Stick Bundles
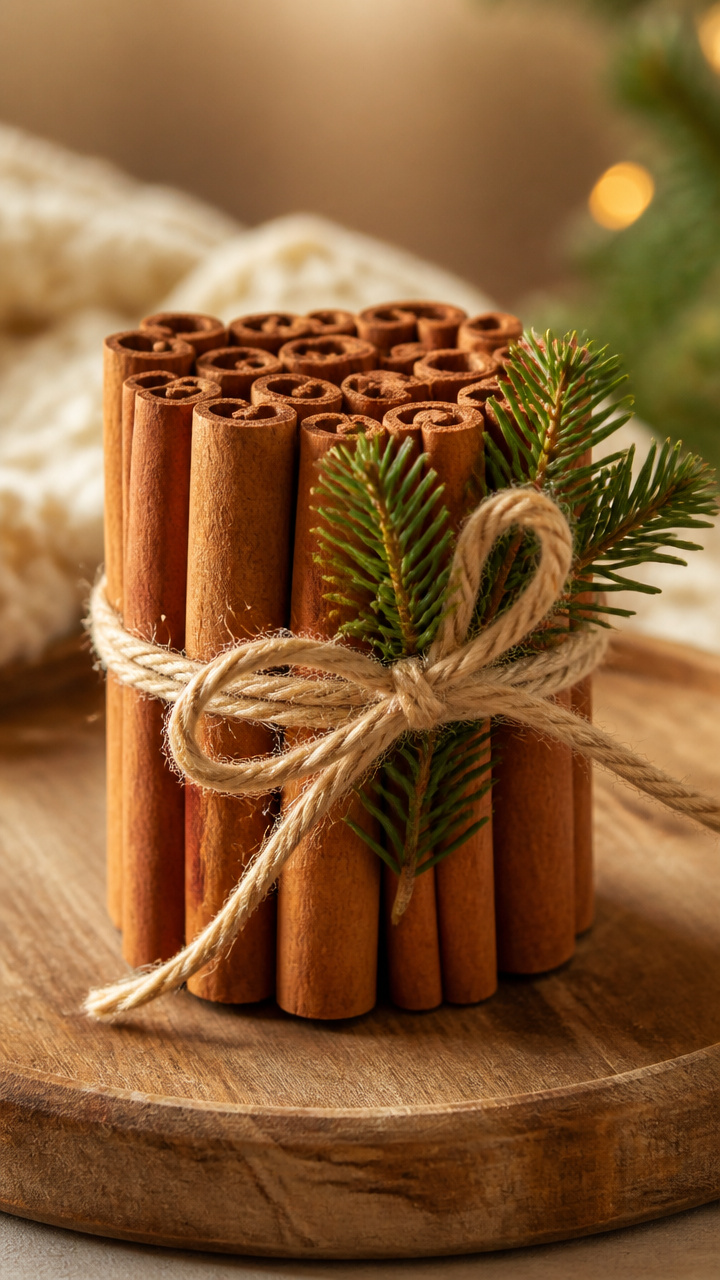
Tied bundles of cinnamon sticks release a warm scent and look elegant on napkin rings or place settings. The spice aroma lingers for weeks.
Materials Needed
- 30 cinnamon sticks, 3 inches long
- Jute twine, 12 feet
- Small pine sprigs, 5 pieces
- Hot glue gun
- Scissors
How to Make It
- Group 6 cinnamon sticks together into 5 equal bundles.
- Wrap jute twine around one end of each bundle and tie a double knot.
- Add a drop of hot glue under the knot to secure it.
- Tuck a pine sprig into each bundle before the knot and glue in place.
- Trim twine ends at an angle with scissors.


5. Glitter-Dipped Pine Branches
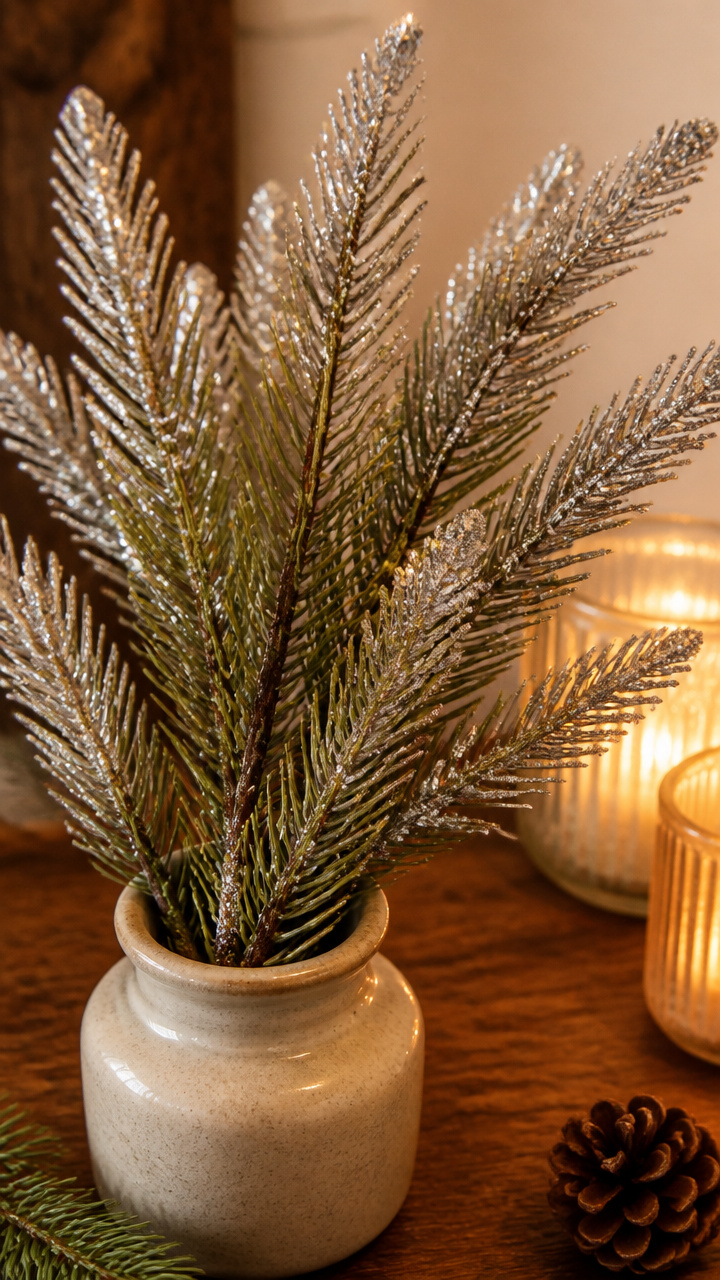
Real pine branches dipped in glitter become shimmering centerpieces. They catch candlelight and add sparkle without mess.
Materials Needed
- 5 fresh pine branches, 8 inches long
- Clear craft glue, 4 oz bottle
- Fine silver glitter, 1/2 cup
- Shallow dish
- Paper plate
- Disposable gloves
- Hairdryer
How to Make It
- Wear gloves and dip the top third of each branch into the craft glue, coating evenly.
- Immediately press the glued section into glitter on the shallow dish, turning to cover all sides.
- Lay each branch on a paper plate to dry for 20 minutes.
- Use a hairdryer on low to blow off loose glitter after drying.
- Display upright in a vase.


6. Knit Stitch Gift Wrap
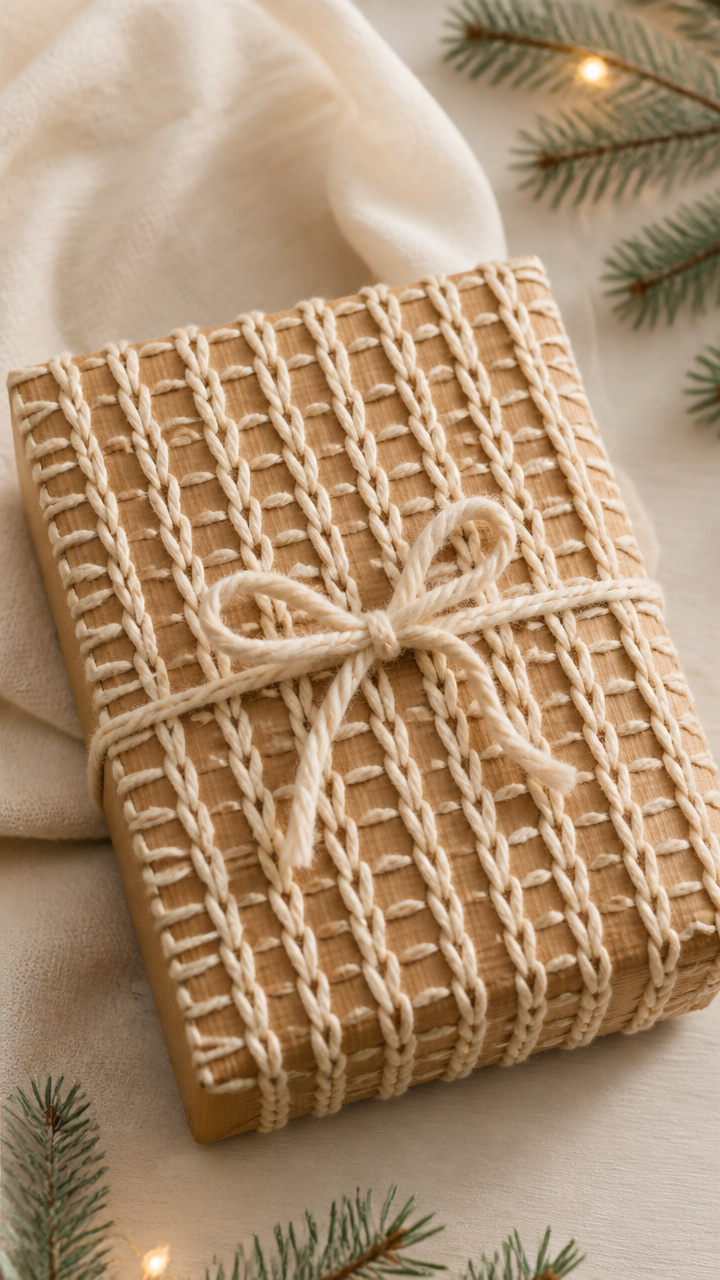
Hand-stitched lines turn plain kraft paper into textured, cozy-looking wrap. It feels personal and looks like high-end packaging.
Materials Needed
- Kraft gift wrap, 2 feet length
- Yarn needle
- Cream cotton yarn, 10 yards
- Ruler
- Pencil
- Scissors
- Gift box, 6×6 inches
How to Make It
- Wrap the box with kraft paper and tape seams closed.
- Measure and mark pencil dots every 1 inch along two opposite edges of the front panel.
- Thread the yarn needle and tie a knot at one end.
- Stitch from dot to dot across the front using a running stitch, keeping tension even.
- Trim yarn ends with scissors and tuck knots behind the paper.


7. Peppermint Playdough Orbs
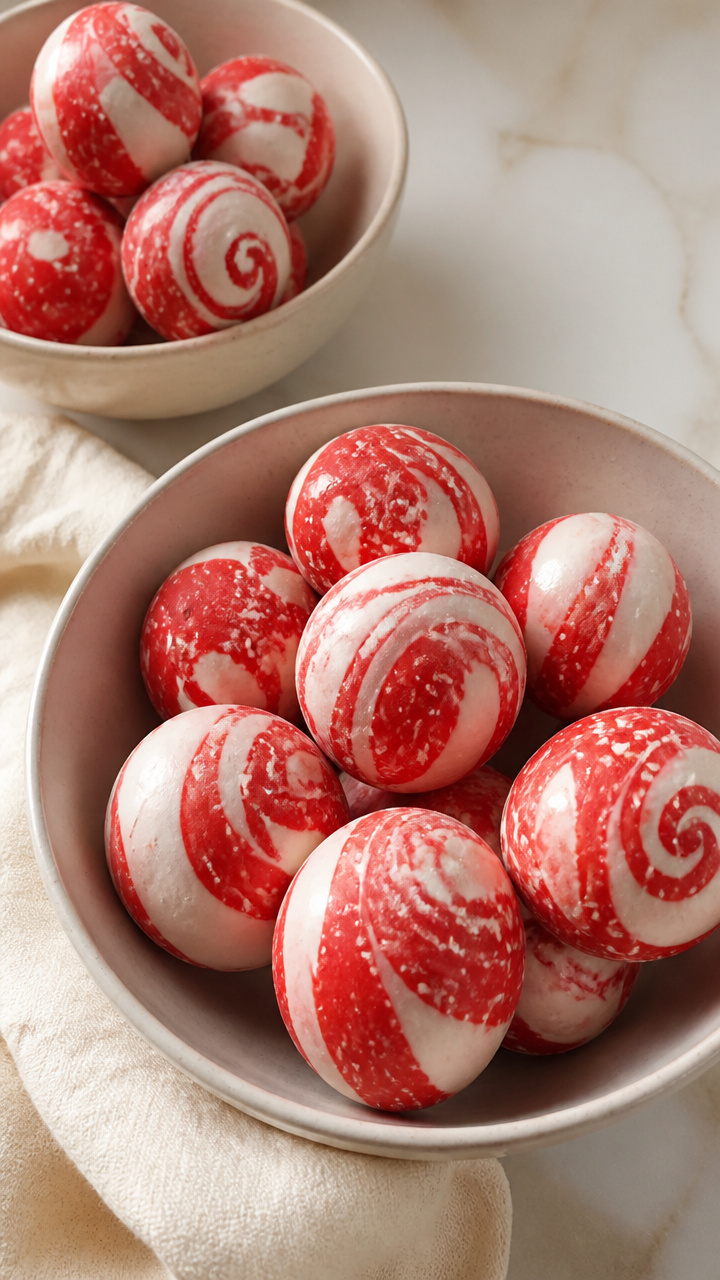
Smooth red-and-white marbled orbs sit in bowls as decor or rest under tree skirts. They smell like candy canes and last for months.
Materials Needed
- 1 cup plain white playdough
- Red liquid food coloring, 10 drops
- Peppermint essential oil, 15 drops
- White acrylic paint, 1 tsp
- Plastic bag
- Gloves
- Mixing bowl
How to Make It
- Wear gloves and place playdough in the mixing bowl.
- Add red food coloring and peppermint oil, kneading for 2 minutes until color blends unevenly.
- Dot white paint on top and lightly fold once or twice to create swirls.
- Roll into 5 egg-shaped orbs and place in a sealed plastic bag.
- Let rest for 1 hour before displaying.


8. Twine-Wrapped Candle Holders
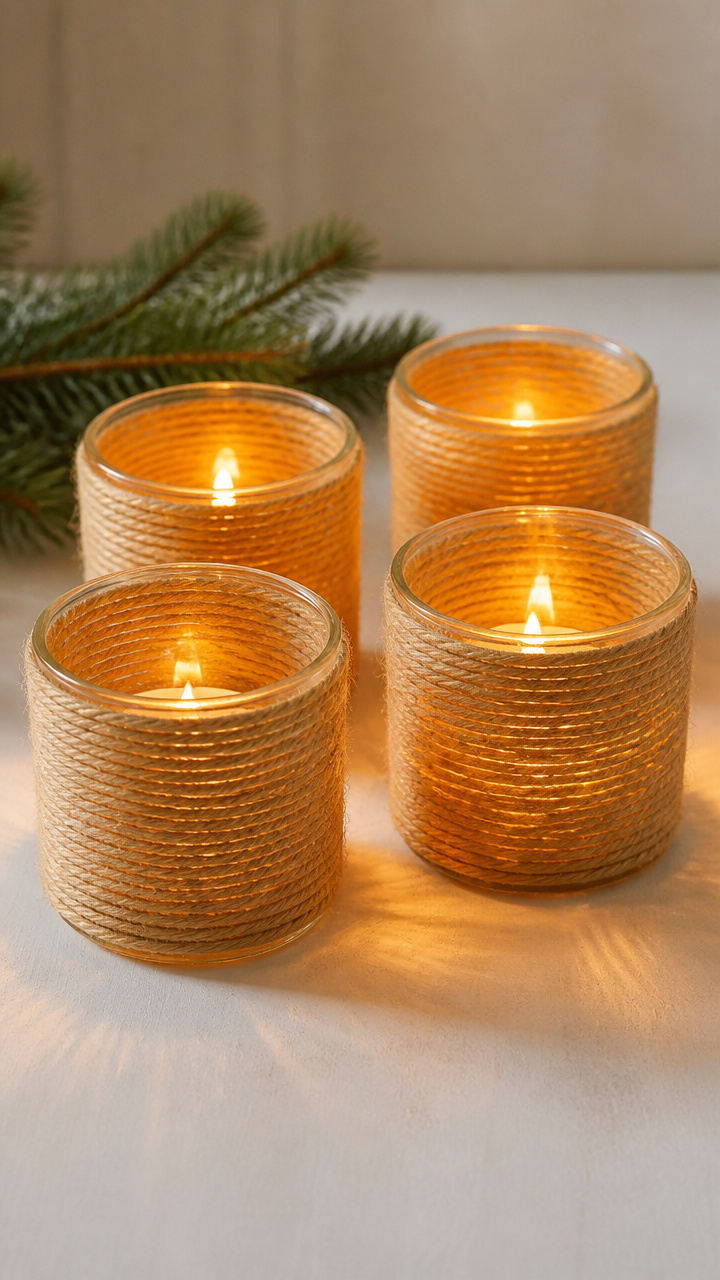
Clear glass tumblers wrapped in twine become cozy holders for tea lights. The woven effect casts soft shadow patterns.
Materials Needed
- 4 glass tumblers, 3 inches tall
- Natural jute twine, 20 feet
- Hot glue gun
- Tealight candles, 4
- Scissors
How to Make It
- Apply a dot of hot glue near the base of a tumbler.
- Press the end of the twine into the glue and hold for 10 seconds.
- Wrap twine tightly around the glass, adding a glue dot every inch to secure layers.
- Continue wrapping to the top rim, then glue and trim the end.
- Repeat for all four glasses and place a tealight inside each.


9. Frosted Eucalyptus Sprays
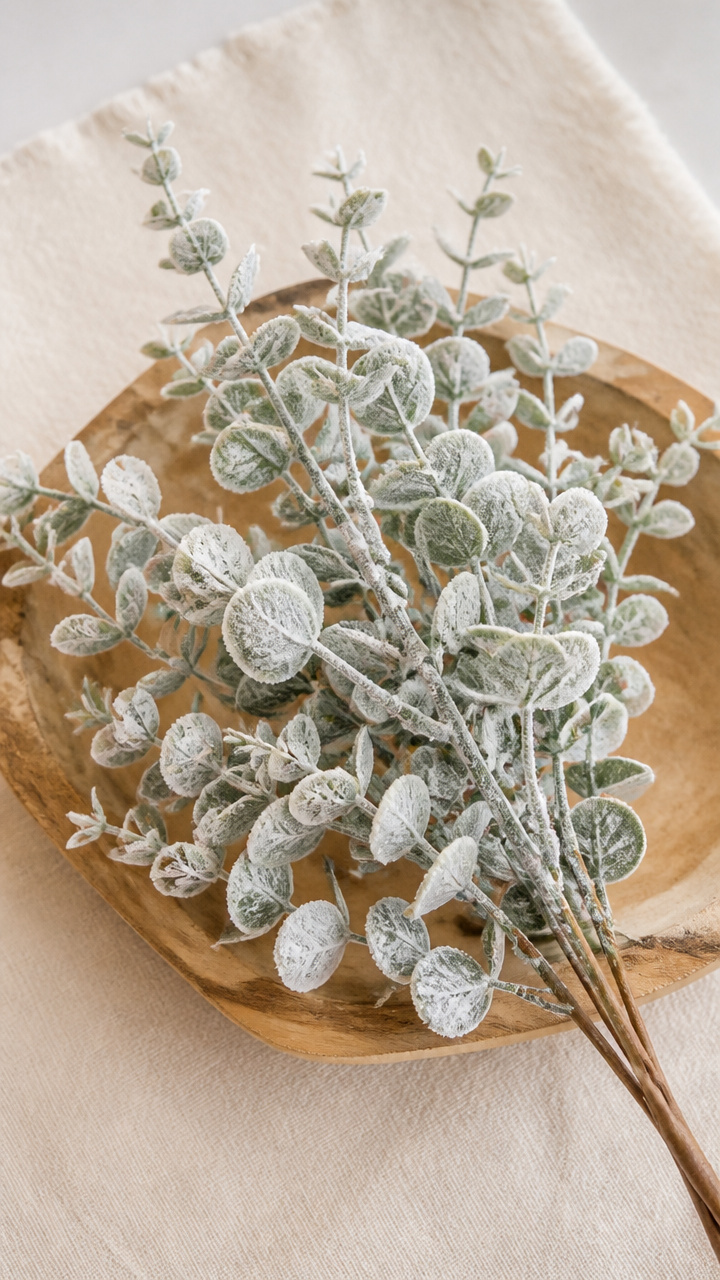
Silvery eucalyptus stems look like they’ve been touched by frost. Use them in vases or tuck into garlands.
Materials Needed
- 5 fresh eucalyptus sprigs, 7 inches long
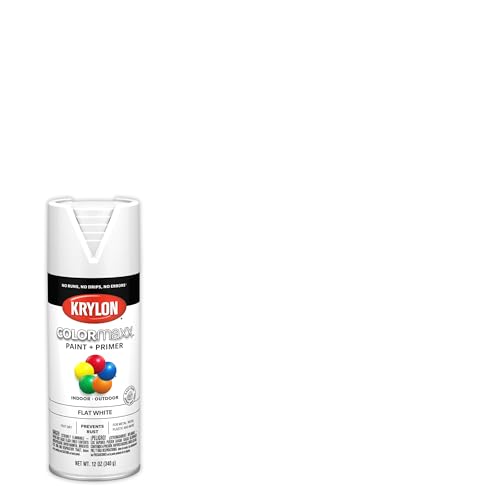
- Matte white spray paint, 4 oz can
- Newspaper
- Clothespins
- String, 2 feet
- Scissors
How to Make It
- Lay out newspaper on a flat surface outdoors or in a ventilated area.
- Tie one end of string to a clothespin and clip a sprig near its stem end.
- Hold the other end of string and spray paint the leaves lightly from 10 inches away.
- Hang to dry for 30 minutes, then repeat on the other side.
- Let dry fully for 1 hour before arranging.


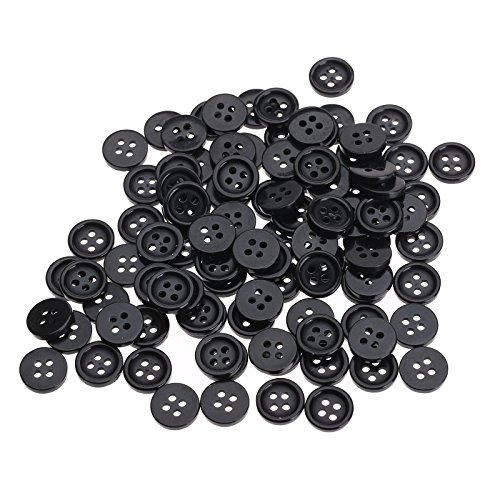
10. Button Snowmen
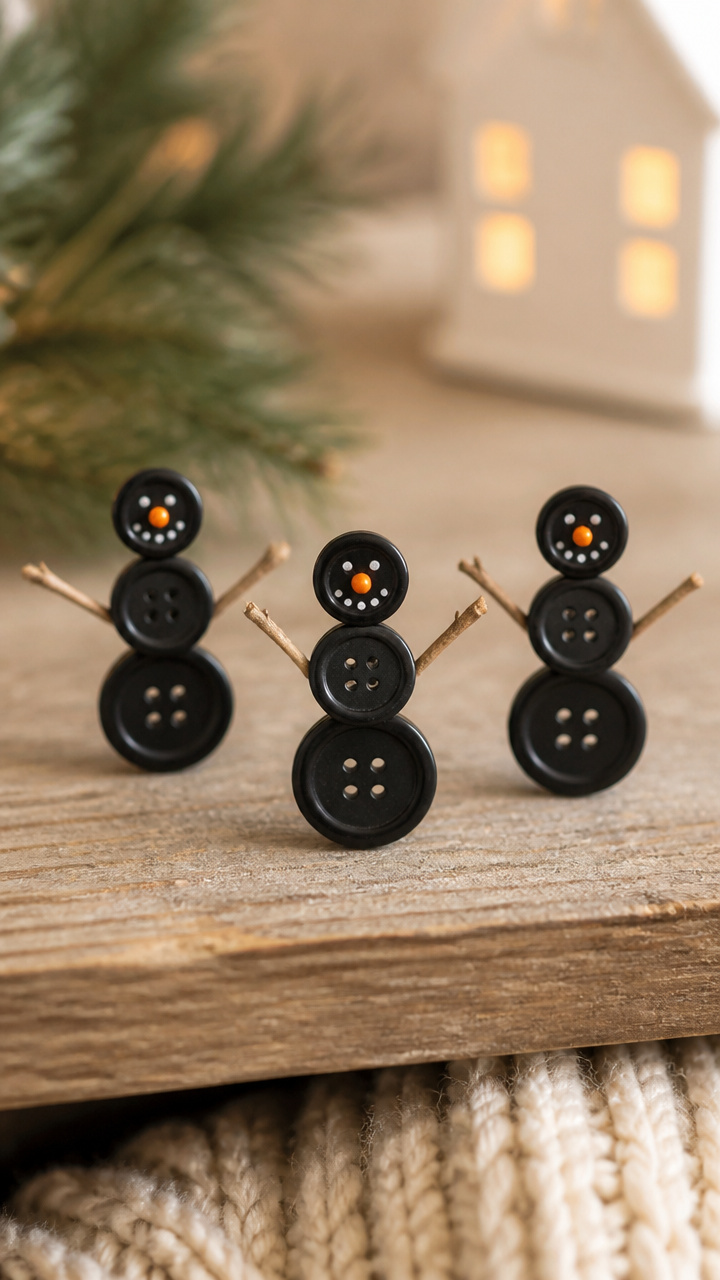
Three stacked buttons form tiny snowmen with drawn faces and twig arms. They perch on shelves or act as card toppers.
Materials Needed
- Black round buttons, 3 sizes: 15 mm, 12 mm, 10 mm, 5 sets
- Orange seed beads, 10
- Black embroidery floss
- Craft glue
- Toothpicks, 5
- Small twigs, 10 pieces, 1 inch long
- Needle
How to Make It
- Glue three buttons vertically on a flat surface: largest at bottom, medium in middle, smallest on top.
- Thread a needle with black floss and stitch three small dots for the mouth on the top button.
- Glue one orange bead below the mouth for the carrot nose.
- Glue one twig on each side of the middle button for arms.
- Let dry for 20 minutes.


11. Map Paper Trees
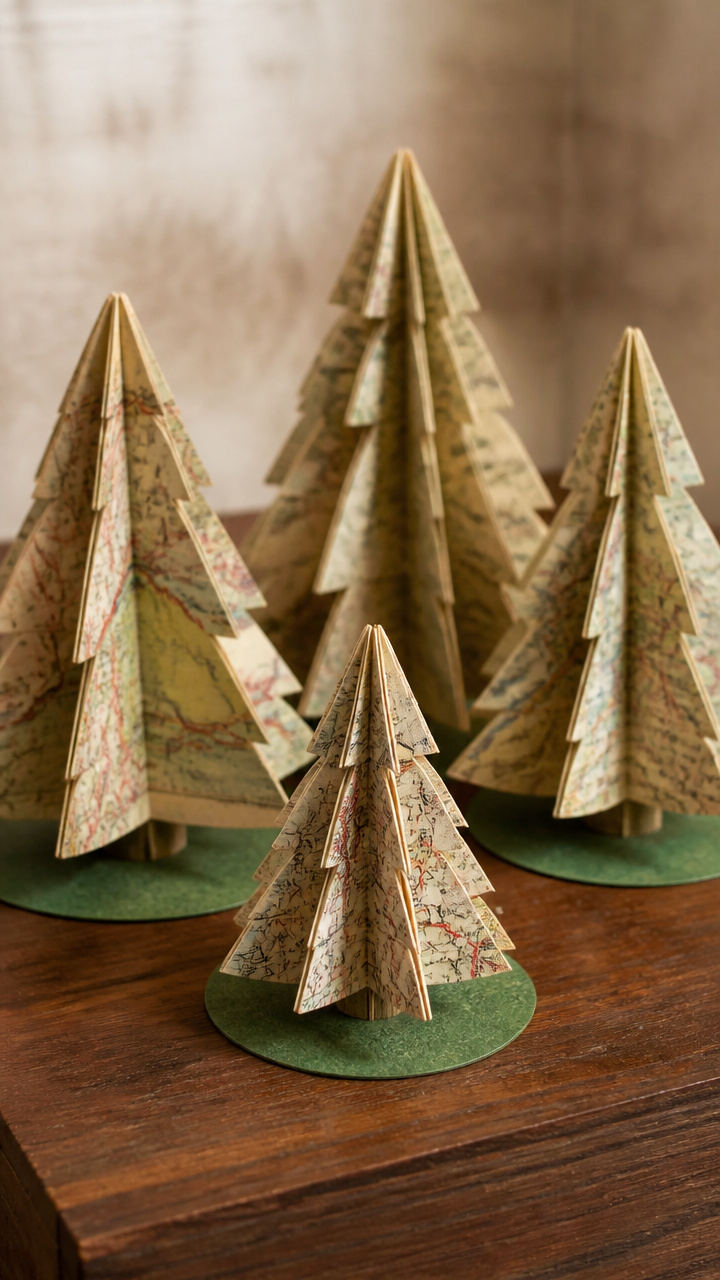
Folded vintage map triangles stand as mini trees on desks or tables. The aged paper gives a nostalgic travel-themed holiday feel.
Materials Needed
- Old road atlas pages, 5 sheets
- Scissors
- Ruler
- Pencil
- Craft glue
- Green cardstock, 5×5 inches
- Wooden skewer, 1
How to Make It
- Cut atlas page into five 3-inch squares.
- Fold each square diagonally into a triangle.
- Cut a 1-inch slit halfway up the folded edge of each triangle.
- Cut green cardstock into a 1-inch tall cone and glue base to a flat surface.
- Slide each map triangle into the cone’s edge using the slits, gluing each in place around the cone.
- Push a 2-inch piece of skewer into the bottom for stability.


12. Candy Cane Clothespins

Bright clothespins painted like candy canes clip perfectly to garlands or photo lines. They’re cheerful and reusable year after year.
Materials Needed
- 10 wooden clothespins
- Red acrylic paint
- White acrylic paint
- Paintbrush, size 2 round
- Painter’s tape, 1/4 inch wide, 2 feet
- Paper plate
- Water cup
How to Make It
- Wash brush in water and dry lightly on paper plate.
- Paint each clothespin entirely red and let dry for 15 minutes.
- Cut painter’s tape into 2-inch strips and apply diagonally across each pin.
- Paint over exposed red areas with white paint.
- Peel off tape after 5 minutes and let dry fully for 20 more minutes.


13. Flannel Scrunch Bowls
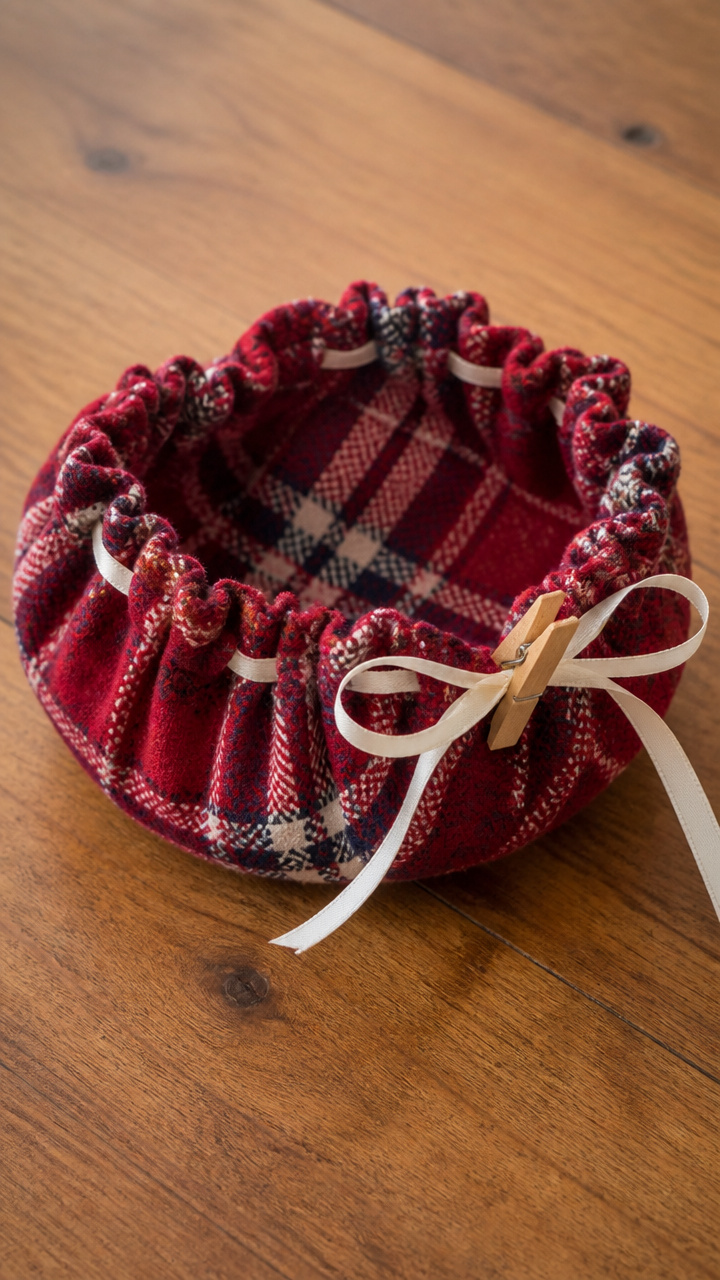
Fabric-covered bowls hold small gifts or ornaments. The flannel gathers like a purse and stays open with a drawstring.
Materials Needed
- Flannel fabric, red plaid, 12×12 inches
- Plastic bowl, 5 inches diameter
- Spray adhesive
- Ribbon, 1/4 inch wide, 3 feet
- Scissors
- Clothesline clip
How to Make It
- Lay flannel face down and center the bowl upside down on the back.
- Spray adhesive evenly over the bowl’s outer surface.
- Drape flannel over the bowl, pressing fabric smoothly onto adhesive.
- Leave a 2-inch gap at the center bottom and clip it with the clothesline clip.
- Thread ribbon through the gathered edge and tie a bow to close.


14. Calligraphy Gift Labels
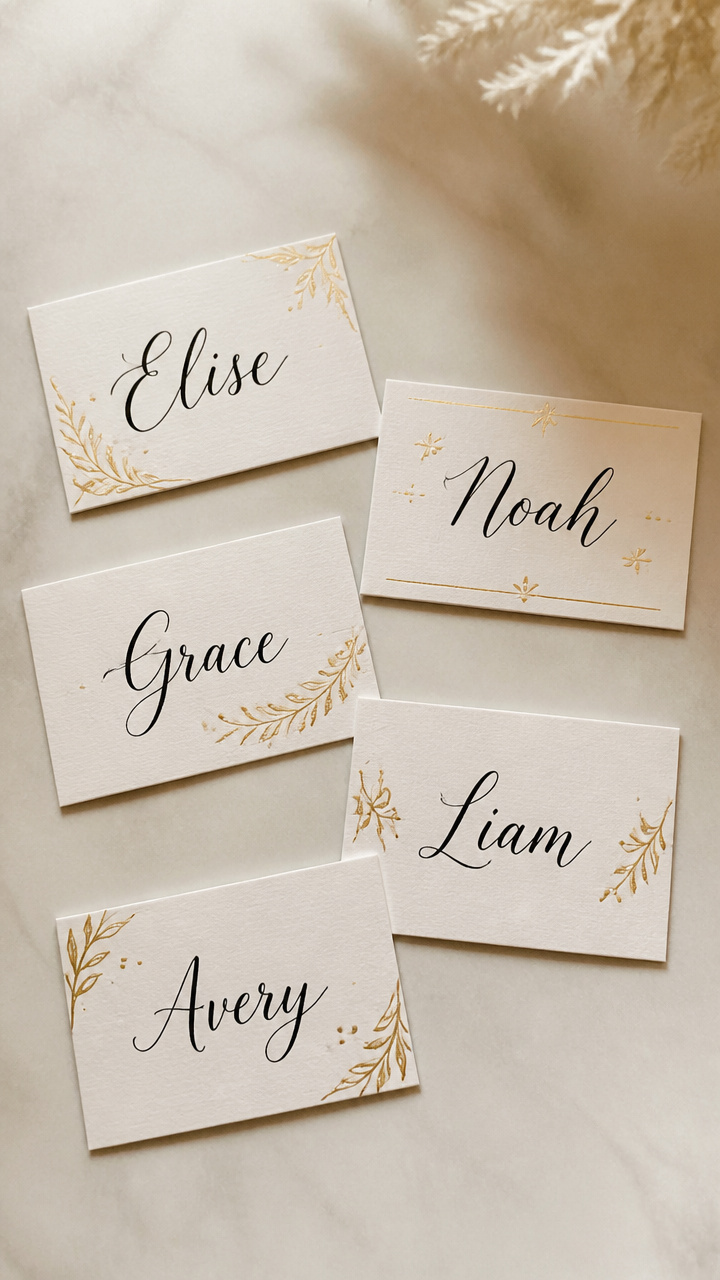
Hand-lettered cards with brushed serif names give presents a refined touch. The ink flows softly, making each name unique.
Materials Needed
- White calligraphy cards, 2×3 inches, 5 pieces
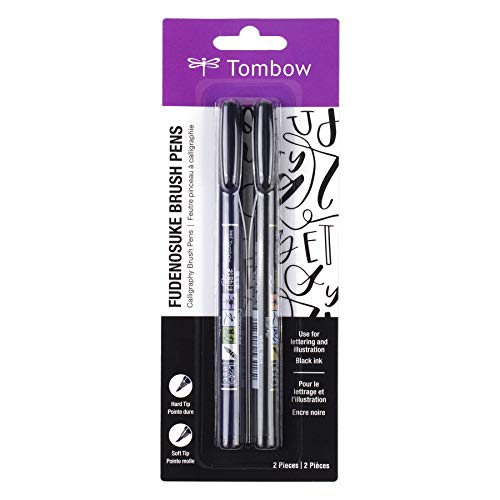
- Black calligraphy pen, brush tip
- Gold metallic pen
- Ruler
- Pencil
- Eraser
How to Make It
- Use pencil and ruler to draw a light line across each card, 0.5 inches from the top.
- Write each name in cursive with the black brush pen, applying more pressure on downstrokes.
- Add a small flourish at the end of each name with the gold pen.
- Erase pencil line gently with eraser after ink dries for 2 minutes.


15. Berry and Wire Garland
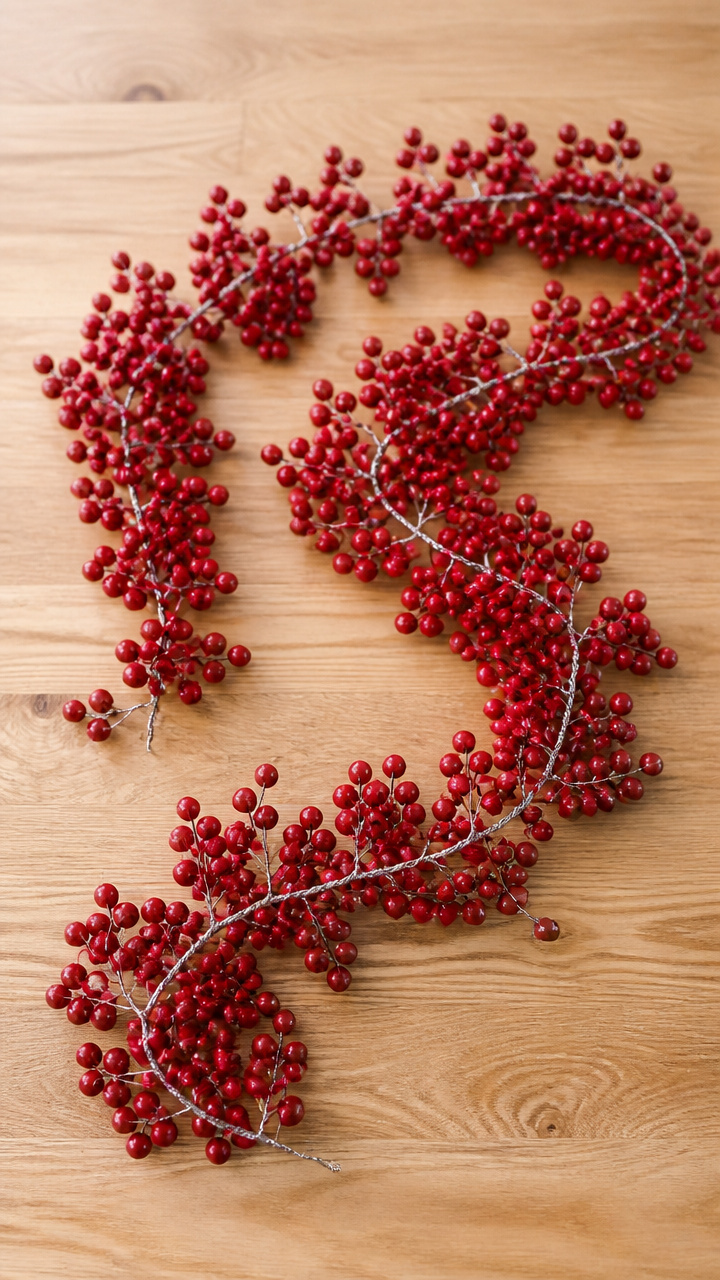
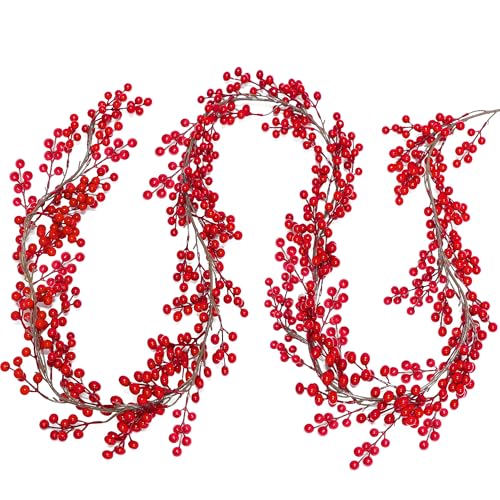
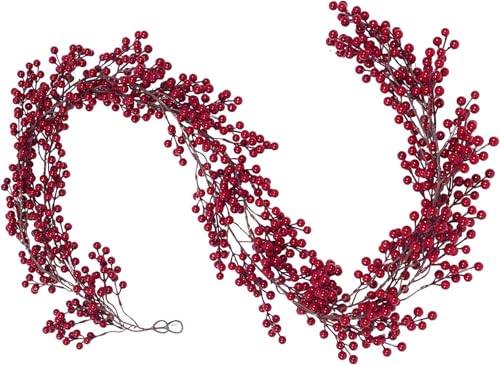
Flexible wire threaded with faux berries drapes easily over mantels or frames. It holds its shape and adds rich color.
Materials Needed
- Floral wire, 22 gauge, 6 feet
- Faux red berry sprigs, 10 pieces
- Wire cutters
- Pliers
- Scissors
How to Make It
- Cut floral wire into six 12-inch lengths using wire cutters.
- Strip leaves from berry sprigs, leaving clusters of 3–4 berries on 1-inch stems.
- Thread one cluster onto the end of a wire and twist the wire once around the stem to secure.
- Continue threading and twisting clusters every 2 inches along the wire.
- Twist all six wires together at both ends using pliers to form one full garland.

You’ve got everything you need to fill your home with handmade spirit. Pick one craft that calls to you and start this afternoon.