15 Handmade Christmas Ornament Crafts That Look Store-Bought

There’s something special about hanging an ornament you made yourself on the tree. The care, the quiet moments of creation, the tiny imperfections that make it yours, they all add warmth to the season.
These handmade ornaments deliver the polished charm of store-bought decor but carry the soul of something made with intention. Each one uses different materials and techniques so you can explore a variety of crafts without repeating yourself.
1. Glittered Pinecone Ornaments
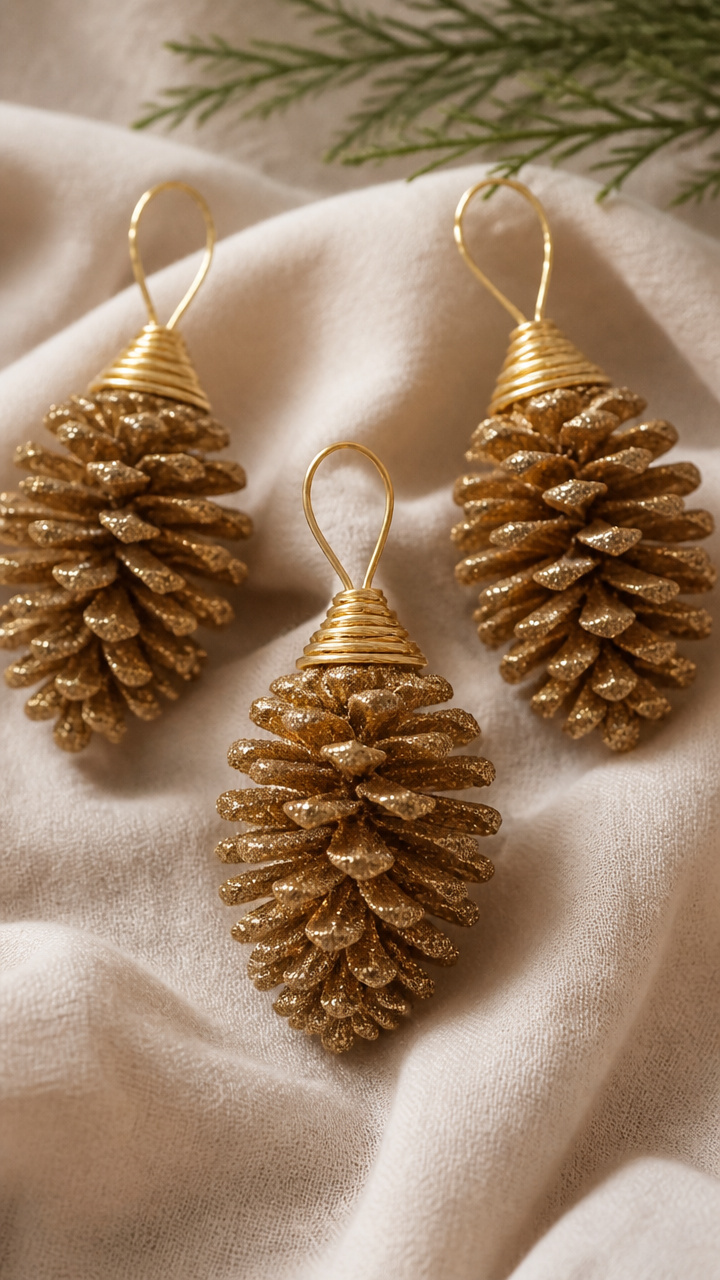
Shimmering pinecones wrapped in gold wire make elegant, nature-inspired ornaments that catch the light like boutique decor. They hold up year after year with minimal effort.
Materials Needed
- 12 medium pinecones, clean and dry
- Gold metallic craft wire, 22-gauge, 6 feet
- Fine gold glitter, 1/4 cup
- Clear-drying white craft glue, 4 oz
- Small paintbrush
- Disposable plate
How to Make It
- Lay the pinecone on its side and dip the paintbrush into the glue. Brush a thin, even layer over the outer scales, working from base to tip.
- Pour glitter onto the plate. Roll the glued side of the pinecone in the glitter, pressing gently to help it adhere. Let dry for 30 minutes on wax paper.
- Cut a 10-inch piece of gold wire. Thread it through the top of the pinecone where the stem meets the base, then twist the ends together to form a loop for hanging.


2. Mini Knit Sweater Ornaments
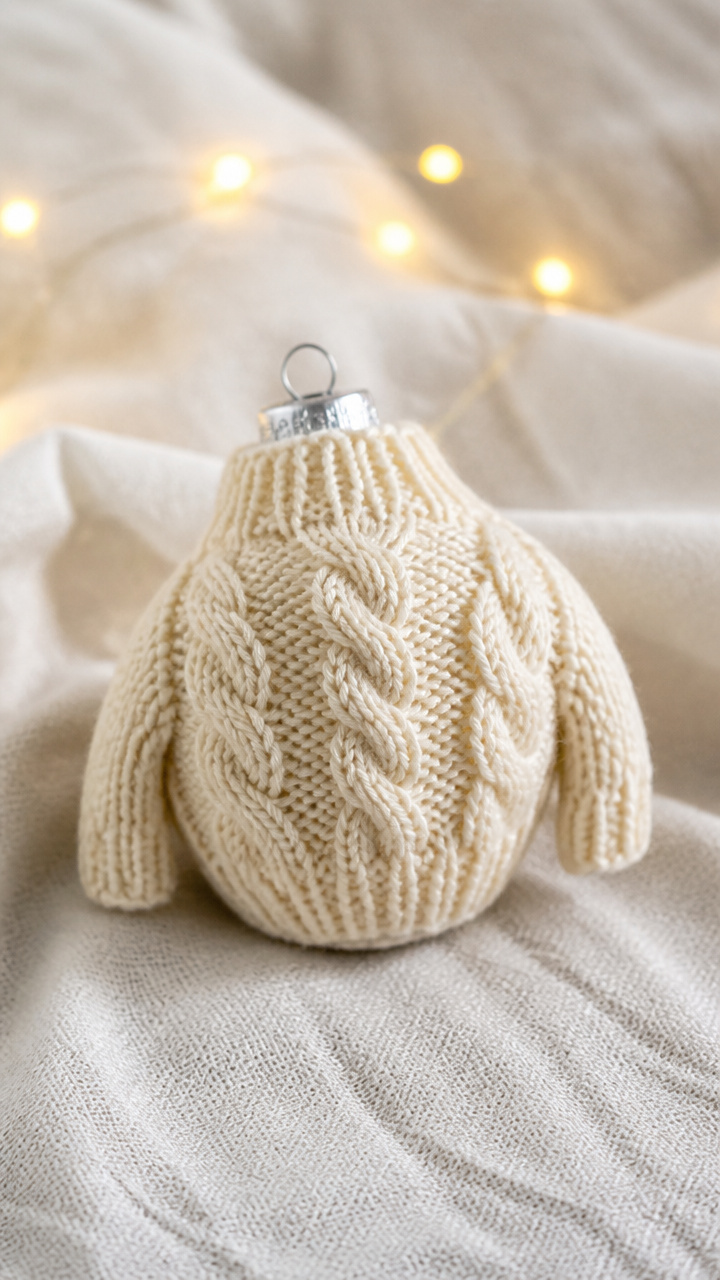
Tiny sweaters wrapped around ornament balls give a cozy, handmade charm that mimics high-end boutique finds. The texture and fit look professionally made.
Materials Needed
- 12 white 3-inch polystyrene balls
- Cream-colored acrylic yarn, worsted weight, 50 yards
- Knitting needles, size 6
- Tapestry needle
- Scissors
- Craft glue
How to Make It
- Cast on 24 stitches and knit in garter stitch for 3 inches. Bind off loosely. This forms the front panel.
- Repeat for the back panel. Lay both pieces flat and place the polystyrene ball in the center of one panel.
- Wrap both panels around the ball like a sandwich. Use the tapestry needle and yarn to sew the side seams. Add a drop of glue at the top to secure the neck opening.


3. Cinnamon Stick Stars
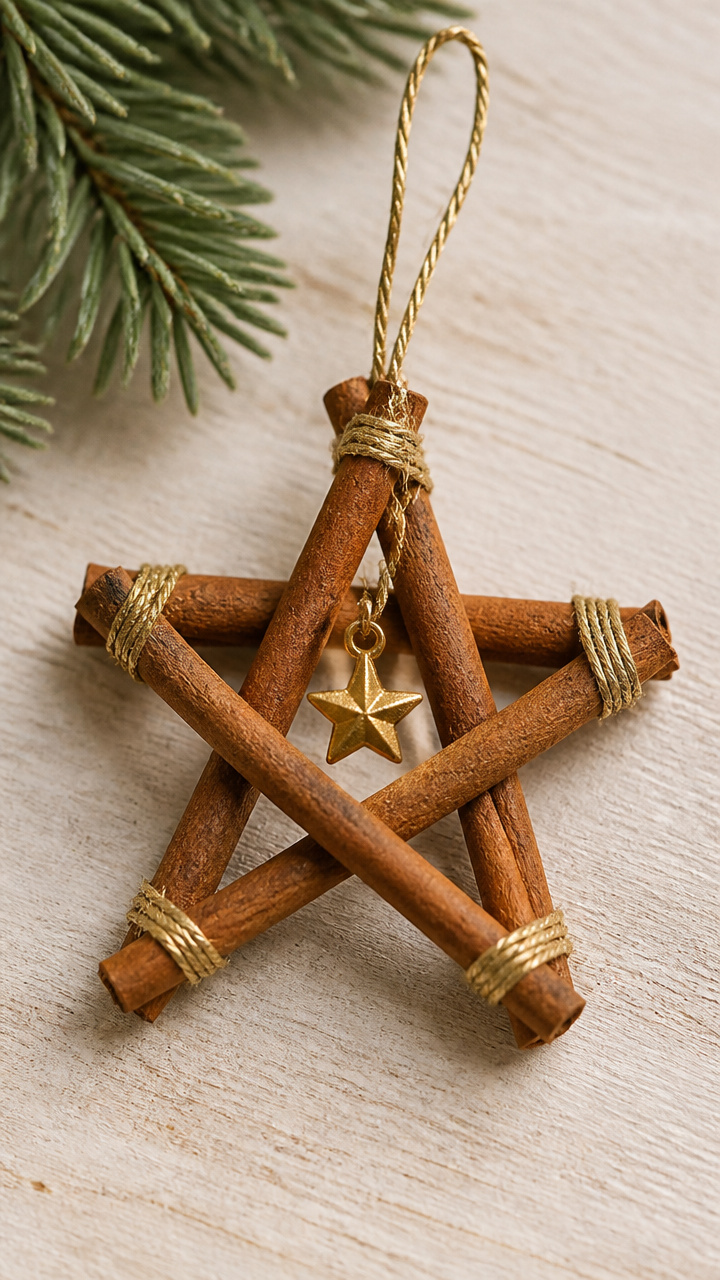
Five cinnamon sticks bound into a star shape create a rustic ornament with a warm holiday scent. The natural spice color and tight binding mimic store-bought quality.
Materials Needed
- 60 cinnamon sticks, 3 inches long
- Hot glue gun and glue sticks
- Gold jute cord, 12 feet
- Small gold star charm, 12 total
- Ruler
- Pencil
How to Make It
- Lay one cinnamon stick horizontally. Position two sticks vertically across it at the top and bottom, forming a star’s center. Use hot glue to secure the crossing points.
- Add one stick diagonally from each corner to complete the star shape. Hold each in place with glue until set, about 15 seconds.
- Tie a 6-inch piece of gold jute cord into a loop at the top for hanging. Glue a gold star charm to the center where sticks meet.


4. Pressed Flower Baubles
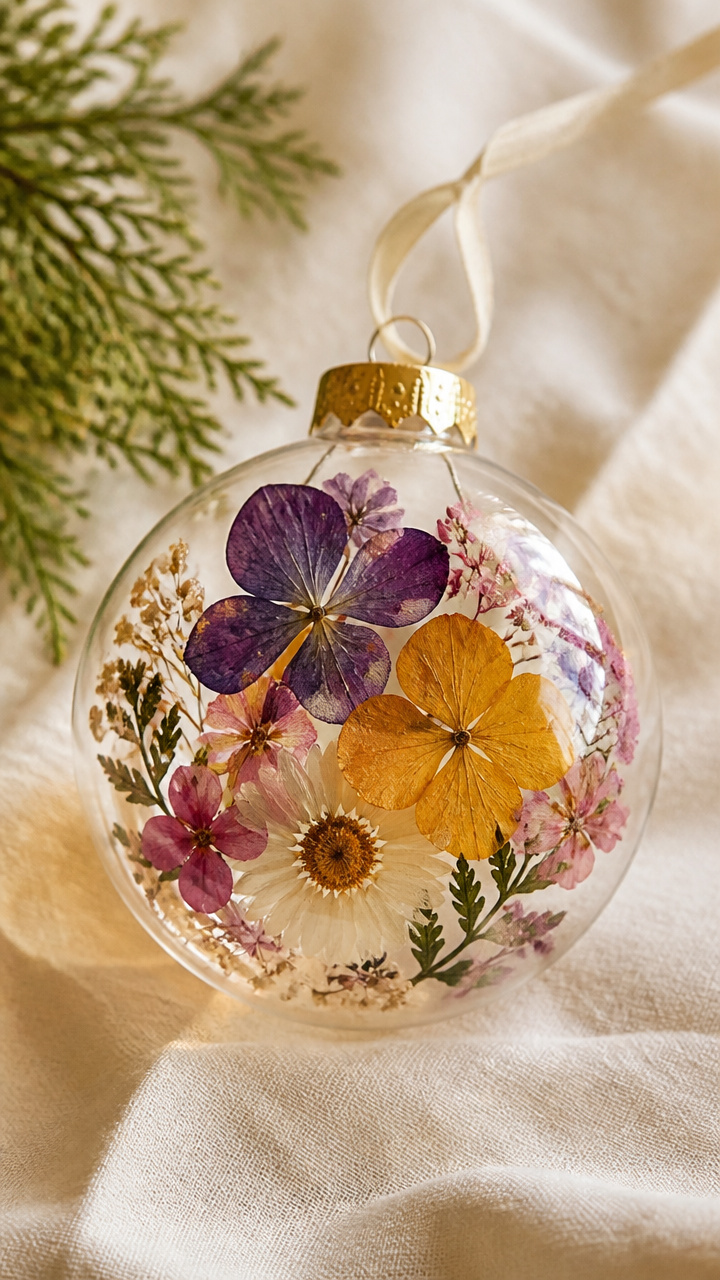
Delicate dried flowers sealed inside clear glass ornaments create a botanical keepsake with vintage elegance. The transparency and precision make them look professionally assembled.
Materials Needed
- 12 clear glass ornament bulbs, 3-inch diameter, top removed
- Pressed flowers, flat and colorful, 24 total
- Tweezers
- White school glue
- Small funnel
- Toothpick
How to Make It
- Use tweezers to place two pressed flowers inside each ornament bulb, arranging them against the inner glass wall.
- Fill a small bowl with equal parts glue and water. Stir gently. Use the funnel to pour a teaspoon of the mixture into the bulb.
- Gently roll the bulb to coat the inside and secure the flowers. Let it dry upright for 4 hours, then reinsert the plastic cap and hook.


5. Salt Dough Handprints
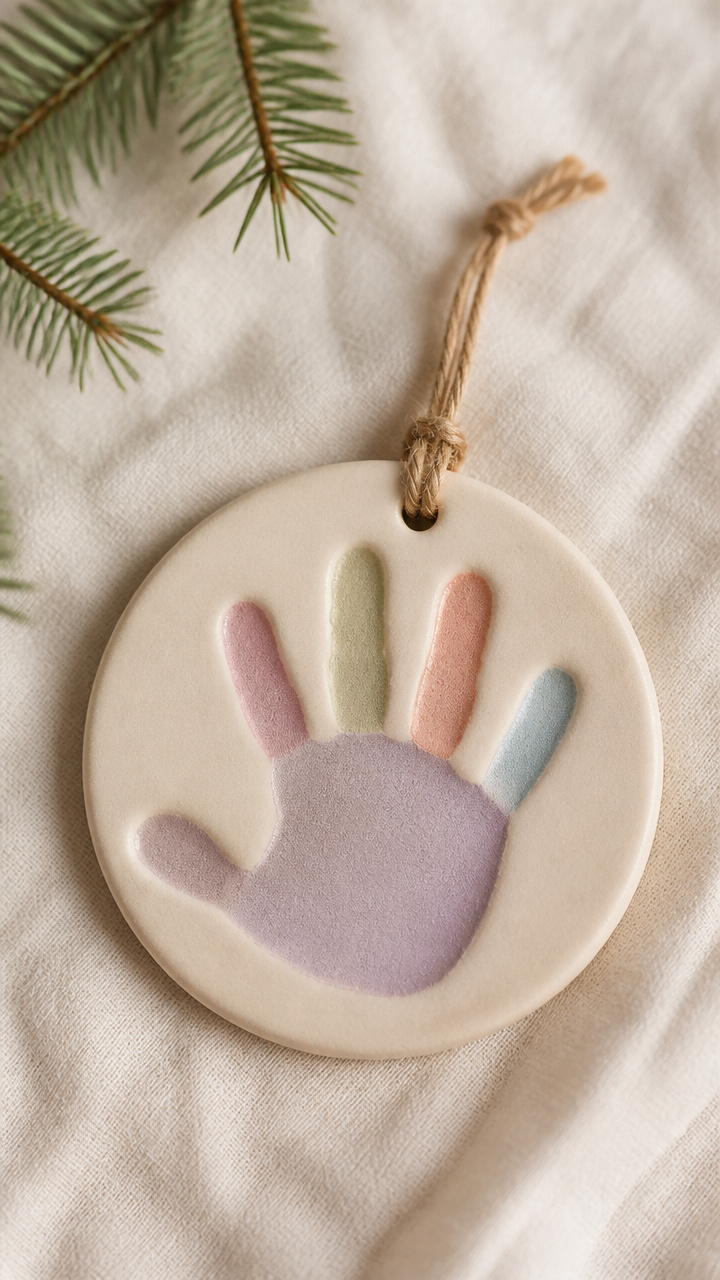
A child’s handprint in smooth salt dough becomes a sentimental ornament with a clean, painted finish. Baking and sanding ensure a professional look.
Materials Needed
- 2 cups all-purpose flour
- 1 cup table salt
- 3/4 cup warm water
- Rolling pin
- Round biscuit cutter, 3-inch diameter
- Baking sheet, parchment-lined
- Acrylic paint, red and green
- Fine-grit sandpaper
- Ribbon, 12 pieces, 8 inches each
How to Make It
- Mix flour, salt, and water in a bowl until a smooth dough forms. Roll it to 1/4-inch thickness on a floured surface.
- Press a child’s hand gently into the dough, then use the cutter to shape a circle around it. Use a straw to poke a hole near the top edge.
- Bake at 200°F for 3 hours until hard. Cool completely, sand lightly, then paint the handprint red or green. Thread ribbon through the hole.


6. Felted Wool Snowmen
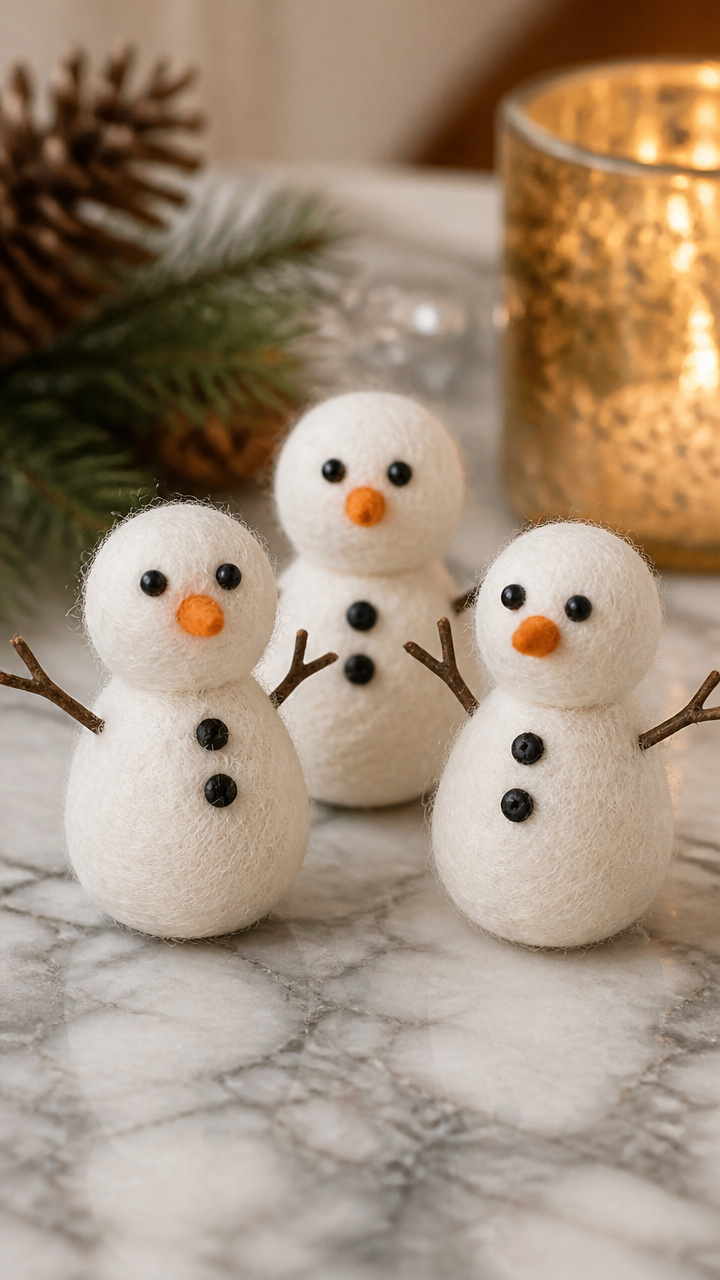
Needle-felted snowmen with button eyes and twigs for arms stand out with their soft texture and handmade precision. The wool holds shape without a mold.
Materials Needed
- White wool roving, 12 small balls
- Orange wool roving, 1/4 oz
- Black felt scraps, 2 inches square
- Needle felting needle, size 38
- Foam pad, 4×4 inches
- Small twig pieces, 12, 1 inch long
- Black sewing thread
- Red embroidery floss
How to Make It
- Roll a walnut-sized piece of white roving into a ball. Place it on the foam pad and repeatedly poke it with the felting needle until firm, about 2 minutes.
- Add a smaller white ball on top for the head. Felt the two together. Use orange roving to form a tiny carrot nose and felt it in place.
- Cut two tiny circles from black felt for eyes and secure with thread. Wrap red floss around the neck for a scarf. Insert twigs on each side for arms.
![GoldenEgg Christmas Needle Felting Kit – DIY Wool Felt Craft Set with Tools & Step-by-Step Instructions, Make Cute Gnomes, Snowmen, Mini Animals & Ornaments (Santa & Friends Felting Kit [4pc])](https://m.media-amazon.com/images/I/5177DQiSw4L._SL500_.jpg)


7. Copper Wire Angels
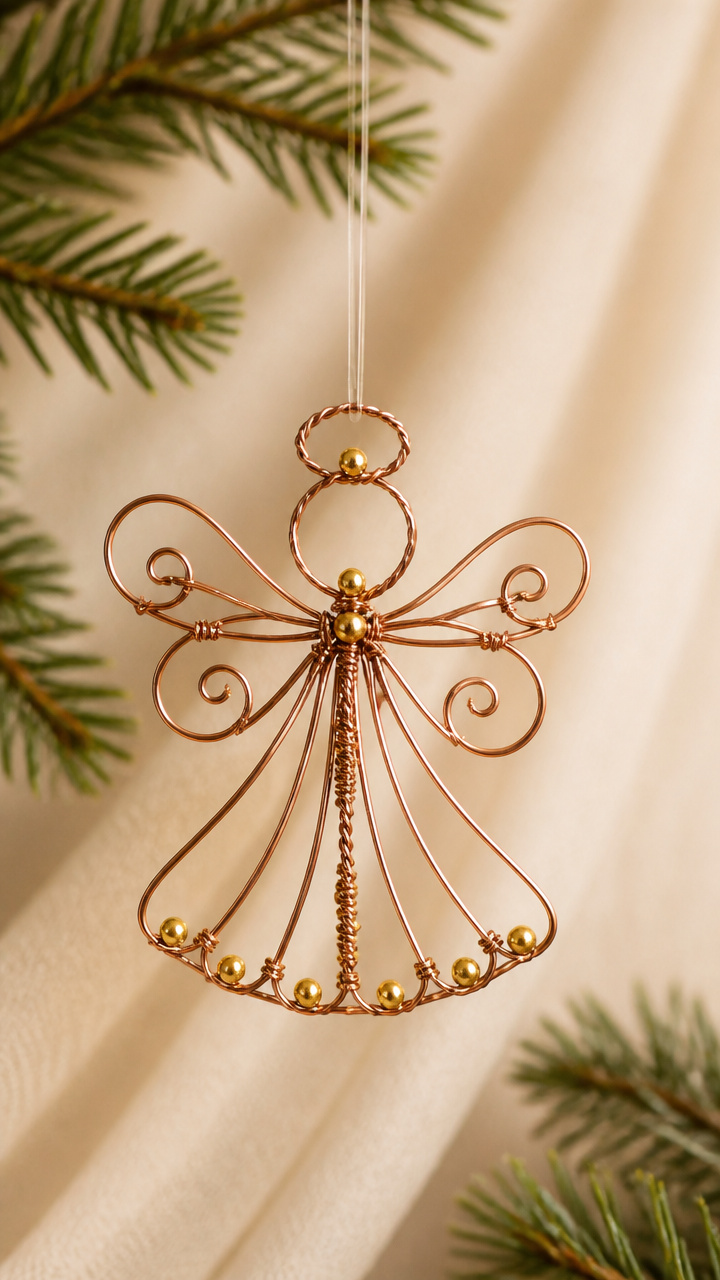
Twisted copper wire shaped into delicate angel silhouettes dangle with a modern metallic glow. The crisp lines and symmetry mimic artisan designs.
Materials Needed
- Copper craft wire, 24-gauge, 12 feet
- Round-nose pliers
- Wire cutters
- Small gold beads, 12, 4mm
- Clear nylon thread, 12 feet
How to Make It
- Cut a 10-inch piece of wire. Use pliers to bend it in half, then twist the top 1 inch tightly to form a loop for hanging.
- Shape the two ends into a teardrop for the body and small wings by curving them outward symmetrically. Wrap the bottom 1/2 inch around a pencil to form feet.
- Slide a gold bead onto each end of the wire above the feet. Secure with a tiny bend. Tie nylon thread to the top loop for hanging.


8. Painted Porcelain Baubles
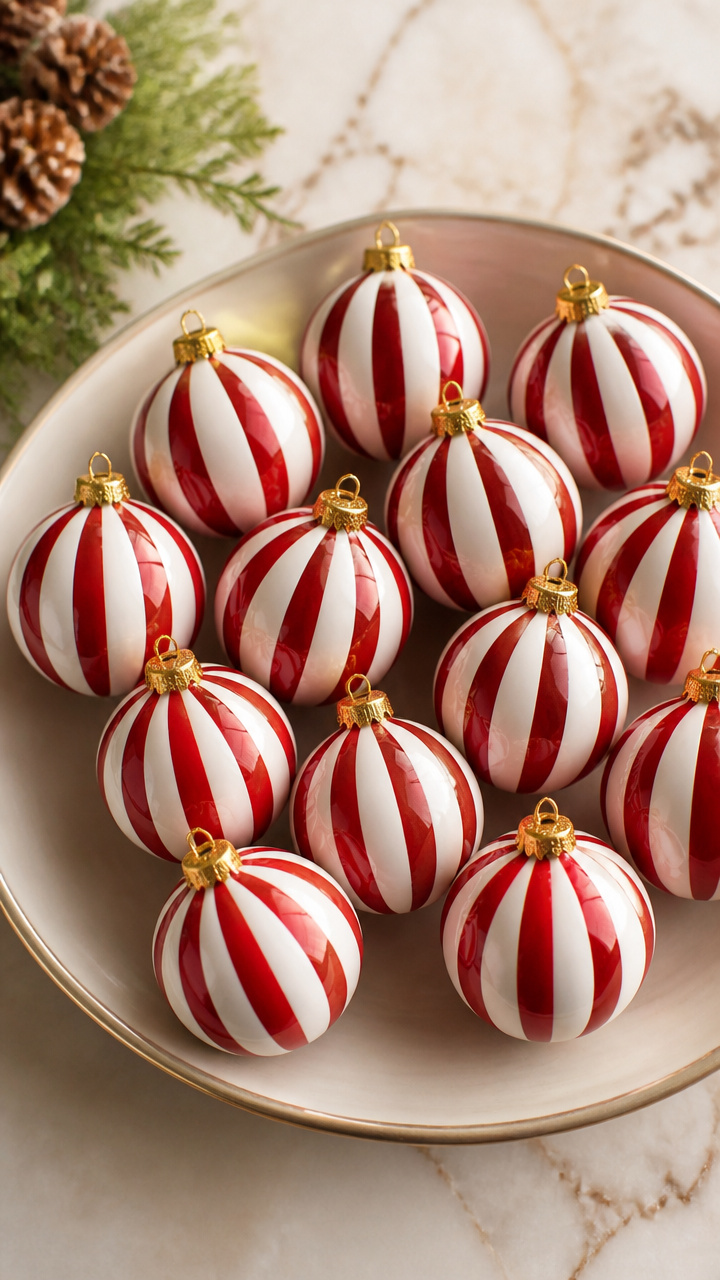
Porcelain ornaments painted with a fine brush in classic red and white stripes look like they came from a luxury tree. The glossy finish hides brush marks.
Materials Needed
- 12 plain white porcelain ornaments, 3-inch
- Red acrylic paint, high-gloss
- White acrylic paint, high-gloss
- Fine-tipped paintbrush, size 1
- Painter’s tape, 1/4 inch wide
- Paper plate
- Cotton swabs
How to Make It
- Clean the ornament with a damp cloth and let dry. Apply painter’s tape in vertical strips, spaced 1/2 inch apart, from top to bottom.
- Pour red paint on the plate. Use the brush to paint over the entire ornament, covering the tape. Let dry for 1 hour.
- Peel off the tape carefully. Use a cotton swab dipped in white paint to touch up any bleed. Let cure for 24 hours before hanging.


9. Beaded Icicle Ornaments
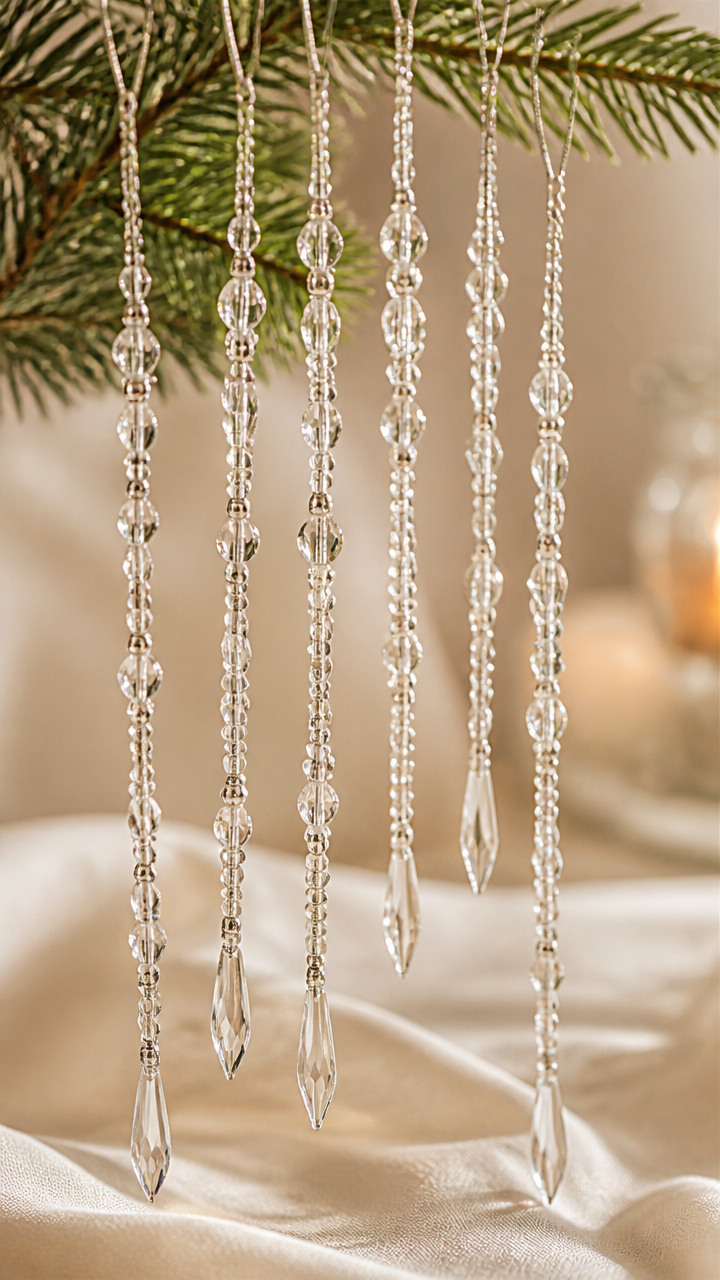
Crystal-clear beads strung into long, shimmering icicles catch the light like real frost. The weight and drape mimic high-end glass versions.
Materials Needed
- Clear glass seed beads, size 8/0, 1/2 oz
- Silver-lined crystal teardrop beads, 12, 1 inch
- Beading thread, 6 lb test, 6 yards
- Beading needle, size 10
- Scissors
- Silver headpins, 12, 1.5 inches
How to Make It
- Thread the beading needle and cut 18 inches of thread. String 15 seed beads onto the thread, then slide a headpin through the last bead.
- Bend the headpin at a right angle above the bead. Use pliers to twist the end into a loop. Trim excess wire.
- String 10 more seed beads, then add a teardrop bead. Finish with a loop at the top using the same method. Repeat for 11 more icicles.


10. Wood Slice Monograms
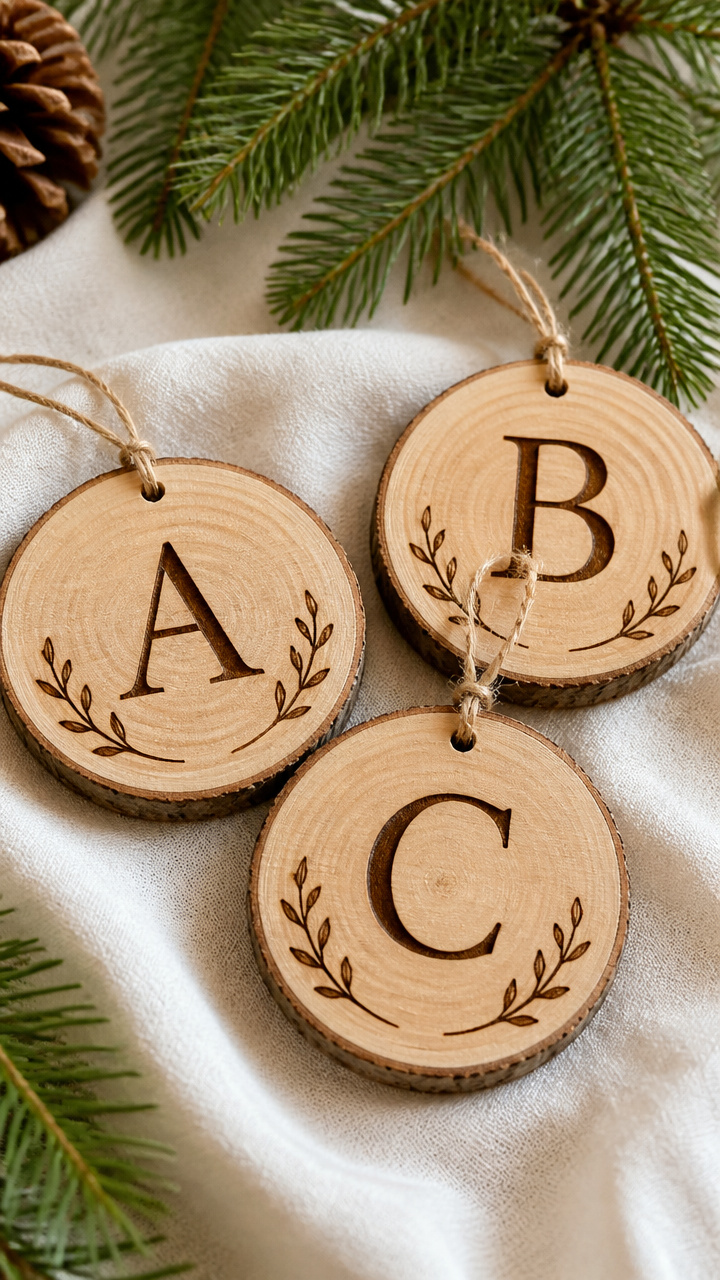
Thin wood slices with burned initials offer a rustic yet refined look. The contrast of dark lettering on light grain feels custom and upscale.
Materials Needed
- 12 basswood slices, 3 inches diameter, 1/4 inch thick
- Wood-burning tool with fine tip
- Pencil
- Sandpaper, medium grit
- Clear matte wood sealant, 4 oz
- Spray bottle
- Small foam brush
How to Make It
- Lightly sand each wood slice to smooth the surface. Wipe away dust with a damp cloth and let dry.
- Use the pencil to write a single initial in cursive in the center. Trace over it with the wood-burning tool, applying steady, slow pressure.
- Spray sealant lightly over both sides. Let dry for 1 hour, then apply a second coat with the foam brush. Attach twine through a drilled hole at the top.


11. Embroidered Fabric Orbs
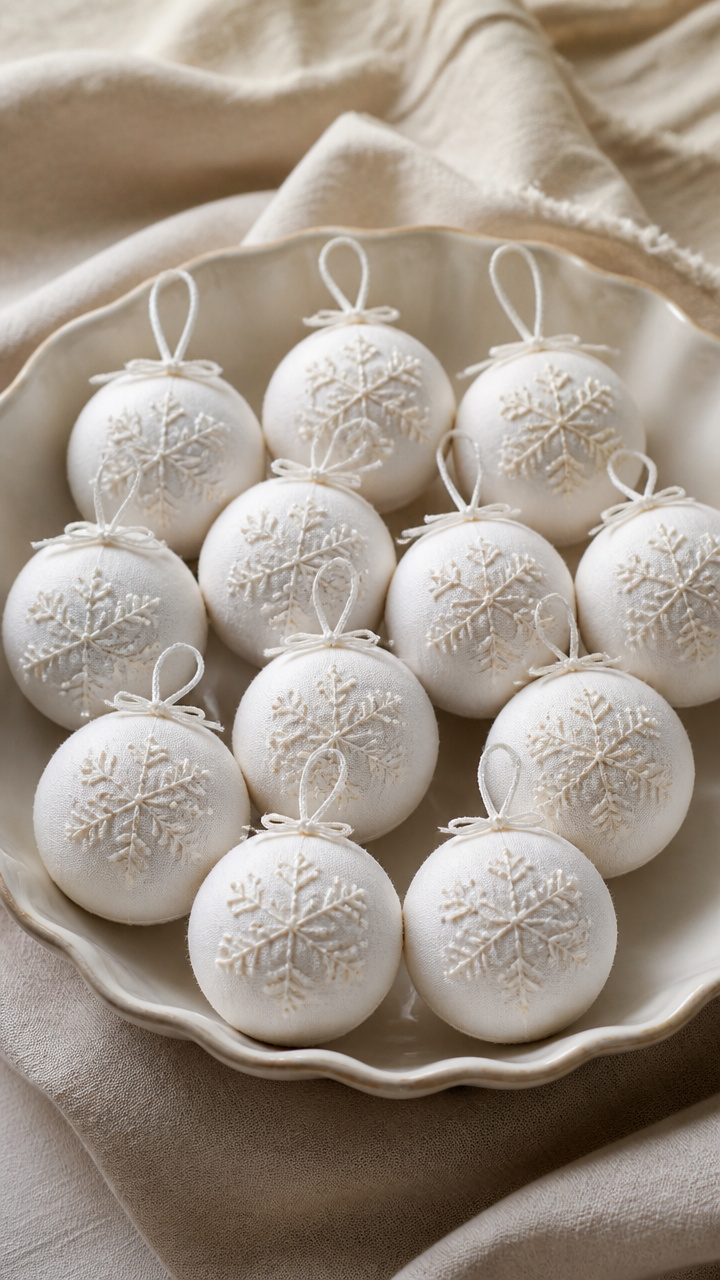
Tightly stitched fabric balls with French knot snowflakes look like embroidered treasures from a holiday market. The thread work is dense and polished.
Materials Needed
- White cotton fabric, 12 squares, 6×6 inches
- Embroidery hoop, 4 inches
- White embroidery floss, 12 skeins
- Embroidery needle
- Scissors
- Polyester fiberfill, 1/2 cup
- Fabric glue
How to Make It
- Stretch one fabric square in the hoop. Use the needle to make six French knots in a star pattern for a snowflake. Repeat on all 12 squares.
- Cut each square into a circle using the hoop as a guide. Place two circles together, right sides facing, and running stitch around the edge.
- Turn right side out, stuff with a walnut-sized amount of fiberfill, then sew the opening closed with a whipstitch. Add a dot of glue to secure threads.


12. Resin Holly Berries
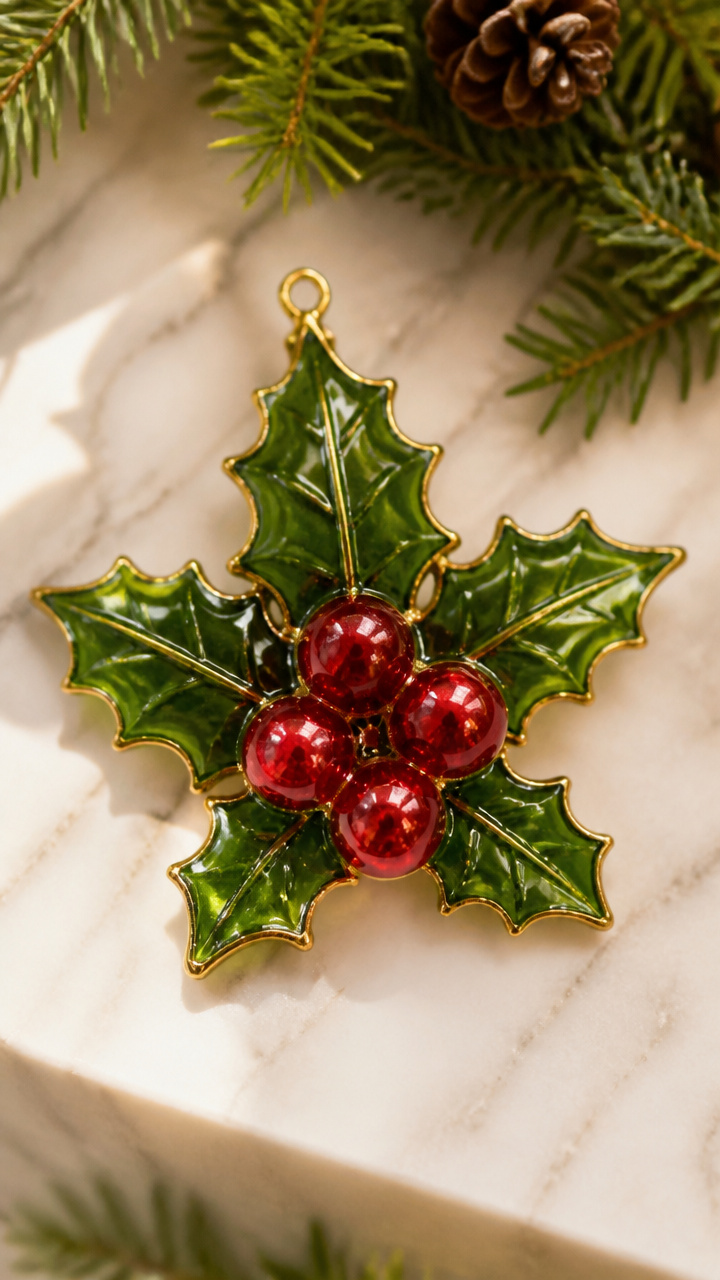
Red and green resin drops molded into glossy berry clusters mimic real holly with a jewel-like shine. The mold ensures perfect shape every time.
Materials Needed
- Two-part clear epoxy resin, 8 oz kit
- Red and green mica powder, 1/4 tsp each
- Silicone holly berry mold, 12 cavities
- Disposable plastic cups, 3 oz, 3
- Stir sticks, 6
- Toothpicks
- Gold cord, 12 pieces, 6 inches
How to Make It
- Mix resin according to package directions in a cup. Divide into three parts. Add red mica to one, green to another, leave one clear.
- Pour red resin into the center berry cavities of the mold. Add green to the outer leaves. Use a toothpick to nudge bubbles.
- Let cure for 24 hours. Pop out the pieces and glue three berries and two leaves together with a drop of resin. Thread gold cord through the top.


13. Lace-Wrapped Glass Balls
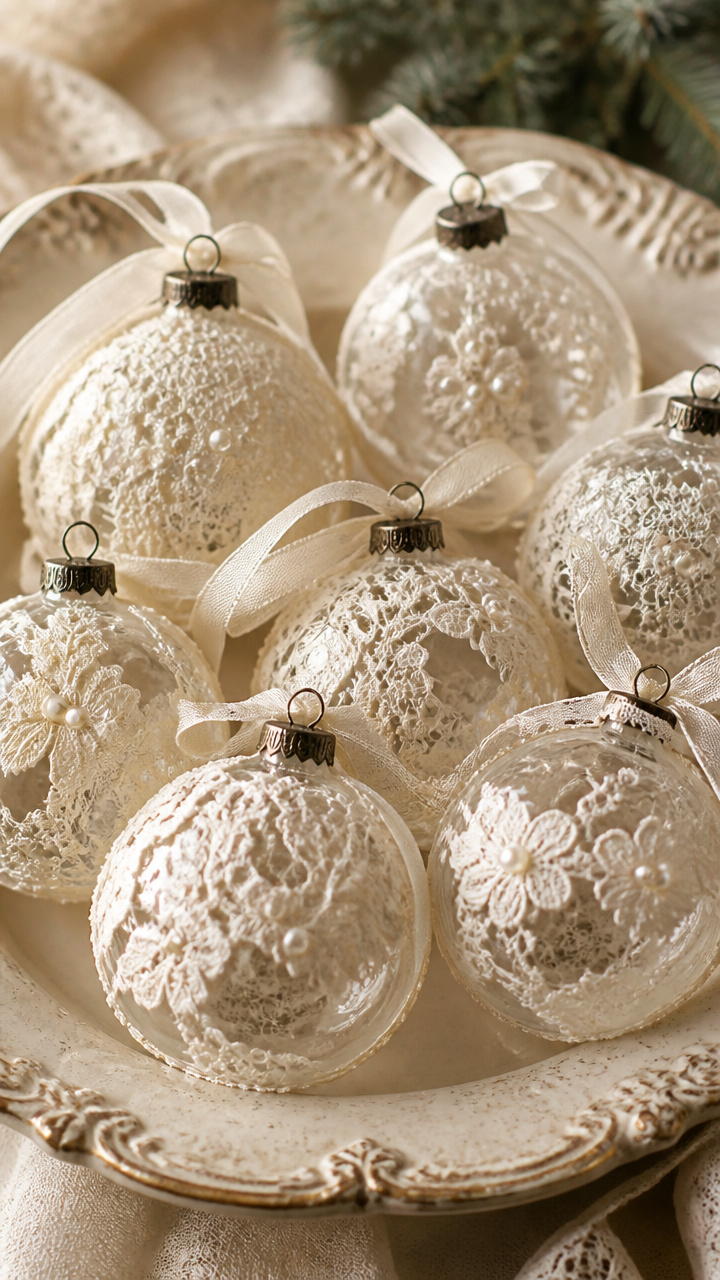
Glass ornaments wrapped in ivory lace with pearl pins look like heirloom pieces from a vintage shop. The fabric hugs the curve perfectly.
Materials Needed
- 12 clear glass balls, 3-inch
- Ivory cotton lace trim, 1/4 inch wide, 6 yards
- Flat-backed pearls, 4mm, 72 total
- Fabric glue, 2 oz
- Tweezers
- Scissors
How to Make It
- Apply a 1-inch dab of fabric glue to the top of the glass ball. Press the end of the lace into it and let set for 1 minute.
- Wrap the lace tightly around the ball, slightly overlapping each turn. Add a dot of glue every inch to secure. Cut the end and glue it down.
- Use tweezers to place three pearls in a triangle at the base of the ornament. Let dry for 2 hours before hanging.


14. Clay Beaded Tassels
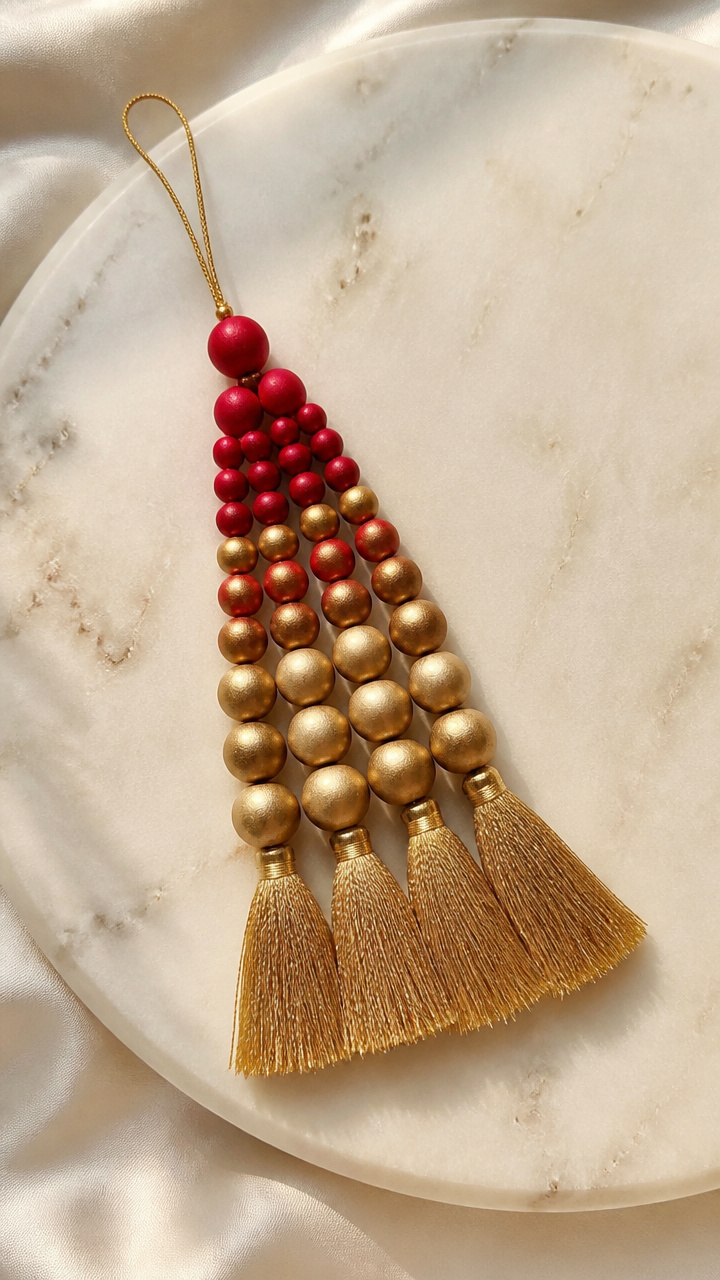
Hand-rolled polymer clay beads strung into tassels with metallic thread drape like festive fringe. The color gradient and shape are perfectly balanced.
Materials Needed
- Red and gold polymer clay, 2 oz each
- Gold embroidery thread, 12 yards
- Beading needle
- Baking sheet, parchment-lined
- Oven
- Scissors
- Ruler
How to Make It
- Roll red clay into 12 small balls and gold into 12 smaller ones. Flatten each slightly with a finger. Bake on the sheet at 275°F for 15 minutes.
- Cut 12 pieces of thread, each 8 inches long. Tie one end together in a knot. Thread 3 red beads and 2 gold beads onto each strand.
- Fan the strands and tie the knotted end to a 3-inch gold thread loop for hanging. Trim ends evenly at the bottom.


15. Calligraphy Ornament Tags

Stiff cardstock tags with handwritten holiday words in gold ink look like boutique gift toppers. The lettering is crisp and centered.
Materials Needed
- Heavy white cardstock, 5×7 inches, 12 sheets
- Gold calligraphy ink, 2 oz
- Dip pen with pointed nib
- Ruler
- Pencil
- Craft knife
- Metal straightedge
- Gold ribbon, 12 pieces, 7 inches
How to Make It
- Use the ruler and pencil to draw a 3×4 inch rectangle on each cardstock sheet. Cut it out with the craft knife and straightedge.
- Use the dip pen to write one word like Joy or Peace in the center using gold ink. Let dry for 10 minutes.
- Punch a hole in the top center. Thread a ribbon through and tie a knot. Hang directly on tree branches or gift tags.


Each of these ornaments carries the quiet pride of something made by hand. You don’t need fancy tools or years of practice—just a little time and attention to detail.