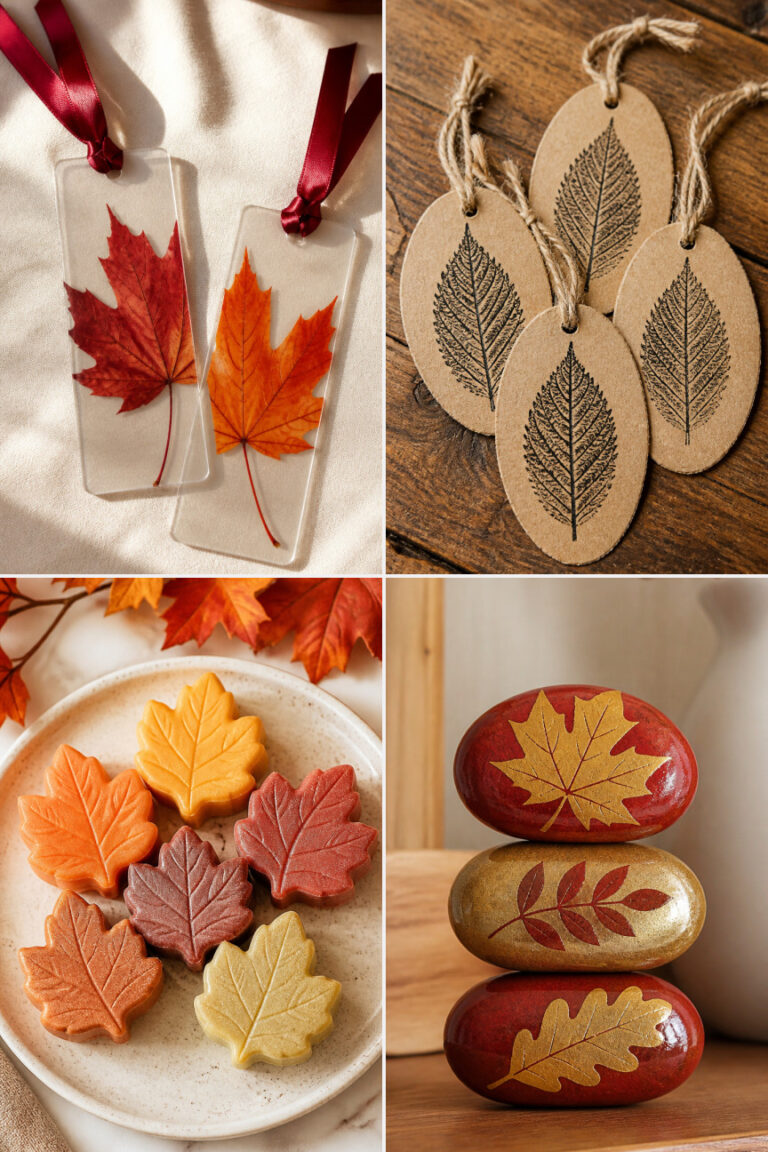
25 Thanksgiving Craft Ideas

The air is crisp, the table linens are ready, and your home welcomes the season with warmth. Crafting for Thanksgiving adds a personal touch that store-bought decor can't match. These handmade pieces reflect gratitude, comfort, and the joy of gathering.
Each idea here is designed to be approachable and meaningful. You’ll find something for every skill level, from quick afternoon projects to thoughtful gifts made with care.
1. Hand-Stamped Kraft Paper Napkins
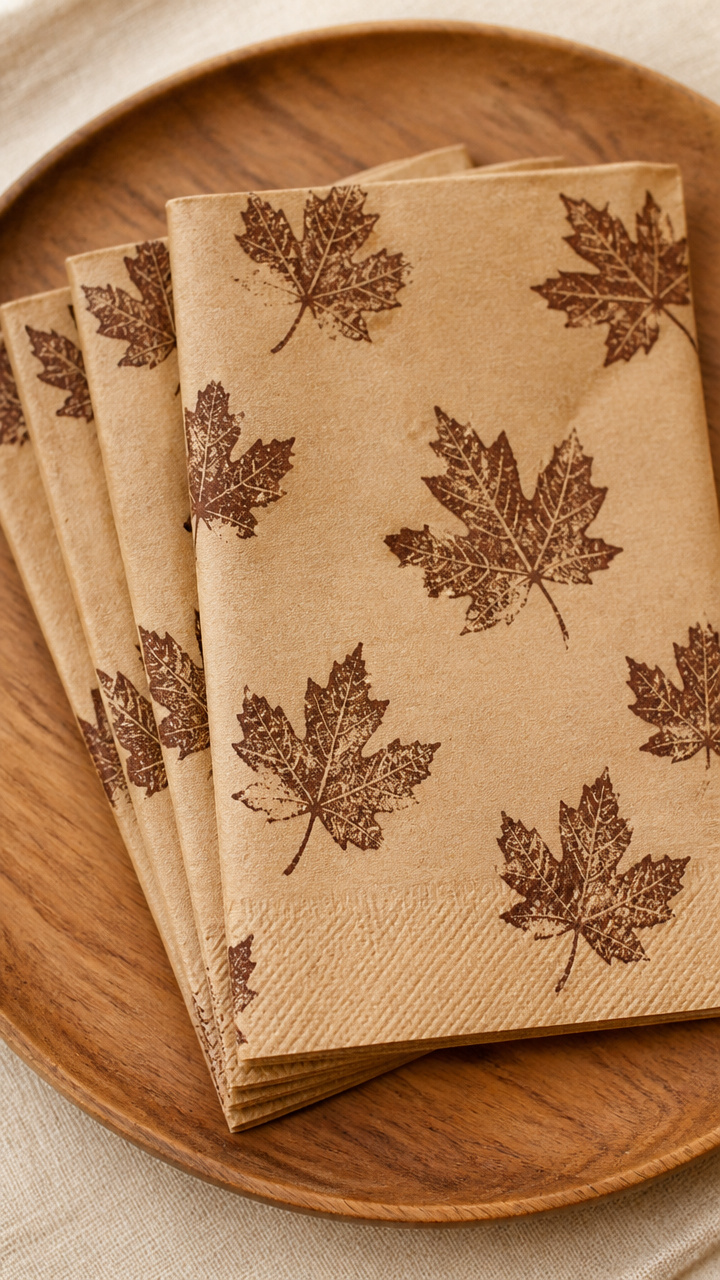
Crisp brown napkins stamped with autumn leaves bring rustic charm to your table. Each one feels like a small keepsake guests will remember.
Materials Needed
- 10 kraft paper dinner napkins
- Brown fabric ink pad
- Maple leaf stencil, 3 inches wide
- Painter’s tape
How to Make It
- Lay one napkin flat on a clean surface and secure the edges with painter’s tape.
- Press the maple leaf stencil firmly onto the center of the napkin, then dab the fabric ink pad over it using even pressure.
- Carefully lift the stencil and let the ink dry for 5 minutes before moving to the next napkin.


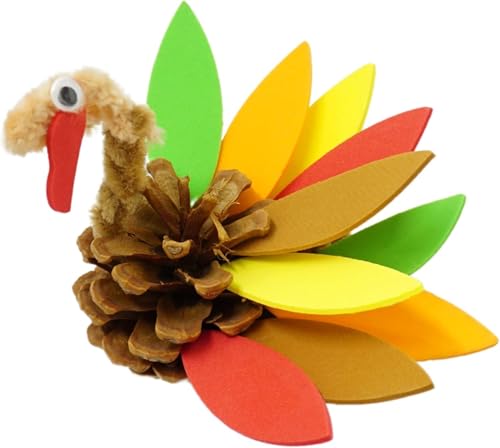
2. Mini Pinecone Turkeys
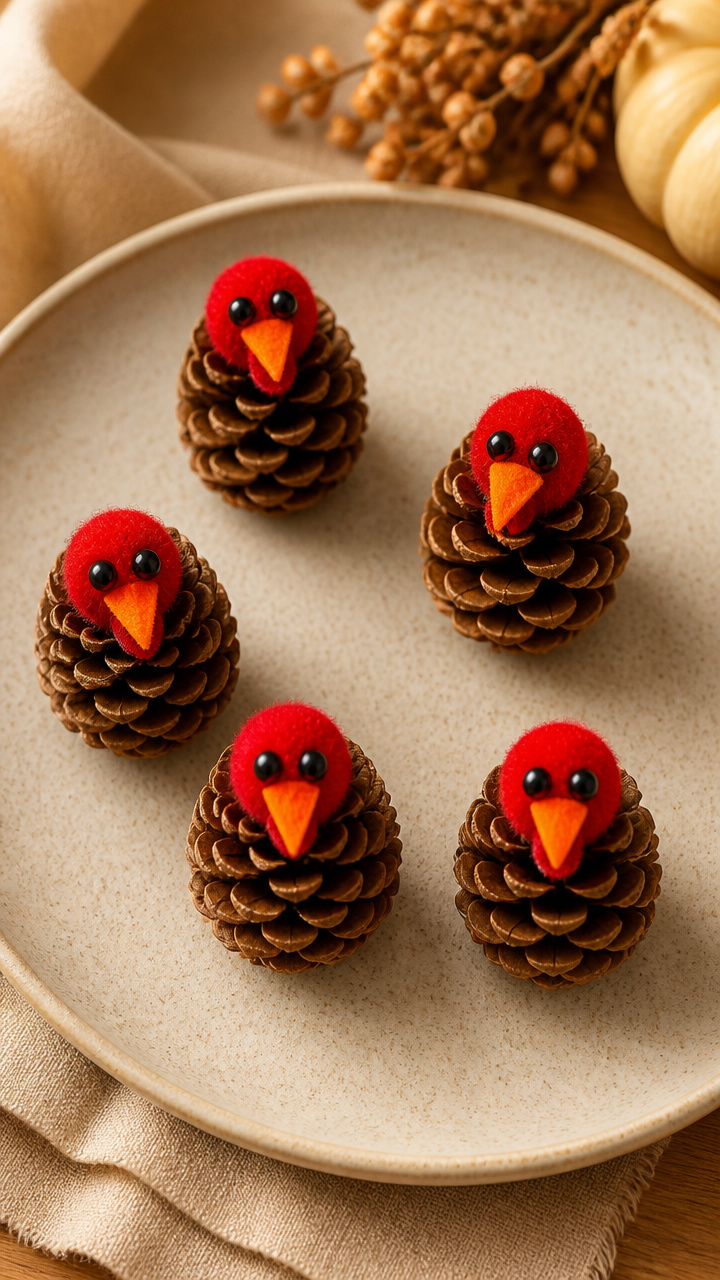
Tiny turkeys made from pinecones sit sweetly on windowsills or place settings. Their whimsical faces spark smiles without taking up space.
Materials Needed
- 12 small pinecones, dried
- 12 red pom-poms, 1 inch diameter
- 24 black craft eyes, self-adhesive
- Orange felt sheet, 9×12 inches
- Hot glue gun and glue sticks
- Scissors
How to Make It
- Cut the orange felt into 24 small feather shapes, each 1.5 inches long.
- Glue two feathers behind each pinecone to form the tail.
- Add a red pom-pom for the wattle and two eyes just above the base of the cone.


3. Pressed Leaf Coasters
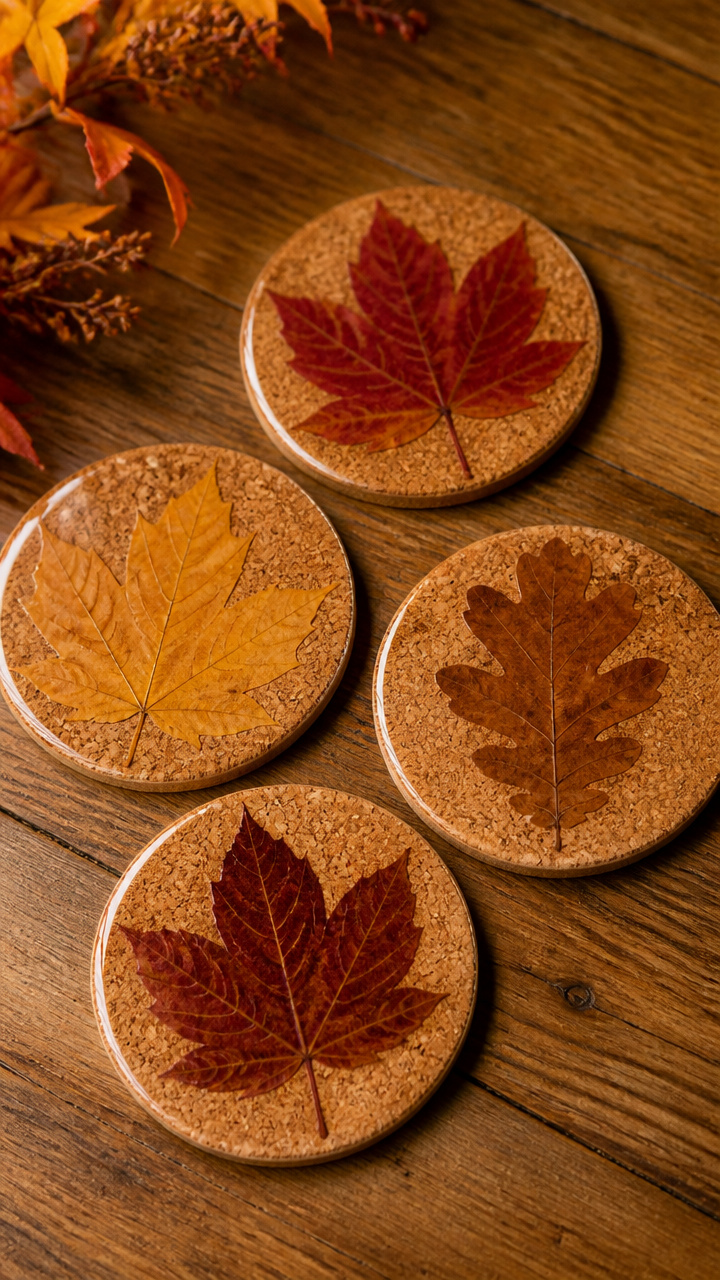
Real maple and oak leaves sealed in resin create glossy, durable coasters. They preserve fall’s colors while protecting your furniture.
Materials Needed
- 4 round cork coasters, 4 inches diameter
- Epoxy resin kit for crafts
- Mixing cups and stir sticks
- 4 pressed maple or oak leaves, 2–3 inches wide
- Disposable gloves
- Hair dryer
How to Make It
- Wear gloves and mix the epoxy resin according to package instructions in a well-ventilated area.
- Pour a thin layer of resin onto each coaster and gently place one leaf face down into the center.
- Use the hair dryer on low to remove bubbles, then let cure for 24 hours before adding a second top coat.


4. Burlap Table Runner with Stenciled Quote
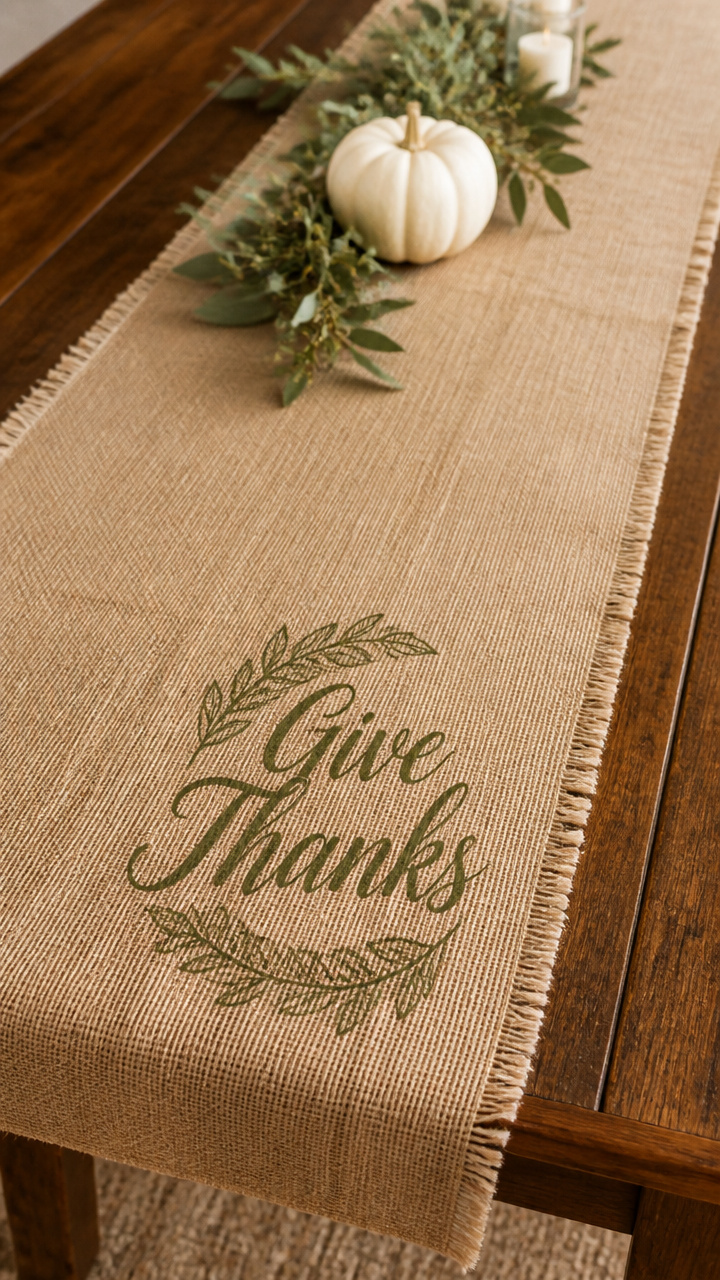
A homespun runner with a gratitude message grounds your table in warmth. The rough texture contrasts beautifully with polished dishes.
Materials Needed
- Burlap fabric, 14×72 inches
- 'Give Thanks' stencil, 12 inches long
- Fabric paint, olive green
- Stencil brush
- Iron and ironing board
- Pins
How to Make It
- Iron the burlap flat to remove wrinkles, then pin the short ends to prevent fraying.
- Position the stencil in the center of the runner and secure with pins.
- Dip the stencil brush lightly in paint and dab in circular motions until the letters are fully filled.


5. Clay Pumpkin Place Card Holders
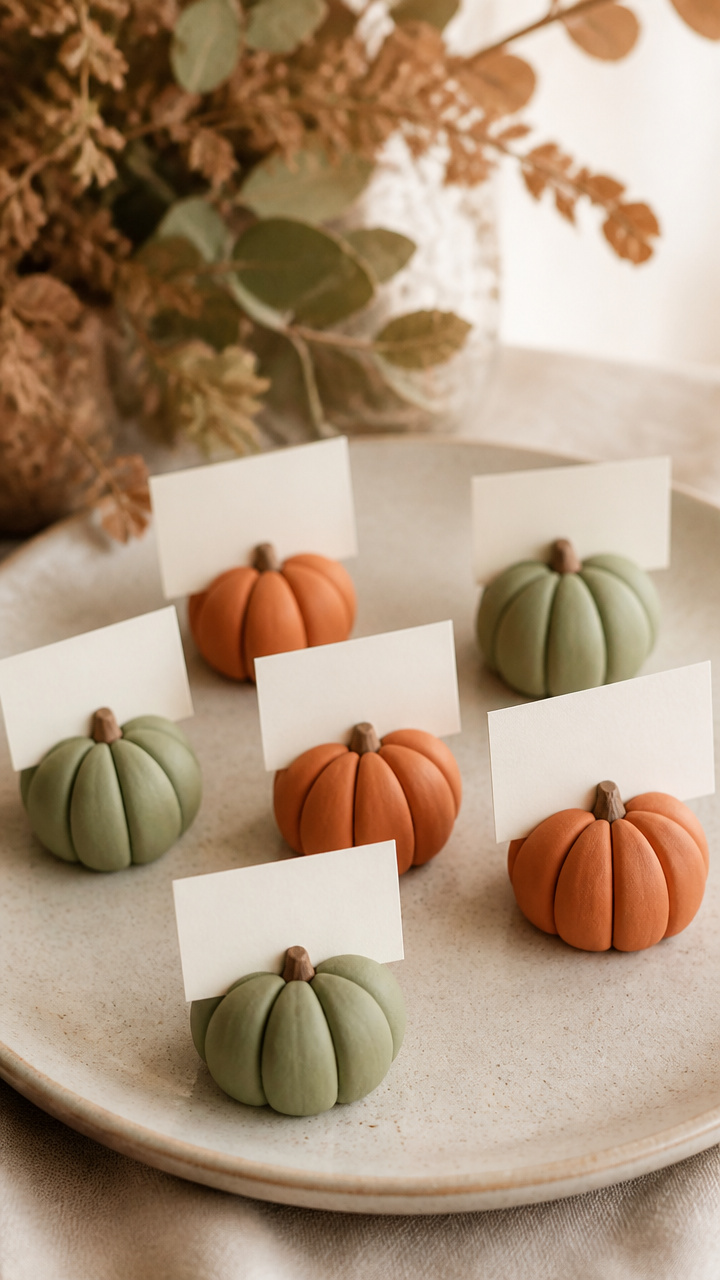
Small hand-molded pumpkins cradle name cards with quiet elegance. Each one holds a guest’s name like a tiny autumn gift.
Materials Needed
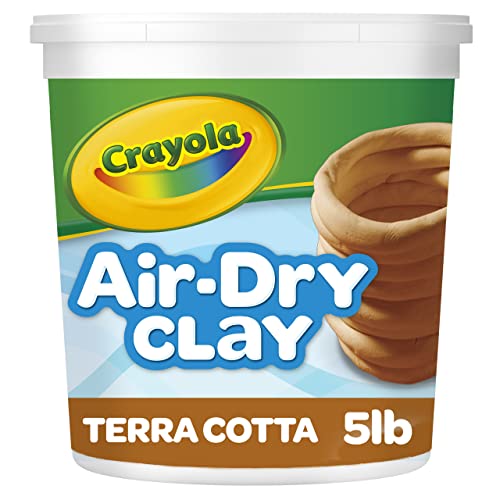
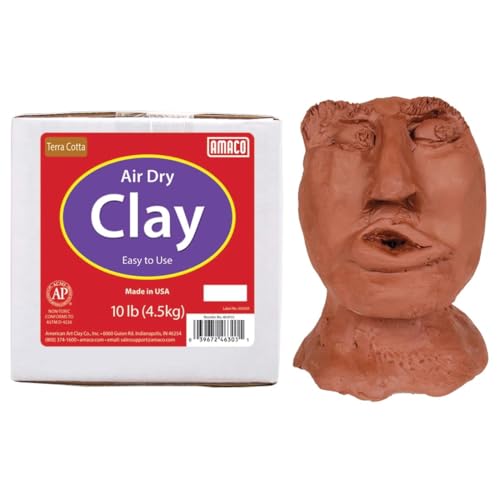
- Air-dry clay, terracotta color, 1 pound
- Rolling pin
- X-Acto knife
- Straw
- Acrylic paint, burnt orange and sage green
- Paintbrush
How to Make It
- Roll the clay to 1/4 inch thickness and cut circles 2 inches wide using the straw.
- Shape each circle into a pumpkin by pressing vertical lines with the knife and pinching the top slightly.
- Let dry for 48 hours, then paint orange with green stems and let dry another 4 hours.

6. Twine-Wrapped Candles
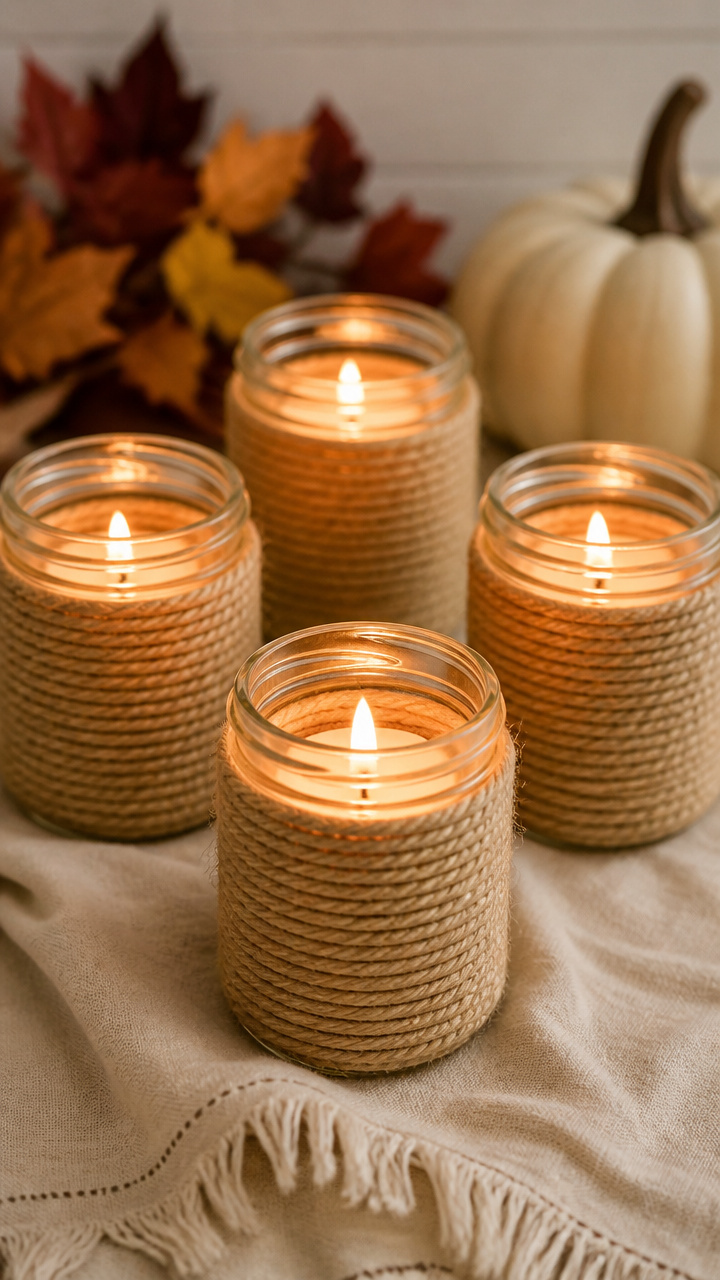
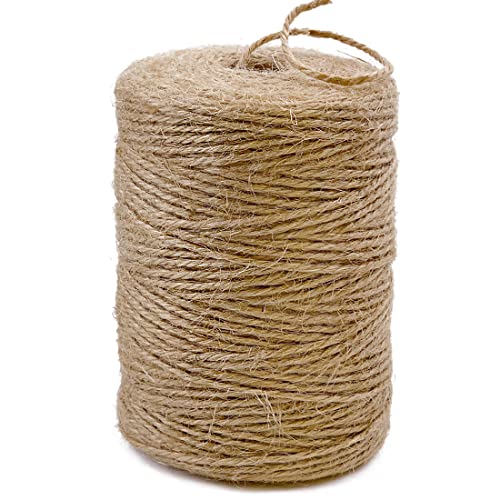
Plain candles become textured accents wrapped in natural jute. The woven look casts soft shadows when lit.
Materials Needed
- 4 glass jar candles, 3 inches tall
- Jute twine, 1/8 inch thickness, 30 feet
- Hot glue gun
- Scissors
How to Make It
- Apply a dot of hot glue near the base of the candle jar and press the end of the twine into it.
- Wrap the twine tightly around the jar, overlapping slightly, and add a new glue dot every inch to secure.
- Trim the end and glue it down when you reach the top rim.


7. Felt Acorn Ornaments
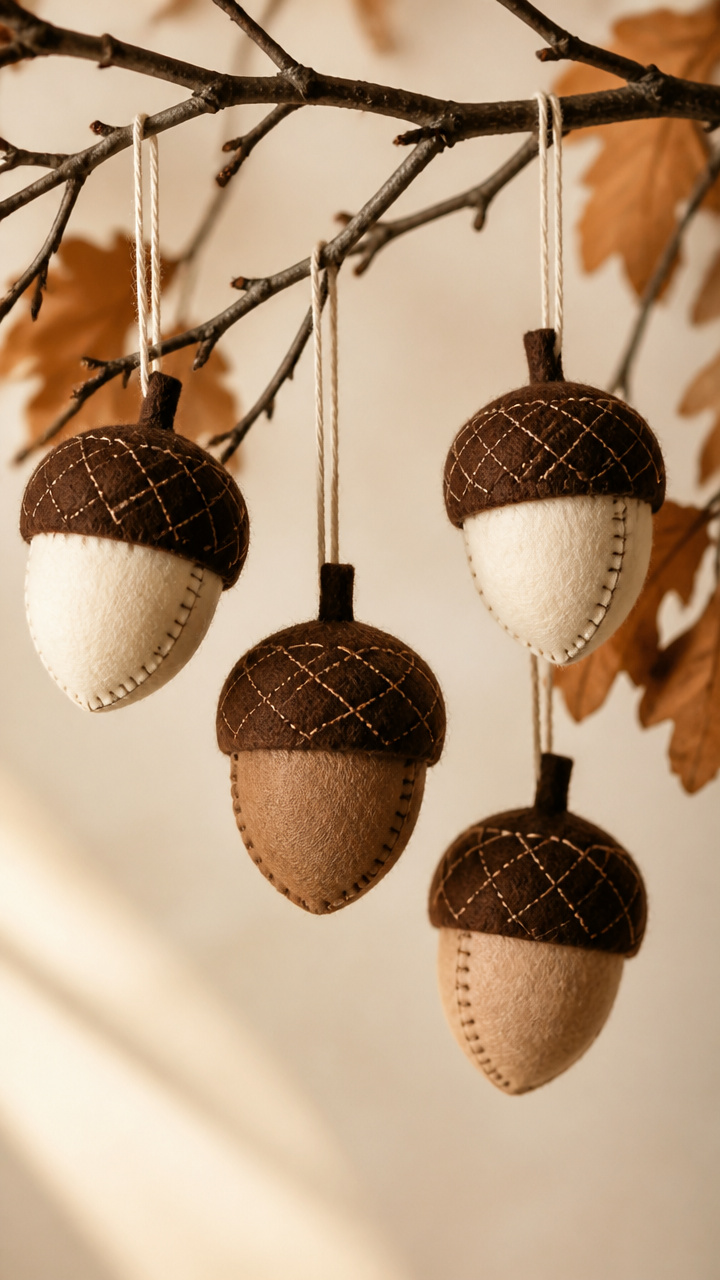
Soft acorns in chocolate brown and cream hang from mantels or trees. Their gentle shape invites touch and conversation.
Materials Needed
- Brown felt sheet, 9×12 inches
- Cream felt sheet, 9×12 inches
- Embroidery thread, dark brown
- Needle
- Polyester stuffing
- Scissors
- Ruler
How to Make It
- Cut six brown ovals, each 2 inches long, and six cream caps, each 1.5 inches wide.
- Sew two ovals together with a whipstitch, leaving the top open, and stuff lightly before closing.
- Stitch a cap to the top of each acorn using three evenly spaced stitches.


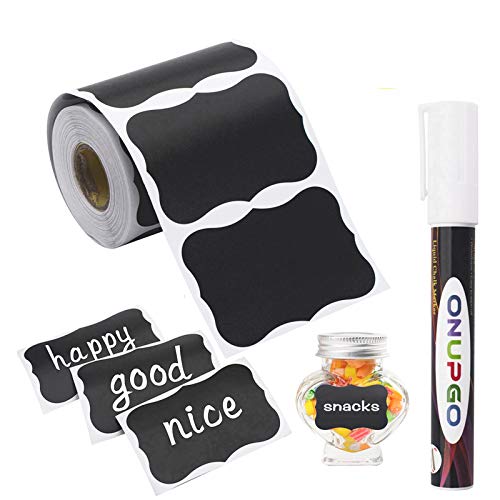
8. Chalkboard Jar Labels
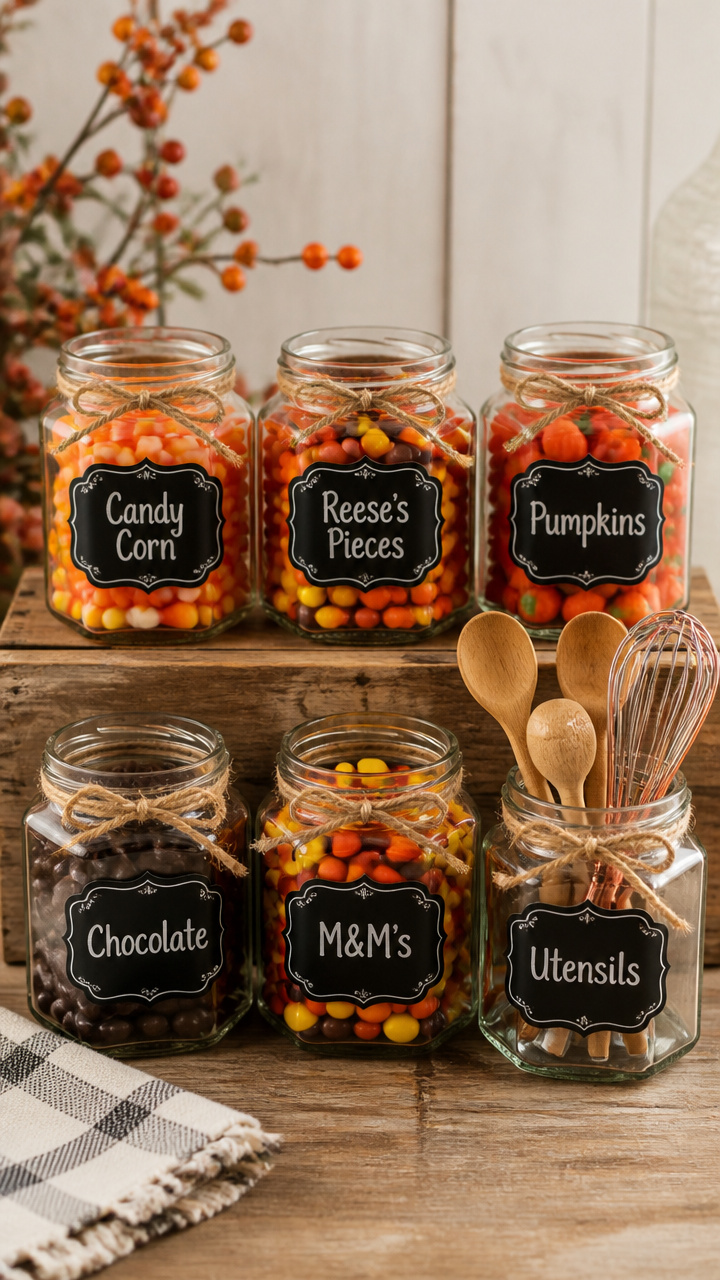
Mason jars holding candies or utensils wear chalkboard tags with handwritten names. The matte finish gives a farmhouse feel.
Materials Needed
- 6 hexagonal mason jars, 8 oz
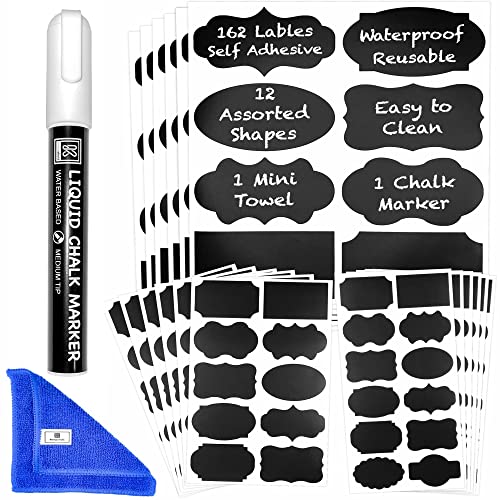
- Chalkboard sticker paper
- Black chalk marker
- Circle punch, 1.5 inches
- Twine, 12 feet
How to Make It
- Cut circles from the chalkboard paper using the punch.
- Write one label per circle, such as 'Cranberries' or 'Nuts', using the chalk marker.
- Tie each tag to a jar with a 6-inch piece of twine knotted at the top.

9. Watercolor Gourd Garland
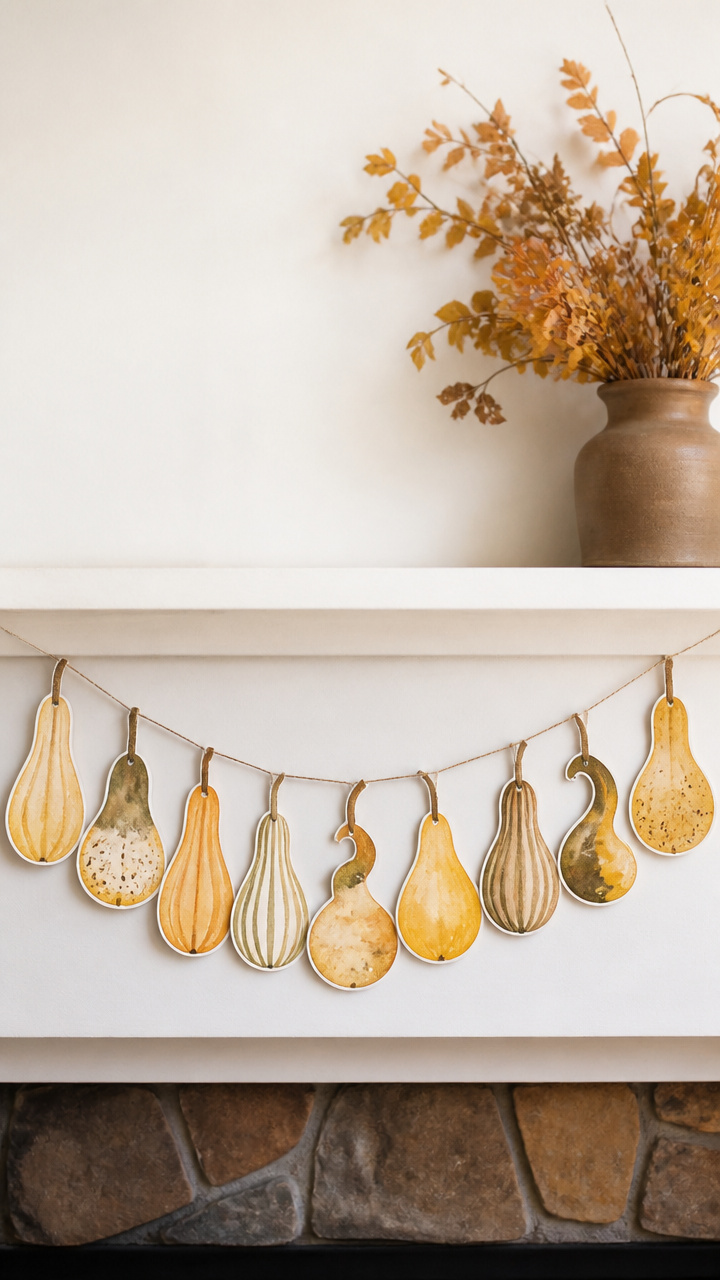
Delicate gourds painted in warm hues drape across a doorway. The soft gradients mimic real harvest light.
Materials Needed
- White drawing paper, 9×12 inches
- Watercolor paints: cadmium yellow, burnt sienna, raw umber
- Round watercolor brush, size 4
- Pencil
- Ruler
- Hole punch
- Jute string, 5 feet
How to Make It
- Sketch nine gourd shapes, each 2 inches tall, in a row on the paper.
- Paint each gourd with blended watercolors, letting one color bleed into the next.
- Once dry, cut them out, punch a hole at the stem, and thread onto the jute string 2 inches apart.


10. Linen Apron with Embroidered Turkey
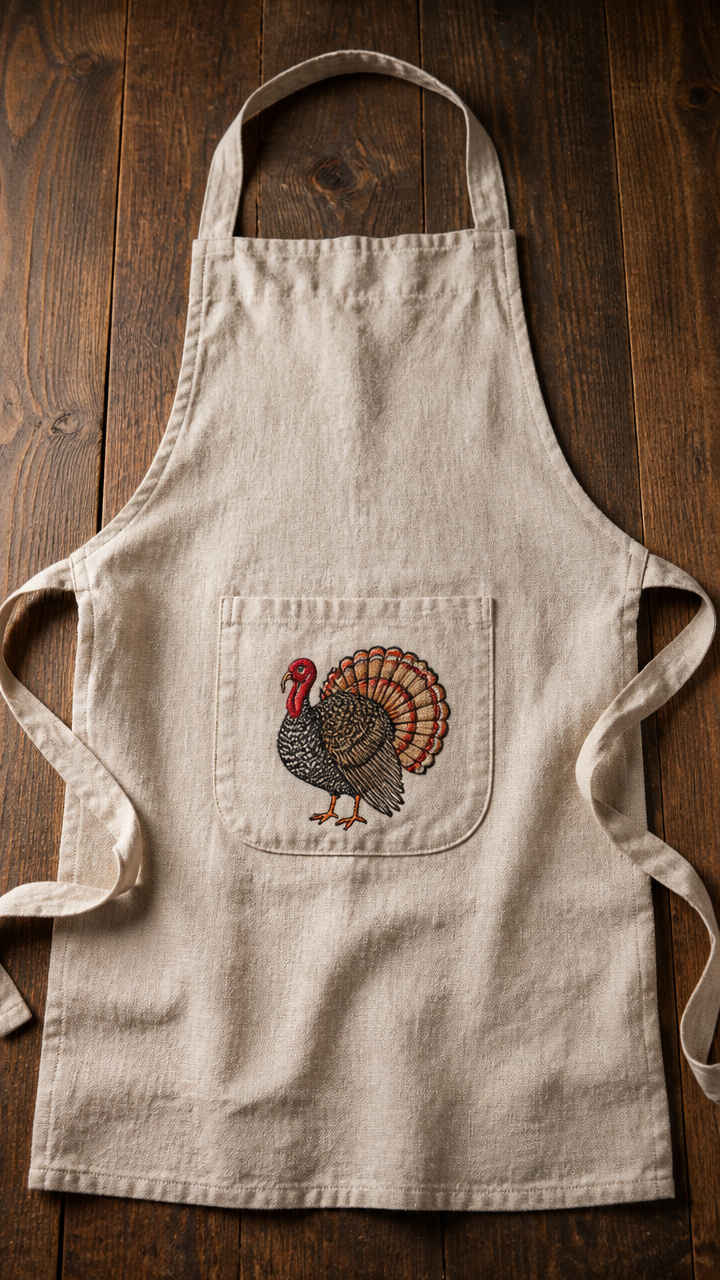
A simple apron gains personality with a stitched bird on the pocket. It makes a heartfelt hostess gift.
Materials Needed
- Natural linen apron, one size
- Embroidery hoop, 6 inches
- Embroidery floss: black, red, orange, brown (one skein each)
- Embroidery needle
- Water-soluble fabric marker
How to Make It
- Place the hoop around the apron pocket and sketch a small turkey outline with the fabric marker.
- Thread the needle with brown floss and use backstitch for the body, switching to red for the wattle.
- Add eyes with French knots and feathers with lazy daisy stitches, then rinse off any remaining marks.


11. Salt Dough Leaf Ornaments
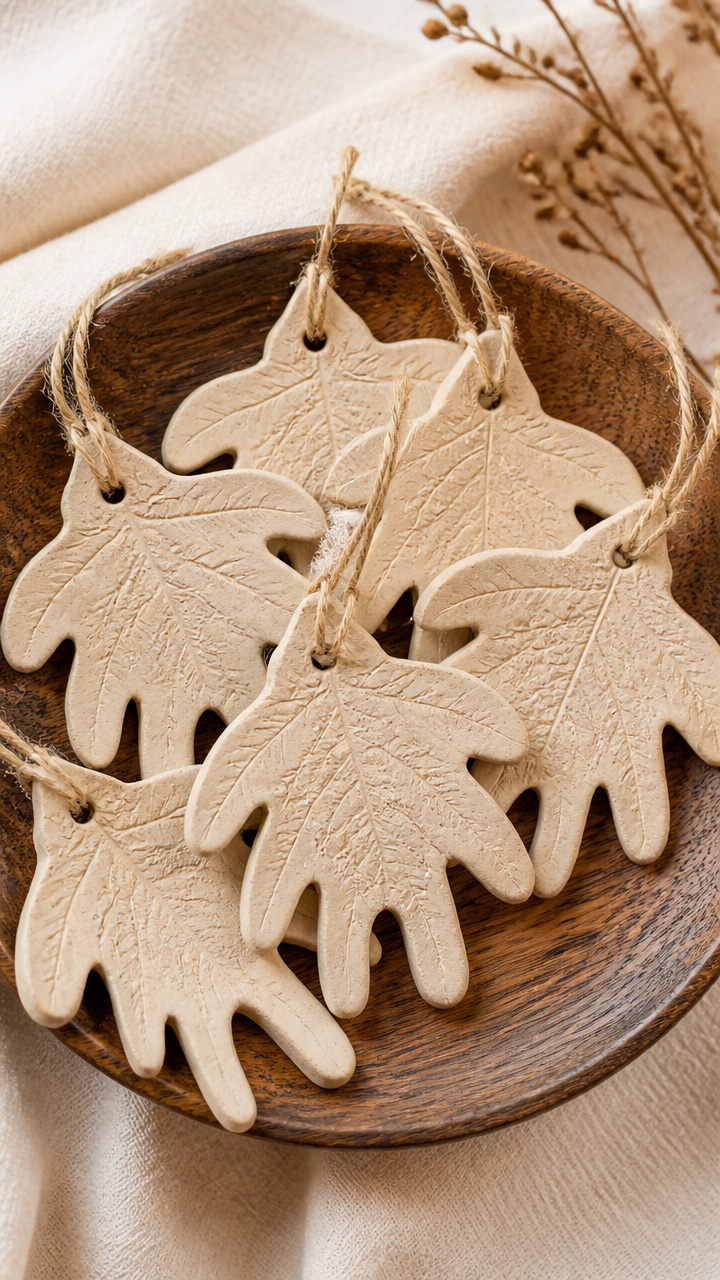
Children’s handprints shaped like leaves make timeless keepsakes. Bake them to last for years.
Materials Needed
- 2 cups all-purpose flour
- 1 cup salt
- 3/4 cup water
- Rolling pin
- Leaf-shaped cookie cutter, 3 inches
- Straw
- Baking sheet
- Parchment paper
How to Make It
- Mix flour, salt, and water in a bowl until a smooth dough forms, then roll to 1/4 inch thick.
- Cut shapes with the cookie cutter and use the straw to make a hanging hole near the stem.
- Place on a parchment-lined baking sheet and bake at 200°F for 3 hours, turning once halfway through.


12. Candlelit Mason Jar Luminaries
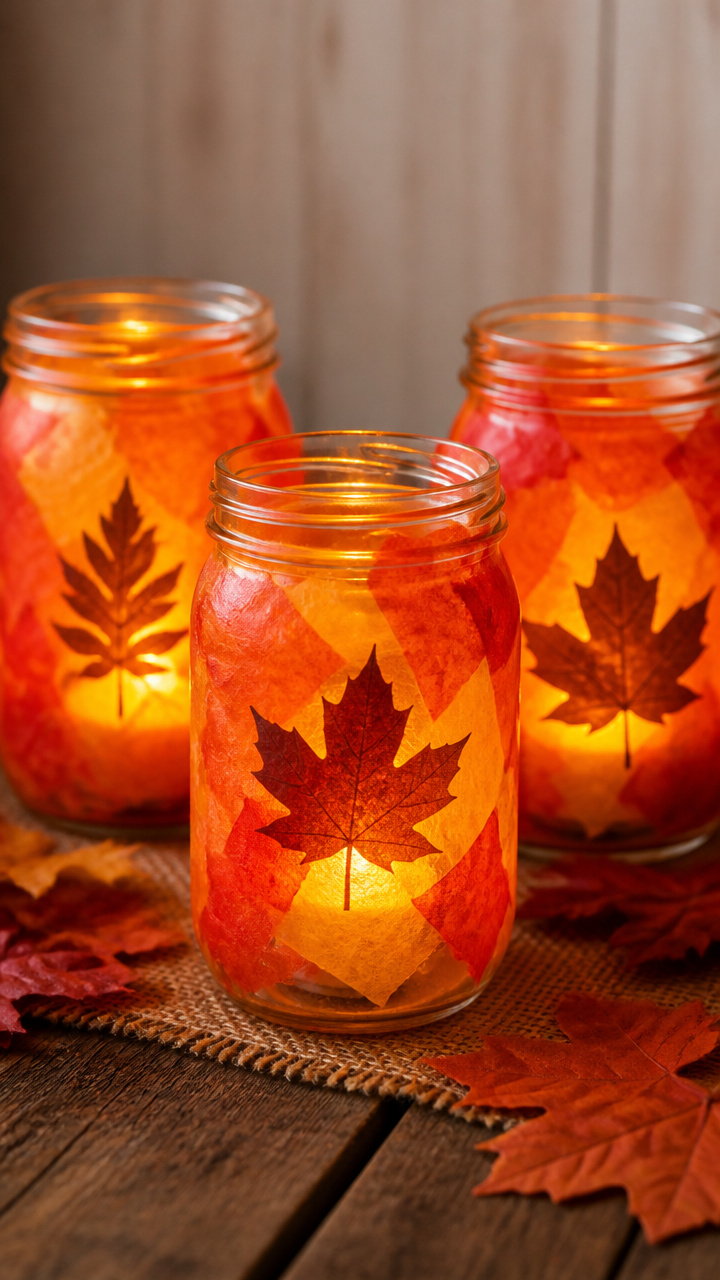
Jars lined with tissue paper glow with autumn silhouettes. Light flickers through layered color at dusk.
Materials Needed
- 4 wide-mouth mason jars, 16 oz
- Orange, red, and yellow tissue paper sheets
- Mod Podge
- Foam brush
- Battery-powered tea lights
How to Make It
- Cut tissue paper into 1-inch strips and layer colors inside the jar, brushing Mod Podge between each addition.
- Cover the entire outer surface and let dry upright for 2 hours.
- Place a tea light inside and turn it on at twilight to see the glow.


13. Quilted Fabric Placemats
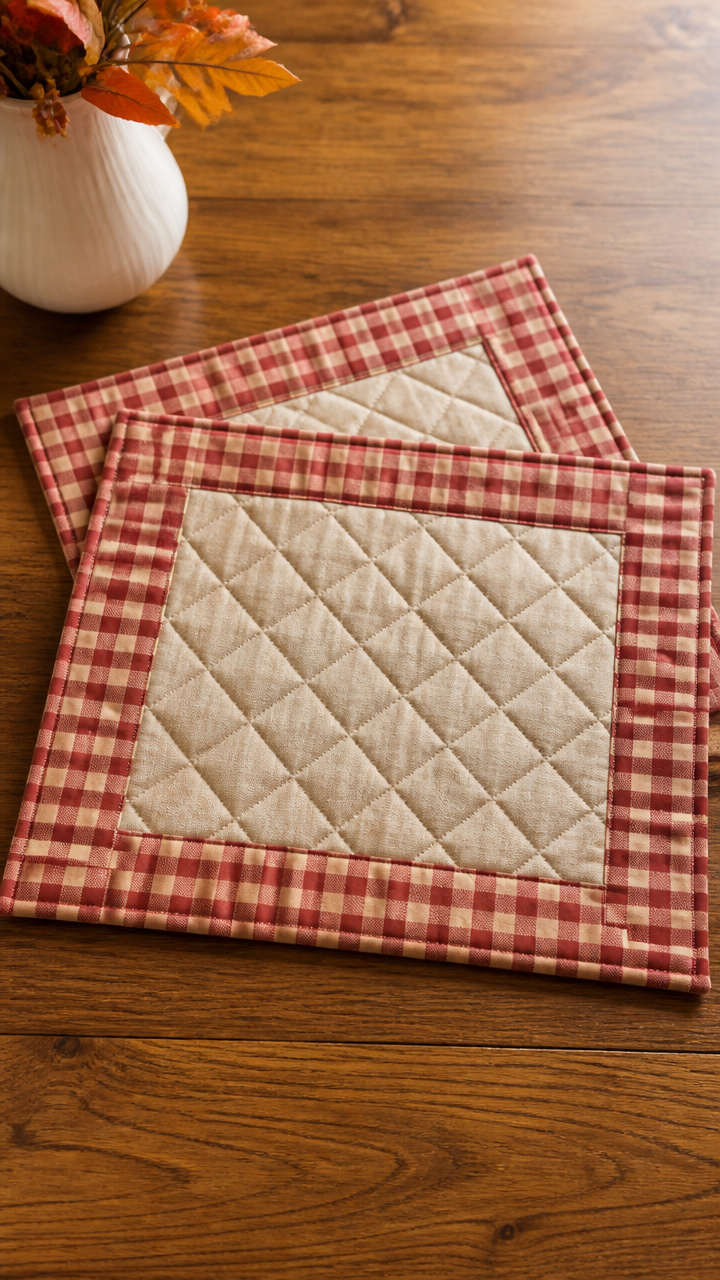
Layered cotton squares sewn into placemats add softness under plates. The stitching echoes traditional quilting patterns.
Materials Needed
- Red gingham cotton fabric, 1/4 yard
- Beige cotton fabric, 1/4 yard
- Batting, 12×18 inches
- Rotary cutter
- Self-healing mat
- Ruler
- Sewing machine
- Thread, beige
How to Make It
- Cut two 12×18 inch rectangles from each fabric and one from batting.
- Stack the beige fabric right side up, then batting, then gingham right side down.
- Pin layers and stitch around the edge with a 1/2 inch seam, leaving a 3-inch gap to flip.
- Turn right side out, push corners gently, and topstitch 1/4 inch from the edge to close the gap.


14. Wood Slice Centerpiece Rings
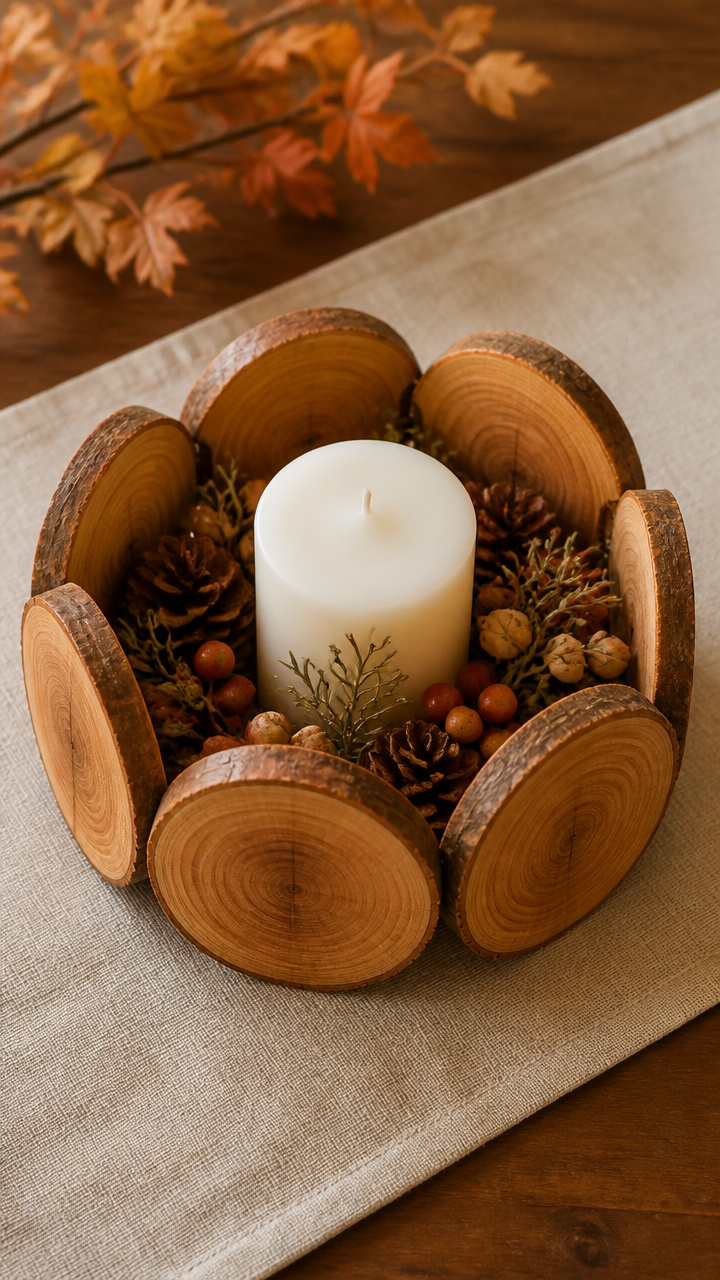
Tree rounds sanded smooth hold napkins with organic grace. Their rings tell silent stories of growth and time.
Materials Needed
- 6 wood slices, 3 inches diameter, 1/2 inch thick
- Medium-grit sandpaper
- Linseed oil
- Small brush
- Cloth rag
How to Make It
- Sand both sides and edges of each slice until smooth, about 2 minutes per piece.
- Wipe away dust with a dry cloth, then apply linseed oil with the brush in circular motions.
- Let soak for 10 minutes, then buff with a rag until shiny and dry to the touch.

15. Cranberry Scented Sachets
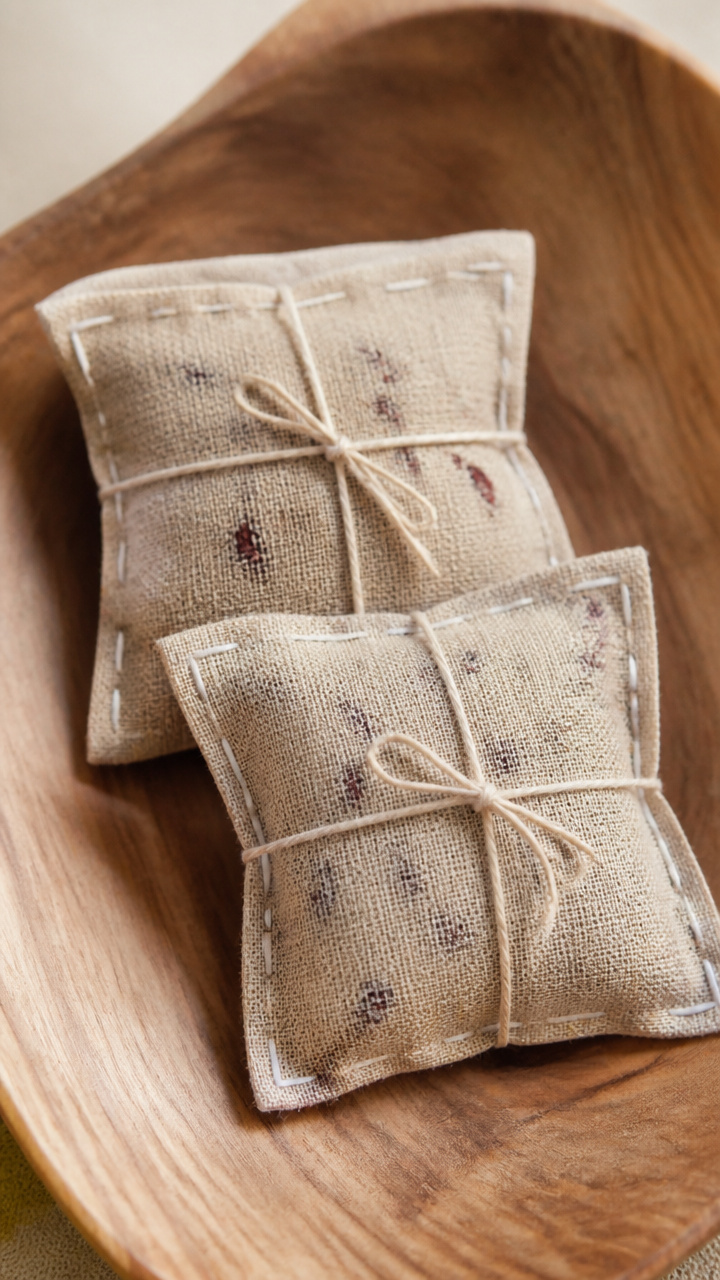
Little linen bags filled with dried fruit scent drawers and linens. The tart aroma recalls holiday cooking.
Materials Needed
- Linen fabric scraps, 5×5 inches each
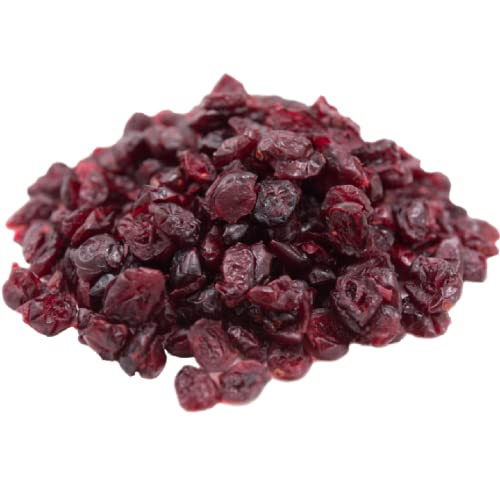
- Dried cranberries, 1/2 cup
- Ground cinnamon, 2 tablespoons
- Cloves, 1 teaspoon
- Needle and white thread
- Sewing pins
How to Make It
- Pin two fabric squares right sides together and sew around three edges with a 1/4 inch seam.
- Turn right side out, then fill with a mix of cranberries, cinnamon, and cloves.
- Fold the open edge inward and stitch closed with a ladder stitch.


16. Calligraphy Thankful Banner
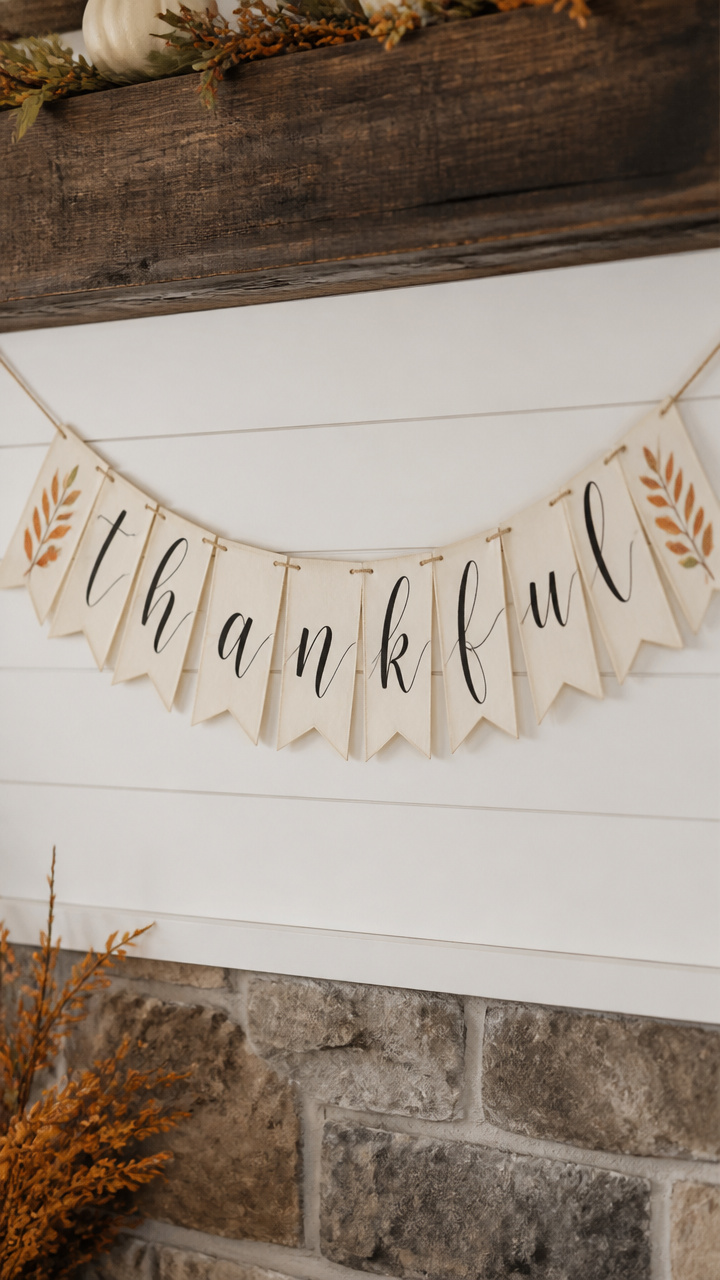
Cotton flags list blessings in flowing script. Hang it where everyone can pause and reflect.
Materials Needed
- Cotton flag bunting, 10 flags, white
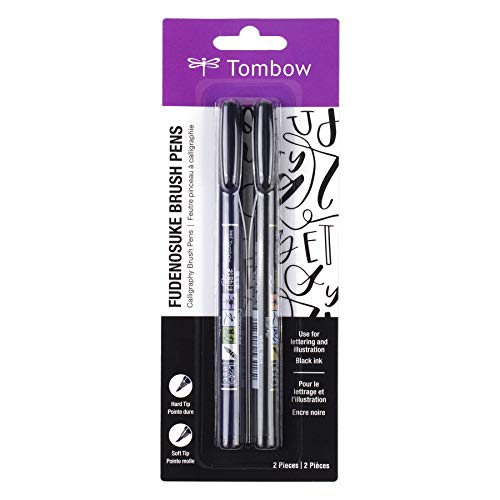
- Black calligraphy pen with brush tip
- Pencil
- Ruler
How to Make It
- Use the pencil and ruler to draw a light horizontal line across the center of each flag.
- Write one word per flag—like 'Family', 'Harvest', 'Peace'—using downward strokes for thick lines.
- Let dry for 10 minutes before hanging to avoid smudging.


17. Apple Core Pin Cushions
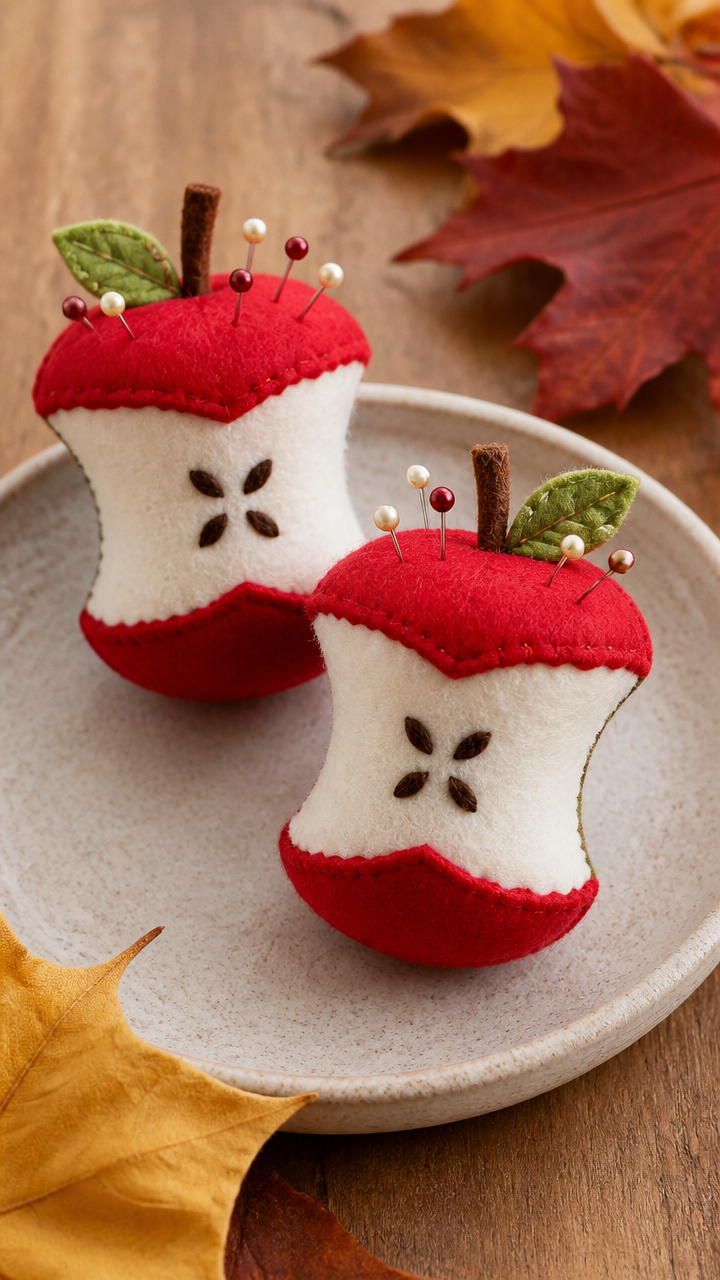
Felt apple halves stuffed with fiber hold needles safely. Their bright red and white centers look good on any desk.
Materials Needed
- Red felt sheet, 9×12 inches
- White felt sheet, 9×12 inches
- Green felt scrap
- Polyester fiberfill
- Needle and green thread
- Scissors
How to Make It
- Cut eight red half-apple shapes, each 3 inches tall, and four white seed shapes.
- Sew two red halves together around the edge, leaving a gap, and insert a white seed center.
- Stuff firmly with fiberfill, then sew shut and attach a small green leaf to the top with three stitches.


18. Grain Weave Wheat Stalks
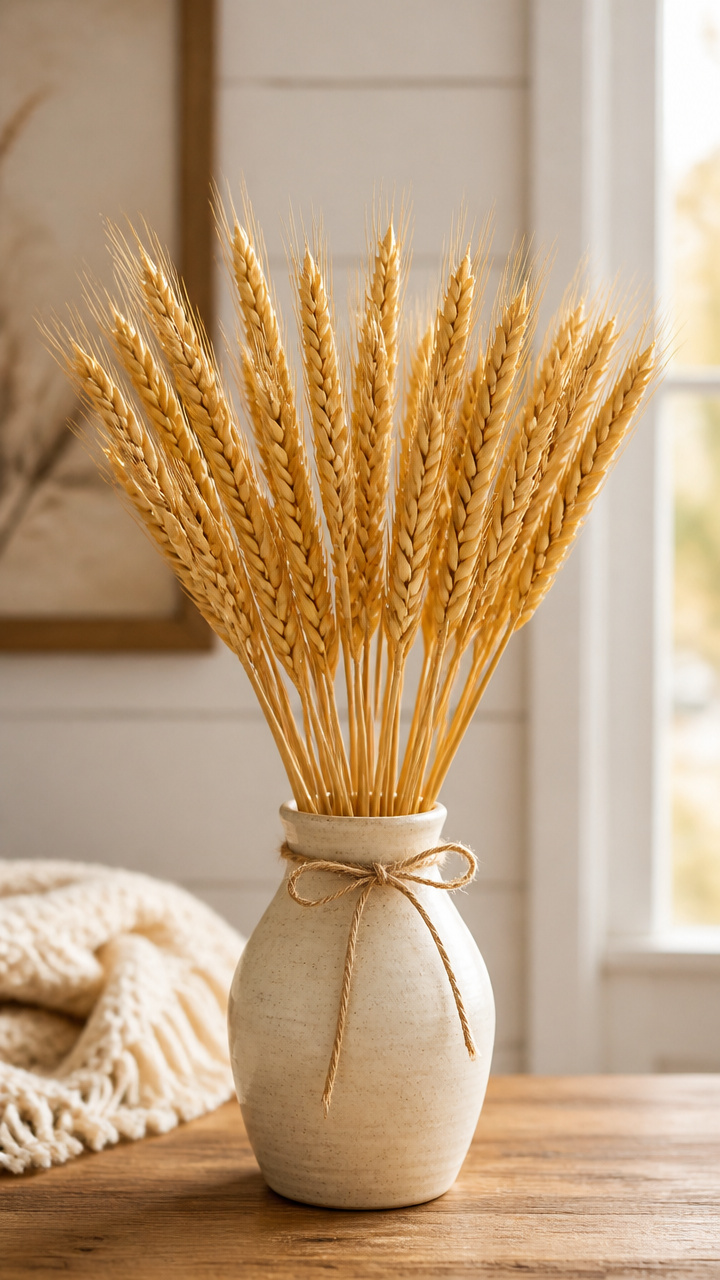
Wheat bundles tied with twine stand in vases like golden sentinels. Their natural grain catches indoor light beautifully.
Materials Needed
- 12 artificial wheat stalks, 18 inches tall
- Jute twine, 10 feet
- Floral shears
- Vase, 6 inches tall
How to Make It
- Gather four stalks and align their tops, then wrap twine 2 inches below the heads and knot securely.
- Repeat to make three bundles, trimming any uneven ends with shears.
- Arrange all three in the vase, spreading the stalks outward for balance.


19. Maple Syrup Bottle Labels
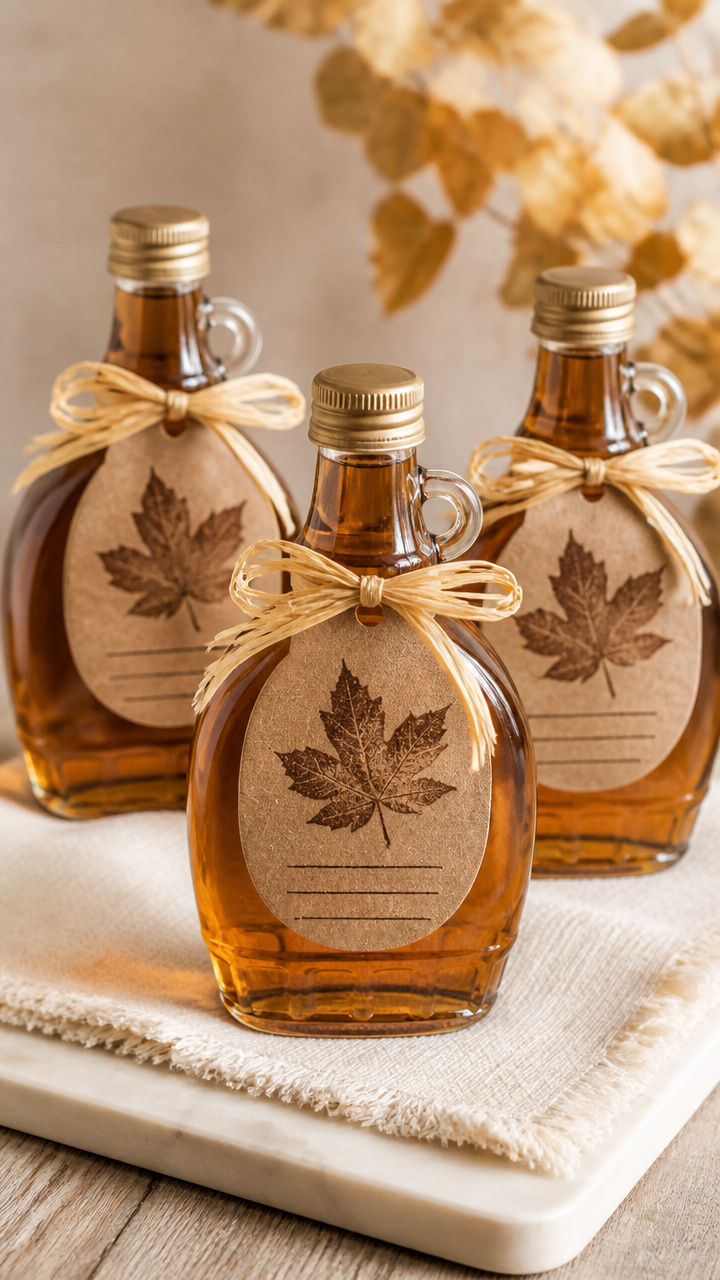
Plain syrup bottles wear custom tags with recipe suggestions. They double as place card gifts.
Materials Needed
- 6 amber glass bottles, 8 oz, filled with maple syrup
- Kraft paper labels, 2×3 inches
- Brown ink pad
- Autumn leaf rubber stamp
- Fine-tip black pen
- Raffia, 12 feet
How to Make It
- Stamp one leaf in the corner of each label using the ink pad.
- Write a short phrase like 'Drizzle on pancakes' or 'Perfect for waffles' beneath the image.
- Tie a label to each bottle neck with an 8-inch raffia piece.


20. Button Corn Ears
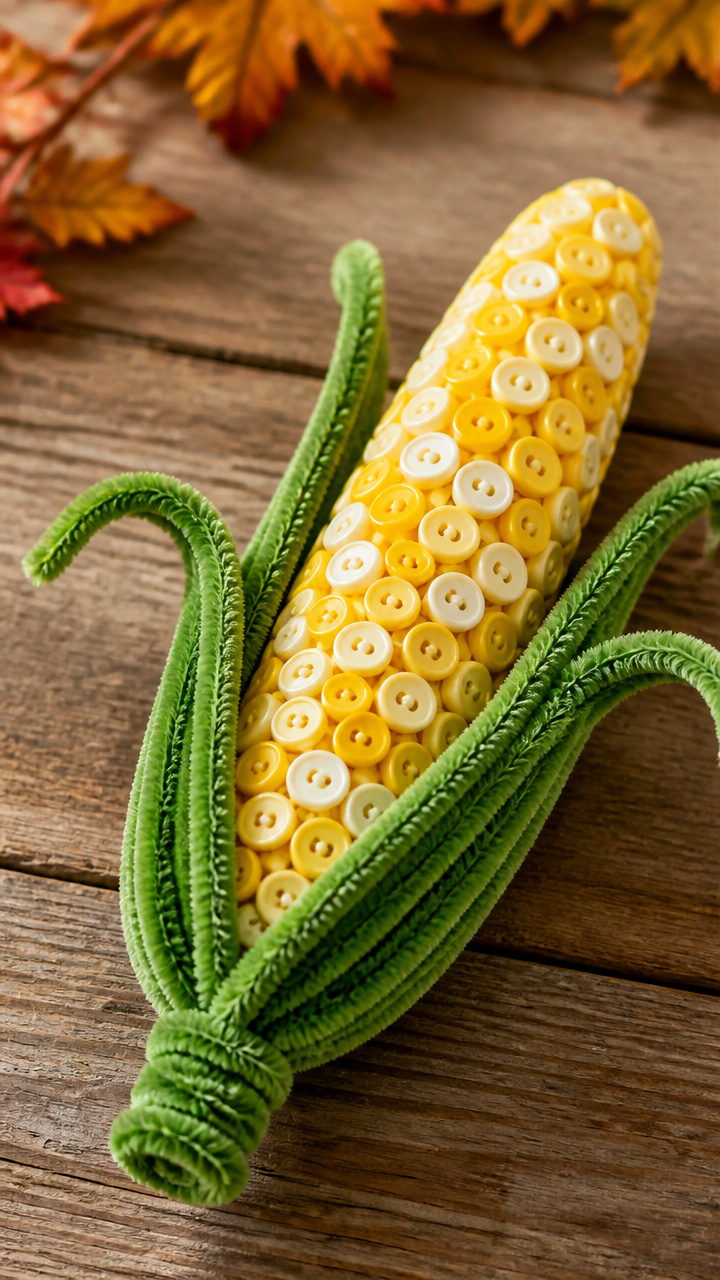
Yellow and white buttons strung in rows mimic corn kernels. They sit cheerfully in bowls or wreaths.
Materials Needed
- 50 yellow round buttons, 8mm
- 30 white round buttons, 8mm
- Green pipe cleaners, 12 inches long, 2
- Needle and green thread
How to Make It
- Thread the needle and tie a knot at the end, then string five yellow buttons followed by five white in staggered rows.
- Continue alternating rows until 18 buttons are used, forming a curved ear shape.
- Wrap the ends of two pipe cleaners around the base to form husk stems and twist to secure.


21. Woven Paper Basket
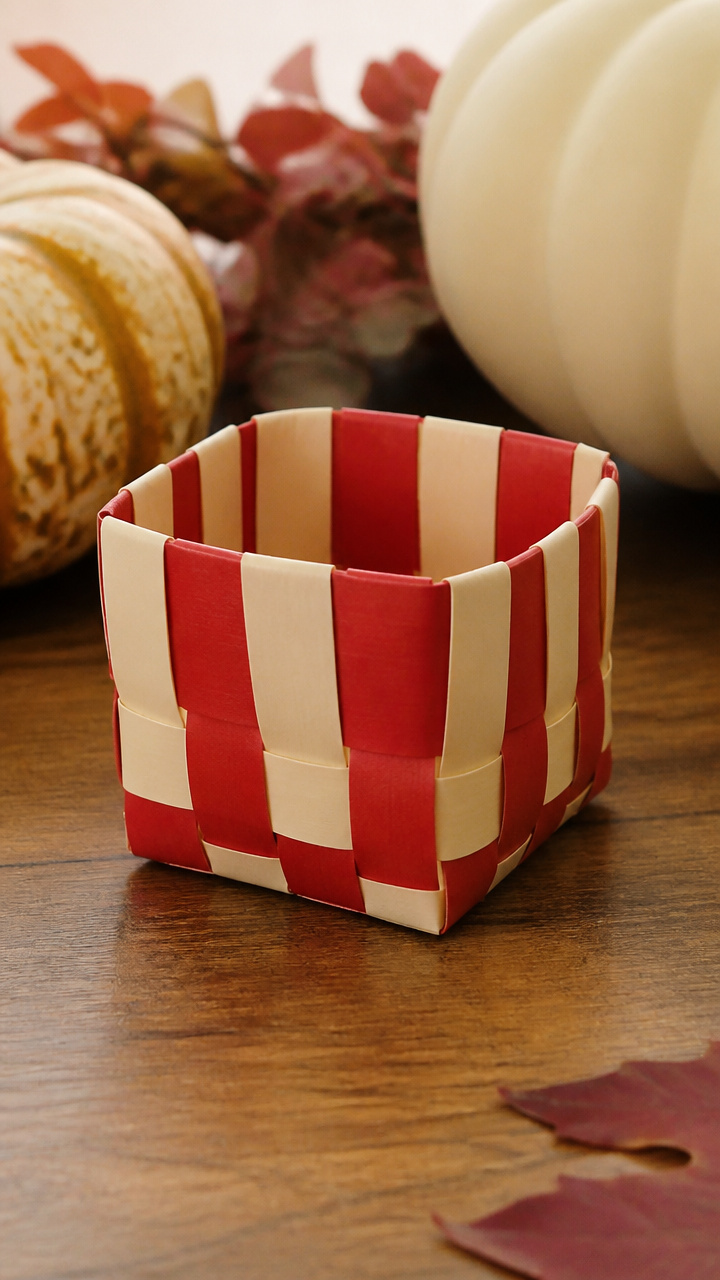
Striped paper strips interlace into a tiny basket for candy or notes. The folding technique creates rigid walls without glue.
Materials Needed
- Red construction paper, 9×12 inches
- Beige construction paper, 9×12 inches
- Scissors
- Ruler
- Pencil
How to Make It
- Cut ten 1-inch wide strips from the red paper and ten from the beige, each 6 inches long.
- Lay five red strips vertically on a table, spaced 1 inch apart, then weave beige strips horizontally over and under.
- Fold the loose ends upward to form walls and tuck the final ends underneath adjacent strips to lock.


22. Pumpkin Spice Playdough
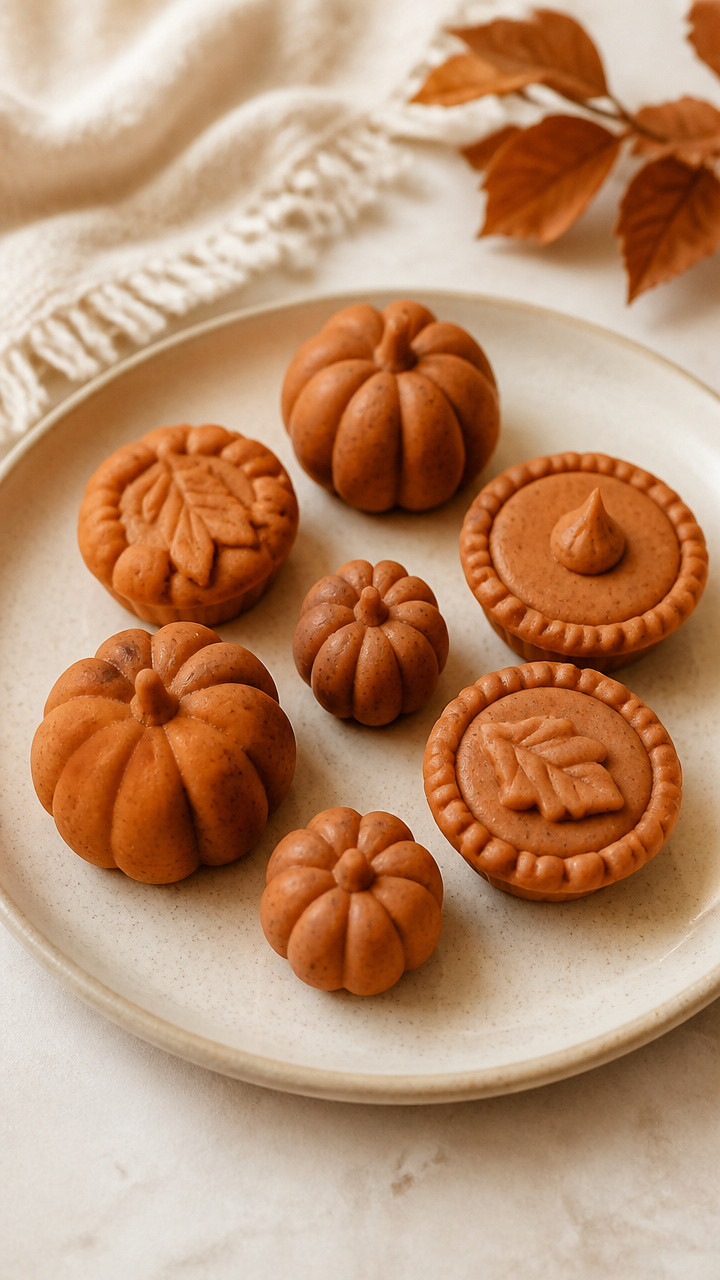
Homemade dough scented with cinnamon and clove invites little hands to shape pies and gourds. It stores well for future play.
Materials Needed
- 1 cup all-purpose flour
- 1/4 cup salt
- 2 teaspoons cream of tartar
- 1 cup water
- 2 tablespoons vegetable oil
- 1 tablespoon pumpkin pie spice
- Food coloring, orange
How to Make It
- Mix all ingredients in a saucepan over medium heat, stirring constantly until a ball forms, about 3 minutes.
- Transfer to a floured surface and knead until smooth, about 2 minutes.
- Store in an airtight container for up to 3 months.


23. Feather Quill Place Cards
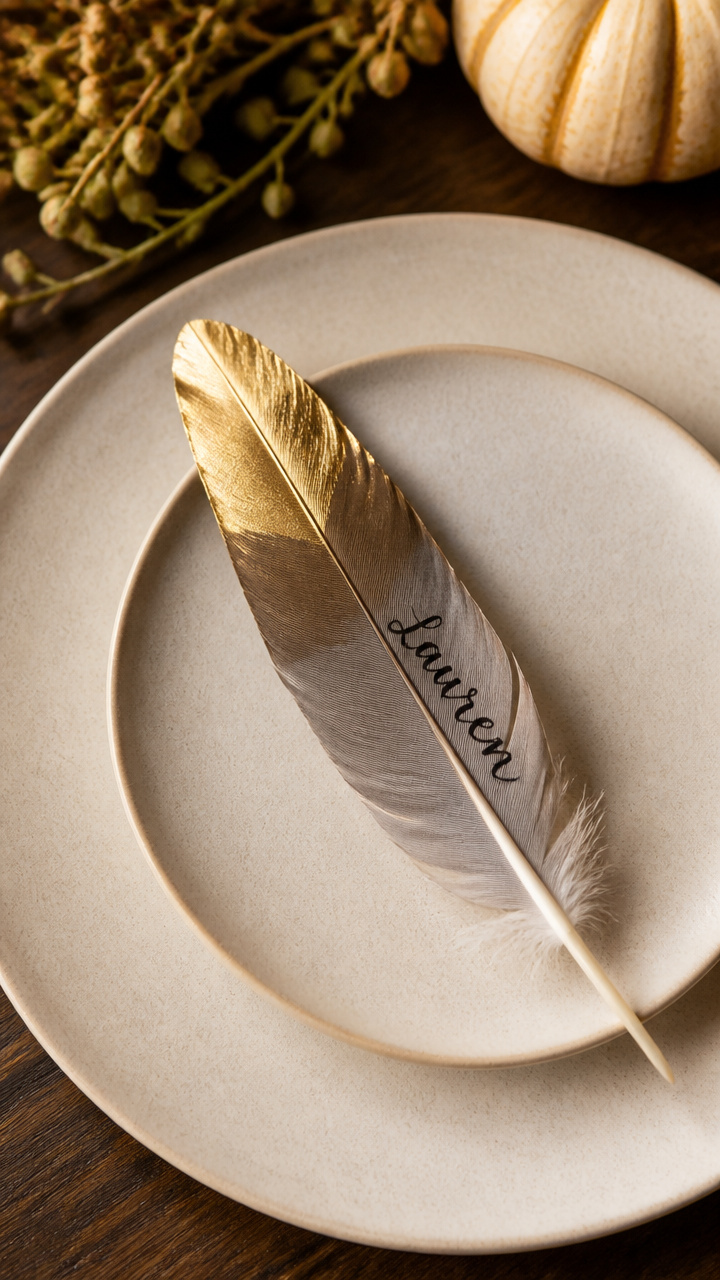
Turkey feathers tipped in gold lean against plates with elegant names. Their natural shafts feel like heirloom tools.
Materials Needed
- 12 large turkey feathers, 6 inches long
- Gold metallic paint pen
- Fine-point black pen
- Small bowl
How to Make It
- Rest each feather in the bowl to keep the tip elevated and steady.
- Use the gold pen to paint the last inch of the quill tip, letting it dry for 8 minutes.
- Write one guest’s name along the shaft with the black pen in cursive.


24. Caramel Corn Popcorn Balls
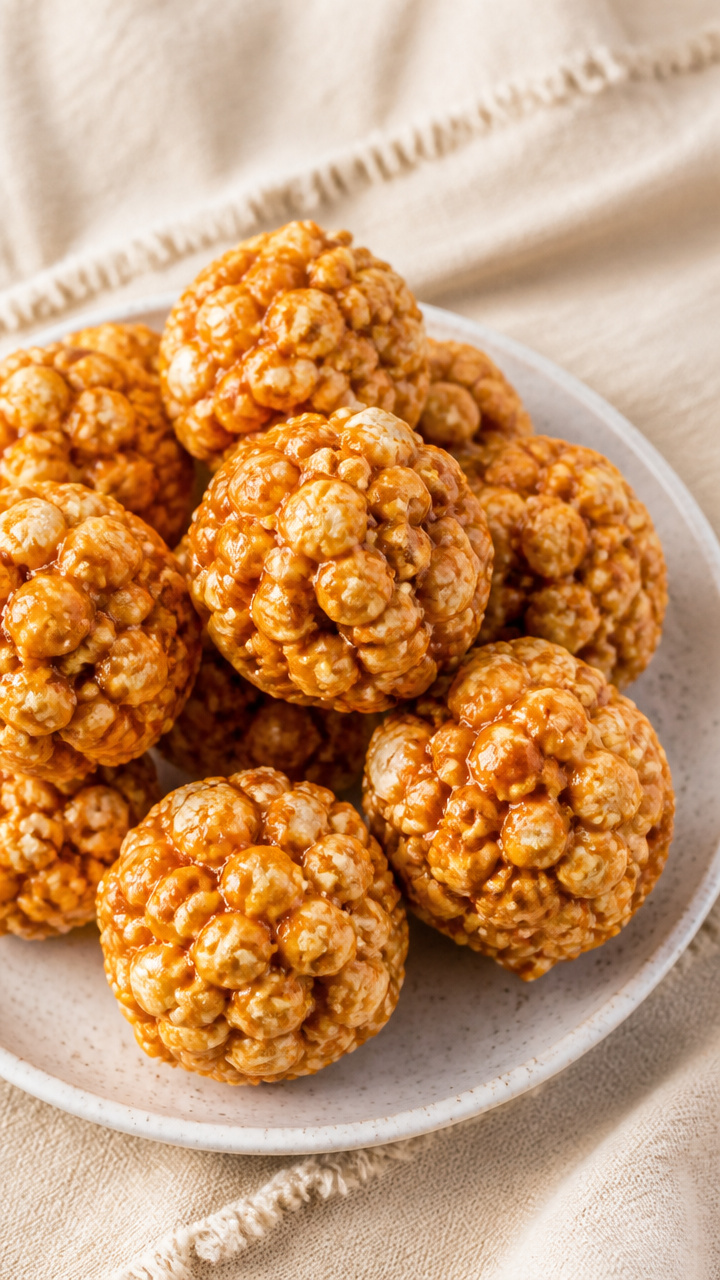
Edible spheres coated in sticky caramel make playful centerpieces. Kids help shape them and everyone gets a treat.
Materials Needed
- One bag microwave plain popcorn, 3.5 oz
- 1 cup granulated sugar
- 1/3 cup light corn syrup
- 1/4 cup water
- 1/2 teaspoon salt
- 1 teaspoon vanilla extract
- Cooking spray
- Gloves
How to Make It
- Pop the popcorn and remove unpopped kernels, then place in a large bowl.
- Boil sugar, corn syrup, water, and salt in a saucepan to 240°F, then stir in vanilla.
- Pour syrup over popcorn, mix gently, then coat hands with cooking spray and shape into 12 balls.


25. Cross-Stitch Harvest Sampler
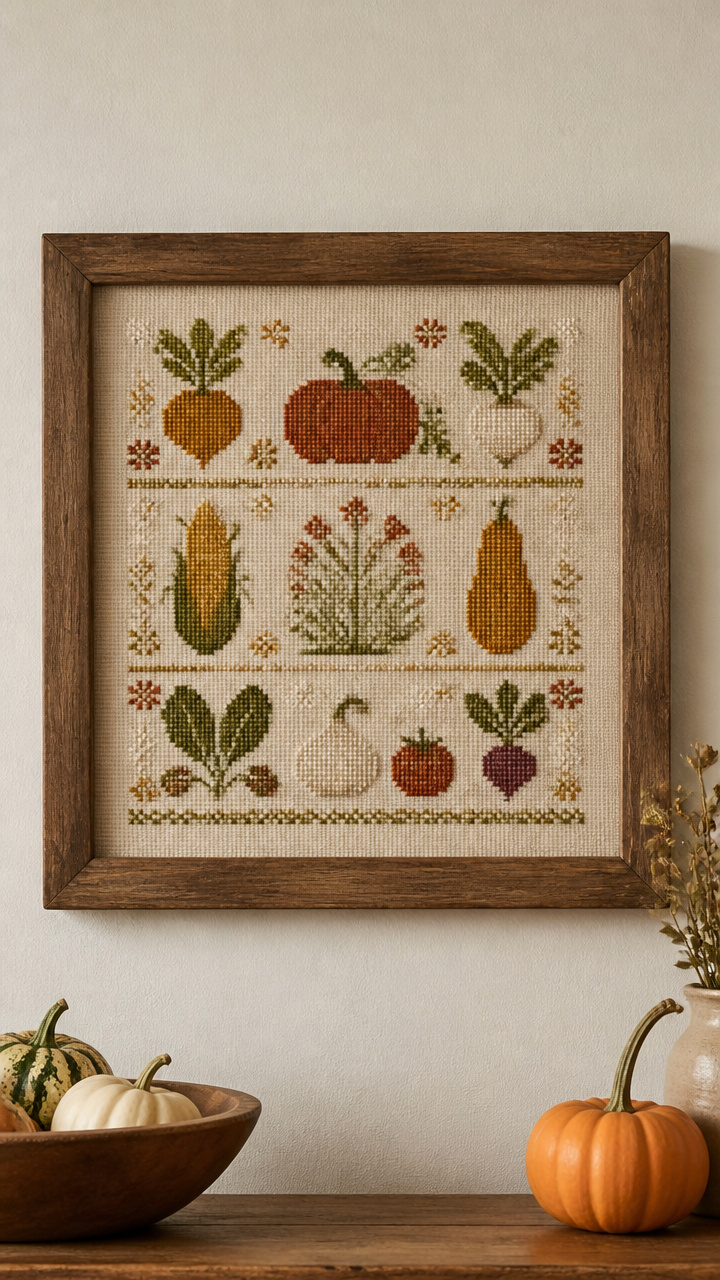
A linen square displays stitched vegetables in muted tones. It fits in a simple frame for kitchen wall charm.
Materials Needed
- Linen fabric, 8×8 inches, 14 count
- Embroidery hoop, 7 inches
- Embroidery floss: rust, mustard, sage, cream (one skein each)
- Tapestry needle, size 24
- Scissors
- Water-soluble pen
How to Make It
- Mark the center of the fabric and place it in the hoop, then draw a small carrot, squash, and radish with the pen.
- Stitch each vegetable using satin stitch, outlining in backstitch with matching thread.
- Remove the hoop, trim to 7×7 inches, and mount in a plain wooden frame.


These crafts carry the spirit of the season in every stitch, brushstroke, and fold. Pick one that calls to you and begin today.