15 DIY Thanksgiving Table Crafts That Double as Place Cards

Thanksgiving is the perfect time to gather around a table filled with warmth, good food and thoughtful details. Adding handmade place cards brings a personal touch that makes each guest feel truly welcomed.
These small creations do double duty by setting the tone for your meal and becoming keepsakes guests can take home. Each idea uses accessible materials and clear techniques so you can craft with confidence.
1. Mini Cornucopia Favor Holders
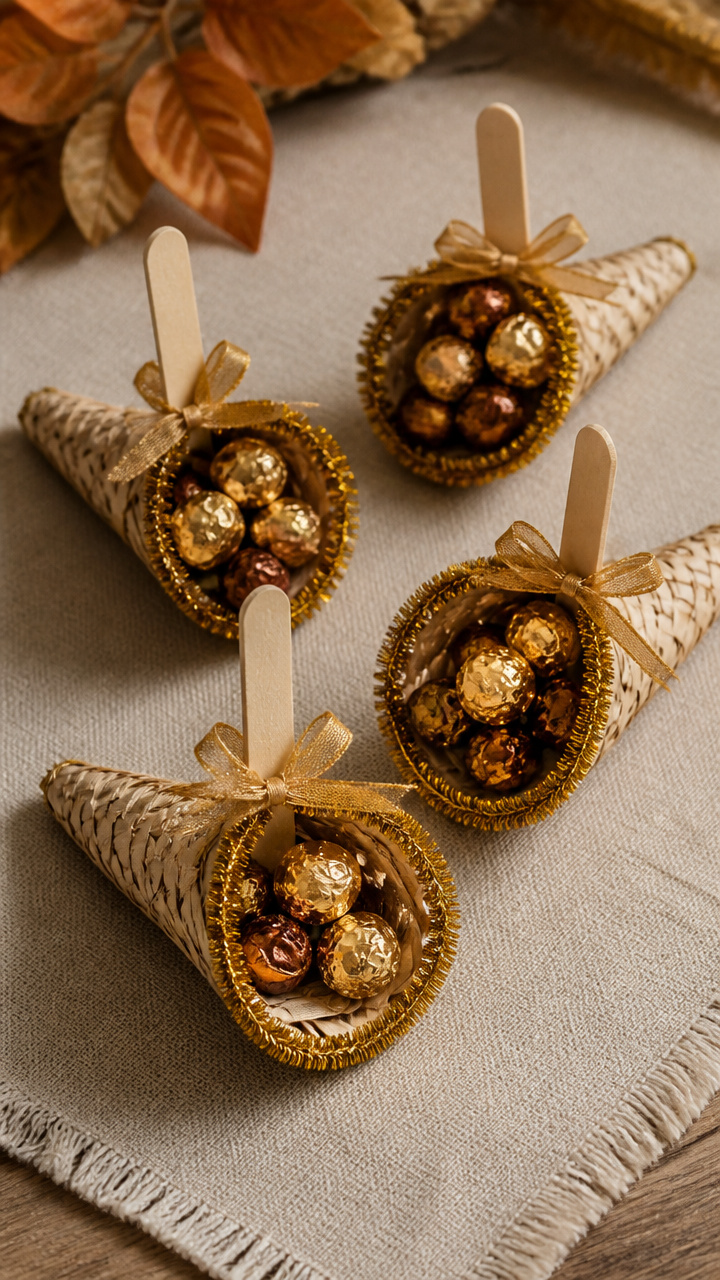
Tiny woven baskets hold both a name card and a sweet treat. Their golden texture catches the light and adds rustic charm to any seat.
Materials Needed
- 4-inch natural raffia baskets (12 count)
- Craft sticks, 3/8 inch wide (24 pieces)
- Brown pipe cleaners (12 pieces)
- White cardstock, 8.5 x 11 inches (1 sheet)
- Gold calligraphy pen
- Hot glue gun with low-temp glue sticks
- Scissors
How to Make It
- Cut each craft stick in half using scissors. Set aside 2 pieces per basket.
- Write each guest's name on a 2×3 inch cardstock rectangle using the gold calligraphy pen.
- Glue the two craft stick halves vertically inside the basket opening to form a pocket backing.
- Slide the name card between the sticks so it stands upright. Secure the bottom edge with a dot of glue.
- Twist a brown pipe cleaner around the top rim of the basket for extra stability and a finished look.


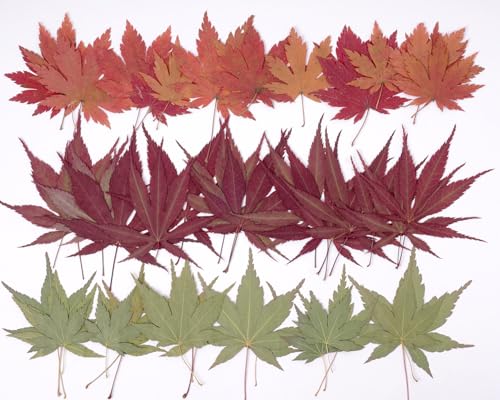
2. Maple Leaf Name Tags
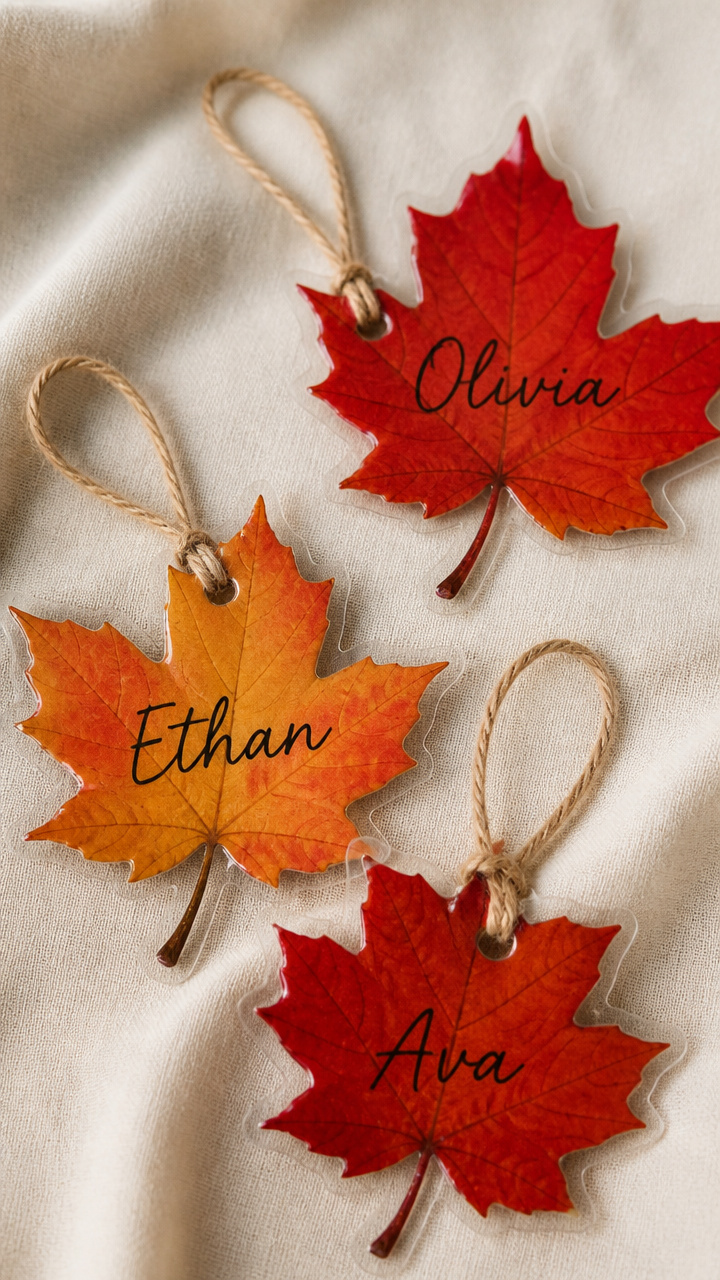
Crisp red and orange leaves made from real pressed maple leaves carry names in elegant script. They bring autumn’s color directly to the table.
Materials Needed
- Pressed maple leaves (12 pieces), cleaned and dried
- Clear self-adhesive laminating sheets, 8.5 x 11 inches (2 sheets)
- Fine-tip black marker
- Hole punch
- Natural jute twine, 12 feet
- Small paintbrush
How to Make It
- Place each maple leaf centered on a laminating sheet and seal according to package instructions.
- Once cooled, trim excess laminate closely around each leaf using scissors.
- Use the black marker to write one guest's name along the central vein of each leaf.
- Punch a hole at the base of the stem and thread 6 inches of jute twine through it.
- Tie the ends into a loop so the tag can drape over a napkin or glass.

3. Mini Wooden Pumpkin Stamps
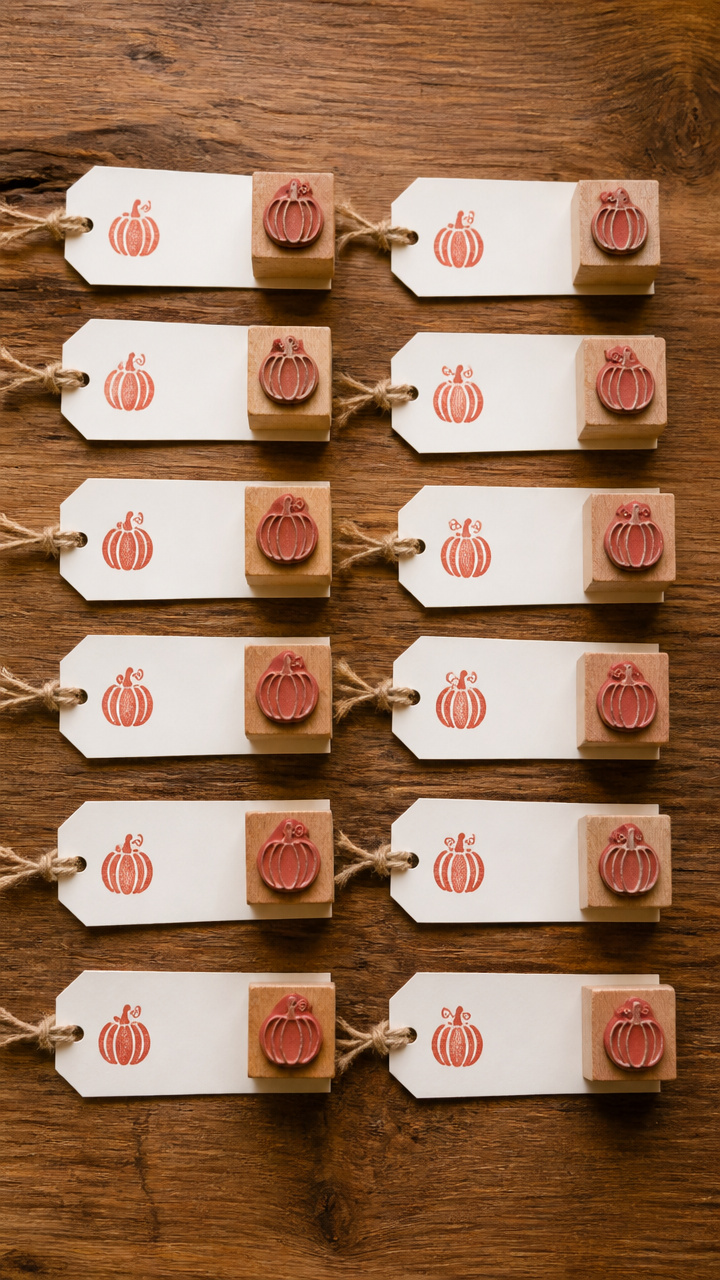
Hand-carved stamps imprint tiny pumpkins beside each name. Guests receive their own stamp as a party favor.
Materials Needed
- 1-inch square basswood blocks (12 pieces)
- Linoleum carving set with #1 and #3 gouges
- Pencil
- Red rubber stamp ink pad
- Cardboard letter stickers, 0.5 inch high (one full alphabet set)
- White place card tags, 2×4 inches (12 pieces)
- Ruler
How to Make It
- Draw a simple pumpkin outline on each block using pencil, about 0.75 inches tall.
- Carve away the background using the #1 gouge, leaving the pumpkin shape raised.
- Press each carved block onto the ink pad, then firmly stamp once onto the upper left corner of a place card.
- Place a letter sticker spelling one guest's name down the center of each card.
- Align all text and images using the ruler before securing letters with fingertip pressure.


4. Acorn Cap Name Tags
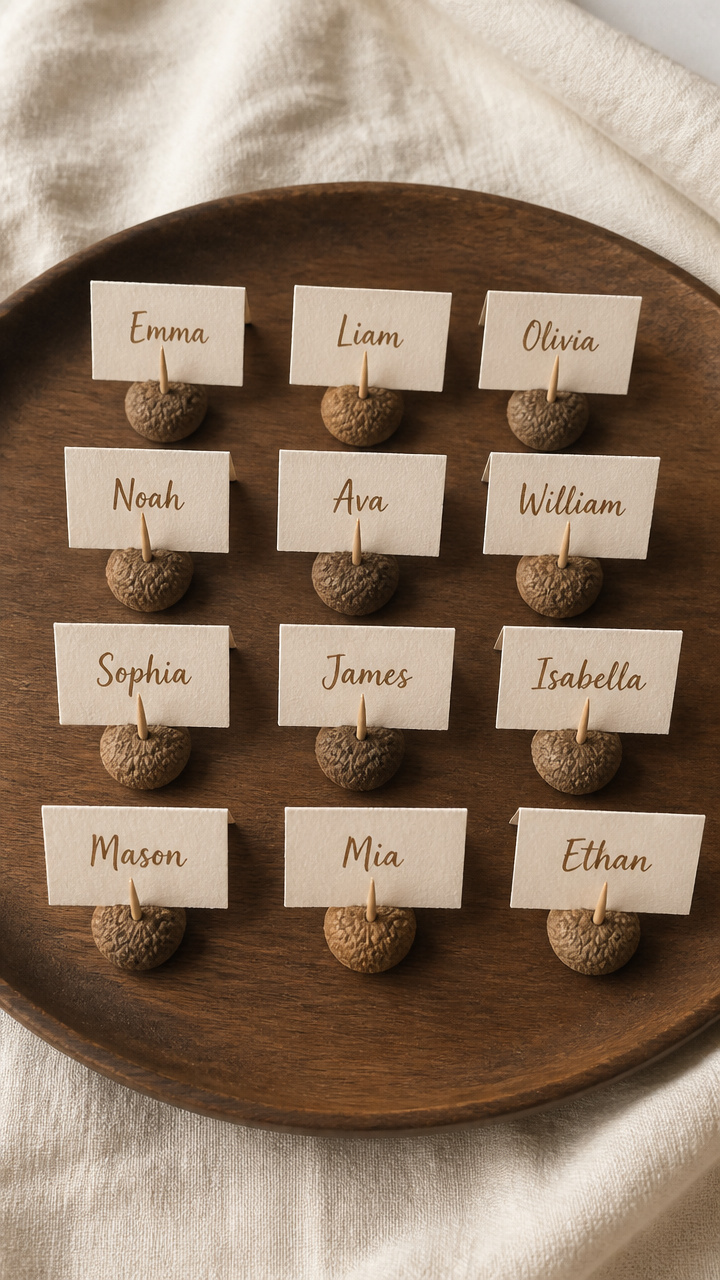
Real acorn caps paired with handwritten labels create earthy elegance. Each cap holds a folded note with the guest's name.
Materials Needed
- Collected acorn caps, cleaned (12 pieces)
- Toothpicks, round type (12 pieces)
- Watercolor paper, 90 lb weight (half sheet)
- Burnt sienna watercolor paint
- Size 1 round paintbrush
- Calligraphy nib and holder
- Iron gall ink
How to Make It
- Cut watercolor paper into 1.5-inch circles using scissors.
- Use the paintbrush to lightly wash each circle with burnt sienna paint. Let dry completely for 10 minutes.
- Dip the calligraphy nib into iron gall ink and write one name per circle in slanted script.
- Fold each circle in half and slide it onto the flat end of a toothpick.
- Insert the pointed end of the toothpick into an acorn cap so the name faces outward.


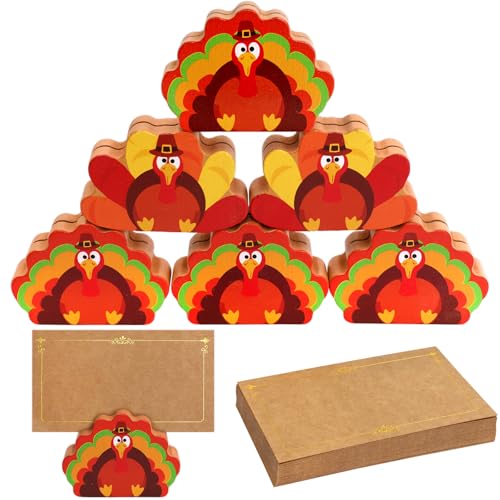
5. Burlap Banner Place Markers
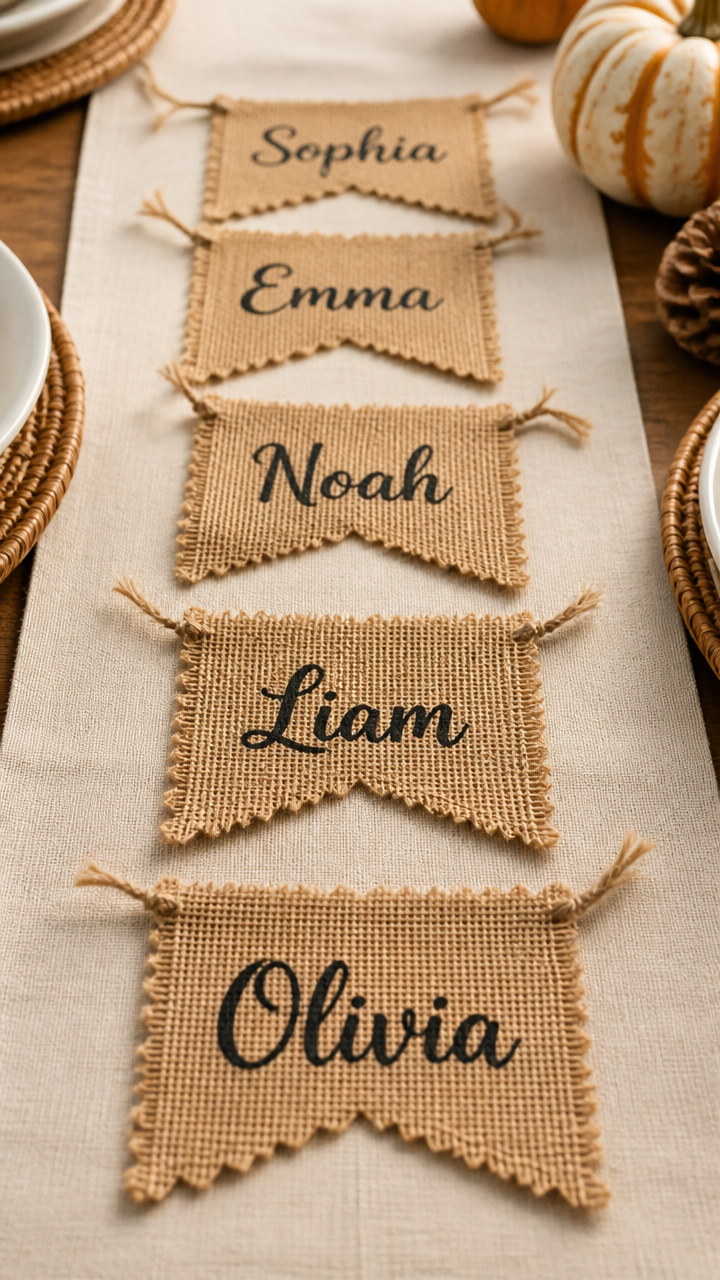
A continuous burlap pennant runs down the table, each flag bearing a guest's name. The fabric fringe adds soft texture.
Materials Needed
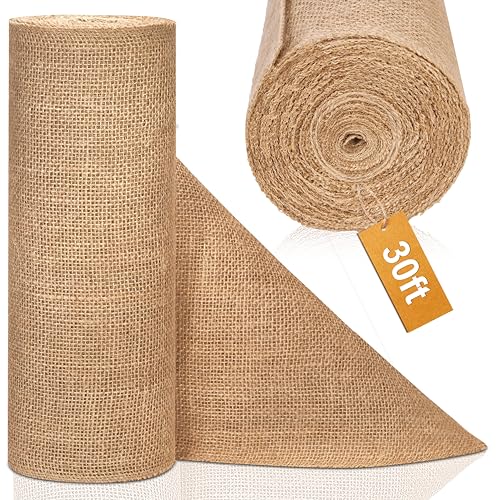
- Natural burlap roll, 12 inches wide (3 feet length)
- Pinking shears
- Ruler
- Fabric chalk
- Black fabric paint marker
- Dressmaker's tracing wheel
- Basting thread, white
How to Make It
- Cut the burlap into 12 trapezoids measuring 3 inches wide at the top, 4 inches at the base, and 5 inches tall using pinking shears.
- Perforate a straight line 0.5 inches from the top edge of each flag using the tracing wheel and ruler.
- Write one guest's name in the center of each flag with the fabric paint marker.
- Thread basting thread through the perforated edge, pulling snug to gather into a banner.
- Leave 6 inches of thread free on each end for tying to chair backs or centerpieces.

6. Cinnamon Stick Name Scrolls
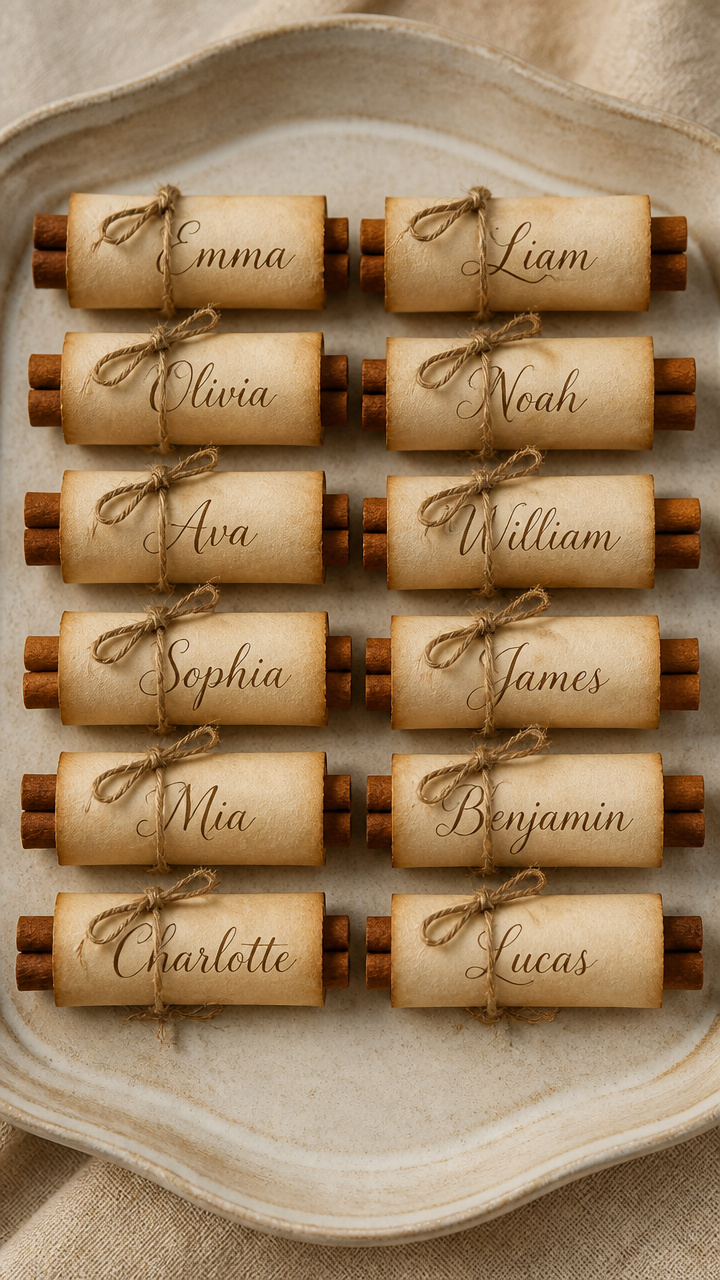
Rolled parchment tied with twine reveals names written in old-world style. The scent of cinnamon lingers gently.
Materials Needed
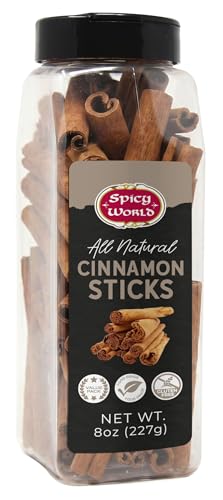
- Cinnamon sticks, 3 inches long (12 pieces)
- Parchment paper, 4 x 6 inches (12 pieces)
- Sepia fine-tip marker
- Jute string, 1 mm thickness (12 feet)
- Small wooden clothespins (12 pieces)
- Mod Podge Matte
How to Make It
- Write one guest's name diagonally across each parchment piece using the sepia marker.
- Roll the parchment tightly around a cinnamon stick starting from one corner.
- Secure the roll with a wooden clothespin at the top edge.
- Tie 6 inches of jute string around the clothespin and knot twice.
- Brush a thin layer of Mod Podge over the entire scroll to seal and prevent unrolling.


7. Mini Wheat Stem Markers
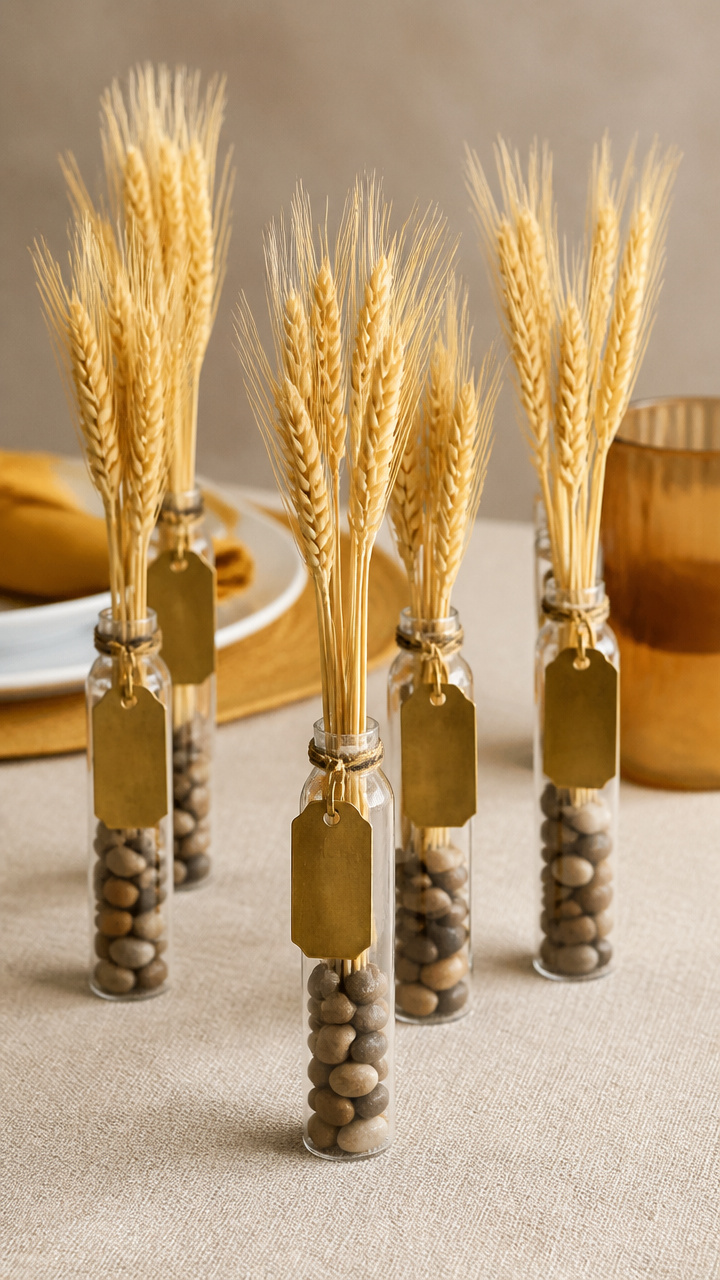
Delicate wheat sprigs stand in tiny vases with brass tags. Their golden hue echoes autumn harvest light.
Materials Needed
- Preserved wheat stems, 6 inches tall (12 pieces)
- Brass luggage tags, 1.5 x 3 inches (12 pieces)
- Black engraving pen
- Glass test tubes, 4 inches tall (12 pieces)
- Decorative river rocks, small (12 pieces)
- Funnel
How to Make It
- Place one river rock into each test tube using fingers to prevent breakage.
- Fill each tube halfway with water using a funnel.
- Insert one wheat stem per tube and adjust position to stand straight.
- Write one guest's name on each brass tag with the engraving pen.
- Hook the tag onto the stem just below the head using the attached wire loop.


8. Turkey Feather Place Picks
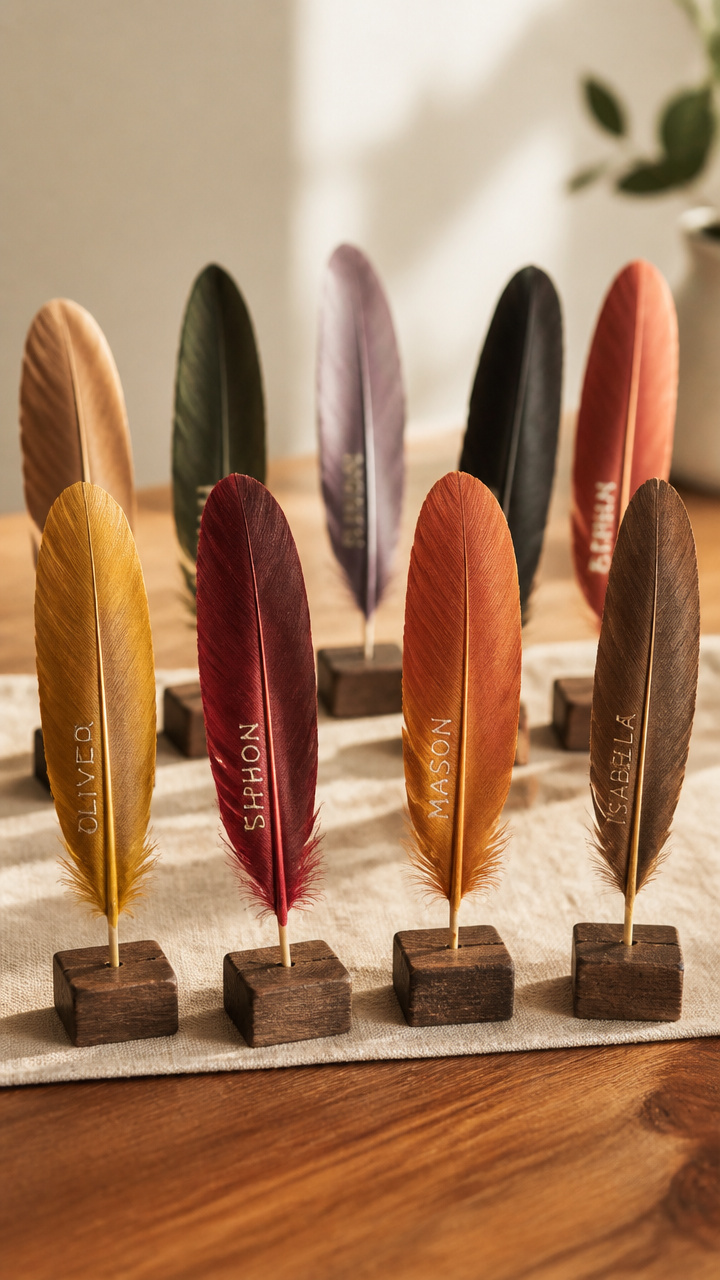
Real dyed turkey feathers stand upright with names etched on their quills. Their subtle iridescence catches candlelight.
Materials Needed
- Dyed turkey feathers, 6 inches long (12 pieces)
- Fine-grit sandpaper
- White gel pen
- Wooden base blocks, 1x1x2 inches (12 pieces)
- Drill with 1/8 inch bit
- Craft knife
How to Make It
- Sand the lower 0.5 inch of each feather quill to remove shine and help grip.
- Use the drill to make a 1/8 inch deep hole in the center of each wooden block.
- Write one guest's name near the base of each quill using the gel pen.
- Insert the sanded end of the feather into the hole in the block.
- Trim any uneven wood on the block bottom with the craft knife for stability.


9. Pumpkin Seed Name Rings
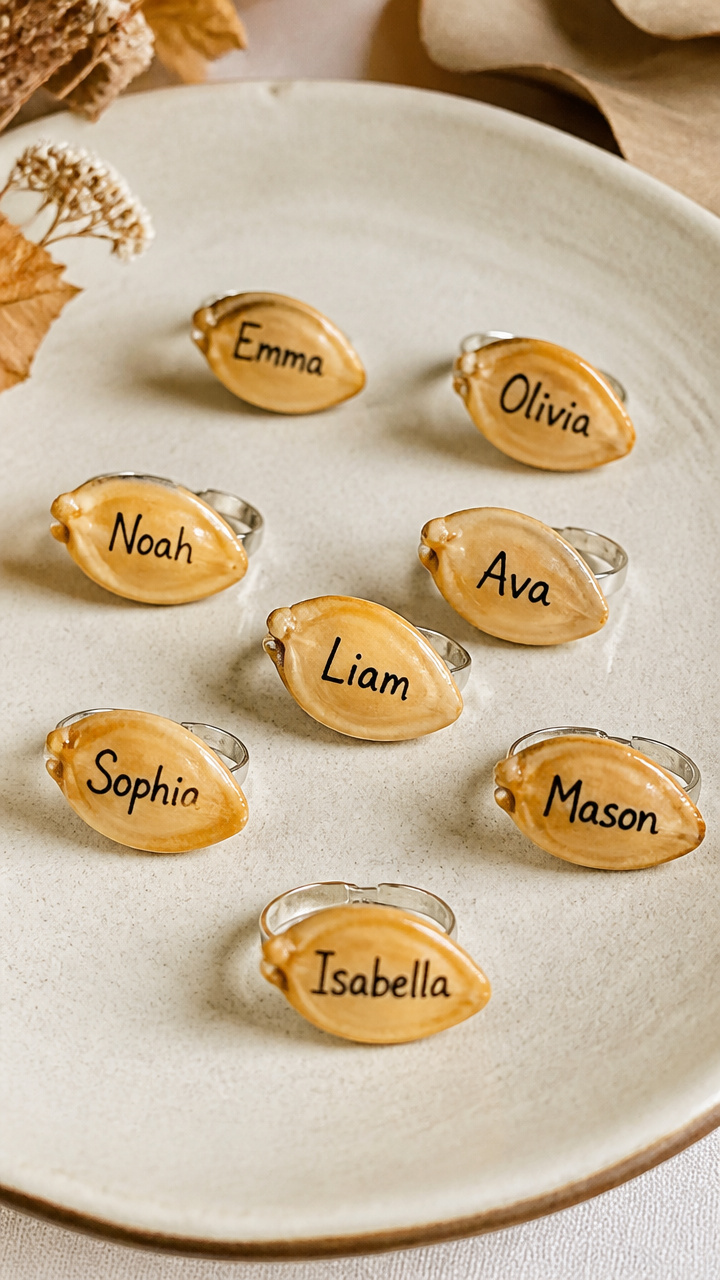
Polished pumpkin seeds glued to ring bases carry engraved names. Their smooth finish surprises guests with unexpected detail.
Materials Needed
- Large raw pumpkin seeds (12 pieces)
- Silver blank ring blanks with flat tops (12 pieces)
- Clear epoxy resin (2 oz kit)
- Mixing stick
- Toothpicks
- Black micro-pen
- Gloves
How to Make It
- Put on gloves and mix the epoxy resin according to the package directions.
- Place one seed flat-side down in the center of each ring base.
- Use a toothpick to apply a drop of epoxy over the entire seed surface.
- Let cure undisturbed for 24 hours on a level surface.
- Write one guest's name carefully on the metal band using the micro-pen.


10. Apple Slice Clothespin Tags
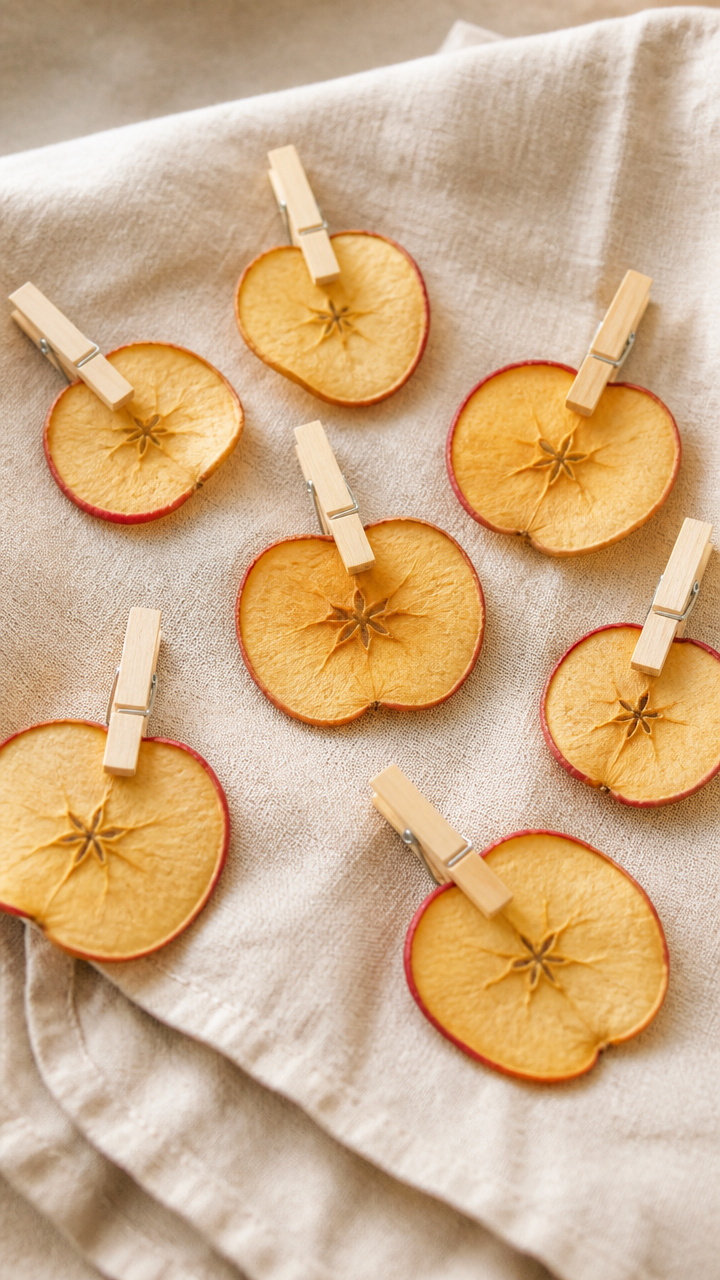
Thin apple slices preserved and sealed hold clothespins that clip to napkin folds. Their fruity scent fades naturally.
Materials Needed
- Green apples (6 pieces)
- Vegetable peeler
- Dehydrator
- Lemon juice, 1/4 cup
- Paintbrush
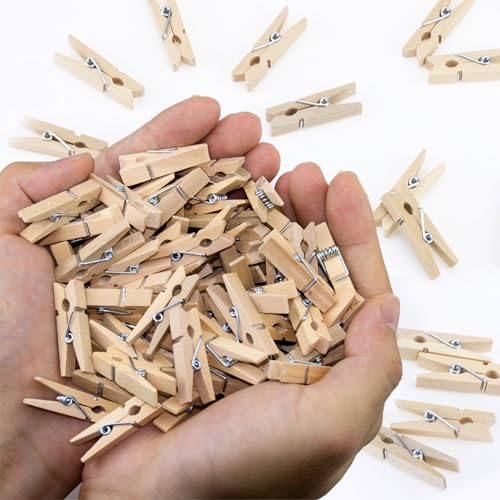
- Clothespins, mini wooden (12 pieces)
- Red permanent marker
How to Make It
- Peel each apple and slice crosswise into 1/4 inch rounds using the peeler.
- Coat each slice with lemon juice using the brush to prevent browning.
- Dry slices in the dehydrator at 135°F for 8 hours until crisp.
- Write one guest's name on each clothespin with the red marker.
- Clip each clothespin to the edge of a dried apple slice and attach to a folded napkin.


11. Clay Corn Cob Ornaments
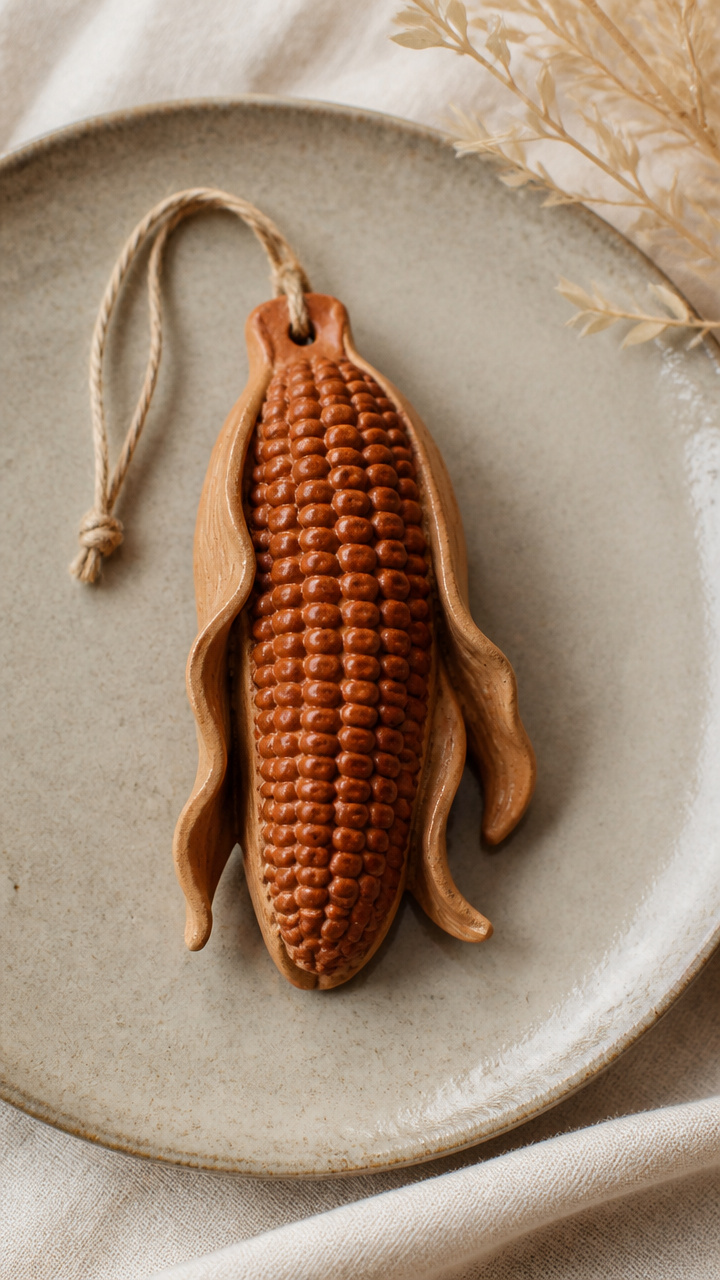
Hand-sculpted corn cobs in terracotta clay sit beside each plate. Each kernel is individually shaped for realism.
Materials Needed
- Air-dry terracotta clay, 1 pound block
- Plastic rolling pin
- X-Acto knife
- Toothpick
- Brown acrylic paint
- Small paintbrush
- Pencil
How to Make It
- Roll clay to 1/2 inch thickness using the rolling pin on a flat surface.
- Cut 12 rectangles measuring 1×2 inches with the X-Acto knife.
- Shape each rectangle into a slight curve and press gently to form a cob base.
- Use the toothpick to carve individual kernels in staggered rows across the surface.
- After drying overnight, paint each cob with brown paint and write a guest's name on the side with the pencil tip.

12. Pinecone Base Holders
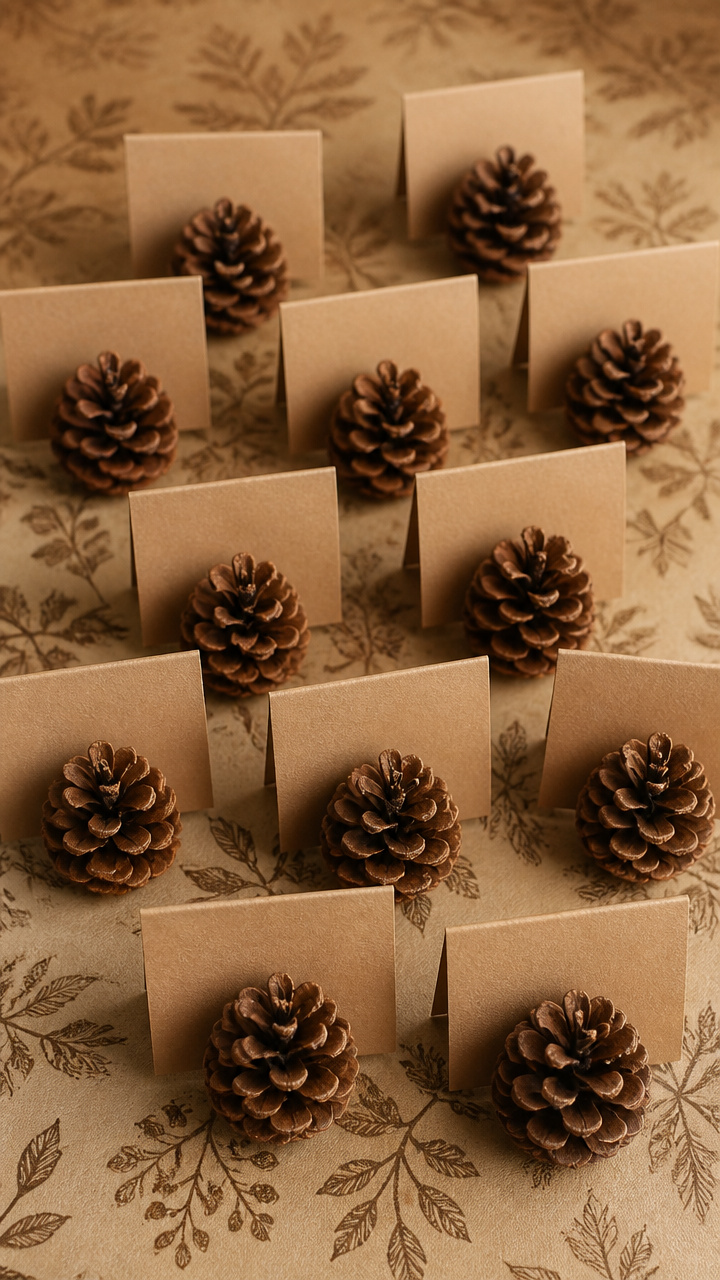
Small pinecones support folded cards with names displayed front and center. Their woody scent blends with seasonal decor.
Materials Needed
- Small pinecones, 2 inches tall (12 pieces)
- Double-sided tape squares (12 pieces)
- Heavy kraft paper, 8.5 x 11 inches (1 sheet)
- Ruler
- Scissors
- Brown ink pad
- Rubber stamp with leaf motif
How to Make It
- Cut kraft paper into 2×4 inch rectangles using scissors and ruler.
- Fold each rectangle in half to form a 2×2 inch card.
- Stamp a leaf in the top right corner of each card using the ink pad.
- Write one guest's name in the center with a dark pencil.
- Attach a tape square to the back of the card and press firmly onto the pinecone base.


13. Walnut Shell Mini Boats
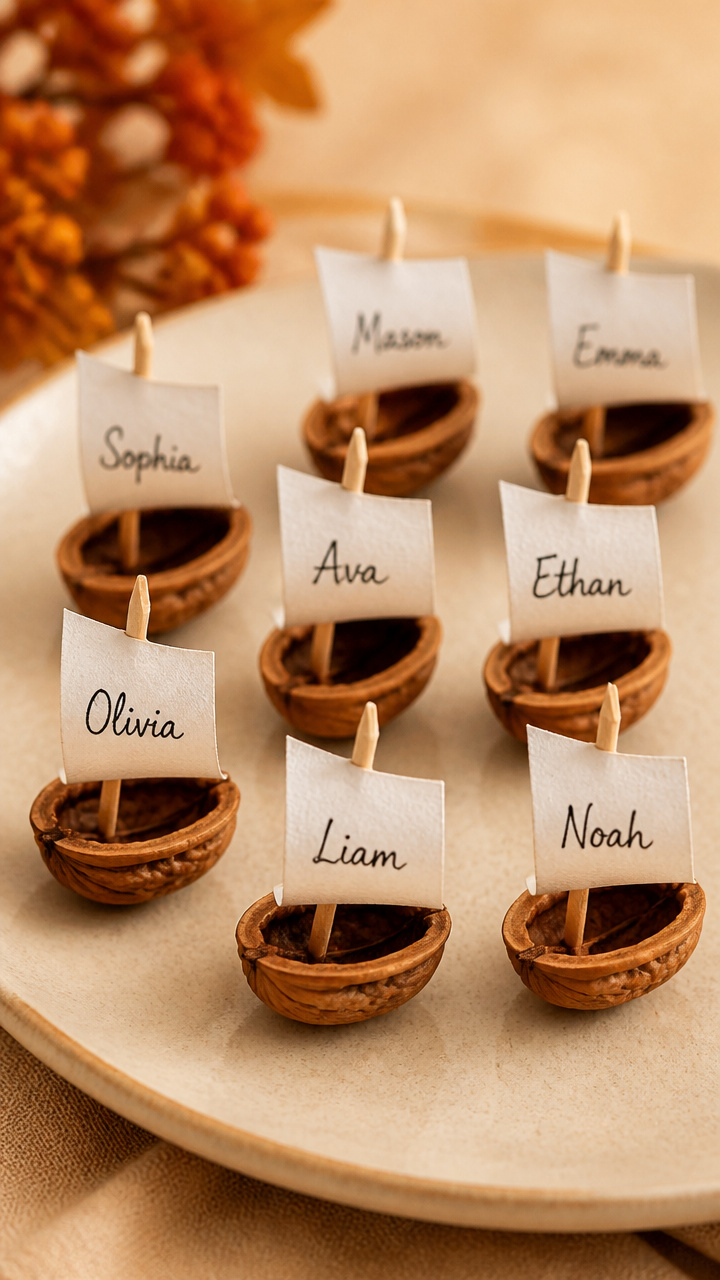
Hollowed walnut shells become tiny boats carrying paper sails with names. Their rich brown tones add depth.
Materials Needed
- Walnut halves, undrilled (12 pieces)
- Toothpicks, flat-ended (12 pieces)
- White rice paper, 2×2 inches (12 pieces)
- Black waterproof pen
- Craft knife
- Sandpaper, medium grit
- Small bowl of water
How to Make It
- Soak each walnut half in water for 5 minutes to soften interior fibers.
- Use the craft knife to gently scrape out loose material until the shell is clean.
- Sand rough edges lightly with sandpaper until smooth.
- Write one guest's name on a rice paper square using the waterproof pen.
- Roll the paper into a sail and slide it onto a toothpick mast. Insert the mast into the shell center.


14. Felt Harvest Vegetable Picks
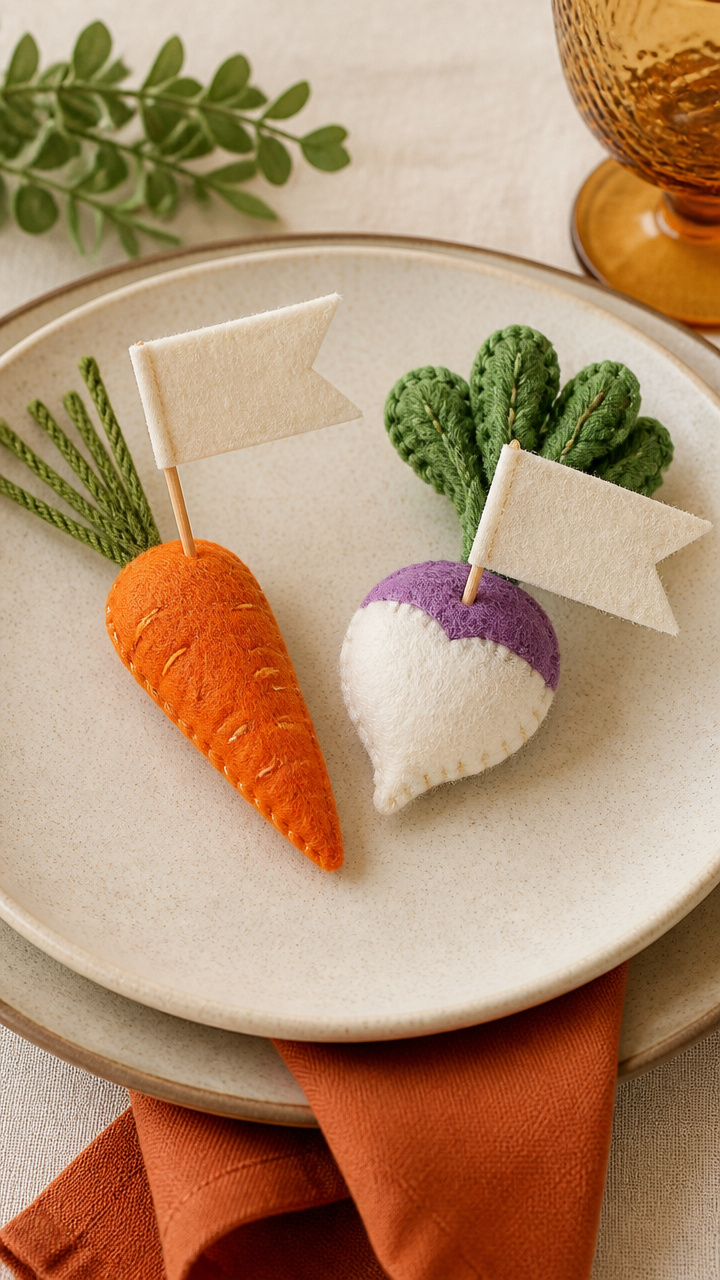
Soft felt carrots and turnips perch on plates with name flags. Their bright orange and white draw cheerful attention.
Materials Needed
- Orange felt sheet, 9×12 inches
- White felt sheet, 9×12 inches
- Green embroidery floss
- Needle
- Scissors
- Felt-safe fabric marker
- Cardboard template (carrot shape, 3 inches long)
How to Make It
- Trace the carrot template onto orange felt and cut 12 pieces.
- Cut 12 green leaf shapes, 1.5 inches tall, from green felt.
- Sew three leaves together at the base with needle and green floss.
- Write one guest's name on each leaf cluster with the fabric marker.
- Pinch the top of the carrot body and sew the leaf cluster securely to hold it upright.


15. Dried Citrus Name Coasters
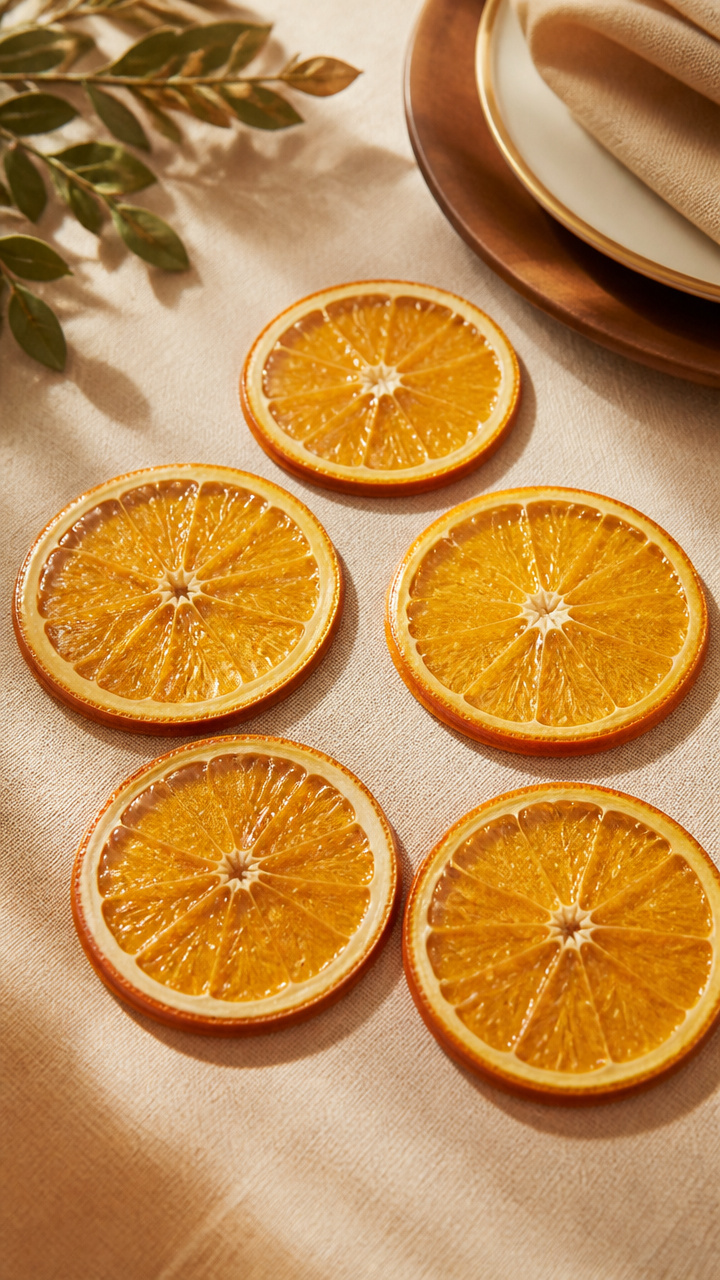
Thin orange slices dried and sealed double as coasters and name markers. Their sunny color lifts the table mood.
Materials Needed
- Oranges (6 pieces)
- Chef's knife
- Baking sheet
- Parchment paper
- Oven
- Clear spray sealant
- Black paint pen
How to Make It
- Slice each orange into 1/4 inch rounds using the chef's knife.
- Line the baking sheet with parchment and arrange slices in a single layer.
- Bake at 200°F for 4 hours, flipping every hour until fully dry and crisp.
- Spray both sides lightly with sealant and let dry for 30 minutes.
- Write one guest's name on the outer edge of each coaster with the paint pen.


Each of these crafts brings something unique to your Thanksgiving table. You’ll enjoy making them as much as your guests will love discovering their names.