15 Handmade New Year Decor Ideas

Glitter spills across the table, scissors snip through crisp paper, and gold paint catches the light as you shape something joyful with your hands. There’s a quiet magic in making your own celebrations, especially when the air hums with fresh beginnings.
These handmade decorations carry more than sparkle and shine. Each one holds your time, your choice of color, your intention. Welcome the next chapter with pieces made just the way you like them.
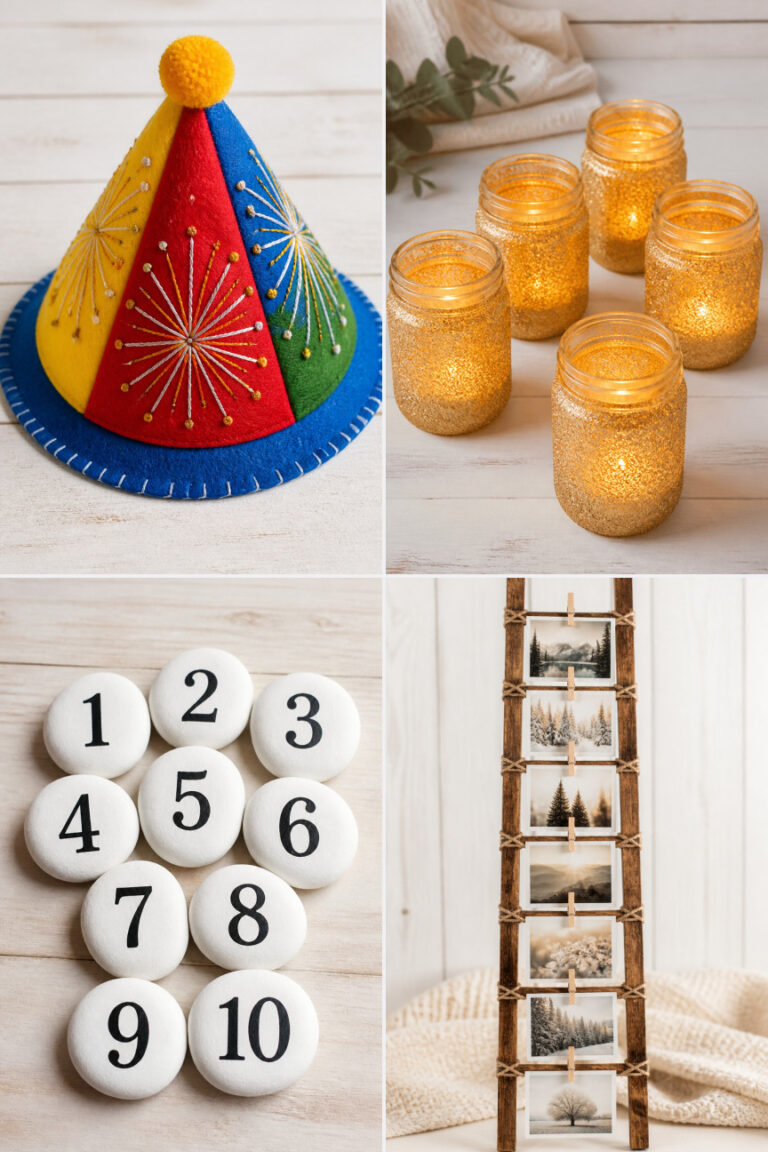
1. Glittered Mason Jar Luminaries
Easy
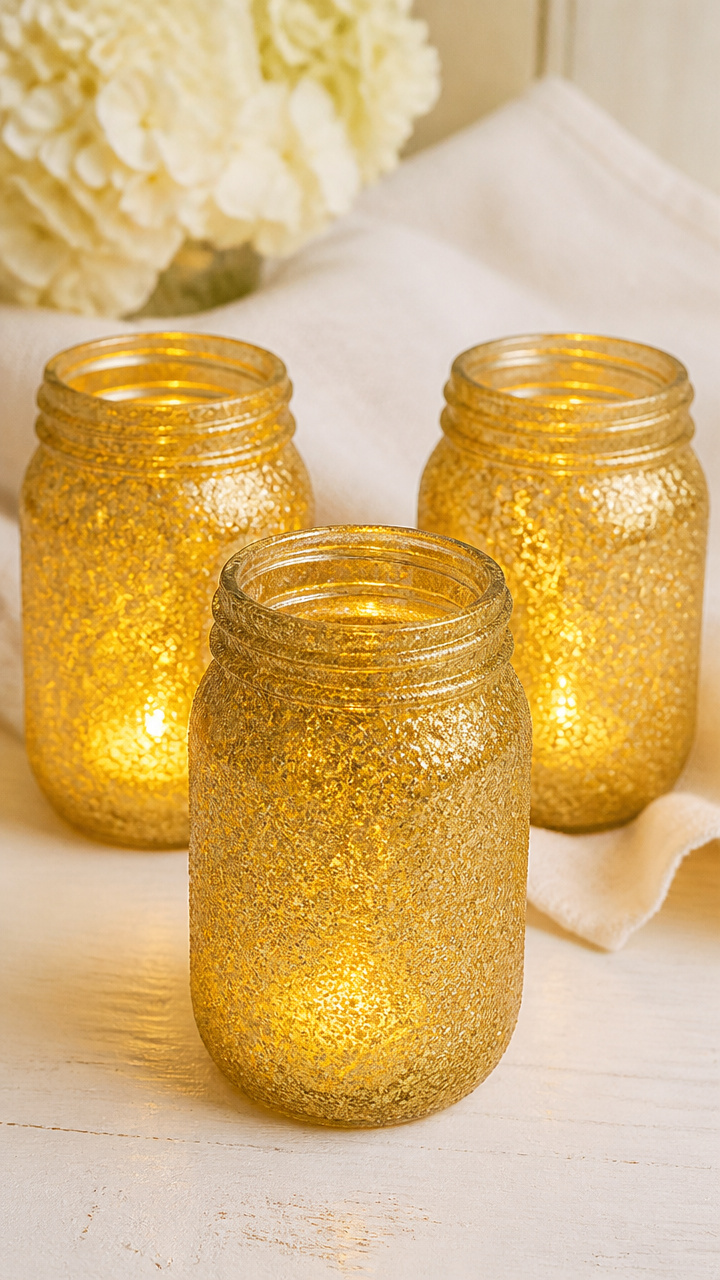
Soft golden light glows through a shimmering glass surface, casting dancing reflections on your walls. These luminaries turn simple jars into cozy centerpieces for your celebration.
Materials Needed
- 3 clean 16 oz mason jars
- gold glitter glue (120 ml)
- white glue (120 ml)
- paintbrush (1 medium flat brush)
- battery-operated tea lights (3)
- paper plate
How to Make It
- Pour 60 ml of white glue onto the paper plate. Add 60 ml of gold glitter glue and stir gently with the brush to blend.
- Use the brush to apply a thin, even layer of the glue mixture to the outside of one mason jar. Cover the entire surface.
- Set the jar aside on the plate to dry completely for at least 2 hours. Repeat for the remaining jars.
- Once dry and no longer tacky, place one tea light inside each jar and turn it on.


2. Foam Number 3D Wall Art
Moderate
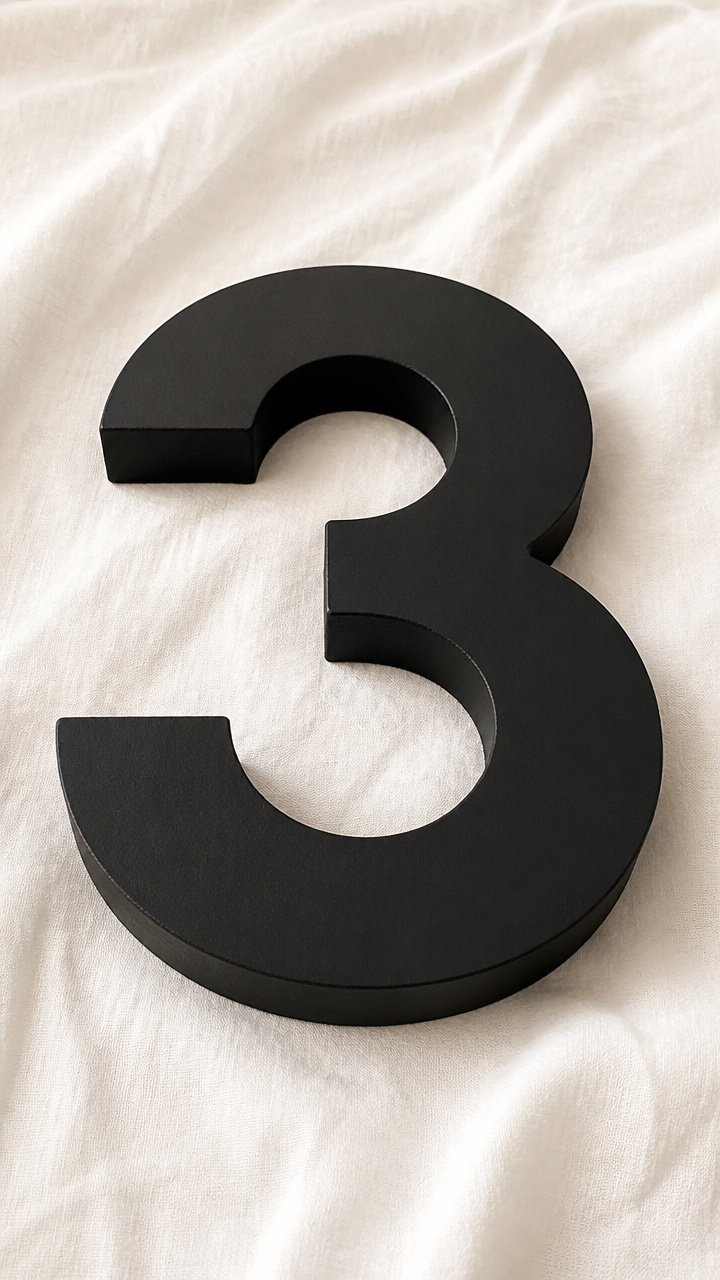
Bold and lightweight, this large number stands proudly on your wall, announcing the new year with clean lines and crisp color. It’s a focal point that feels festive without clutter.
Materials Needed
- 2 sheets 20 x 30 inch white foam board
- black craft paint (120 ml)
- paint roller (small, 4 inch)
- exacto knife
- cutting mat
- ruler (30 cm)
- pencil
- double-sided foam tape (1 roll)
How to Make It
- Use the ruler and pencil to draw the outline of a large number on one foam board sheet. Make it fill most of the surface.
- Cut out the number carefully with the exacto knife on the cutting mat. Use steady, short strokes for clean edges.
- Paint both sides of the cut number with black craft paint using the roller. Let dry for 1 hour, then apply a second coat.
- Cut four 1 inch strips of double-sided foam tape and place them on the back corners and center edges of the painted number.
- Press the number firmly onto the second foam board sheet to create a thick 3D effect. Trim any overhang with the knife.


3. Tissue Paper Pom-Poms
Easy
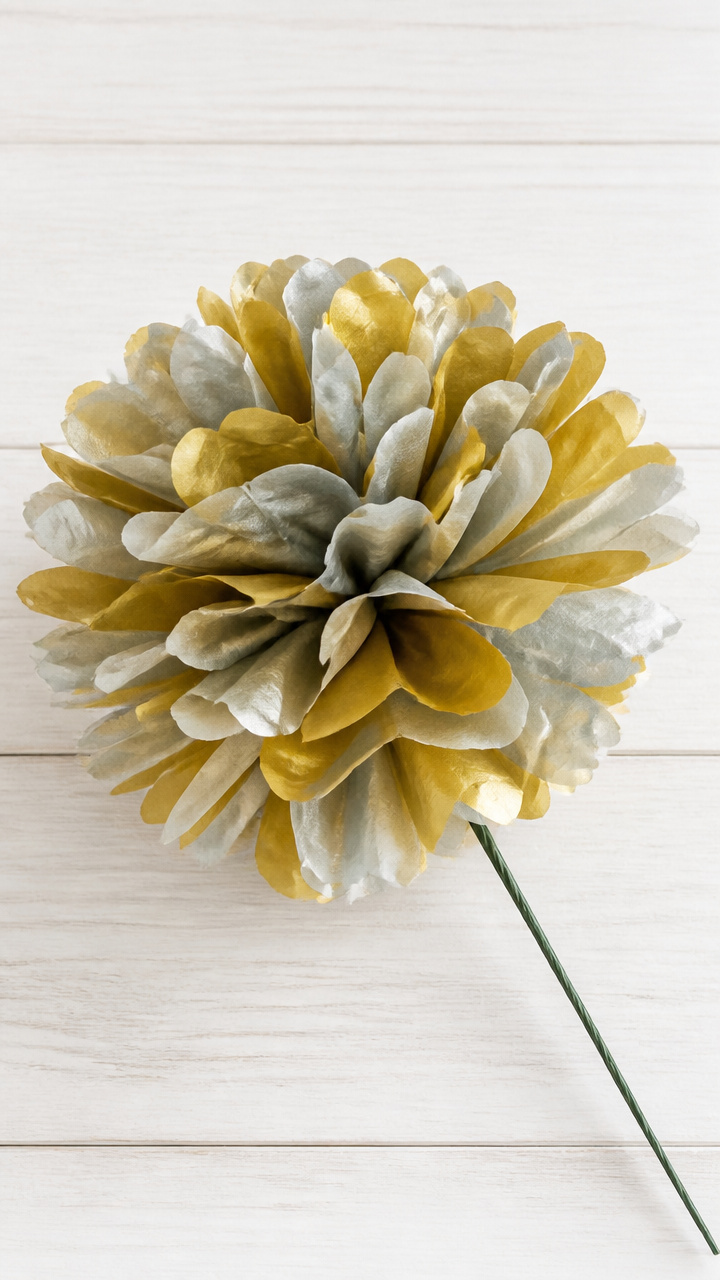
Fluffy bursts of color hang like confetti frozen in mid-air, adding a cheerful pop wherever they float. These pom-poms are light, festive, and simple to mass-produce.
Materials Needed
- 15 sheets gold tissue paper
- 15 sheets silver tissue paper
- 12 inch green floral wire (1 roll)
- scissors
How to Make It
- Stack 5 sheets of gold tissue paper and 5 sheets of silver tissue paper alternately into one pile.
- Fold the stack accordion-style, making 1.5 inch folds, until the entire stack is folded.
- Wrap the floral wire around the center of the folded stack and twist tightly on the back to secure.
- Use scissors to round both ends of the folded stack. Carefully fan out each tissue layer one by one to form a full pom-pom.


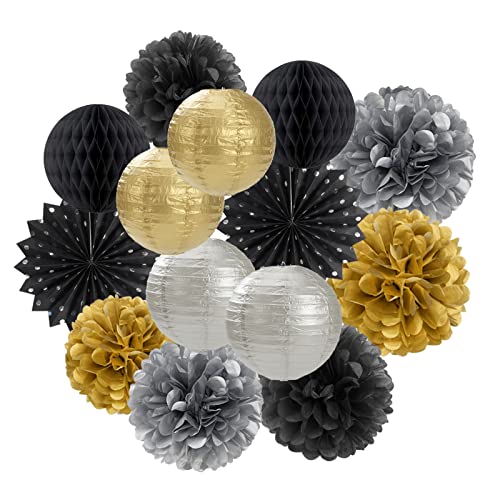
4. Painted Wood Slice Ornaments
Moderate

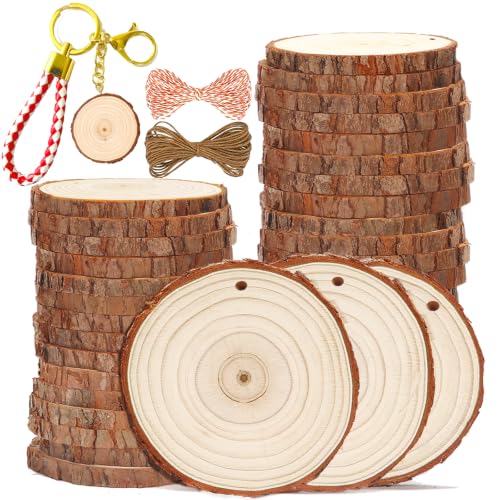
Rustic circles of wood glow with hand-painted numbers and metallic details, bringing warmth to your decor. Hang them on a mantle or tree for a natural yet celebratory touch.
Materials Needed
- 6 wood slices (4 inch diameter, 0.5 inch thick)
- white acrylic paint (60 ml)
- gold acrylic paint (60 ml)
- small round paintbrush (size 2)
- fine-tip black paint pen
- natural jute twine (1 meter)
- scissors
How to Make It
- Paint one side of each wood slice with white acrylic paint using the small brush. Let dry for 30 minutes. Apply a second coat if needed.
- Use the gold paint to write a single number on each slice, such as 2 0 2 7 !, and . Let dry for 20 minutes.
- Outline each number with the black paint pen for contrast. Add tiny gold dots around the edges with the tip of the brush.
- Cut six 12 inch pieces of jute twine. Tie one piece around the top edge of each slice to create a hanger.


5. Copper Wire Star Garlands
Advanced
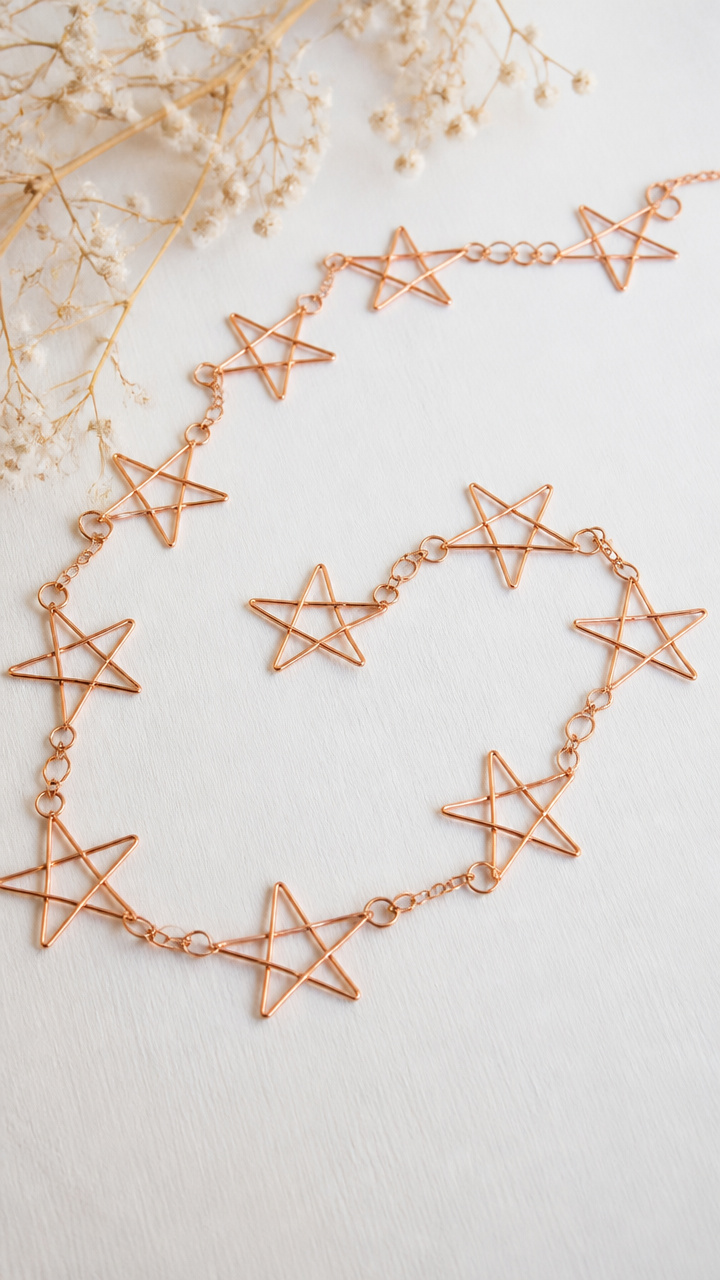
Delicate stars with a warm metallic gleam drape across shelves or windows, catching light with every subtle movement. These stars are elegant and modern, perfect for a refined celebration.
Materials Needed
- 18 gauge copper craft wire (5 meters)
- wire cutters
- round-nose pliers
- ruler
- star template (5 cm wide, printed on paper)
- pencil
- clear craft glue (30 ml)
- fine gold glitter (60 ml)
How to Make It
- Trace the star template onto a work surface with pencil. Cut ten 30 cm lengths of copper wire with the wire cutters.
- Use the round-nose pliers to bend one wire into a star shape, following the traced lines. Wrap the ends neatly at the back to secure.
- Repeat for all ten stars, ensuring consistent size and shape. Use pliers to tighten any loose ends.
- Brush a thin layer of clear glue over each star. Sprinkle gold glitter evenly over the glue. Let dry for 1 hour.
- String the stars onto a new 2 meter length of copper wire, spacing them 10 cm apart. Twist the ends to secure.


6. Chalkboard Countdown Plaque
Moderate
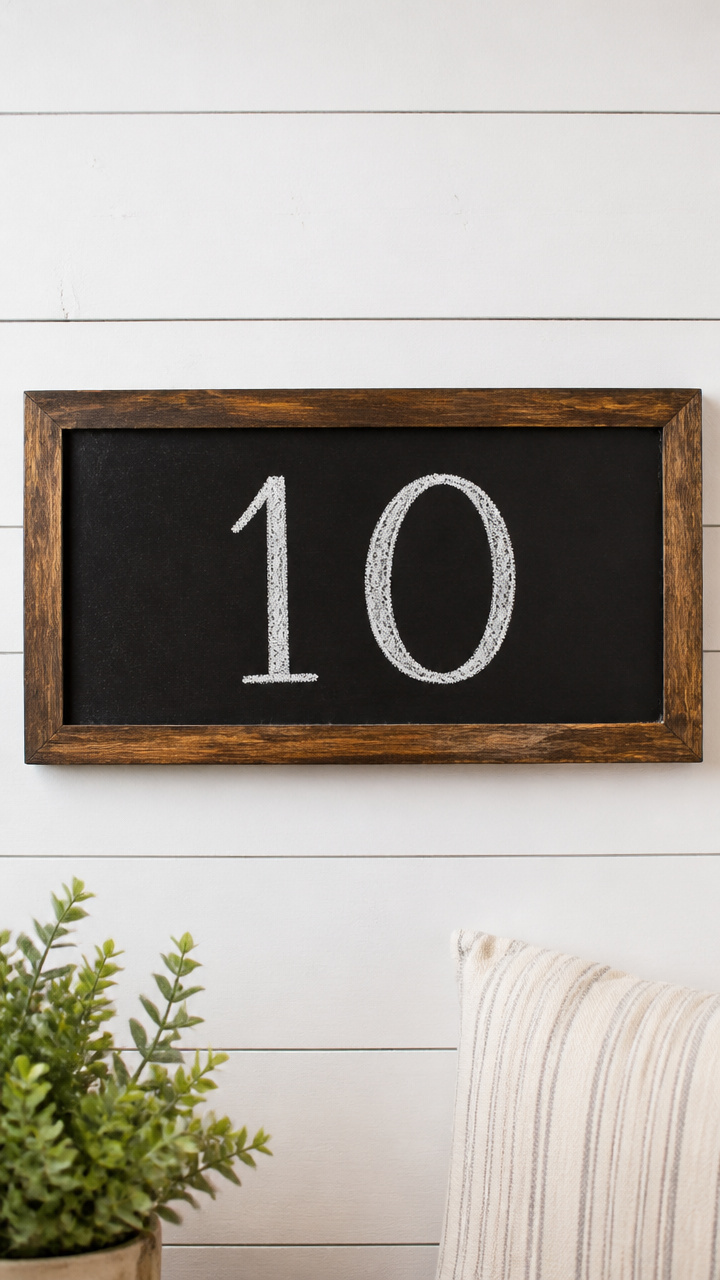
A sleek wooden board marks each day leading up to the celebration, building anticipation with a fresh number each morning. This is a meaningful ritual piece for your kitchen or entryway.
Materials Needed
- 1 unfinished pine board (20 x 10 x 1 inch)
- black chalkboard paint (120 ml)
- paintbrush (1 inch flat)
- white chalk marker
- sandpaper (220 grit)
- wood stain (60 ml, walnut)
- small foam brush
- painter’s tape
How to Make It
- Lightly sand the pine board with sandpaper until smooth. Wipe away dust with a dry cloth.
- Apply wood stain to the edges and back of the board using the foam brush. Let dry for 1 hour.
- Tape off a 1 inch border on the front using painter’s tape. Paint the center rectangle with black chalkboard paint. Let dry for 2 hours.
- Remove the tape. Use the white chalk marker to write 'Days Until New Year' at the top and draw 10 blank boxes below for numbers.


7. Felt Firework Wall Hangings
Easy
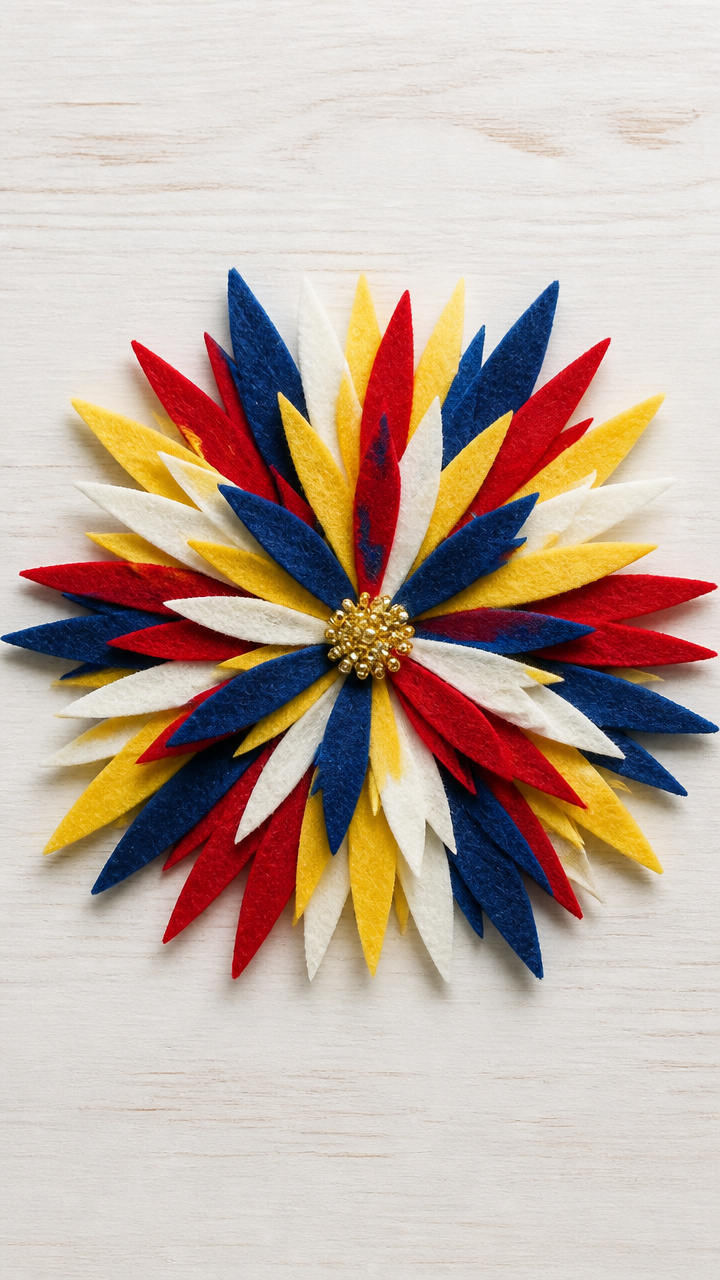
Colorful bursts of soft felt radiate from a central bead, mimicking fireworks in silent, textured form. These are safe, quiet celebrations perfect for kids’ rooms or play areas.
Materials Needed
- red felt sheet (9 x 12 inch)
- yellow felt sheet (9 x 12 inch)
- blue felt sheet (9 x 12 inch)
- white felt sheet (9 x 12 inch)
- gold pony beads (12 mm, 6)
- fabric scissors
- fabric glue (100 ml)
- needle and thread (gold color)
How to Make It
- Cut 18 long, narrow petal shapes from the felt sheets—6 each in red, yellow, and blue.
- Lay three different colored petals in a starburst pattern, overlapping slightly at the center.
- Place a gold bead in the middle. Use fabric glue to secure the base of each petal under the bead.
- Let dry for 1 hour. Thread the needle and stitch through the bead and fabric to reinforce the center.


8. Ribbon Tassel Door Swag
Easy
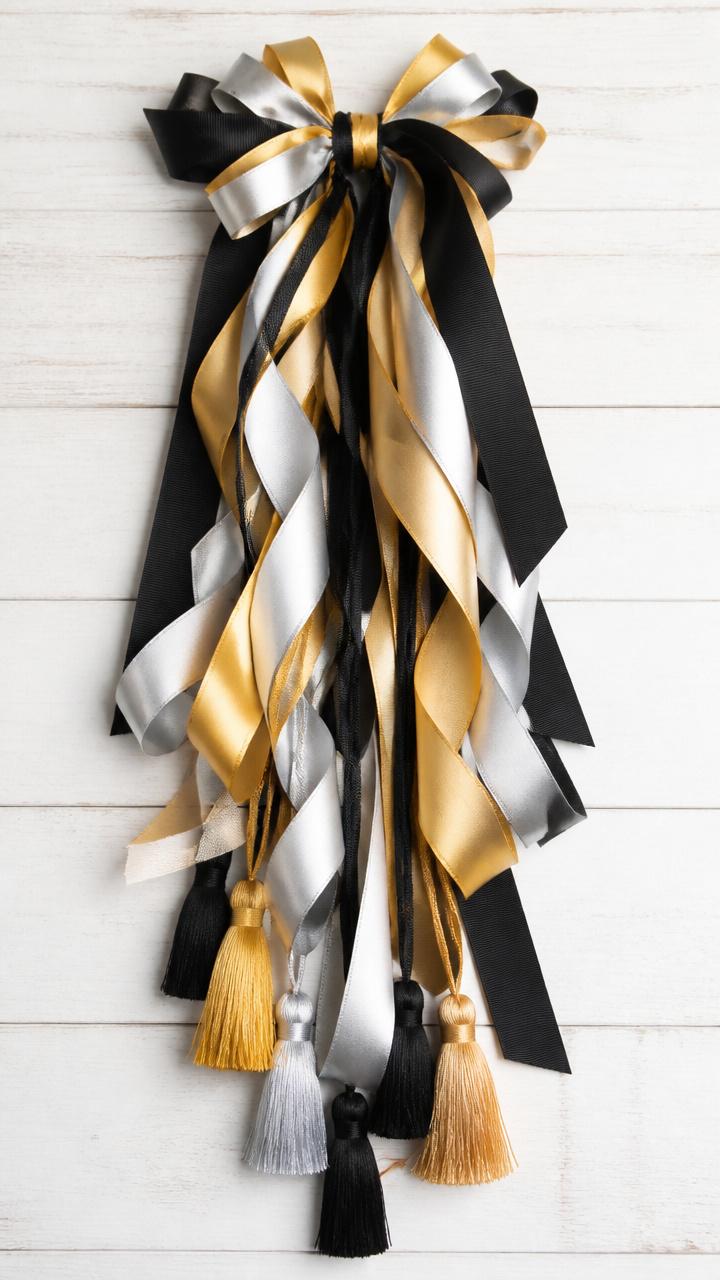
A bold cascade of satin ribbons flows from a doorknob, announcing the season with movement and shine. This swag is quick to make and instantly festive.
Materials Needed
- gold satin ribbon (2.5 cm wide, 3 meters)
- silver satin ribbon (2.5 cm wide, 3 meters)
- black grosgrain ribbon (2.5 cm wide, 1 meter)
- scissors
- hot glue gun
- hot glue sticks (5)
How to Make It
- Cut ten 30 cm lengths of gold ribbon and ten 30 cm lengths of silver ribbon.
- Stack the pieces together and fold a 10 cm piece of black grosgrain ribbon over the top to form a loop.
- Use the hot glue gun to secure the black ribbon around the folded top. Let the glue cool for 30 seconds.
- Fluff the tassel and hang it from a door with the loop.


9. Cork and Twine Number Sculptures
Moderate
Clusters of wine corks form the shape of a year, bound tightly with dark twine for a rustic, eco-friendly statement. This piece honors the past while welcoming what’s next.
Materials Needed
- 40 used wine corks
- black cotton twine (3 meters)
- hot glue gun
- hot glue sticks (10)
- cardboard base (15 x 10 inch)
- pencil
- ruler
How to Make It
- Use the pencil and ruler to draw a large number '2025' on the cardboard base. Make each digit 8 inches tall.
- Lay corks flat along the lines of the number, side by side, filling the shape completely. Glue each cork in place with hot glue.
- Wrap twine tightly around groups of five corks at three points along each digit. Knot securely and trim ends.
- Glue the entire structure to the cardboard base. Let dry for 1 hour.


10. Painted Wine Glass Markers
Easy
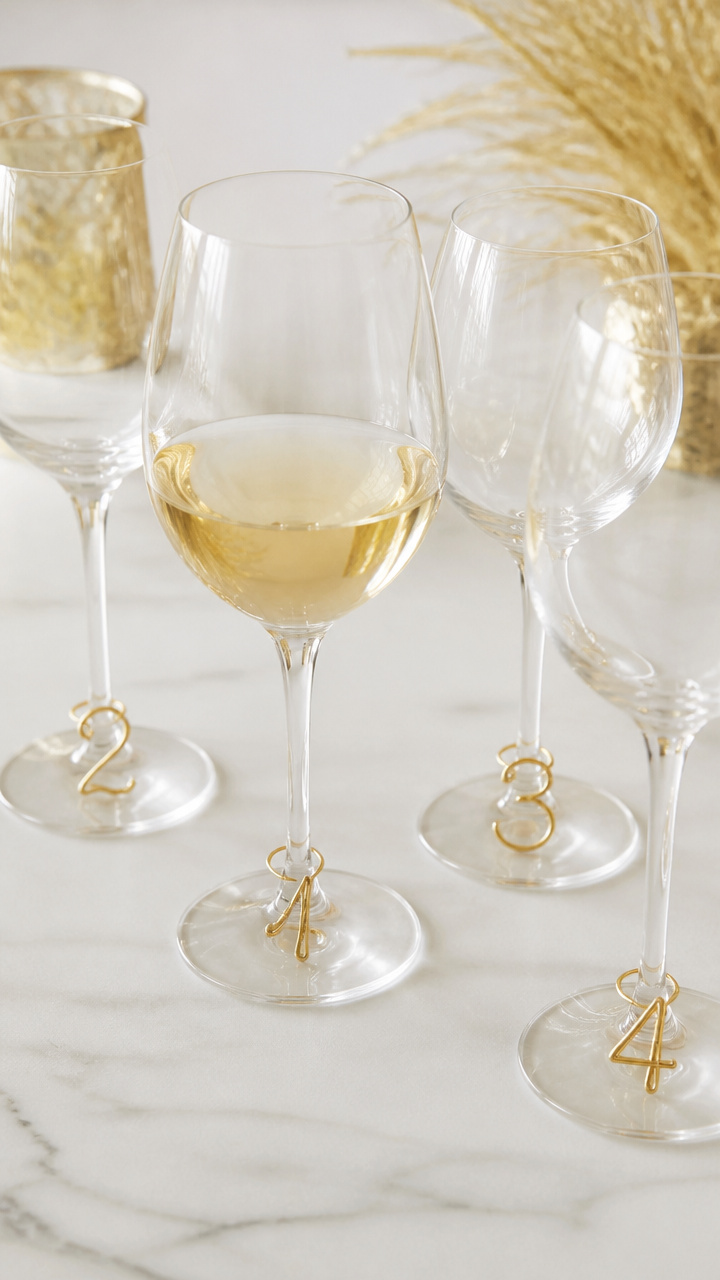
Each guest finds their glass by a tiny painted number on the stem, elegant and practical for your gathering. These markers double as keepsakes.
Materials Needed
- 6 clear wine glasses
- gold glass paint (60 ml)
- fine-tip paintbrush (size 0)
- pencil
- paper towel
How to Make It
- Wipe each wine glass stem with a dry paper towel to remove oils.
- Use the pencil to lightly sketch numbers 1 through 6 on the stems.
- Paint over each number with gold glass paint using the fine-tip brush. Apply one even coat.
- Let the paint dry for 24 hours. Cure by baking in the oven at 300°F for 30 minutes, then cool completely.


11. Origami Crane Mobile
Advanced
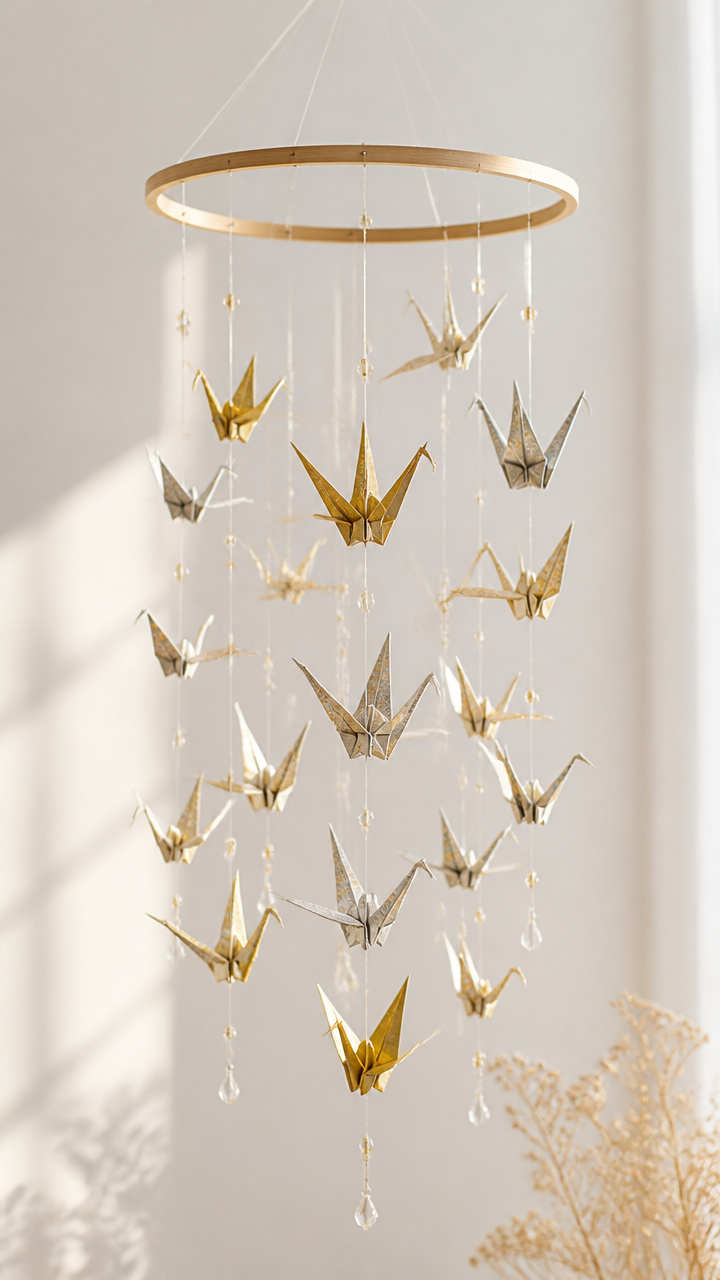
Dozens of tiny paper cranes dangle at different heights, spinning gently in the air. This mobile brings quiet beauty and a sense of hope to any room.
Materials Needed
- 50 sheets 15 x 15 cm origami paper (gold and silver mix)
- clear nylon thread (2 meters)
- wooden embroidery hoop (20 cm diameter)
- scissors
- double-sided tape (small roll)
How to Make It
- Fold each sheet of origami paper into a crane using standard origami folding techniques. Take care to crease each fold sharply.
- Cut ten 30 cm lengths of nylon thread. Use a small piece of double-sided tape to attach one crane to the end of each thread.
- Tie the other end of each thread to the inner ring of the embroidery hoop, spacing them evenly.
- Cut one 50 cm length of thread and tie both ends to opposite sides of the hoop to form a hanging loop.


12. Marbled Coffee Filter Banners
Moderate
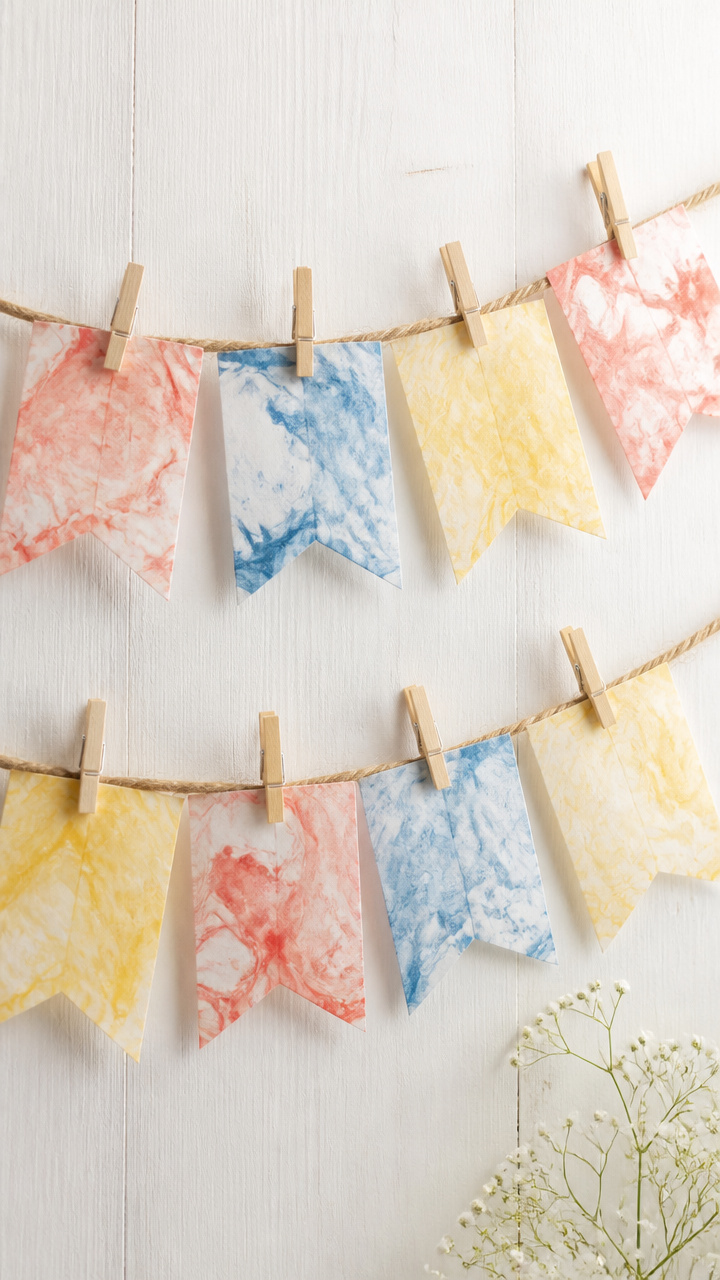
Soft swirls of color bloom across delicate paper flags, each one unique like a tiny work of art. This banner brings whimsy to a dining table or staircase.
Materials Needed
- 10 large white coffee filters
- food coloring (red, blue, yellow, 10 drops each)
- small spray bottle (1)
- water (100 ml)
- clothespins (10)
- twine (1.5 meters)
- tray or baking sheet
How to Make It
- Lay a coffee filter flat on the tray. Spray a light mist of water over the surface until damp but not soaked.
- Add 1 drop each of red, blue, and yellow food coloring to the center. Let colors spread naturally.
- Let the filter dry completely for 1 hour. Repeat for all 10 filters.
- Pin each filter to the twine with clothespins, spacing them 10 cm apart.


13. Salt Dough Number Impressions
Moderate
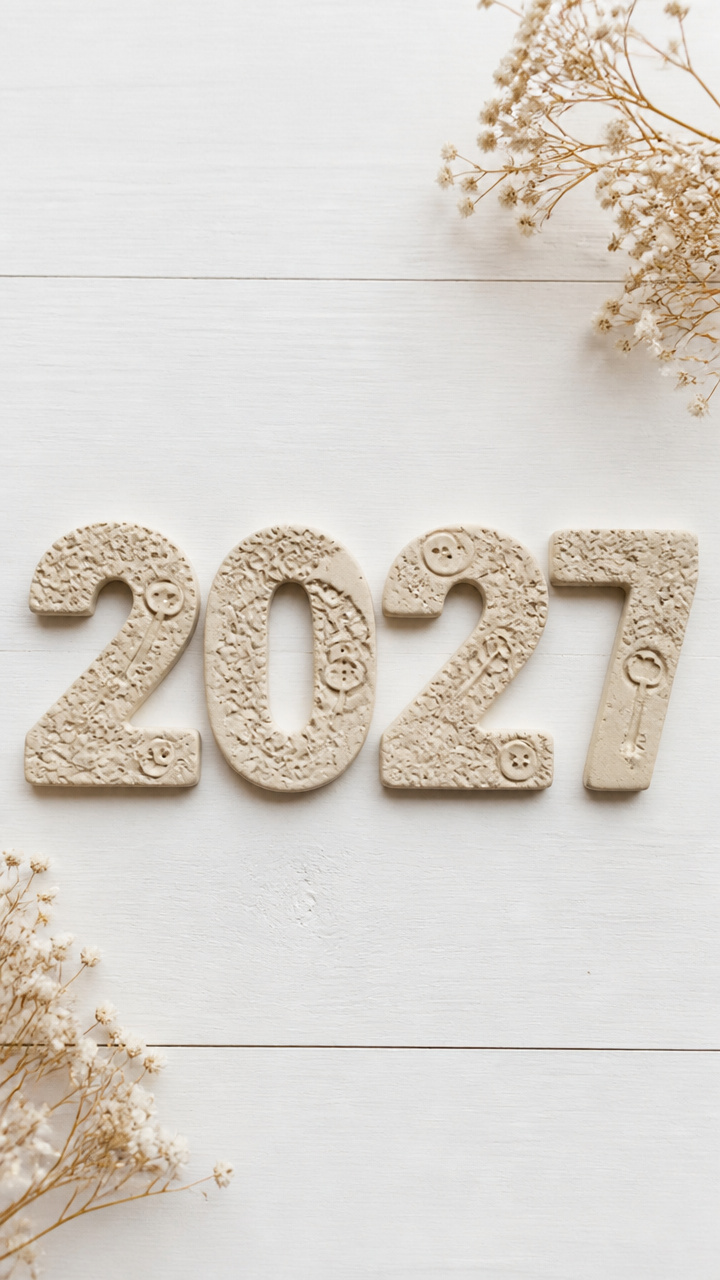
Soft, handmade shapes hold pressed designs from keys, buttons, and stamps, turning simple dough into sentimental decor. Bake them for a lasting keepsake.
Materials Needed
- 2 cups all-purpose flour
- 1 cup table salt
- 3/4 cup water
- rolling pin
- number-shaped cookie cutters (2, 0, 5, 1)
- straw
- baking sheet
- parchment paper
- acrylic paint (gold, black)
- small paintbrush
How to Make It
- Mix flour, salt, and water in a bowl until a smooth dough forms. Knead for 2 minutes on a floured surface.
- Roll the dough to 0.5 cm thickness. Cut out numbers using the cookie cutters.
- Use the straw to poke a hole near the top edge of each number for hanging.
- Place on a parchment-lined baking sheet. Bake at 200°F for 3 hours until hard. Let cool.
- Paint each number gold. Use the small brush to outline with black paint. Let dry for 30 minutes.


14. Beaded Tinsel Curtain
Easy
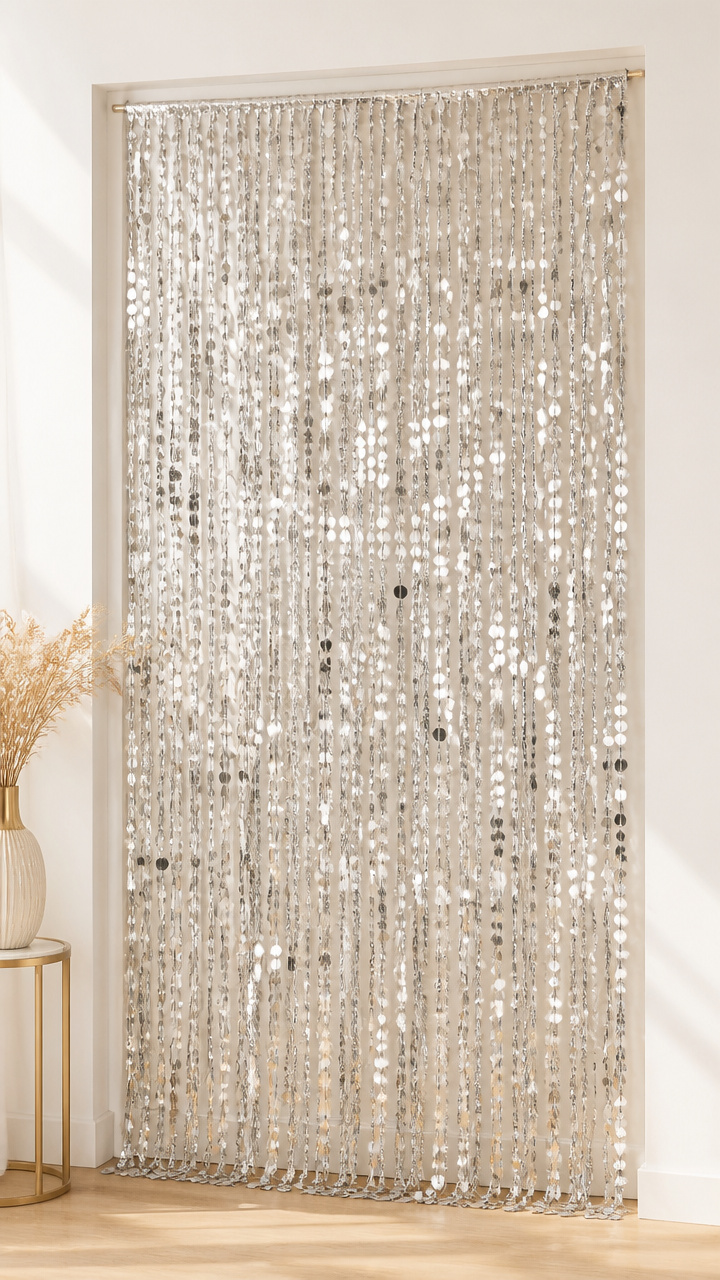
A shimmering curtain of silver beads and tinsel strands drapes across a doorway, parting like magic with every guest. It’s glamorous and fun, with no cleanup needed.
Materials Needed
- silver tinsel garland (3 strands, 3 meters each)
- silver plastic beads (500 count, 8 mm)
- nylon fishing line (50 lb test, 5 meters)
- needle (large-eye)
- scissors
How to Make It
- Cut the fishing line into ten 50 cm lengths. Thread the needle with one piece.
- String 50 silver beads onto the fishing line, then tie a 30 cm piece of tinsel garland to the end.
- Tie the top end of the fishing line to a sturdy rod or tape. Repeat for all ten strands, spacing them 5 cm apart.
- Adjust lengths so the tinsel hangs evenly.


15. Pressed Flower Clock Frame
Advanced
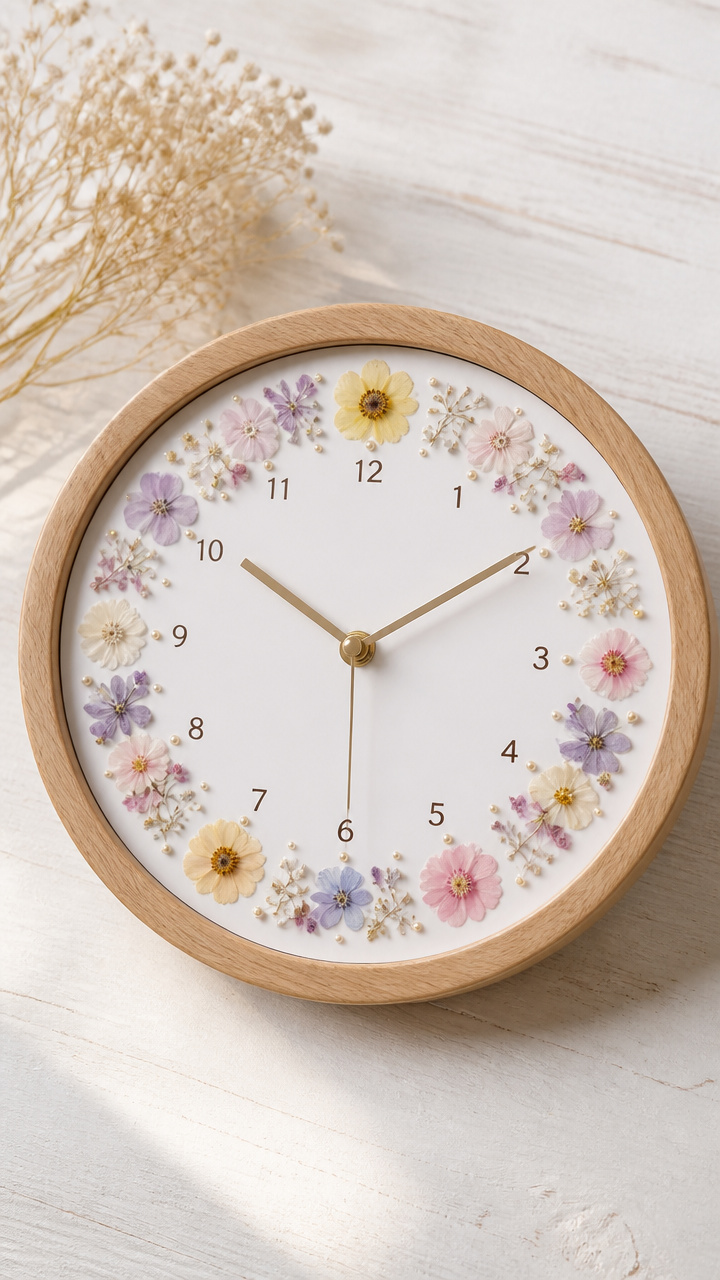
A clock face blooms with tiny dried flowers, marking time with delicate beauty as the year turns. This piece blends function and art in one quiet corner.
Materials Needed
- round wooden clock kit (20 cm diameter, with hands and mechanism)
- white A4 cardstock
- pressed flowers (assorted small types, 20 pieces)
- clear-drying craft glue
- tweezers
- scissors
- number stencil (1–12, 1 inch high)
- black fine-liner pen
How to Make It
- Use the stencil to trace the numbers 1 through 12 onto the cardstock in a circle. Cut out the circle to fit the clock face.
- Arrange pressed flowers around the numbers using tweezers, leaving each number visible.
- Glue each flower in place with a tiny dot of clear glue. Let dry for 2 hours.
- Insert the clock mechanism through the back of the cardstock. Attach the hands according to kit instructions.


Each of these pieces holds a little spark of your creativity. Pick one that calls to you and start today.