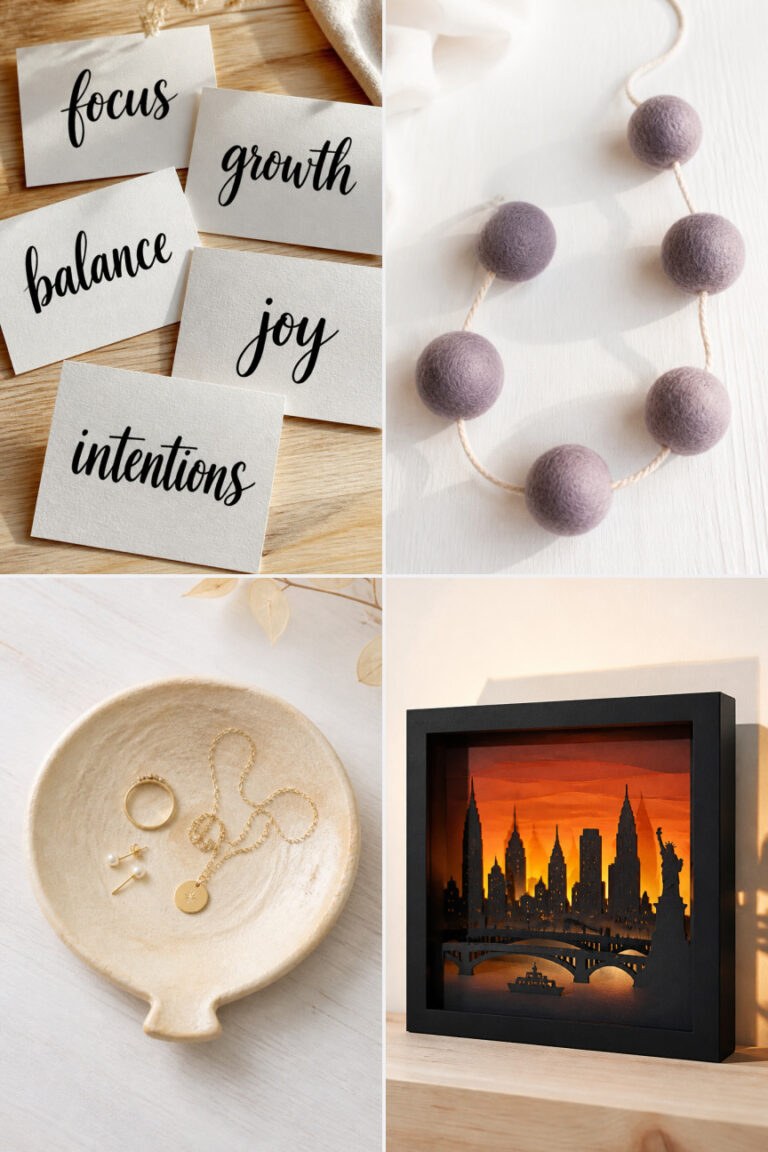
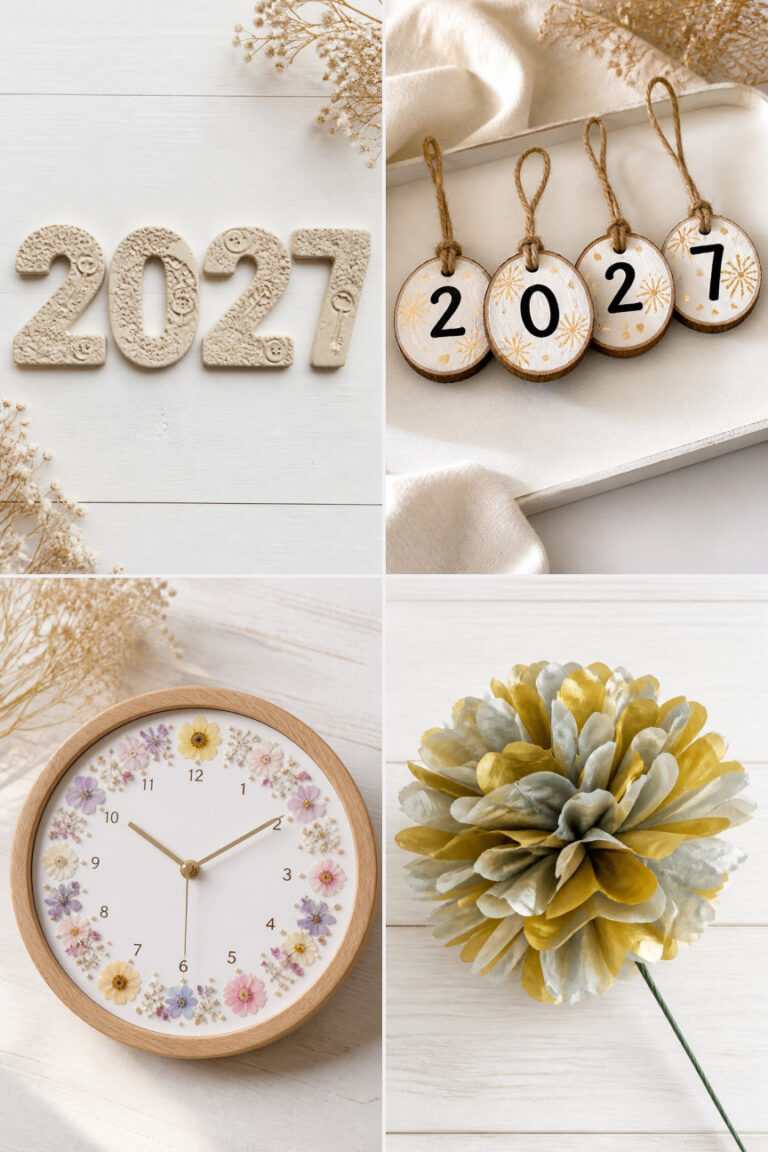
15 New Year DIY Projects for Beginners

The quiet glow of handmade decorations, the satisfaction of creating something fresh with your own hands—these small moments set the tone for what's ahead. With a pair of scissors, some glue, and a little time, you can shape the look and feel of your new beginning.
Each project here is chosen to welcome positivity, color, and intention into your space. These aren’t just crafts, they’re tiny acts of hope made visible.
1. Glittered Mason Jar Luminaries
Easy
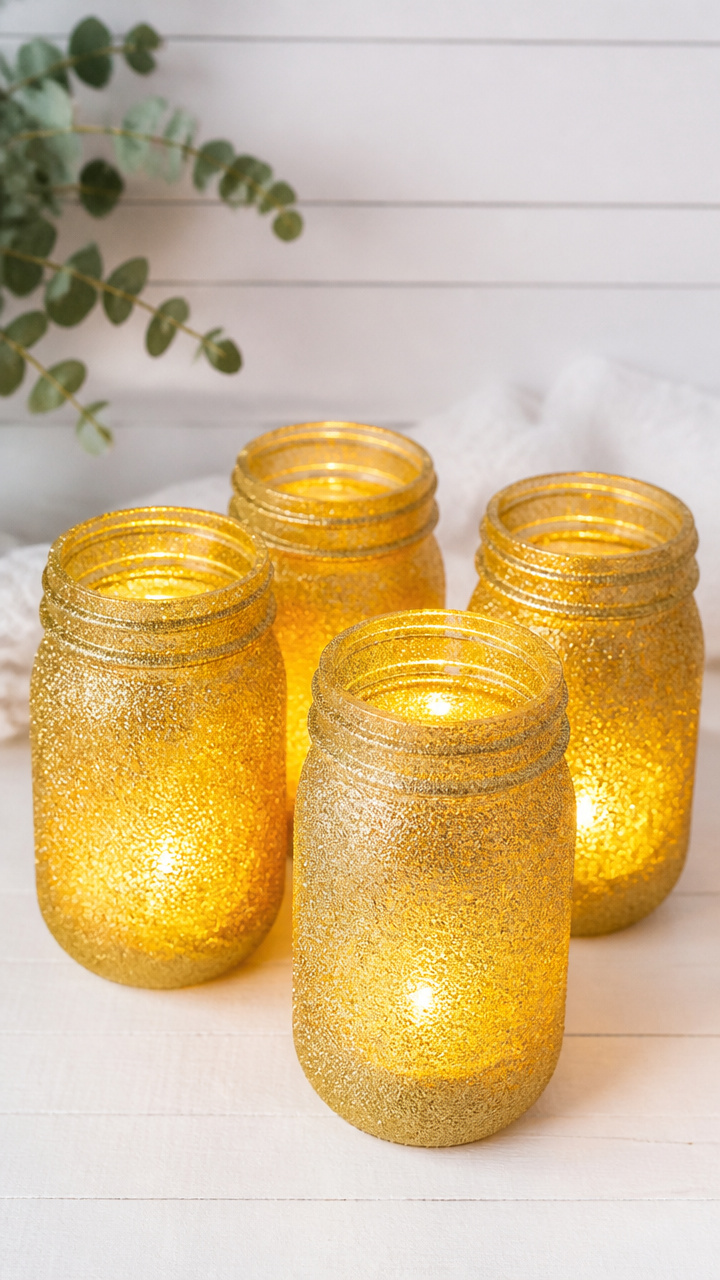
Soft golden light spills through shimmering glass, casting delicate patterns across your walls. These luminaries add warmth to any table or windowsill with minimal effort.
Materials Needed
- 4 wide-mouth 16 oz mason jars
- gold glitter craft paint (3 oz bottle)
- foam brush (1 inch wide)
- tea light LED candles (4)
- paper plate
How to Make It
- Pour a small amount of gold glitter paint onto the paper plate.
- Use the foam brush to apply an even layer of paint to the outside of each mason jar.
- Let the jars dry upright for 20 minutes before placing an LED tea light inside each one.


2. Washi Tape Countdown Calendar
Easy
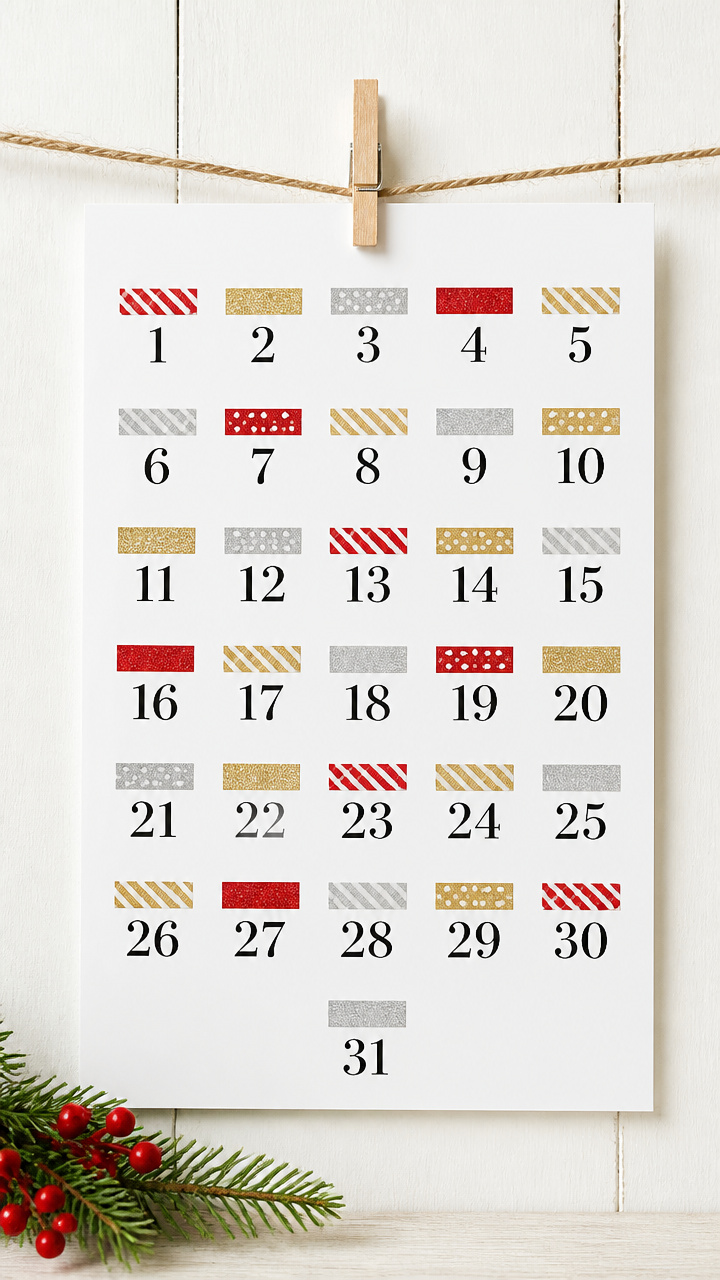
Peel off a strip each day and watch anticipation build toward the final celebration. This bright, reusable calendar turns waiting into part of the joy.
Materials Needed
- A4 white cardstock (1 sheet)
- black fine-tip marker
- ruler
- washi tape in 3 contrasting colors (1 roll each: silver, red, gold)
- clothespin (1)
- small clothesline string (24 inches)
How to Make It
- Use the ruler and marker to divide the cardstock into 12 equal rectangles labeled 1 through 12.
- Cut 12 strips of washi tape, each 2 inches long, using all three colors interchangeably.
- Attach the numbered cardstock to the wall with tape, clip the clothespin to the string, and hang it below the paper. Clip the first washi strip under number 1.


3. Felt Firecracker Ornaments
Easy
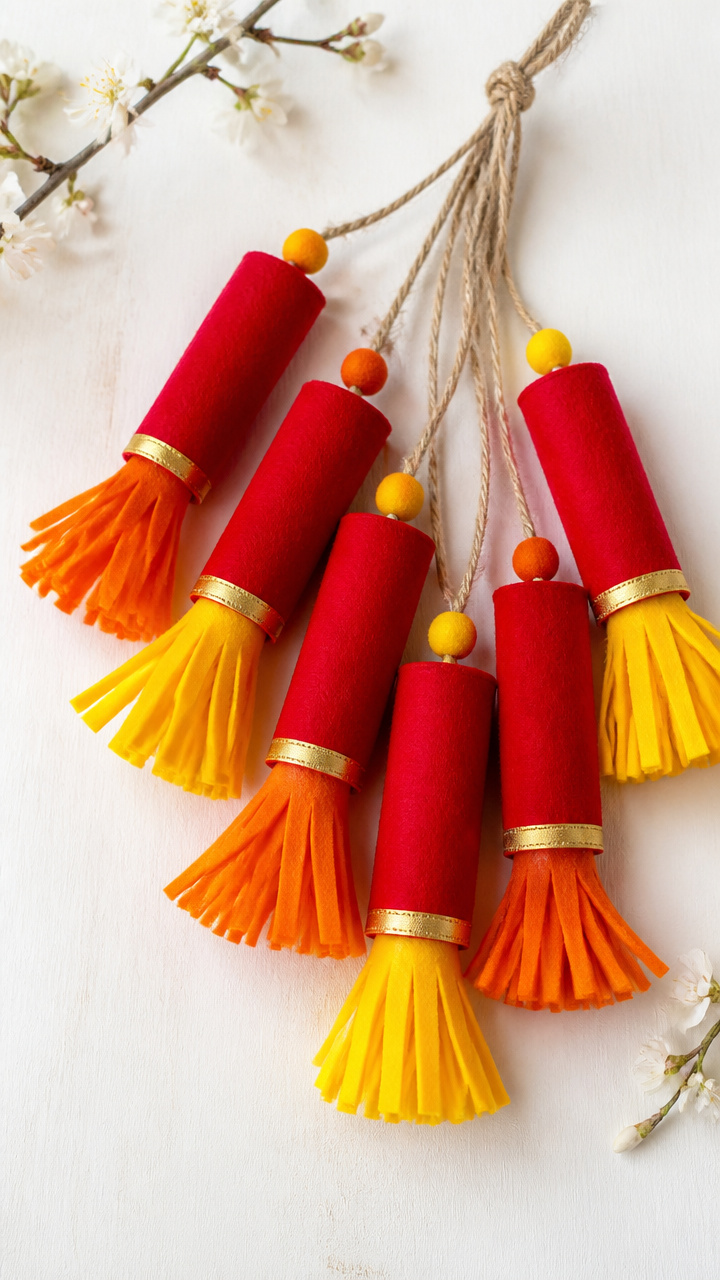
Bold red tubes dangle with fluffy tassels, mimicking festive bursts without the noise. Hang these on a mantle or tree for cheerful pops of color.
Materials Needed
- red felt sheet (9 x 12 inches)
- yellow and orange embroidery floss (1 skein each)
- scissors
- hot glue gun with glue sticks (1)
- jute twine (12 inches)
- cardboard tube scrap (1 inch long)
How to Make It
- Cut a 3 x 5 inch rectangle from the red felt and roll it tightly around the cardboard scrap to form a tube. Secure with hot glue along the seam.
- Tie a 6-inch piece of jute twine around one end to create a hanger.
- Wrap yellow and orange floss around the opposite end several times, then knot and trim to make a tassel effect.


4. Painted Wooden Number Blocks
Easy
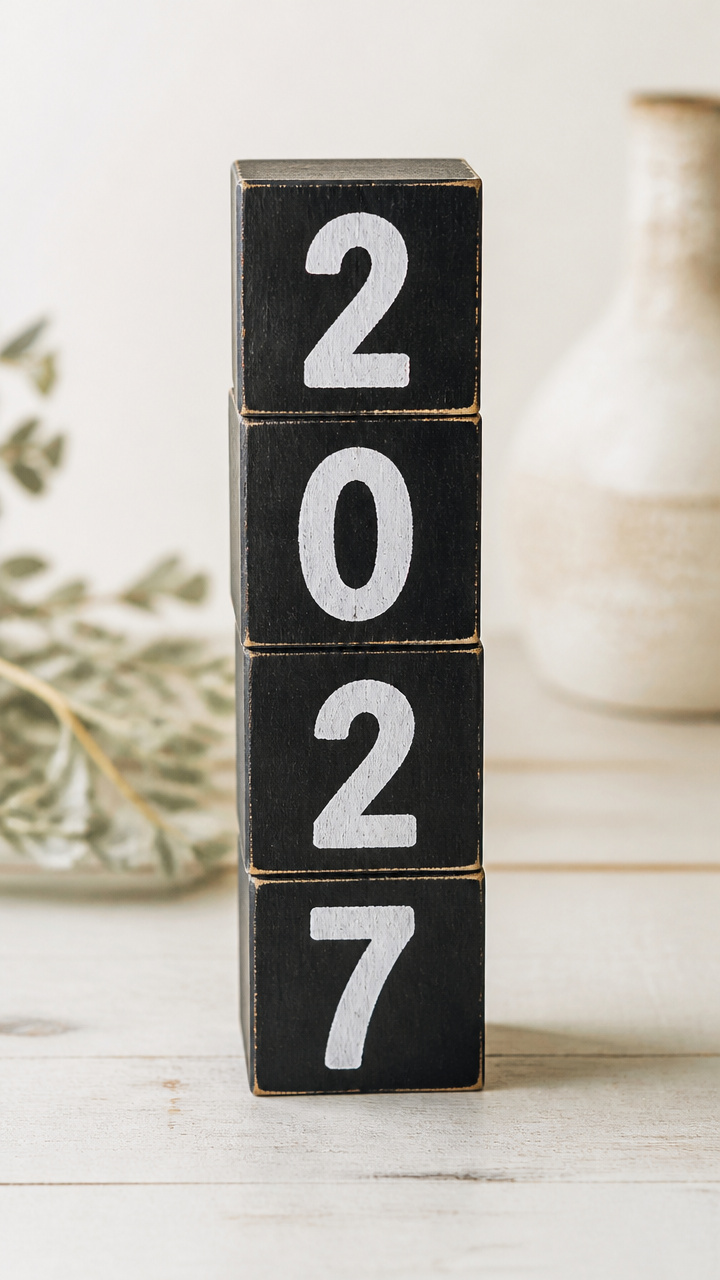
A stack of bold black numerals stands proudly on your shelf, marking the year ahead. These hand-painted blocks take less than half an hour.
Materials Needed
- unfinished wooden cubes (4), 2 inches per side
- black acrylic paint (2 oz)
- paintbrush (1/2 inch flat)
- pencil
- white gel pen
How to Make It
- Use the pencil to lightly write one digit of the current year on each cube face.
- Paint over each number with black acrylic paint, covering the entire block surface.
- Let dry for 15 minutes, then go over each digit with the white gel pen to make it stand out.


5. Paper Lotus New Year Cards
Moderate
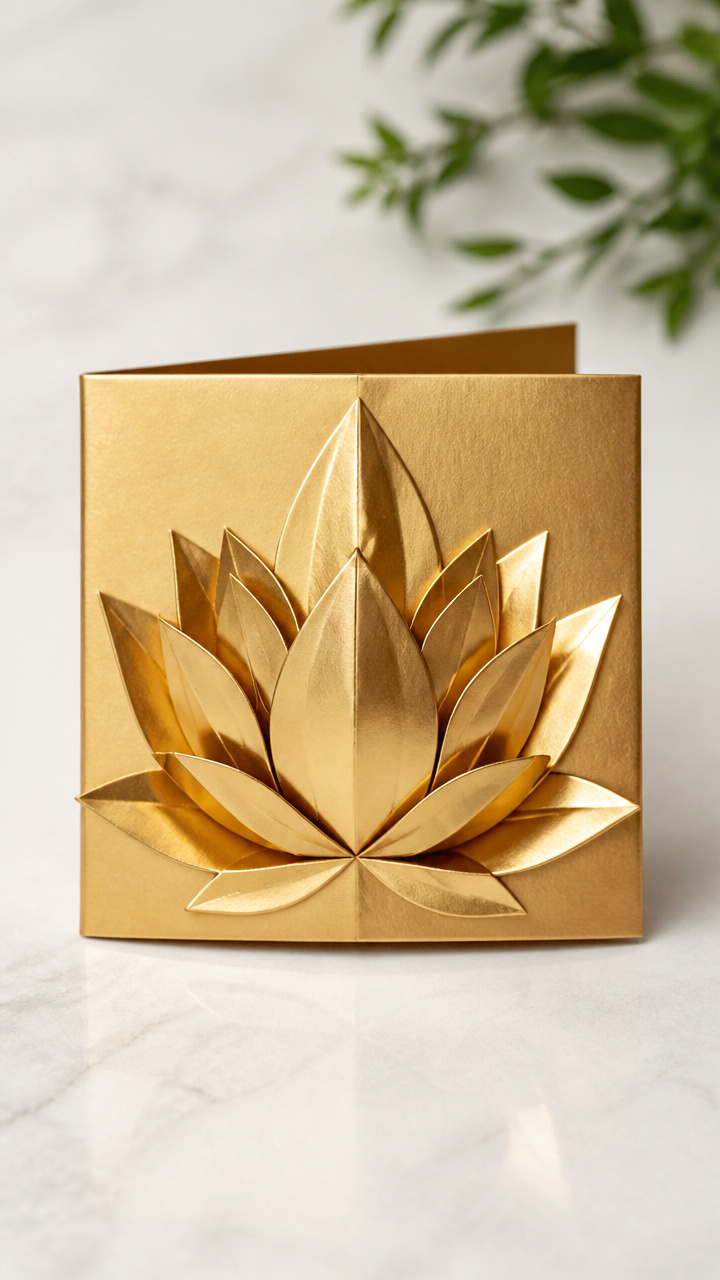
Delicate folded petals bloom beneath your fingertips, hiding a personal wish inside. These cards double as décor when displayed upright.
Materials Needed
- square origami paper (6 x 6 inches, 4 sheets in metallic gold)
- double-sided tape (1 roll)
- fine-tip black pen
- A6 white envelopes (4)
How to Make It
- Fold one corner of the square to the center, press, and repeat with the remaining three corners to form a smaller square.
- Turn the shape over and repeat the same fold on the new corners.
- Gently pull each layer outward to form petal shapes, then secure the base with a small piece of double-sided tape. Write your message on the underside before inserting into the envelope.


6. Yarn-Wrapped Resolution Stones
Easy
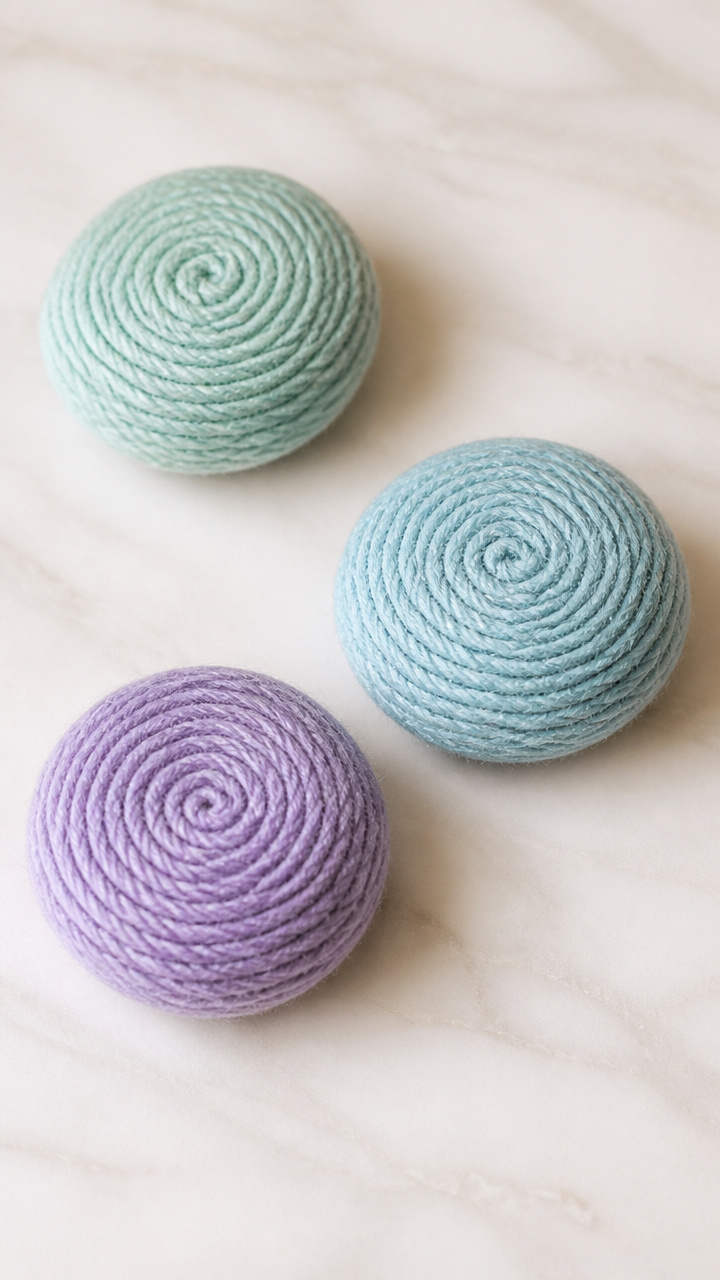
Smooth river stones wrapped in soft yarn carry whispered promises you can hold in your palm. Keep one in your pocket for quiet encouragement.
Materials Needed
- flat river stones (3), about 2 inches wide
- craft glue (1 small bottle)
- pastel blue, green, and lavender yarn (10 yards each)
- toothpick
How to Make It
- Place a drop of glue on the edge of a stone using the toothpick.
- Press the end of a yarn strand onto the glue and let it dry for 1 minute.
- Wrap the yarn tightly around the stone, adding another dot of glue every inch to secure the thread. Stop wrapping when the surface is covered and glue the end down.
7. Mini Confetti Poppers
Moderate
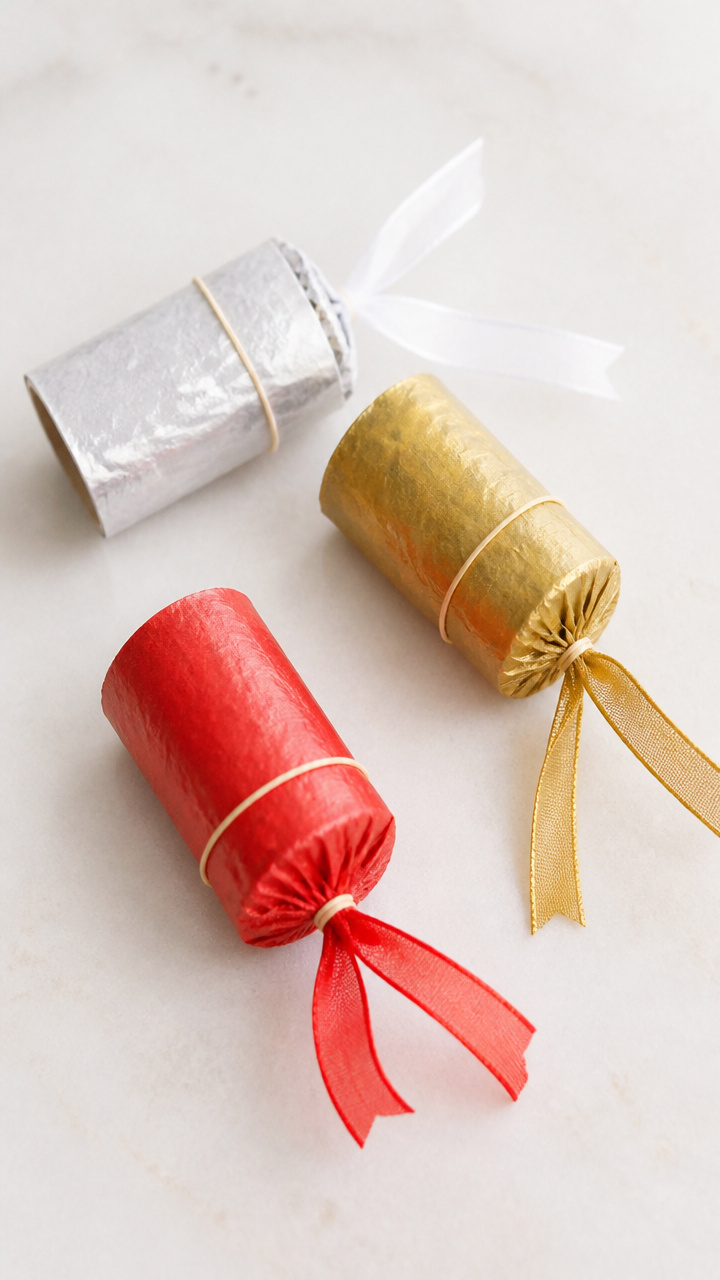
Pull the ribbon and a burst of color fills the air—safe, mess-free celebration noisemakers perfect for kids and photo backdrops.
Materials Needed
- empty toilet paper rolls (3)
- tissue paper (red, gold, silver; 6 sheets total)
- rubber bands (3)
- ribbon (1/8 inch wide, 9 inches long, 3 pieces)
- glue stick
- hole punch
How to Make It
- Cut each tissue paper sheet into 1 inch squares and mix them in a bowl to create confetti.
- Fill each toilet paper roll halfway with confetti, then seal one end with a tissue paper circle glued over the opening.
- Punch two holes on opposite sides of the sealed end, thread a ribbon through, tie knots on the inside, and secure the other end with a rubber band. Pull the ribbon to pop.


8. Dried Citrus Wall Garland
Moderate
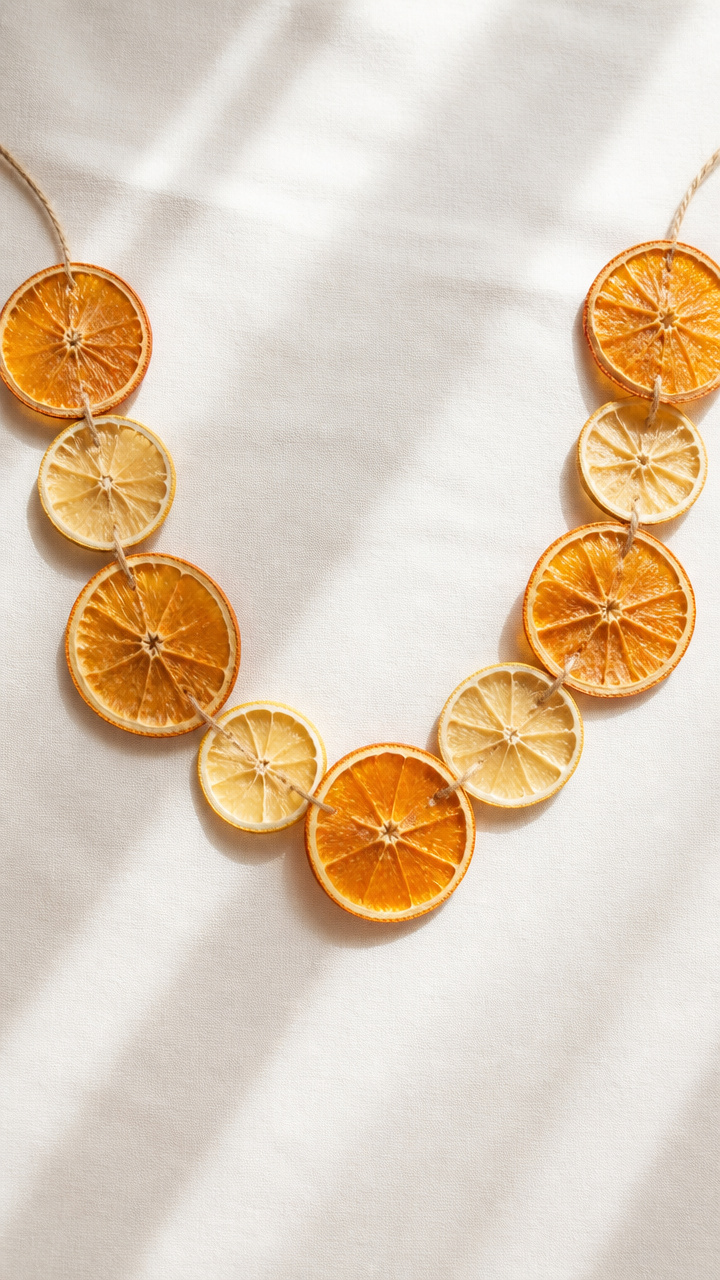
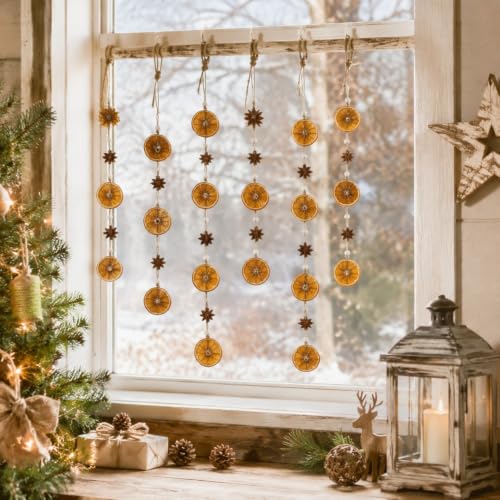
Thin slices of orange and lemon darken in the oven, turning into rustic suns strung together like edible memories. This garland brings natural charm to any room.
Materials Needed
- 2 oranges
- 1 lemon
- baking sheet
- parchment paper
- knife
- twine (36 inches)
- needle (large-eye)
- oven
How to Make It
- Preheat the oven to 200°F. Slice the fruits into 1/4 inch rounds using the knife.
- Line the baking sheet with parchment paper and arrange the slices in a single layer.
- Bake for 2 hours, flipping halfway, until dry and firm. Let cool completely, then thread onto the twine using the needle and space evenly.


9. Mirror Bead Frame Accent
Moderate
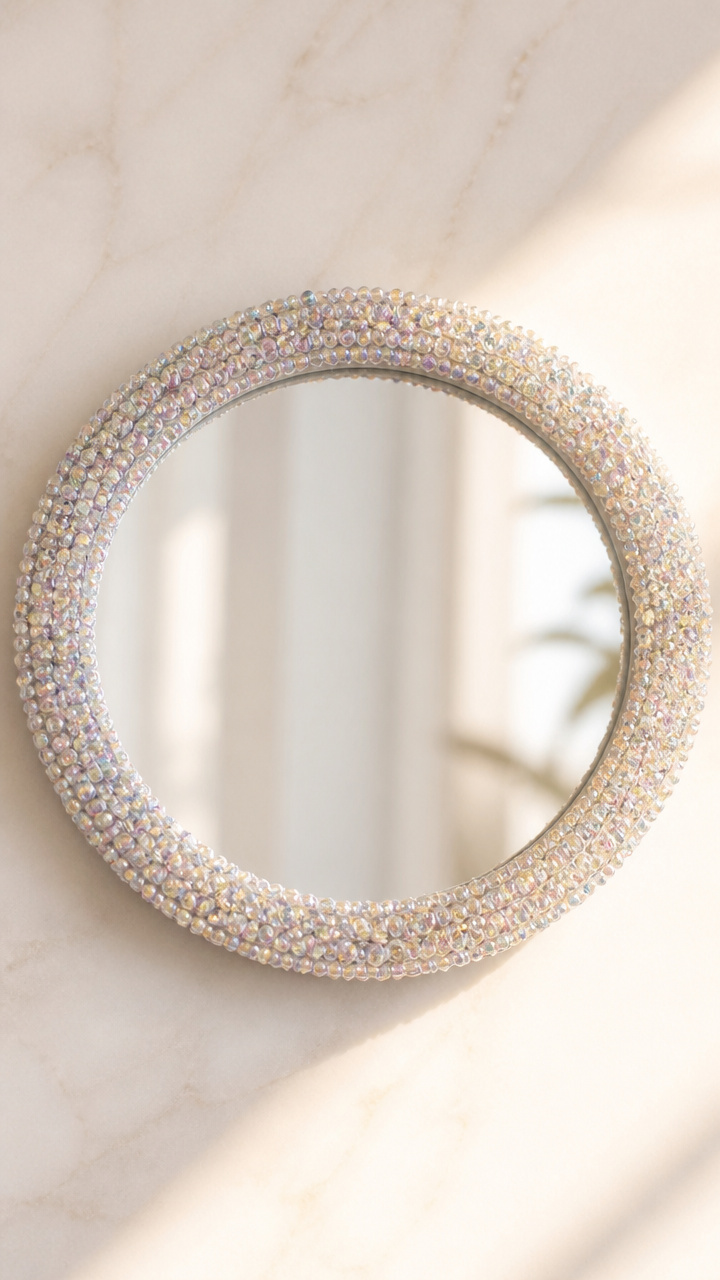
Tiny iridescent beads catch the light around a simple mirror, making reflections sparkle like fresh starts. This upgrade takes just one afternoon.
Materials Needed
- plain round mirror (8 inch diameter)
- clear-drying craft glue (1 bottle)
- iridescent seed beads (5 grams)
- tweezers
- paper bowl
How to Make It
- Squeeze a small puddle of glue into the paper bowl for easy access.
- Use tweezers to pick up one bead at a time and place it along the outer edge of the mirror frame, pressing gently.
- Continue gluing beads side by side all the way around the rim. Let dry undisturbed for 2 hours.


10. Ribbon Tassel Door Hanger
Easy
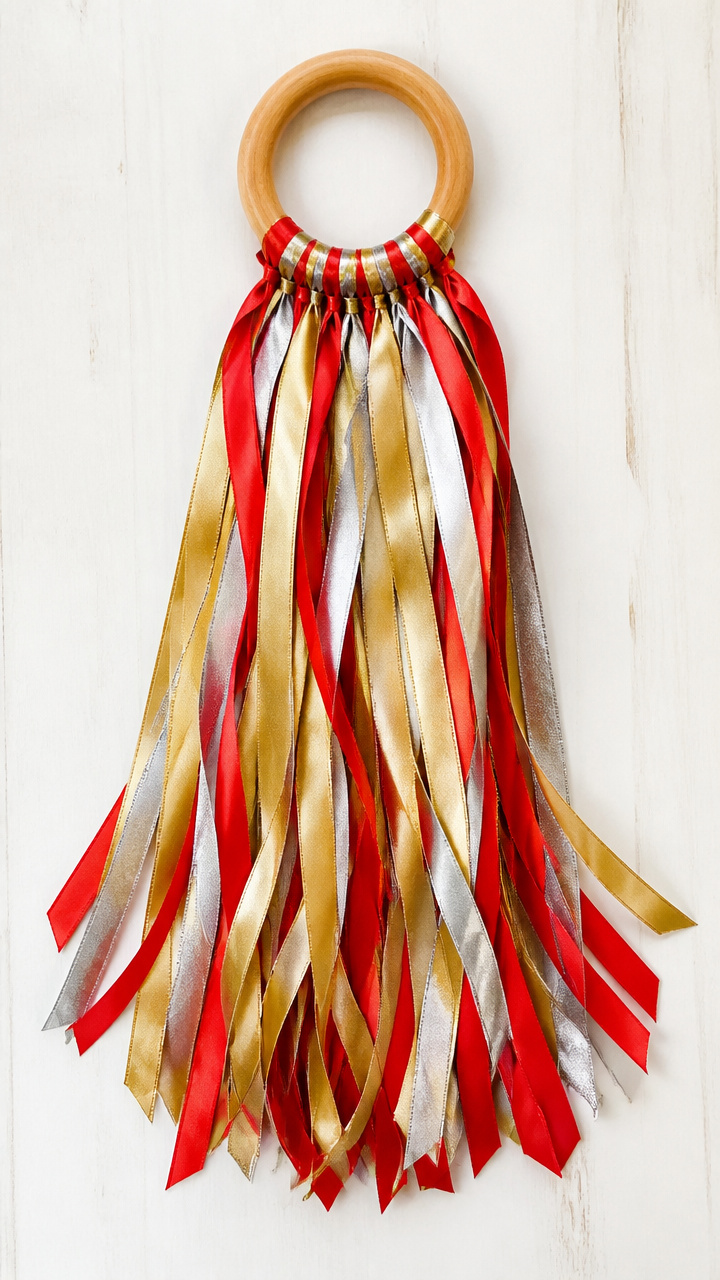
A fluttering cascade of ribbons greets guests with movement and color. Hang this on your front door to announce a home full of life.
Materials Needed
- wooden ring (4 inch diameter)
- satin ribbon in red, gold, and silver (each 1/4 inch wide, 3 yards)
- scissors
- hole punch
How to Make It
- Cut 18 lengths of ribbon, each 12 inches long, mixing colors evenly.
- Fold each piece in half and use the hole punch to push the loop through the wooden ring, then pull the tails through to secure.
- Trim the ends at a diagonal to create a sharp finish and fluff the tassels outward.


11. Salt Dough Year Plaque
Moderate
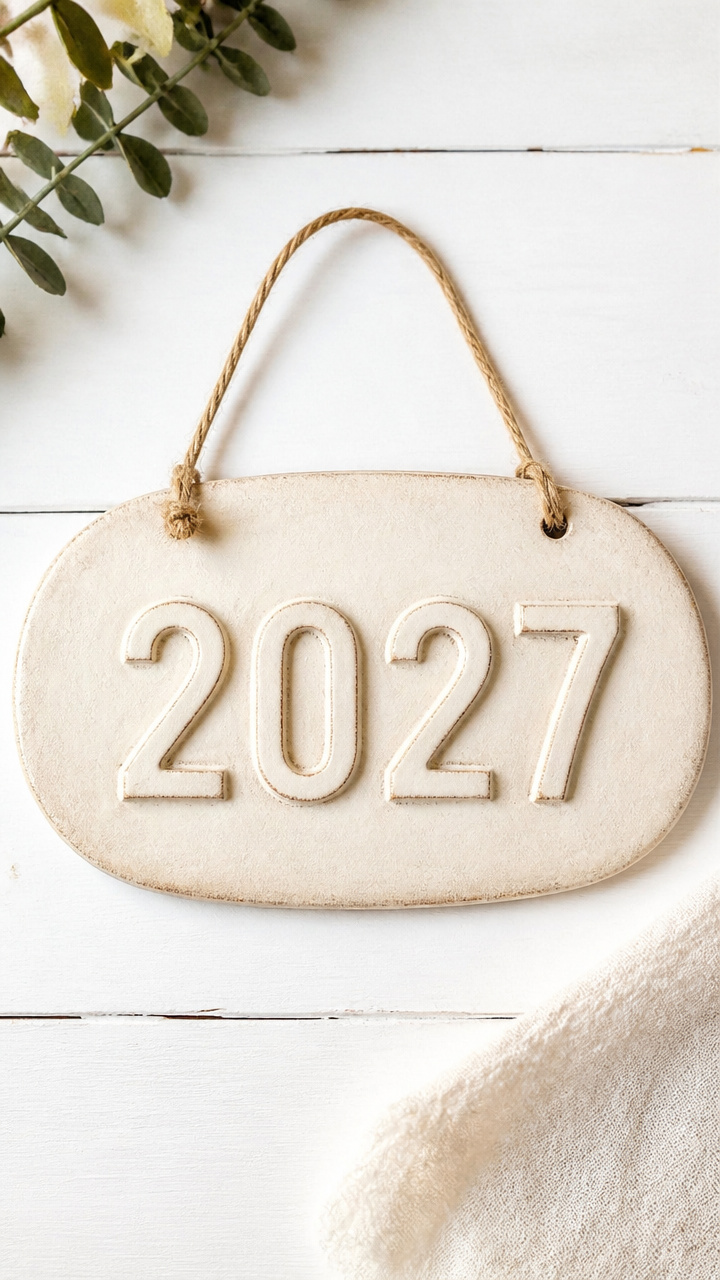
Your hands shape a keepsake that bakes firm and holds the year in raised numbers. This rustic plaque gains character with age.
Materials Needed
- all-purpose flour (1 cup)
- table salt (1/2 cup)
- warm water (1/2 cup)
- mixing bowl
- rolling pin
- number-shaped cookie cutter (4 inches tall)
- baking sheet
- parchment paper
- acrylic paint (gold, 1 oz)
- paintbrush (1/2 inch)
How to Make It
- Mix flour, salt, and warm water in the bowl until a smooth dough forms. Knead for 2 minutes.
- Roll the dough to 1/4 inch thickness and cut out one number shape using the cutter.
- Place on a parchment-lined baking sheet and bake at 200°F for 3 hours. Let cool, then paint the surface gold and let dry for 30 minutes.


12. Painted Spoon Wind Chime
Moderate
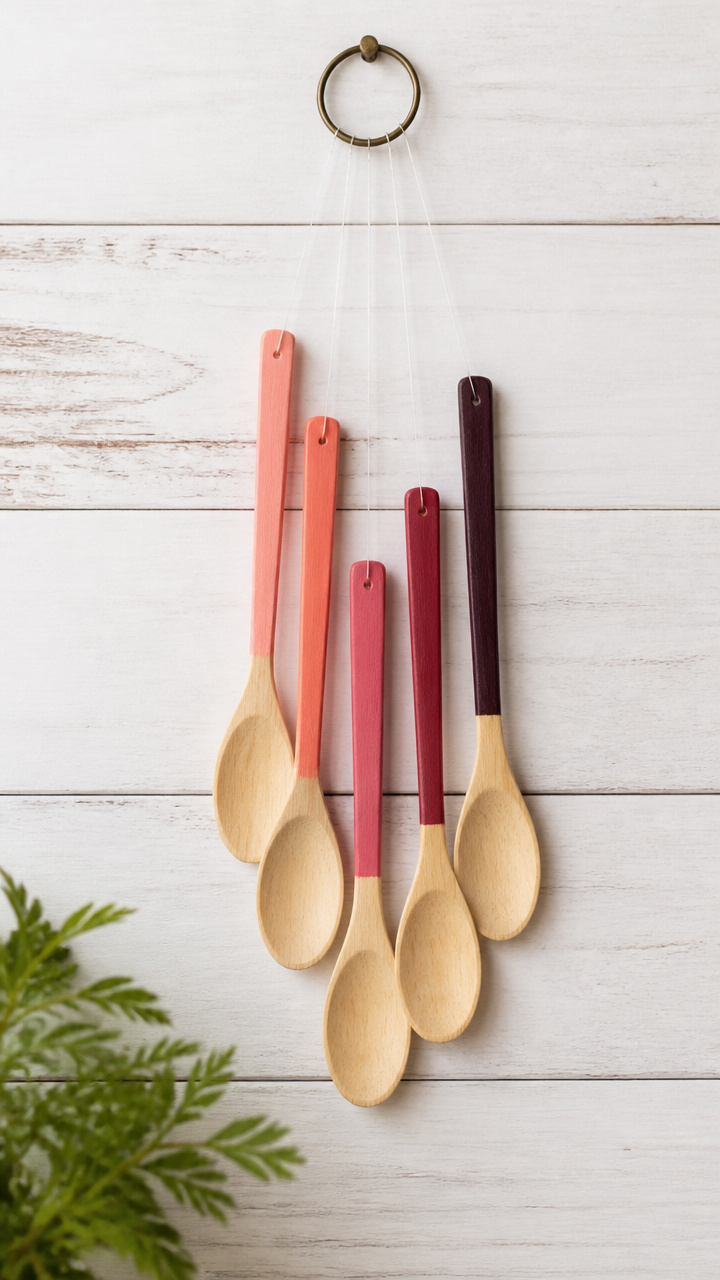
Five wooden spoons tap softly in the breeze, their handles painted in gradient hues. Hang this near a window for gentle music.
Materials Needed
- wooden spoons (5), 6 inches long
- acrylic paints: pink, coral, red, burgundy, maroon (1 oz each)
- paintbrush (1/4 inch)
- drill with 1/8 inch bit
- metal ring (2 inch diameter)
- fishing line (12 inches, 5 pieces)
- scissors
How to Make It
- Paint the handle of each spoon a different shade, moving from light to dark. Let dry for 20 minutes.
- Drill a small hole through the top of each spoon bowl.
- Cut five 12-inch fishing lines, thread one through each hole, and tie a knot. Attach all lines to the metal ring and space the spoons evenly.


13. Cork & Twine Wish Tags
Easy
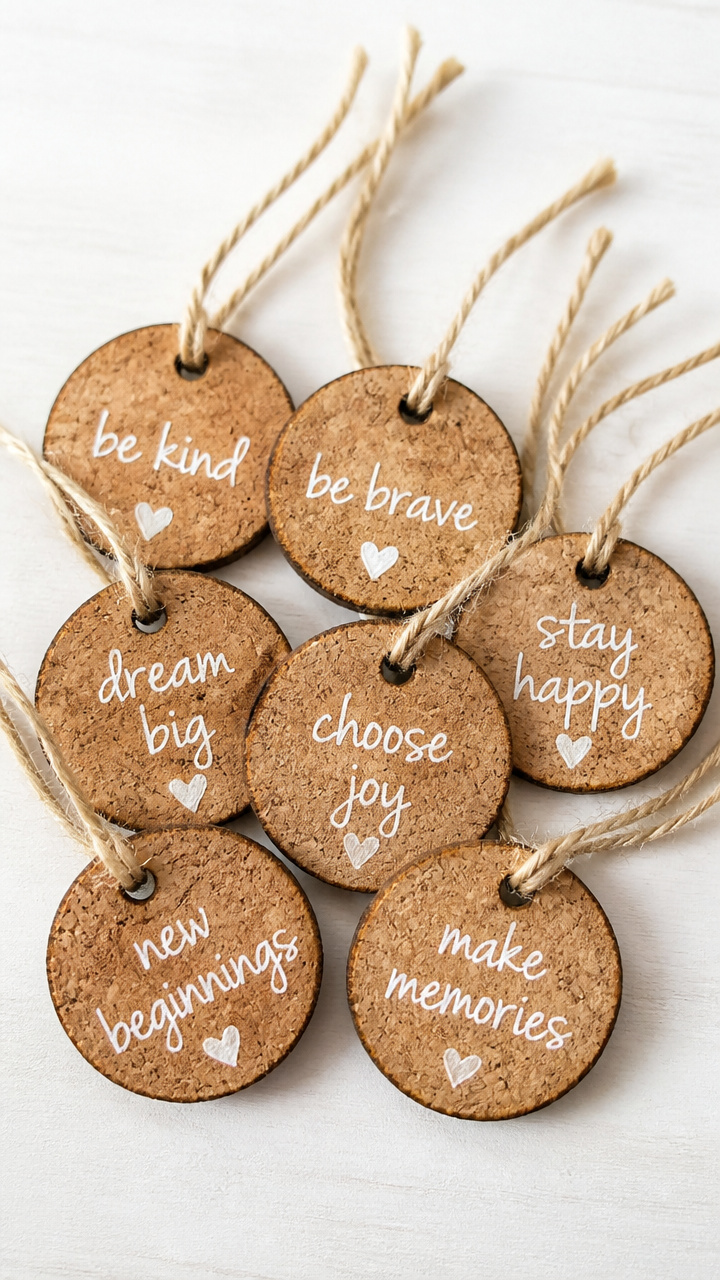
Small circles of cork become tiny message boards where hopes are written in ink. Tie these to gifts or a vision board.
Materials Needed
- cork sheet (9 x 12 inches, 1/8 inch thick)
- circle punch (1.5 inch diameter)
- twine (12 inches, 5 pieces)
- brown ink pad
- fine white paint pen
How to Make It
- Use the circle punch to cut out 5 cork discs.
- Dip the edge of each disc into the ink pad to stain the rim.
- Write a short word like 'hope', 'joy', or 'calm' on each tag with the paint pen and let dry for 10 minutes. Thread twine through and knot.


14. Fabric Scrap Bunting
Moderate
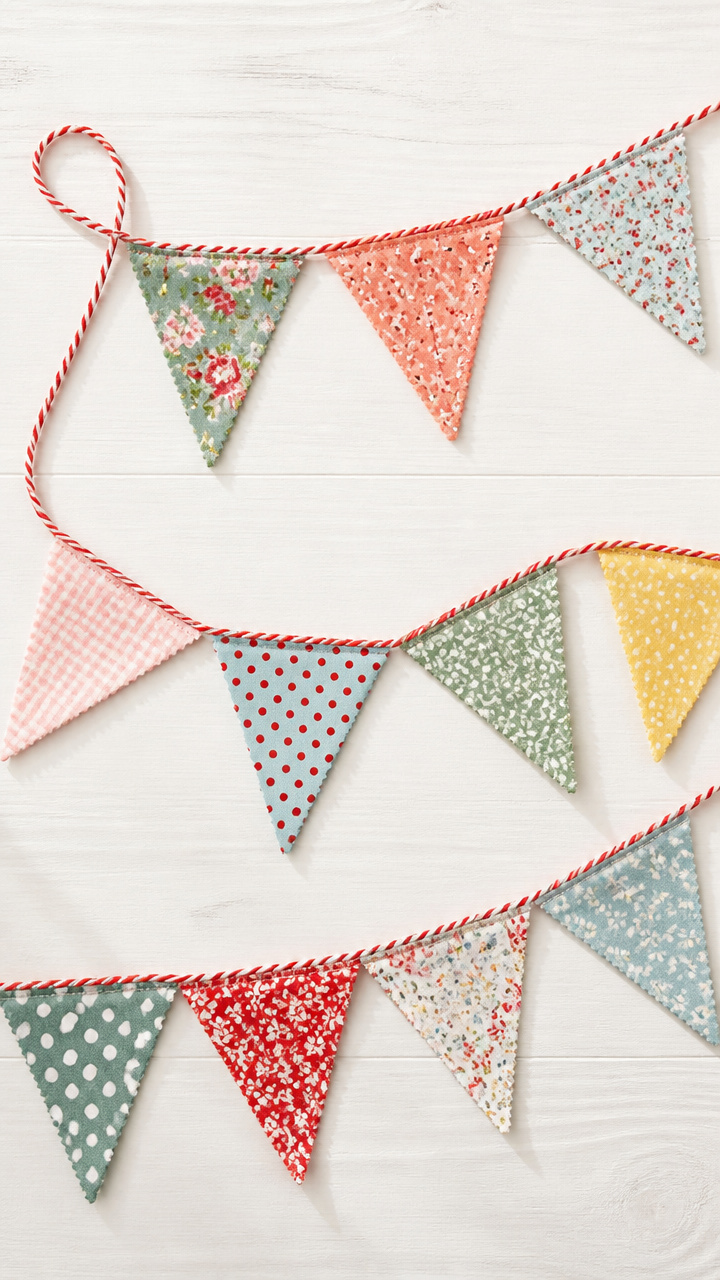
Triangles of patterned cotton flap like tiny flags above your desk or bed. Use leftover fabric to stitch together a hopeful banner.
Materials Needed
- cotton fabric scraps (5 pieces, 6 x 6 inches each)
- sewing needle
- thread (red, 2 yards)
- scissors
- ruler
- baker’s twine (36 inches)
How to Make It
- Cut each fabric square in half diagonally to make 10 triangles.
- Thread the needle and knot the end. Fold the straight edge of one triangle over the twine and stitch it in place with small running stitches.
- Repeat with alternating triangle points facing opposite directions, spacing each 3 inches apart, until all are attached.


15. Resin Number Coasters
Advanced
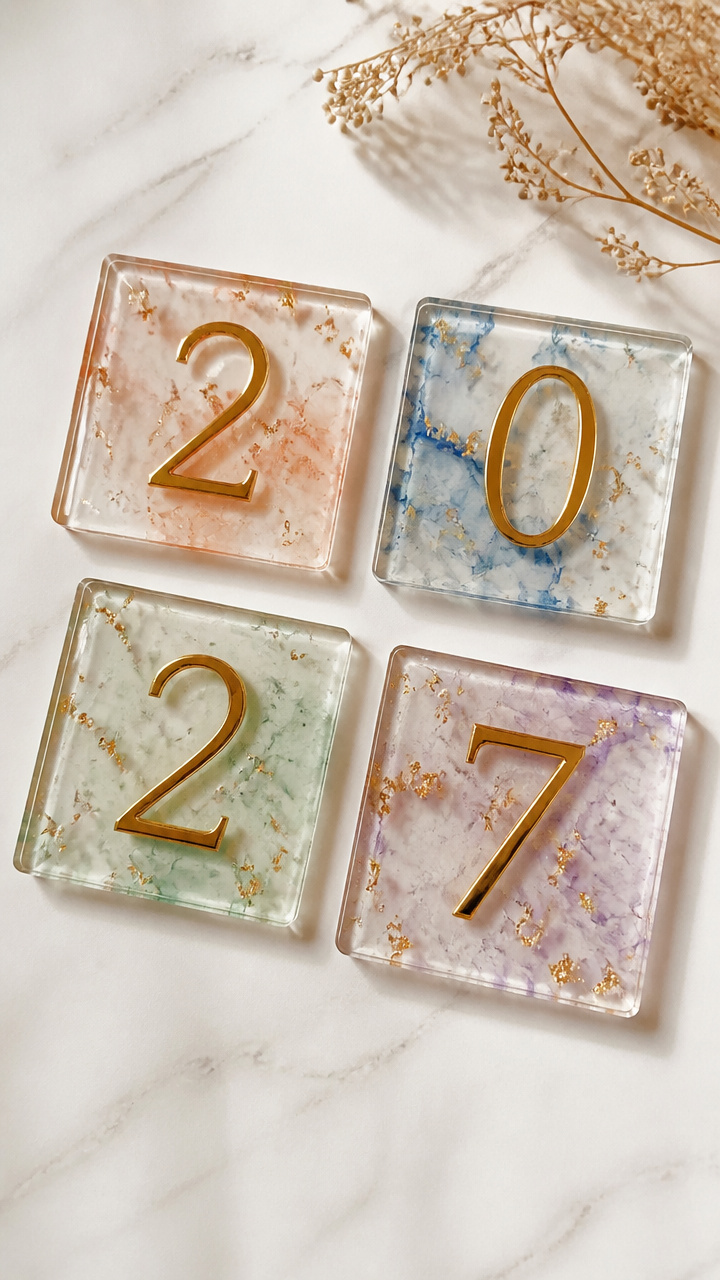
Clear glossy tops lock in golden numerals and speckles of color, protecting tables in style. These make thoughtful handmade gifts.
Materials Needed
- coaster silicone mold (set of 4 squares)
- clear epoxy resin kit (8 oz total mix)
- disposable plastic cups (2)
- stirring sticks (2)
- gold mica powder (1/4 tsp)
- number stickers (4), 1.5 inch tall
- gloves (1 pair)
- level workspace
How to Make It
- Place the mold on a level surface and insert one number sticker in each cavity, centered.
- Wearing gloves, mix resin and hardener in a cup following package ratio. Stir slowly for 2 minutes to avoid bubbles.
- Add gold mica powder to the mixture and stir another 30 seconds. Pour carefully into each mold cavity. Let cure for 24 hours before removing.


You’ve got everything you need to begin—right now, right here. Pick one idea, gather your things, and let your hands lead the way.