15 New Year Crafts for a Fresh Start

A clean sheet of paper, a fresh jar of glitter, the quiet hum of scissors through cardstock—these small moments carry the promise of new beginnings. Crafting at the start of a year helps you shape intention with your hands, turning hope into something you can hold.
Each of these projects invites you to slow down and create something meaningful. They’re designed to inspire clarity, joy, and a sense of ownership over the year ahead.
1. Glittered Jar Resolutions
Easy
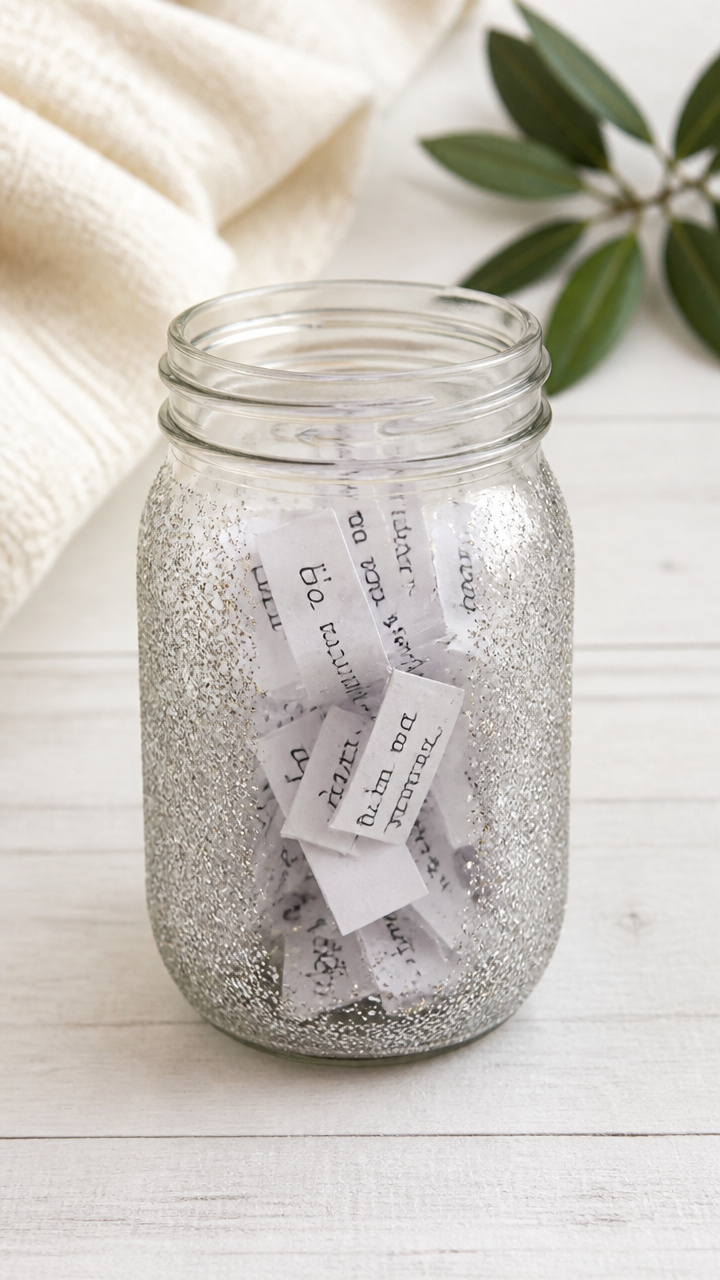
Tiny handwritten notes shimmer inside a glass jar, catching the light with every shift. This keepsake holds your hopes close and visible all year.
Materials Needed
- 1 clear 8 oz glass mason jar with lid
- 50 small white paper rectangles (1.5 x 2 inches)
- Fine silver glitter
- White craft glue
- Small paintbrush
- Black fine-tip permanent marker
How to Make It
- Use the paintbrush to coat one side of each paper rectangle lightly with craft glue.
- Sprinkle silver glitter over the glued side and tap off excess into a tray for reuse.
- Let the papers dry flat for 15 minutes until glitter is fully set.
- Write one resolution or intention per paper using the permanent marker.
- Fold each paper in half and place inside the jar.
- Screw the lid on and display on a shelf or desk where light can catch it.


2. Washi Tape Vision Board
Easy
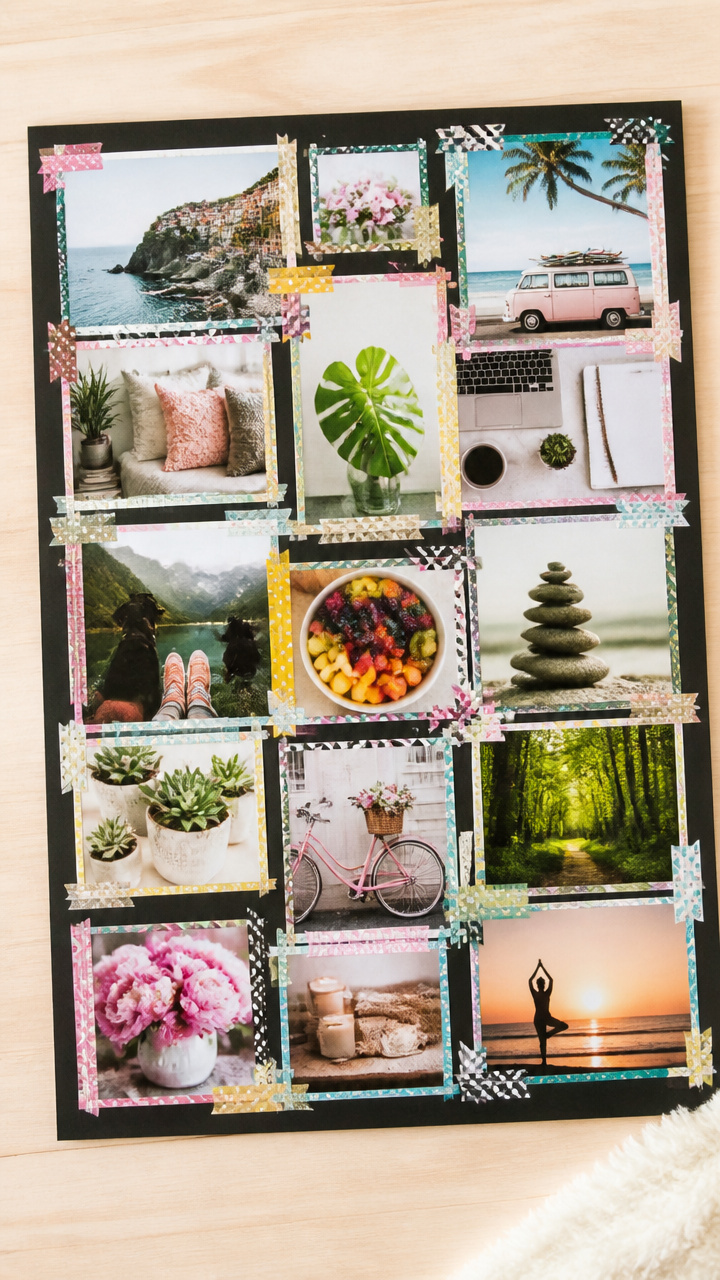
A bold collage of images and colors framed with crisp washi tape edges keeps your goals vivid and in sight. It’s fast to make and easy to refresh.
Materials Needed
- 1 A3 black foam board
- Scissors
- Magazines or printed images
- 5 rolls assorted patterned washi tape
- Glue stick
- Ruler
How to Make It
- Flip through magazines and cut out images or words that reflect your goals.
- Arrange the clippings on the foam board without gluing first, adjusting until the layout feels balanced.
- Use the glue stick to attach each piece firmly to the board.
- Measure 1 inch from each edge and apply washi tape along the perimeter to create a clean border.
- Let dry for 5 minutes and hang with adhesive picture strips.


3. Salt Dough Keepsake Ornaments
Moderate
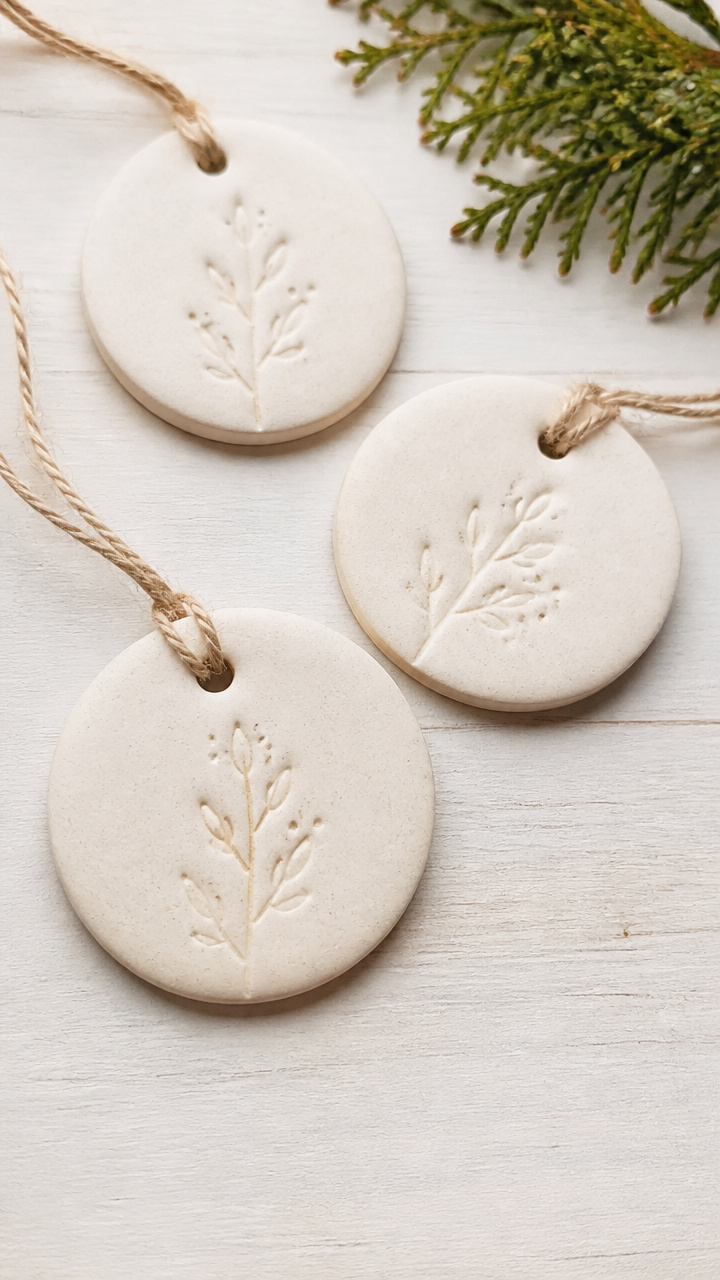
Soft, hand-shaped ornaments stamped with your initials or a meaningful word carry warmth through the year. Bake them for lasting texture.
Materials Needed
- 2 cups all-purpose flour
- 1 cup table salt
- 3/4 cup warm water
- Rolling pin
- Circular cookie cutter (2.5 inch)
- Straw
- Parchment paper
- Acrylic paint (gold and navy)
- Small paintbrush
- Red satin ribbon (12 inches per ornament)
How to Make It
- Mix flour, salt, and warm water in a bowl until a smooth dough forms.
- Roll the dough to 1/4 inch thickness on a floured surface.
- Cut out circles using the cookie cutter and place them on a parchment-lined baking sheet.
- Press a straw just above the top edge of each circle to make a hanging hole.
- Bake at 250°F for 2 hours, then let cool completely.
- Paint each ornament with a word like 'Breathe' or 'Grow' in gold paint.
- Thread ribbon through the hole and knot for hanging.


4. Marbled Paper Bookmarks
Moderate
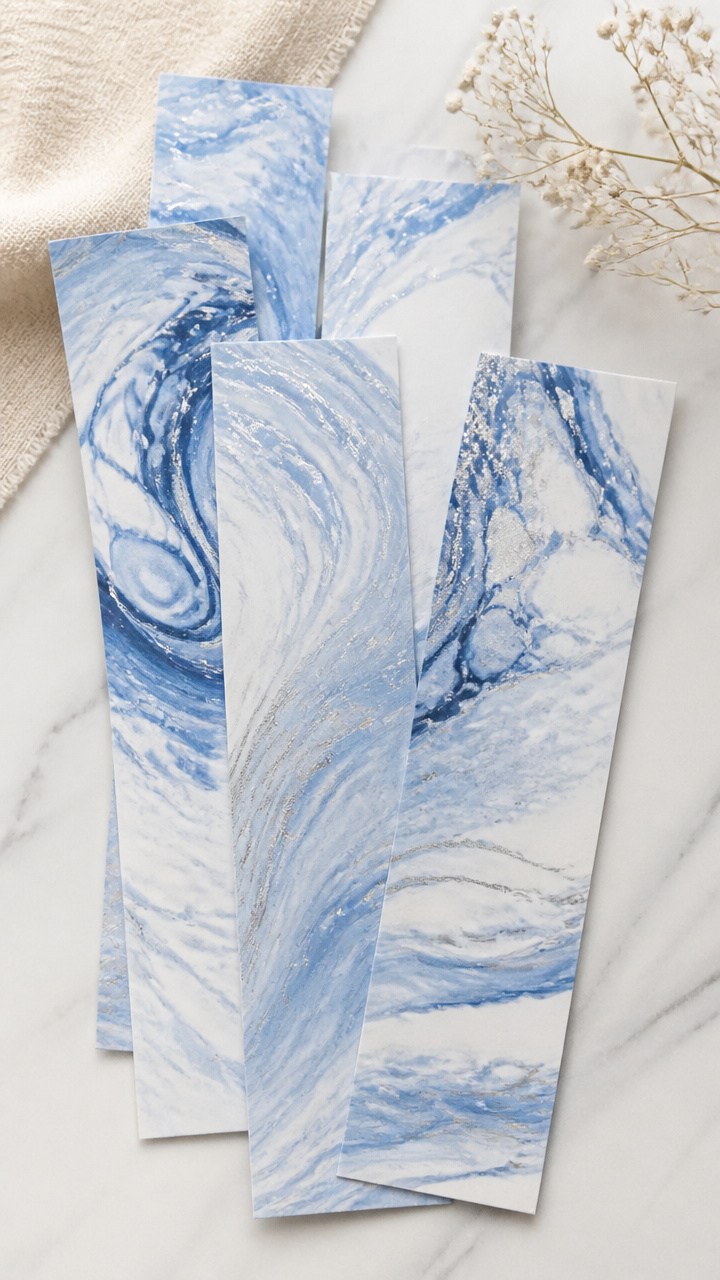
Swirling patterns on handmade paper become elegant bookmarks that mark your progress in books and in life. The process feels like magic.
Materials Needed
- 1 shallow plastic tray (9 x 12 inches)
- 1 cup liquid starch
- Acrylic paint (blue, white, and silver, 1 tablespoon each)
- Toothpicks
- A4 white drawing paper (cut into 2 x 6 inch strips)
- Clothespins
- Drying rack
How to Make It
- Pour liquid starch into the tray to a depth of 1/2 inch.
- Drop paint in pools on the surface and use toothpicks to swirl into marble patterns.
- Gently lay a paper strip onto the surface, ensuring full contact.
- Lift it straight up after 5 seconds and place on a clothespin to dry.
- Repeat for three bookmarks and let dry for 1 hour on the rack.


5. Cork Board Goal Tracker
Moderate
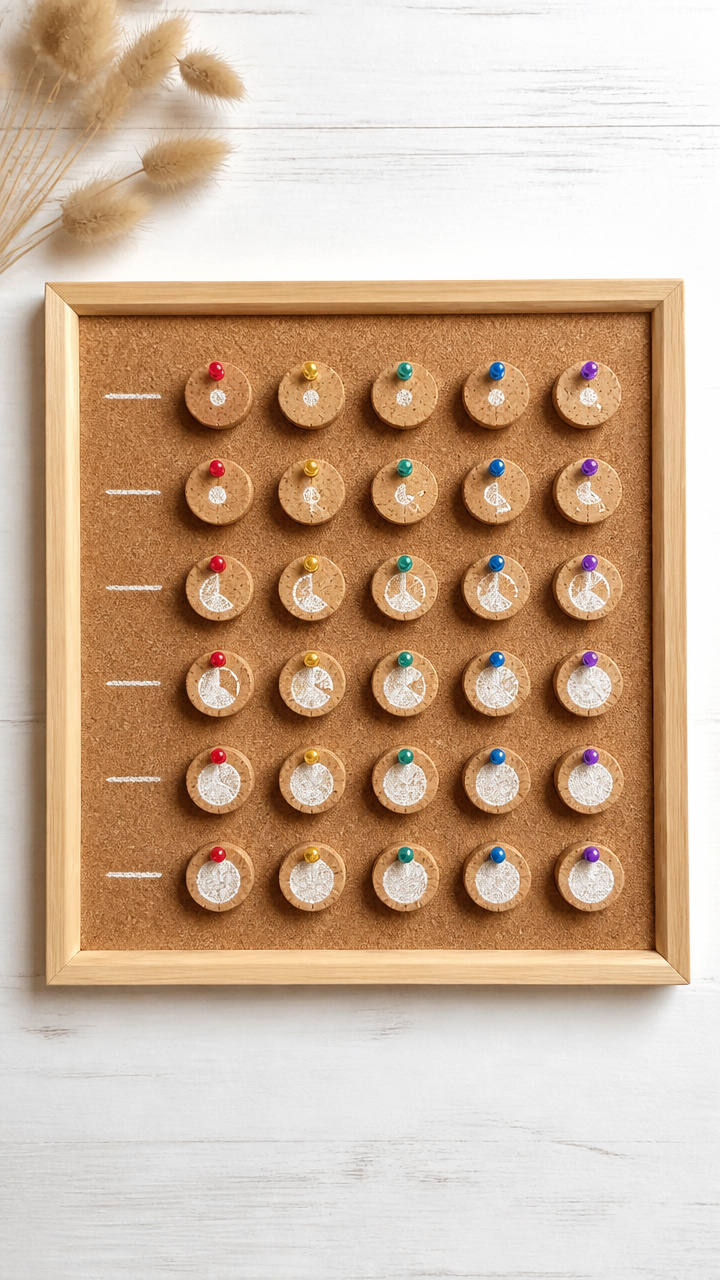
A grid of natural corks holds progress pins and tiny notes, turning small wins into a tactile celebration. It’s satisfying to see momentum build.
Materials Needed
- 18 wine corks
- Hot glue gun with glue sticks
- 12 x 12 inch cork board panel
- Chalk marker (white)
- Ruler
- 6 colored push pins
- Small paper flags (pre-cut, 1 x 0.5 inch)
How to Make It
- Arrange the corks in a 6 x 3 grid on the cork board, pressing them close together.
- Use the hot glue gun to attach each cork firmly to the board.
- Let the glue set for 10 minutes.
- Use the ruler and chalk marker to draw lines between rows and columns for a clean grid.
- Write monthly goals on paper flags and pin each to a cork with a colored pin.
- Swap flags weekly to track progress.


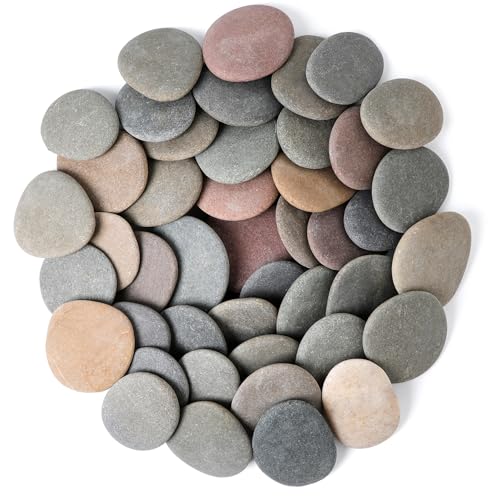
6. Painted Rock Intentions
Easy
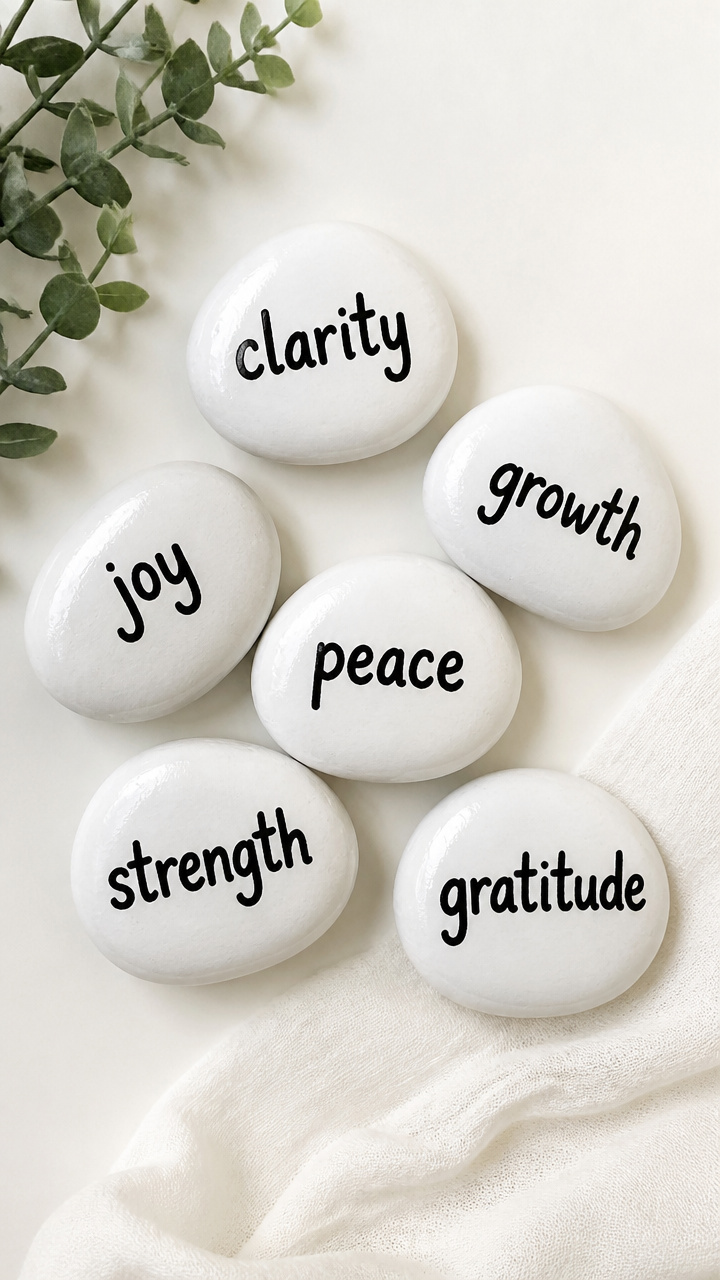
Smooth river rocks become tiny anchors of focus, painted with a single word that grounds you. Keep one in your pocket for calm.
Materials Needed
- 6 smooth river rocks (2-3 inches)
- White acrylic paint
- Small flat paintbrush
- Black acrylic paint
- Fine-tip paintbrush
- Clear acrylic sealer spray
How to Make It
- Paint each rock with a base coat of white acrylic paint using the flat brush.
- Let dry for 15 minutes on a paper towel.
- Use the fine-tip brush to write one word per rock, like 'Calm', 'Focus', or 'Joy' in black paint.
- Let letters dry for 20 minutes.
- Spray lightly with sealer in a well-ventilated area and let dry for 30 minutes.


7. Yarn-Wrapped Memory Wreath
Moderate
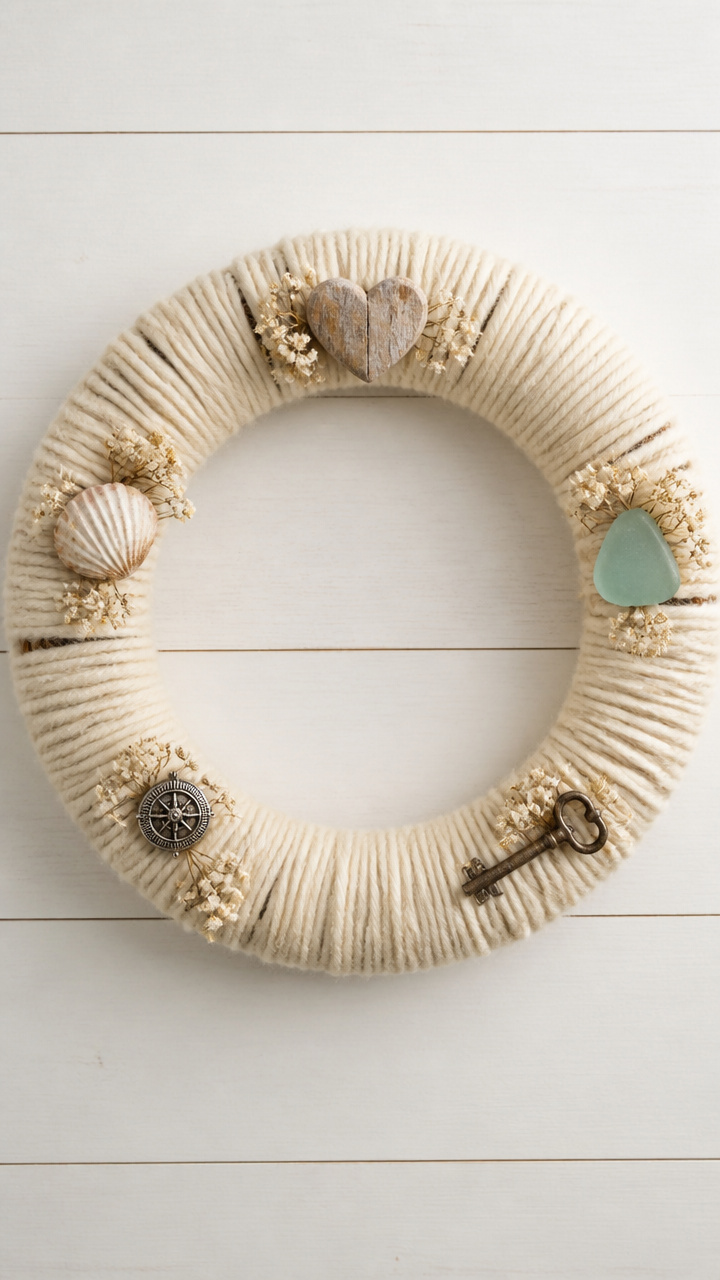
A soft ring of yarn holds small tokens from the past year, creating a gentle tribute. It’s comforting to touch and meaningful to display.
Materials Needed
- 12 inch grapevine wreath base
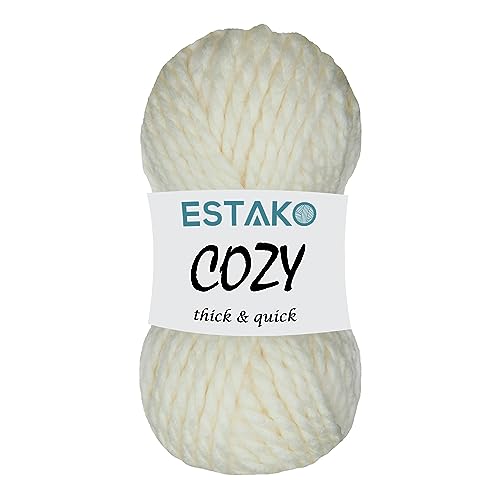
- 2 skeins cream-colored bulky yarn
- Hot glue gun with glue sticks
- 5 small keepsakes (ticket stubs, fabric swatches, etc.)
- Scissors
How to Make It
- Tie the yarn to the wreath base with a double knot.
- Wrap the yarn tightly around the entire wreath, overlapping slightly to cover the base completely.
- Secure the end with a dot of hot glue and trim excess.
- Glue each keepsake to the wreath at even intervals using a small amount of hot glue.
- Let the glue cool for 2 minutes before hanging with twine.


8. Pressed Flower Calendar
Advanced
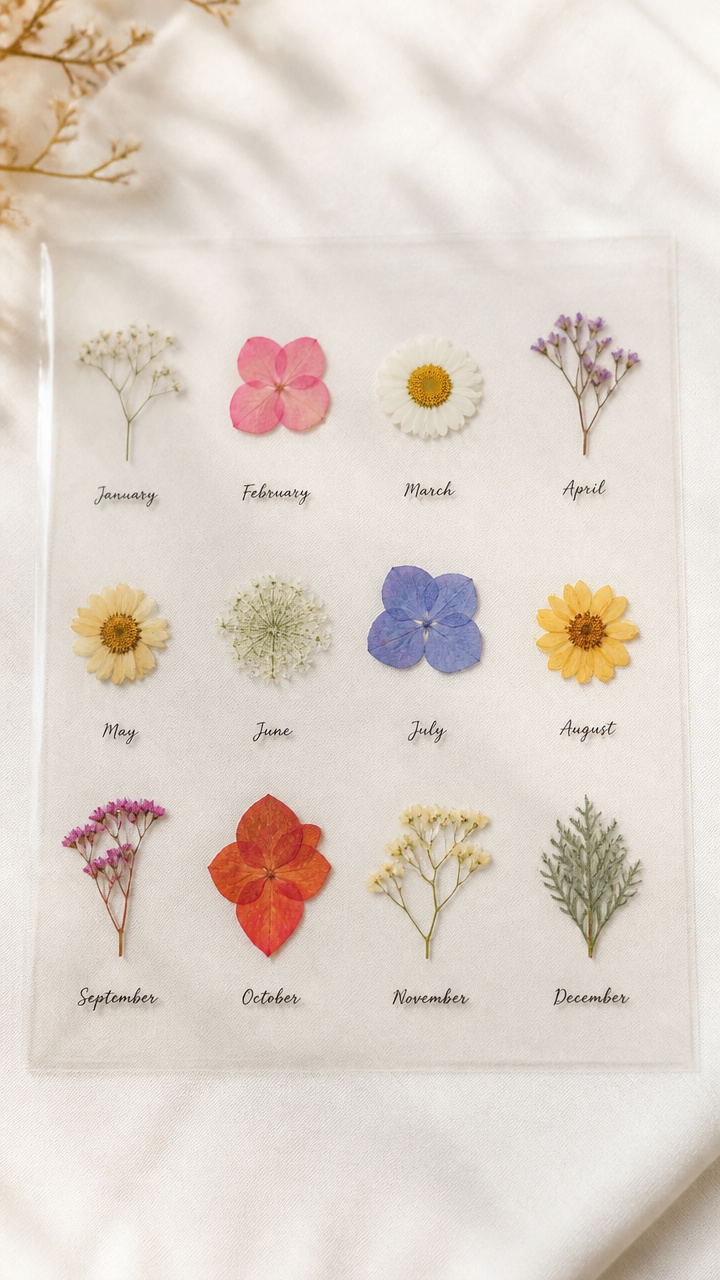
Delicate blooms sealed under contact paper mark each month with quiet beauty. It’s a gentle way to honor time’s passage.
Materials Needed
- 12 small dried flowers (each different type)
- 1 A4 sheet clear contact paper
- Pencil
- Ruler
- Scissors
- Fine-tip black marker
- Push pins (12)
How to Make It
- Cut the contact paper into 12 rectangles (3 x 2 inches).
- Peel the backing from one piece and place a dried flower in the center.
- Smooth the top layer over it, pressing out air bubbles with your finger.
- Write the month name below the flower with the fine-tip marker.
- Repeat for all 12 months.
- Pin each to a bulletin board in chronological order using one pin per card.


9. Mini Paper Lantern Goals
Moderate
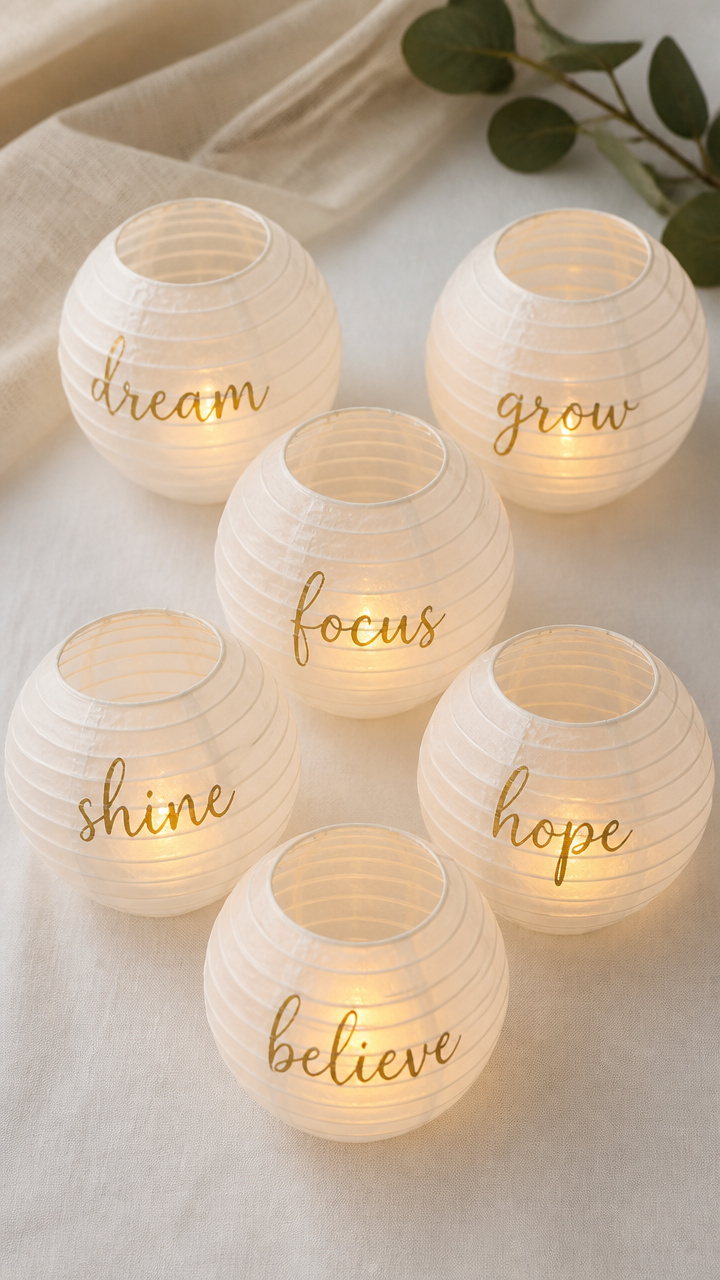
Delicate rice paper lanterns glow with handwritten aspirations inside. Light one each month to renew your focus.
Materials Needed
- 6 small white rice paper lanterns (6 inch diameter)
- Gold metallic gel pen
- LED tea light (battery-operated)
- Scissors
- Ruler
How to Make It
- Lay a lantern flat and use the ruler to mark a 1 inch square on the side.
- Cut out the square with scissors to create a small window.
- Write one goal inside the lantern using the gold gel pen so it shows through the window.
- Place the LED tea light inside and turn it on.
- Hang from a ceiling hook or display on a shelf.


10. Fabric Scrap Bunting
Easy
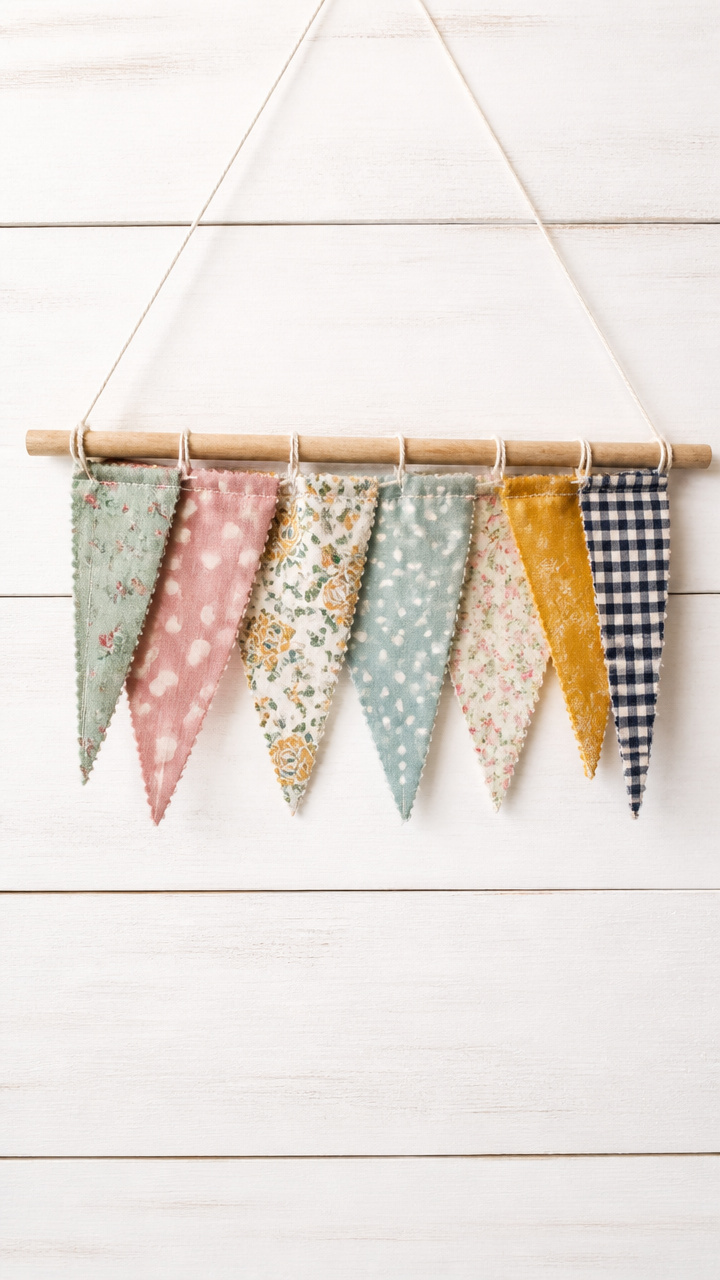
Colorful triangles of fabric from old clothes flutter with personal history. String them up as a banner of renewal.
Materials Needed
- 6 fabric scraps (6 x 6 inches, assorted patterns)
- Scissors
- White cotton thread
- Needle
- Ruler
- 12 inch wooden dowel
How to Make It
- Cut each fabric square diagonally to make two triangles.
- Fold the straight edge of each triangle over 1/4 inch and sew a 6 inch seam to create a sleeve.
- Thread the cotton string through the first triangle’s sleeve and tie a knot at the end.
- Continue threading triangles 2 inches apart until all are on the string.
- Tie each end of the string to the wooden dowel.


11. Clay Motto Coasters
Advanced
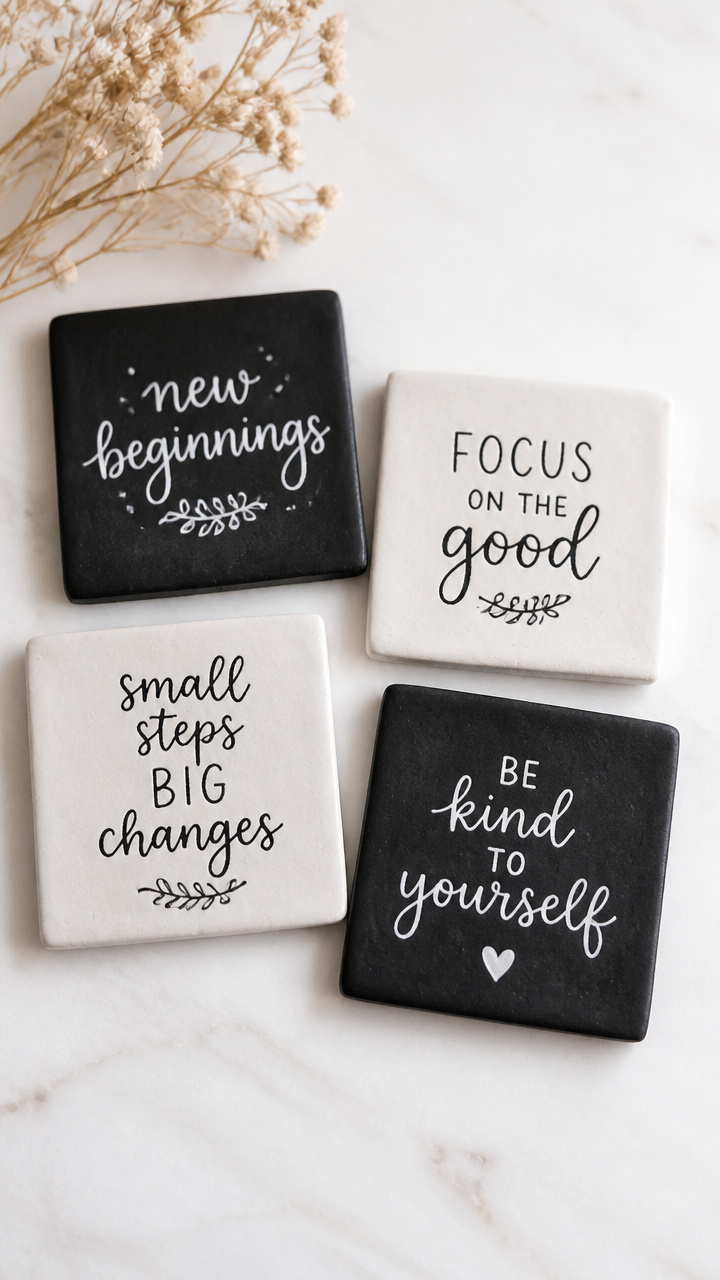
Hand-formed ceramic tiles hold short phrases that inspire daily. They’re practical and deeply personal.
Materials Needed
- Air-dry clay block (1 lb)
- Rolling pin
- Square cookie cutter (4 inch)
- Wooden skewer
- Acrylic paint (black and white)
- Small paintbrush
- Clear sealant (brush-on)
How to Make It
- Roll the clay to 1/4 inch thickness on a floured surface.
- Cut four squares using the cookie cutter and place on a flat tray.
- Use the skewer to carve a word like 'Peace' or 'Begin' into each square.
- Let dry for 24 hours until fully hardened.
- Paint the carved lines with black paint and let dry for 30 minutes.
- Seal each coaster with two coats of clear sealant, drying 15 minutes between coats.


12. Sticker Progress Chart
Easy
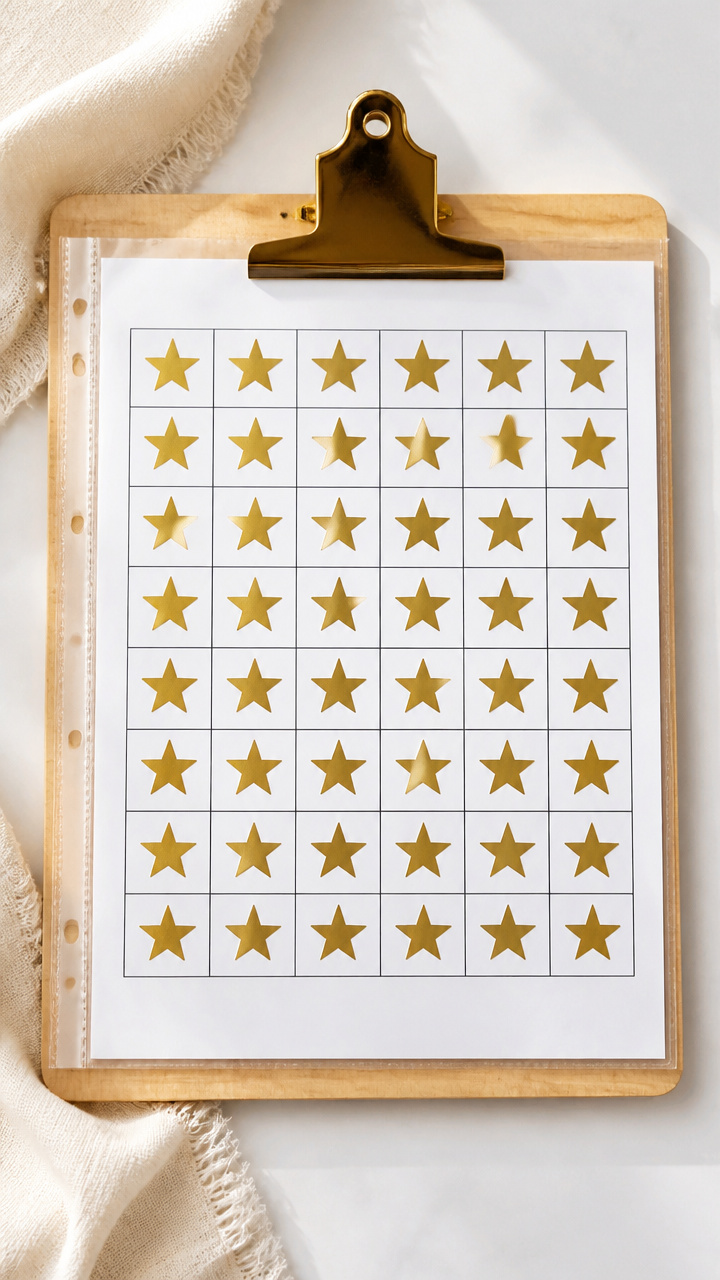
A bright grid filled with colorful stickers turns habit tracking into a joyful ritual. Watch your consistency grow.
Materials Needed
- 1 A4 white cardstock
- Ruler
- Black fine-tip marker
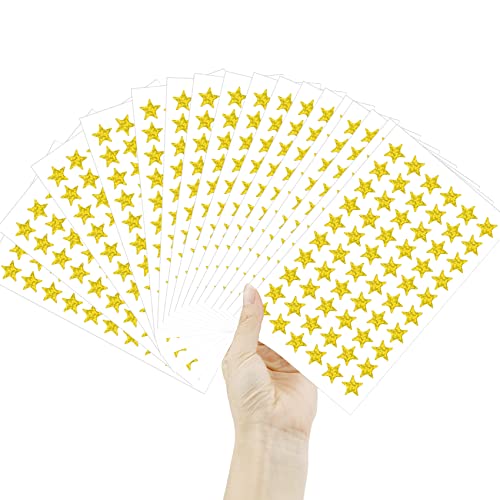
- Pack of 30 gold star stickers
- Clear sheet protector
- Clipboard
How to Make It
- Use the ruler and marker to draw a grid of 5 columns and 6 rows on the cardstock.
- Label the first column 'Week' and the next five with habit names like 'Water' or 'Walk'.
- Place the cardstock in the sheet protector.
- Clip it to the clipboard and place in a daily routine spot.
- Add one sticker per completed habit each day.


13. Ink-Stamped Journal Cover
Moderate
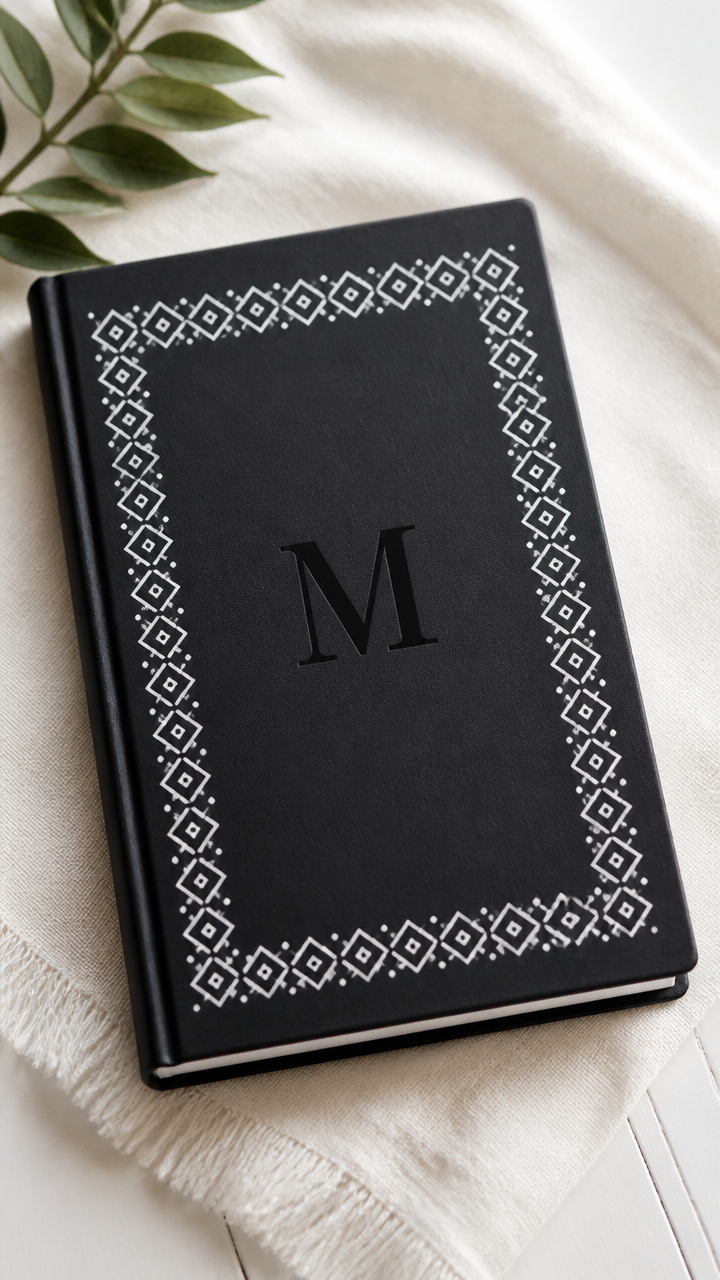
A plain notebook becomes uniquely yours with a custom ink stamp design. Every time you open it, it feels like home.
Materials Needed
- 1 plain black hardcover journal
- Rubber stamp with initial or symbol
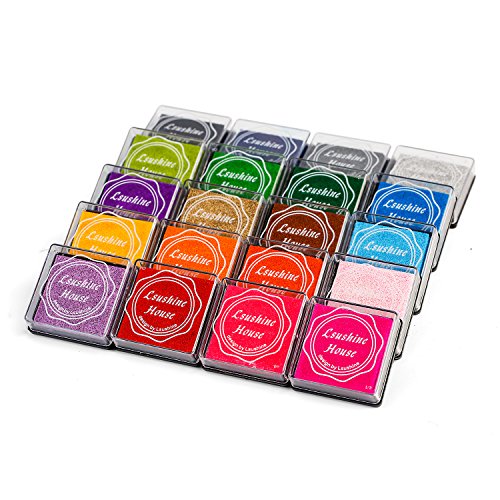
- Black archival ink pad
- Ruler
- Painter's tape (1 inch wide)
- White gel pen
How to Make It
- Use painter's tape to mark a 2 inch square centered on the journal cover.
- Press the stamp firmly into the ink pad until fully coated.
- Stamp inside the taped square, holding the stamp straight down to avoid smudging.
- Let ink dry for 10 minutes.
- Use the white gel pen to outline the stamp for contrast if needed.


14. Beaded Word Bracelet
Moderate
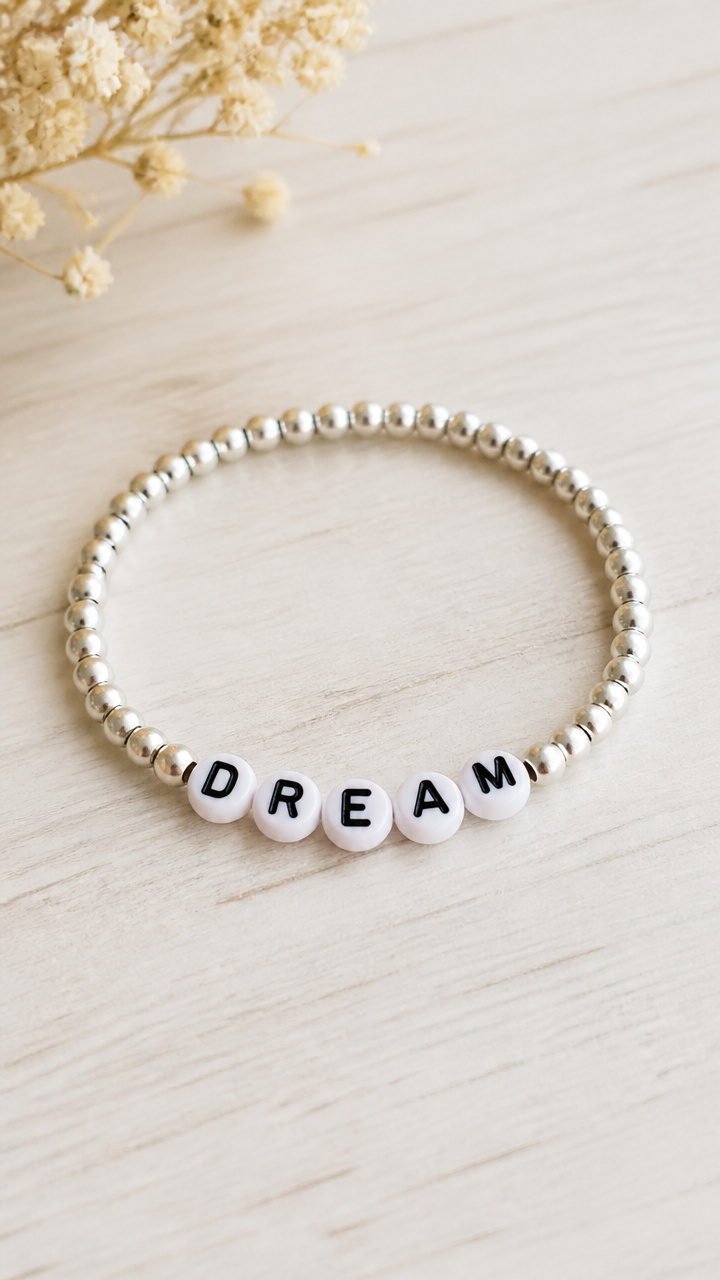
A stretchy bracelet spelling a single powerful word rests on your wrist as a quiet reminder. Make one for each month.
Materials Needed
- Alphabet letter beads (6, 6mm size)
- 20 silver spacer beads (4mm)
- 1 8 inch clear stretch cord
- Scissors
- Clear nail polish
How to Make It
- Cut the stretch cord to 8 inches using scissors.
- String the letter beads to spell a word like 'Hope', alternating with spacer beads.
- Leave 1 inch of cord free on each end.
- Tie the ends together with a double surgeon’s knot.
- Dip the knot in clear nail polish and let dry for 10 minutes to secure.


15. Candle Ring of Time
Easy
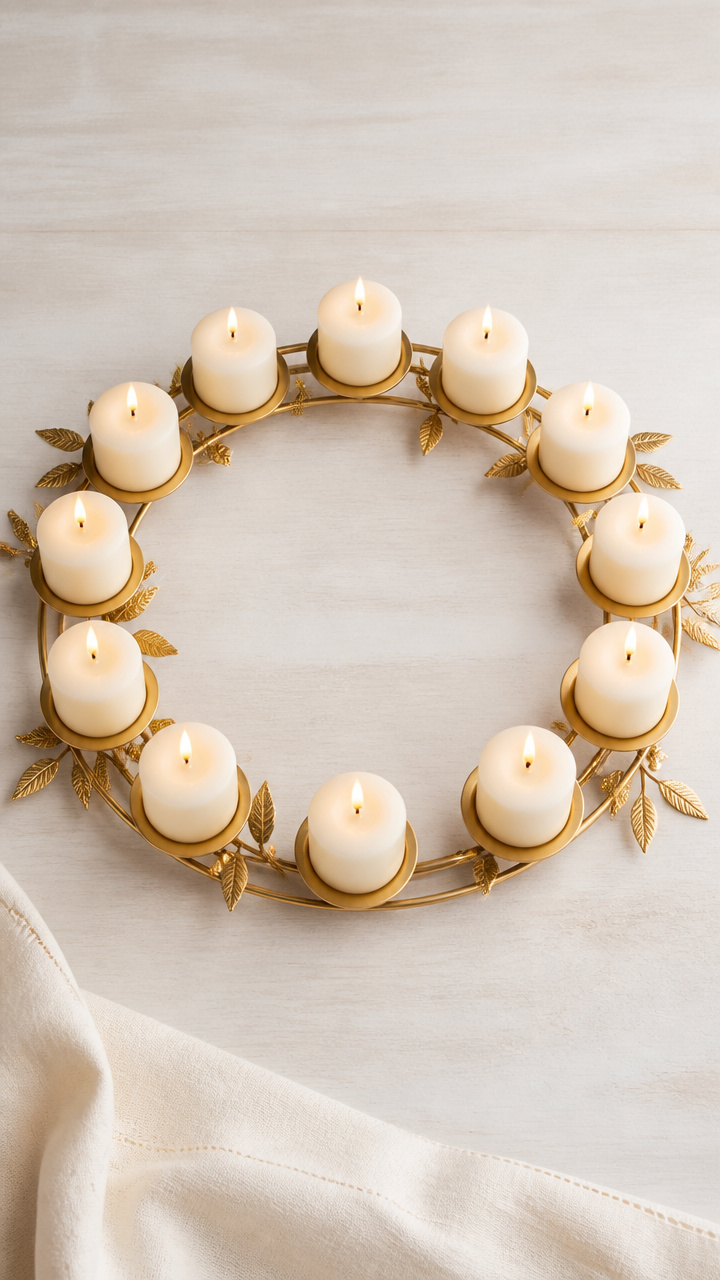
A circle of 12 small candles represents each month, lit in turn to honor passage and presence. It’s a ritual of attention.
Materials Needed
- 12 white votive candles (2 inch height)
- 13 inch diameter metal wreath frame
- Hot glue gun with glue sticks
- Gold permanent marker
- Matches or lighter
How to Make It
- Write the first letter of each month on a candle using the gold marker.
- Place a dot of hot glue on the base of each candle.
- Press each candle upright onto the metal frame, spacing them evenly in a circle.
- Let the glue set for 5 minutes.
- Light one candle each month on the first day and let it burn safely under supervision.


Pick one craft that speaks to your heart and start today. Your hands already know how to begin.