15 New Year Crafts to Make After Christmas

Leftover ribbons, empty gift boxes, and quiet winter evenings create the perfect chance to craft with purpose. Turn what’s on hand into fresh starts that celebrate the year ahead.
These projects use materials you likely already have or can find easily. Each one brings a little joy, a touch of beauty, and a handmade touch to your new beginning.
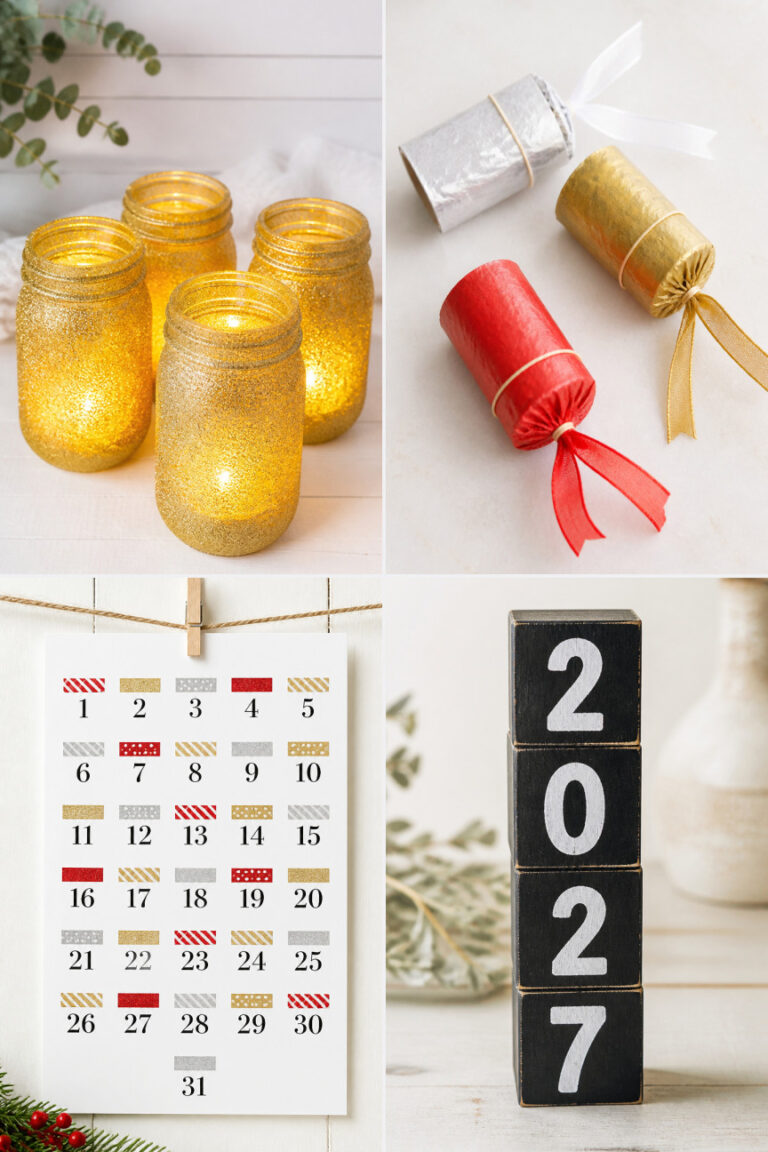
1. Glittered Mason Jar Candle Holders
Easy
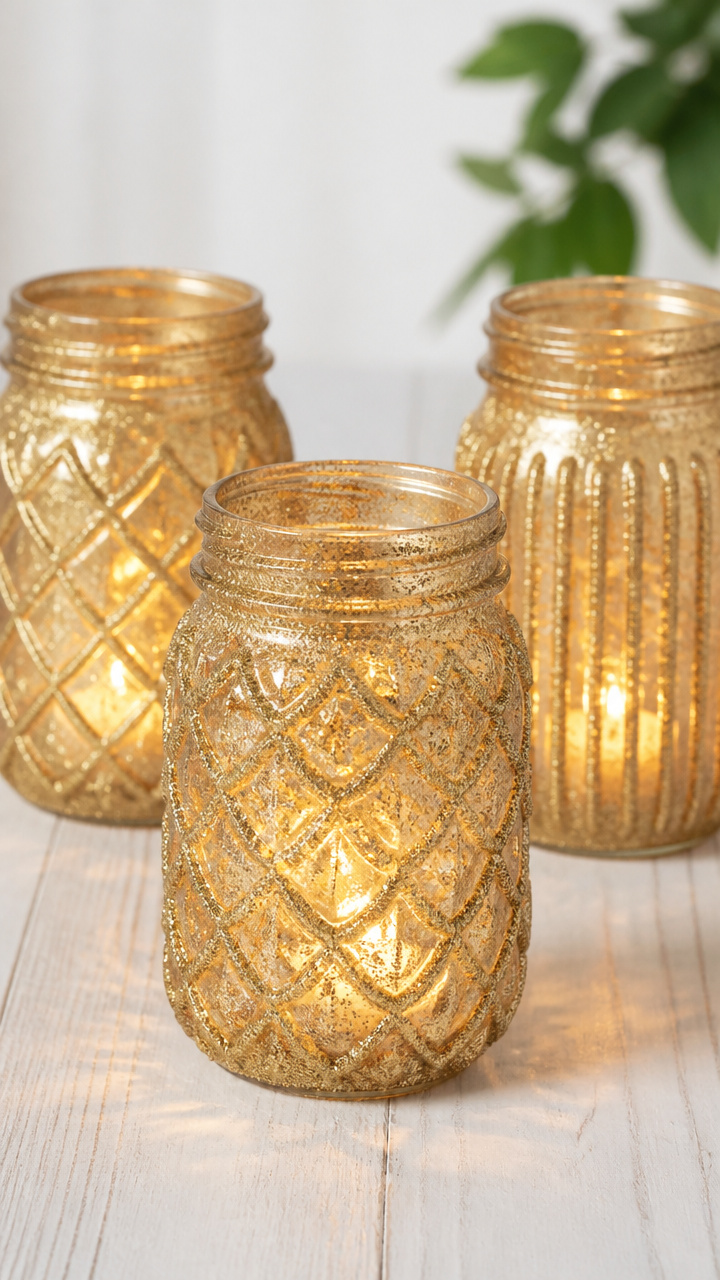
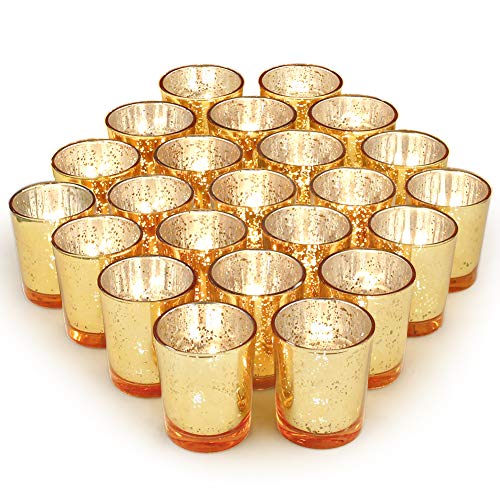
Soft golden light glows through shimmering glass, casting festive reflections across your tabletop. These luminous jars add warmth to any mantel or dinner setting.
Materials Needed
- 3 clean 16 oz mason jars
- Gold fine glitter (1/4 cup)
- White school glue (4 oz)
- Small foam brush (1)
- Tealight candles (3)
- Paper plate (1)
How to Make It
- Pour 2 ounces of white school glue onto the paper plate.
- Dip the foam brush into the glue and coat the outside of one mason jar evenly from top to bottom.
- Sprinkle gold glitter over the glued surface, turning the jar to cover all sides.
- Set the jar aside for 20 minutes to let the glue dry completely.
- Tap off excess glitter and repeat the process for the remaining two jars.
- Place one tealight candle inside each finished jar.
2. Confetti Popper Card Set
Easy
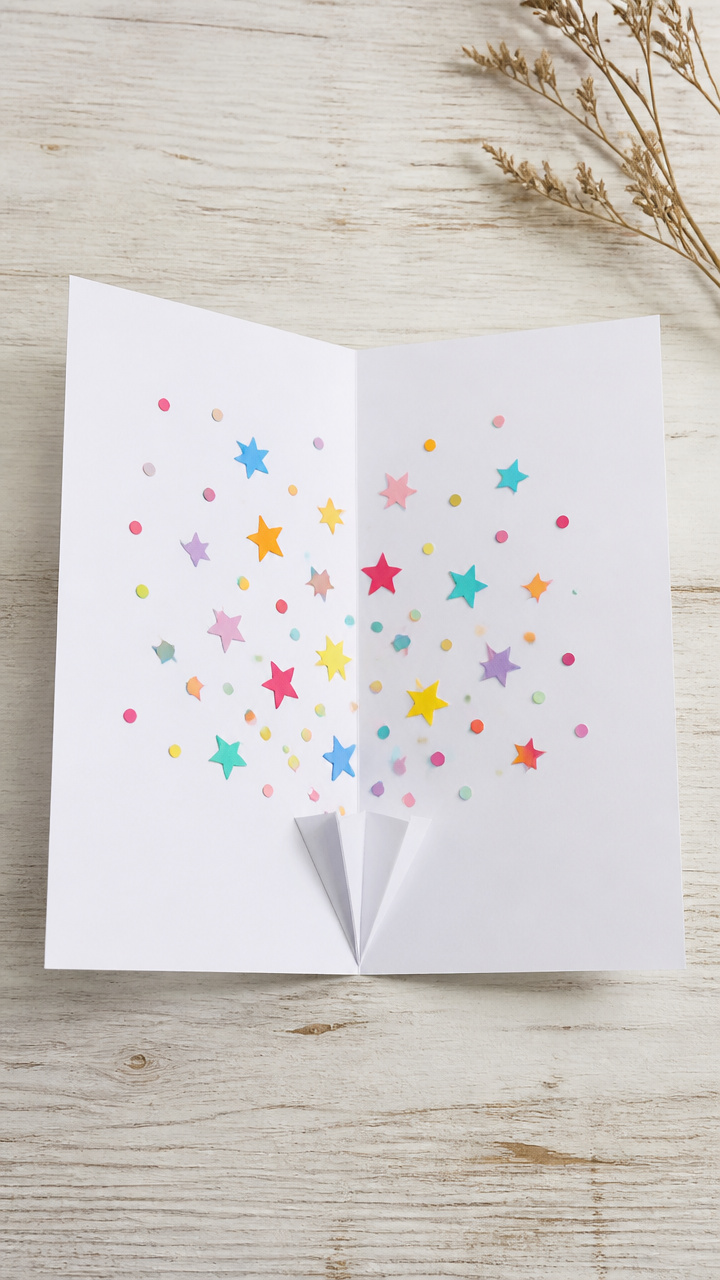
A burst of color explodes when recipients open these handmade greeting cards. Surprise loved ones with a joyful pop of confetti shaped like stars and dots.
Materials Needed
- A4 white cardstock (6 sheets)
- Colored paper confetti (star and dot shapes, 1/3 cup)
- Double-sided tape squares (12)
- Scissors (1 pair)
- Ruler (1)
- Pencil (1)
How to Make It
- Fold each sheet of A4 cardstock in half to make six cards.
- Use the ruler and pencil to mark a 1.5-inch square in the center of each card front.
- Carefully cut out the marked square from each card front using scissors.
- Place four double-sided tape squares around the edges of the back side of each opening.
- Sprinkle confetti into the space behind each opening.
- Press the taped edge firmly to seal the confetti inside.
3. Washi Tape Clock Refinish
Easy
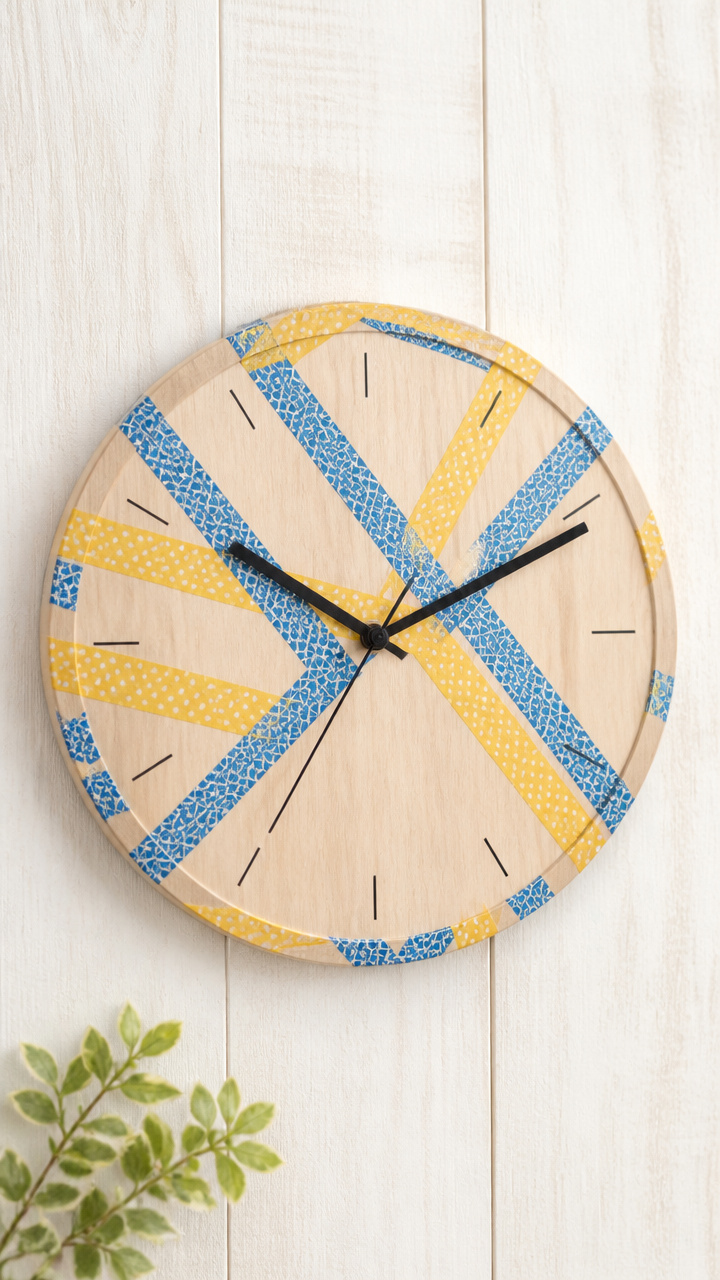
A tired wall clock becomes a bright, modern accent with crisp washi tape stripes. This quick update adds personality without permanent changes.
Materials Needed
- Plain wooden wall clock (12-inch diameter, 1)
- Blue geometric washi tape (3/4 inch wide, 1 roll)
- Yellow dotted washi tape (3/4 inch wide, 1 roll)
- Craft knife (1)
- Ruler (1)
How to Make It
- Remove the clock hands and battery before starting.
- Starting at the top center, apply vertical strips of blue washi tape spaced 1 inch apart across the entire clock face.
- Layer yellow dotted washi tape horizontally over the blue strips, forming a grid pattern.
- Use the craft knife and ruler to trim excess tape neatly along the outer edge.
- Reattach the clock hands and insert the battery.
4. Felt Firework Wall Art
Moderate
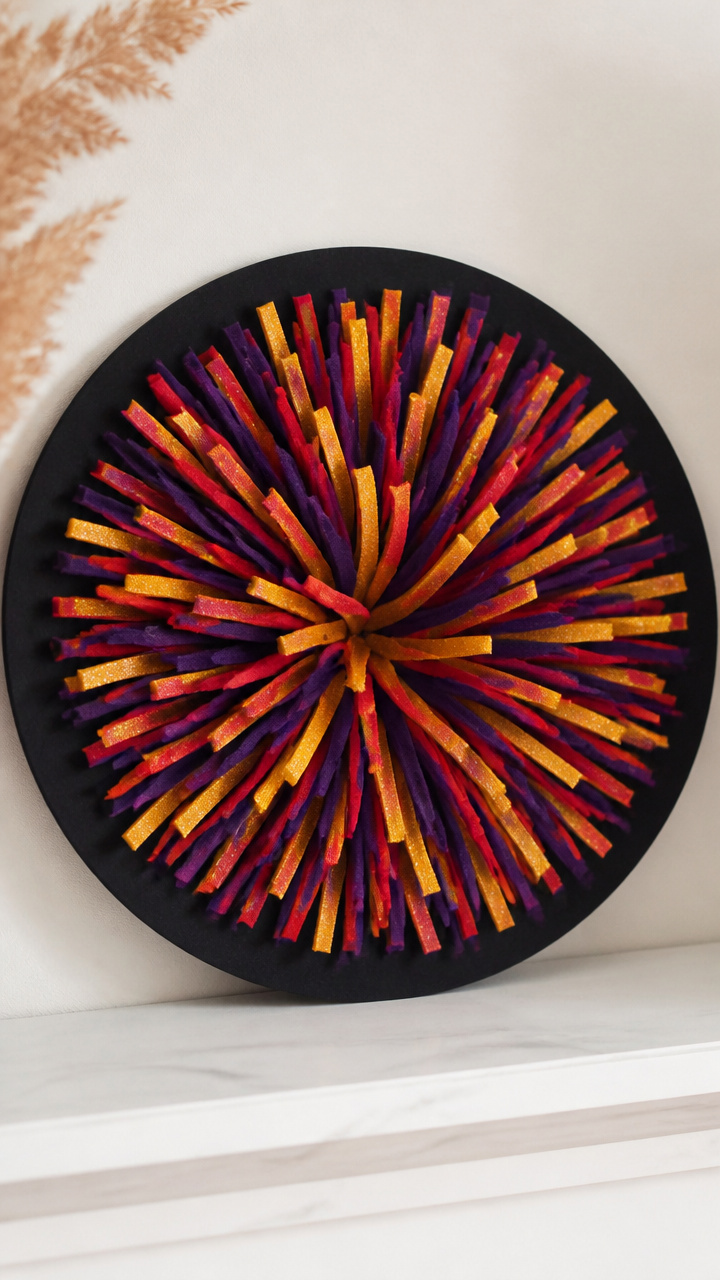
Radiating strands of colorful felt mimic fireworks frozen mid-burst. Hang this vibrant piece above a console table or child's bed.
Materials Needed
- Black A2 foam board (1)
- Red felt sheet (9×12 inches, 1)
- Gold felt sheet (9×12 inches, 1)
- Purple felt sheet (9×12 inches, 1)
- Fabric scissors (1 pair)
- Hot glue gun (1)
- Glue sticks (3)
How to Make It
- Cut red felt into 18 thin strips, each 1/4 inch wide and 9 inches long.
- Cut gold felt into 15 strips, each 1/4 inch wide and 7 inches long.
- Cut purple felt into 12 strips, each 1/4 inch wide and 6 inches long.
- Arrange all strips in overlapping bursts from a single center point on the foam board.
- Apply a small dot of hot glue at the base of each strip where they meet in the center.
- Let the glue cool for 2 minutes before hanging.
5. Recycled Gift Box Memory Box
Moderate
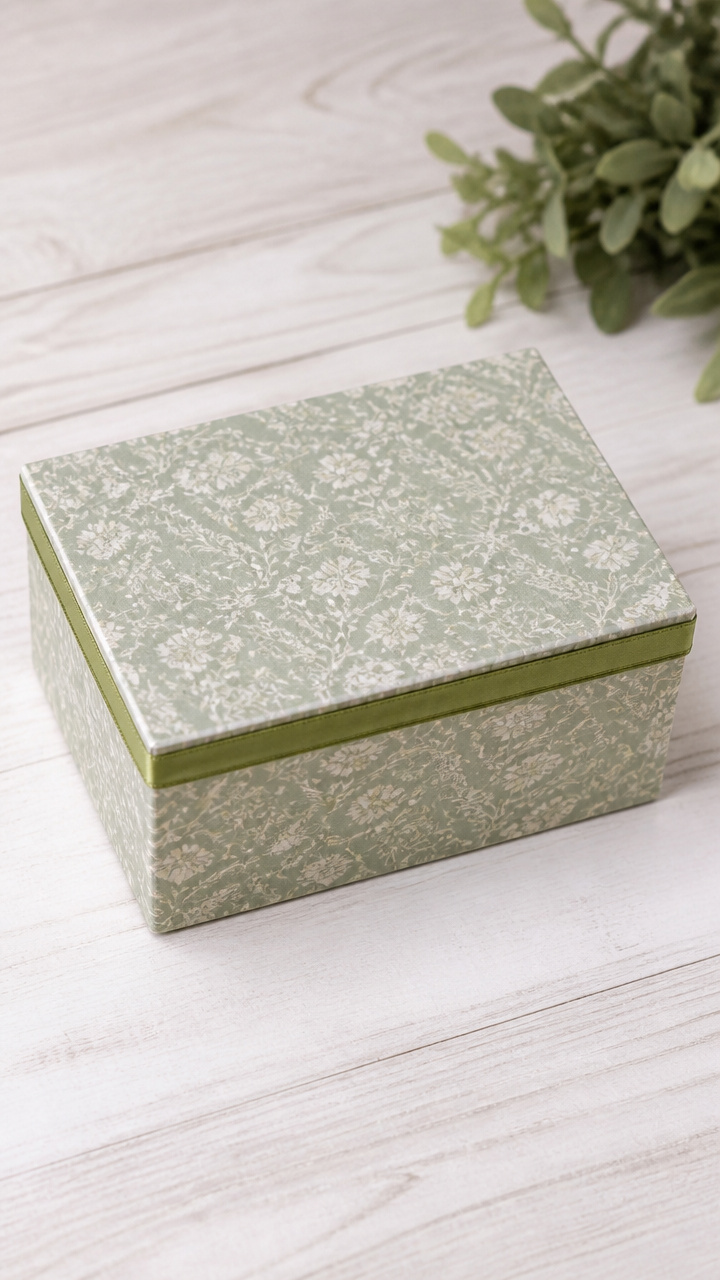
Sturdy holiday packaging transforms into a keepsake chest for tickets, notes, and tiny treasures. Line it with patterned paper for a polished finish.
Materials Needed
- Empty rigid gift box with lid (8x6x4 inches, 1)
- Patterned scrapbook paper (12×12 inches, 1 sheet)
- Mod Podge (2 oz)
- Foam brush (1)
- Scissors (1 pair)
- Ribbon (1/4 inch wide, 12 inches, 1 piece)
How to Make It
- Measure and cut the scrapbook paper to cover the outside of the box and lid separately.
- Brush a thin layer of Mod Podge onto the box surface using the foam brush.
- Smooth the scrapbook paper onto the box, pressing out air bubbles with your fingers.
- Repeat the process for the lid.
- Cut a 12-inch ribbon piece and glue each end inside the box to form a loop pull tab.
- Let the box dry flat for 1 hour before use.


6. Painted Wooden Number Sign
Moderate
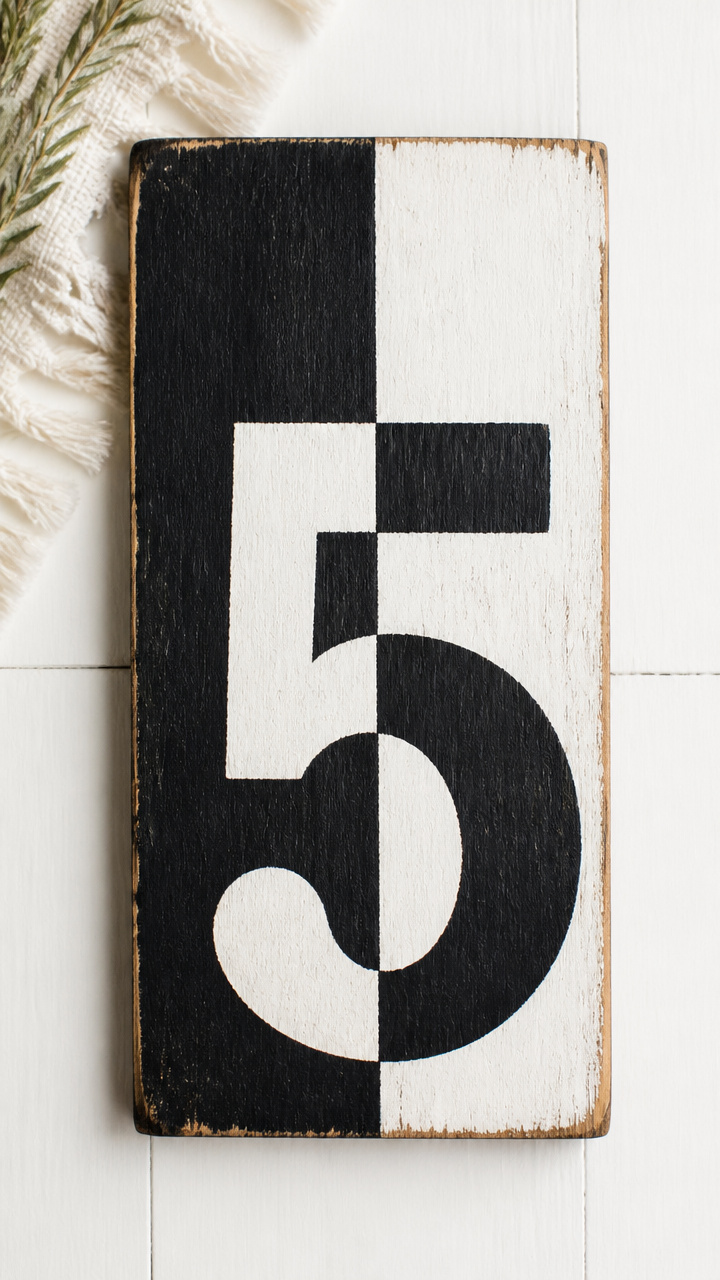
A bold hand-painted number marks the new year proudly on your door or shelf. This rustic sign uses basic brushstrokes and solid color blocking.
Materials Needed
- Unfinished pine plaque (6×12 inches, 1)
- Black acrylic paint (2 oz)
- White acrylic paint (2 oz)
- Paintbrush set (3 brushes: flat, round, liner)
- Painter’s tape (1 roll)
- Pencil (1)
How to Make It
- Sketch the current year in large block numbers lightly with the pencil on the plaque.
- Use painter’s tape to mask off sections if painting multiple colors side by side.
- Fill in the numbers with black acrylic paint using the flat brush, applying even strokes.
- Let the paint dry for 30 minutes, then add white highlights along one edge of each number with the liner brush.
- Remove any tape while the paint is still slightly damp to avoid peeling.
- Allow the sign to cure overnight before displaying.


7. Twine-Wrapped Countdown Tags
Easy
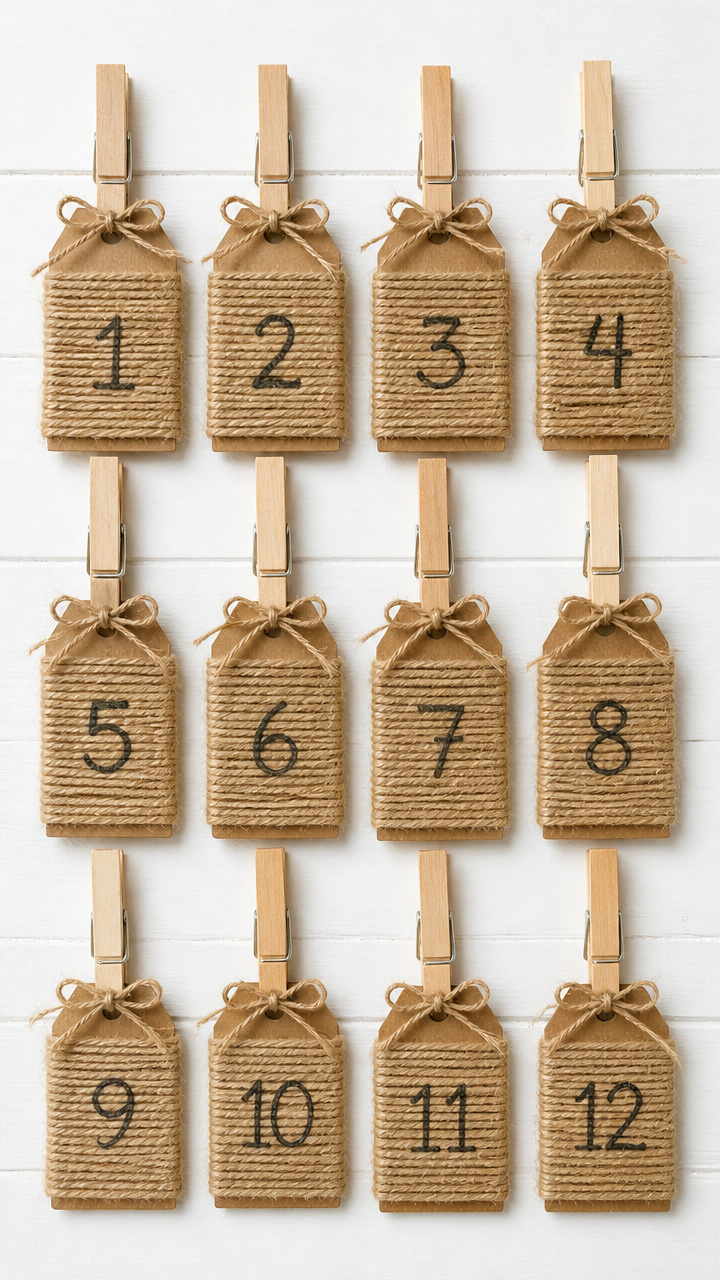
Tiny tags wrapped in natural twine hold handwritten hopes for each month. Tie them to a branch display or gift bundle.
Materials Needed
- Wooden clothespins (12)
- Jute twine (size 3, 1 spool)
- Mini kraft tags (1.5×3 inches, 12)
- Fine-tip black marker (1)
- Hole punch (1)
How to Make It
- Punch one hole in the top of each kraft tag using the hole punch.
- Write one month name on each tag with the fine-tip marker.
- Cut 12 pieces of jute twine, each 10 inches long.
- Wrap one piece of twine around the clothespin near the spring and tie a knot.
- Thread a tagged end through the knot and pull snug.
- Repeat for all 12 clothespins.
8. Marbled Nail Polish Coasters
Advanced
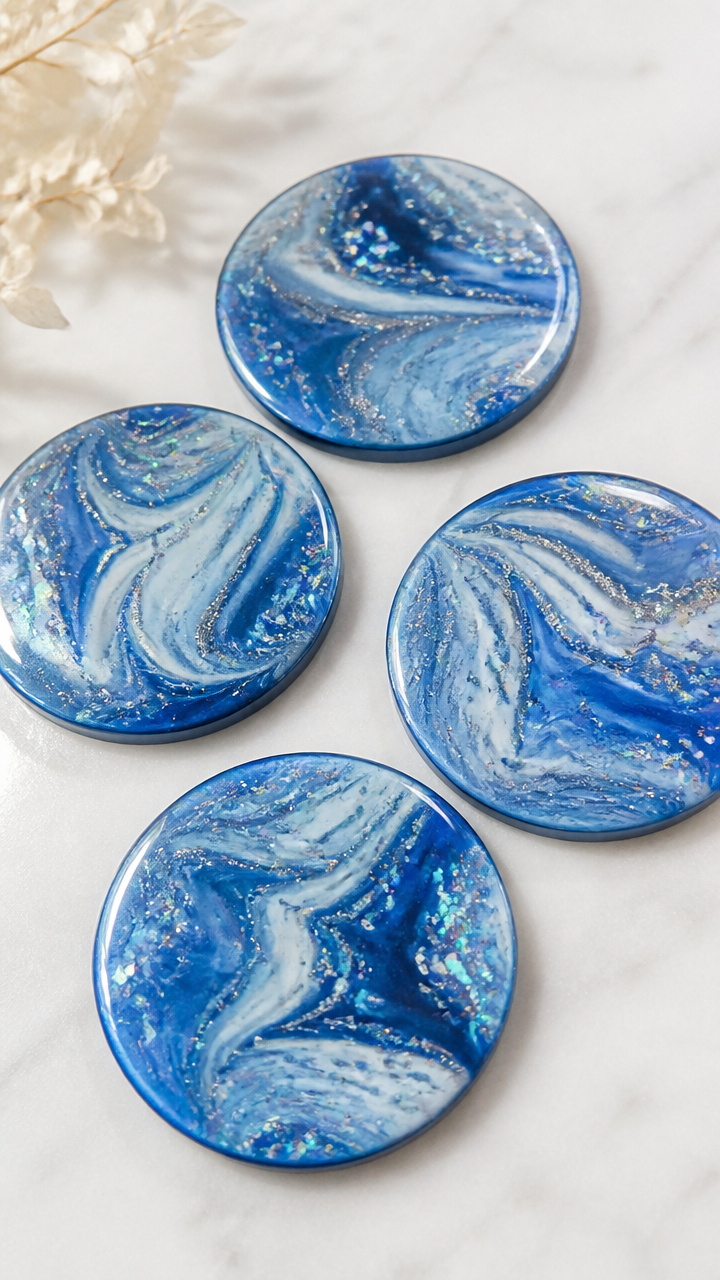
Swirled designs captured in resin give these coasters a high-end look. The technique uses nail polish floating on water.
Materials Needed
- Clear silicone coaster molds (4-inch round, 4 cavities, 1 set)
- Epoxy resin kit (8 oz total mix volume, 1)
- Blue metallic nail polish (1 bottle)
- Silver holographic nail polish (1 bottle)
- Disposable gloves (1 pair)
- Toothpicks (4)
How to Make It
- Mix epoxy resin according to package instructions in a disposable cup.
- Pour equal amounts of resin into each mold cavity, filling to the top edge.
- Drop one drop of blue nail polish onto the surface of each resin-filled mold.
- Add one drop of silver nail polish next to the blue in each mold.
- Drag a toothpick through the drops to create swirls in the resin.
- Let the coasters cure undisturbed for 24 hours before unmolding.


9. Salt Dough Star Ornaments
Easy
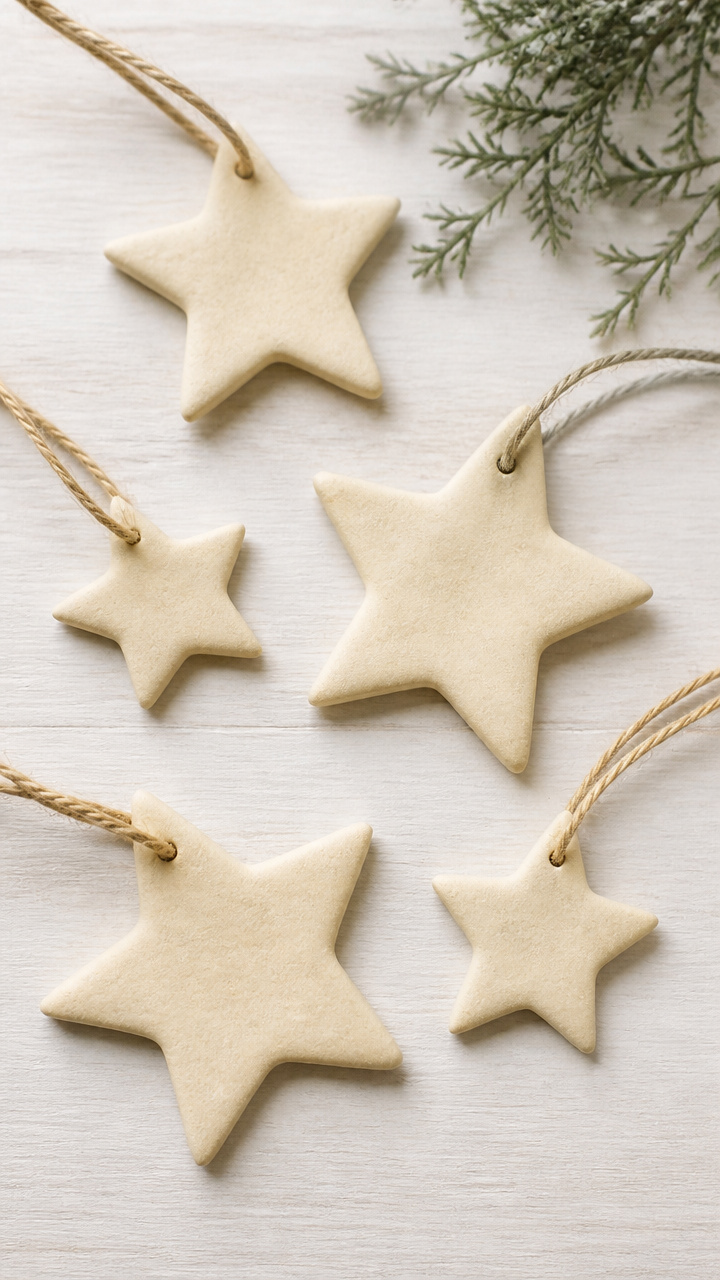
Simple dough shaped into celestial symbols dries hard and light. String them up as temporary decor or kid-made gifts.
Materials Needed
- All-purpose flour (1 cup)
- Table salt (1/2 cup)
- Warm water (1/2 cup)
- Cookie cutters (star-shaped, 2 sizes, 2)
- Rolling pin (1)
- Baking sheet (1)
- Parchment paper (1 sheet)
- Oven-safe straw (1)
How to Make It
- Mix flour, salt, and warm water in a bowl until a smooth dough forms.
- Roll the dough to 1/4 inch thickness on a floured surface.
- Cut out star shapes using both cookie cutters.
- Push the straw through the top edge of each star to make a hanging hole.
- Place shapes on a parchment-lined baking sheet.
- Bake at 200°F for 3 hours until fully hardened, then cool completely.


10. Tissue Paper Window Backdrop
Moderate
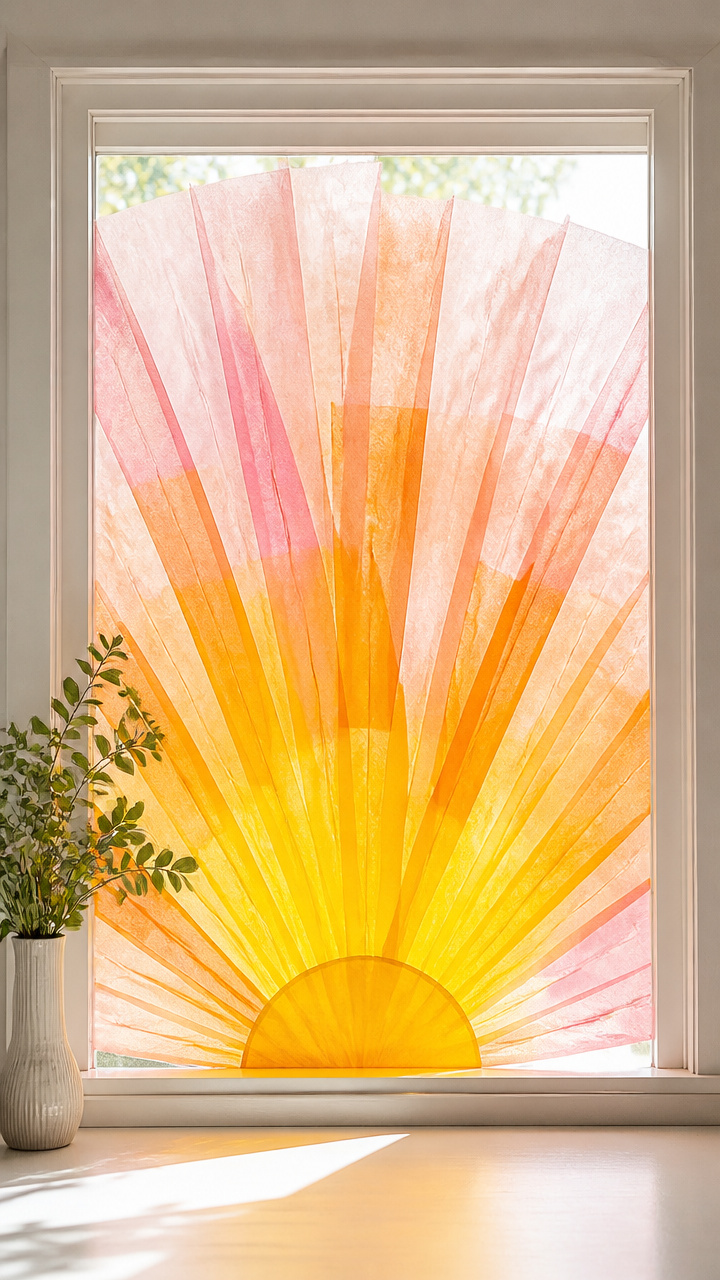
Gentle layers of colored tissue fan out like sunrise rays on glass. This temporary installation adds drama to any large window.
Materials Needed
- Orange tissue paper (12×18 inches, 4 sheets)
- Yellow tissue paper (12×18 inches, 4 sheets)
- Pale pink tissue paper (12×18 inches, 4 sheets)
- Water in spray bottle (1 filled bottle)
- Painter’s tape (1 roll)
- Scissors (1 pair)
How to Make It
- Cut each tissue sheet into 3-inch wide vertical strips.
- Start at the bottom center of the window and tape one orange strip vertically with painter’s tape.
- Layer additional orange strips side by side, slightly overlapping, to form a fan base.
- Add yellow strips above and between orange ones, extending higher.
- Top the design with pale pink strips reaching the highest point.
- Mist lightly with water to blend edges and reduce wrinkles.
11. Copper Wire Word Sculptures
Advanced
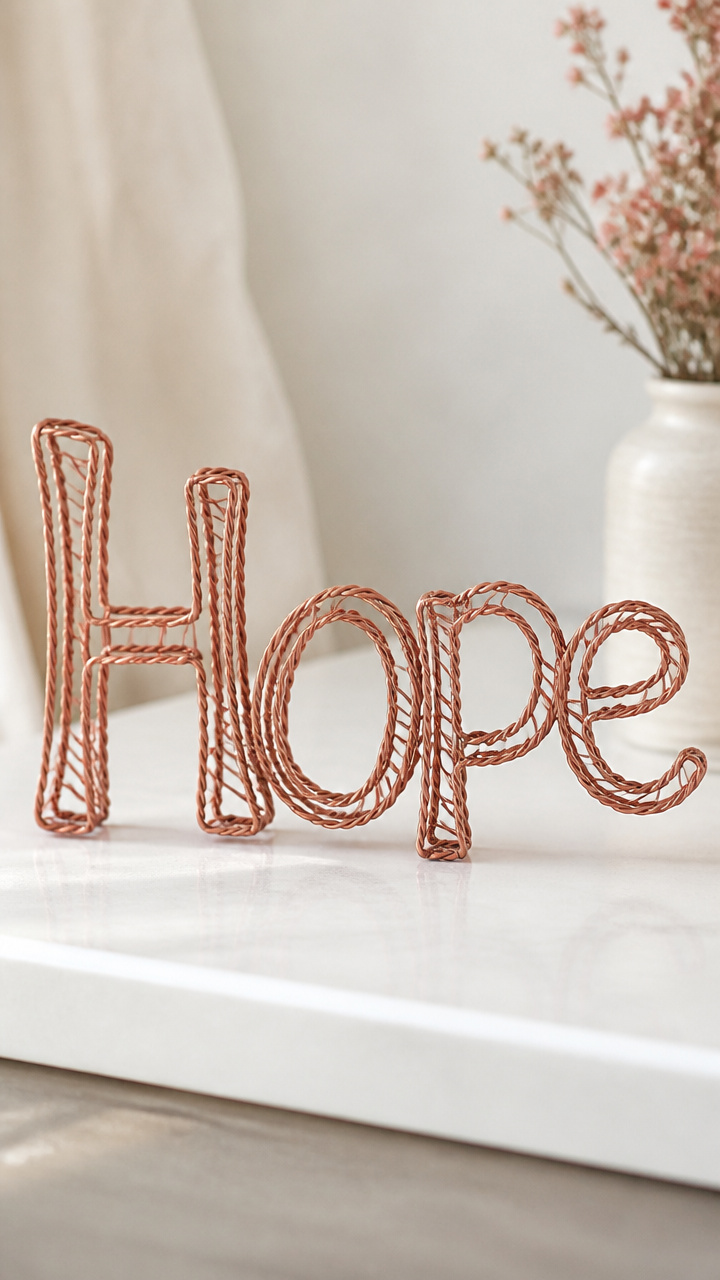
Bold letters spelling 'Hope' twist into sculptural forms using stiff wire. Display them on a bookshelf or desk.
Materials Needed
- 16-gauge copper wire (10 feet)
- Wire cutters (1 pair)
- Flat-nose pliers (1 pair)
- Round-nose pliers (1 pair)
- Workbench vise (1)
How to Make It
- Clamp one end of the copper wire in the vise.
- Use the flat-nose pliers to bend the first section into the shape of the letter H.
- Curve corners smoothly with the round-nose pliers for consistent thickness.
- Continue shaping O, then P, then E, leaving short connecting wires between letters.
- Trim the final end with wire cutters after the last letter.
- Adjust overall balance so the sculpture stands upright on a flat surface.


12. Pressed Flower Resolution Cards
Moderate
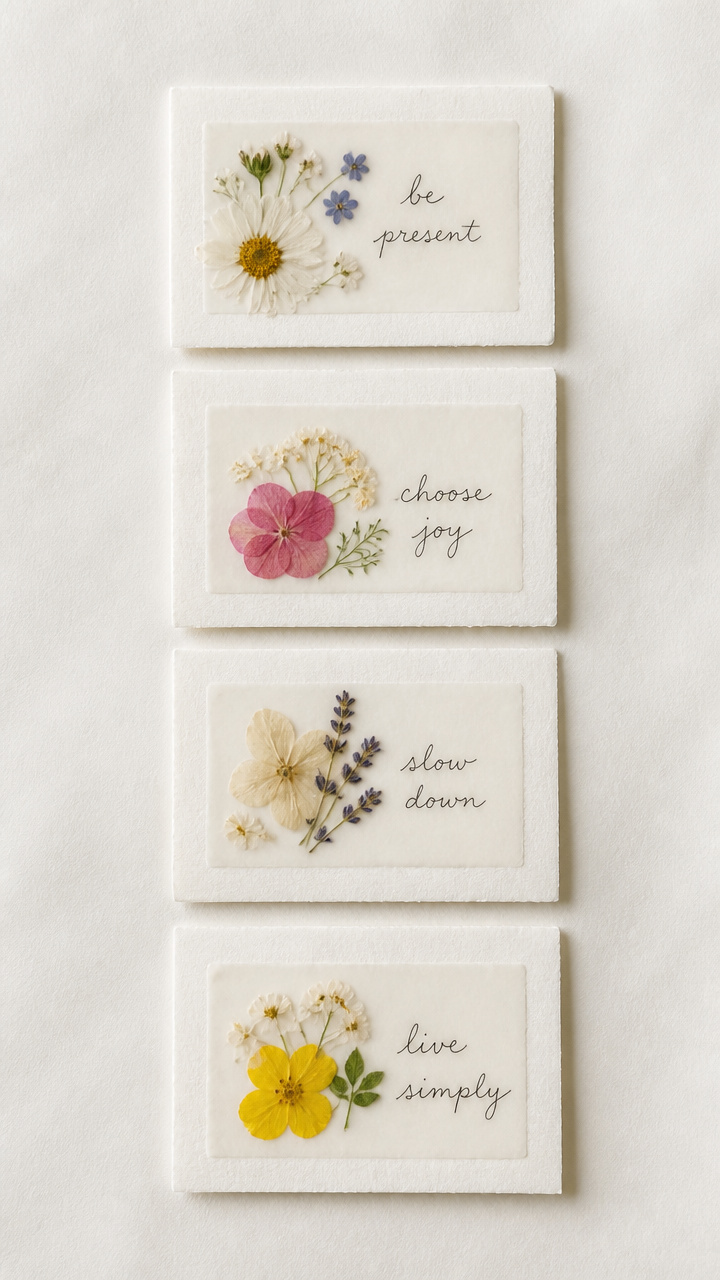
Delicate blooms sealed under wax carry personal promises into the new year. These palm-sized cards feel intimate and lasting.
Materials Needed
- Beeswax paper sheets (4×6 inches, 6)
- Iron (1)
- Parchment paper (2 sheets, 8×10 inches)
- Small dried flowers (6 stems)
- Index cards (3×5 inches, 6)
- Fine-tip pen (1)
How to Make It
- Write one personal resolution on each index card with the fine-tip pen.
- Arrange one flower cluster on top of each card.
- Place one beeswax sheet over each flower-covered card.
- Cover with a sheet of parchment paper and press with a warm iron for 15 seconds.
- Lift the parchment and check if the wax has melted smoothly; repress if needed.
- Let cool for 2 minutes before handling.
13. Foam Stamp Calendar Pages
Moderate
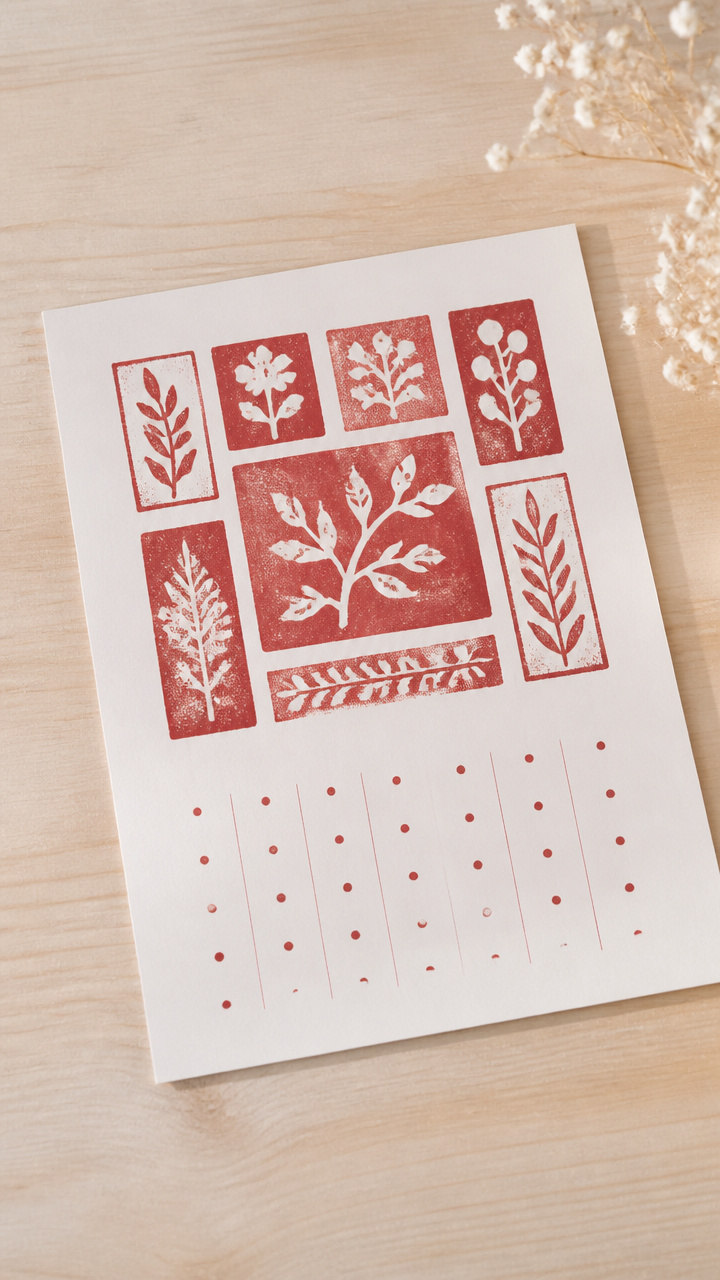
Custom-printed calendar sheets feature hand-carved motifs for each month. Print multiples to share with family.
Materials Needed
- Self-healing cutting mat (1)
- Linoleum carving tool set (1)
- Foam printing blocks (4×6 inches, 2)
- Water-based block printing ink (red, 2 oz)
- Brayer (1)
- A4 white printer paper (6 sheets)
How to Make It
- Draw a simple snowflake on one foam block and a heart on the other using pencil.
- Use the linoleum tools to carve away the background around each design.
- Roll red ink evenly onto the brayer, then apply to the raised surface of the snowflake block.
- Press the inked block firmly onto the top corner of one A4 sheet.
- Clean the block, re-ink, and stamp the heart in the opposite corner.
- Repeat for all six sheets, letting ink dry for 10 minutes between prints.
14. Yarn-Dipped Twig Place Cards
Easy
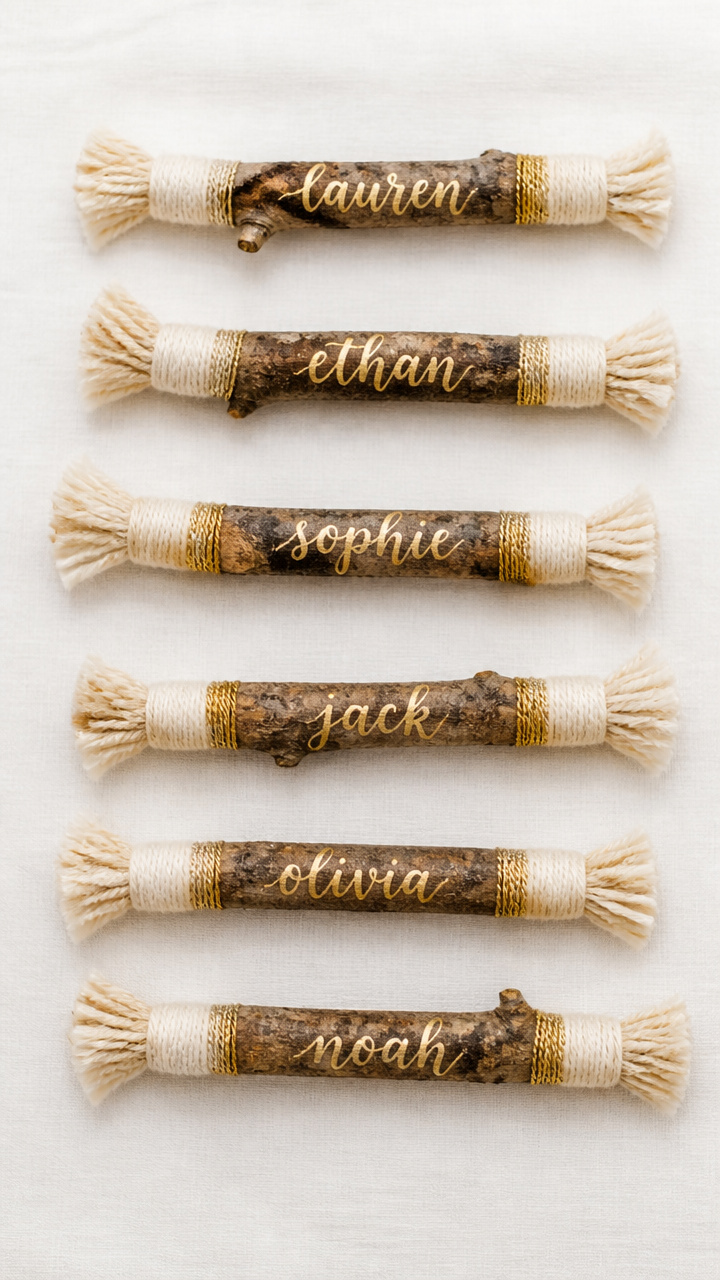
Natural twigs wrapped in soft yarn become elegant table markers. Choose colors to match your celebration palette.
Materials Needed
- Dry twigs (6 inches long, 6)
- Cream cotton yarn (size 4, 1 ball)
- Gold metallic yarn (size 3, 1 ball)
- School glue (2 oz)
- Calligraphy pen (1)
- Scissors (1 pair)
How to Make It
- Write each guest's name on a separate piece of paper with the calligraphy pen.
- Cut 6 pieces of cream yarn, each 18 inches long.
- Apply a small dab of school glue near the top of one twig.
- Press the end of a cream yarn piece into the glue and begin wrapping tightly downward.
- Switch to gold yarn halfway down by tying a knot and continuing the wrap.
- Glue the end in place and repeat for all six twigs.


15. Mirror Bead Sun Catcher
Moderate
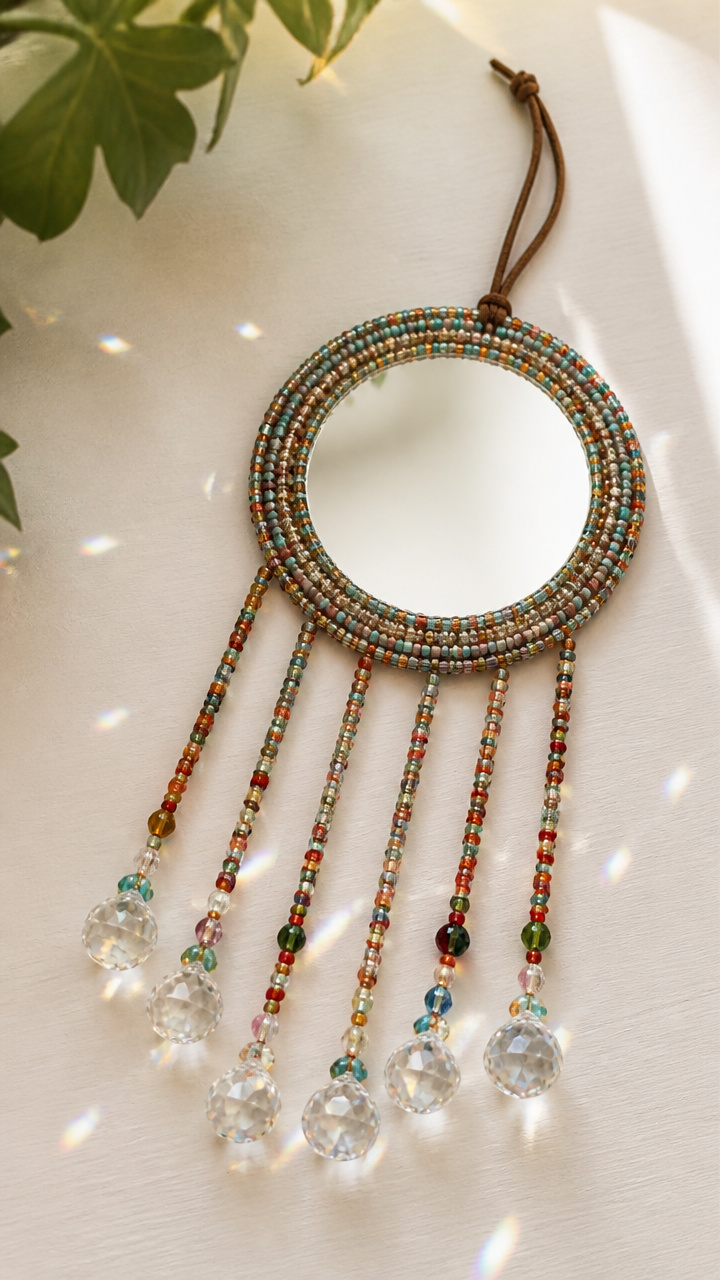
A small mirror reflects light through dangling beads that catch every ray. Hang it near a window for dancing sparkles.
Materials Needed
- Round mirror (4 inches diameter, 1)
- Leather cord (2 mm thick, 3 feet)
- Glass seed beads (assorted colors, 1/4 cup)
- Jump rings (6 mm, 6)
- Scissors (1 pair)
- Pliers (1 pair)
How to Make It
- Cut three lengths of leather cord, each 12 inches long.
- Thread beads onto each cord, leaving 2 inches bare at one end.
- Use pliers to open one jump ring and attach the beaded end of all three cords.
- Close the jump ring securely.
- Loop the bare ends around the mirror frame and knot tightly at the back.
- Open a second jump ring, attach it to the top of the mirror frame, and hang.
Each of these crafts turns simple moments and spare supplies into something meaningful. Pick one that calls to you and start creating today.