15 Simple New Year Crafts to Make at Home

Glitter catches the light just right as you hang a handmade ornament, and suddenly your space feels brighter, more hopeful. There’s something special about starting fresh with a craft in hand and a creative spark leading the way.
These projects invite joy without demanding perfection. Each one is designed to be doable, delightful, and full of personality — no fancy studio or years of practice required.
1. Glittered Mason Jar Candles
Easy
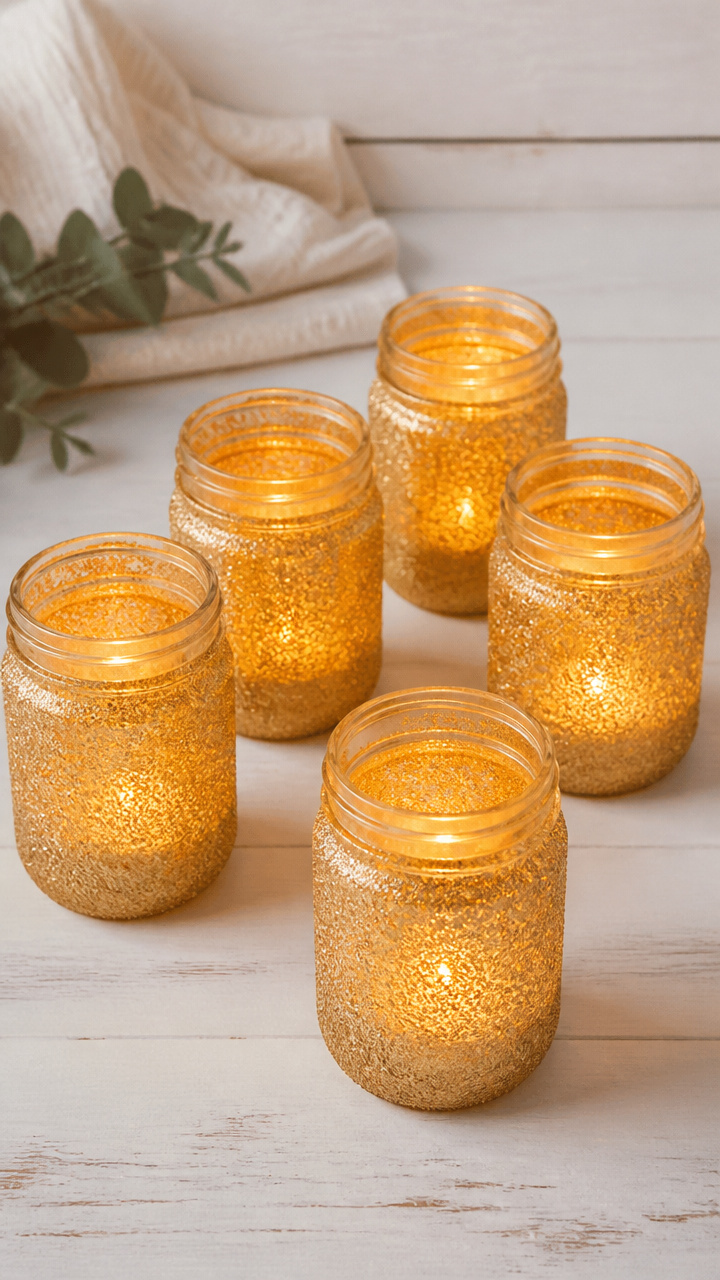
Soft golden light glows through shimmering glass, turning any tabletop into a cozy celebration spot. These candles add warmth and sparkle with minimal effort.
Materials Needed
- 4 oz mason jars (6)
- white unscented votive candles (6)
- fine gold glitter (1/4 cup)
- clear-drying craft glue (1 bottle)
- paintbrush (1 medium flat)
How to Make It
- Pour craft glue into a small bowl and stir in gold glitter until fully mixed.
- Use the paintbrush to coat the outside of each mason jar with an even layer of glitter mixture.
- Set jars aside for 2 hours to dry completely before placing a votive candle inside each one.
2. Paper Fan Countdown Tags
Easy
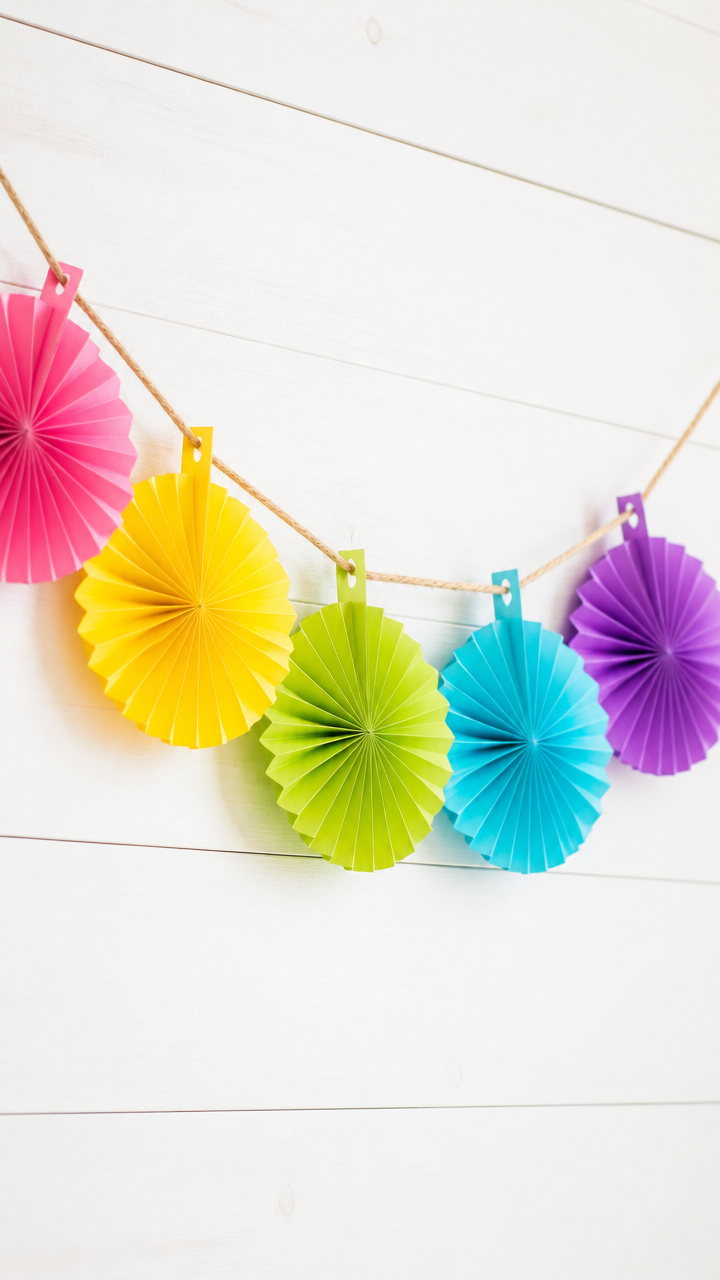
A string of colorful fans unfurls across the wall, each one hiding a daily surprise or wish. This playful garland builds excitement with every pull.
Materials Needed
- colored A4 cardstock (6 sheets, assorted colors)
- hole punch (1 standard)
- twine (3 feet)
- fine-tip black marker (1)
- ruler (1)
How to Make It
- Cut each sheet of cardstock into 6 equal strips (each 4 inches wide) using scissors or a paper cutter.
- Fold each strip into an accordion fan shape, making sure all folds are 1 inch wide and crisp.
- Punch a hole at one end of each fan and thread twine through all holes to create a hanging garland.
- Use the marker to write one word of 'Happy New Year' on each fan, one per day leading up to the holiday.


3. Foam Number Stamp Art
Moderate
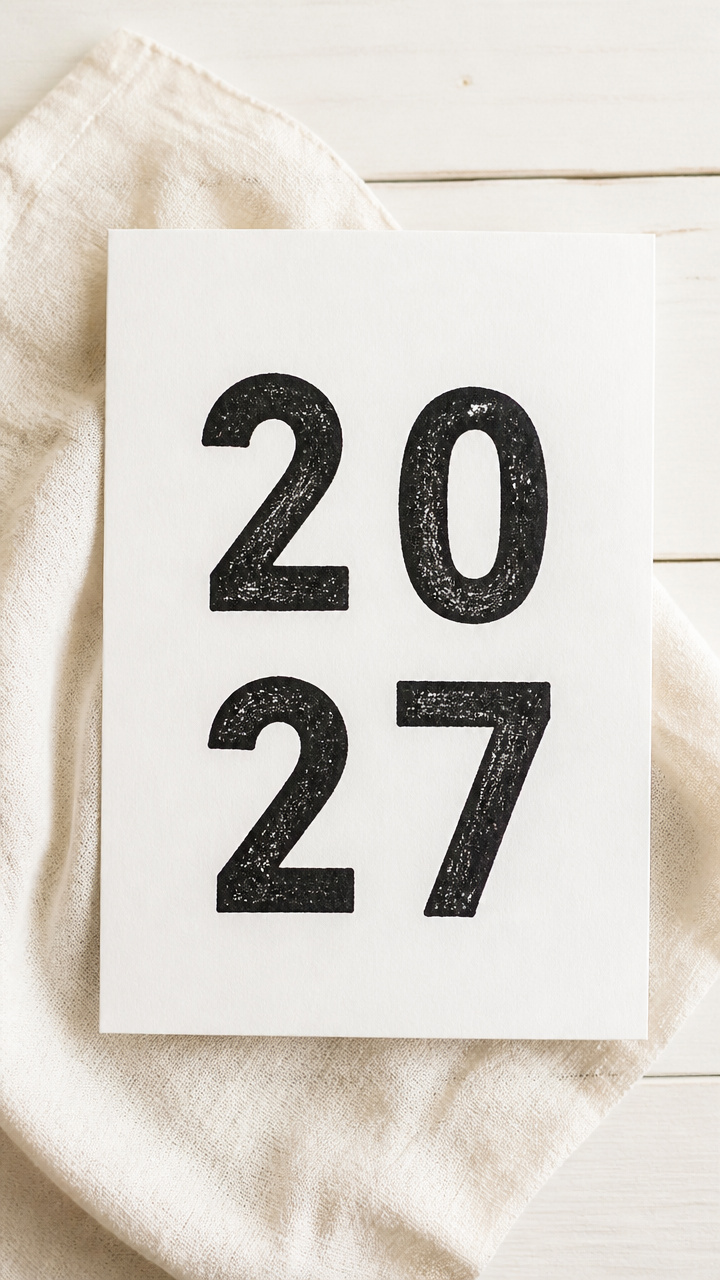
Bold black numerals stand out on crisp white cards, perfect for mailing or framing. Carving your own stamp gives it character you can't buy.
Materials Needed
- carving block (2 x 3 inches, soft lino type)
- linoleum carving set (1 kit with #1 and #3 blades)
- acrylic stamp pad (black)
- A5 white cardstock (10 sheets)
- pencil (1)
- eraser (1)
How to Make It
- Sketch the upcoming year's number (e.g., 2027) in reverse on the carving block using pencil.
- Use the #1 blade to outline the number, then the #3 blade to remove surrounding material around the lines.
- Press the carved stamp firmly onto the ink pad, then transfer the image straight down onto a cardstock sheet.
- Repeat stamping on nine more cards for a full set of keepsake prints.


4. Tissue Paper Window Decor
Easy
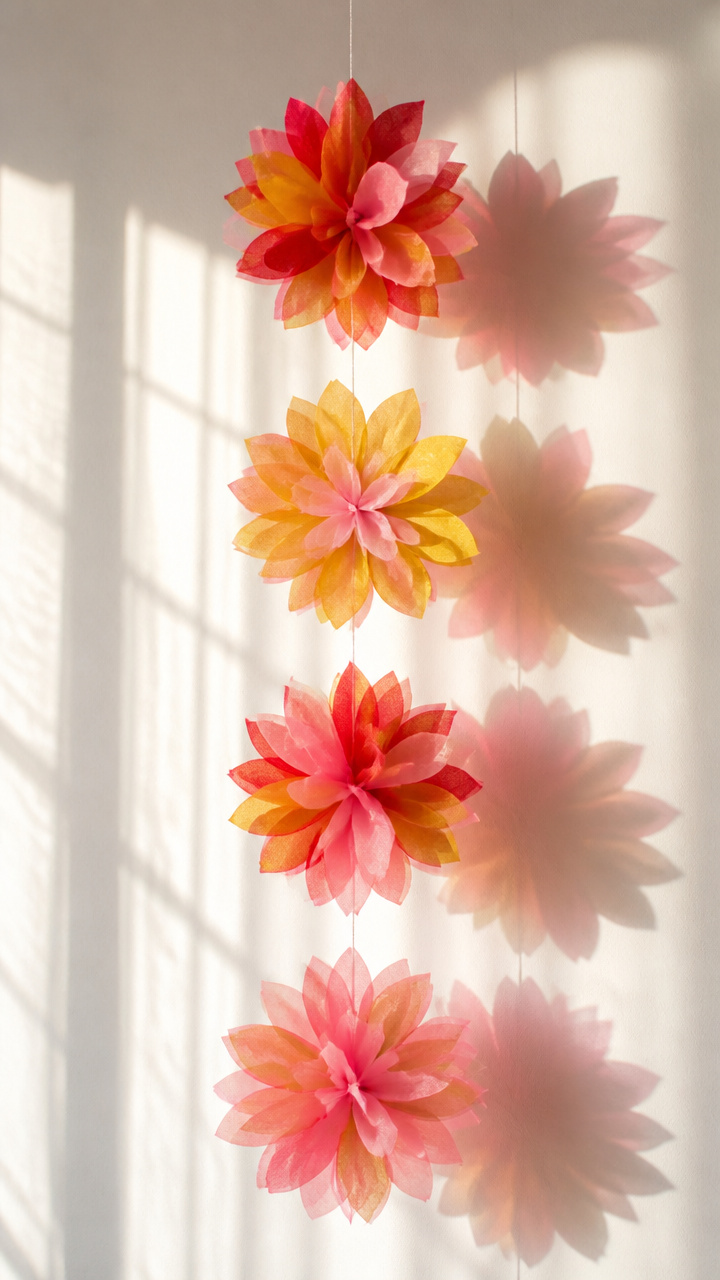
Sunlight filters through layered petals of red and gold, casting festive shadows on the floor. These blooming chrysanthemums bring color without clutter.
Materials Needed
- tissue paper (red, gold, and pink, 10 sheets each)
- scissors (1 pair)
- glue stick (1)
- clear tape (1 roll)
- string (12 inches)
How to Make It
- Stack 5 sheets of tissue paper in alternating colors and fold them accordion-style, each fold about 1 inch wide.
- Round both ends of the folded stack with curved scissor cuts to form petal shapes.
- Pinch the center of the folded stack and secure it with a twist tie made from the string.
- Gently separate each layer of tissue paper, pulling upward toward the center to create a full flower.
- Attach the flower to a window with small pieces of clear tape on the back.


5. Pom-Pom Clock Refurbish
Moderate
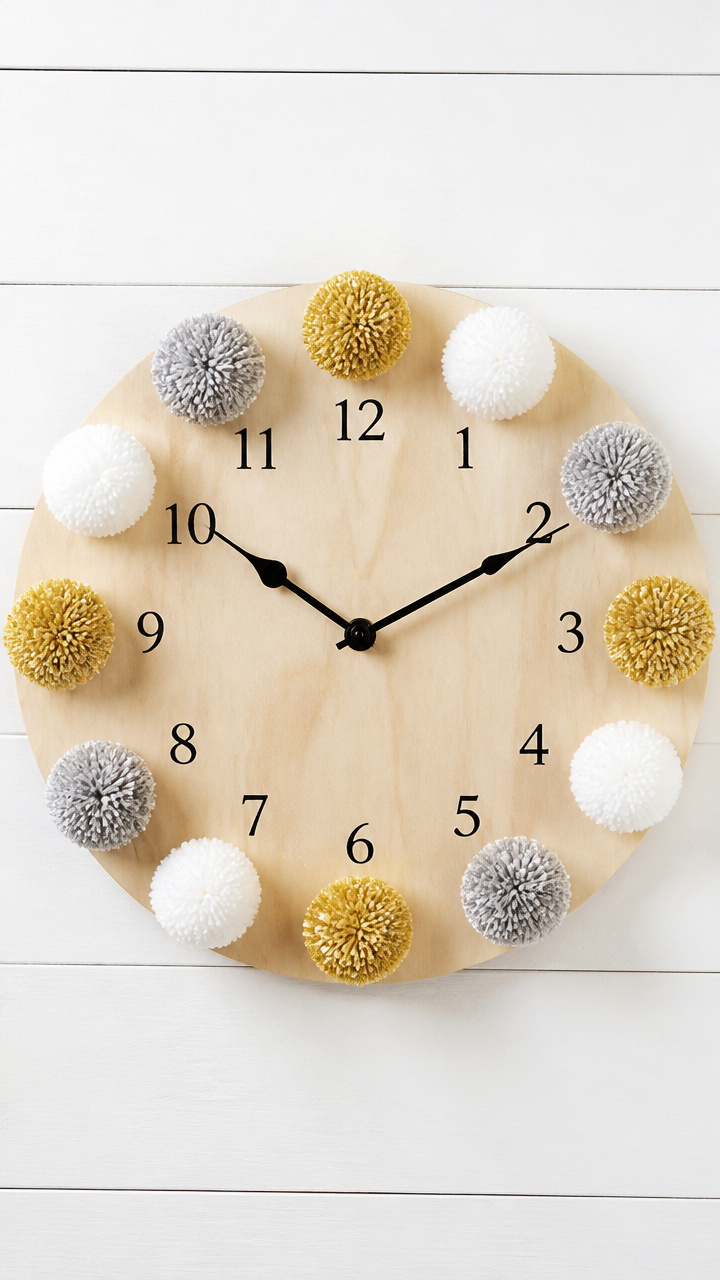
A plain wall clock gets a whimsical upgrade with fuzzy bursts of color circling the face. The ticking stays steady but the style jumps forward.
Materials Needed
- plain wooden wall clock (12-inch diameter, with numbers)
- assorted yarn pom-poms (1 inch, 12 in gold, silver, and white)
- hot glue gun (1)
- glue sticks (3)
- clock hands (1 set, already attached)
How to Make It
- Remove the clock mechanism from the wall mount if possible, leaving only the flat face exposed.
- Arrange the 12 pom-poms around the edge of the clock face, aligning each with an hour marker.
- Use the hot glue gun to attach each pom-pom securely, holding for 10 seconds until set.
- Reattach the clock mechanism and insert batteries to resume timekeeping.


6. Washi Tape Fireworks Cards
Easy
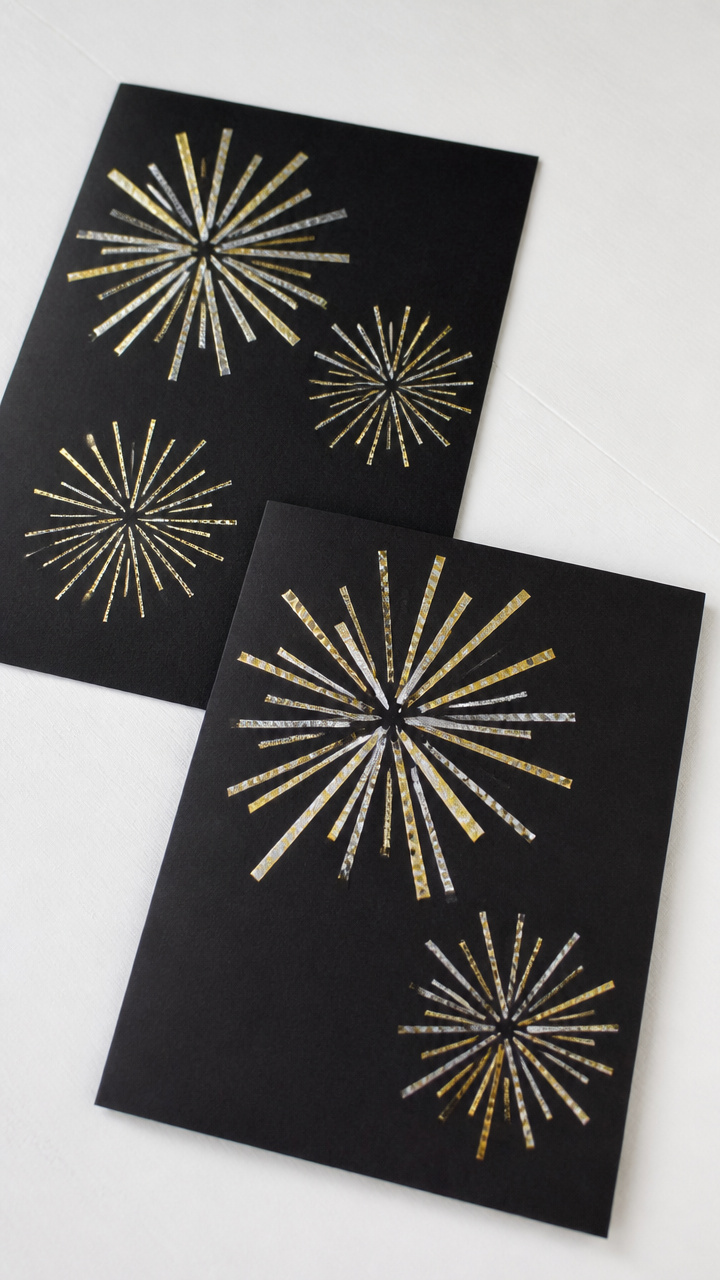
Explosions of metallic tape burst across dark card fronts, mimicking midnight fireworks. These flat cards are fast to make and big on impact.
Materials Needed
- black A6 cardstock (8 sheets)
- gold and silver washi tape (1 roll each)
- scissors (1 pair)
- bone folder (1 optional for creasing)
How to Make It
- Fold each black cardstock sheet in half to form a 4.25 x 5.5 inch card, pressing the crease with fingers or a bone folder.
- Cut 5–6 random lengths of washi tape between 2 and 4 inches long from both rolls.
- Fan the tape strips outward from the center of the card front to resemble a firework burst, sticking each down firmly.


7. Salt Dough Memory Ornaments
Moderate
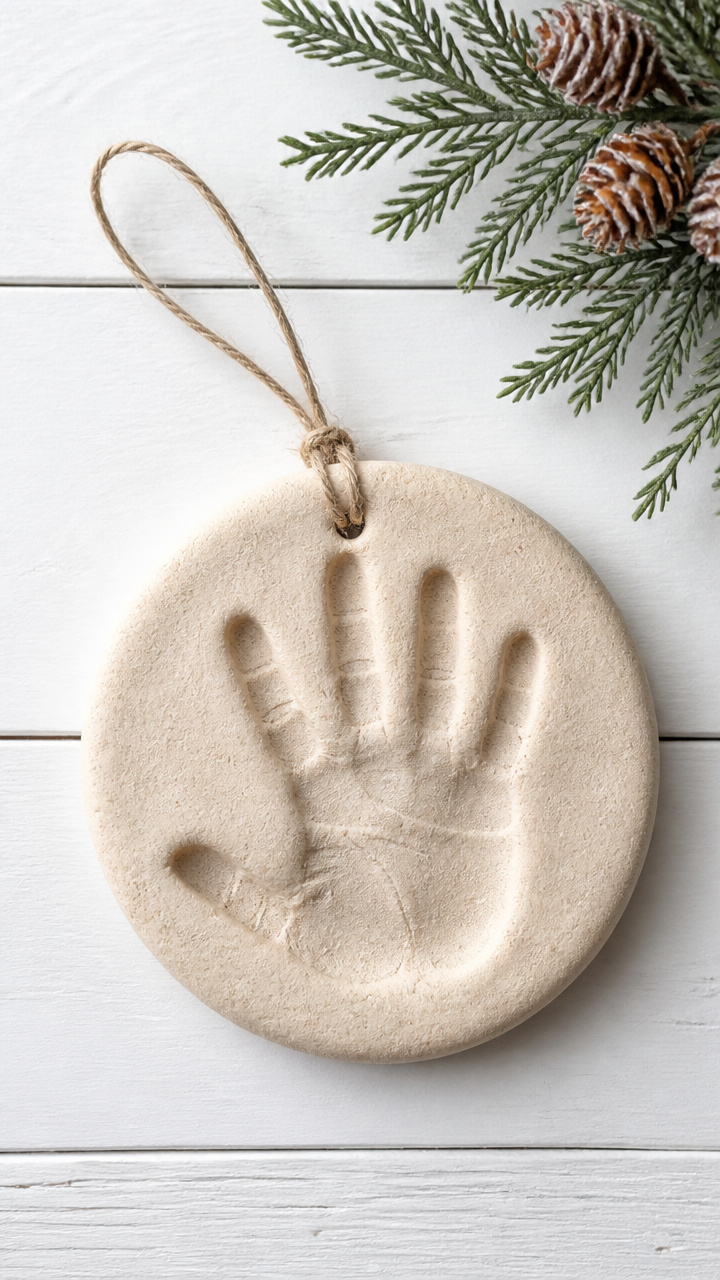
Small round tokens hold handprints, initials, or tiny footprints from this year gone by. Baking them turns simple dough into lasting keepsakes.
Materials Needed
- all-purpose flour (1 cup)
- table salt (1/2 cup)
- warm water (1/2 cup)
- rolling pin (1)
- straw (1)
- round cookie cutter (2.5 inch, 1)
- baking sheet (1)
- parchment paper (1 sheet)
- acrylic paint (red, blue, gold, 1 small bottle each)
- fine paintbrush (1)
How to Make It
- Mix flour, salt, and warm water in a bowl until a smooth dough forms, adding a teaspoon more water if too dry.
- Roll the dough to 1/4 inch thickness on a floured surface, then cut out 6 circles using the cookie cutter.
- Press a fingertip or initial stamp into each ornament and use the straw to poke a hole near the top for hanging.
- Place ornaments on a parchment-lined baking sheet and bake at 200°F for 3 hours until hard.
- Let cool, then paint each with a design using acrylics and let dry overnight.


8. Ribbon Tassel Banner
Easy
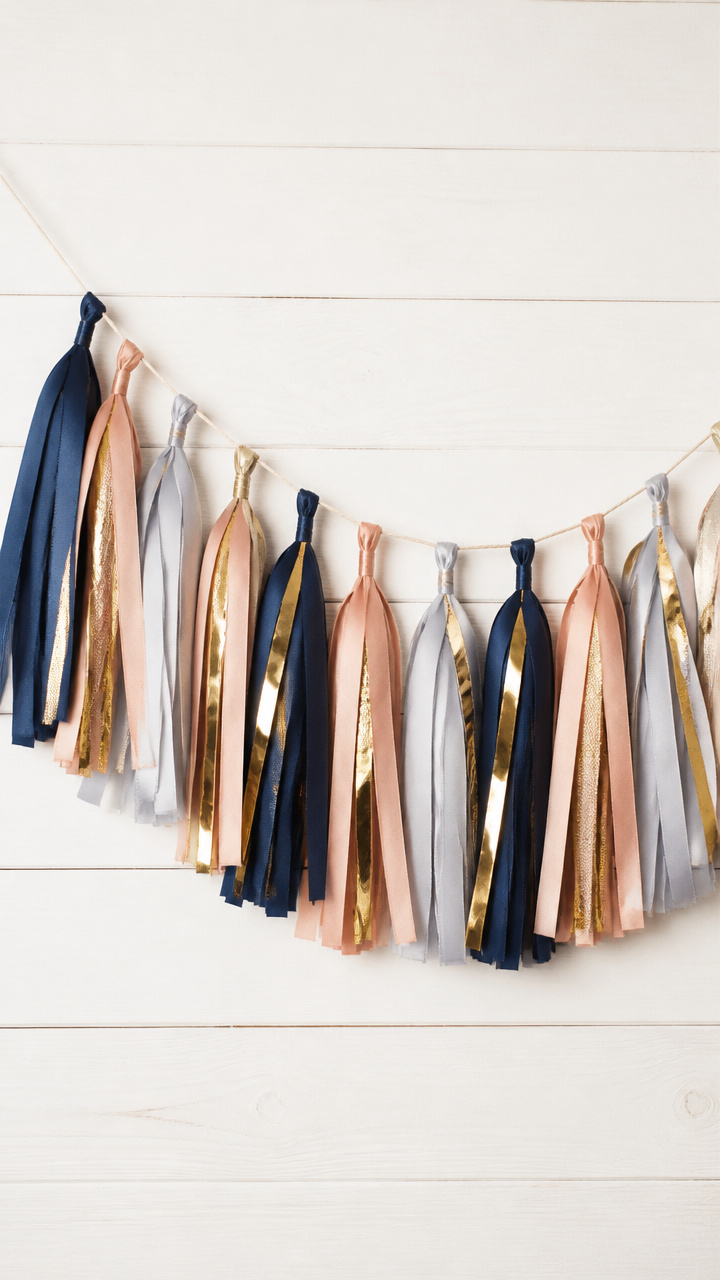
Streamers flutter from a cotton cord, each tassel dancing with movement and shine. Hang it above a mantel or doorway for instant festivity.
Materials Needed
- satin ribbon (1/4 inch wide, 3 yards total in silver, rose gold, and navy)
- cotton twine (5 feet)
- scissors (1 pair)
- metallic fabric pen (1 gold)
How to Make It
- Cut the satin ribbon into 30 pieces, each 10 inches long, mixing colors evenly.
- Fold each piece in half and loop it over the twine, pulling the loose ends through to form a knot-like tassel.
- Space tassels about 3 inches apart along the twine, adding one every few inches until full.
- Use the fabric pen to write 'Cheers' on three evenly spaced tassels, letting ink dry for 5 minutes.


9. Painted Rock Number Markers
Easy
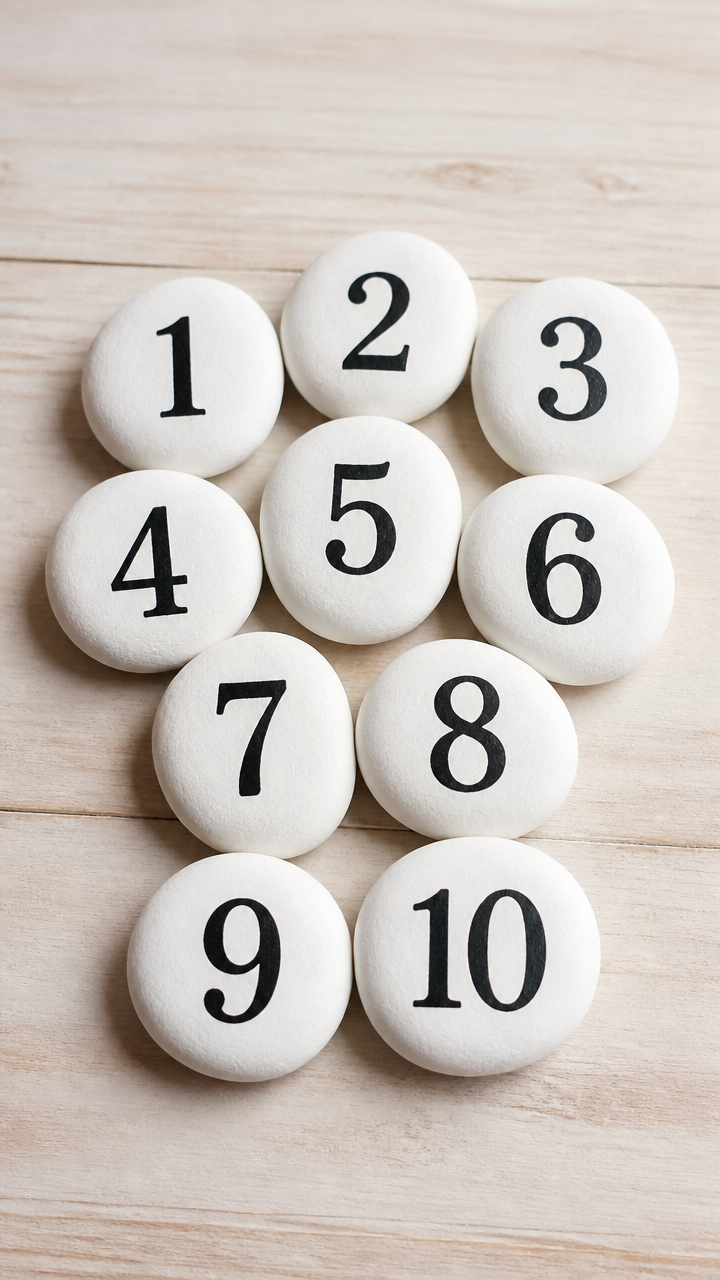
Smooth river stones display the digits of the new year, ready to nestle in a centerpiece or garden bed. Weatherproof and charming, they last beyond the party.
Materials Needed
- flat river rocks (4, roughly palm-sized)
- white acrylic paint (1 small bottle)
- black acrylic paint (1 small bottle)
- fine-tip paintbrush (1)
- clear outdoor sealer spray (1 can)
How to Make It
- Paint each rock with a solid coat of white acrylic using the brush, let dry 30 minutes.
- Paint one large digit per rock in bold black numerals, using steady strokes for clean edges.
- Allow paint to dry completely for 2 hours, then spray lightly with outdoor sealer in a well-ventilated area.
- Wait 4 hours before handling or placing outdoors.


10. Cork Grapevine Wreath Base
Moderate
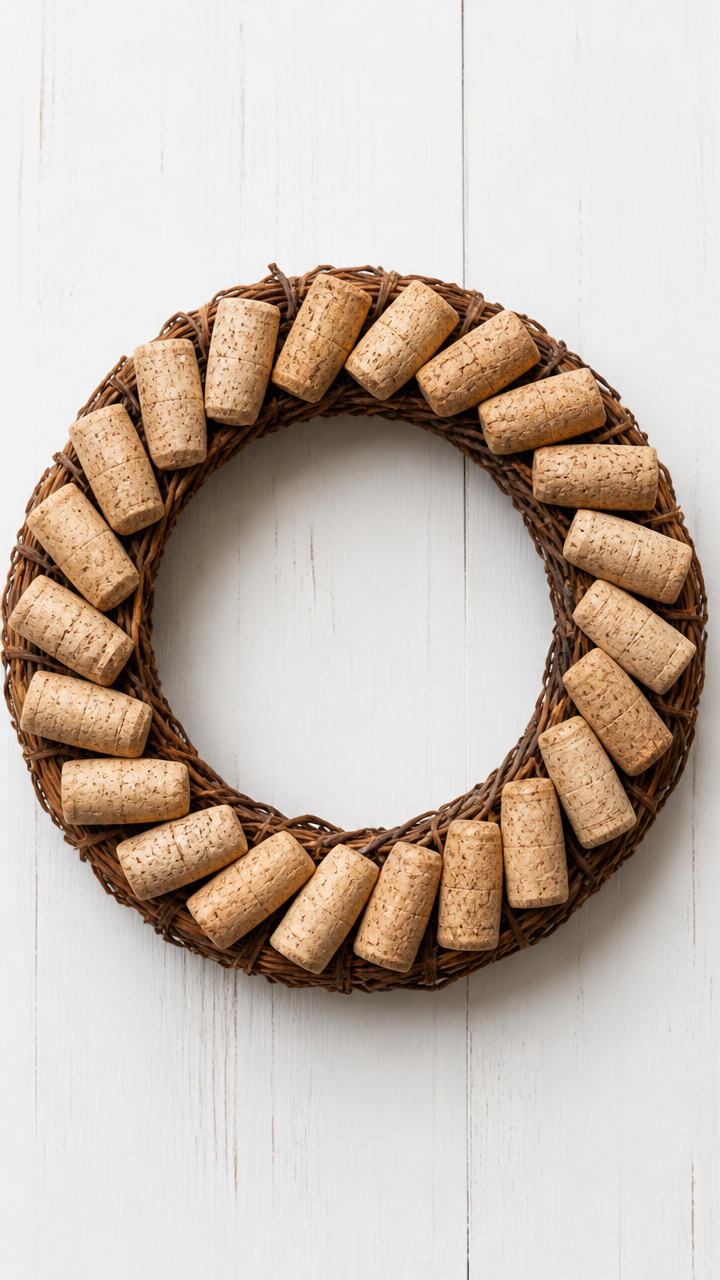
Recycled wine corks spiral into a rustic ring, ready for glitter or greenery. It’s satisfying to build from something once discarded.
Materials Needed
- wine corks (24, same size)
- hot glue gun (1)
- glue sticks (4)
- grapevine wreath base (6 inch, 1)
How to Make It
- Slice each cork in half lengthwise using a sharp knife, exposing the inner foam texture.
- Apply hot glue to the flat side of a cork half and press it firmly onto the grapevine base, starting at the top.
- Continue gluing cork halves around the ring, butting each snugly against the last, until the entire base is covered.
- Let the wreath sit undisturbed for 1 hour to ensure all glue joints are secure.


11. Mirror Confetti Coasters
Advanced
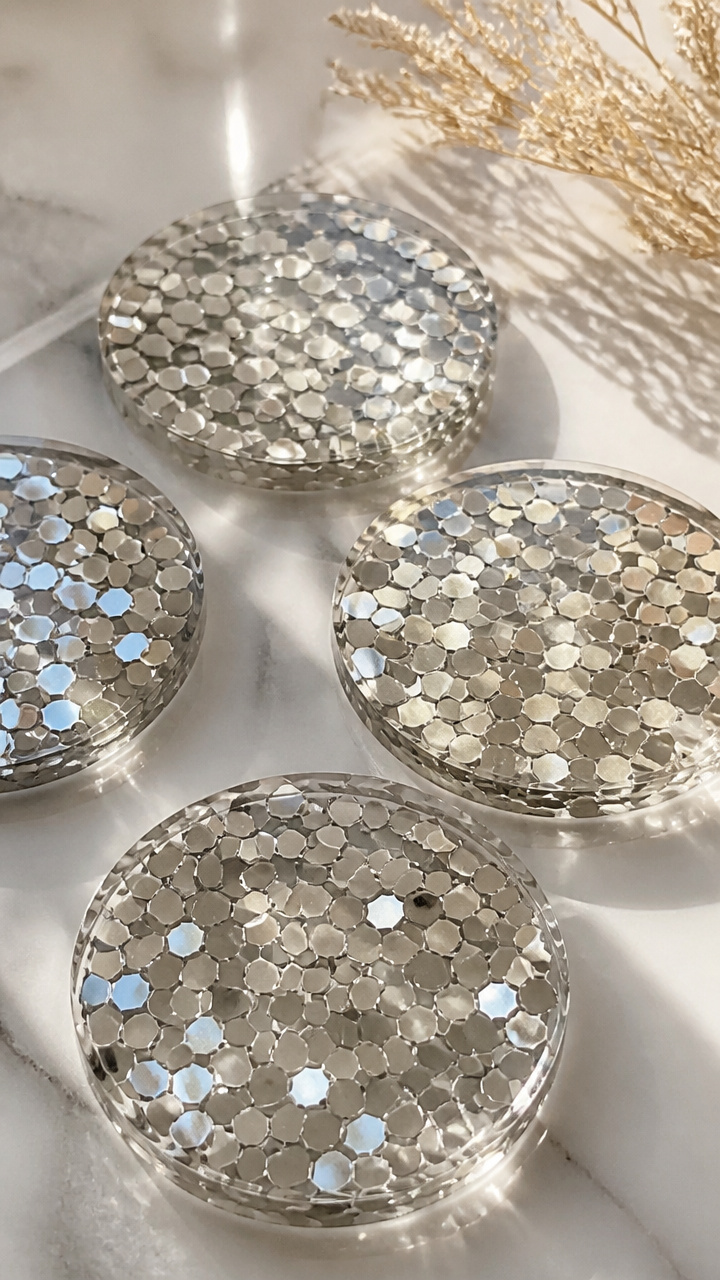
Tiny reflective dots catch every flicker of candlelight on polished resin surfaces. These coasters protect tables while celebrating in style.
Materials Needed
- clear silicone coaster molds (4 circular, 4 inch)
- epoxy resin kit (1, makes 8 oz)
- mirror confetti (1 tablespoon, hexagon shaped)
- disposable plastic cups (2)
- stirring sticks (2)
- toothpicks (5)
- gloves (1 pair)
How to Make It
- Put on gloves and mix epoxy resin according to package instructions in a plastic cup, stirring slowly for 2 minutes.
- Pour a thin layer of resin into each mold, filling about one-third full.
- Sprinkle mirror confetti evenly over each wet layer, using toothpicks to adjust positioning.
- Fill each mold to the top with more resin, tapping gently to release bubbles.
- Cover molds with a box and let cure for 24 hours before unmolding.


12. Felt Firework Hats
Moderate

Kids beam under caps that bloom with stitched rays of bright wool. Wearable crafts turn ordinary faces into joyful celebrations.
Materials Needed
- felt sheets (red, yellow, blue, green – 1 each)
- child-sized paper hat template (printed, 1)
- fabric scissors (1 pair)
- fabric glue (1 bottle)
- embroidery floss (3 skeins: gold, silver, white)
- needle (1 embroidery type)
How to Make It
- Trace the hat template onto the back of a felt sheet and cut out the main shape.
- Cut 6 long, tapered strips (1/2 inch wide at base, 6 inches long) from assorted felt colors for fireworks.
- Glue the base of each strip to the crown of the hat so they radiate outward like bursts.
- Thread the needle with gold floss and stitch small star shapes at the tip of each felt ray.


13. Twine-Wrapped Countdown Jars
Easy
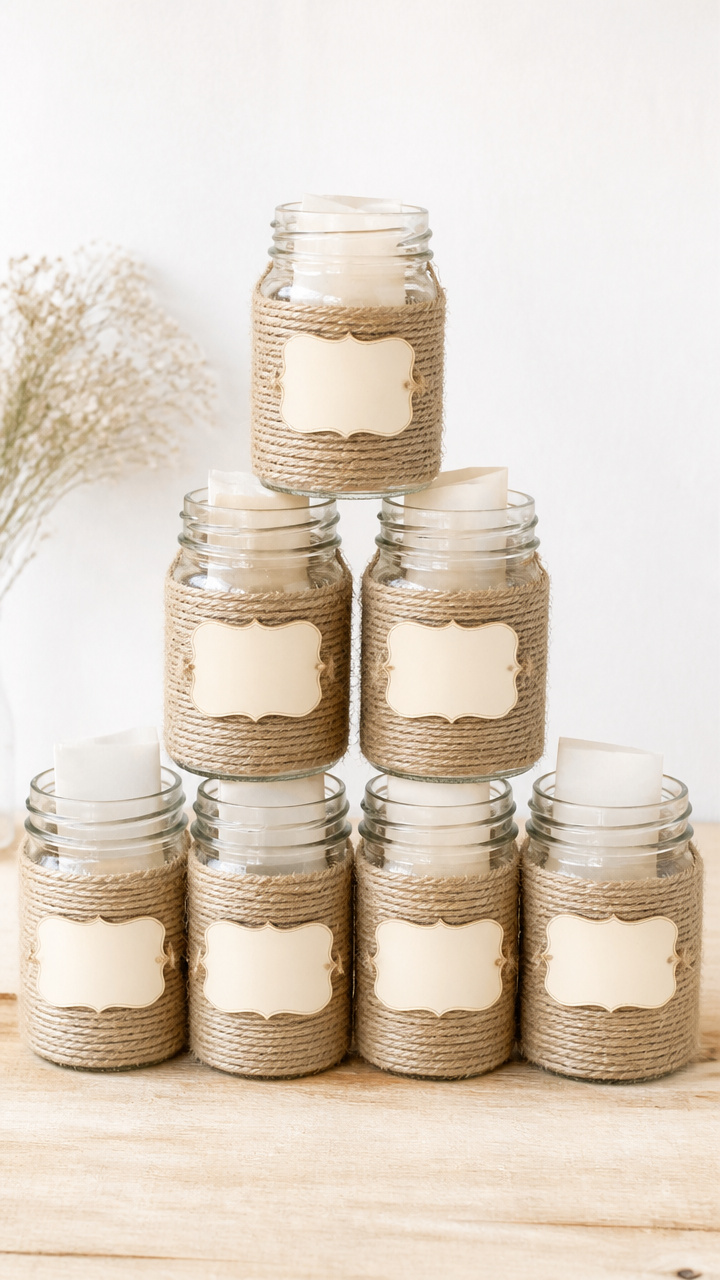
Each day, a slip of paper unwinds from a tightly bound jar, revealing a tiny goal or memory prompt. Anticipation grows with every loop removed.
Materials Needed
- clear glass spice jars with lids (7)
- natural jute twine (1 spool)
- small blank paper slips (21, 1.5 x 2 inches)
- fine black pen (1)
- scissors (1 pair)
How to Make It
- Write three daily prompts or wishes on each paper slip, such as 'Call someone you miss' or 'Write a haiku'.
- Roll each slip tightly and place one inside each jar, sealing with the lid.
- Starting at the base of the jar, wrap twine around it tightly, moving upward in close coils until the jar is covered.
- Tie off the end with a knot and trim excess with scissors.

14. Button Chime Garland
Moderate
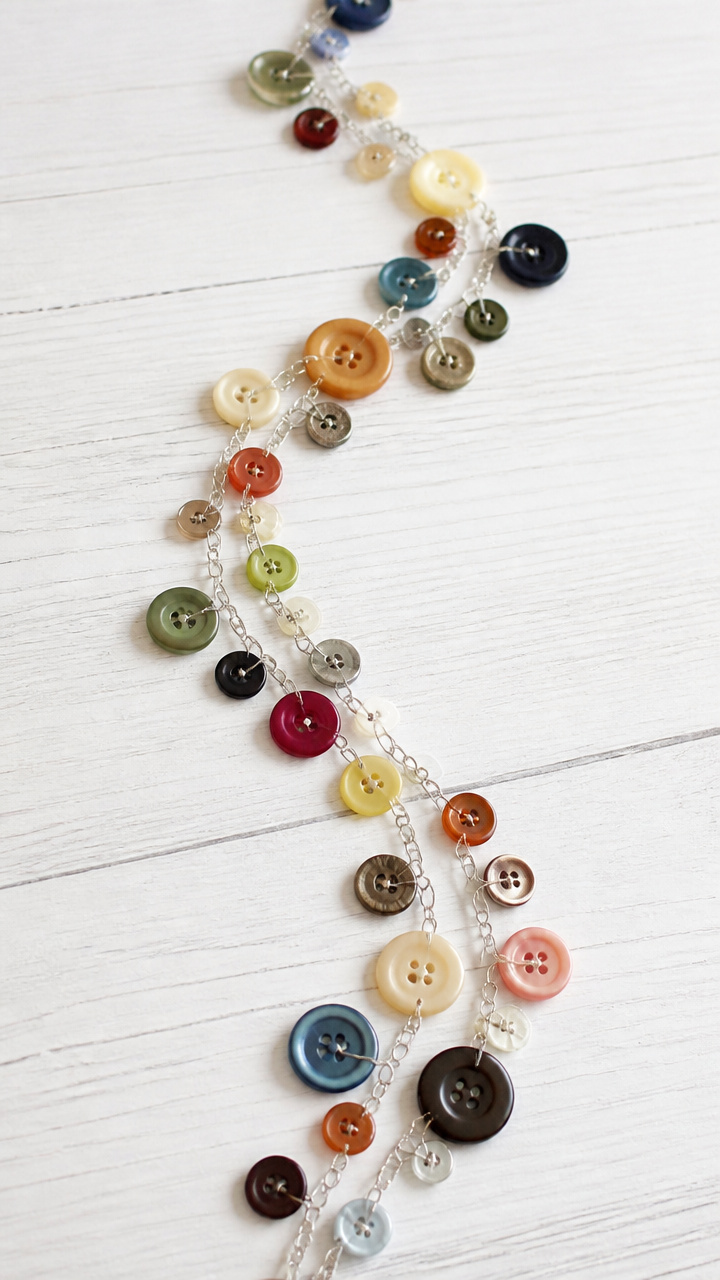
Polished buttons clink softly when touched, catching breezes like tiny bells. This delicate strand adds subtle sound and shine.
Materials Needed
- assorted vintage buttons (15, various sizes with two or four holes)
- thin silver wire (12 gauge, 3 feet)
- wire cutters (1 pair)
- small pliers (1 set)
- silver jump rings (6 mm, 5)
How to Make It
- Cut five 6-inch lengths of silver wire using wire cutters.
- Thread 3 buttons onto each wire, arranging by size and spacing them evenly.
- Use pliers to twist the ends of each wire into small loops to keep buttons from sliding off.
- Open each jump ring with pliers, attach one button strand to it, then close the ring securely.
- Link all five jump rings onto a single strand of wire to form a hanging garland.


15. Photo Countdown Ladder Display
Advanced
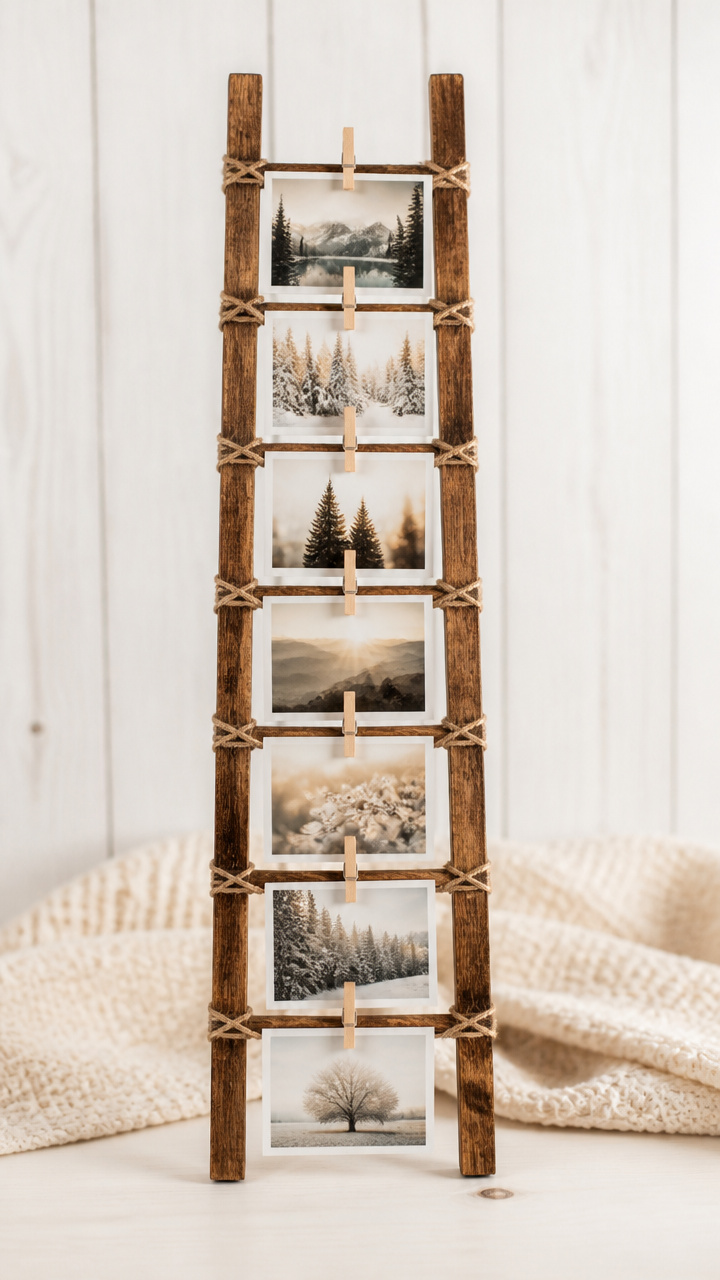
A miniature wooden ladder leans against the wall, each rung holding a snapshot from the past year. Memories climb upward, marking time with pride.
Materials Needed
- mini wooden clothespins (7)
- small wooden ladder (6 inch tall, 1)
- printed photos (7, wallet size)
- twine (18 inches)
- hot glue gun (1)
- glue sticks (2)
How to Make It
- Cut the twine into seven 8-inch lengths.
- Wrap one end of each twine piece around the top of a photo and tie a knot to secure.
- Tie the opposite end of each twine to a mini clothespin, adjusting length so the photo hangs straight.
- Glue each clothespin to a separate rung of the ladder, positioning them to face forward.
- Let glue dry for 1 hour before placing the ladder upright against a wall.


Grab your scissors, dig out that glue, and start creating. Each piece you make carries a little hope for what’s ahead.