15 Easy New Year Crafts for Beginners

Glitter spills across the table like stardust, scissors snip through crisp paper, and a handmade banner sways in the breeze of a fresh beginning. There’s something deeply satisfying about crafting your way into a new year, turning simple supplies into joyful decor that marks the moment.
You don’t need years of experience to make something meaningful. These projects use easy techniques and common materials, guiding you step by step so you can create with confidence and celebrate with pride.
1. Glittery Number Confetti
Easy
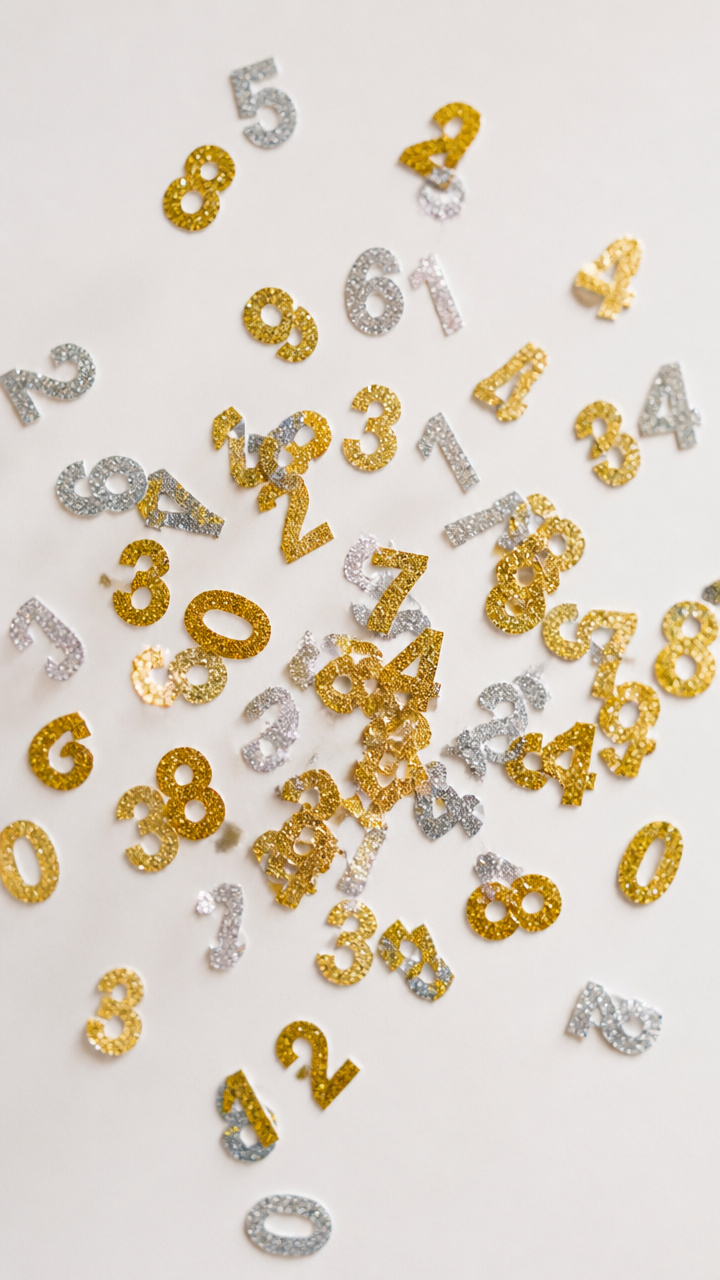
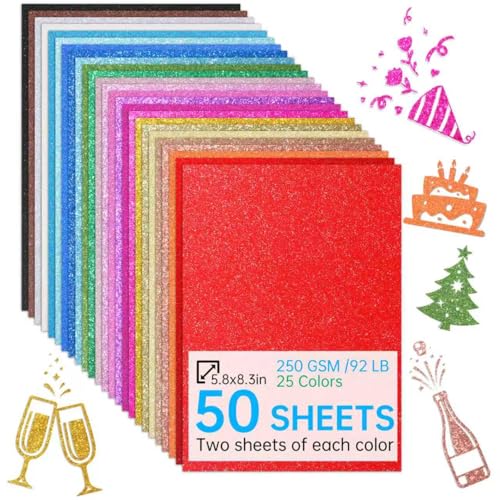
Tiny bursts of shimmering numbers float through the air when you toss this custom confetti, adding instant celebration to any space.
Materials Needed
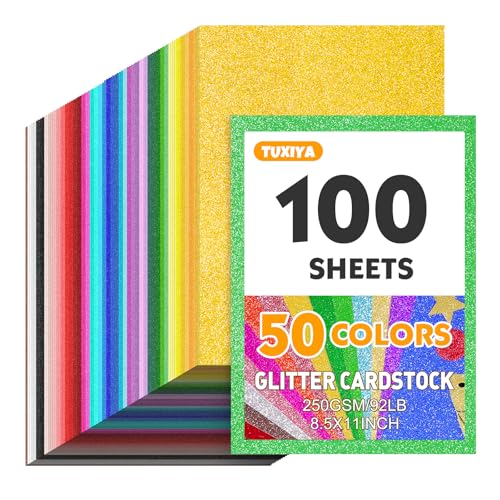
- 2 sheets gold glitter cardstock
- 1 sheet silver glitter cardstock
- Number punch set (1 inch diameter)
- Small mixing bowl
How to Make It
- Punch out one complete set of numbers 0 through 9 from the gold glitter cardstock.
- Punch out a second set of numbers 0 through 9 from the silver glitter cardstock.
- Place all punched numbers into the mixing bowl and shake gently to combine.

2. Tissue Paper Fireworks Wall Art
Easy
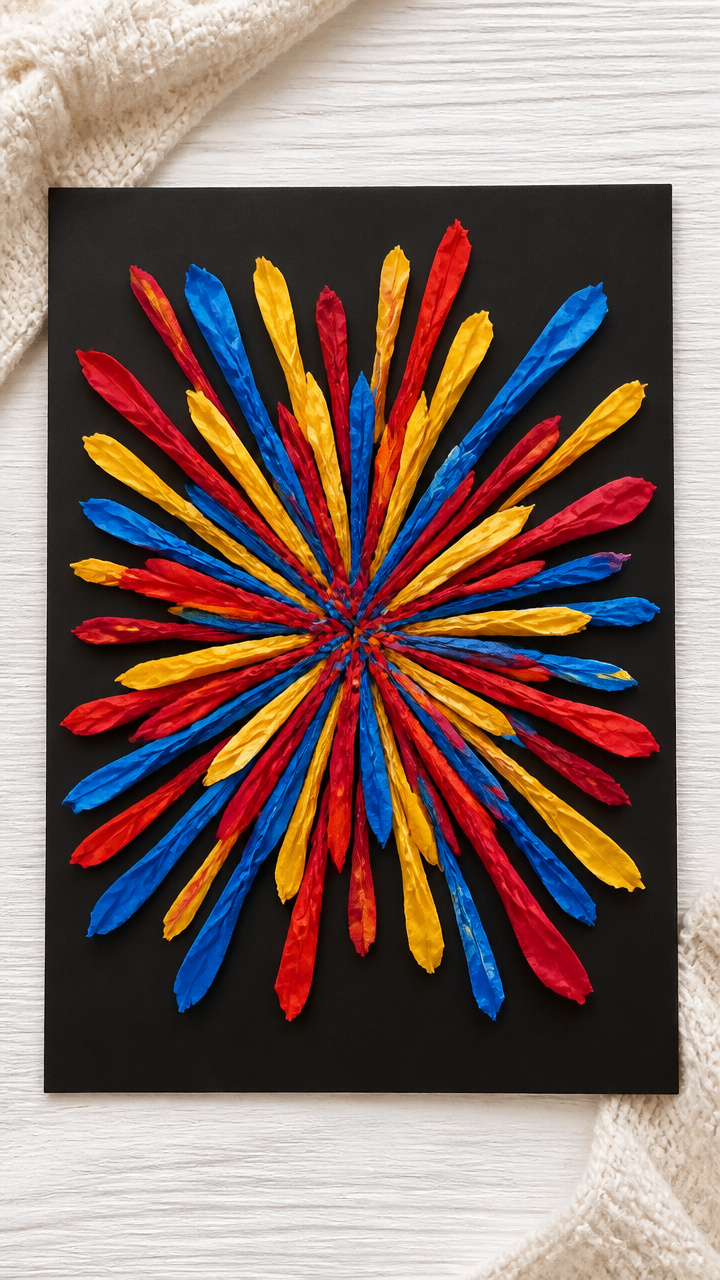
Soft bursts of colorful tissue radiate from a single point, mimicking fireworks frozen mid-explode on your wall.
Materials Needed
- 1 sheet black A4 cardstock
- Red tissue paper sheet
- Blue tissue paper sheet
- Yellow tissue paper sheet
- White school glue
- Paintbrush (½ inch wide)
How to Make It
- Cut each tissue paper sheet into 1 inch strips, then scrunch small clusters of each color into tight balls.
- Apply a dime-sized drop of white school glue to the center of the black cardstock.
- Use the paintbrush to spread the glue into a 2 inch circle.
- Press the tissue paper balls into the glue, layering colors outward from the center until coverage looks full.


3. New Year Bubble Letters Banner
Easy
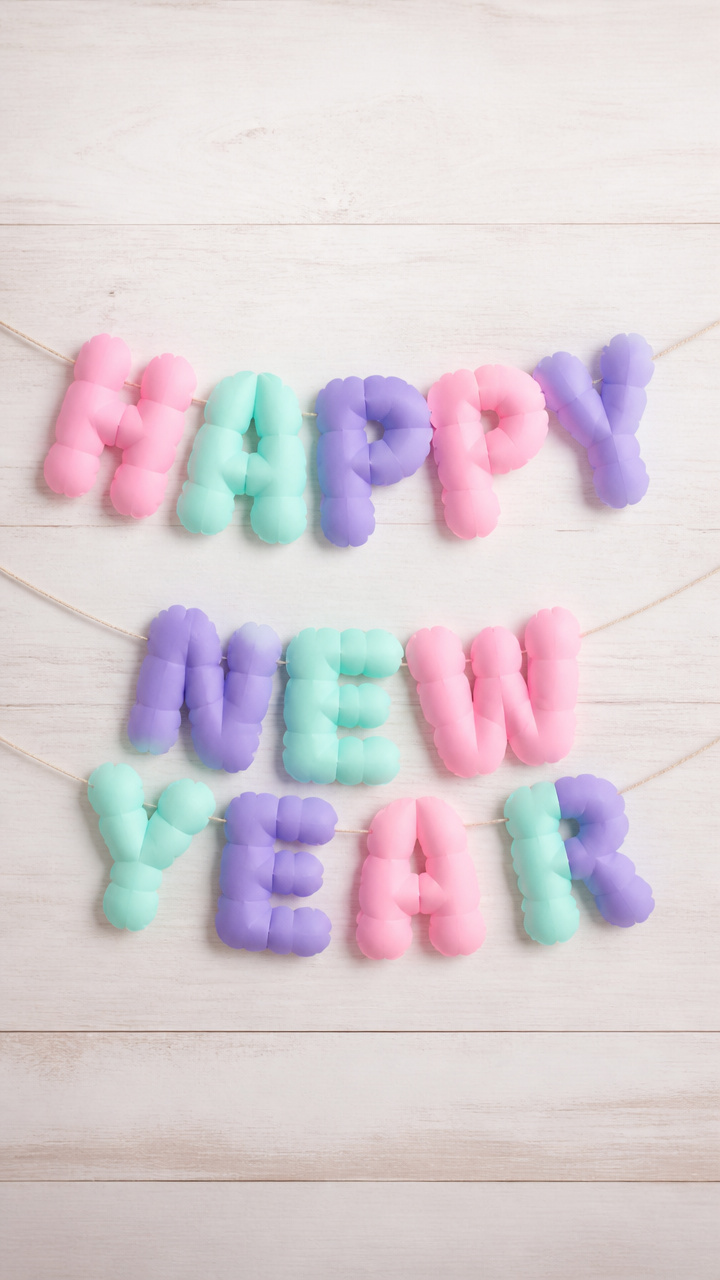
Each letter puffs out like a cloud filled with joy, spelling out 'Happy New Year' in soft pastel tones.
Materials Needed
- Pink construction paper (9 x 12 inches)
- Mint green construction paper (9 x 12 inches)
- Purple construction paper (9 x 12 inches)
- Pencil
- Scissors
- Hole punch
- Twine (3 feet)
How to Make It
- Draw the letters H-A-P-P-Y N-E-W Y-E-A-R on the construction paper, two letters per sheet, using rounded bubble letter style.
- Carefully cut out each letter with scissors.
- Punch one hole at the top of each letter.
- Thread the twine through each hole in order, tying knots behind each letter to keep them spaced.
4. Foam Cup Noise Makers
Easy

A quick shake sends beans rattling inside these handheld party shakers, perfect for counting down the final seconds.
Materials Needed
- 6 red foam cups (8 oz)
- Dried black beans (¼ cup)
- Aluminum foil (12 inch square)
- Rubber bands (6)
- Gold star stickers (1 sheet)
How to Make It
- Pour one tablespoon of dried black beans into the bottom of each foam cup.
- Stretch a piece of aluminum foil tightly over the cup opening and secure it with a rubber band.
- Press the center of the foil down slightly to allow room for bean movement.
- Decorate each cup with three gold star stickers placed near the base.


5. Pipe Cleaner Clock Craft
Easy
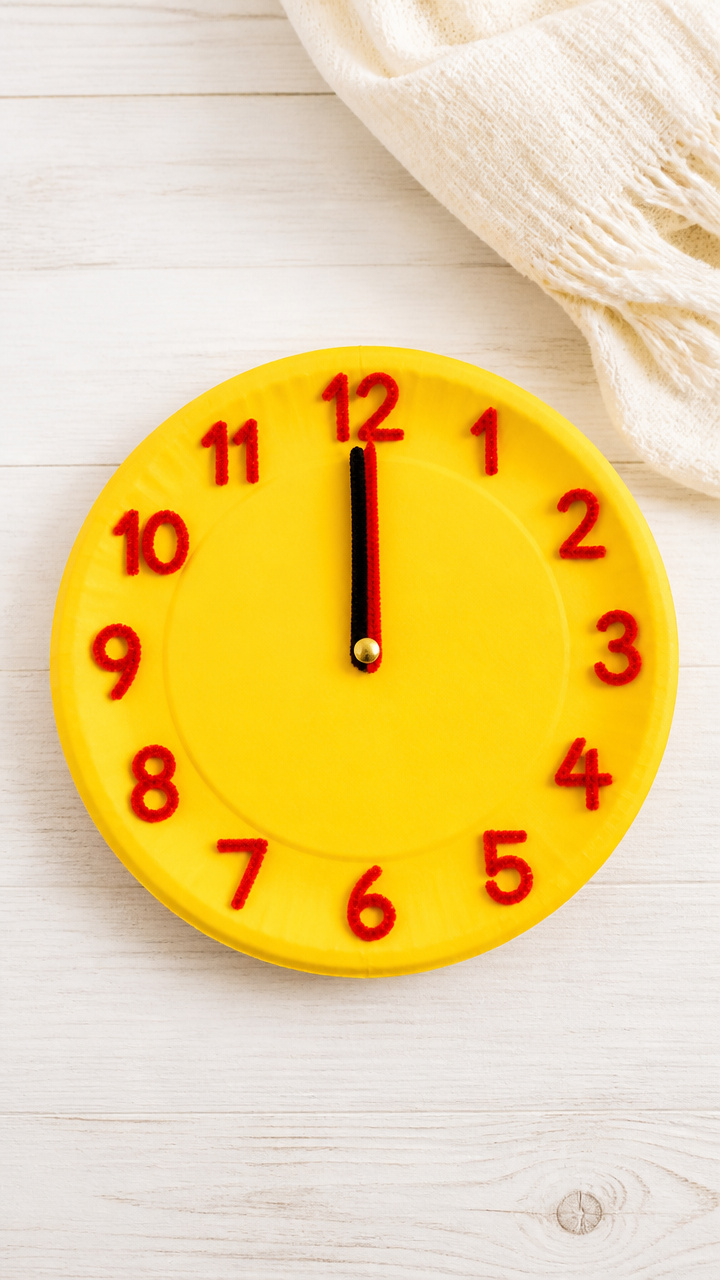
A whimsical clock face with bendable hands shows 12:00 exactly, symbolizing a fresh start on a new day.
Materials Needed
- Yellow foam plate (9 inch diameter)
- Black pipe cleaner (12 inch)
- Red pipe cleaner (12 inch)
- Brass brad fastener
- Black fine-tip marker
How to Make It
- Use the black marker to draw numbers 1 through 12 evenly around the edge of the foam plate.
- Cut the black pipe cleaner in half and twist one piece into a short hand shape pointing to 12.
- Twist the red pipe cleaner into a long hand shape also pointing to 12.
- Stack the short hand over the long hand and attach both to the center of the plate using the brass brad.


6. Photo Countdown Jar
Easy
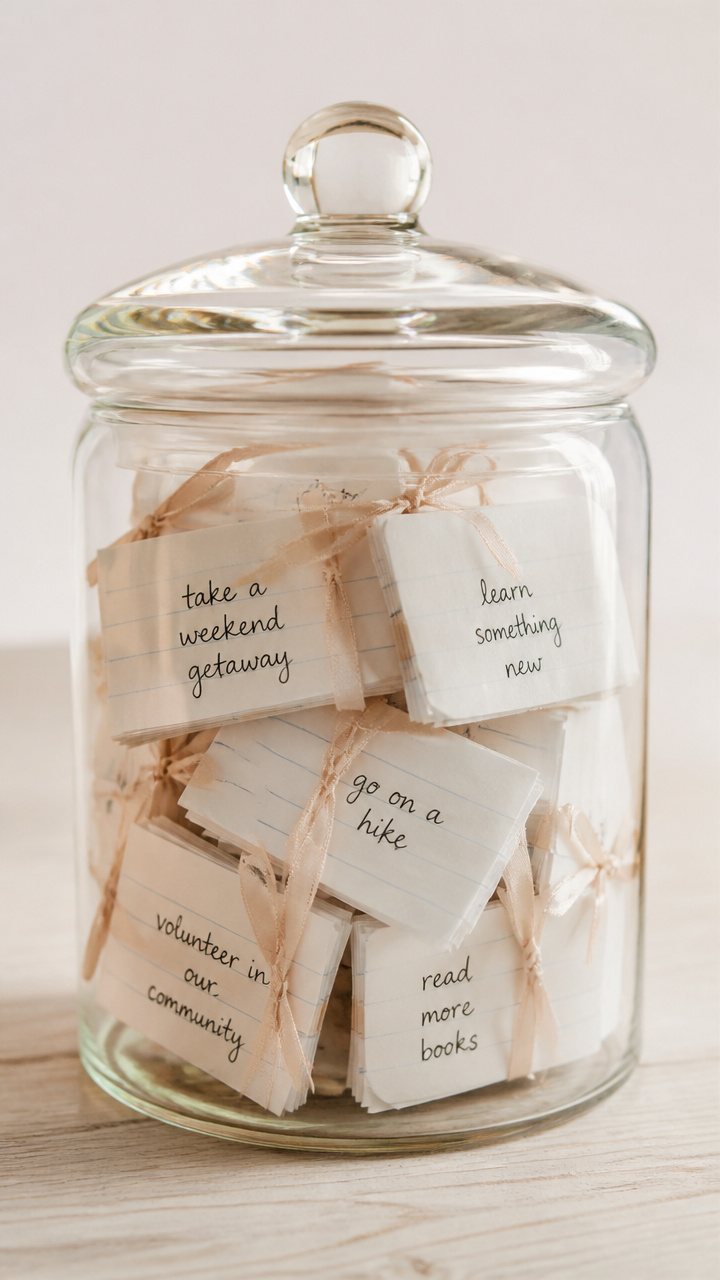
Each folded slip holds a memory from the past year, revealed one day at a time as you count toward the next celebration.
Materials Needed
- Clear glass jar with lid (16 oz)
- White index cards (3×5 inches, 12 pieces)
- Black gel pen
- Scissors
- Ribbon (18 inch length)
How to Make It
- Cut each index card into 3 equal horizontal strips using scissors.
- Write one favorite memory from the past year on each strip using the black gel pen.
- Fold each strip in half and place all into the jar.
- Tie the ribbon around the neck of the jar and knot it in front.


7. Cork & Twine Year Ornament
Easy
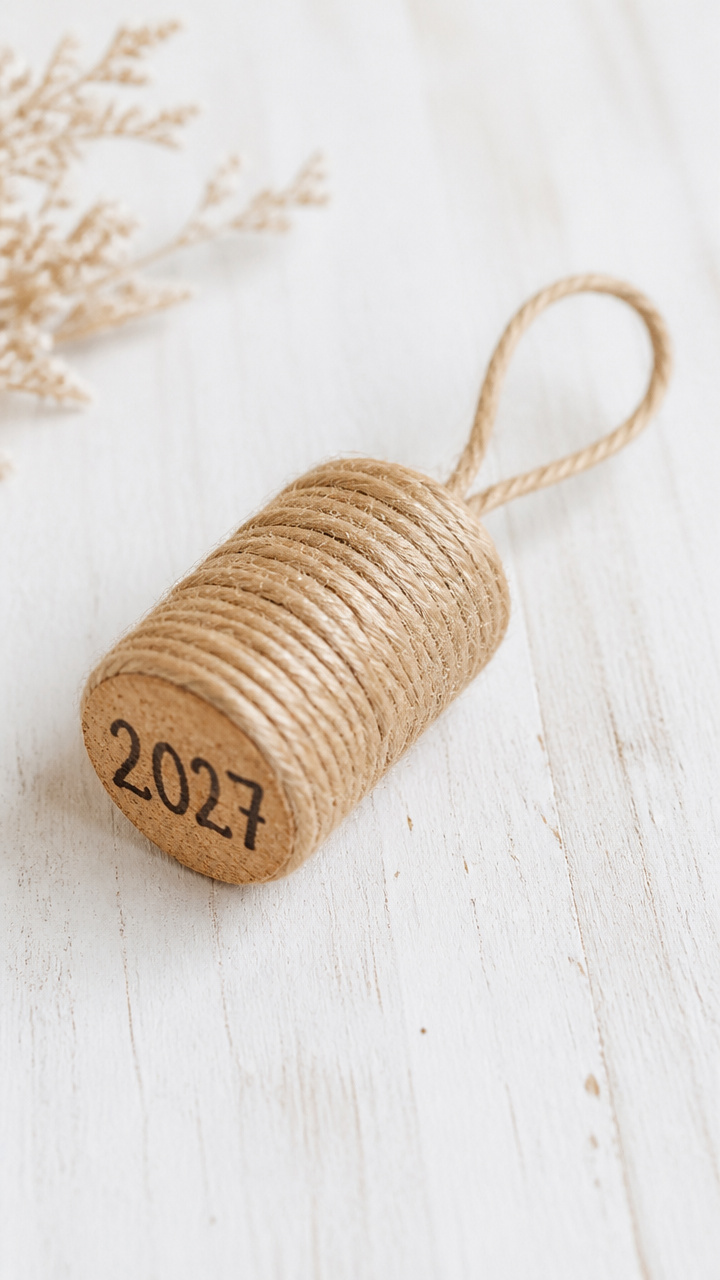
A real wine cork wrapped in twine becomes a tiny keepsake stamped with the coming year.
Materials Needed
- Wine cork (standard size)
- Jute twine (18 inch length)
- Black permanent marker
- Craft glue
How to Make It
- Write the upcoming year on the flat end of the wine cork using the black permanent marker.
- Add a dot of craft glue to one end of the twine and press it to the side of the cork.
- Wrap the twine tightly around the cork vertically, covering the entire surface except the ends.
- Secure the end with another dot of craft glue and let dry for 5 minutes.


8. Foil Balloon Cutouts
Easy
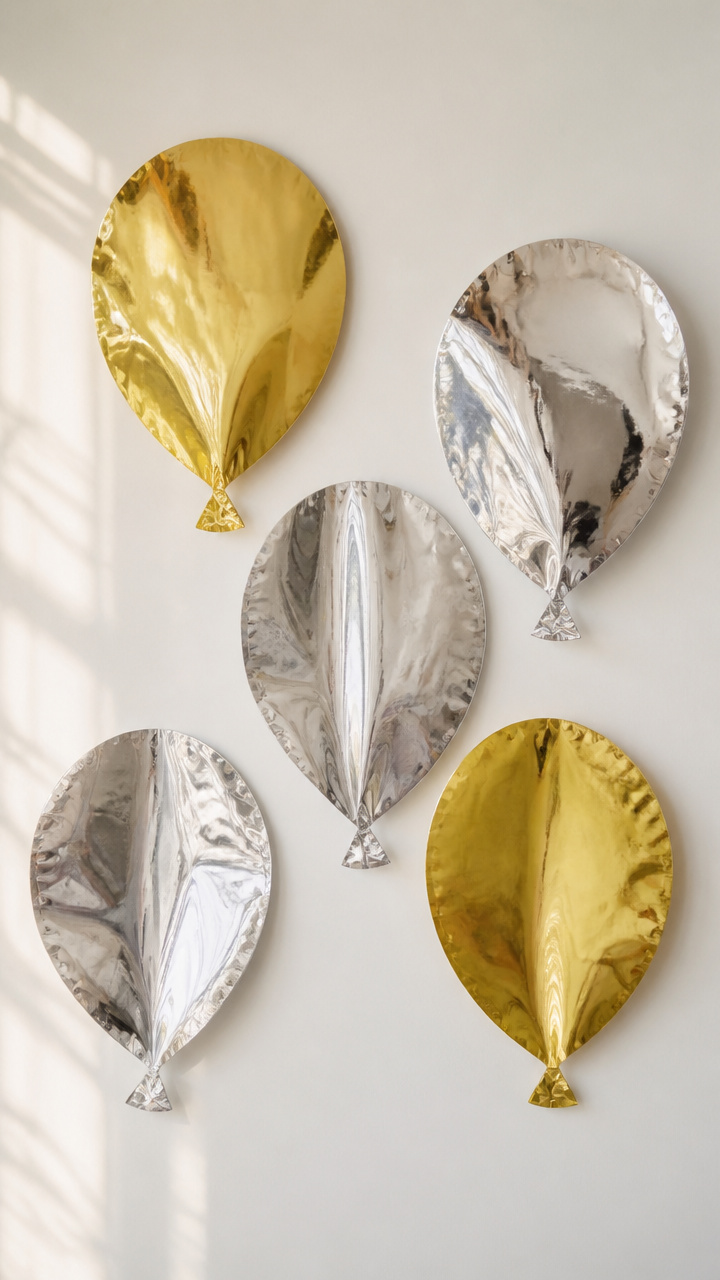
Shiny silhouettes of balloons rise upward on your wall, catching light like real metallic decorations.
Materials Needed
- Gold mylar sheet (8.5 x 11 inches)
- Silver mylar sheet (8.5 x 11 inches)
- Scissors
- Double-sided tape (small squares)
How to Make It
- Cut three balloon shapes from the gold mylar sheet, each 4 inches tall with a rounded top and pointed tail.
- Cut three balloon shapes from the silver mylar sheet the same size.
- Peel backing off double-sided tape and stick one piece to the back of each balloon near the tail.
- Press each balloon onto a smooth wall in an upward cluster pattern.


9. Pom-Pom Clock Garland
Easy
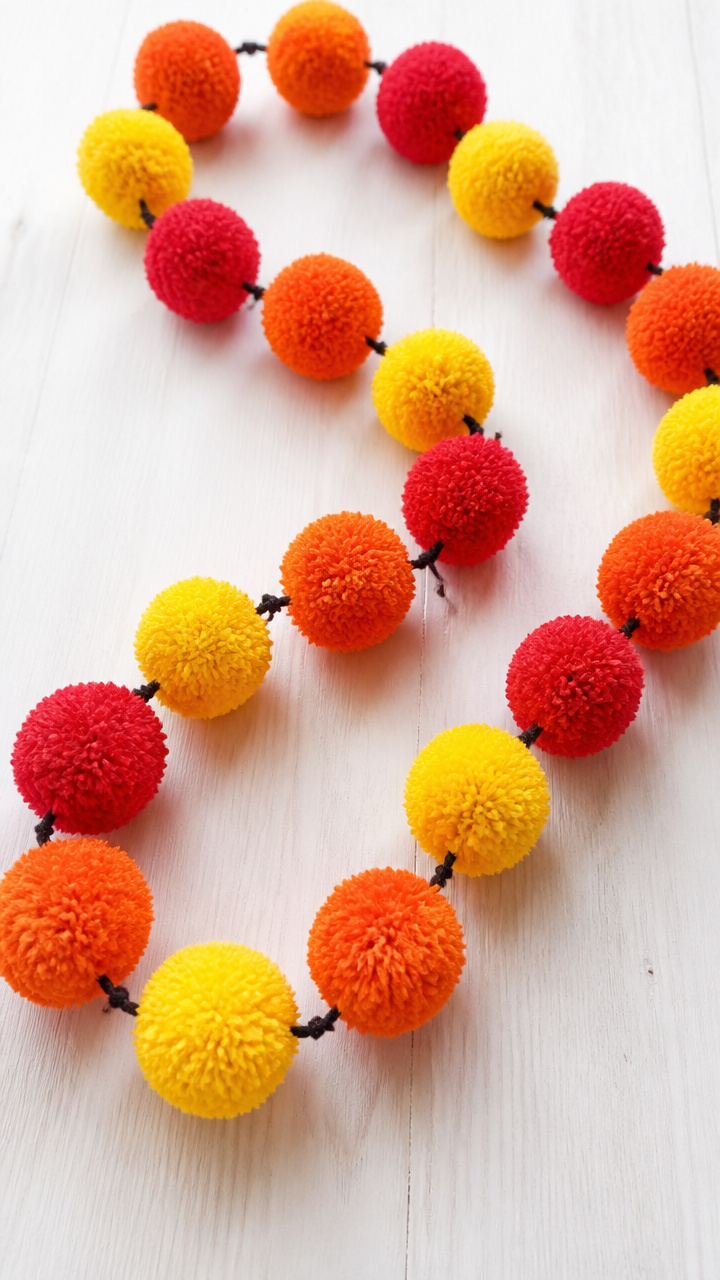
Fluffy pom-poms in gradient hues form a cheerful chain that counts the hours with soft charm.
Materials Needed
- Yellow pom-pom (1 inch diameter, 12 pieces)
- Orange pom-pom (1 inch diameter, 12 pieces)
- Red pom-pom (1 inch diameter, 12 pieces)
- Embroidery thread (black, 6 feet)
- Tapestry needle
How to Make It
- Thread the tapestry needle with the black embroidery thread.
- String one yellow, one orange, and one red pom-pom onto the thread.
- Repeat the color sequence four more times until all 36 pom-poms are threaded.
- Knot each end of the thread to prevent slipping and hang horizontally.


10. Sticker Resolution Tree
Easy
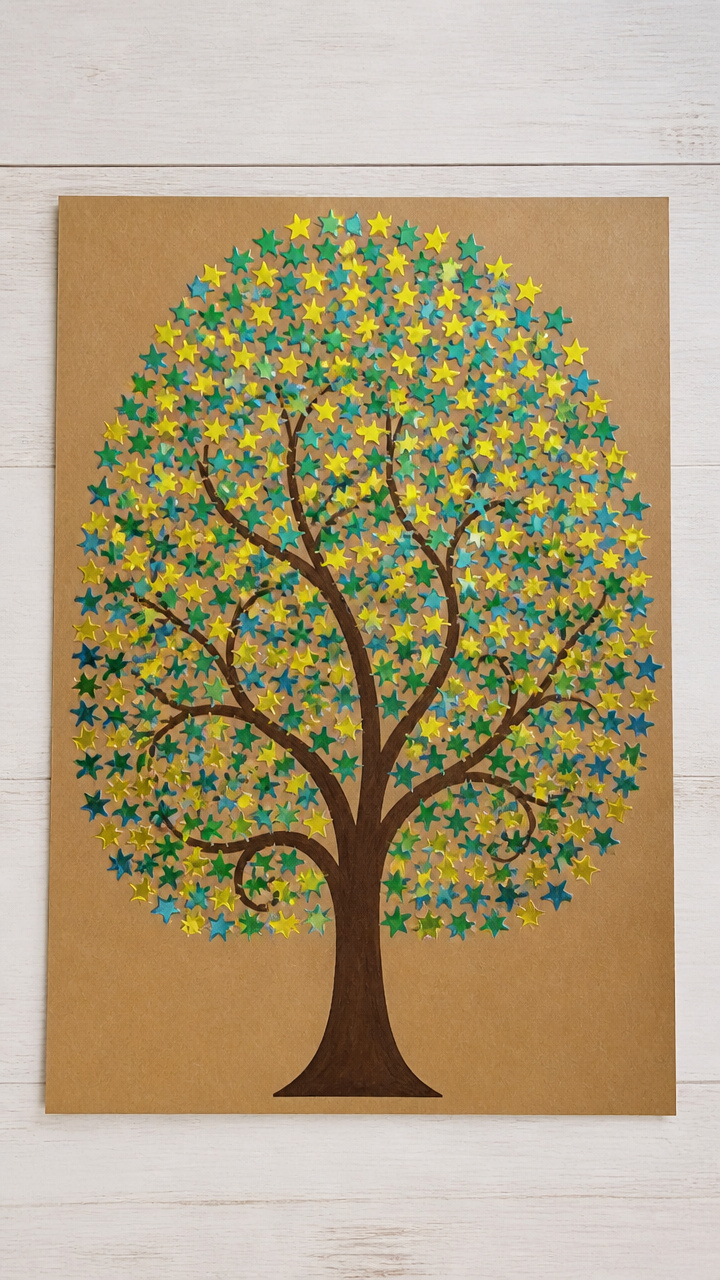
A bare branch fills with colorful stickers as goals are met, growing greener with every success.
Materials Needed
- Brown kraft paper (11 x 17 inches)
- Pencil
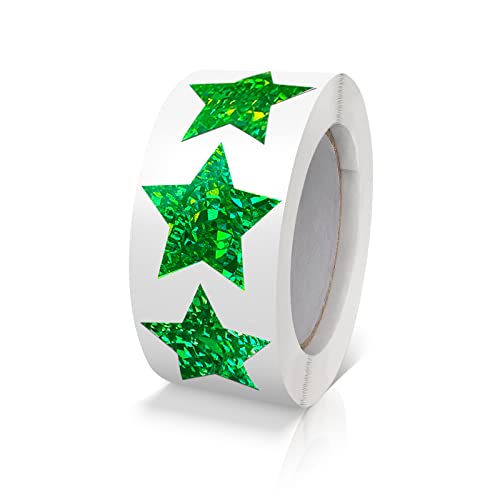
- Green star stickers (30 pieces)
- Blue star stickers (30 pieces)
- Yellow star stickers (30 pieces)
- Black marker
How to Make It
- Draw a large tree trunk and main branches in pencil on the kraft paper, leaving the canopy empty.
- Outline the trunk and branches with the black marker.
- Place one sticker on a branch each time you complete a personal goal during the year.
- Alternate colors to create a vibrant, evolving display.


11. Mirror Ball Suncatcher
Easy
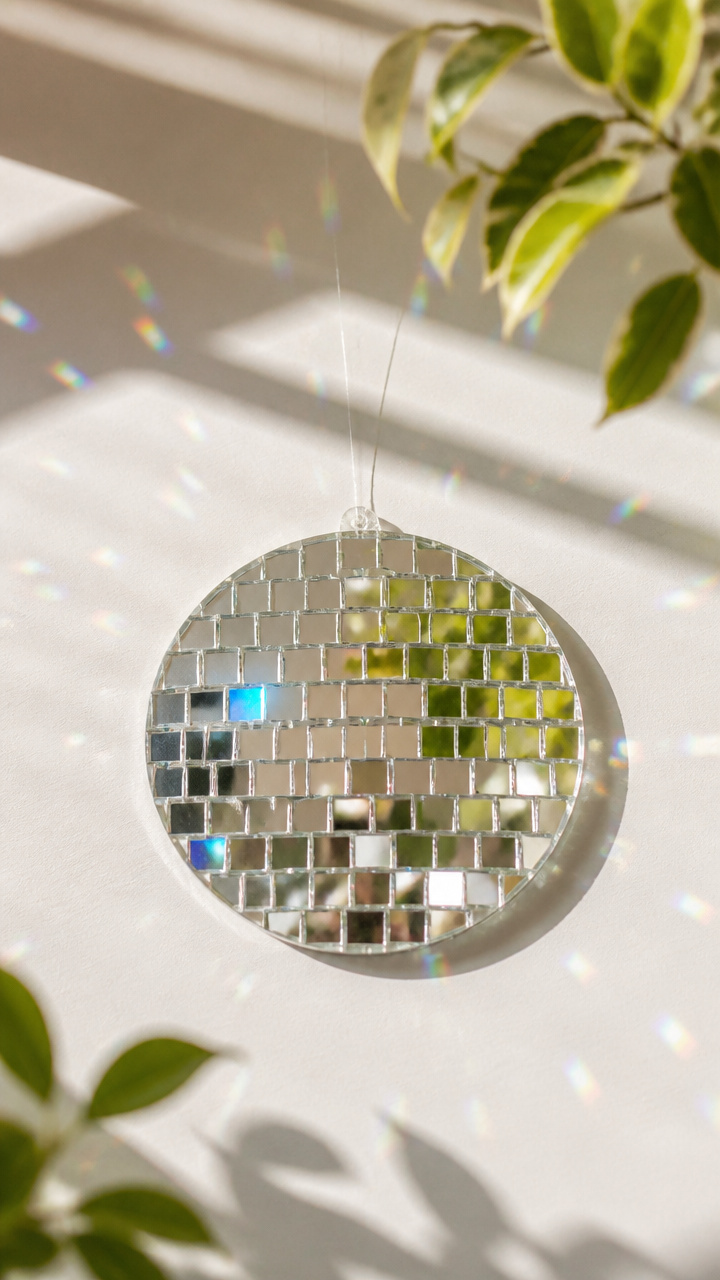
Tiny reflective tiles catch sunlight and scatter rainbows across your room like a mini disco ball.
Materials Needed
- Clear plastic lid (from a deli container, 6 inch diameter)
- Square mirror tiles (0.5 inch, 24 pieces)
- Clear craft glue
- Fishing line (12 inch length)
- Glue brush (¼ inch)
How to Make It
- Apply a thin layer of clear craft glue to the underside of the plastic lid using the glue brush.
- Press 24 mirror tiles onto the glued surface, covering it completely with no gaps.
- Let dry for 20 minutes until tiles are firmly attached.
- Tie fishing line to opposite edges of the lid rim and knot securely for hanging.
12. Paper Chain Countdown
Easy
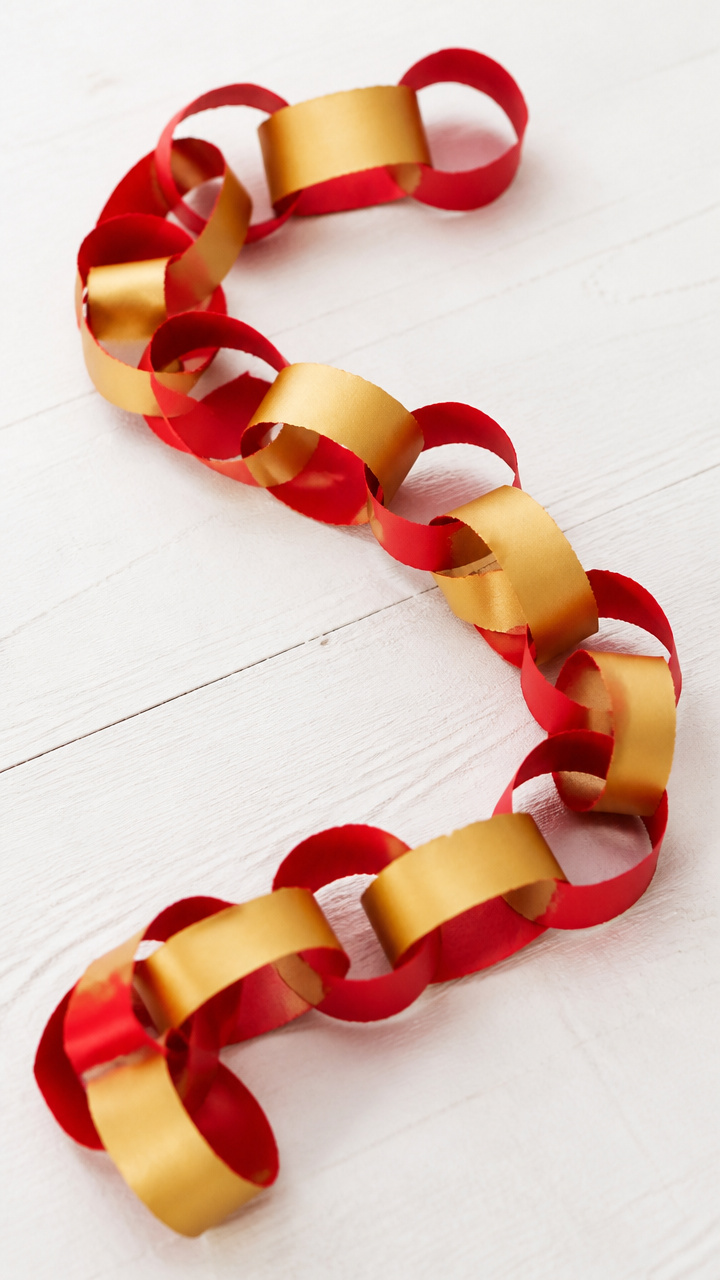
Each loop links to the next, torn away daily to reveal how close you are to the big moment.
Materials Needed
- Red construction paper (8.5 x 11 inches, 2 sheets)
- Gold construction paper (8.5 x 11 inches, 2 sheets)
- Scissors
- White school glue
How to Make It
- Cut each sheet into ten 1 inch wide strips lengthwise using scissors.
- Form a loop with one strip and glue the ends together.
- Thread a second strip through the first loop and glue its ends to form a chain.
- Continue linking strips alternately in red and gold until you have 40 loops.


13. Button Firework Ornaments
Easy
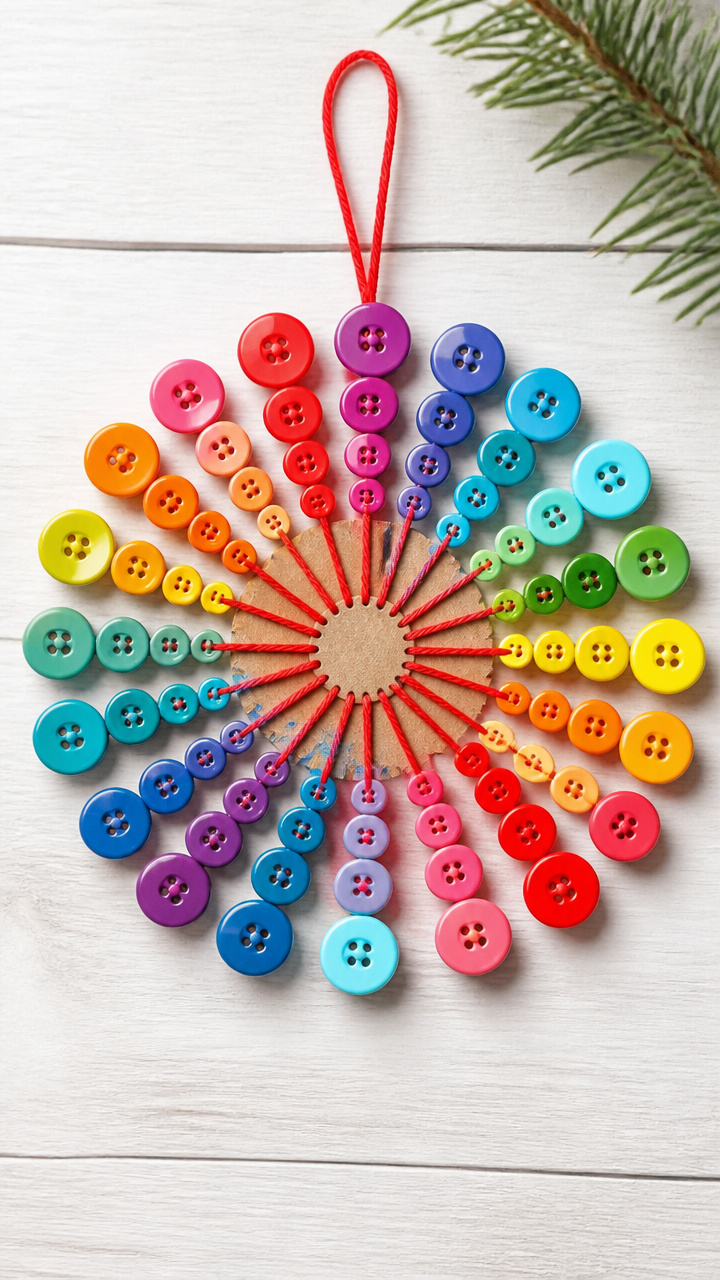
Radiating spokes of bright buttons mimic the burst of a firework, ready to hang on a mantle or tree.
Materials Needed
- Cardboard circle (3 inch diameter)
- Assorted colorful buttons (¾ inch, 12 pieces)
- Red embroidery floss (18 inch length)
- Needle
- Hot glue gun
- Hot glue sticks
How to Make It
- Apply a small dot of hot glue to the back of each button.
- Press each button around the edge of the cardboard circle, spacing them evenly.
- Thread the needle with red embroidery floss and tie a knot at one end.
- Stitch through each button once, creating straight lines from the center outward, then tie off at the back.


14. Chalkboard Paint Rocks
Easy
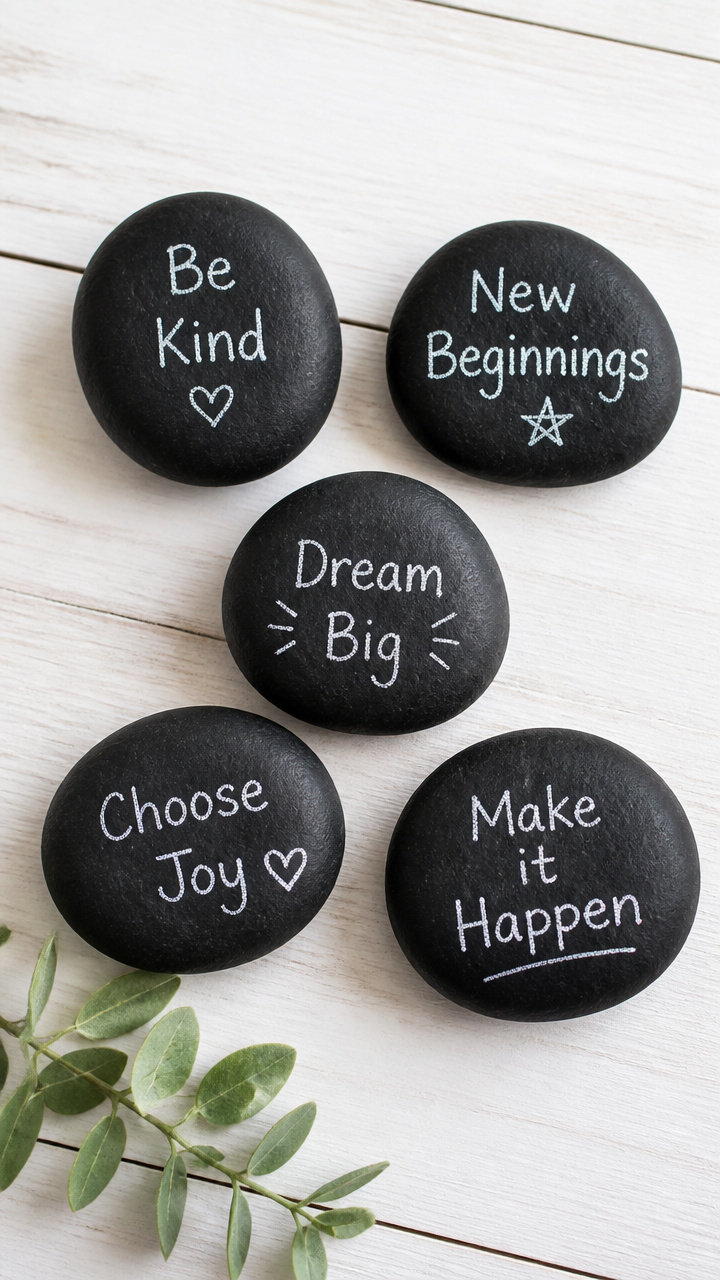
Smooth stones become reusable message holders, painted with wishes and changed whenever inspiration strikes.
Materials Needed
- Flat river rocks (2 inch size, 5 pieces)
- Black chalkboard paint (1 oz bottle)
- Paintbrush (½ inch)
- White chalk stick
How to Make It
- Apply one coat of black chalkboard paint to the top surface of each rock using the paintbrush.
- Let dry for 15 minutes, then apply a second coat.
- Allow rocks to cure fully for 2 hours before writing.
- Write a hopeful word like 'Joy' or 'Now' on each rock with the white chalk stick.


15. Streamers from the Ceiling
Easy
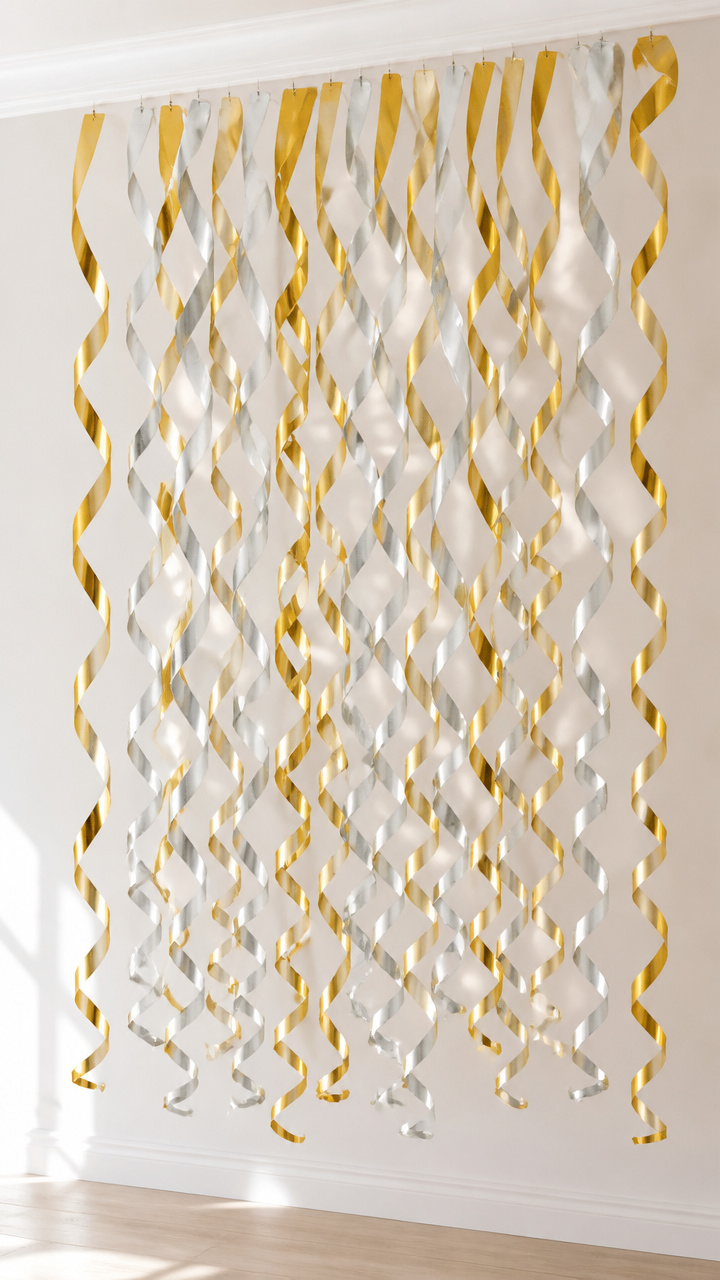
Long ribbons spiral down from above, brushing your shoulders as you walk beneath a festive sky.
Materials Needed
- Crepe paper streamer roll (gold, 25 feet)
- Crepe paper streamer roll (silver, 25 feet)
- Push pin (1 piece)
- Scissors
How to Make It
- Tie the end of the gold streamer to the push pin.
- Stick the pin into the ceiling at the room's center.
- Unroll 8 feet of gold streamer, then switch to silver and unroll 8 feet more.
- Cut the streamer and let both ends drape down, fluffing the crepe paper for volume.


Grab your scissors, unfold that cardstock, and let your hands shape the spirit of what’s ahead. Each little craft carries your hope forward, one glittered corner at a time.