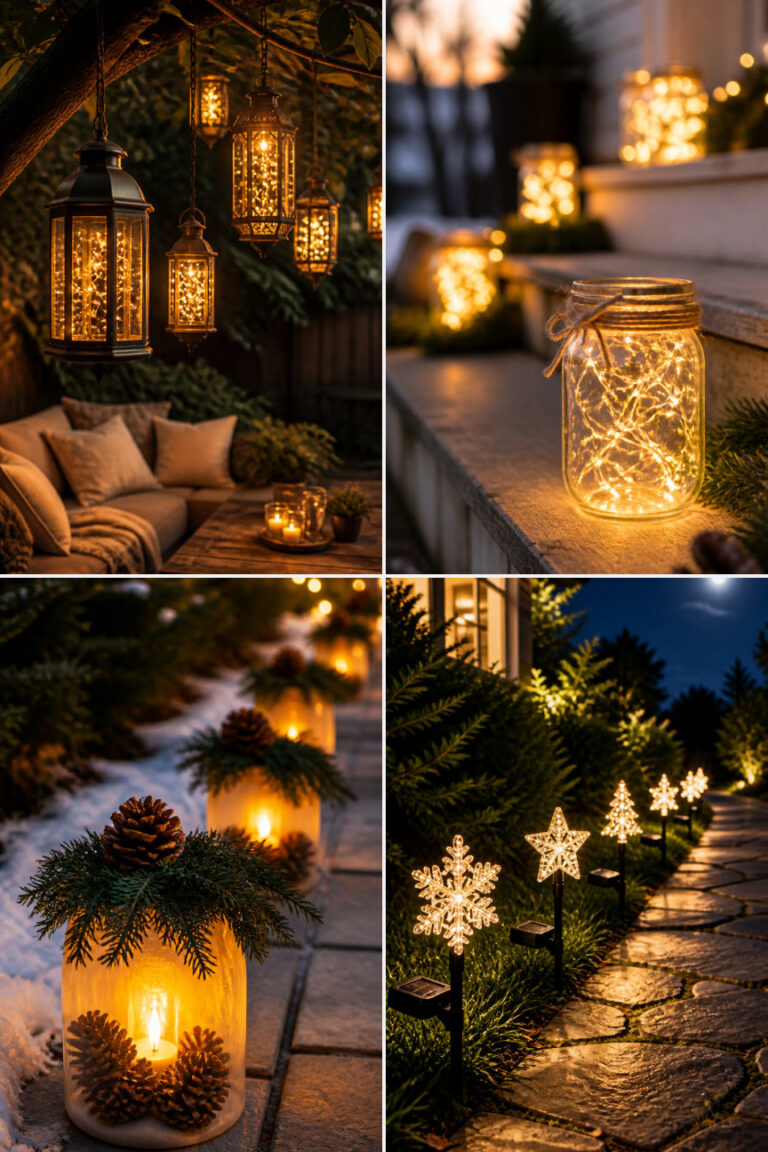
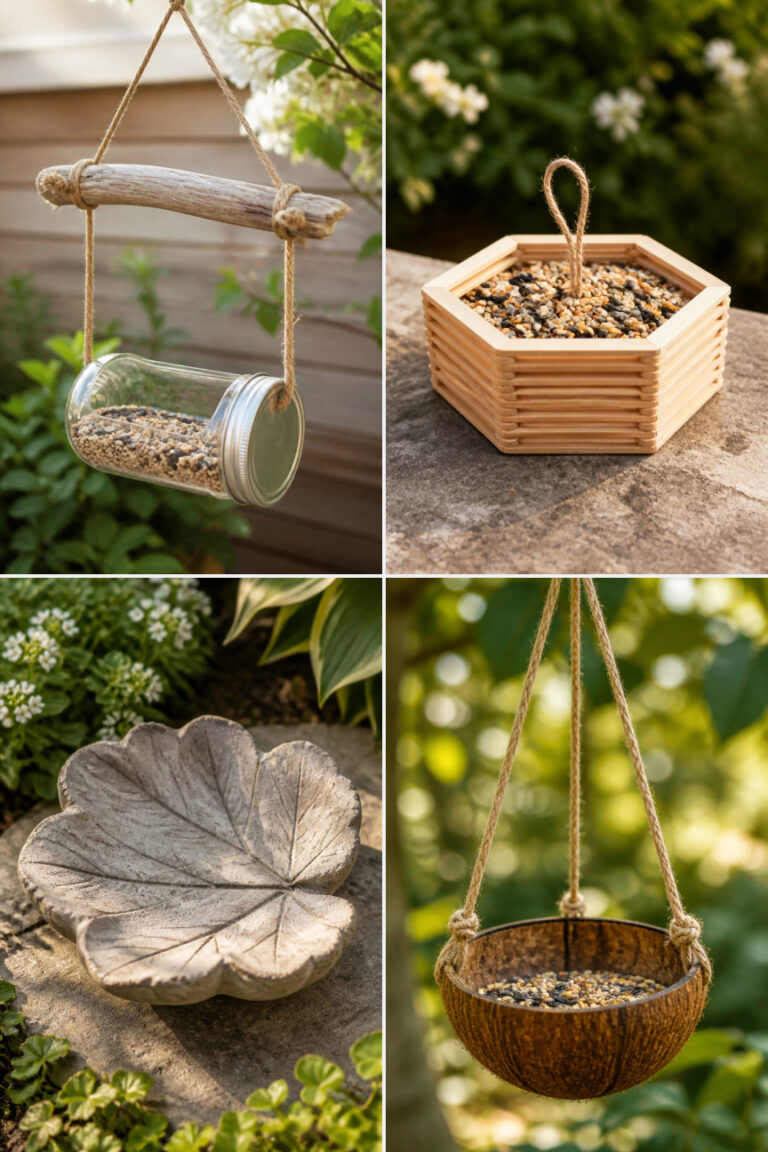
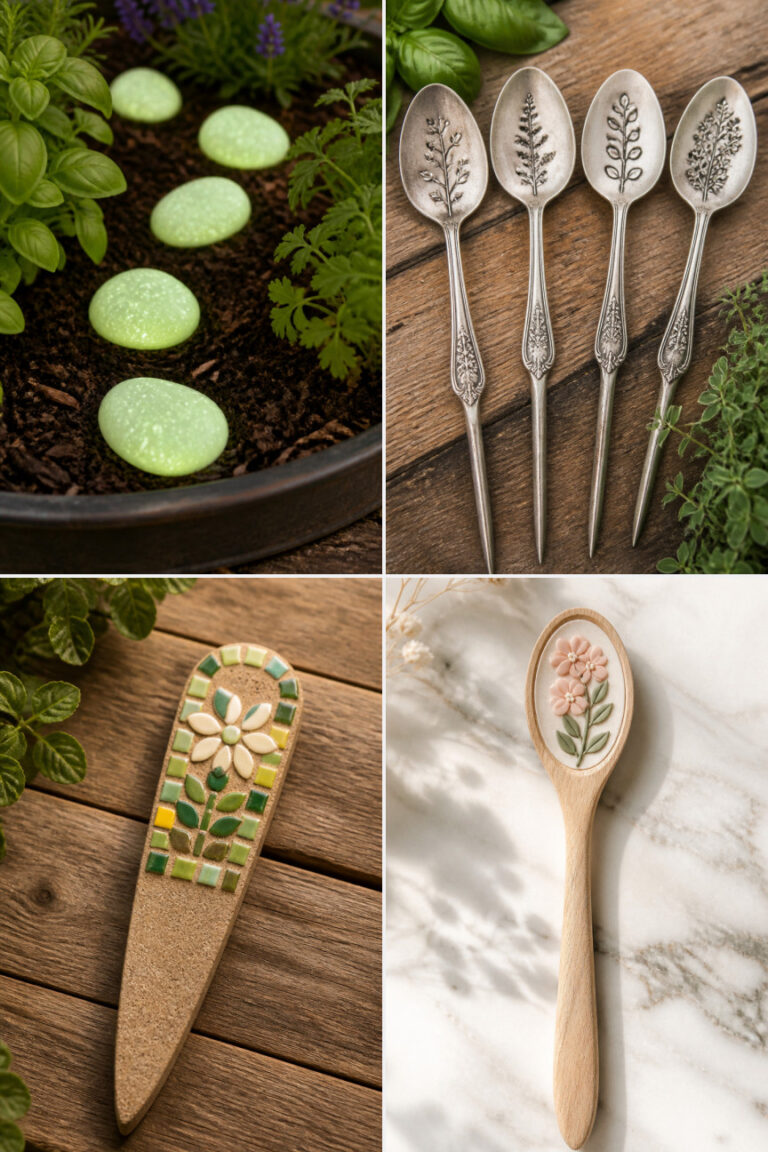
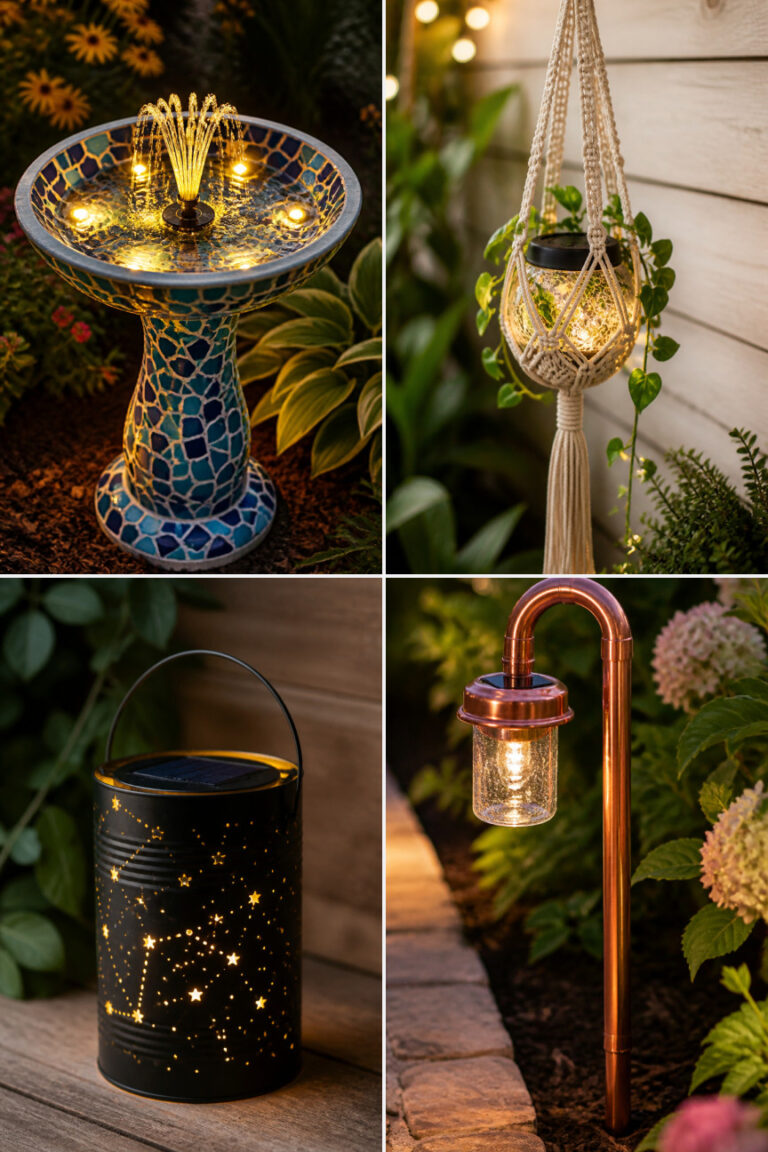
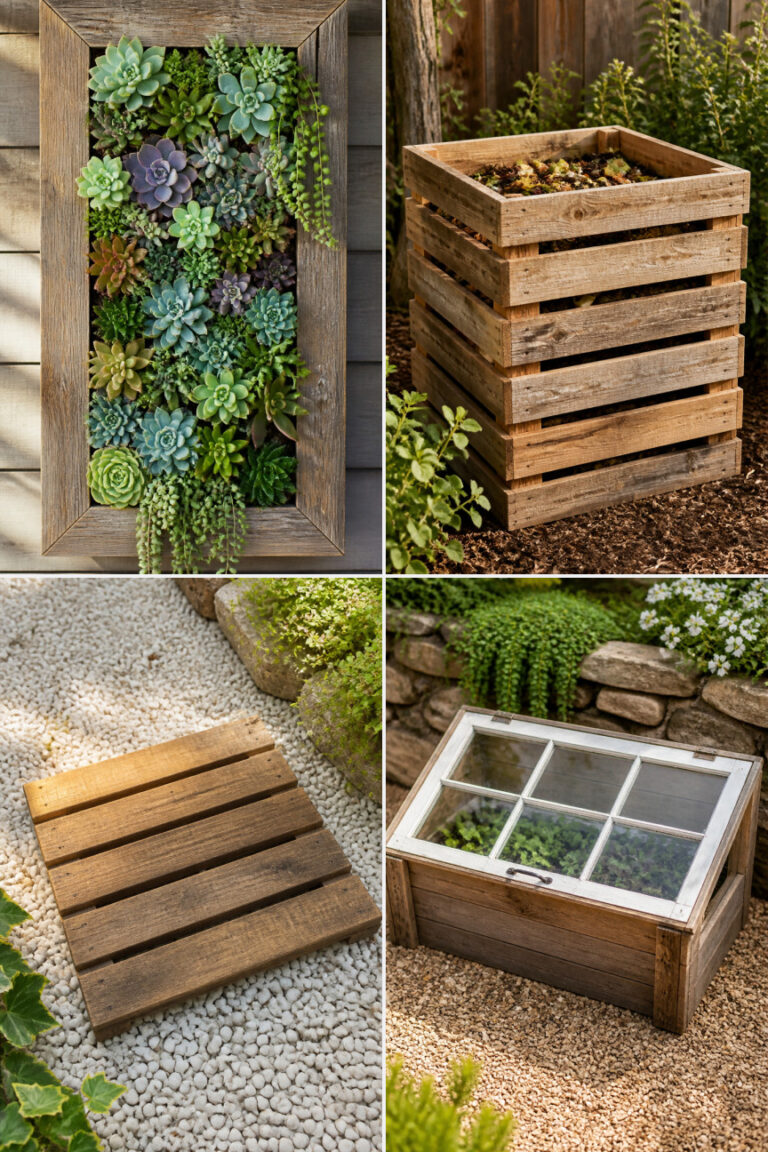
15 DIY Garden Crafts You Can Make From Dollar Store Supplies

Walking through discount store aisles offers endless inspiration for outdoor spaces on a budget. You can find sturdy containers, glassware, wire baskets, and craft essentials that cost just a few dollars each.
Giving your backyard or balcony a custom touch does not require expensive garden center visits. With a few simple tools and smart assembly steps, budget store finds become durable accents that withstand the elements.
1. Clay Pot Solar Lighthouse
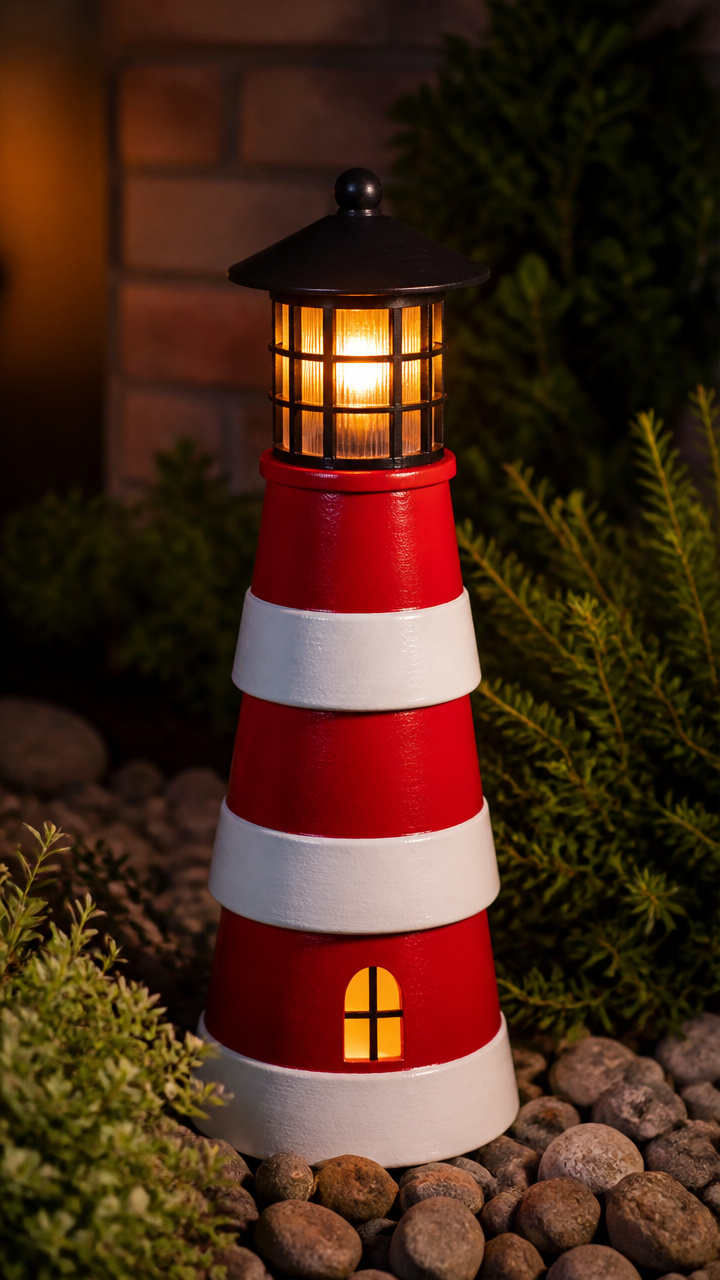
Bright red and white painted pots stack together to create an illuminated focal point for your flowerbeds. Solar power charges the light by day so it glows automatically each evening.
Materials Needed
- 3 terracotta pots (4-inch, 6-inch, and 8-inch diameters)
- 1 solar path light
- 1 bottle red outdoor acrylic paint (2 oz)
- 1 bottle white outdoor acrylic paint (2 oz)
- 1 tube clear exterior silicone adhesive
- 1 flat 1-inch paintbrush
How to Make It
- Paint the exterior of all three terracotta pots with two coats of white outdoor acrylic paint, letting them dry for 30 minutes between coats.
- Add red horizontal stripes around the 6-inch and 8-inch pots using a flat paintbrush, then allow the paint to cure for 1 hour.
- Apply a bead of clear exterior silicone adhesive to the bottom rim of the 8-inch pot placed upside down, then press the 6-inch pot upside down directly onto it.
- Glue the 4-inch pot upside down onto the 6-inch pot, creating a tiered tower structure.
- Remove the ground stake from the solar path light and apply silicone adhesive to its plastic base, centering it securely on the top saucer or pot base.

2. Wire Basket Solar Chandelier
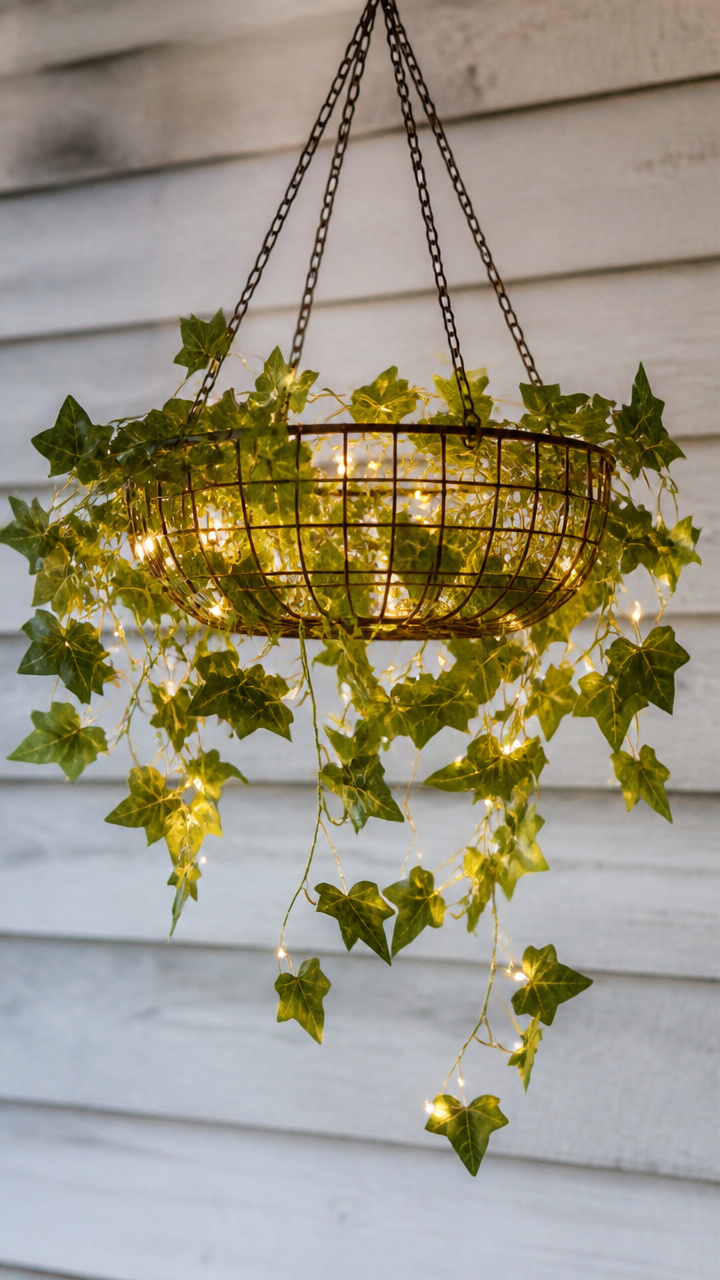
Woven wire and trailing greenery combine into a rustic hanging light fixture for your porch or pergola. Twinkling solar lights give your outdoor seating area a soft glow without needing an electrical outlet.
Materials Needed
- 1 wire hanging planter basket (12-inch) with hanging chain
- 1 strand solar micro LED fairy lights (10 to 15 feet)
- 2 packs faux plastic ivy garland (6 feet each)
- 1 pack green floral wire (24-gauge)
- 1 metal S-hook
How to Make It
- Wrap the two strands of faux ivy garland tightly around the outer wire ribs of the hanging basket, securing the ends with short pieces of floral wire.
- Weave the solar fairy light strand through the wire mesh and faux leaves, distributing the light bulbs evenly along the rim and base.
- Fasten the small solar panel to the top chain using floral wire, angling the panel upward to catch direct sunlight.
- Attach an S-hook to the top ring of the chain and hang your chandelier from an overhead hook or tree branch.


3. Glass Gem Stepping Stone
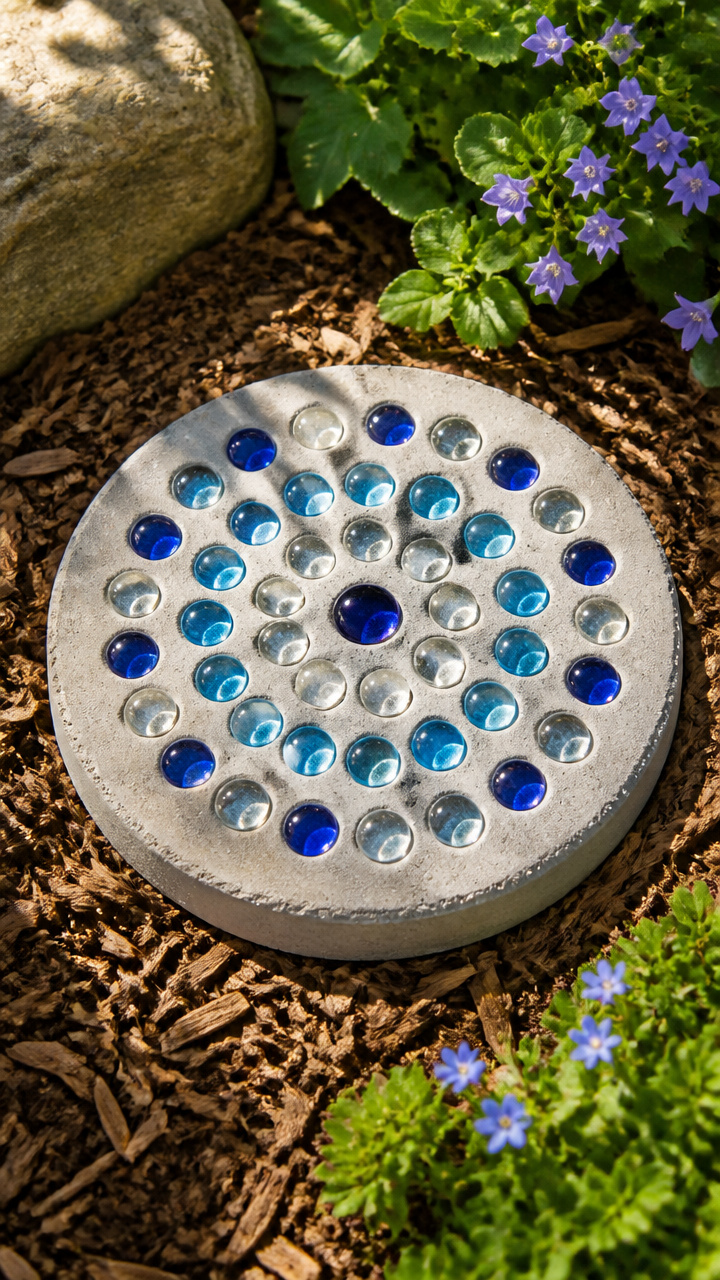
Polished glass stones embedded in concrete catch the morning sun and guide visitors through your perennial beds. Solid cement provides a stable, weather-resistant base that lasts for years.
Materials Needed
- 1 bag fast-setting concrete patch mix (5 lb)
- 1 round disposable aluminum cake pan (9-inch)
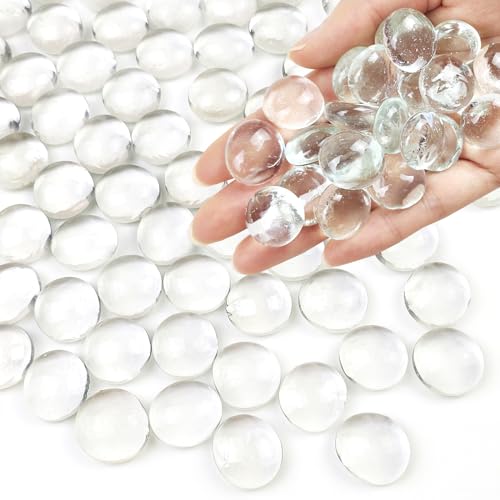
- 2 bags flat-backed glass floral gems (clear and blue mix)
- 1 small tub petroleum jelly
- 1 plastic mixing bucket
- 1 paint stir stick
- Tap water
How to Make It
- Coat the entire interior of the aluminum cake pan with a thin layer of petroleum jelly to keep the concrete from sticking.
- Mix 4 pounds of concrete patch mix with water in your bucket according to package directions until it reaches a thick peanut butter consistency.
- Pour the wet concrete into the prepared cake pan, smoothing the surface flat with your stir stick and tapping the sides to release air bubbles.
- Press flat-backed glass gems firmly into the wet concrete in your chosen pattern, leaving the top surface of each gem flush with the concrete.
- Let the stone cure undisturbed for 48 hours, then peel away the aluminum pan and rinse the surface with clean water.


4. Bamboo Skewer Bug Hotel
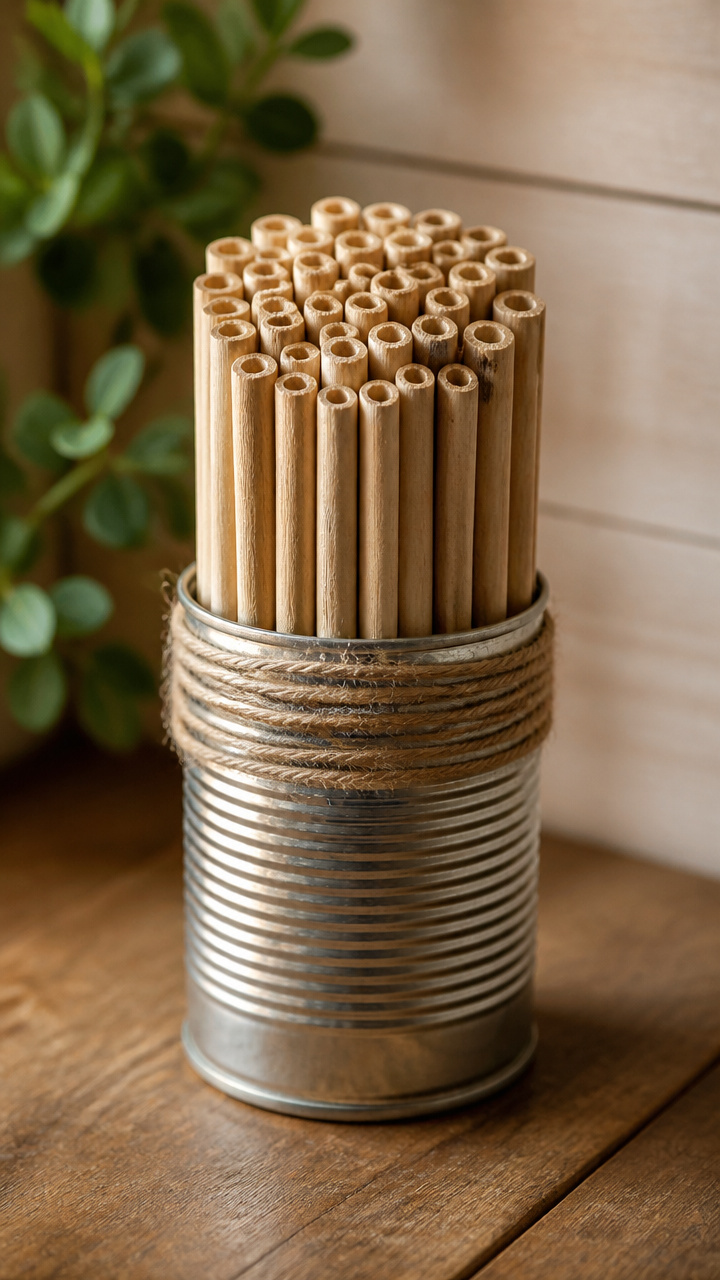
Hollow reeds and trimmed bamboo offer safe nesting spots for solitary bees and beneficial insects. Setting this shelter near vegetable patches helps boost pollination and natural pest control.
Materials Needed
- 1 empty clean tin soup can (15 oz)
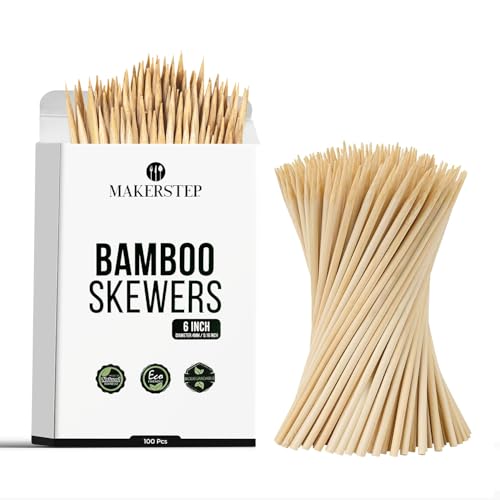
- 2 packs bamboo barbecue skewers (100-count, 12-inch)
- 1 tube waterproof construction adhesive
- 1 pair pruning shears
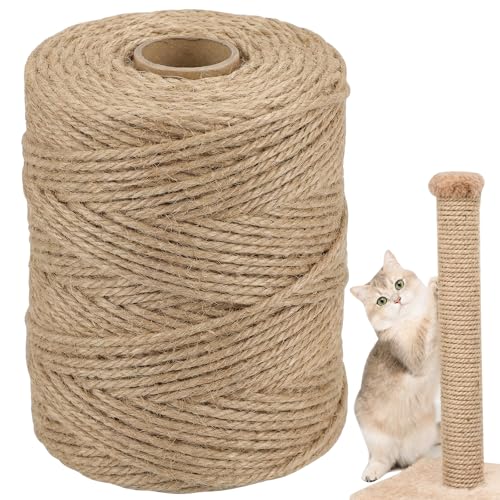
- 1 roll natural jute twine (50 feet)
How to Make It
- Cut the bamboo skewers with pruning shears into pieces that match the exact depth of the clean tin can.
- Coat the interior bottom of the tin can with a generous layer of waterproof construction adhesive.
- Pack the cut bamboo pieces tightly inside the can until no more can fit and the bundle stays firmly wedged in place.
- Wrap natural jute twine around the outside middle of the can five times, tying a secure double knot and leaving a 12-inch loop at the top for hanging.
- Mount the bug hotel horizontally on a south-facing fence post or wall at least 4 feet above the ground.


5. Colander Spoon Wind Chime
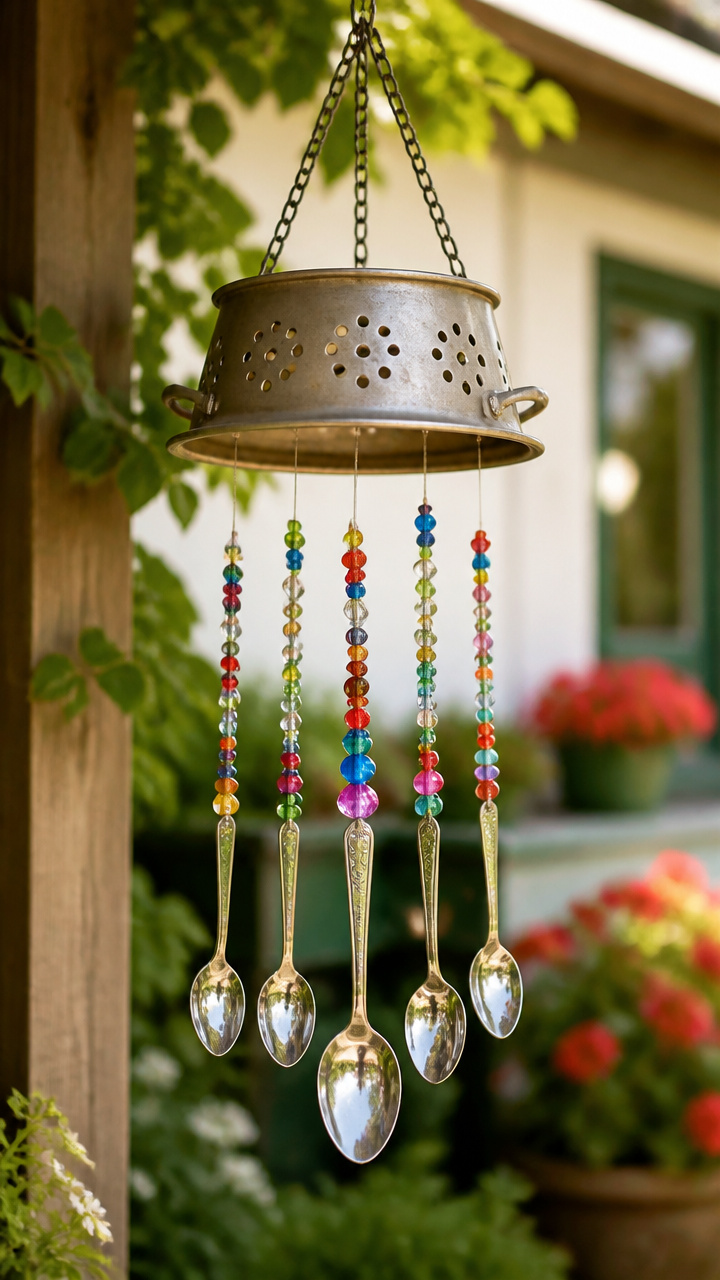
Vintage-style kitchen utensils create gentle metallic tones whenever a breeze sweeps across your patio. Drainage holes in the base make stringing the chime pieces quick and effortless.
Materials Needed
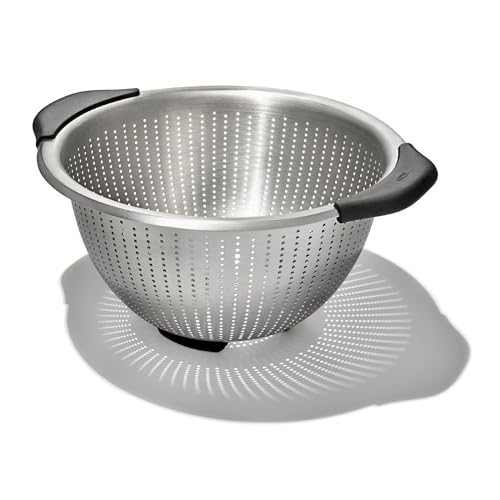
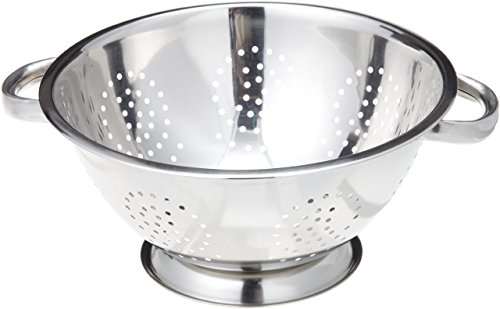
- 1 metal kitchen colander (8-inch)
- 4 metal teaspoons
- 1 metal tablespoon
- 1 spool 20-lb nylon monofilament fishing line
- 1 pack assorted glass pony beads (approx. 50 count)
- 1 pair household scissors
How to Make It
- Cut five 18-inch lengths of nylon fishing line with your scissors.
- Thread one piece of fishing line through the handle hole of each spoon, tying a secure double knot, and string eight to ten glass beads above each knot.
- Tie the four teaspoons through four evenly spaced outer rim holes on the colander so they hang 6 inches below the rim.
- Tie the larger tablespoon through the exact center hole of the colander base so it hangs directly between the teaspoons to act as a clapper.
- Cut three 24-inch lengths of fishing line, tie them to three equidistant upper rim holes, and knot them together at the top to form a hanging loop.

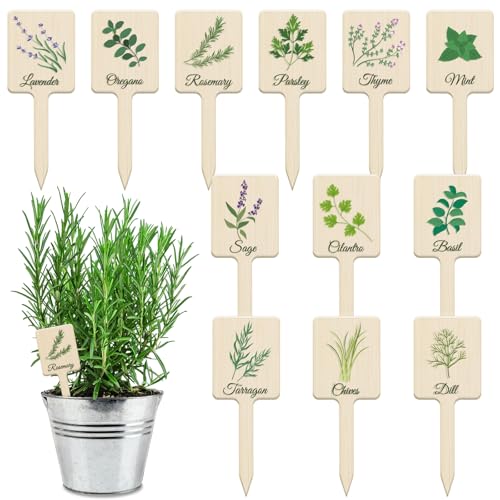
6. River Stone Herb Markers
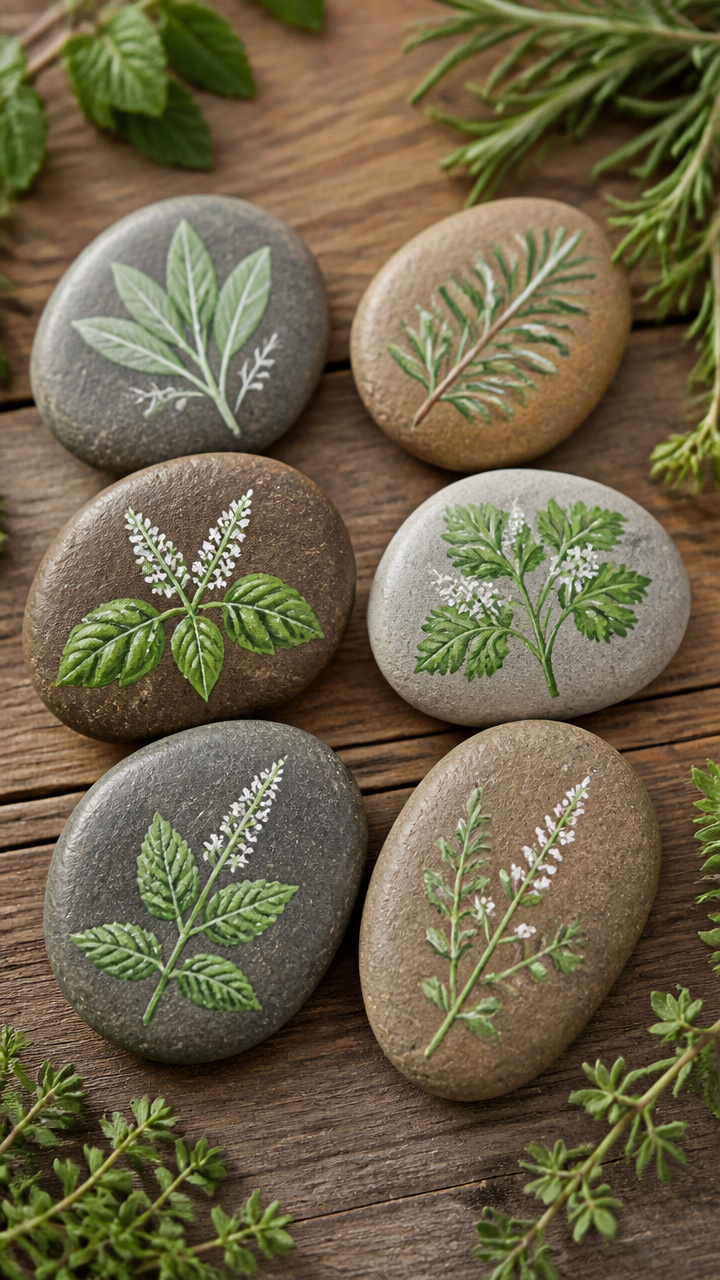
Smooth natural stones labeled with crisp paint pens keep your herb varieties organized while blending seamlessly into the soil. Heavy stone bases stay in place through rain, wind, and garden watering.
Materials Needed
- 6 to 8 smooth flat river rocks (3 to 4 inches wide)
- 1 white fine-point oil-based paint pen
- 1 green fine-point oil-based paint pen
- 1 can clear exterior matte acrylic sealant spray (11 oz)
How to Make It
- Wash the river rocks with warm soapy water to remove dirt and let them dry completely in the sun.
- Write herb names such as Basil, Mint, and Thyme onto the top face of each rock using the white oil-based paint pen.
- Add small botanical leaf doodles along the borders with the green paint pen, allowing the ink to dry for 20 minutes.
- Spray the top and sides of each rock with two light coats of clear exterior matte acrylic sealant, waiting 15 minutes between applications.
- Place each finished rock at the base of its corresponding herb plant in your garden beds or containers.


7. Faux Succulent Shadow Box
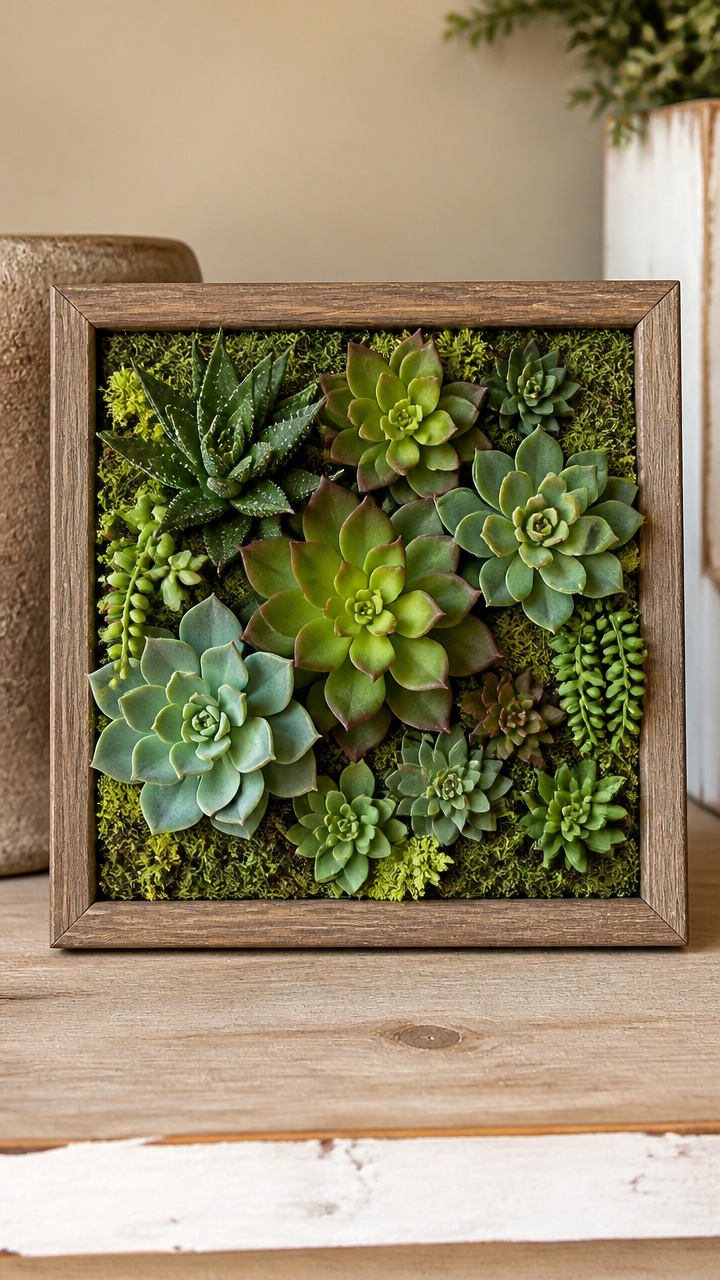
Lush plastic succulents tucked into a wooden frame provide vertical greenery that requires zero watering or pruning. Hanging this piece on a shaded patio wall instantly softens hard exterior surfaces.
Materials Needed
- 1 wooden shadow box frame (8×8 inch, 1.5 inches deep)
- 1 block dry green floral foam (8x4x2 inch)
- 1 pack preserved green sheet moss (2 oz)
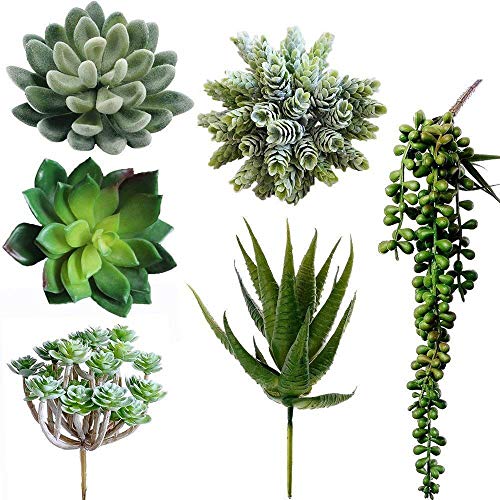
- 6 to 8 faux plastic succulent picks
- 1 hot glue gun with 4 glue sticks
- 1 craft utility knife
How to Make It
- Trim the floral foam block with a craft knife so it fits snugly inside the open back of the shadow box frame.
- Hot glue the foam block firmly against the rear interior backing board of the wooden frame.
- Apply hot glue over the surface of the foam and press sheet moss across the entire area until no foam shows.
- Push the stems of the faux succulent picks directly through the moss into the foam block, varying sizes and colors for balance.
- Add a dab of hot glue at the entry point of each stem to lock the succulents securely into position.


8. Sisal Rope Planter
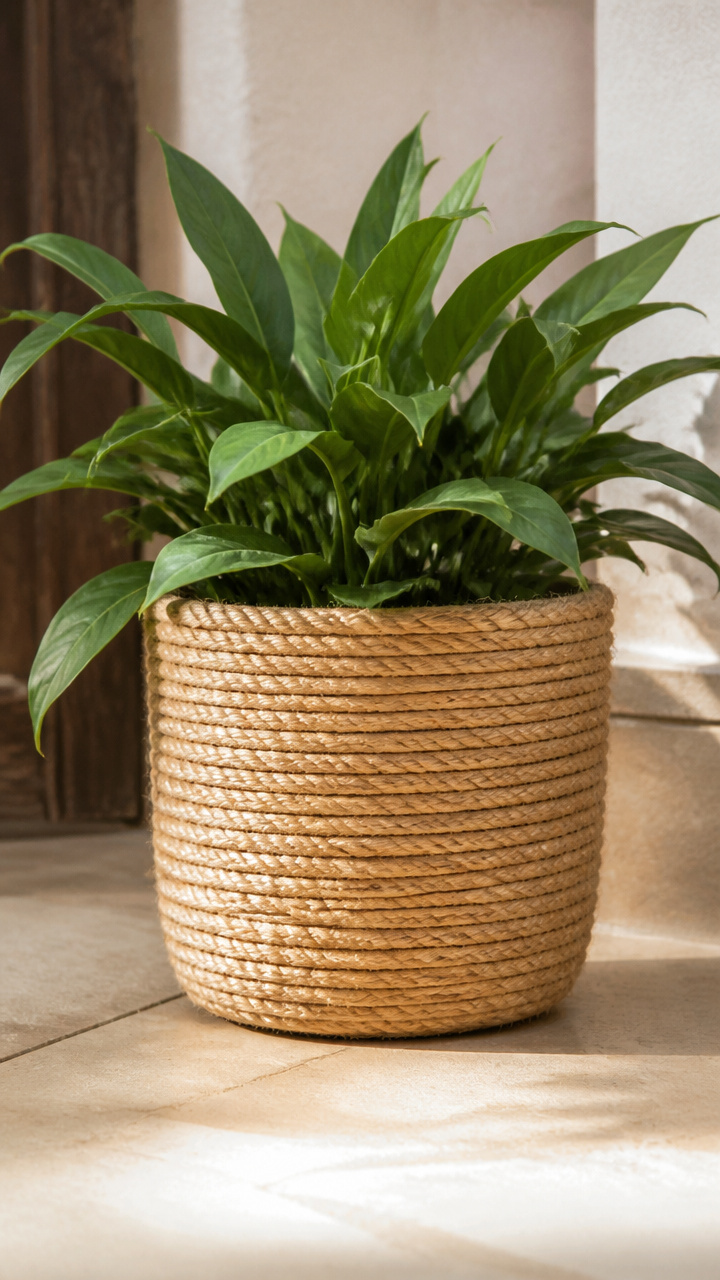
Coarse natural fibers wrapped around a basic plastic bucket create a high-end coastal container for porch ferns and flowers. Heavy rope layers insulate roots from hot summer temperature swings.
Materials Needed
- 1 round plastic storage bin or small bucket (2-gallon)
- 2 rolls 1/4-inch natural sisal rope (50 feet each)
- 1 hot glue gun with 10 heavy-duty outdoor glue sticks
- 1 pair heavy scissors
- 1 power drill with 1/4-inch drill bit
How to Make It
- Drill four 1/4-inch drainage holes through the bottom base of the plastic storage bin.
- Apply a 3-inch line of hot glue along the bottom exterior edge of the bin and press the end of the sisal rope firmly into the glue.
- Coil the rope tightly around the circumference of the bin, applying continuous lines of hot glue every 2 inches as you work upward.
- Continue wrapping until you reach the top rim, then trim the rope at a slight angle with heavy scissors.
- Glue the final rope tail flat against the interior rim, holding it firmly for 30 seconds until the adhesive sets completely.


9. Soda Bottle Self-Watering Pot
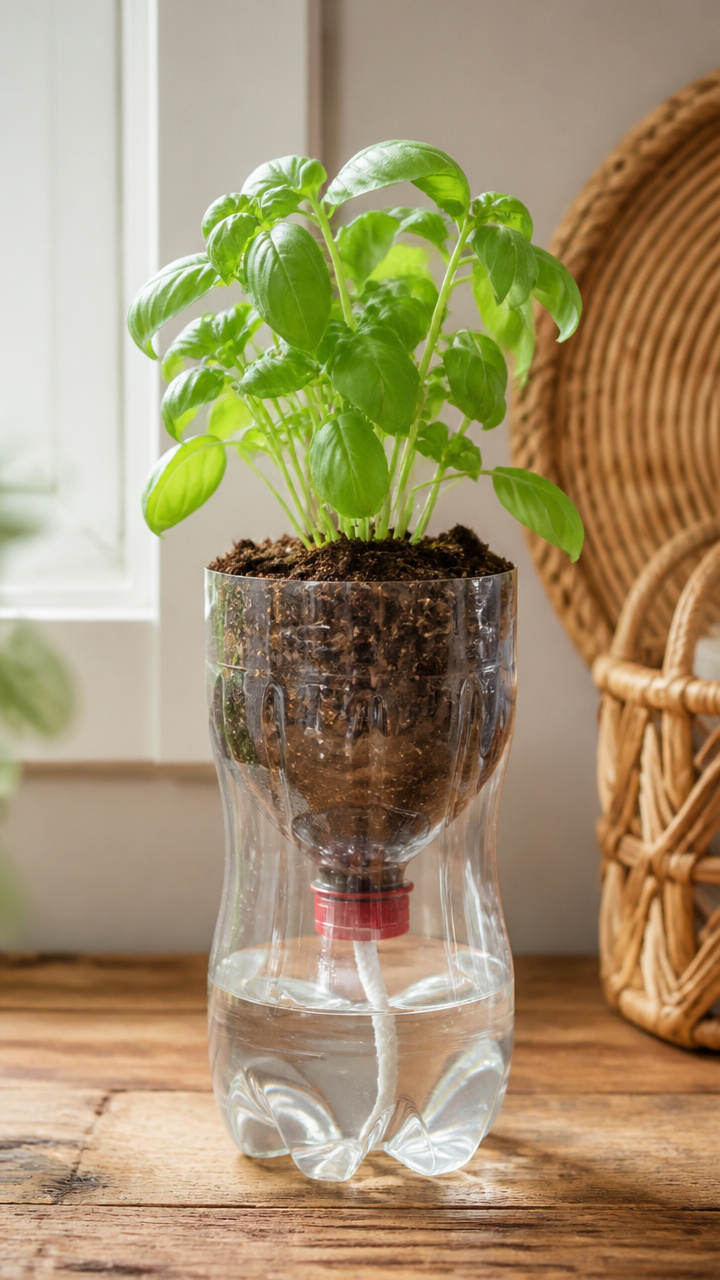
Recycled clear soda bottles fitted with cotton wicks supply moisture directly to plant roots on demand. Consistent capillary action keeps moisture-loving herbs and seedlings thriving even during hot weekends away.
Materials Needed
- 1 clear plastic 2-liter soda bottle
- 1 strip 100% thick cotton yarn or rope (12 inches long)
- 1 craft utility knife
- 1 cup potting soil
- 1 small herb seedling
- Tap water
How to Make It
- Cut the plastic soda bottle in half horizontally with a utility knife, approximately 5 inches from the base.
- Poke a 1/4-inch hole through the center of the plastic bottle cap using the tip of the utility knife.
- Thread the cotton yarn through the bottle cap hole, leaving 4 inches hanging below and the remainder knotted inside the cap.
- Screw the cap back onto the inverted top half of the bottle and nest it upside down inside the bottom base half.
- Fill the top funnel with potting soil and plant your seedling, then pour 2 cups of water into the bottom reservoir so the wick hangs submerged.


10. Nail Polish Marbled Planter
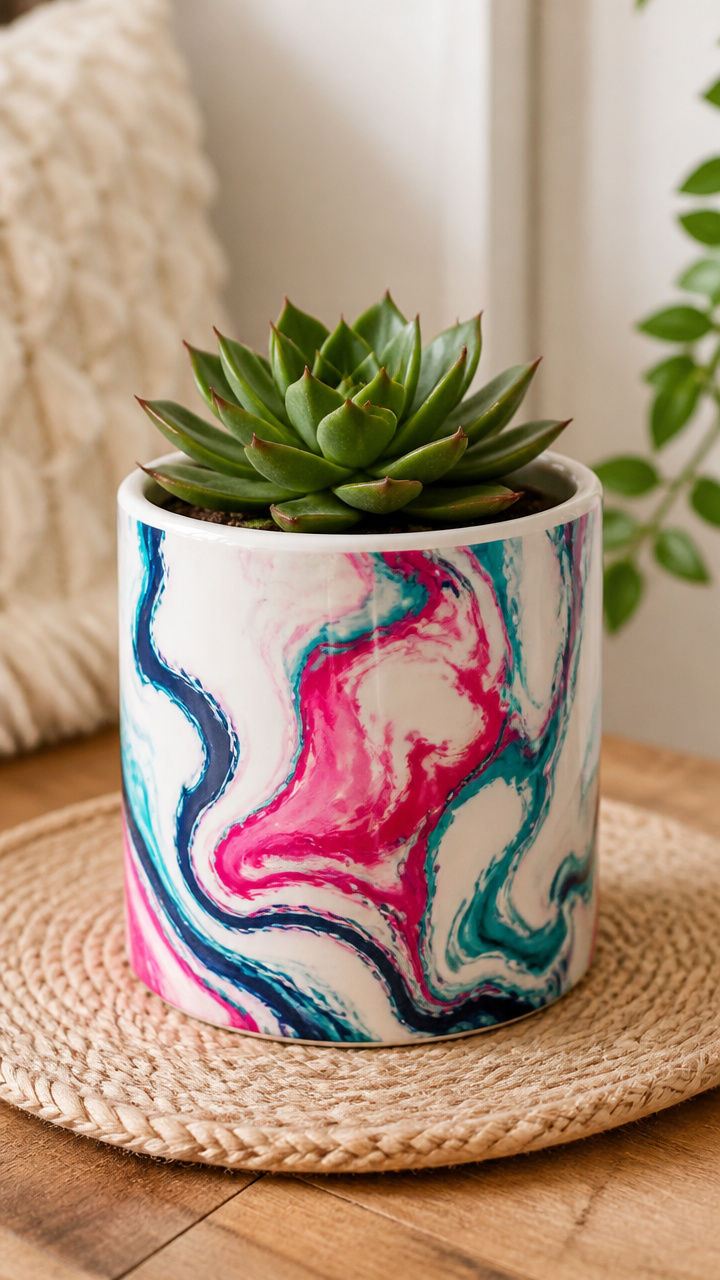
Swirling vibrant enamel colors across plain ceramic produces one-of-a-kind abstract patterns for your windowsills. Quick water surface marbling bonds fast and resists water drips.
Materials Needed
- 1 small white ceramic cylinder planter (4-inch)
- 2 contrasting bottles glossy nail polish (0.5 oz each)
- 1 plastic dish tub filled with 3 inches of room-temperature water
- 1 wooden toothpick
- 1 can clear gloss exterior spray varnish
How to Make It
- Drizzle 10 to 15 drops of each nail polish color directly onto the surface of the room-temperature water in quick succession.
- Swirl the floating polish gently with a wooden toothpick for 3 seconds to create a marbled pattern.
- Dip the sides of the white ceramic planter slowly into the floating film of paint, rolling the pot to transfer the color pattern.
- Lift the pot straight out of the water and place it upside down on paper towels to dry for 2 hours.
- Seal the painted surface with a light coat of clear gloss exterior spray varnish to protect the marbled finish from outdoor weathering.


11. Cracked Glass Marble Suncatcher
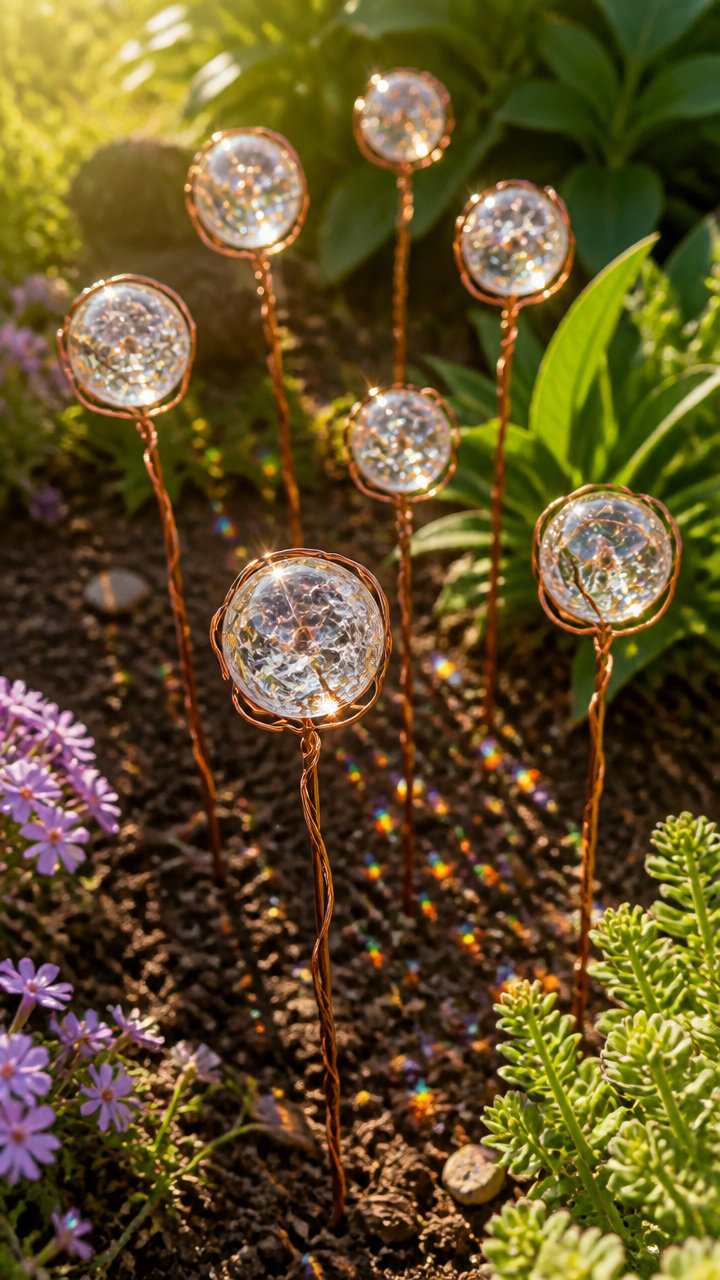
Heat-fractured glass spheres catch direct sunlight and cast shimmering rainbows throughout your garden beds. Copper wire wrapping holds the cracked marbles secure while giving each stake an artisan feel.
Materials Needed
- 1 bag clear round glass play marbles (approx. 20 count)
- 1 roll 20-gauge copper craft wire (15 feet)
- 1 pair round-nose jewelry pliers
- 1 pair wire cutters
- 1 metal baking sheet
- 1 large bowl filled with cold water and ice cubes
How to Make It
- Place the glass marbles on a metal baking sheet and bake them in your oven at 400 degrees Fahrenheit for 20 minutes.
- Transfer the hot marbles immediately into the bowl of ice water using a metal slotted spoon to create intricate internal cracks without breaking the outer surface.
- Cut a 12-inch piece of 20-gauge copper wire using wire cutters.
- Wrap the copper wire tightly around one cracked marble using round-nose pliers, creating a cage-like spiral that secures the marble in place.
- Twist the excess wire into a 4-inch spiral stem to hang from branches or attach to wooden plant stakes.

12. Painted Metal Bowl Mushrooms
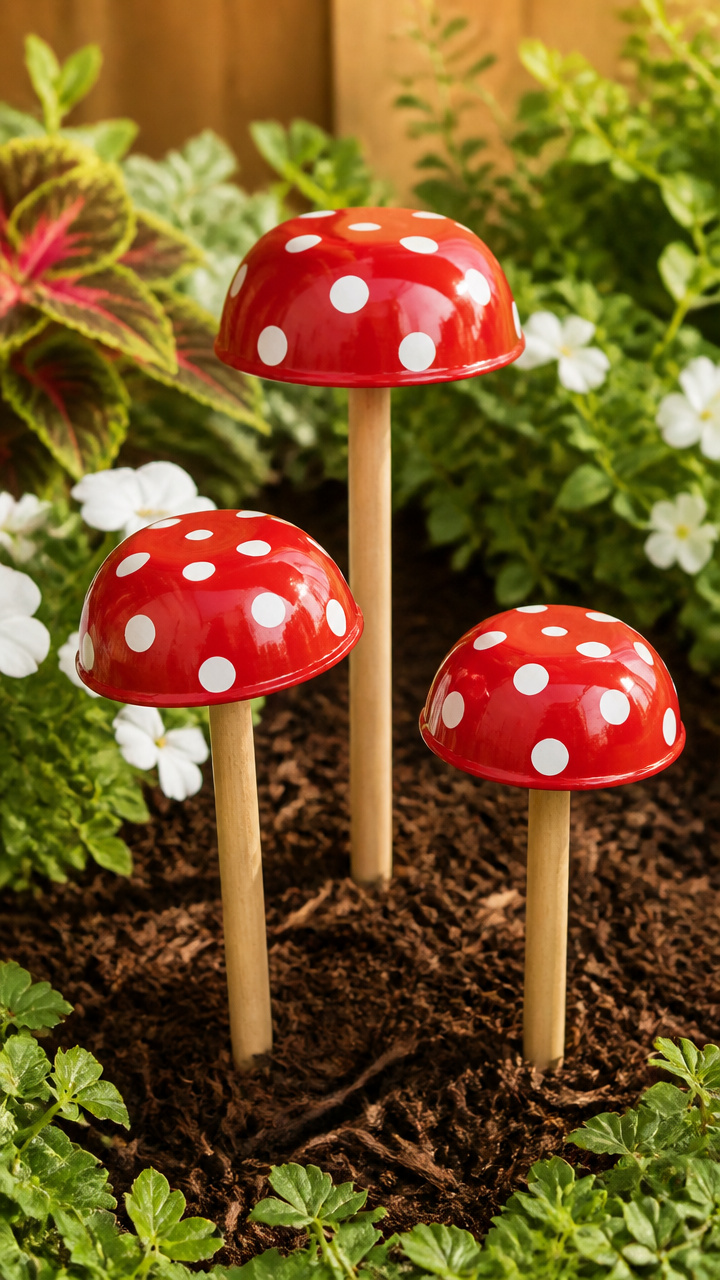
Bright spotted toadstools crafted from inverted metal mixing bowls add playful folklore charm along garden borders. Sturdy wooden stakes keep these durable yard accents upright through heavy winds.
Materials Needed
- 2 stainless steel mixing bowls (6-inch and 8-inch)
- 2 wooden garden stakes (18 inches long)
- 1 can glossy red spray paint (12 oz)
- 1 pack white round vinyl sticker dots (0.75-inch)
- 1 tube E6000 industrial craft adhesive
How to Make It
- Spray the exterior of both metal bowls with two coats of glossy red spray paint, letting them dry for 1 hour.
- Apply white round vinyl sticker dots across the painted curved surface of each bowl to mimic classic fly agaric toadstool spots.
- Apply a thick bead of E6000 adhesive to the flat top end of each wooden garden stake.
- Press the glued end of each stake firmly against the inside center of each inverted bowl and allow the glue to cure for 24 hours.
- Push the pointed ends of the wooden stakes 6 inches into garden soil near shrubs or pathways.


13. Terracotta Saucer Bird Feeder
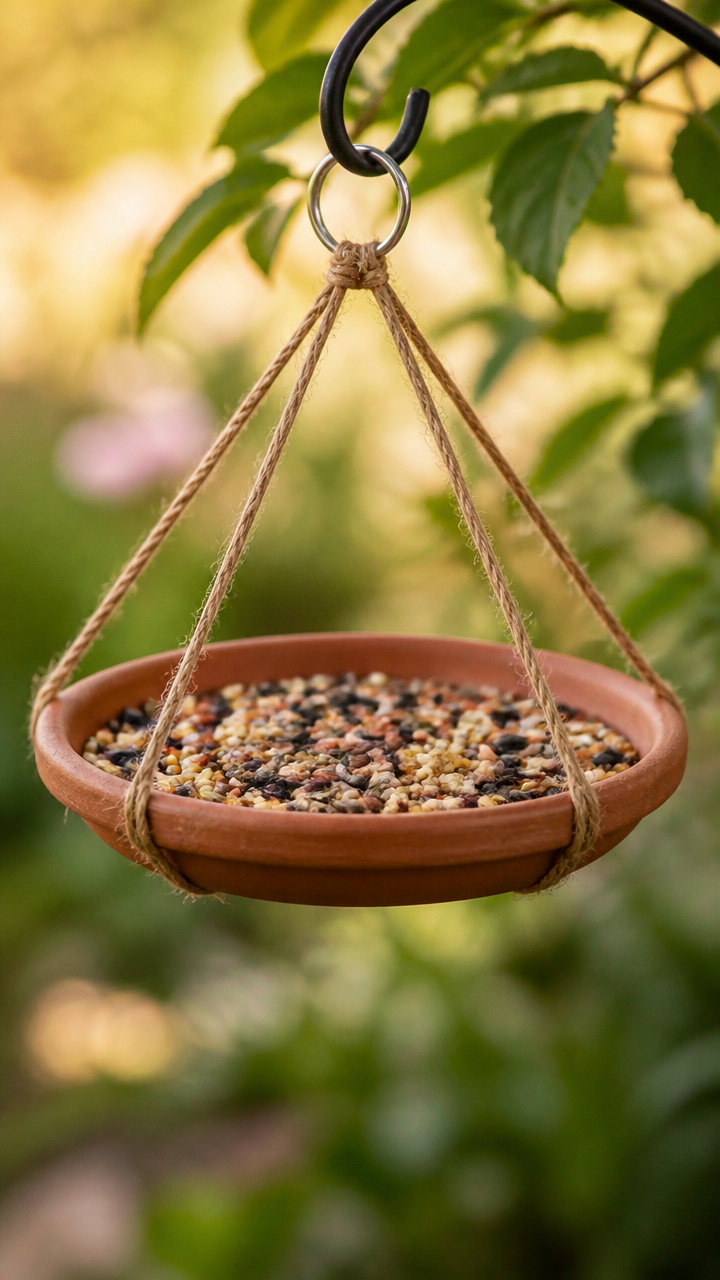
Suspended clay saucers provide a clean, shallow feeding tray that lets wild birds perch and dine comfortably. Hanging design keeps seeds raised off the ground away from neighborhood pets and crawling pests.
Materials Needed
- 1 unglazed terracotta flowerpot saucer (10-inch)
- 1 roll 3-ply natural jute macrame twine (50 feet)
- 1 metal split key ring (1.5-inch)
- 1 pair scissors
- 2 cups mixed wild bird seed
How to Make It
- Cut eight 5-foot strands of jute twine and gather them together, knotting them firmly through the metal split key ring.
- Separate the strands into four pairs and tie simple square knots 12 inches down from the key ring.
- Tie adjacent strands together 4 inches below the first row of knots to create a supportive crisscross net basket.
- Place the terracotta saucer flat into the bottom center of the woven twine cradle, tying a final large knot directly under the saucer base.
- Hang the feeder from a tree branch by the top key ring and fill the shallow saucer with wild bird seed.


14. Frosted Solar Mason Jar
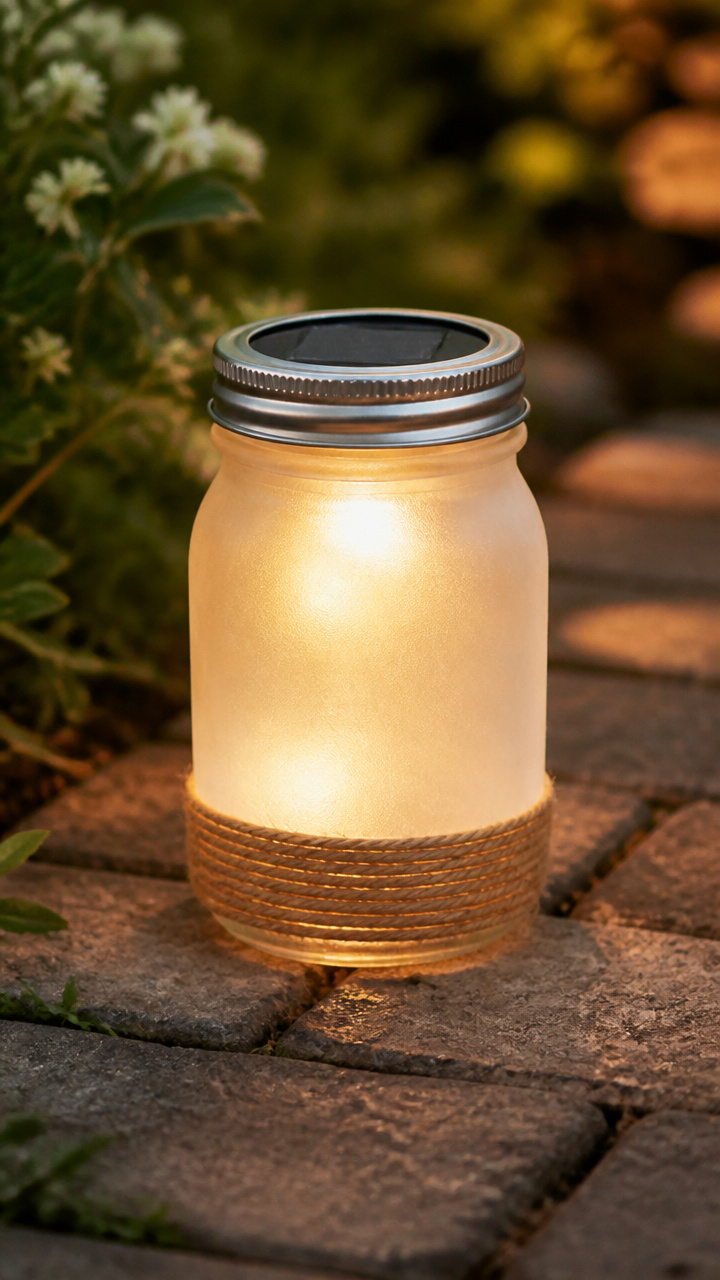
Diffused glass containers topped with solar caps cast a gentle ambient glow along pathways and garden steps. Frosted glass hides the internal battery housing while maximizing light dispersion.
Materials Needed
- 1 clear glass canning jar with metal lid ring (16 oz)
- 1 solar path light
- 1 can semi-translucent frosted glass spray paint (11 oz)
- 1 tube waterproof clear silicone sealant
- 1 roll jute twine (10 feet)
How to Make It
- Spray the outside of the clean glass jar with two even coats of frosted glass spray paint, waiting 10 minutes between coats.
- Pull the solar top assembly off the plastic path light stake.
- Apply a ring of waterproof clear silicone sealant around the inner edge of the jar's metal lid band.
- Press the solar light mechanism firmly into the metal lid ring so the solar cell faces upward through the open center, letting it cure for 4 hours.
- Screw the solar lid onto the frosted jar and wrap jute twine around the neck to form a decorative hanging loop.


15. Geometric Bamboo Garden Trellis
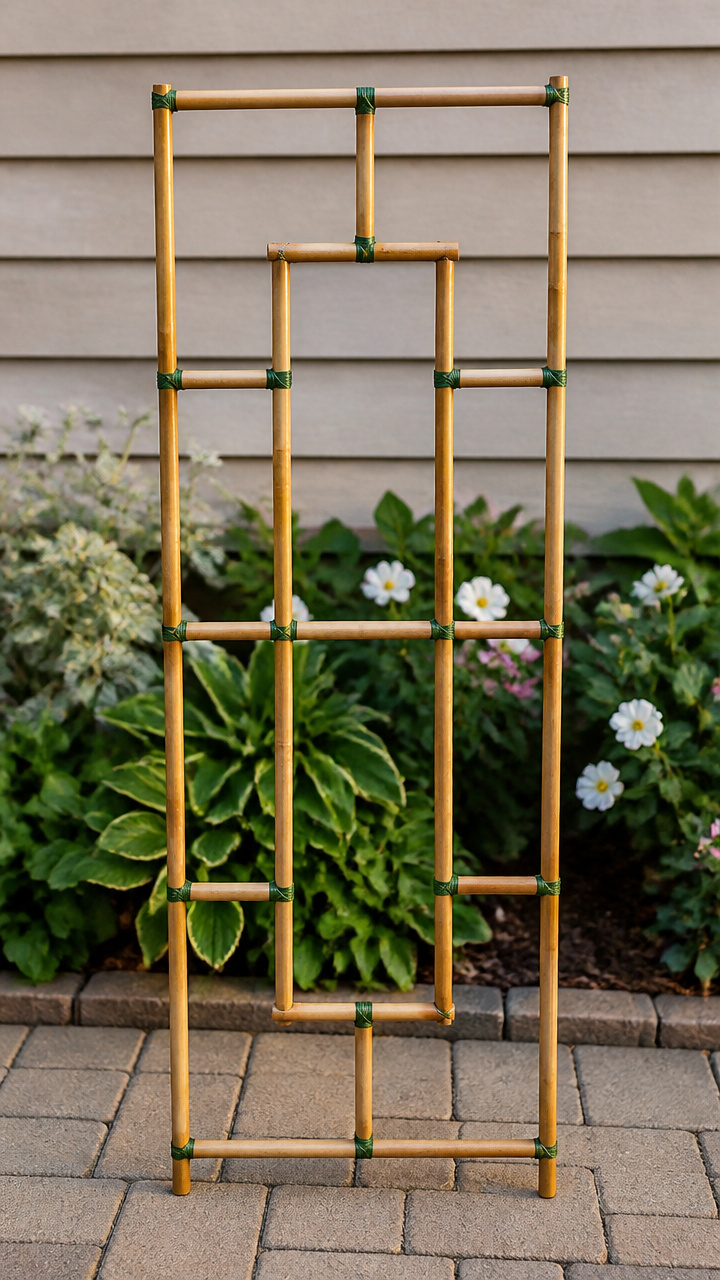
Interlocking natural bamboo poles support heavy climbing peas, beans, and flowering clematis vines. Custom grid spacing allows you to size the trellis perfectly for any raised bed or patio pot.
Materials Needed
- 6 natural bamboo garden stakes (4 feet long, 0.5-inch thick)
- 1 roll green plastic-coated wire (50 feet)
- 1 pair wire cutters
- 1 tape measure
How to Make It
- Lay two bamboo stakes parallel on a flat surface, spaced 14 inches apart, to serve as the vertical uprights.
- Place the remaining four bamboo stakes horizontally across the two uprights, spacing them 10 inches apart from top to bottom.
- Cut eight 6-inch pieces of plastic-coated wire using wire cutters.
- Wrap a wire piece diagonally around each intersecting bamboo joint, twisting the ends tightly in the back with pliers to lock the framework.
- Press the bottom 8 inches of the vertical bamboo stakes into your garden bed soil directly behind your climbing plants.


Creating custom accents for your garden is simple when you look at budget store items with a creative eye. Grab your glue, pick a sunny afternoon, and start building these practical pieces for your patio and flowerbeds today.