15 DIY Valentine’s Day Heart Crafts for Adults

Soft red felt hearts tucked into a jar, painted tiles catching candlelight, embossed cards with delicate folds — handmade details like these carry more meaning than anything store-bought. They say you took the time, you thought of them, you made it just for them.
These crafts blend thoughtful design with satisfying making. Each one is chosen to suit different skills and spaces, from quick kitchen-table projects to weekend creations that become keepsakes.
1. Felted Wool Heart Ornaments
Easy
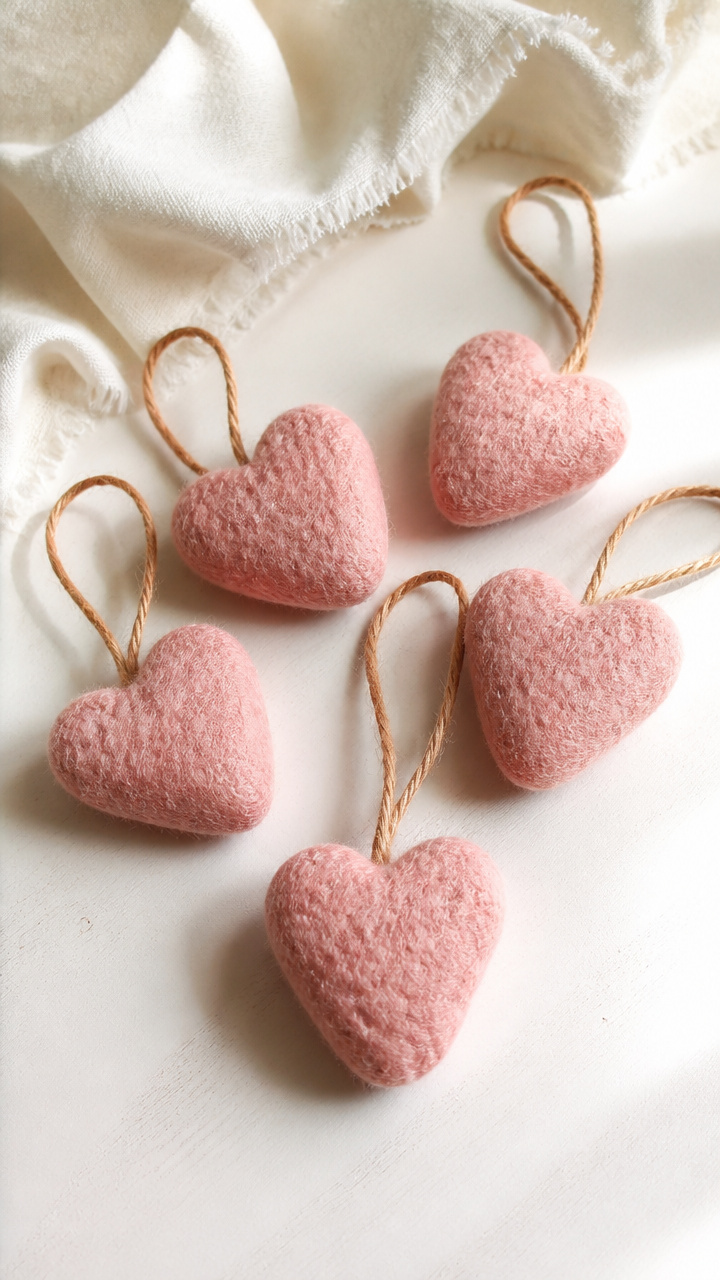
Tiny wool hearts with a soft, nubby texture hang beautifully on a tree or from a doorknob. Their compact size makes them perfect for gifting in sets.
Materials Needed
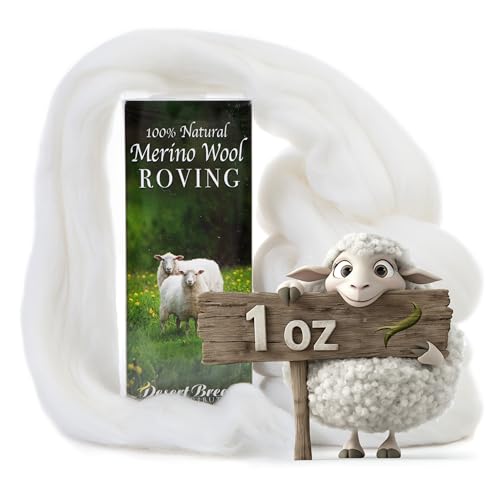
- Pink merino wool roving, 10 grams
- Small bowl of warm soapy water
- Bubble wrap, 12×12 inches
- Plastic mesh sheet, 6×6 inches
- Rubber bands, 2
- Twine, 12 inches
How to Make It
- Pull off a piece of pink merino wool roving about the size of a golf ball and shape it into a loose heart.
- Place the heart on the plastic mesh sheet, cover with bubble wrap, and secure with rubber bands.
- Pour warm soapy water over the bundle and rub firmly with your palm for 3 minutes, checking occasionally to shape the heart as it firms up.
- Rinse under cool water, reshape if needed, and let dry completely on a towel overnight.
- Tie twine around the top to create a loop for hanging.


2. Pressed Flower Resin Pendants
Moderate
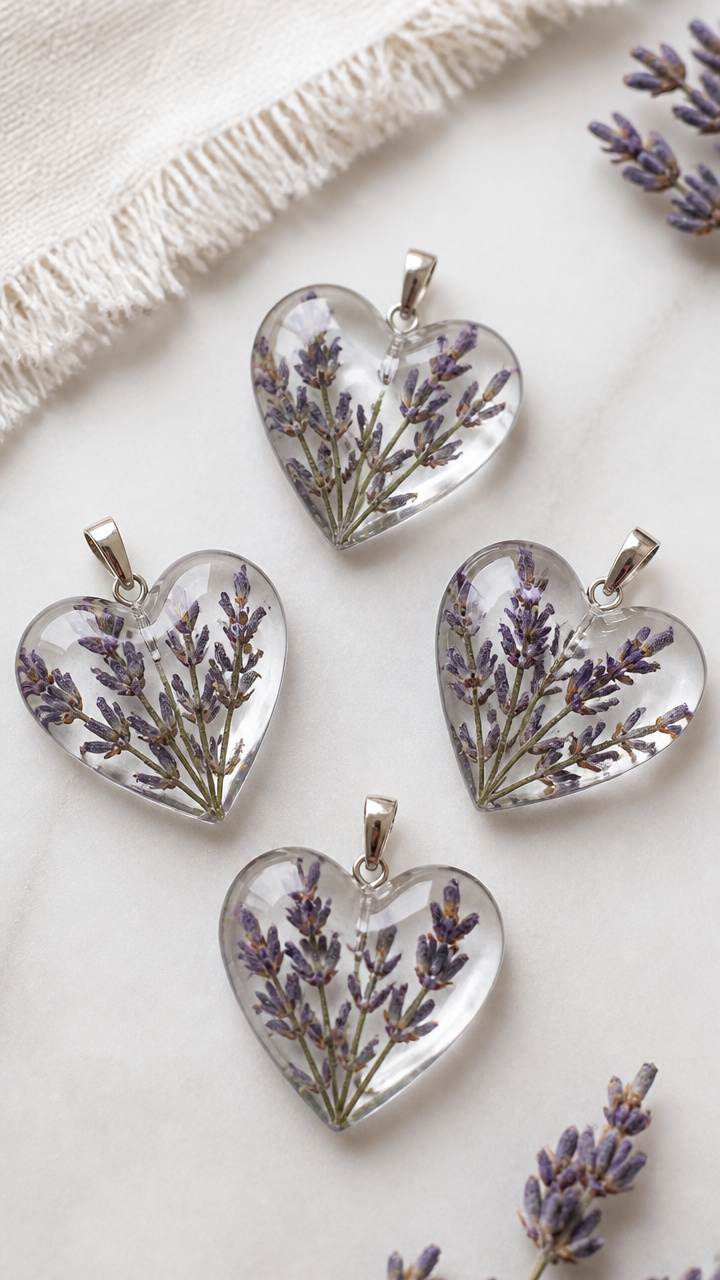
Delicate blooms suspended in glossy resin catch light like tiny stained-glass windows. These pendants become wearable mementos of a shared season or garden.
Materials Needed
- Silicone pendant molds, 30mm heart-shaped, 4 pieces
- Epoxy resin kit, 30ml total volume
- Dried lavender sprigs, 8 small stems
- Toothpicks, 3
- Jewelry bail, 4
- Fine-grit sandpaper, 600 grit
How to Make It
- Mix epoxy resin according to package instructions and pour a thin layer into each silicone mold, filling about one-third full.
- Place one dried lavender sprig into each mold and use a toothpick to position it gently in the center.
- Slowly pour more resin to fill each mold to the top, tapping lightly to release air bubbles.
- Let cure at room temperature for 24 hours until fully hard.
- Pop out the pendants, lightly sand any rough edges with fine-grit sandpaper, and attach a jewelry bail to the top with adhesive.


3. Embroidered Linen Heart Sachets
Moderate
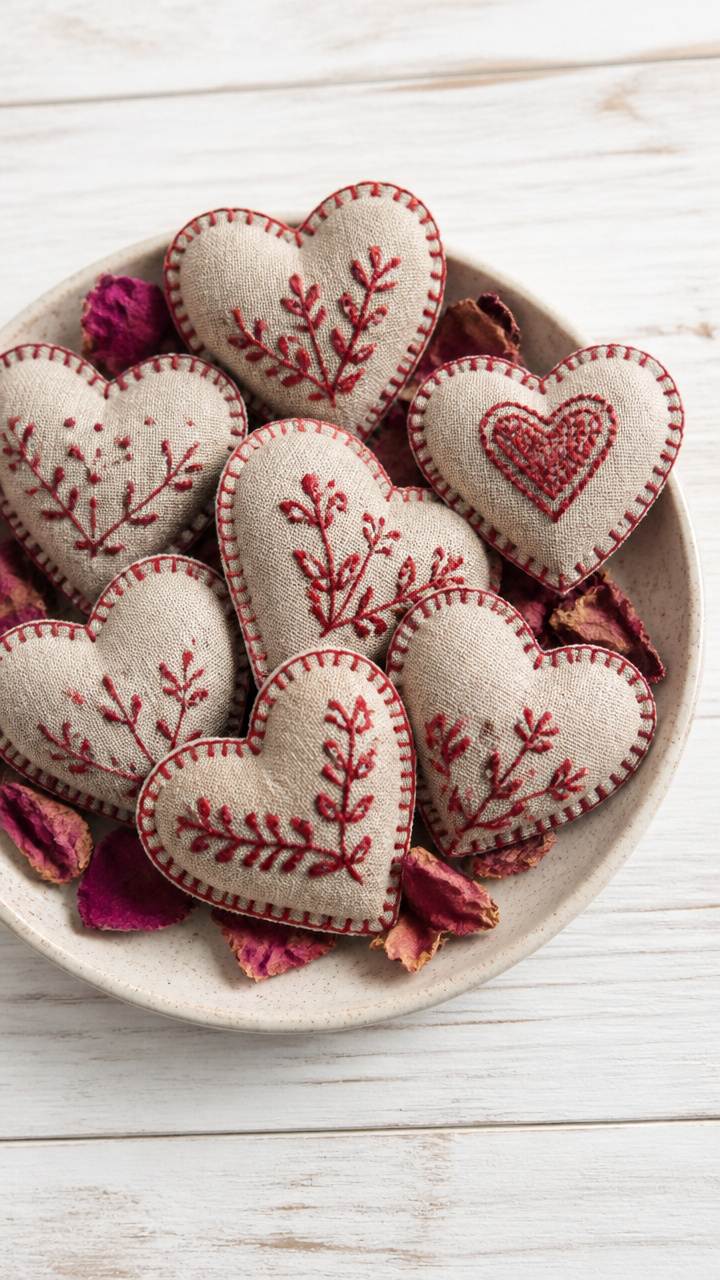
Stitched linen pouches filled with dried rose petals release a subtle scent when tucked into a drawer. The hand-stitching adds quiet luxury to everyday spaces.
Materials Needed
- Natural linen fabric, 8×8 inch square
- Embroidery floss, deep crimson, 2 strands
- Embroidery needle, size 7
- Scissors
- Dried rose petals, 1/4 cup
- Sewing thread, matching linen color
- Straight pins
How to Make It
- Cut two identical 4-inch heart shapes from the linen fabric using scissors.
- Use backstitch with crimson embroidery floss to outline a heart on one piece, stitching 1/2 inch from the edge.
- Place the two hearts together with right sides facing and pin around the edge.
- Sew around the perimeter with small running stitches, leaving a 2-inch gap for filling.
- Turn right side out, stuff with dried rose petals, then sew the opening closed with a whipstitch.


4. Copper Wire Heart Sculptures
Moderate
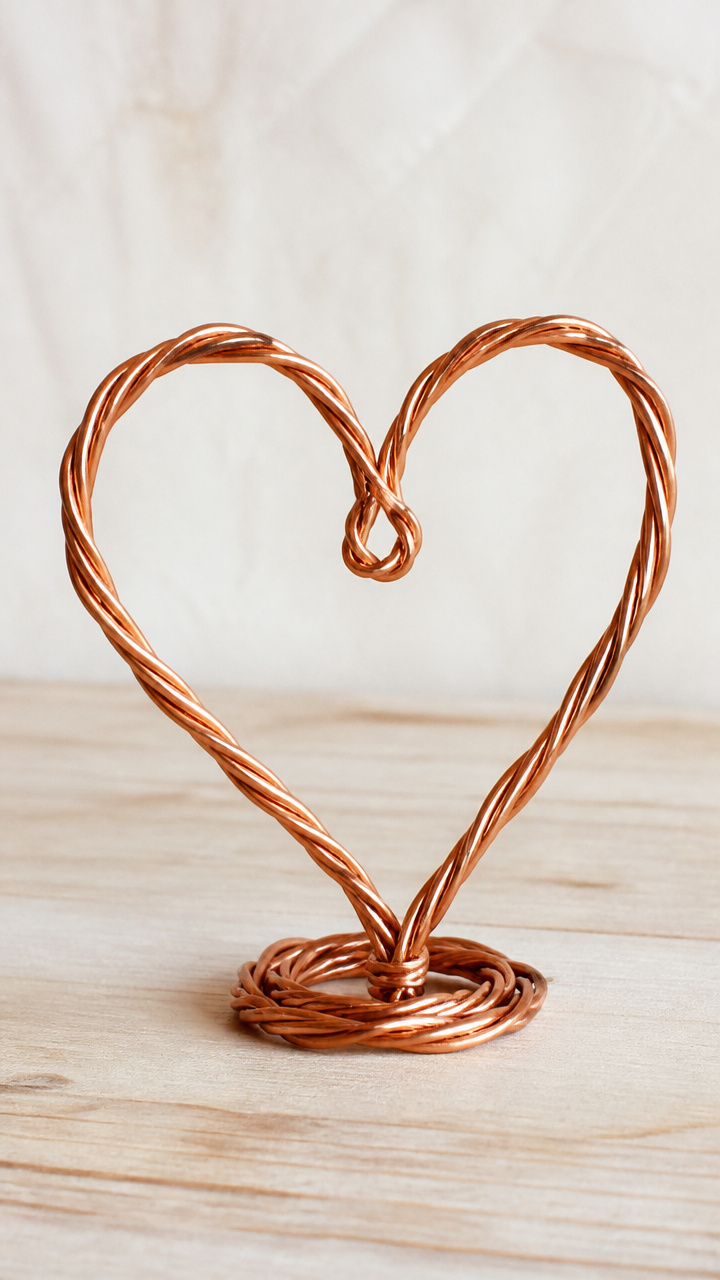
Twisted copper wire forms sculptural hearts that stand on a shelf or desk. Their reflective surface warms up modern rooms with handmade glow.
Materials Needed
- 16-gauge copper wire, 24 inches long
- Round-nose pliers
- Chain-nose pliers
- Wire cutters
- Soft cloth
How to Make It
- Use round-nose pliers to curl one end of the copper wire into a small spiral, about 1/2 inch wide.
- Bend the wire downward to form the left curve of the heart, shaping it loosely with your fingers.
- Cross the wire through the center and form the right curve symmetrically, mirroring the left side.
- Bring both ends together at the bottom point and twist them tightly for 1 inch to secure.
- Use chain-nose pliers to adjust curves and smooth sharp ends, then buff lightly with a soft cloth.


5. Watercolor Tile Coasters
Easy
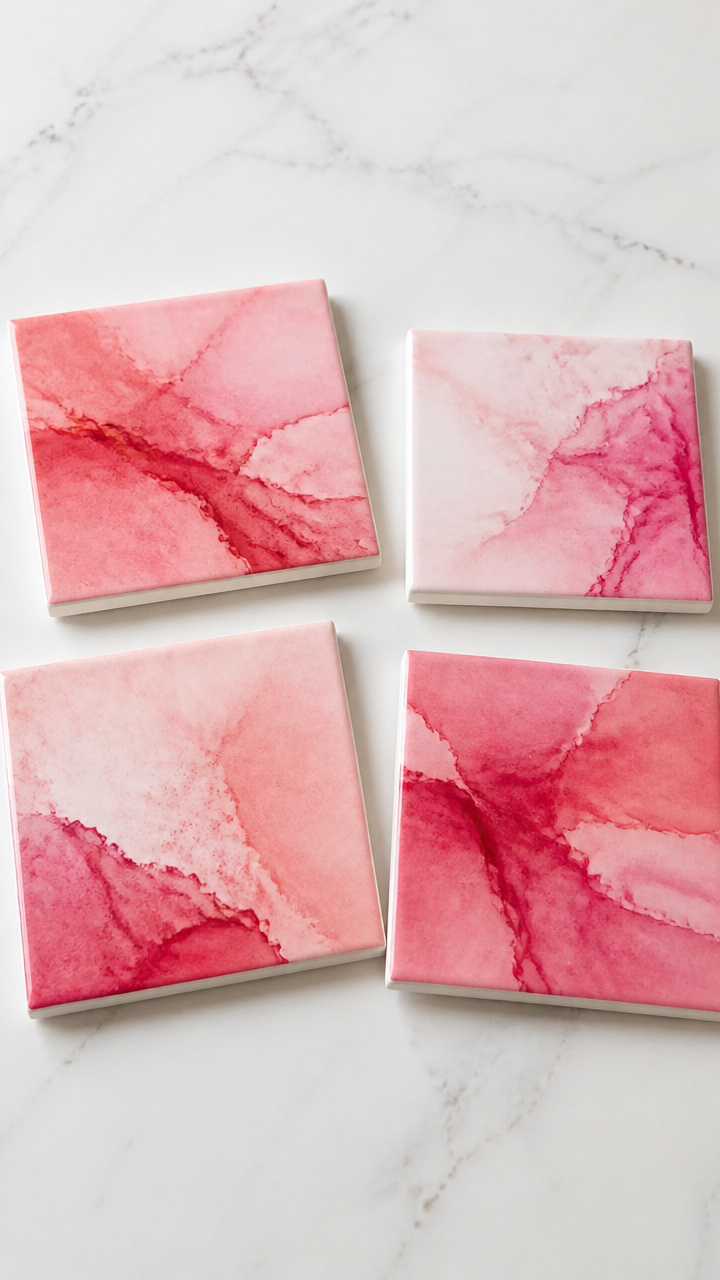
Hand-painted ceramic tiles turn into elegant coasters with soft washes of red and blush. They protect surfaces while adding artful charm.
Materials Needed
- Plain ceramic tiles, 4×4 inches, 4 pieces
- Red and pink watercolor paints
- Round watercolor brush, size 6
- Small water container
- Pencil
- Clear sealant spray, matte finish
- Felt pads, 4, self-adhesive
How to Make It
- Sketch a small heart lightly in pencil near the corner of each tile.
- Use the brush to apply diluted red watercolor inside the heart, letting it bleed slightly beyond the line.
- Add a touch of pink at the center and let water move the pigment naturally.
- Let dry completely for 2 hours, then apply two light coats of matte sealant, waiting 15 minutes between coats.
- Stick one felt pad to each corner on the back of every tile.


6. Leather Cord Bracelet with Charm
Easy
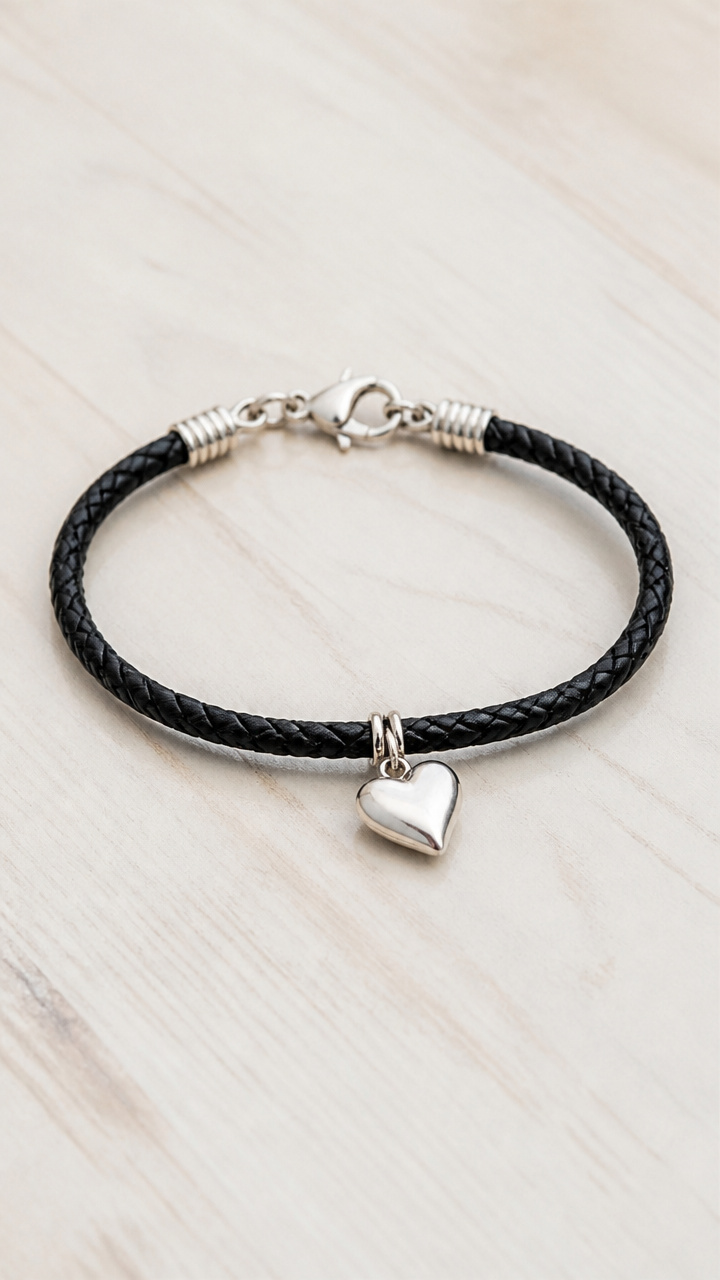
A braided leather cord wraps snugly around the wrist, anchored by a tiny metal heart. It’s rugged yet tender, ideal for someone who likes understated style.
Materials Needed
- Black leather cord, 3mm thickness, 36 inches
- Sterling silver heart charm, 10mm
- Lobster clasp, 6mm
- Jump ring, 5mm
- Scissors
- Lighter
How to Make It
- Cut the leather cord into three equal 12-inch strands and tie a knot at one end.
- Braid the three strands tightly for 8 inches, keeping tension even.
- Slide the jump ring through the charm, then attach it to the lobster clasp.
- Attach the clasp to one end of the braid using the jump ring.
- Melt the ends of the braid lightly with a lighter to prevent fraying, then knot the other end to secure.


7. Marbled Nail Polish Bookmarks
Moderate
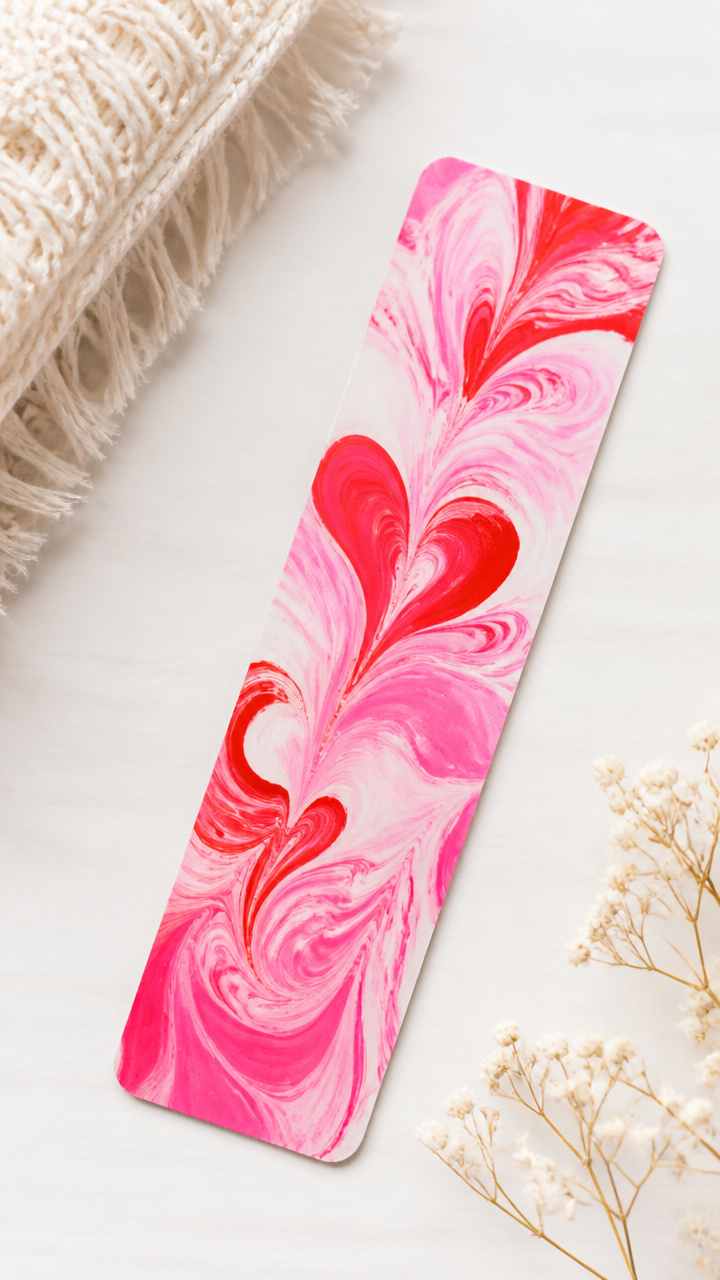
Swirled nail polish patterns float across stiff cardstock, creating fluid designs that shift with every glance. These bookmarks feel luxurious in hand.
Materials Needed
- White cardstock, 2×6 inches, 4 pieces
- Red, pink, and clear nail polish, one bottle each
- Shallow tray, 9×7 inches
- Water
- Toothpicks, 3
- Paper towels
- Hole punch
- Ribbon, 12 inches, satin
How to Make It
- Fill the tray with 1 inch of water.
- Drop one drop each of red, pink, and clear nail polish onto the water surface, spacing them apart.
- Drag a toothpick through the drops in zigzag lines to create swirls.
- Slowly dip one cardstock piece at a time into the water, letting it pass under the polish layer, then lift out immediately.
- Lay flat on paper towels to dry for 10 minutes, then punch a hole at the top and thread with ribbon.
8. Clay Heart Trinket Dish
Easy
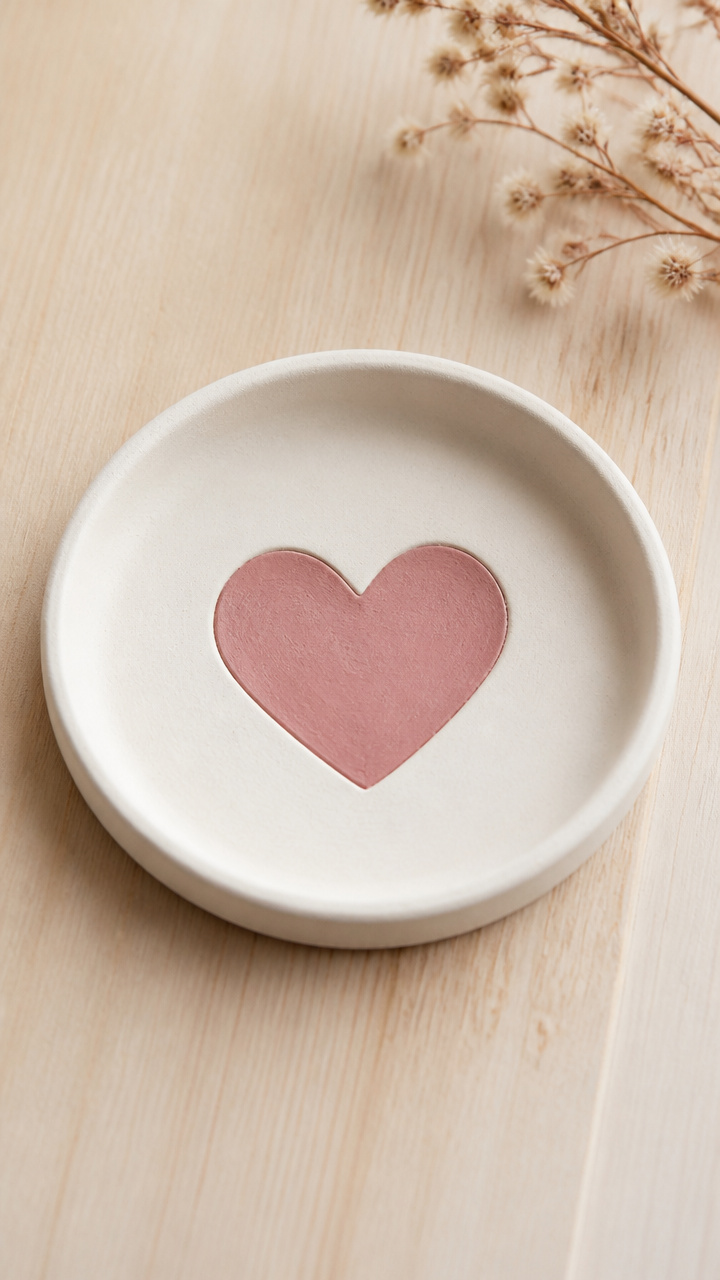
Smooth air-dry clay shaped into a shallow dish holds rings or trinkets by the bed. Its clean curve and matte finish feel quietly intimate.
Materials Needed
- White air-dry clay, 4 oz block
- Rolling pin
- Circular cookie cutter, 4 inches
- Heart-shaped cookie cutter, 2 inches
- Sandpaper, 220 grit
- Acrylic paint, dusty rose
- Paintbrush, flat 1/2 inch
- Varnish, satin finish
How to Make It
- Roll the clay to 1/4 inch thickness using the rolling pin.
- Cut a 4-inch circle with the circular cutter and place it on a flat surface.
- Press the 2-inch heart cutter halfway into the center of the circle, just deep enough to score the outline.
- Gently press around the scored line with your thumbs to form a shallow inward curve.
- Let dry for 24 hours, sand edges smooth, paint with dusty rose acrylic, let dry, then seal with one coat of satin varnish.


9. Cross-Stitch Heart Wall Art
Moderate
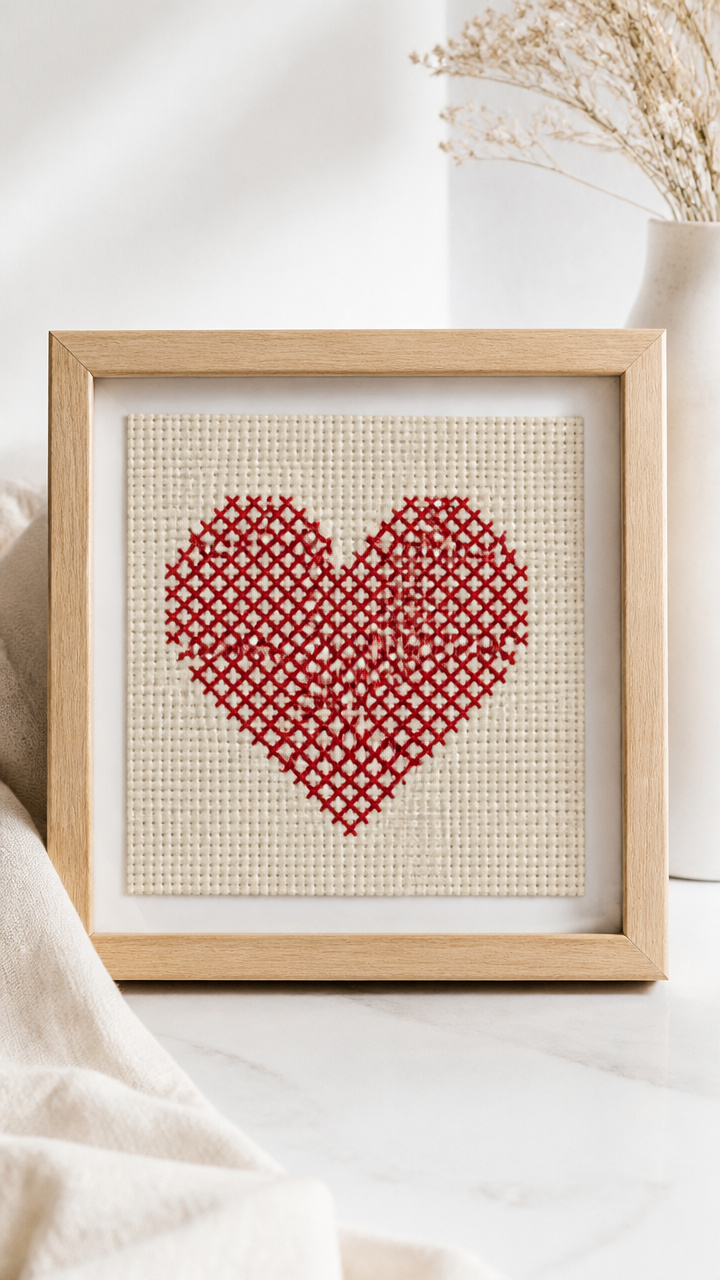
A minimalist red heart stitched on beige linen becomes bold when framed large. The crisp X pattern draws the eye without clutter.
Materials Needed
- Aida cloth, 14-count, beige, 8×8 inches
- Embroidery hoop, 6 inches
- Red embroidery floss, 1 skein
- Embroidery needle, size 24
- Scissors
- Frame, 8×8 inches with glass
How to Make It
- Center the Aida cloth in the embroidery hoop and tighten the screw.
- Thread the needle with 2 strands of red floss and knot the end.
- Stitch a solid 10×10 grid of cross-stitches in the center to form a pixel-style heart.
- Keep stitches even and pull taut but not tight.
- Remove from hoop, trim excess fabric to 1 inch border, and mount in the frame behind glass.


10. Salt Dough Heart Ornaments
Easy
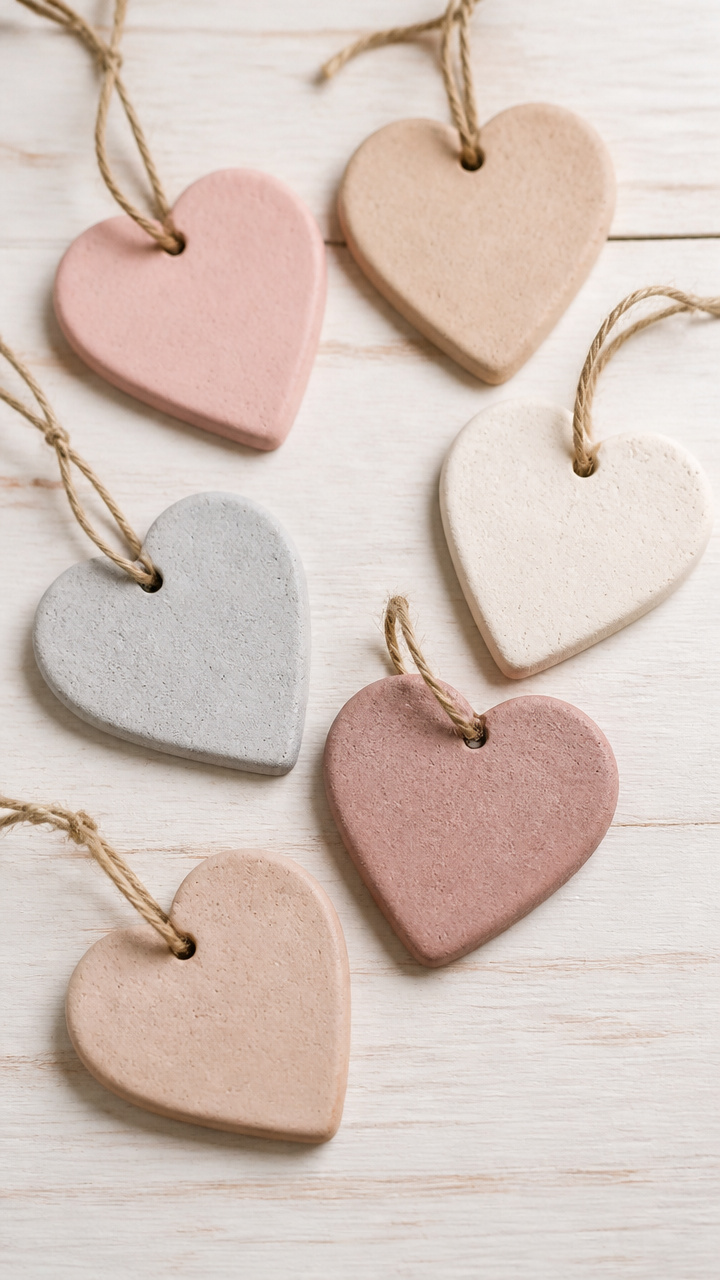
Simple dough shaped by hand bakes into rustic keepsakes that last for years. Kids can help, but the result feels grown-up when painted and hung.
Materials Needed
- All-purpose flour, 1 cup
- Table salt, 1/2 cup
- Water, 1/2 cup
- Mixing bowl
- Wooden spoon
- Heart-shaped cookie cutter, 3 inches
- Straw
- Baking sheet
- Parchment paper
- Acrylic paint, burgundy
- Paintbrush, small round
- Ribbon, 8 inches
How to Make It
- Mix flour, salt, and water in a bowl with a wooden spoon until a smooth dough forms.
- Roll to 1/4 inch thick and cut out hearts with the cookie cutter.
- Push a straw through the top edge of each to make a hanging hole.
- Place on a parchment-lined baking sheet and bake at 200°F for 3 hours until hard and dry.
- Paint each ornament with burgundy acrylic, let dry, then thread ribbon through the hole.


11. Beeswax Heart Candles
Easy
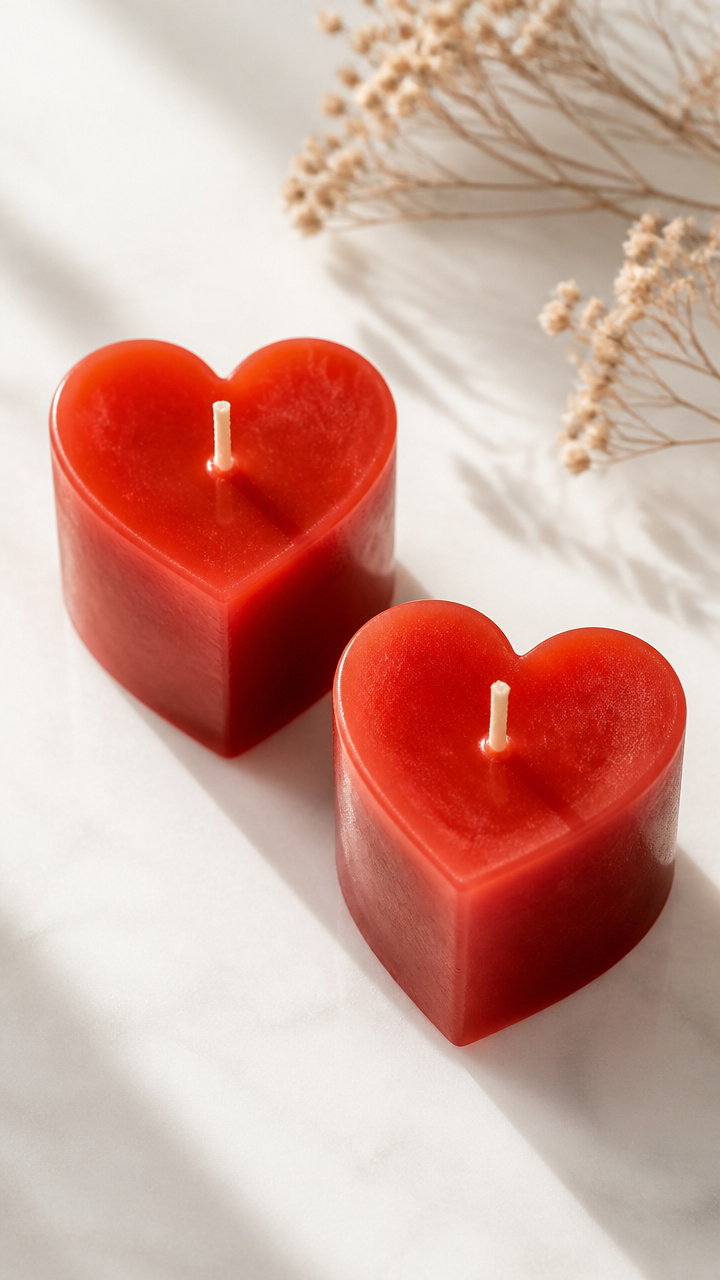
Thin sheets of beeswax roll into tapered candles with a natural honey scent. Their golden glow feels warm and grounding.
Materials Needed
- Beeswax sheets, red, 6×10 inches, 2 pieces
- Cotton wicks, 8 inches, 2
- Ruler
- Scissors
- Pencil
How to Make It
- Lay one beeswax sheet flat on a table with the smooth side down.
- Place a wick vertically along one short edge, centered.
- Starting from the wick edge, roll the sheet tightly toward the opposite edge.
- Press the seam gently to seal, using body warmth if needed.
- Repeat with the second sheet and wick.


12. Origami Heart String Lights
Moderate
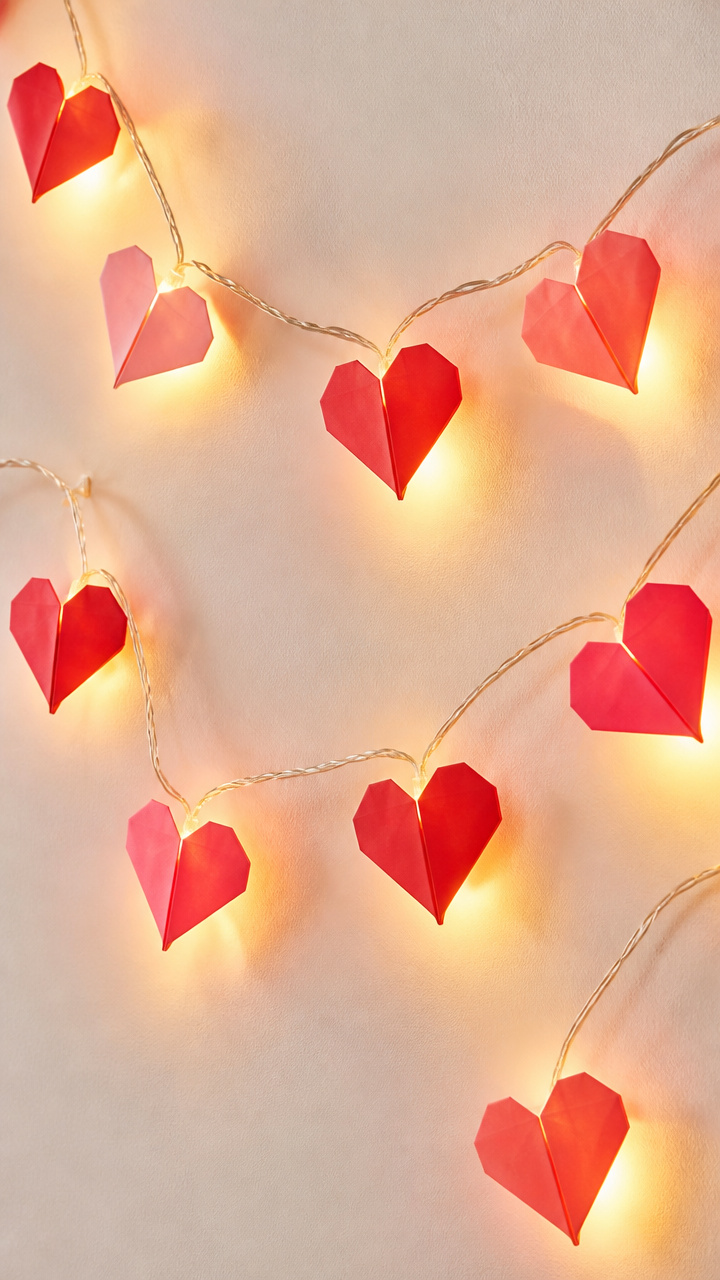
Folded paper hearts dangle from a string like tiny lanterns, glowing softly when lit from within. They turn any wall into a personal gallery.
Materials Needed
- Origami paper, 6×6 inches, red and pink, 10 sheets
- Mini LED string lights, 10 bulbs, battery-powered
- Double-sided tape, 1/8 inch wide
- Craft knife
- Ruler
How to Make It
- Fold each origami paper into a traditional heart using valley and mountain folds.
- Measure 6 inches between each bulb on the string lights and mark with a pencil.
- Cut small slits on the top fold of each heart with the craft knife.
- Slide each heart onto the string at the marked points, securing with a dot of double-sided tape on the back.
- Turn on the lights and hang where shadows cast soft shapes.


13. Vintage Map Heart Shadow Box
Advanced
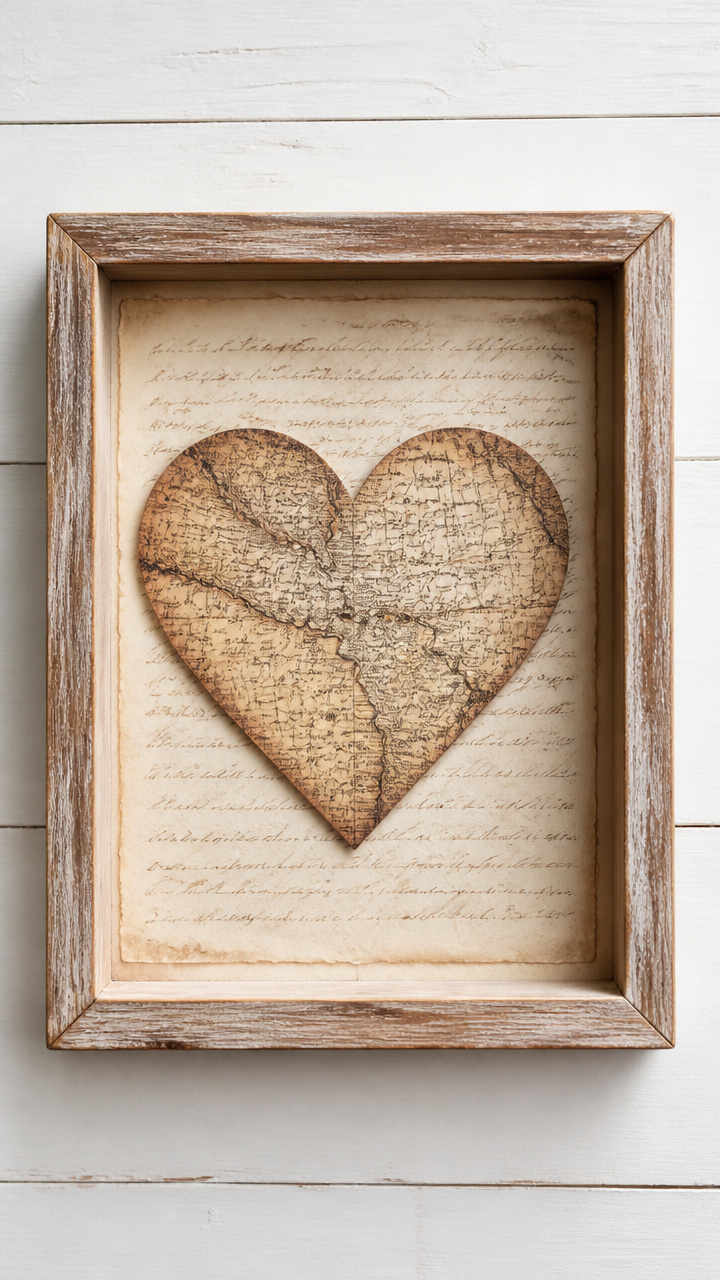
A heart cut from an old atlas fits into a deep frame, layered with handwritten notes. It’s a quiet tribute to places you’ve been together.
Materials Needed
- Antique world map page, 8×10 inches
- Cardboard, 1/8 inch thick, 8×10 inches
- X-Acto knife
- Cutting mat
- Pencil
- Shadow box frame, 8×10 inches with depth
- Glue stick
- Handwritten note on rice paper, 3×3 inches
How to Make It
- Draw a heart shape on the cardboard using a pencil and trace it onto the map page.
- Cut out both shapes carefully with the X-Acto knife on the cutting mat.
- Glue the map heart to the cardboard backing with the glue stick.
- Layer the rice paper note slightly off-center on top and press flat.
- Let dry for 30 minutes, then place in the shadow box frame and close the back.


14. Knitted Heart Keychain
Moderate
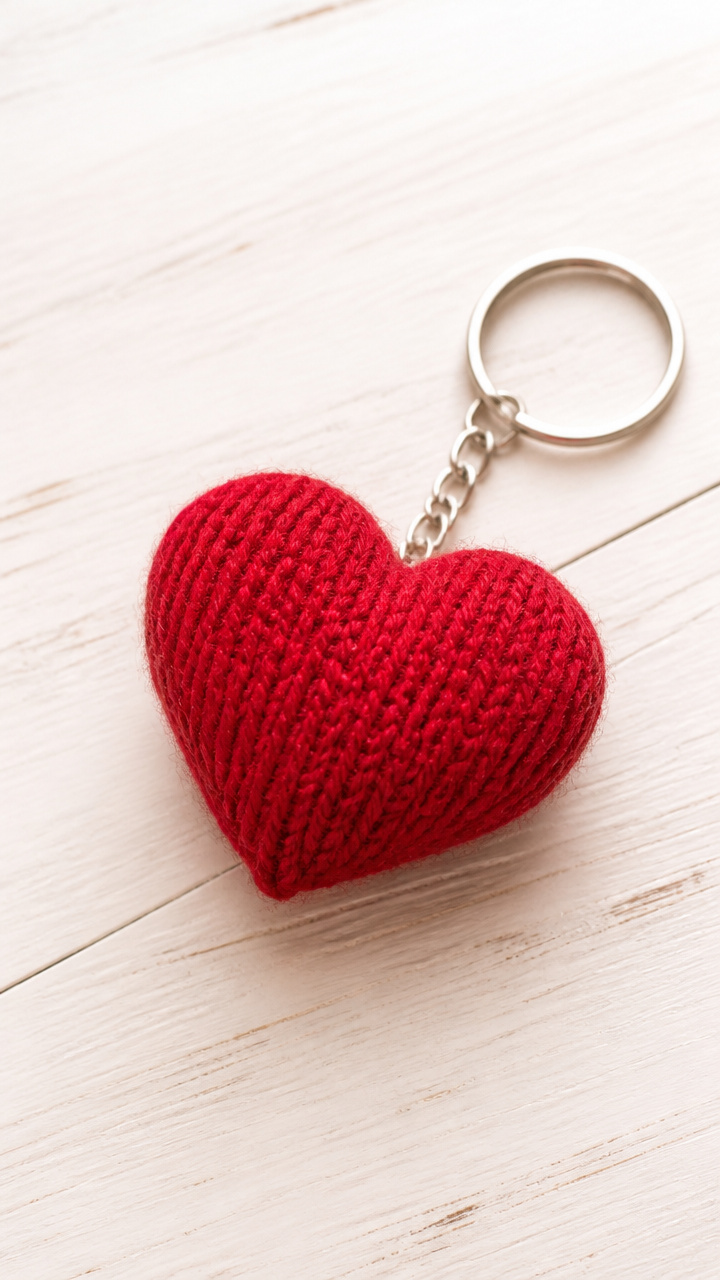
A plush red heart knitted in the round fits in a palm and jingles lightly on a keyring. The soft texture invites touch.
Materials Needed
- Red worsted weight yarn, 20 yards
- Set of 4 double-pointed knitting needles, size 6
- Stitch marker
- Yarn needle
- Keyring, 1 inch diameter
- Polyester stuffing, 1/4 cup
How to Make It
- Cast on 12 stitches and distribute evenly across three needles, joining in the round with a stitch marker.
- Knit 6 rounds in stockinette stitch.
- Increase on the next round by knitting into the front and back of each stitch (24 stitches).
- Knit 8 more rounds, then stuff lightly with polyester filling.
- Bind off, weave in the end with a yarn needle, and slide the keyring through the top loop.


15. Gold-Leaf Picture Frame Accent
Advanced
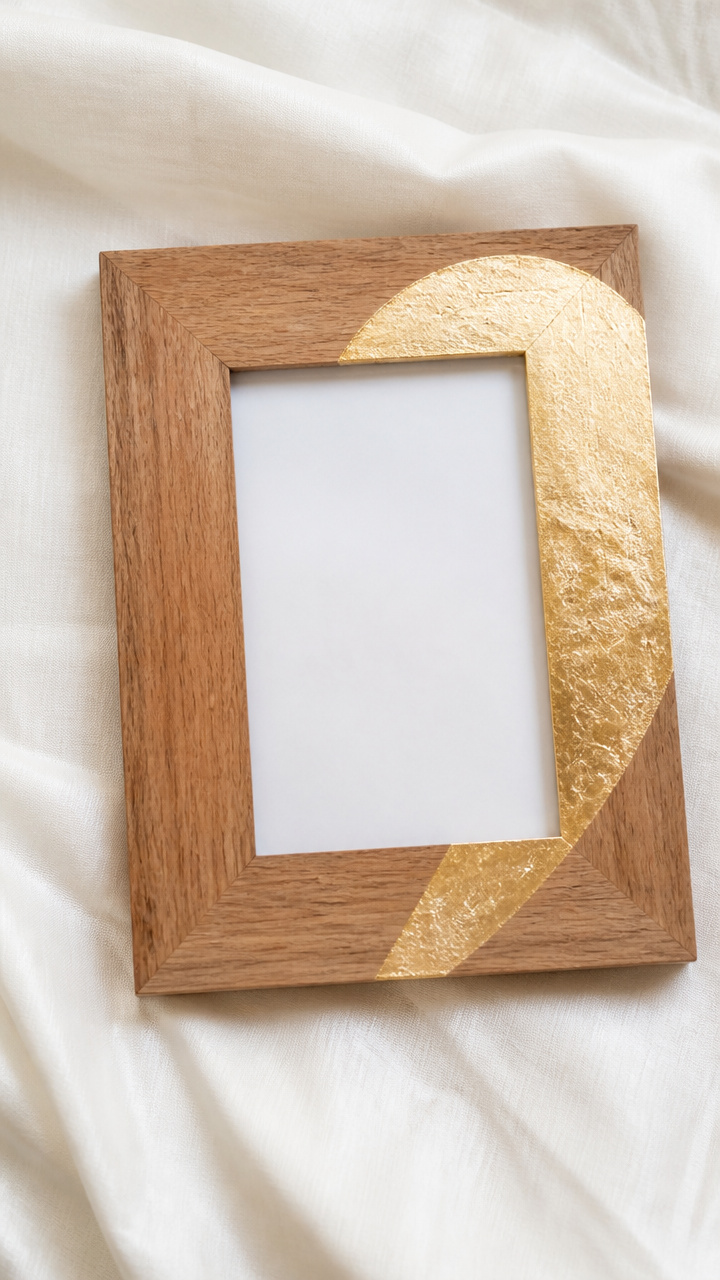
A plain wooden frame gains elegance with hand-applied gold leaf tracing half a heart. The asymmetry feels modern and intentional.
Materials Needed
- Unfinished wooden picture frame, 5×7 inches
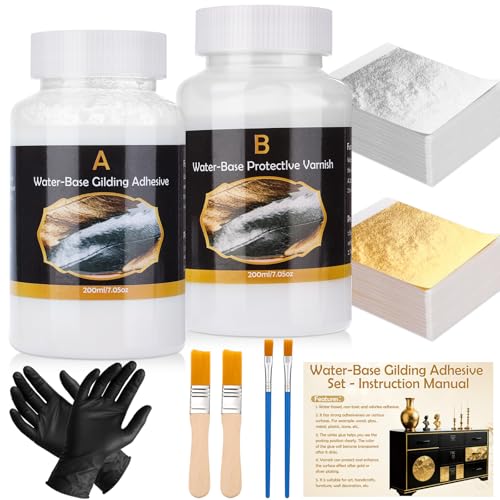
- Gold leaf sheets, 3
- Leaf adhesive, 1 oz
- Soft brush, 1 inch wide
- Cotton gloves
- Velvet cloth
- Photo, 4×6 inches
How to Make It
- Put on cotton gloves to avoid fingerprints.
- Apply leaf adhesive along the left side of the frame where the heart curve will go, using a steady hand.
- Wait 90 seconds until tacky, then lay a gold leaf sheet over the area gently.
- Press lightly with the velvet cloth, lifting to reveal the transfer.
- Brush away excess leaf with the soft brush, insert the photo, and close the frame.


Each of these crafts carries a piece of your attention, your time, your care. Pick one that calls to you and start where you are.