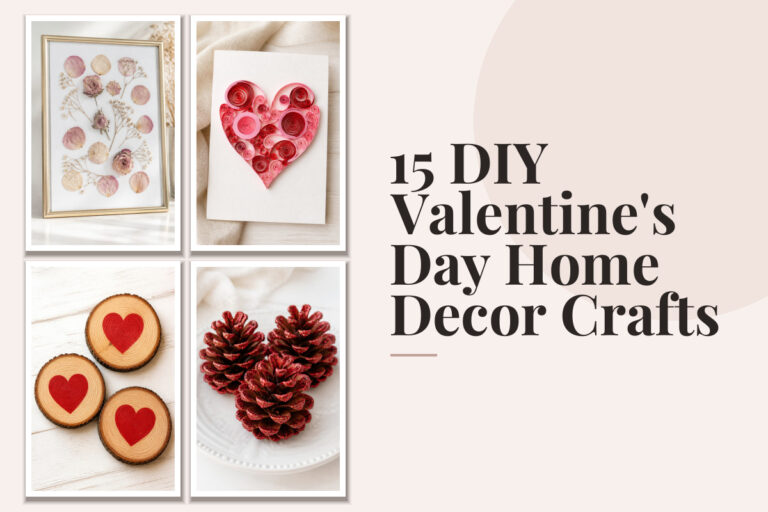
15 Cute Valentine’s Day Decorations You Can Make Yourself

Soft pink paper hearts flutter from a string across the kitchen, catching the afternoon light. A handmade garland like this turns any room into a space that feels loved and lived in.
You don’t need fancy tools or years of crafting experience to add charm to your home. With simple supplies and clear steps, you can create decorations that feel personal, joyful, and full of heart.
1. Felt Heart Mobile
Easy
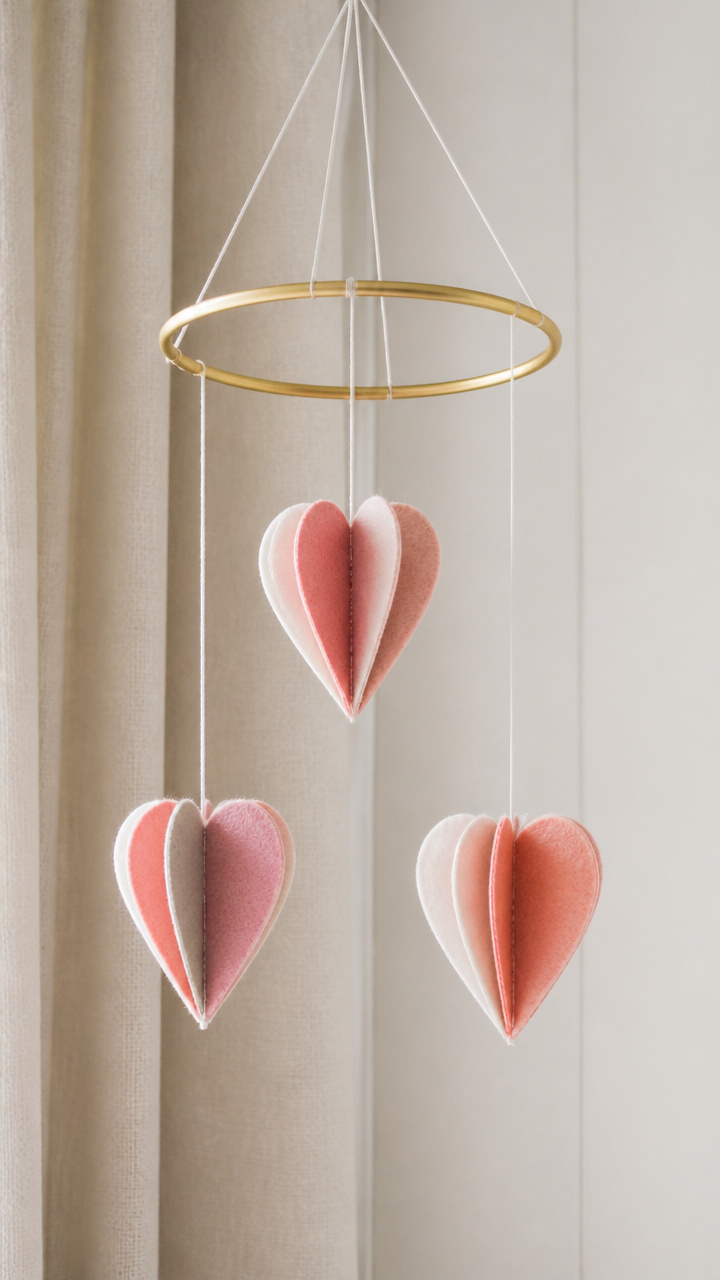
Delicate layers of rosy felt dangle from a gold hoop, spinning gently with every breeze. This mobile brings soft color and gentle motion to a bedroom or entryway.
Materials Needed
- 3 sheets blush pink felt
- 1 sheet coral felt
- 1 sheet cream felt
- 6-inch gold metal embroidery hoop
- White cotton thread
- Scissors
- Fabric glue
How to Make It
- Cut 12 hearts: four each of large (2 inches), medium (1.5 inches), and small (1 inch) from the felt sheets, mixing colors.
- Stack one heart of each size in decreasing order, aligning points, and glue corners together at the top with fabric glue.
- Let dry for 10 minutes, then tie a 10-inch thread to the top point of the stack.
- Open the embroidery hoop, place the threads evenly around the inner ring, and close the hoop to secure them.
- Trim excess thread ends and hang using a 12-inch loop of thread tied to the top of the hoop.


2. Wine Cork Love Bugs
Easy
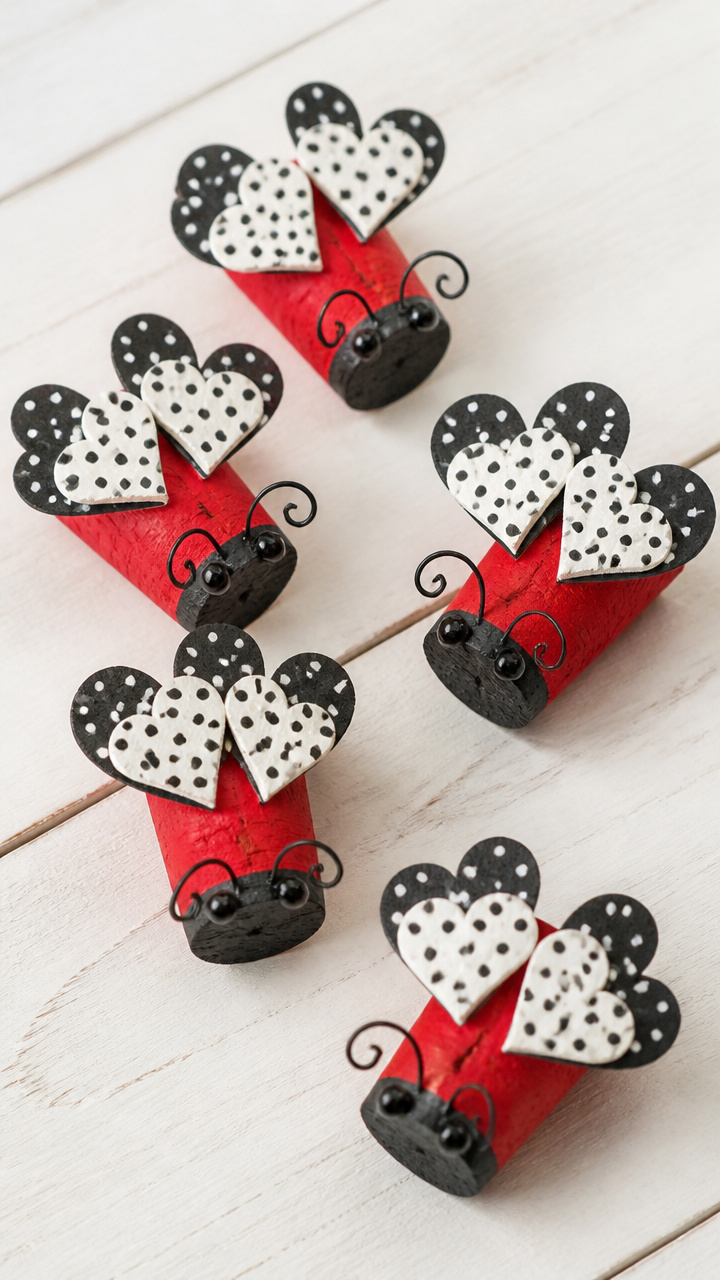
Tiny red ladybugs with heart-shaped wings perch on windowsills or vases. These whimsical bugs turn leftover corks into sweet Valentine’s accents.
Materials Needed
- 6 wine corks
- Red acrylic paint
- Black acrylic paint
- White acrylic paint
- Paintbrush set
- Black fine-tip permanent marker
- Hot glue gun
- 8 black pipe cleaners
- Small red pom-poms, 1/4 inch, 12 pieces
How to Make It
- Paint each cork red and let dry for 20 minutes on a flat surface.
- Use a small brush to paint two white dots near the top of each cork for eyes.
- Once dry, draw pupils with the black marker and add a curved smile below.
- Cut each pipe cleaner in half and bend one end of each piece into a small spiral for antennae.
- Glue a pom-pom to the spiral end, then insert the straight end into the cork top.
- Glue two antennae per cork and let all glue dry completely before display.


3. Paper Doily Hearts
Easy
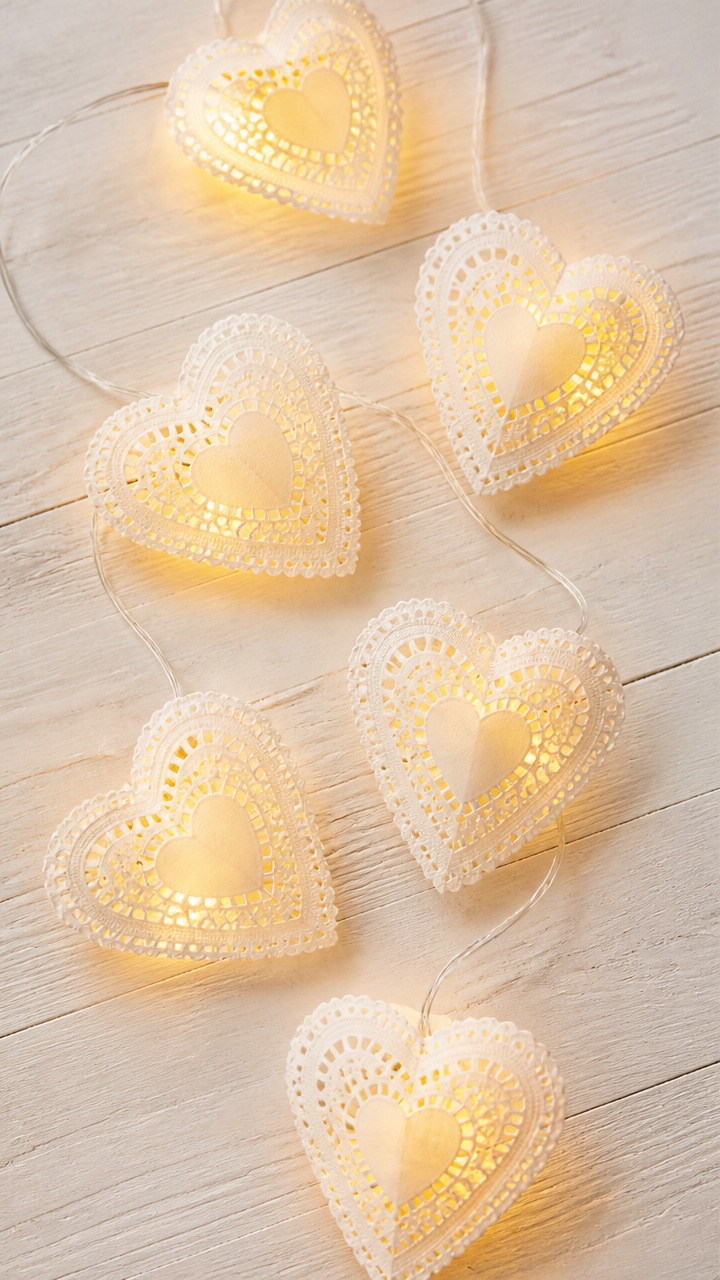
Lacy white hearts made from layered doilies glow when backlit by fairy lights. Hang them in a window for a romantic shimmer.
Materials Needed
- 12-inch square paper doilies, 6 count
- School glue
- Heart stencil, 5 inches tall
- Pencil
- Scissors
- Battery-powered fairy lights, warm white, 20 bulbs
How to Make It
- Trace the heart stencil onto each doily twice and cut out both shapes carefully.
- Lay one heart flat and apply a thin line of glue along its outer edge.
- Place the second heart directly on top and press gently to bond.
- Repeat for all doilies, letting each dry for 15 minutes flat on a table.
- Wrap the fairy light strand around the stacked hearts, tucking the bulb wires between layers at even intervals.


4. Candy-Cane Clothespin Wreath
Moderate
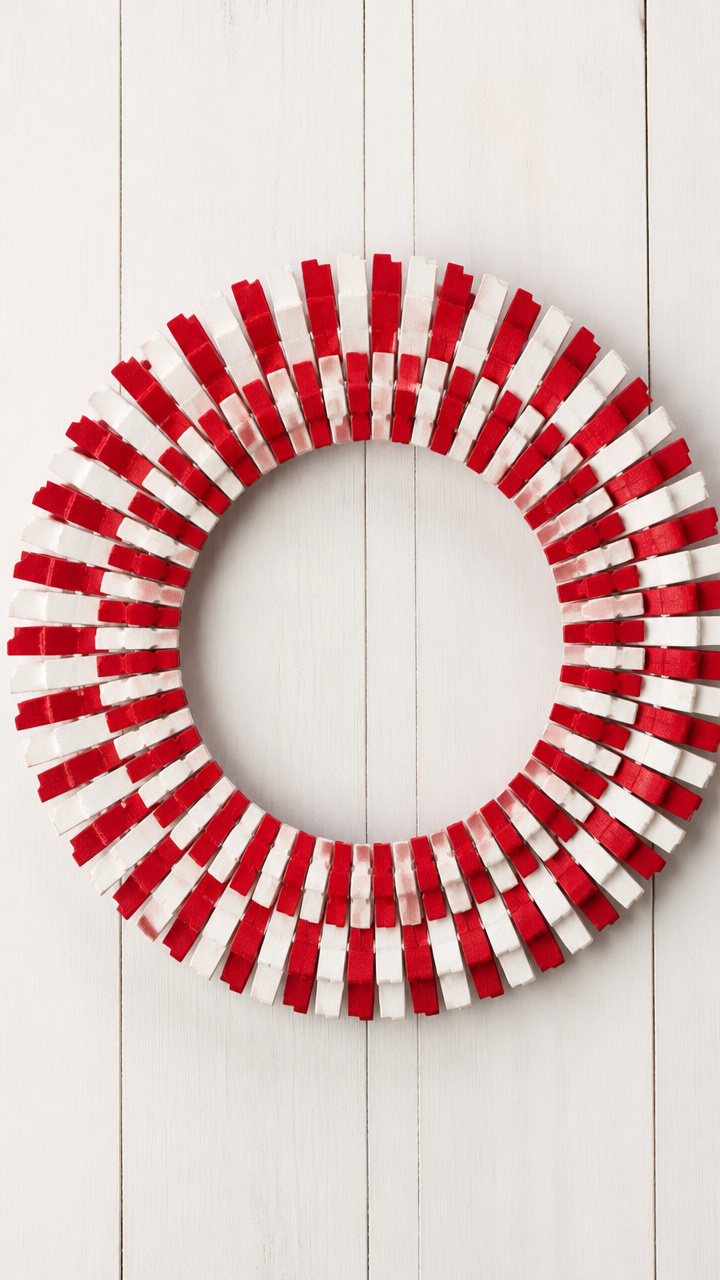
A bright wreath of peppermint-striped clothespins circles a foam base, adding cheerful color to a door or wall. It’s festive without being too sweet.
Materials Needed
- 12-inch foam wreath form
- Mini wooden clothespins, 36 count
- Red acrylic paint
- White acrylic paint
- Paintbrush
- Hot glue gun
- Ribbon, red gingham, 1 inch wide, 18 inches
How to Make It
- Paint each clothespin with red paint and let dry for 20 minutes.
- Use the brush to add a thick white stripe diagonally across each pin, mimicking a candy cane.
- Let the paint dry completely for 30 minutes before handling.
- Open each clothespin and squeeze hot glue inside the groove, then press it firmly onto the foam wreath.
- Space pins evenly around the entire form, overlapping slightly for full coverage.
- Tie the ribbon into a bow and glue it to the bottom of the wreath.
5. Chalkboard Jar Labels
Easy
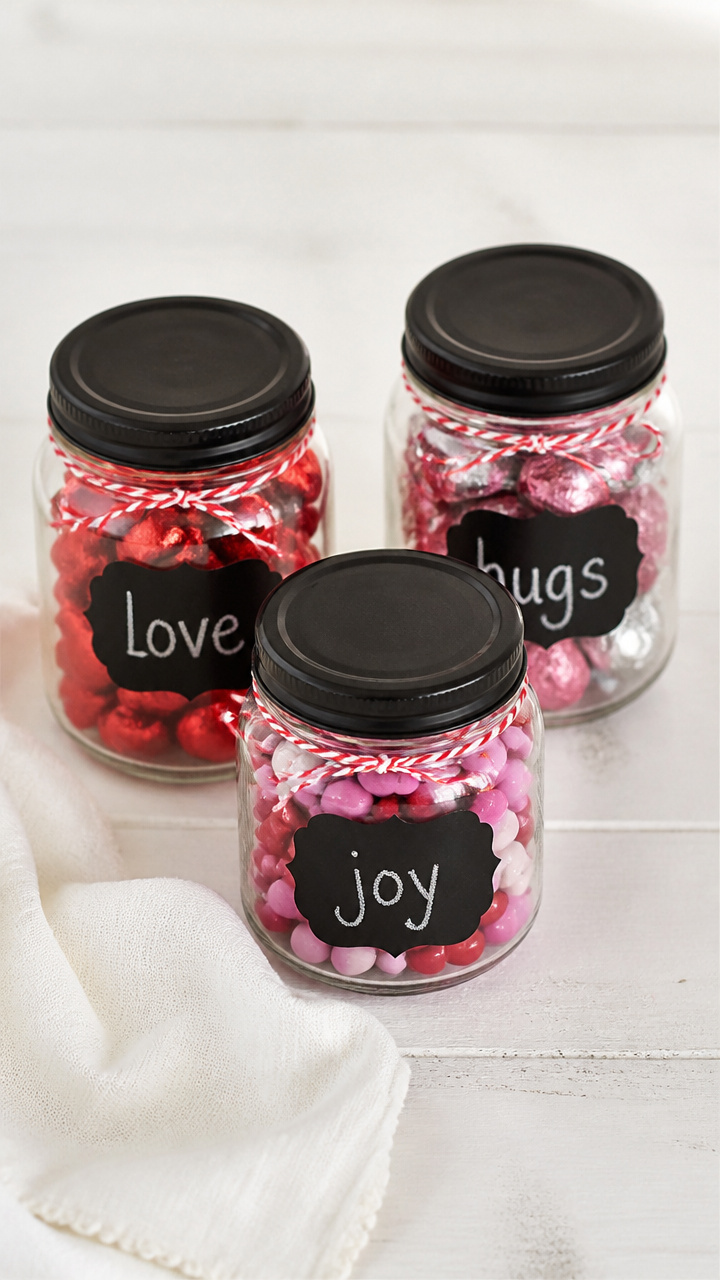
Mason jars filled with treats wear tiny chalkboard tags that say “Love”, “Joy”, or “Hugs”. These are useful and adorable on a dessert table.
Materials Needed
- 4-ounce mason jars, 6 count
- Black craft paint
- Small foam brush
- Chalkboard contact paper
- Scissors
- White chalk pencil
- Twine, 1/8 inch, 6 feet
How to Make It
- Paint the outside of each jar lid with black craft paint and let dry for 30 minutes.
- Cut six 1.5-inch circles from the chalkboard contact paper.
- Peel and stick one circle to the center of each painted lid.
- Write a short word like 'Sweet' or 'Kiss' on each tag with the chalk pencil.
- Fill jars with candy or cookies, screw on lids, and tie twine around the neck of each jar.


6. Heart-Shaped Spoon Mirrors
Moderate
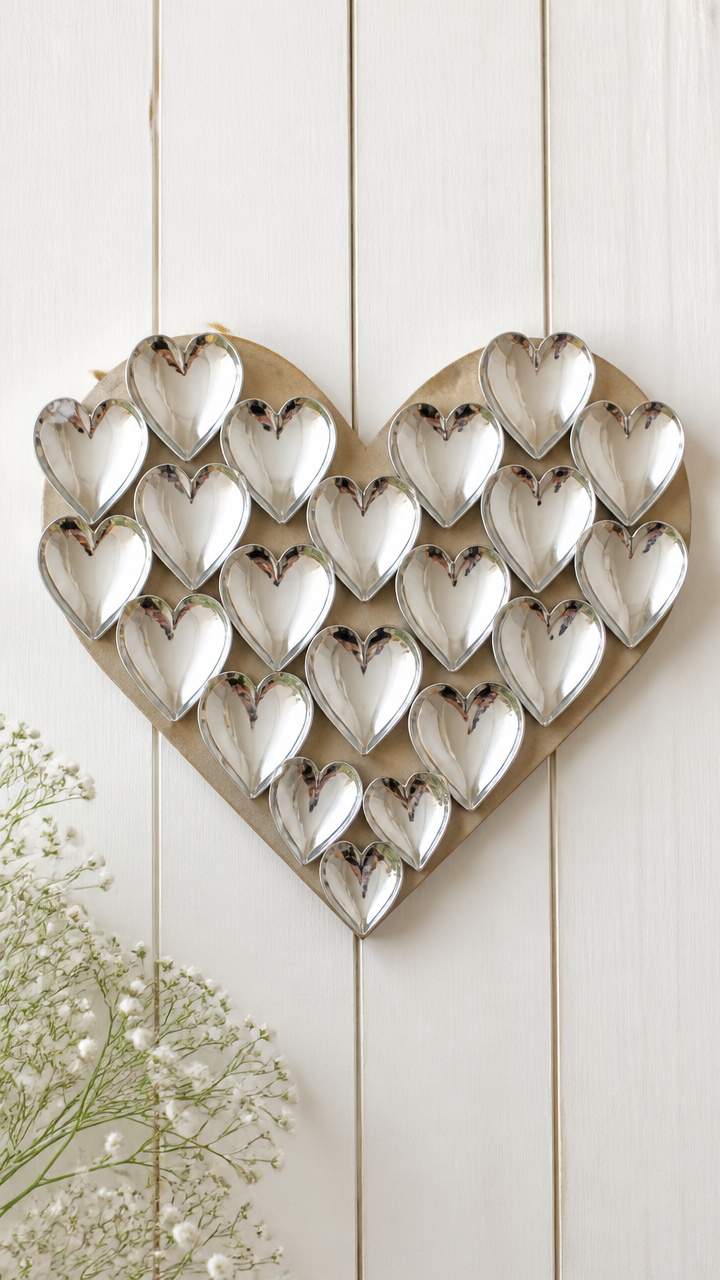
Polished spoon bowls become tiny heart mirrors, clustered in a frame or hung on a ribbon. They catch light and smiles in equal measure.
Materials Needed
- 6 stainless steel teaspoons
- Craft pliers
- Heart cookie cutter, 2 inches
- Emery cloth, fine grit
- Silver mirror spray paint
- Cardboard, 8×10 inches
- Double-sided tape
How to Make It
- Use pliers to grip the handle just above the bowl and press the spoon against the heart cutter on a hard surface to shape it.
- Smooth any sharp edges on the cut area with emery cloth for 10 seconds.
- Spray the concave side of each spoon with mirror paint in a well-ventilated area, holding the can 10 inches away.
- Let dry for 15 minutes, then apply a second coat and wait 30 minutes to cure.
- Arrange spoons on cardboard with bowls facing up and secure backs with double-sided tape.


7. Yarn-Wrapped Letter Frames
Easy
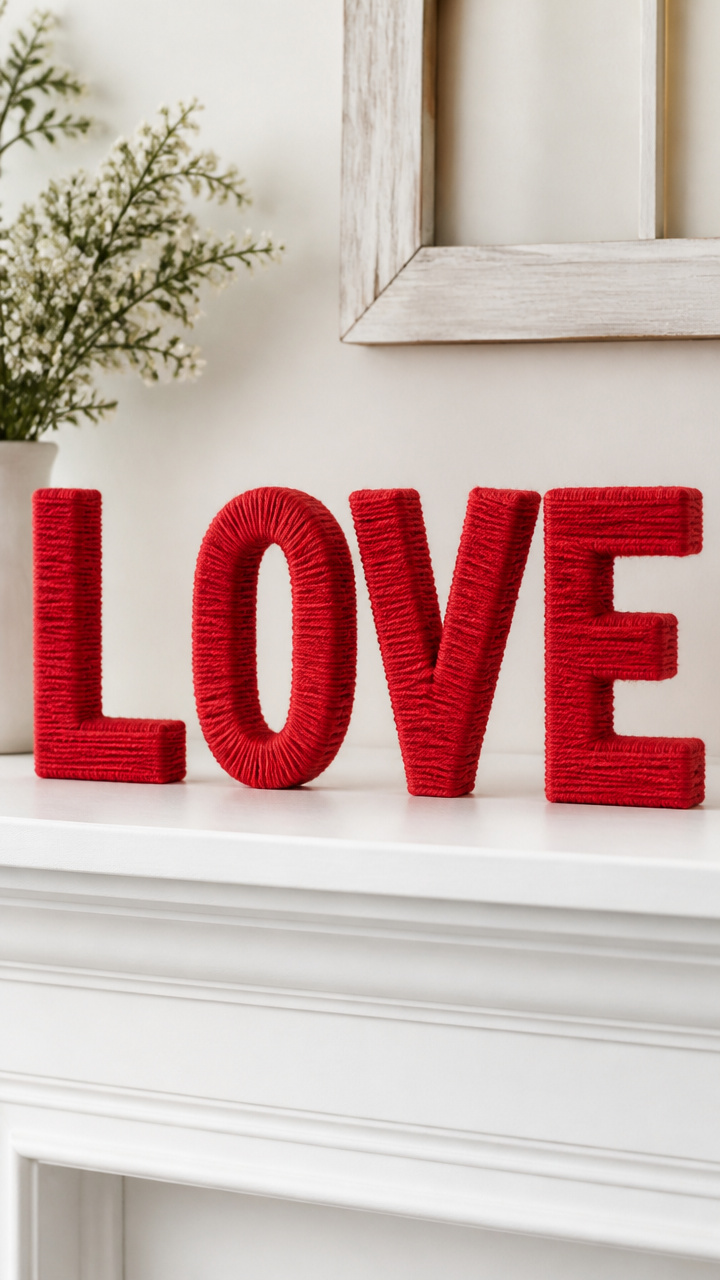
Wooden letters spelling “LOVE” wear cozy wraps of red yarn, standing proudly on a mantel. Each letter feels handcrafted and full of warmth.
Materials Needed
- Wooden capital letters L, O, V, E, 6 inches tall
- Red wool yarn
- Hot glue gun
- Scissors
How to Make It
- Put a small dot of hot glue on the back edge of the L and press the yarn end to it.
- Wrap the yarn tightly around the letter, covering all surfaces, adding a drop of glue every inch to secure.
- Continue wrapping until the entire letter is covered, then glue the end and trim.
- Repeat for O, V, and E, using fresh yarn for each to keep tension even.
- Let all glue cool for 5 minutes before arranging the letters together.


8. Button Flower Bouquet
Moderate
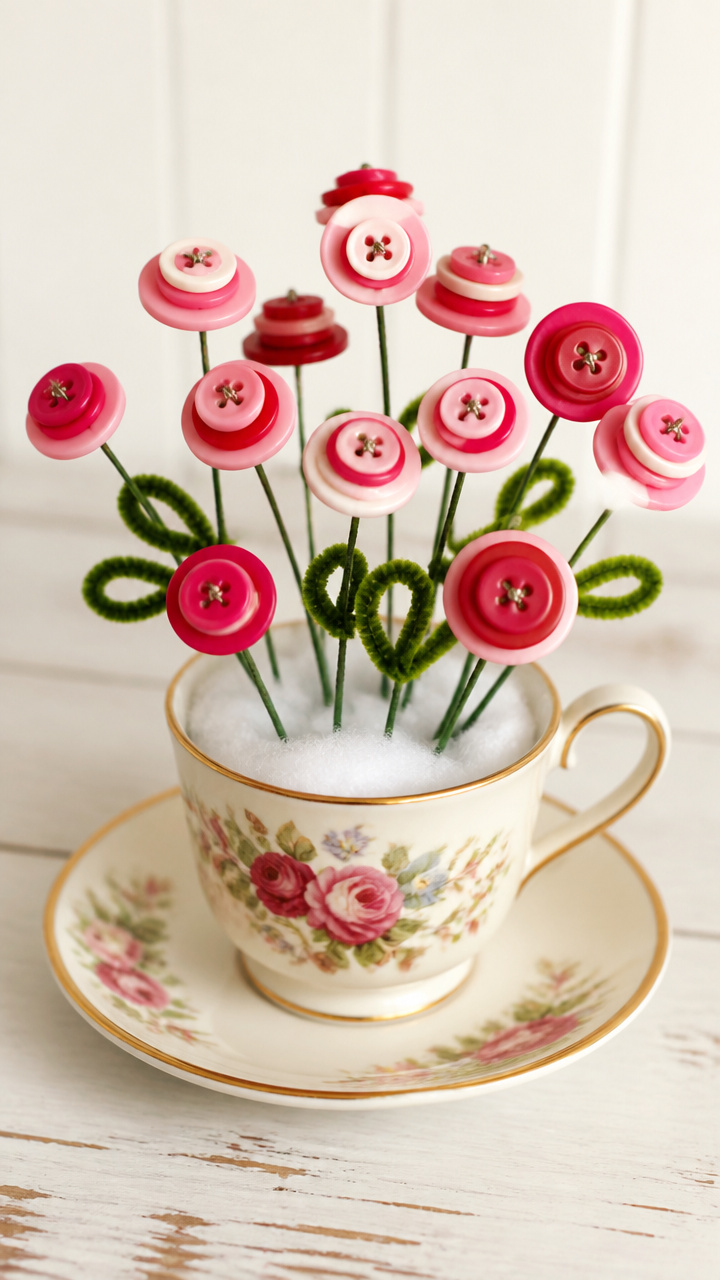
Stems of colorful buttons bloom from a vintage teacup, creating a no-wilt centerpiece. This bouquet suits a shelf or dining table.
Materials Needed
- Vintage-style teacup and saucer
- Floral wire, 20 gauge, 24 inches
- Round buttons, assorted red and pink, 12 count
- Green pipe cleaners, 6 count
- Poly-fil stuffing, 1 oz
- Wire cutters
- Hot glue gun
How to Make It
- Cut floral wire into 6-inch lengths, six total.
- Slide a button onto each wire and twist the end behind the button to secure it.
- Bend the wire just below the button to form a slight stem curve.
- Wrap a green pipe cleaner around each wire below the button, twisting tightly to cover the wire.
- Pull a small amount of poly-fil into a nest and place it in the teacup.
- Insert each flower stem into the poly-fil to hold upright, arranging for a natural bloom shape.
9. Cinnamon Stick Bundles
Easy
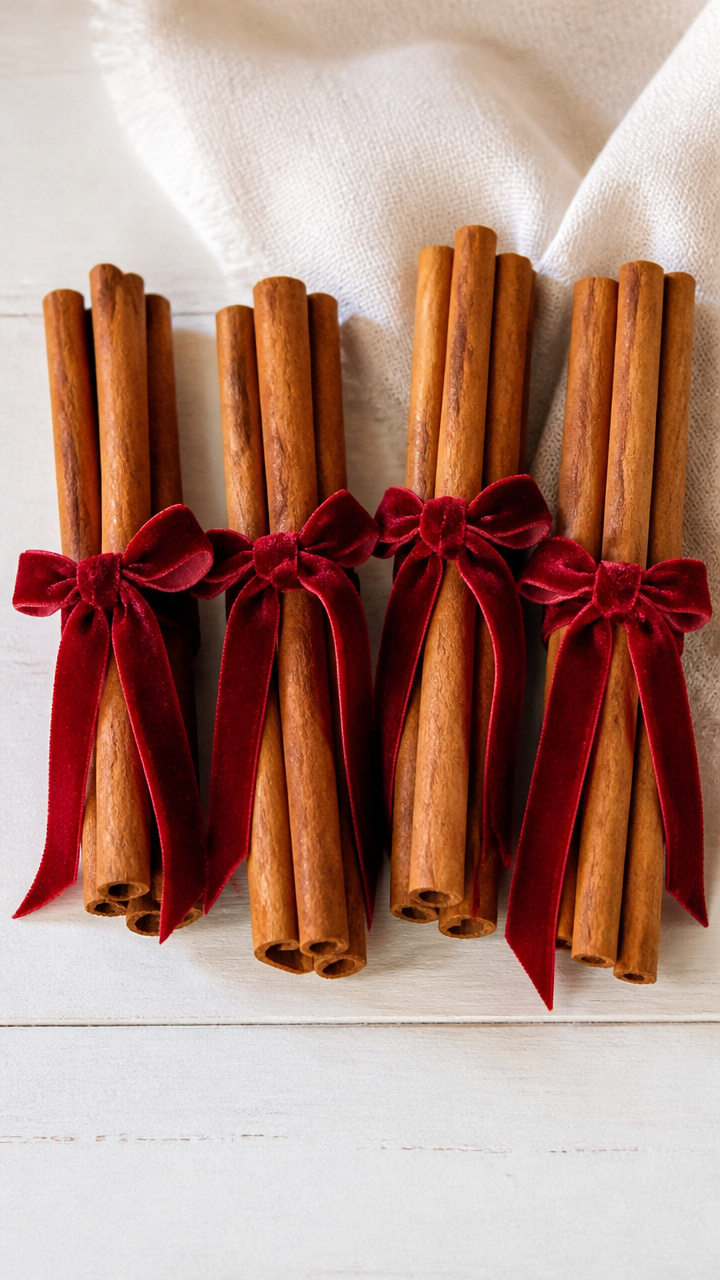
Tied bundles of cinnamon sticks release a warm, spicy scent while looking like rustic mini torches. Place them in a vase or tie with ribbon.
Materials Needed
- Cinnamon sticks, 3 inches, 18 count
- Red velvet ribbon, 1/4 inch wide, 3 feet
- Scissors
- Rubber bands, small, 3 count
How to Make It
- Group six cinnamon sticks together into a bundle and wrap a rubber band around one end.
- Cut three 10-inch lengths of ribbon and tie one around the banded end with a bow.
- Repeat to make three bundles, using a fresh ribbon for each.
- Display upright in a narrow glass or lay across a tray.


10. Origami Heart Garland
Moderate

Folded paper hearts in gradient pinks hang from a long thread, creating a delicate banner. This garland folds up flat for storage after the holiday.
Materials Needed
- Origami paper, 3×3 inches, rose, blush, and cherry red, 15 sheets each
- Embroidery floss, pink, 3 yards
- Tapestry needle
- Ruler
How to Make It
- Fold each paper into a heart using the valley fold method: fold corner to corner diagonally, then fold outer corners inward to center to form top curves.
- Press creases sharply with your fingernail for crisp edges.
- Thread the tapestry needle with floss and knot one end.
- String the needle through the top curve of a heart, sliding it down 6 inches from the knot.
- Add 14 more hearts, spacing each 6 inches apart, alternating colors in a gradient pattern.
- Tie the ends of floss into loops for hanging.
11. Salt Dough Ornaments
Moderate
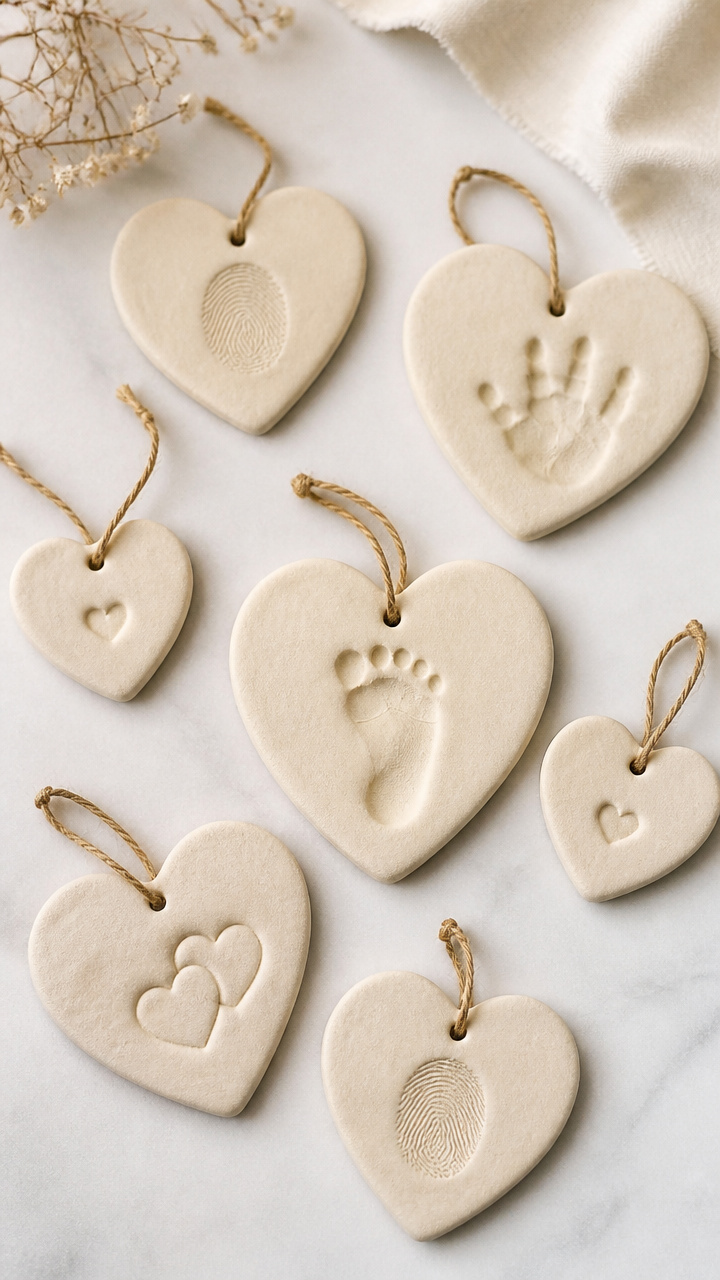
Hand-pressed ornaments with names or dates bake into keepsakes you can reuse year after year. Kids love making these with their own fingerprints.
Materials Needed
- All-purpose flour, 1 cup
- Table salt, 1/2 cup
- Water, 1/2 cup
- Mixing bowl
- Rolling pin
- Heart-shaped cookie cutters, small and medium
- Straw
- Baking sheet
- Parchment paper
- Red ribbon, 1/8 inch, 3 feet
- Acrylic paint, metallic gold
How to Make It
- Mix flour, salt, and water in a bowl until a smooth dough forms, kneading by hand for 2 minutes.
- Roll dough to 1/4 inch thick on a floured surface.
- Cut out 8 hearts using the cookie cutters.
- Use a straw to poke a hole near the top edge of each heart for hanging.
- Place hearts on a parchment-lined baking sheet and bake at 200°F for 3 hours until hard.
- Cool completely, then paint designs with gold paint and let dry 20 minutes.
- Cut ribbon into 6-inch lengths and thread through holes to hang.
12. Pom-Pom Chicks
Easy
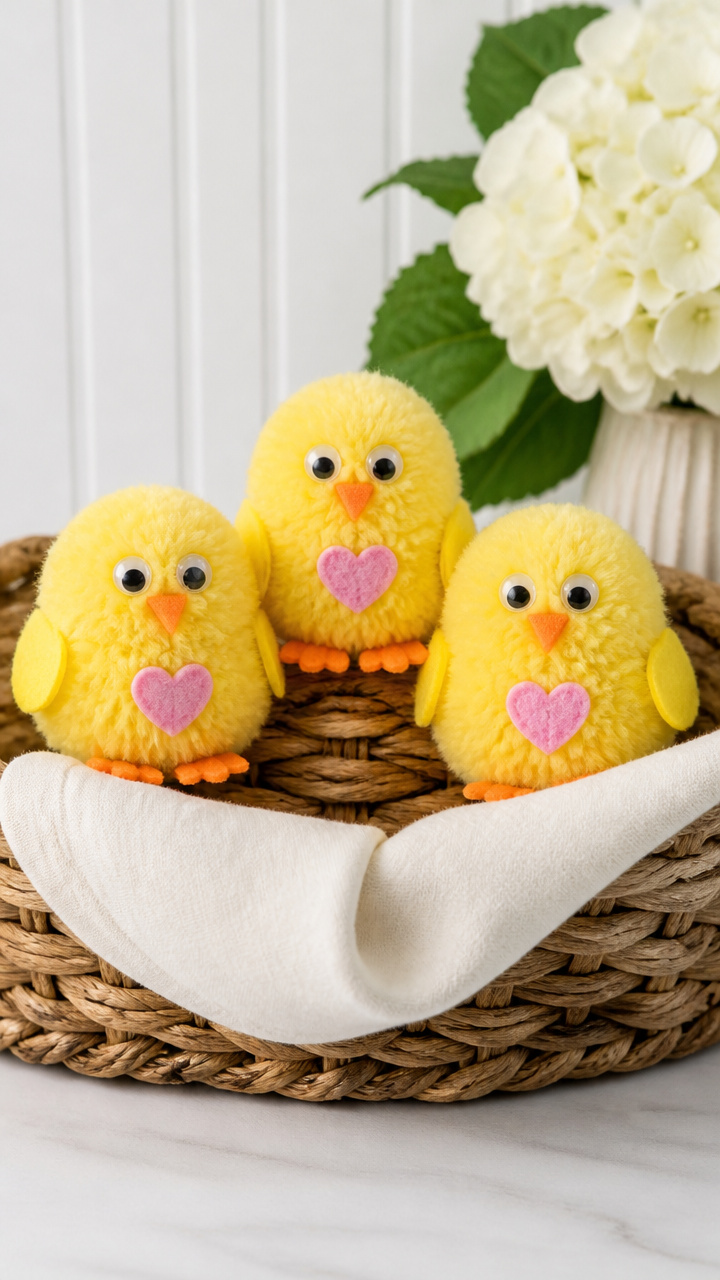
Fluffy yellow chicks with tiny heart patches peep from a basket or shelf. These soft friends add playful joy to any corner.
Materials Needed
- Yellow pom-poms, 1 inch, 6 count
- Orange craft foam
- Pink craft foam
- Googly eyes, 6 mm, 12 pairs
- Tacky glue
- Scissors
- Black fine-tip marker
How to Make It
- Cut six small triangles from orange foam for beaks and six hearts from pink foam, 1/2 inch tall.
- Glue one googly eye pair and one beak triangle to the front of each pom-pom.
- Draw tiny pupils with the marker once glue is dry.
- Glue a pink heart to the lower side of each pom-pom for a wing patch.
- Let all glue dry for 20 minutes before arranging.
13. Photo Clothespin Clips
Easy
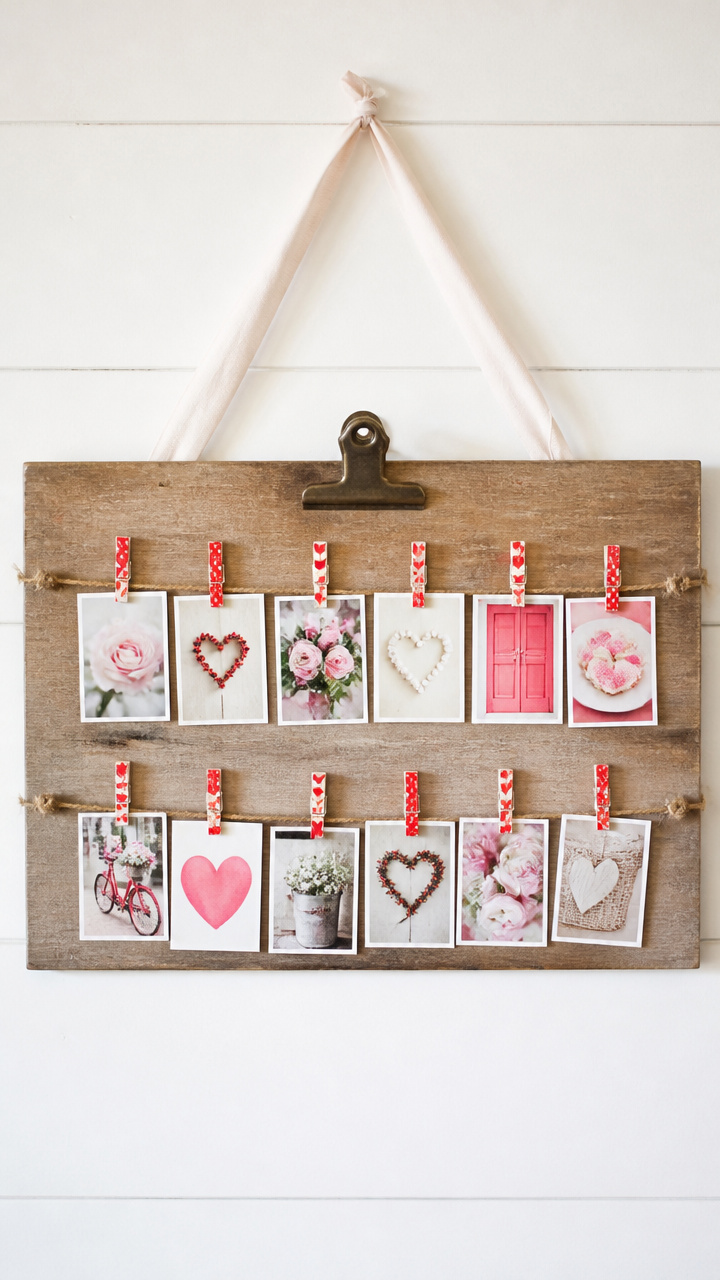
Mini love notes or couple photos hang from a ribbon line with decorated clips. This display works above a desk or beside a mirror.
Materials Needed
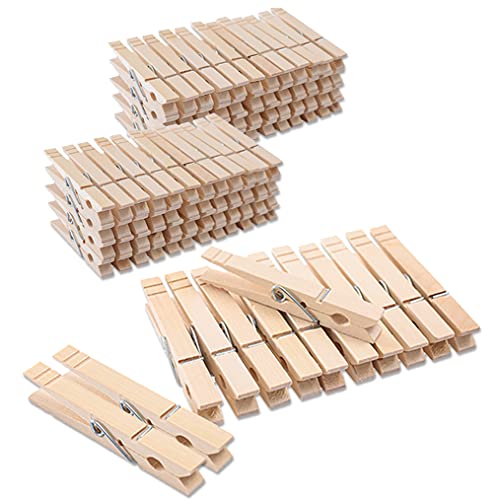
- Mini wooden clothespins, 12 count
- Red washi tape
- Scissors
- Clipboard-style photo holder, 4×6 inches
- Twine, 3 feet
- Photos or handwritten notes, 2×3 inches, 12 count
How to Make It
- Cut 12 strips of washi tape, each 1.5 inches long.
- Wrap one strip around the tip of each clothespin, pressing firmly to adhere.
- Tie the twine between two nails or hooks to create a display line.
- Clip photos or notes to the twine using the decorated clothespins.
- Hang the clipboard at one end to hold extras or a larger image.


14. Tissue Paper Bloom Vase
Moderate
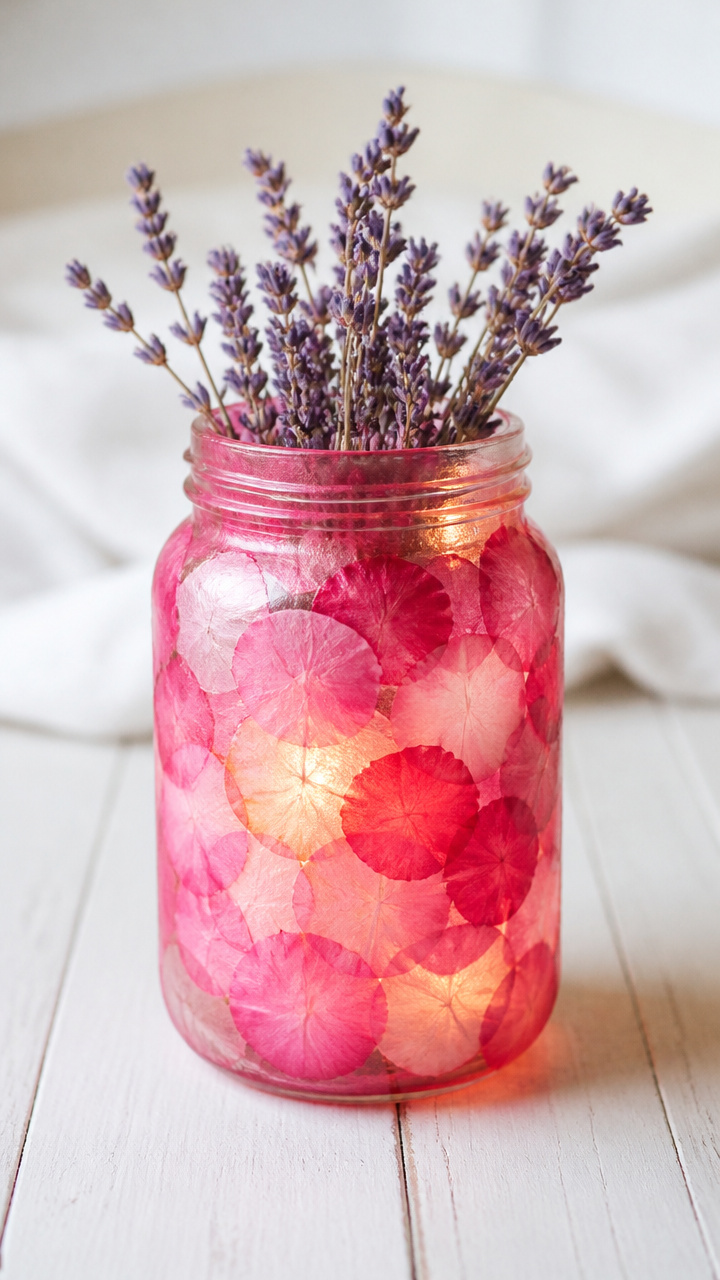
A plain glass jar becomes a blooming centerpiece with layered tissue flowers glued around it. Light shines through the petals like stained glass.
Materials Needed
- Clear glass jar, 12 oz
- Pink tissue paper, 20 sheets
- Scissors
- School glue
- Paintbrush
- Dried lavender sprigs, 3 count
How to Make It
- Cut tissue paper into 3×4 inch rectangles, 40 total.
- Fold each rectangle accordion-style into 1/2 inch pleats.
- Pinch the center of each folded strip and twist a small piece of scrap tissue around it to secure.
- Fan out both ends to form flower shapes.
- Use the brush to apply a thin layer of glue to the back of each flower base.
- Press the glued base onto the jar, overlapping blooms to cover the surface completely.
- Let dry for 30 minutes, then fill with lavender sprigs.
15. Crayon Heart Suncatcher
Advanced
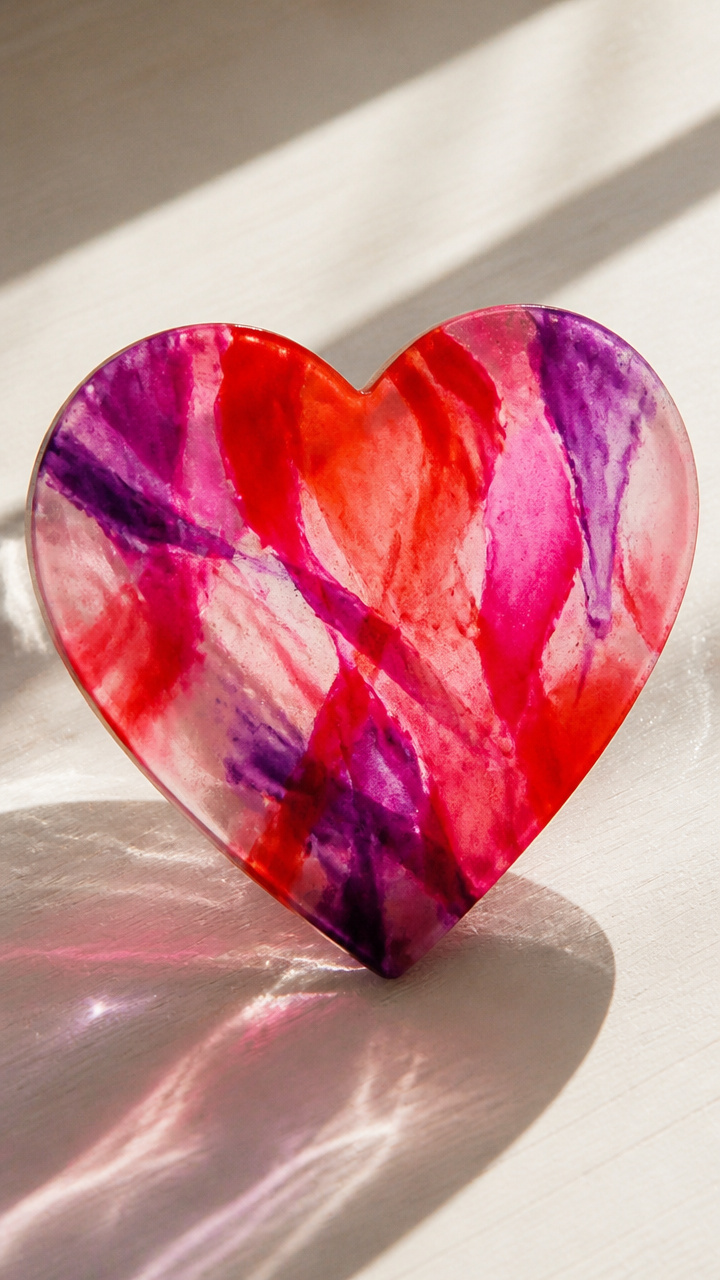
Melted crayon shavings fuse between wax paper into a rainbow heart that glows in sunlight. This art project doubles as a window decoration.
Materials Needed
- Crayons, red, pink, purple, 6 total
- Box grater
- Heart stencil, 7 inches
- Wax paper, 2 sheets, 8×10 inches
- Iron
- Parchment paper, 2 sheets, 8×10 inches
- Hole punch
- Red ribbon, 12 inches
How to Make It
- Peel crayons and grate them over a bowl using the fine side of the box grater.
- Place one wax paper sheet on a flat surface and lay the stencil on top.
- Sprinkle shavings inside the heart shape, using a mix of colors.
- Remove the stencil and cover the shavings with the second wax paper sheet.
- Place a sheet of parchment over the top and iron on low heat for 30 seconds, moving in circles.
- Check melting progress and re-cover with parchment if needed, ironing another 15 seconds until fully fused.
- Let cool for 10 minutes, then trim excess wax paper and punch a hole at the top.
- Thread ribbon through and hang in a sunny window.
Each of these decorations carries a little piece of your time and care. Pick one that calls to you and start creating today.