15 DIY Valentine’s Day Card Crafts with Paper

Soft pink paper hearts, carefully folded corners, and handwritten notes tucked inside handmade envelopes—there’s something deeply personal about a card made by hand. The way the light catches a raised embossed letter or the surprise of a pop-up detail reminds your loved one that time and care went into every fold.
You don’t need fancy tools or years of crafting experience to make something beautiful. With just paper and a few simple supplies, you can create heartfelt cards that feel special, meaningful, and entirely unique.
1. Folded Heart Pop-Up
Easy

A bold red heart springs forward when the card opens, surprising anyone who flips it open. This classic pop-up uses precise folding to create dimension without glue or extra layers.
Materials Needed
- 8.5 x 5.5 inch red construction paper
- 8.5 x 11 inch white printer paper
- Scissors
- Pencil
- Ruler
How to Make It
- Fold the white printer paper in half horizontally to form a 5.5 x 8.5 inch card base.
- On the folded edge, measure 2 inches from both sides and mark with a pencil.
- Use the ruler to draw a 1.5 inch vertical line upward from each mark on the inside fold.
- Cut along both lines with scissors, then fold the resulting flap inward to form a mountain fold.
- Draw a heart shape centered over the flap, cut it out, and unfold the card to see the heart stand forward.
2. Lace-Trimmed Vellum Overlay
Moderate
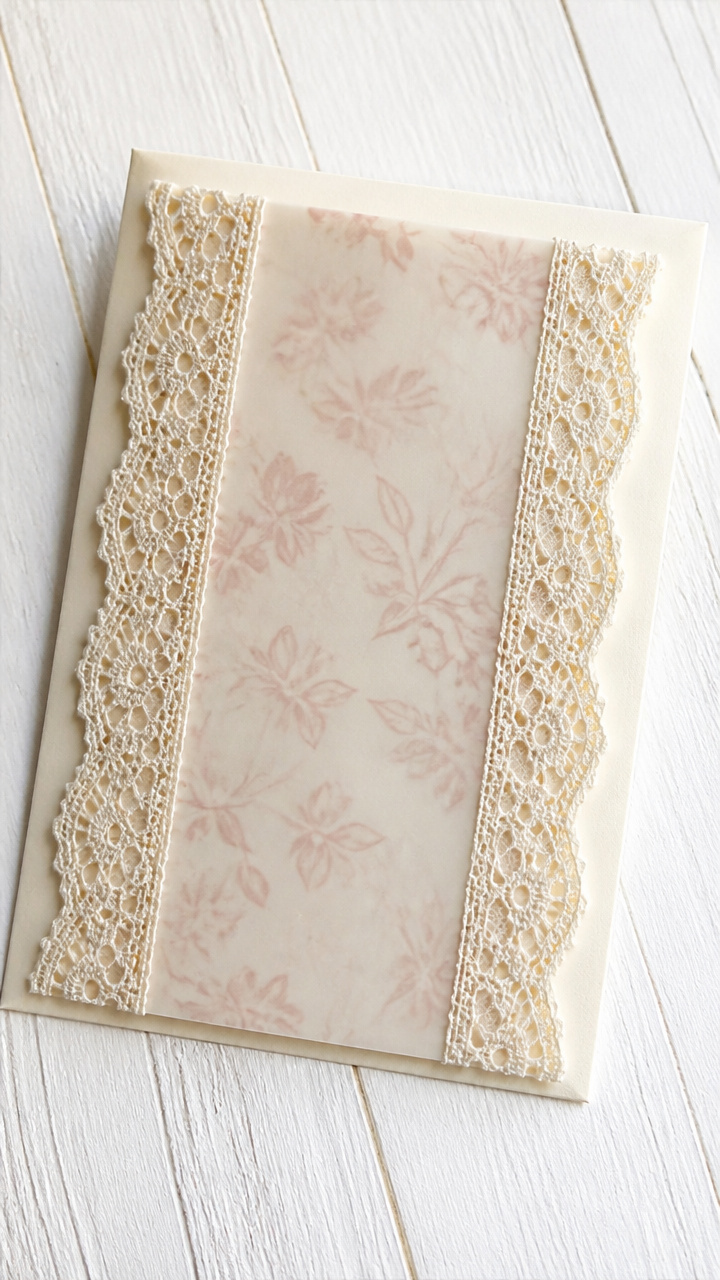
Delicate lace patterns shine through sheer vellum layered over solid cardstock, giving an elegant, vintage feel. The soft texture contrasts beautifully with crisp handwriting.
Materials Needed
- 6 x 4.5 inch ivory cardstock
- 6 x 4.5 inch vellum sheet
- 12 inch piece cotton lace trim
- Double-sided tape
- Craft knife
- Cutting mat
- Bone folder
How to Make It
- Score the ivory cardstock at 3 inches along the 6-inch side and fold it with the bone folder for a clean crease.
- Place the vellum on top of the front panel and trace a 0.5 inch border around all edges with pencil.
- Use the craft knife and cutting mat to carefully cut out the center rectangle within the traced lines.
- Adhere the lace trim along the bottom edge of the front panel using double-sided tape.
- Center the vellum frame over the front and press down firmly to attach it in place.
3. Origami Crane Closure
Moderate
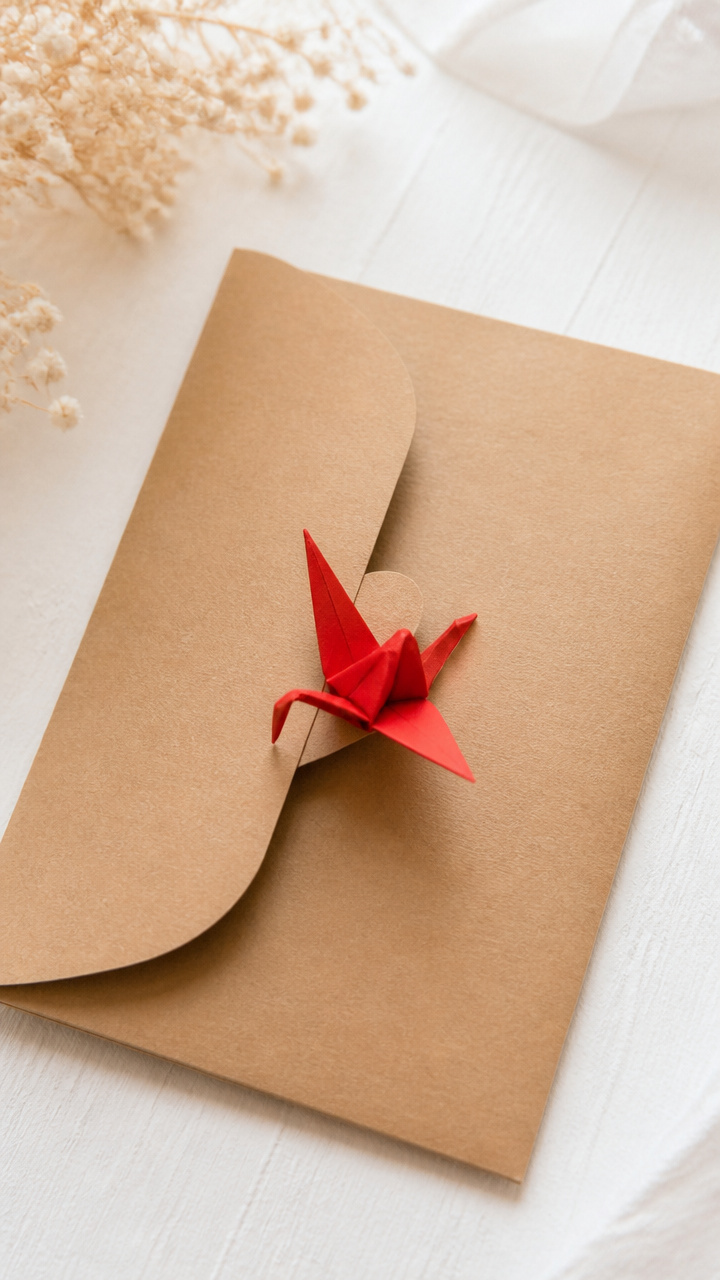
A tiny folded crane perches on the card flap, acting as both decoration and seal. Opening it feels like receiving a quiet promise, delicate and intentional.
Materials Needed
- 7 x 7 inch square red origami paper
- 6 x 4.5 inch kraft cardstock
- Glue dot
- Bone folder
How to Make It
- Fold the kraft cardstock in half vertically to form a 4.5 x 6 inch card.
- Use the traditional 13-step origami method to fold the red paper into a crane, creasing each fold sharply with the bone folder.
- Attach the crane’s tail to the front flap of the card using a single glue dot.
- Write your message inside before closing, letting the crane hold the card shut.
4. Foil-Stamped Initial Card
Moderate
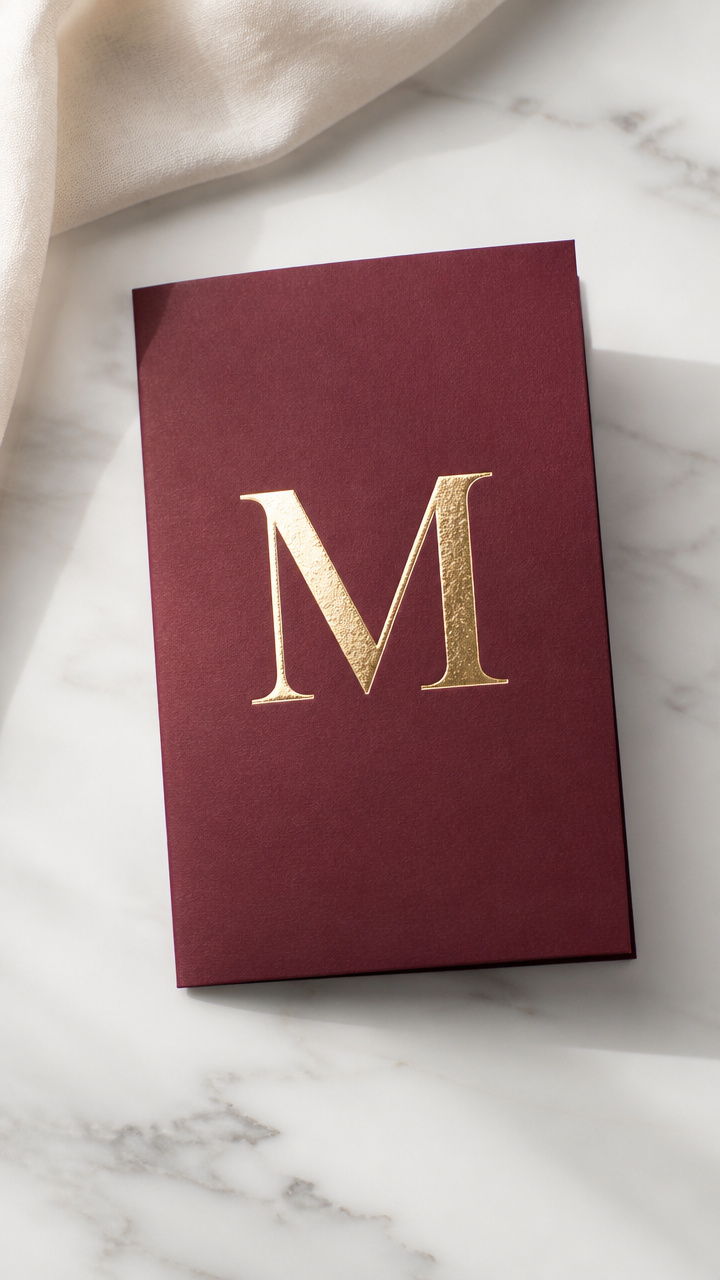
A shimmering gold initial stands out against deep burgundy paper, adding a personalized luxury touch. Heat-free foil transfer makes this look expensive with minimal effort.
Materials Needed
- 8.5 x 5.5 inch burgundy cardstock
- Cricut Foil Transfer Kit – Gold
- Cricut Explore or Maker machine
- Fine-point pen
- Weeding tool
How to Make It
- Insert the burgundy cardstock into the Cricut machine using the light grip mat.
- Design a large initial in Cricut Design Space and select 'Foil' as the operation type.
- Run the machine to score the initial with the fine-point pen.
- Peel back the protective liner from the foil sheet and lay it shiny side down over the scored area.
- Use firm pressure with a scraper tool to transfer the foil, then remove the sheet and use the weeding tool to lift excess foil.
5. Paper Quilled Rose Front
Advanced
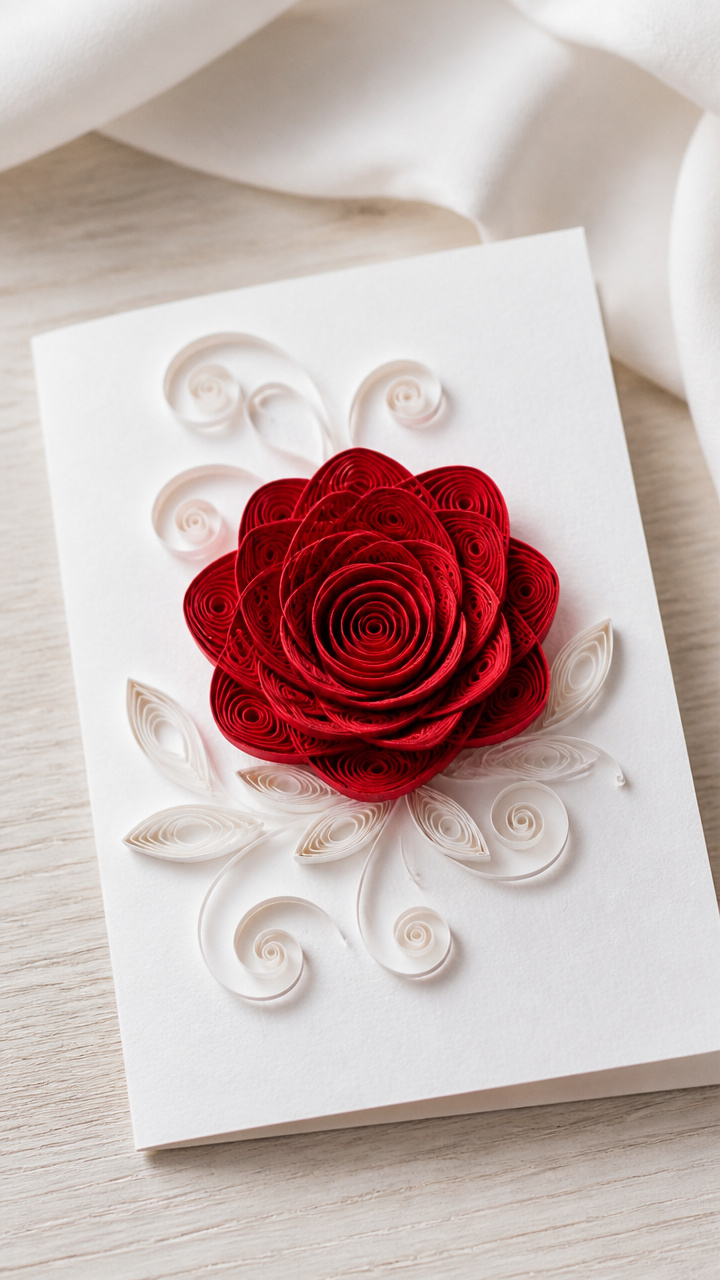
Tightly coiled paper petals spiral outward into a lifelike rose, hand-shaped and glued in layers. This floral design turns a simple card into a keepsake.
Materials Needed
- 5 x 3.5 inch white cardstock
- Red quilling paper strips – 1/8 inch wide, 12 inches long (6 pieces)
- Slotted quilling tool
- White craft glue
- Tweezers
- Clear drying glue sealer spray
How to Make It
- Wrap one strip tightly around the slotted tool and glue the end to form a tight coil.
- Pinch one side gently to form a teardrop shape, creating the first petal.
- Repeat to make five loose teardrop coils and let them dry flat for 5 minutes.
- Arrange four teardrops in a circle around the center coil and glue them at the base.
- Add the fifth petal slightly offset, layering for depth, then spray lightly with glue sealer after full drying.
6. Cut-Out Window Reveal
Easy
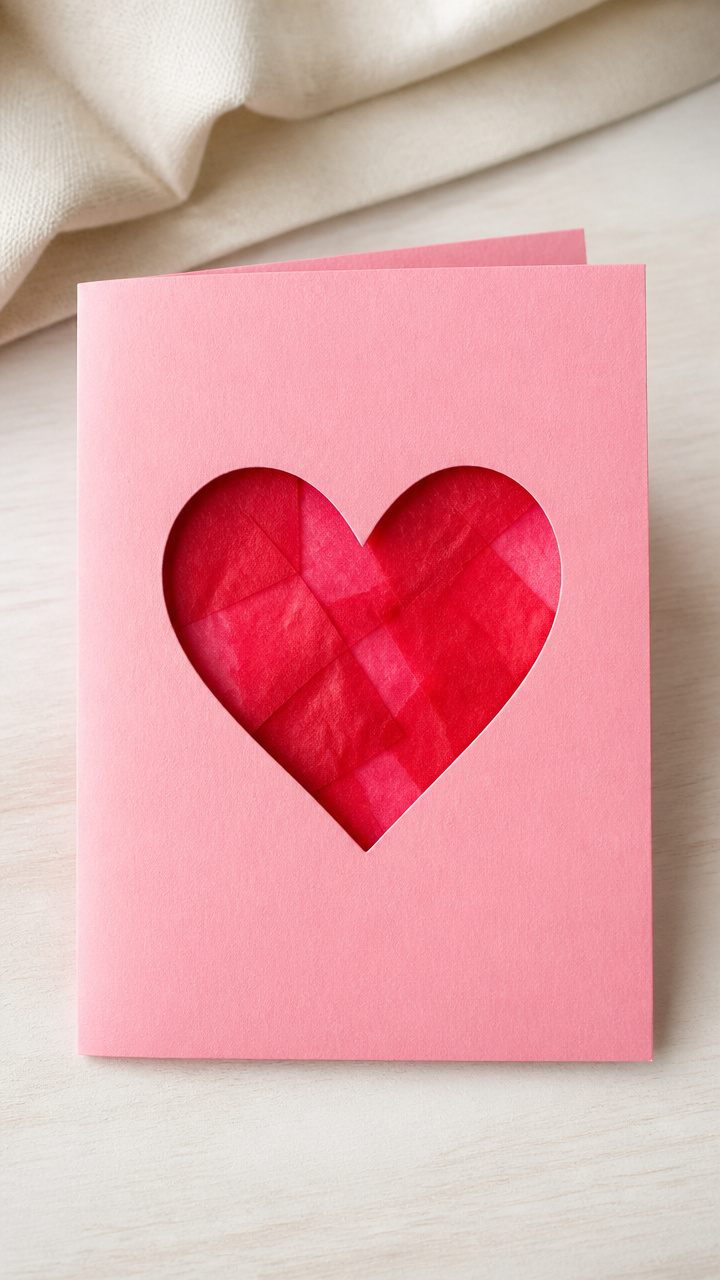
A heart-shaped hole frames a hidden message written on the inner layer, visible only when the card is opened. The surprise element makes it fun and intimate.
Materials Needed
- 8.5 x 5.5 inch pink cardstock
- 4 x 3 inch red tissue paper
- Hole punch (heart-shaped, 1.5 inch)
- Glue stick
How to Make It
- Fold the pink cardstock in half vertically to create a 5.5 x 4.25 inch card.
- Position the heart punch 1 inch from the top and 1 inch from the left on the front panel and punch through one layer.
- Write a short message like 'I love you' on the red tissue paper.
- Center the tissue paper behind the heart cut-out on the inside and glue the edges down with a glue stick.
7. Layered Paper Doily Accent
Easy
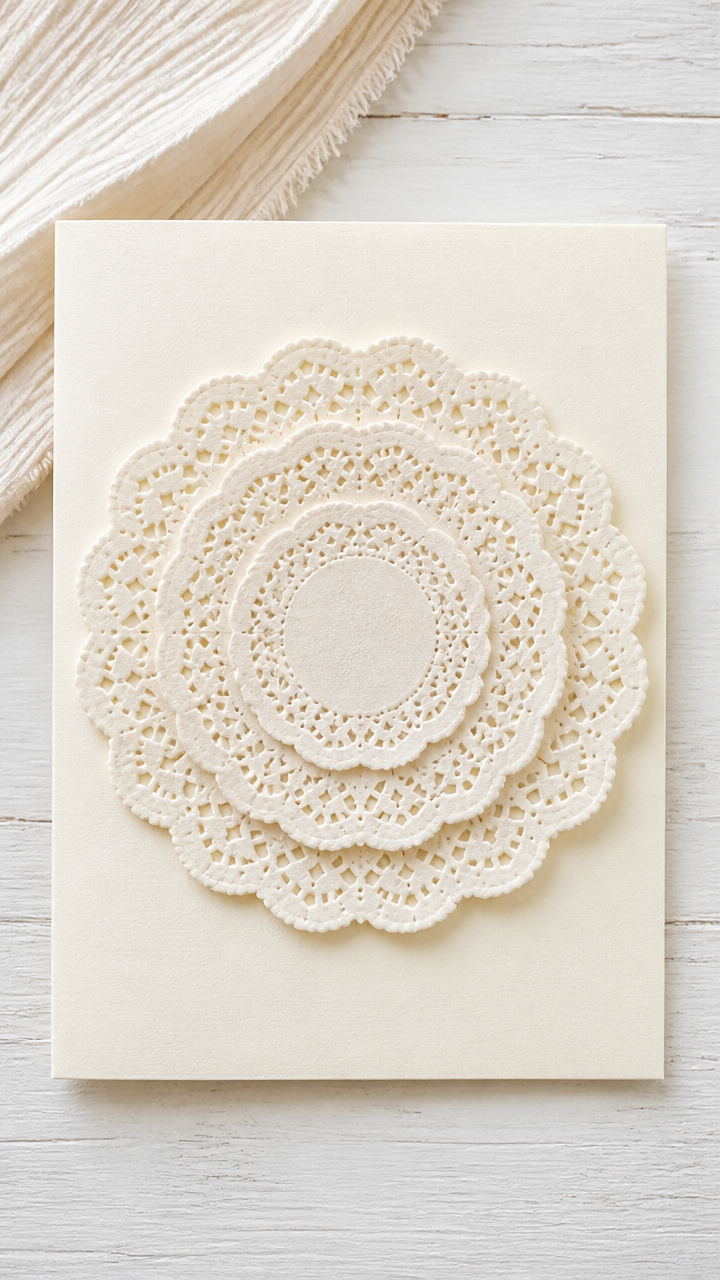
Three concentric doilies, each slightly smaller than the last, build a fluffy centerpiece that looks stitched but isn’t. The airy effect adds romance without weight.
Materials Needed
- 6 x 4.5 inch cream cardstock
- Round paper doilies – large (3 inch), medium (2.5 inch), small (2 inch) (1 each)
- Glue dots (3)
- Pencil
How to Make It
- Fold the cream cardstock in half vertically to form a 4.5 x 3 inch front.
- Stack the doilies from largest to smallest, aligning centers, and press gently to flatten.
- Mark the center point with a pencil, then lift the stack and place one glue dot under each doily’s center.
- Press the stack onto the front of the card, center aligned, and smooth from middle outward.
8. Pressed Flower Embellishment
Moderate
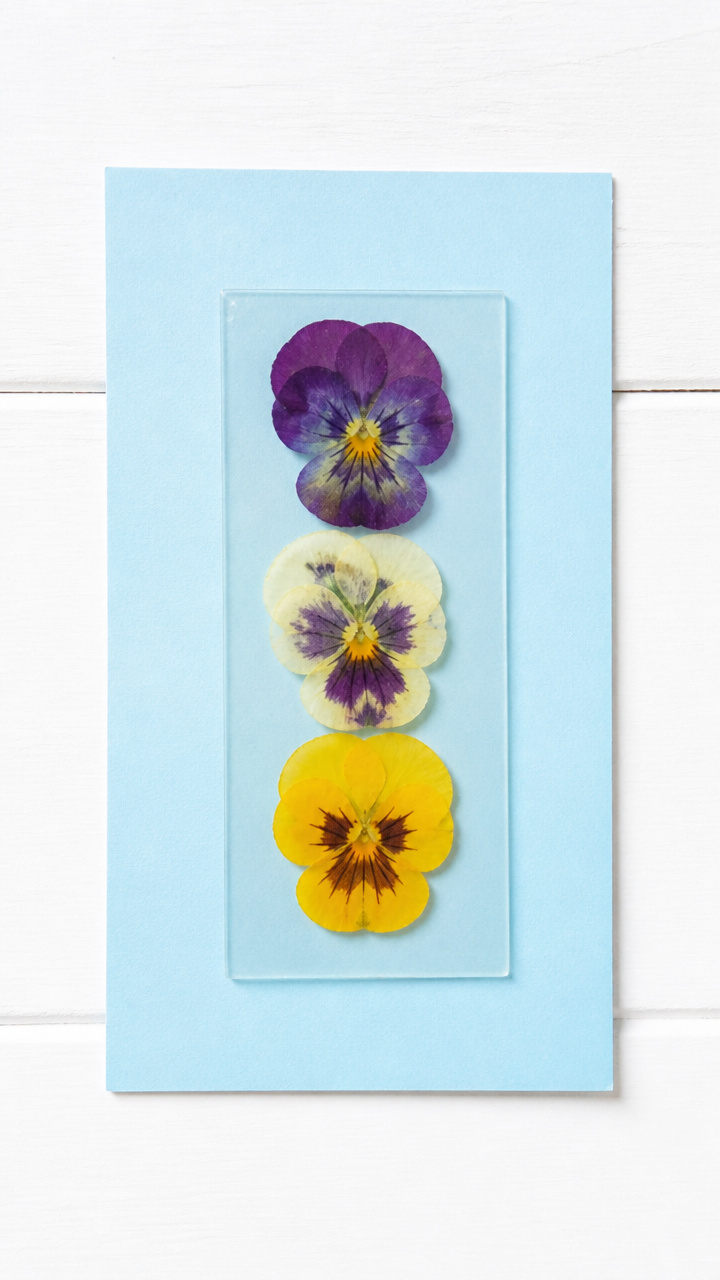
Real miniature flowers, sealed between paper layers, give a garden-fresh charm. Each bloom stays intact for years if dried properly beforehand.
Materials Needed
- 5 x 3.75 inch pastel blue cardstock
- 3 pressed pansy flowers
- 8.5 x 11 inch clear self-adhesive laminating sheet
- Scissors
- Ruler
How to Make It
- Fold the pastel blue cardstock in half to create a 3.75 x 2.5 inch card.
- Cut a 2.25 x 1.75 inch window from the laminating sheet’s backing, leaving a border.
- Place the three flowers face up inside the window area on the sticky side.
- Carefully peel the rest of the backing and fold the laminate over, sealing the flowers in place.
- Trim excess laminate and adhere the finished piece to the card front with the border flush.
9. Accordion Fold Love Letter
Easy
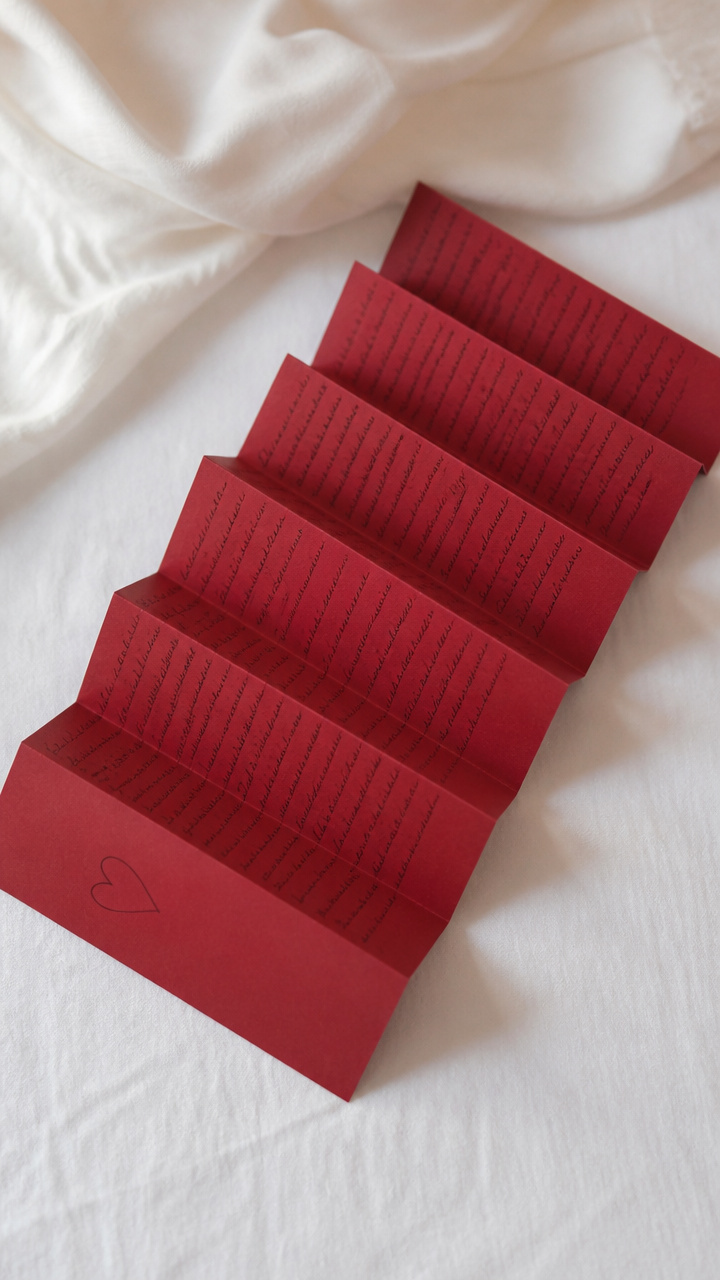
Seven narrow panels fold out like a fan, revealing a full handwritten note across the span. The unfolding motion makes reading feel ceremonial.
Materials Needed
- Seven 2 x 3 inch rectangles red cardstock
- Double-sided tape (7 pieces)
- Bone folder
How to Make It
- Lay one rectangle flat and place a piece of double-sided tape on its right short edge.
- Press the next rectangle’s left edge onto the tape, forming a hinge.
- Repeat until all seven panels are connected in a chain.
- Fold each connection backward and forward with the bone folder to create a smooth accordion.
10. Embossed Fingerprint Hearts
Easy
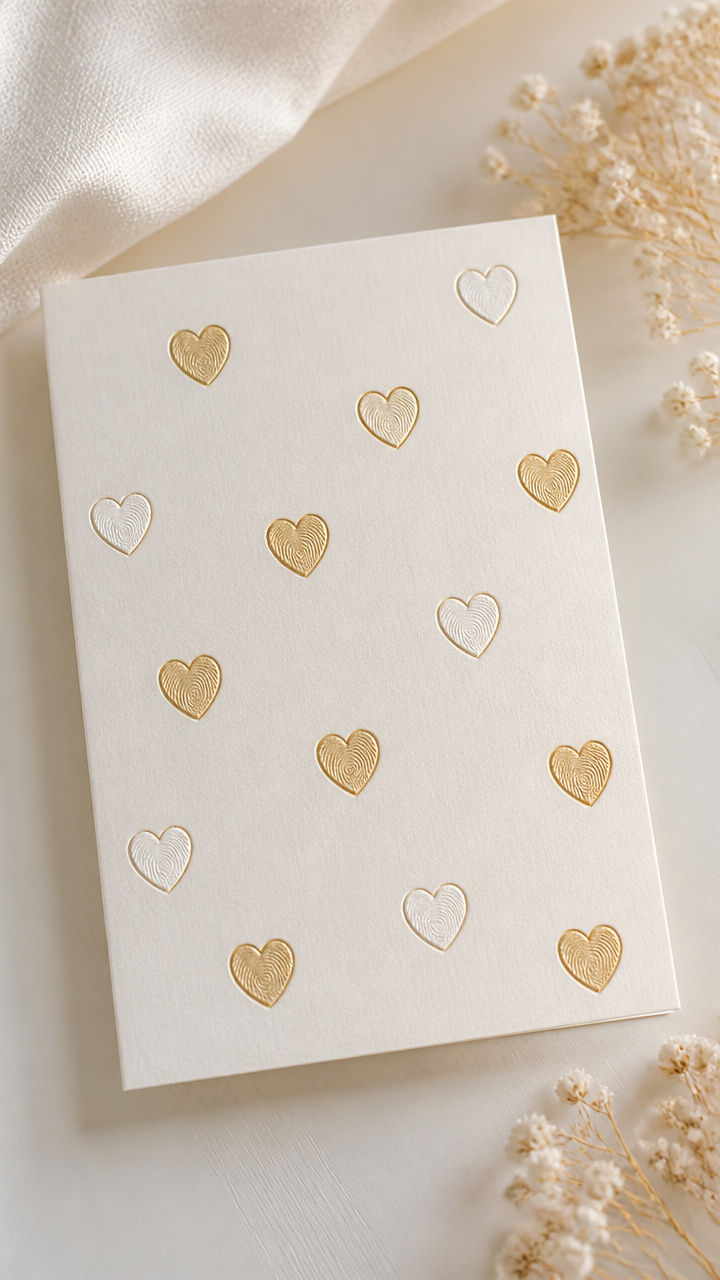
Your actual fingerprint becomes the base of tiny hearts, raised and permanent. It’s a subtle way to leave a physical trace of yourself on the card.
Materials Needed
- 4.25 x 5.5 inch off-white cardstock
- Black ink pad
- White embossing powder
- Heat gun
- Clear stamp pad
- Fine-tip gold marker
How to Make It
- Fold the off-white cardstock in half to form a 4.25 x 2.75 inch card.
- Press your fingertip onto the black ink pad and stamp two prints near the top front, spaced 0.5 inch apart.
- Sprinkle white embossing powder evenly over the prints and shake off excess.
- Hold the heat gun 2 inches away and warm until the powder melts and rises slightly.
- Once cooled, draw a tiny heart outline around each print using the gold marker.
11. Paper Weaving Name Panel
Moderate
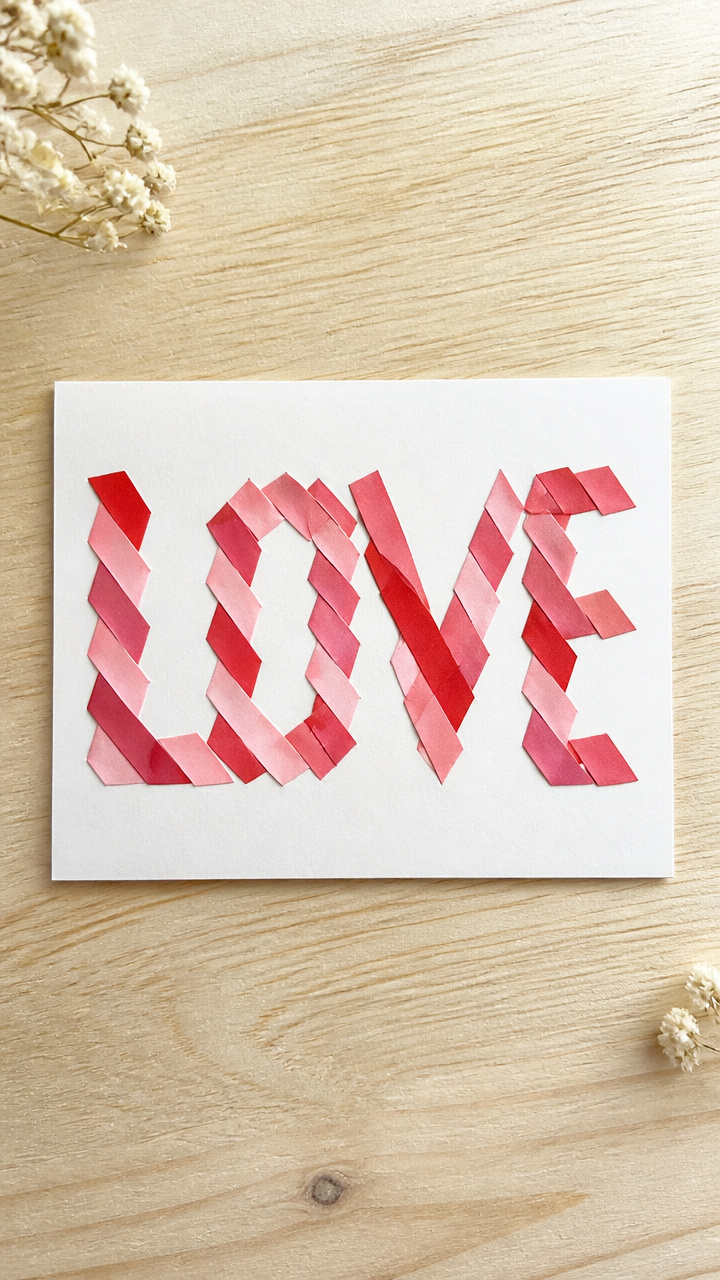
Interlaced red and pink strips spell out a name in woven ribbon-like bands. The rhythmic pattern draws the eye and feels modern yet tender.
Materials Needed
- 5 x 4 inch white card base
- Red weaving paper strips – 0.25 inch x 4 inch (7 pieces)
- Pink weaving paper strips – 0.25 inch x 5 inch (1 piece)
- Glue stick
- Ruler
How to Make It
- Glue the pink strip vertically down the center of the card front.
- Lay the first red strip horizontally across the front, tucking it under the pink strip at the intersection.
- Alternate over and under as you add each red strip, shifting the pattern by one space each time.
- Glue the ends of all horizontal strips to the back of the card.
- Write the recipient’s name in cursive along the pink vertical strip using a dark marker.
12. Shadow Box Depth Frame
Advanced
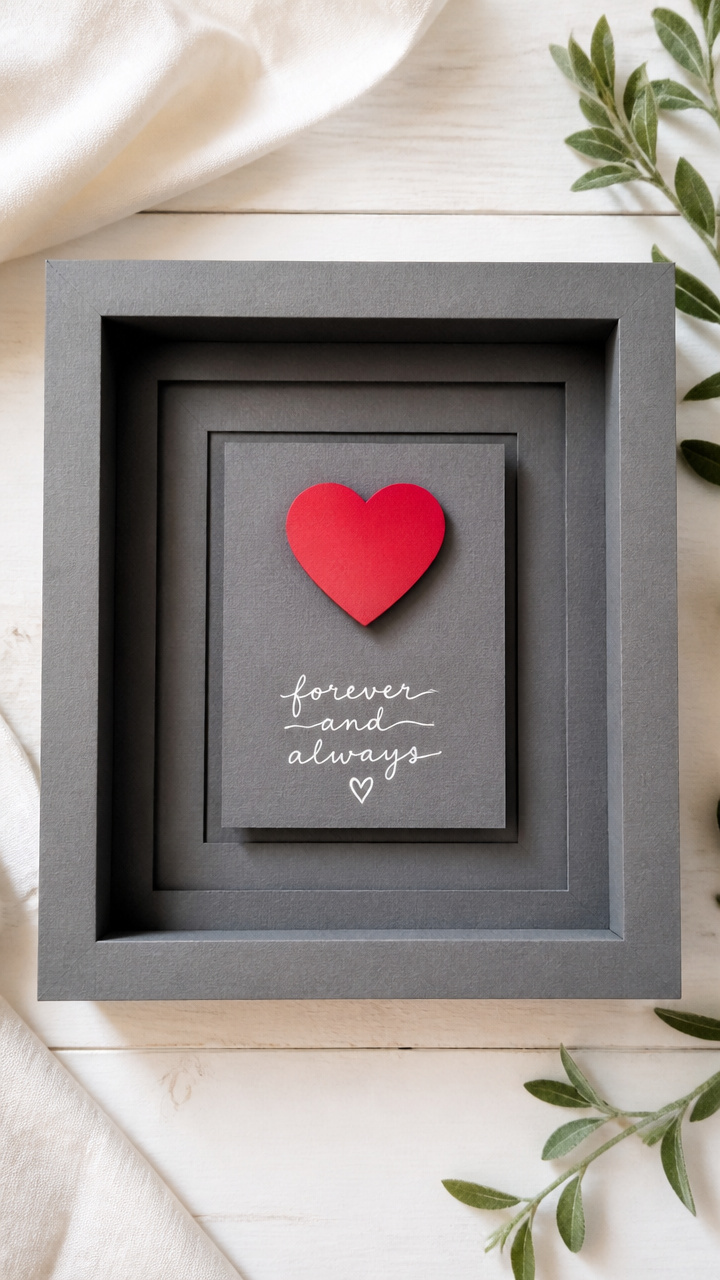
Three stacked layers create a mini diorama with a heart floating above a message. Shadows play between levels, adding real depth.
Materials Needed
- 5 x 3.5 inch gray cardstock (base)
- Three 2.5 x 1.5 inch foam adhesive squares
- Red paper heart – 1.25 inch
- White calligraphy pen
- Bone folder
How to Make It
- Fold the gray cardstock in half with the bone folder to make a sturdy base.
- Write a short phrase like 'Forever Yours' in the center with the calligraphy pen.
- Stick one foam square directly over the text.
- Place a second foam square on top of the first, then the third on top of that.
- Center the red heart on the topmost foam layer and press down firmly.
13. Tassel-Hung Mini Envelope
Moderate
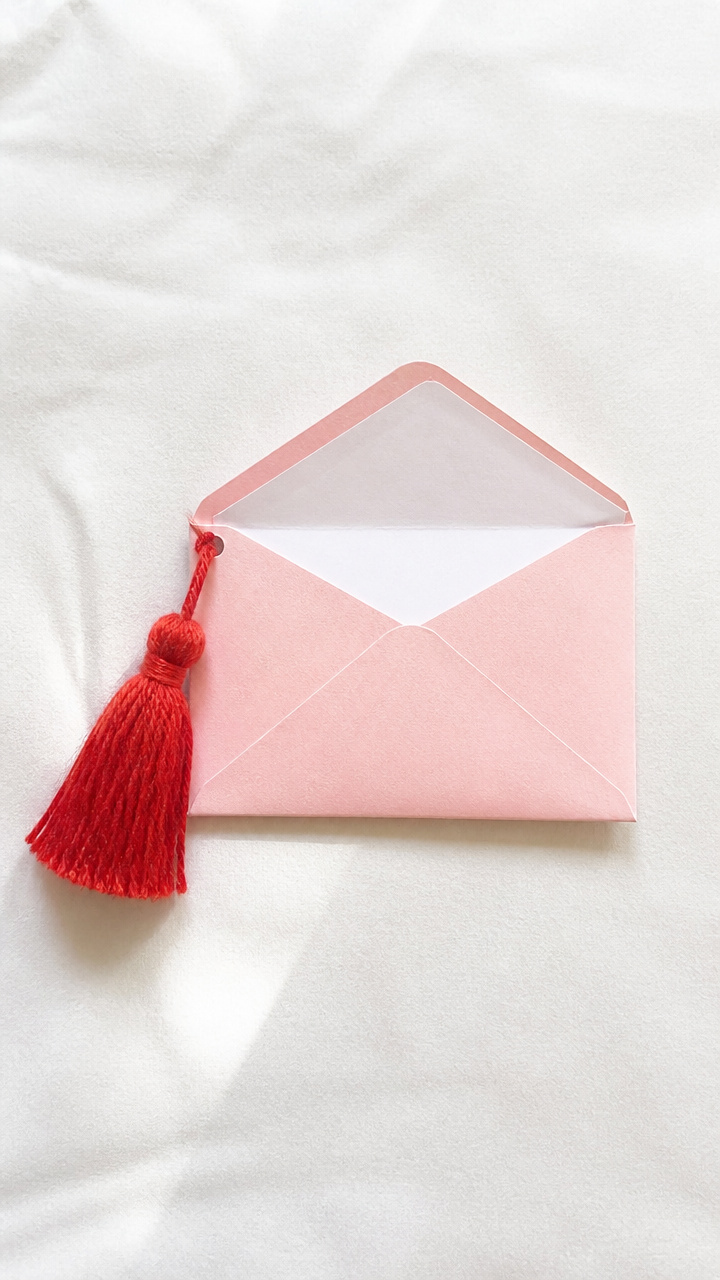
A tiny paper envelope dangles from the card front by a red thread tassel, holding a secret note. The movement invites fingers to pull and peek inside.
Materials Needed
- 6 x 4.25 inch blush cardstock
- 2 x 1.5 inch white paper
- 6 inch red embroidery floss
- Glue dot
- Hole punch
- Scissors
How to Make It
- Fold the blush cardstock in half to form the main card.
- Roll the white paper into a tiny cylinder and glue the seam to make a mini envelope.
- Thread 3 inches of floss through the hole punch and knot both ends to form a loop.
- Glue the loop to the top back of the envelope with a glue dot.
- Punch a hole at the top center of the card front and thread the loop through, securing the tassel.
14. Geometric Heart Cut Pattern
Advanced
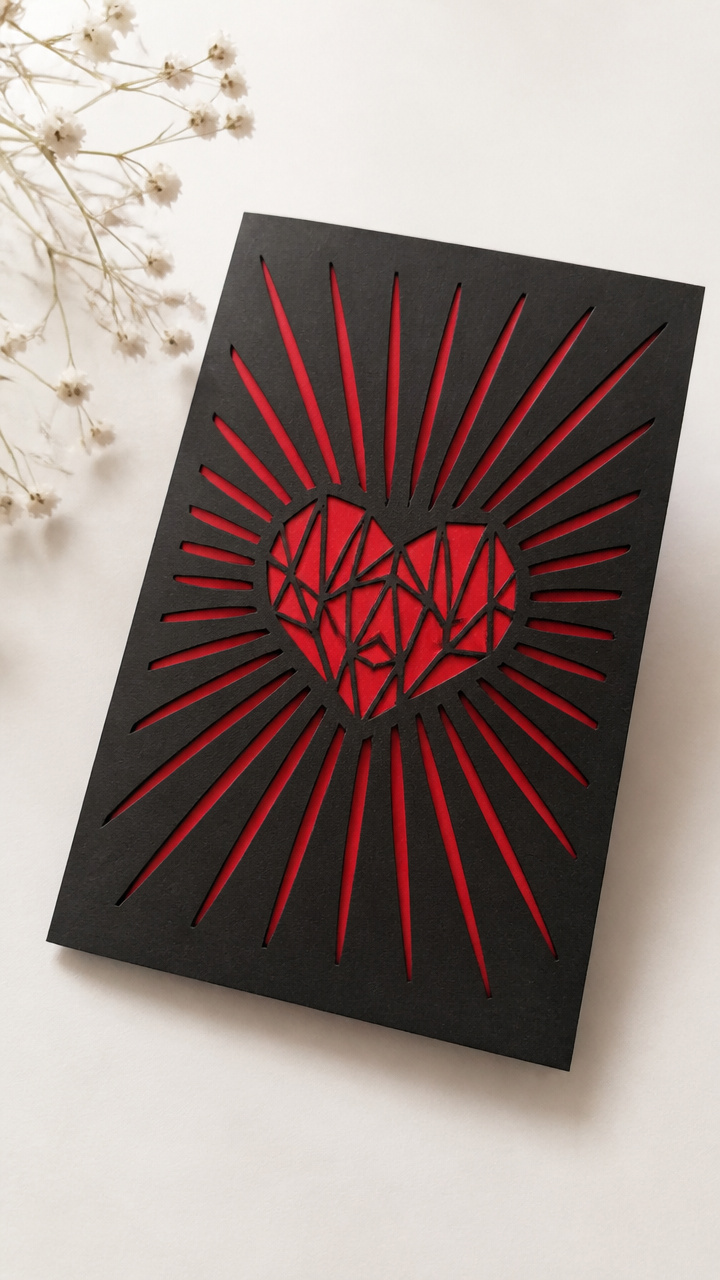
Sharp triangular cuts radiate from a central heart, forming a sunburst when the card opens. Precision slicing gives a contemporary, artistic edge.
Materials Needed
- 8.5 x 5.5 inch black cardstock
- Craft knife
- Cutting mat
- Compass
- Ruler
- Red gel pen
How to Make It
- Fold the black cardstock in half horizontally to create a 5.5 x 4.25 inch card.
- Use the compass to draw a 1 inch heart in the center of the folded edge.
- From the tip of the heart, draw 12 straight lines outward at even angles, extending to the card’s edge.
- Use the craft knife and ruler on the cutting mat to slice along each line, stopping at the heart outline.
- Open the card and write 'Be Mine' inside with the red gel pen.
15. Hand-Torn Edge Collage
Easy
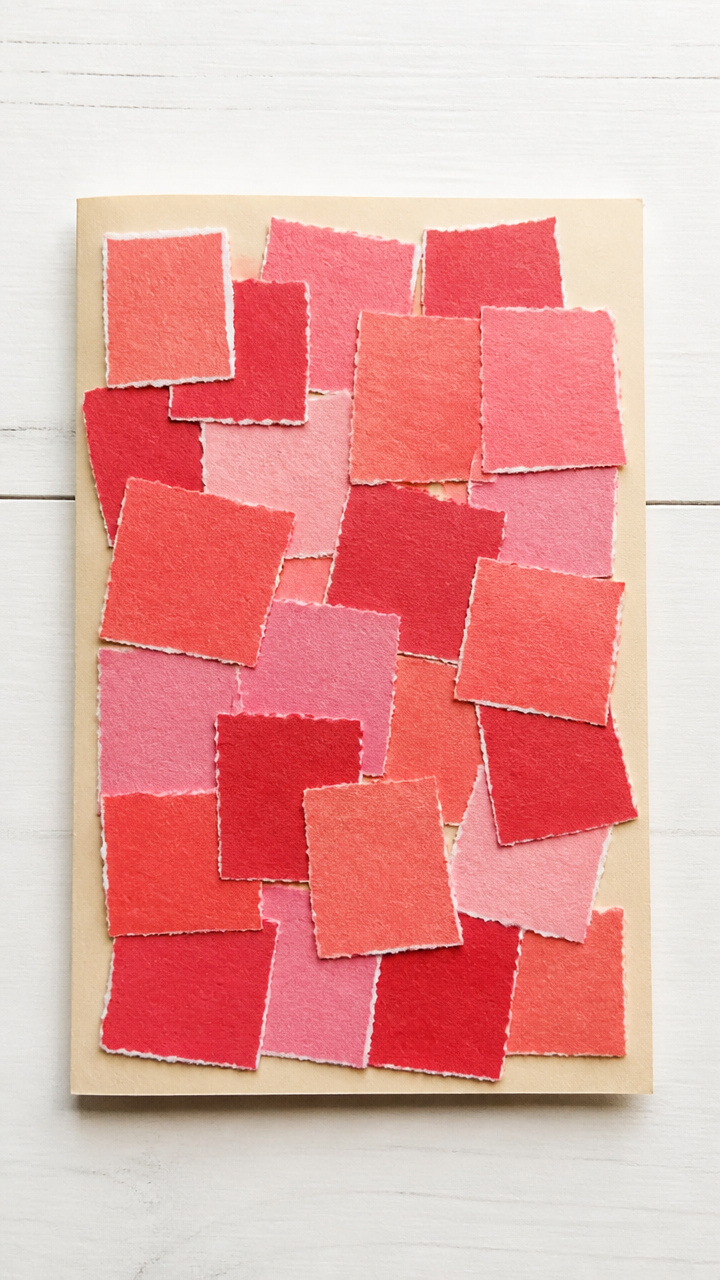
Pieces of colored paper with soft, irregular edges overlap like a patchwork of feelings. The raw texture feels honest and warm, not perfect but true.
Materials Needed
- 5 x 3.75 inch manila cardstock
- Red, pink, and coral scrap paper – 1 inch squares (9 total)
- Glue stick
- Pencil
How to Make It
- Fold the manila cardstock in half to make a 3.75 x 2.5 inch card.
- One at a time, tear each scrap paper square into smaller uneven pieces using your fingers.
- Arrange the torn pieces in a loose heart shape on the front, overlapping slightly.
- Glue each piece down individually with the glue stick, pressing flat for 2 seconds each.
Grab your scissors, find some colorful paper, and let your hands do the talking. Each card you make carries a piece of your heart, far more than any store-bought version ever could.