15 Romantic Valentine’s Day Wall Decor DIY Ideas

Soft light glows on a hand-painted heart, casting delicate shadows across the wall. Every brushstroke and folded paper shape adds warmth to your space, turning simple materials into meaningful moments.
You don’t need fancy tools or years of crafting experience to create something beautiful. These handmade decorations bring intimacy and charm to any room, made with care and ready to be shared.
1. Felt Heart Garland
Easy
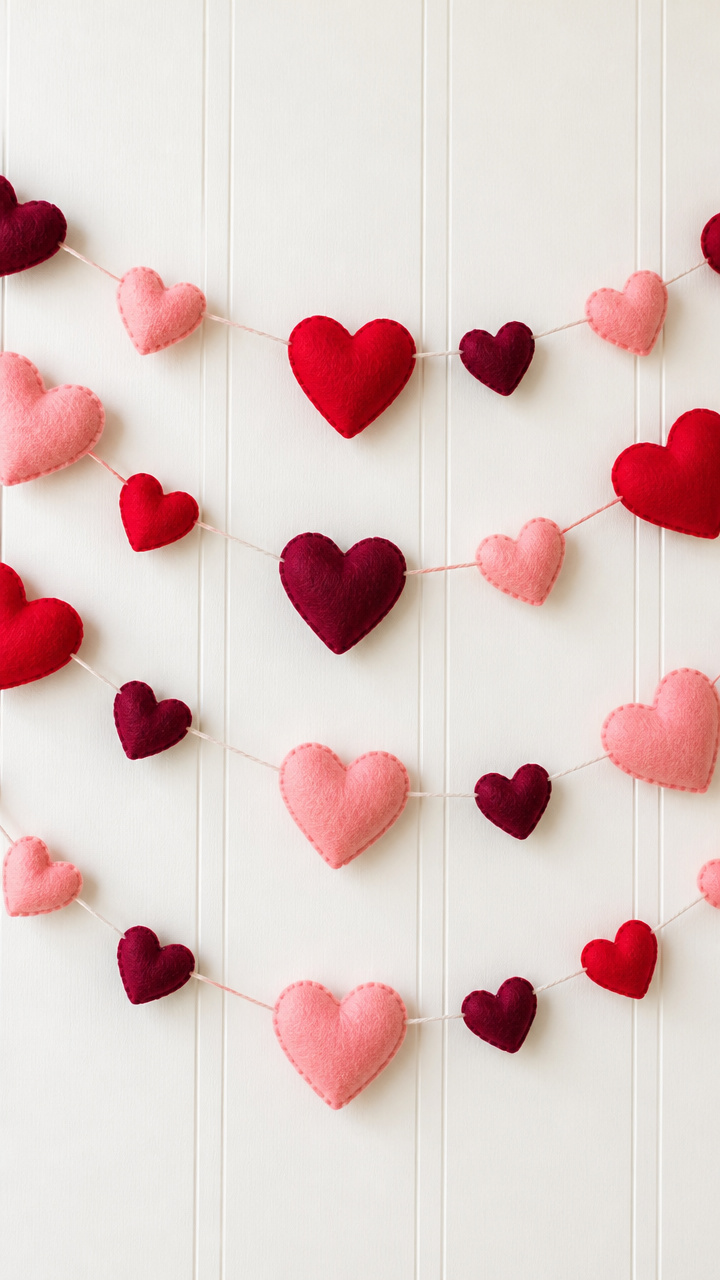
A string of plush hearts in varying sizes sways gently above your bed or mantel. This soft, cozy piece adds texture and warmth without overwhelming your space.
Materials Needed
- 12-inch wide red felt sheet
- 8-inch wide blush pink felt sheet
- 6-inch wide burgundy felt sheet
- Scissors
- Pencil
- Ruler
- Twine, 5 feet
- Hot glue gun
- Glue sticks
How to Make It
- Draw six heart templates on paper: two each at 3 inches, 4 inches, and 5 inches tall. Cut them out.
- Trace each heart onto the felt sheets, mixing colors—use two of each size per color. Cut out all 18 hearts.
- Cut twine into five 12-inch lengths. Tie knots at both ends of each to prevent fraying.
- Lay one twine strand flat. Apply hot glue to the back of a heart and press it onto the twine. Space hearts 2 inches apart. Repeat with remaining strands and hearts.


2. Pressed Flower Shadow Box
Moderate
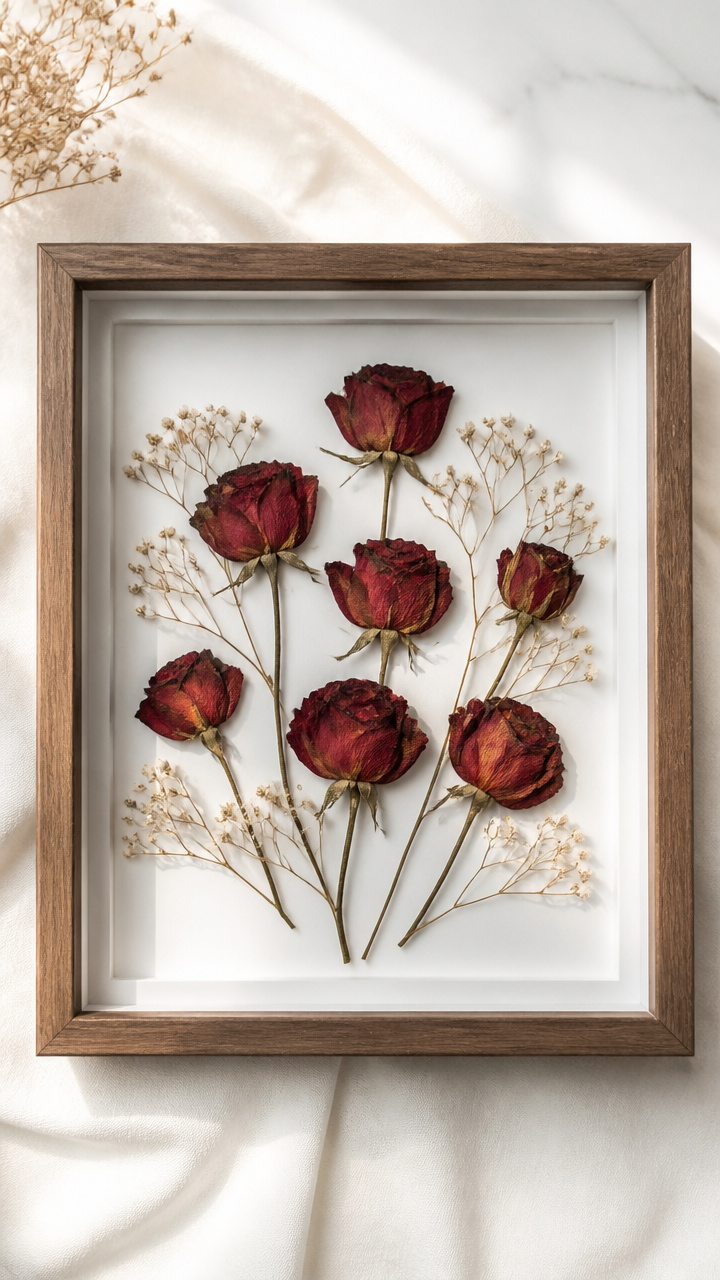
Delicate blooms captured in a deep frame float like memories suspended in time. This elegant piece brings nature’s quiet beauty indoors.
Materials Needed
- Wooden shadow box frame, 12×12 inches, with glass front
- White acid-free mat board
- Pressed red roses and baby’s breath, 8 pieces total
- Tweezers
- Double-sided tape squares, 0.5 inch
- Ruler
- Pencil
- Craft knife
How to Make It
- Remove the glass and backing from the shadow box. Set aside.
- Cut the mat board to fit inside the frame depth using the craft knife and ruler. Score first, then cut cleanly.
- Arrange flowers on the mat board with tweezers, creating a balanced composition. Keep stems hidden and blooms spaced evenly.
- Attach each flower with a double-sided tape square under the stem or base. Press gently to secure.
- Place the mat board back into the frame, add the glass, and close the backing securely.


3. Gold Leaf Mirror Accent
Advanced
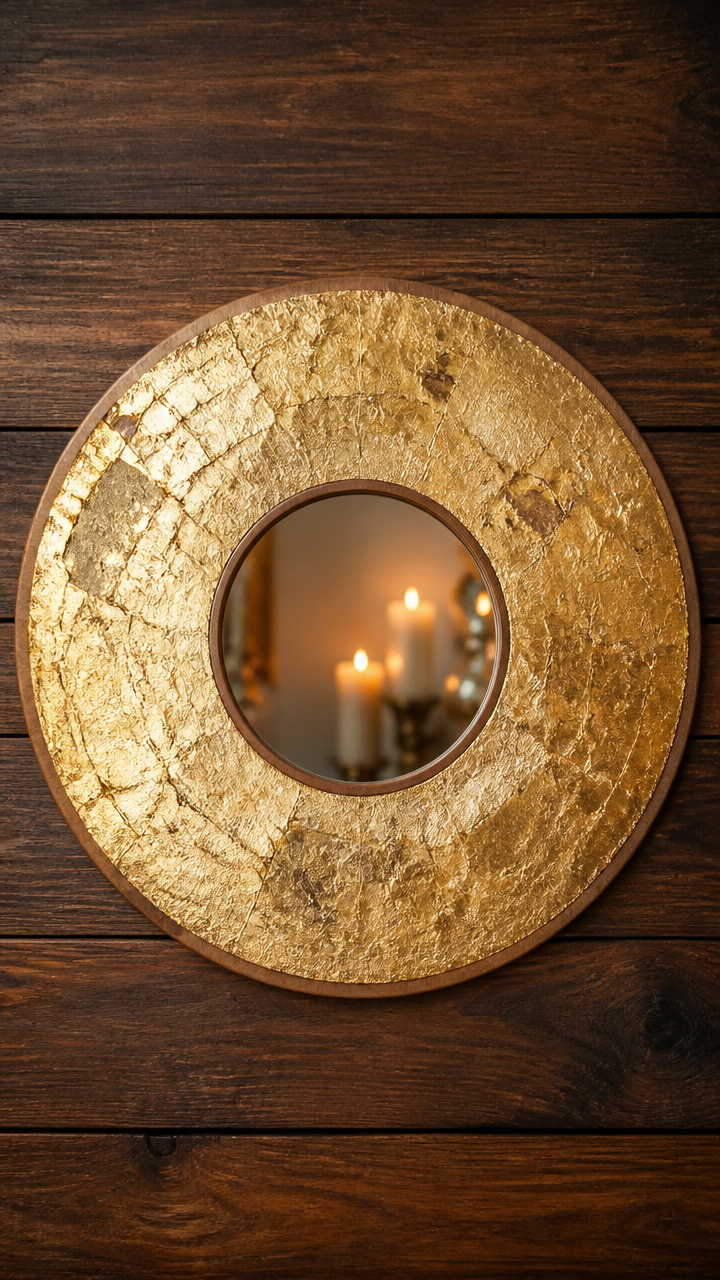
A round mirror surrounded by shimmering gold leaf catches candlelight and reflects warmth. This luxurious touch feels personal and intentional.
Materials Needed
- Round wooden plaque, 10 inches diameter
- Glass mirror, 6 inches diameter
- Adhesive mirror pads, 4 count
- 23.75-karat gold leaf sheets, 3 sheets
- Gold leaf adhesive (slow-dry type), 2 oz
- Soft-bristle brush
- Plastic gloves
- Clean lint-free cloth
How to Make It
- Wipe the wooden plaque with a lint-free cloth to remove dust. Put on plastic gloves to avoid fingerprints.
- Apply gold leaf adhesive to the outer ring of the plaque using the soft-bristle brush. Avoid the center where the mirror will sit.
- Wait 15 minutes until the adhesive becomes tacky but not dry.
- Lay a gold leaf sheet over the sticky area. Gently pat with a dry brush to adhere. Lift carefully—excess will flake off.
- Repeat until the ring is fully covered. Let dry 2 hours.
- Press mirror pads onto the back edges of the glass mirror. Center and press firmly onto the plaque’s middle.


4. String Art Love Quote
Moderate
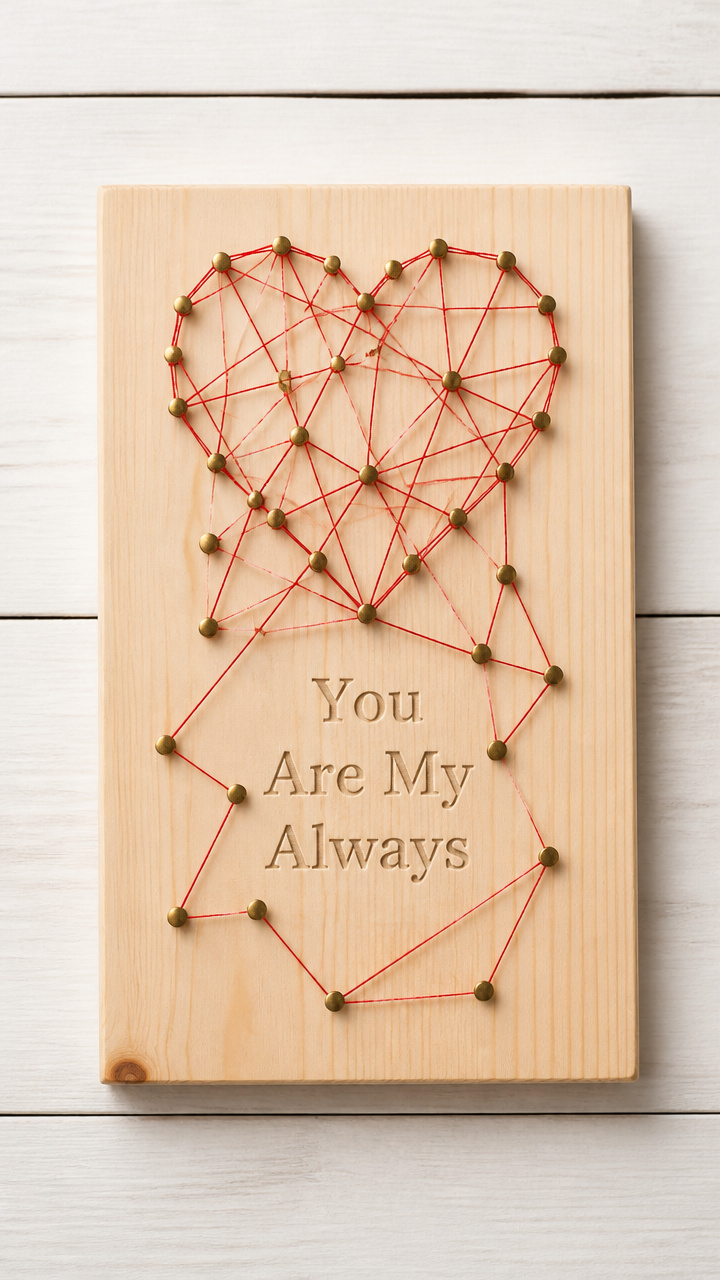
Tiny nails form a constellation around words pulled taut with red thread. This modern keepsake turns a favorite phrase into art.
Materials Needed
- Solid pine board, 8×10 inches, sanded smooth
- Small hammer
- 64 brass brads, 1/2 inch long
- Red embroidery floss, 3 meters
- Printed quote stencil, 'You Are My Always'
- Double-sided tape
- Scissors
How to Make It
- Center the stencil on the board and secure with double-sided tape.
- Place a brass brad at every letter curve and corner point. Tap each gently with the hammer until halfway in.
- Remove the paper stencil carefully without moving the brads.
- Tie one end of the embroidery floss to a bottom brad. Wrap the thread around brads to fill the word shape, crossing lines for density.
- After completing the word, tie off the floss on the last brad and trim excess with scissors.


5. Watercolor Heart Wash
Easy
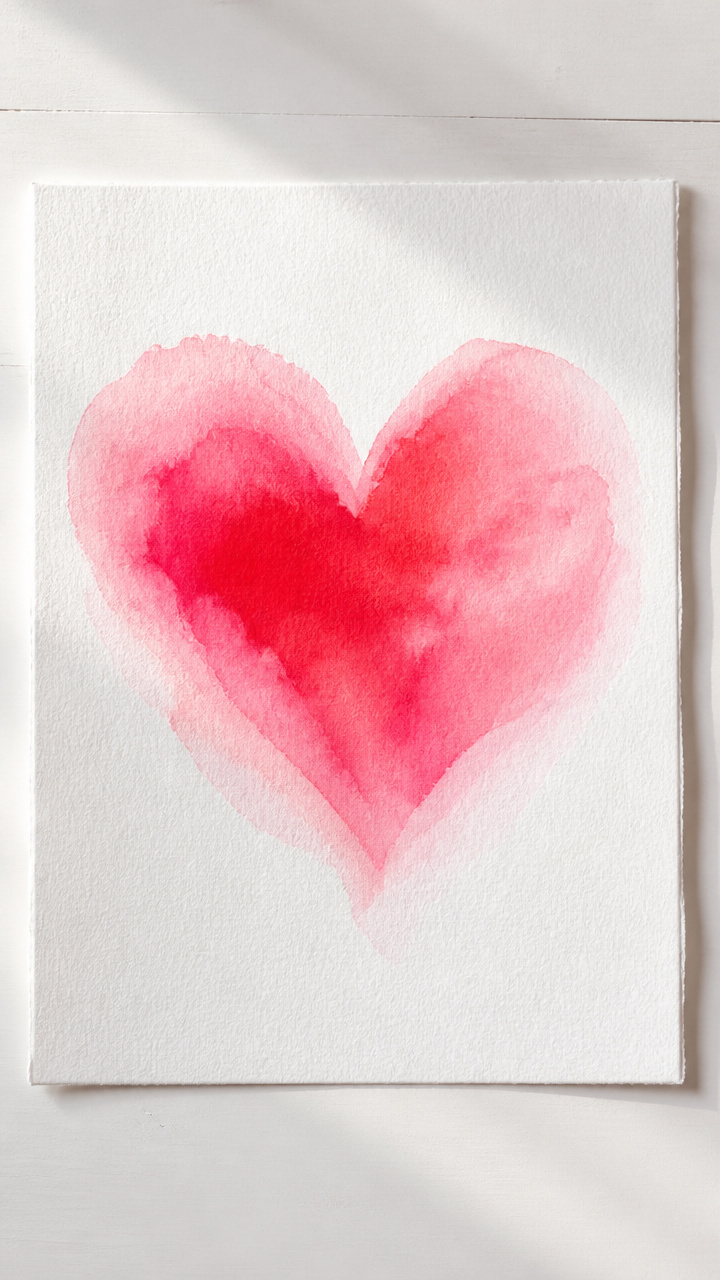
Translucent layers of red and pink bleed softly into each other on heavyweight paper. This dreamy piece feels both spontaneous and tender.
Materials Needed
- Cold press watercolor paper, 9×12 inches
- Round watercolor brush, size 8
- Cup of clean water
- Red watercolor paint
- Pink watercolor paint
- Paper towel
- Clipboard or flat board
How to Make It
- Clip the watercolor paper to the clipboard to keep it flat during painting.
- Wet the brush in water and pick up red paint. Paint a loose heart shape near the center.
- While still wet, touch pink paint into the lower edge of the heart. Let colors blend naturally.
- Tilt the board slightly to encourage flow. Blot edges with a paper towel if pooling occurs.
- Let dry completely, about 1 hour, before framing or hanging.
6. Origami Crane Mobile
Moderate
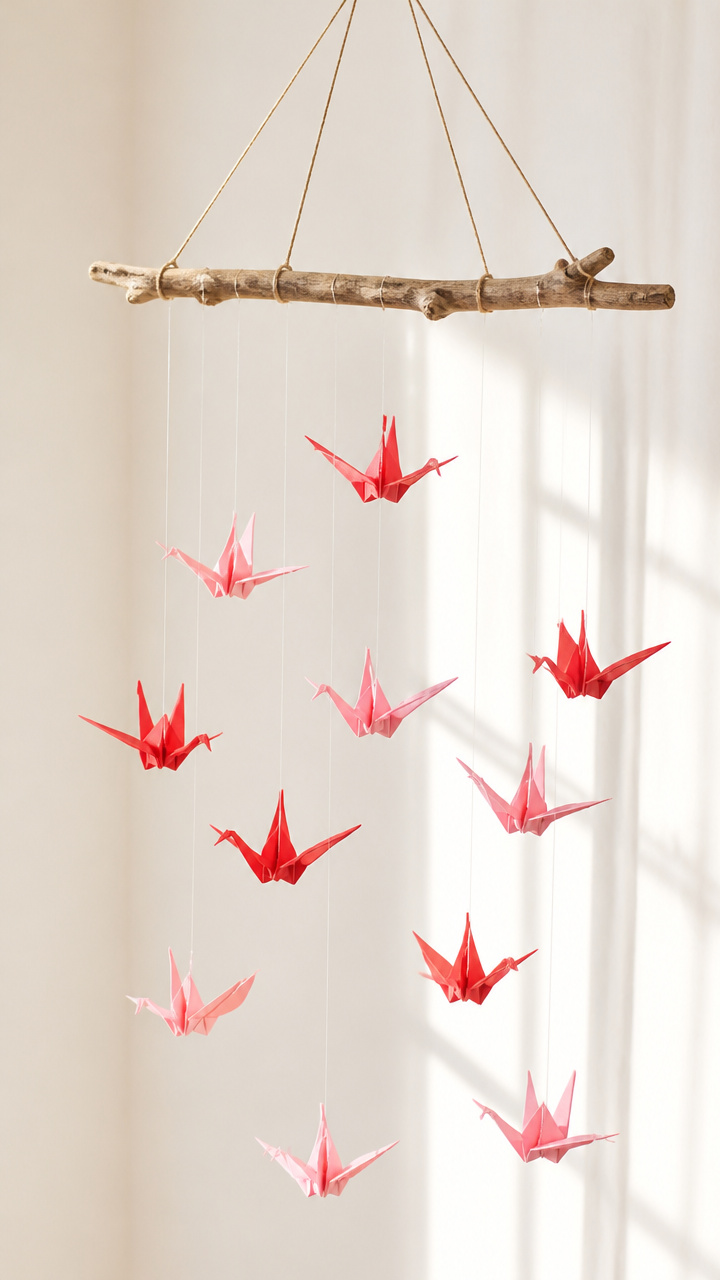
Delicate paper cranes hang at different heights, spinning slowly in the air. This peaceful design symbolizes love that lasts.
Materials Needed
- Red origami paper, 6×6 inches, 12 sheets
- Blush pink origami paper, 6×6 inches, 12 sheets
- Clear fishing line, 10 feet
- Embroidery needle
- Driftwood branch, 14 inches long
- Sandpaper
- Scissors
How to Make It
- Fold 24 origami cranes using the traditional method—one color per crane. Ensure wings are symmetrical.
- Lightly sand rough spots on the driftwood. Wipe clean with a dry cloth.
- Cut fishing line into 12 lengths: four at 8 inches, four at 10 inches, four at 12 inches.
- Thread the needle with one line. Pierce through the top fold of a crane and knot below to secure.
- Tie each line to the driftwood at staggered points. Alternate colors and lengths for balance.
- Trim any excess line with scissors after tying.
7. Cork Board Love Map
Moderate
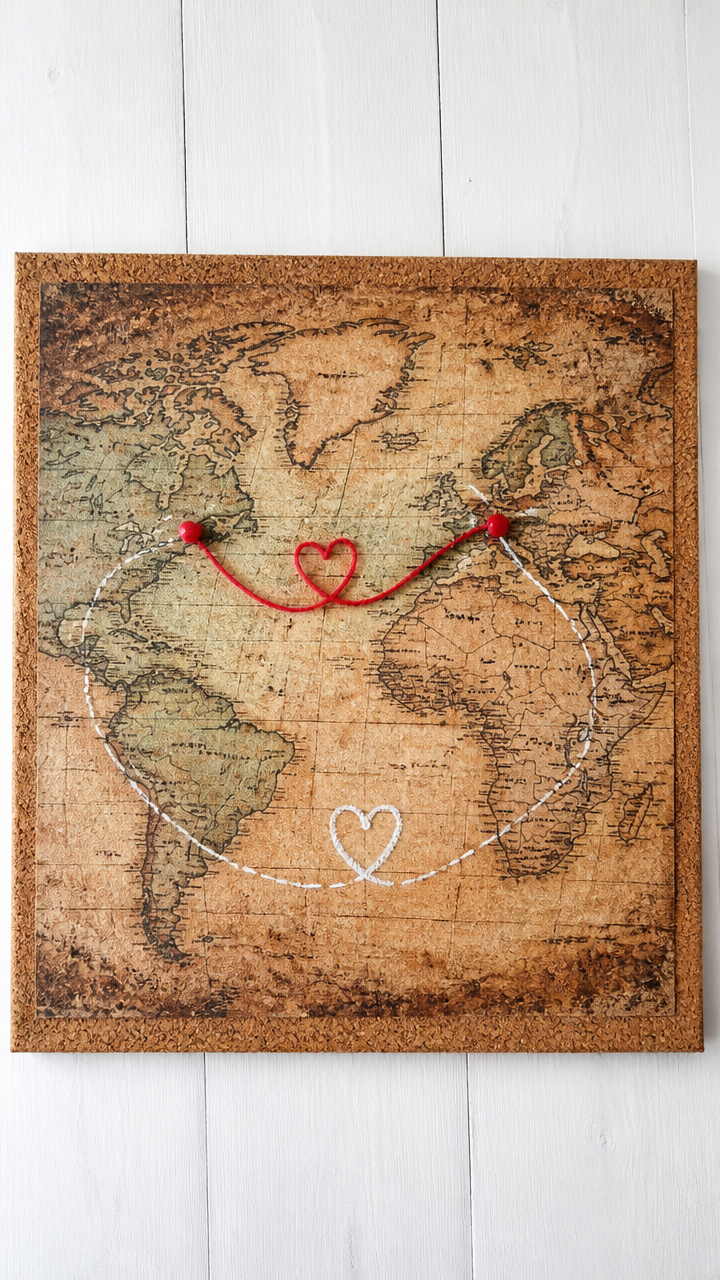
A vintage-style map outlines a destination marked with a red pin and twine. This adventurous piece celebrates where your love began.
Materials Needed
- Antique world map print, 11×14 inches
- Cork panel, 12×16 inches
- Spray adhesive
- Red push pin
- White chalk pencil
- Twine, 18 inches
- Frame, 12×16 inches with glass
How to Make It
- Lay the cork panel on a well-ventilated surface. Spray even coats of adhesive on its surface.
- Align the map and press it smoothly onto the cork, starting at the center and smoothing outward.
- Let dry for 20 minutes. Use the chalk pencil to circle a meaningful city on the map.
- Punch the red pin through the circled spot.
- Tie one end of twine to the pin. Extend the other end to the frame edge and secure behind with tape.
- Insert the mounted cork into the frame, place glass, and close the back.


8. Embroidered Hoop Art
Moderate
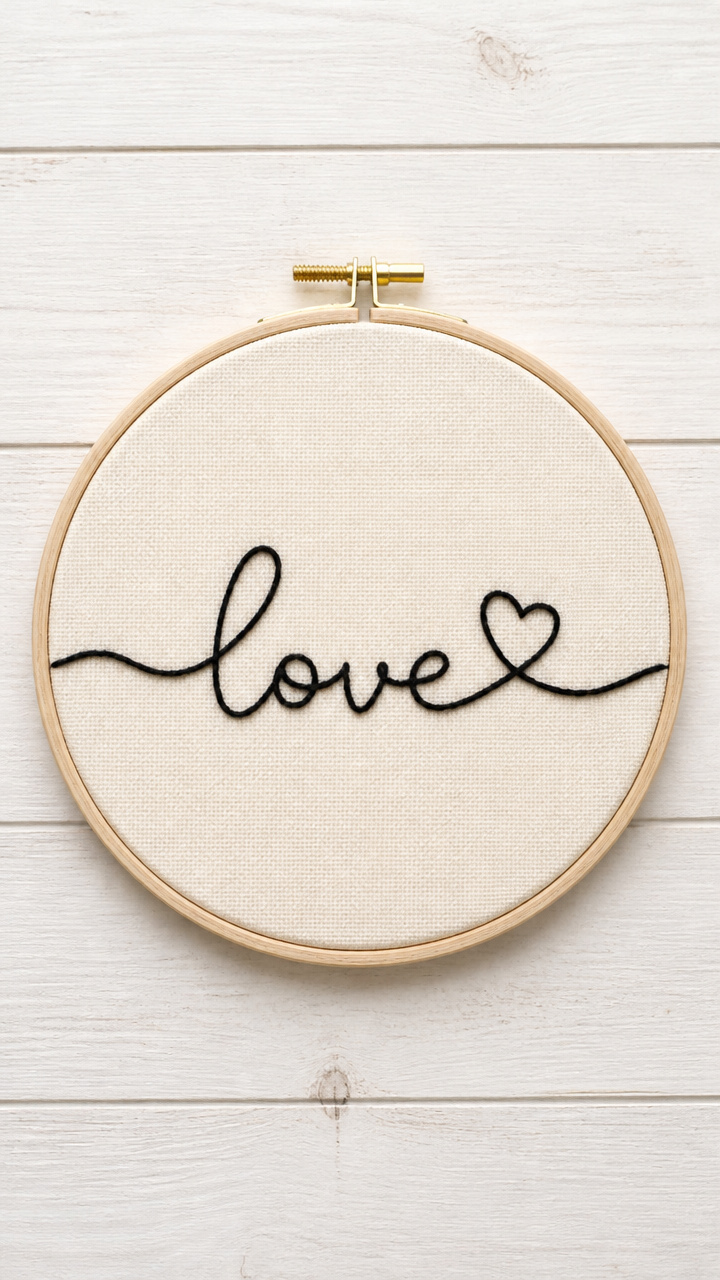
Stitched cursive script floats on pale fabric inside a wooden hoop. This intimate detail feels like a whispered promise.
Materials Needed
- Embellished embroidery hoop, 7 inches diameter
- Ivory cotton fabric, 10×10 inches
- Black embroidery thread, 2 meters
- Embroidery needle
- Water-soluble fabric marker
- Scissors
- Pattern: 'Forever Yours' in cursive
How to Make It
- Wash and iron the fabric to remove wrinkles. Cut to 10×10 inches.
- Transfer the 'Forever Yours' pattern using the water-soluble marker. Center the design.
- Stretch the fabric in the hoop, tightening the screw to make it drum-tight.
- Thread the needle with black embroidery thread. Knot the end.
- Stitch the design using backstitch technique, following the marked lines closely.
- Remove excess fabric around the hoop with scissors. Rinse the marker lines under water until gone. Air dry.
9. Painted Canvas Geometric Hearts
Easy
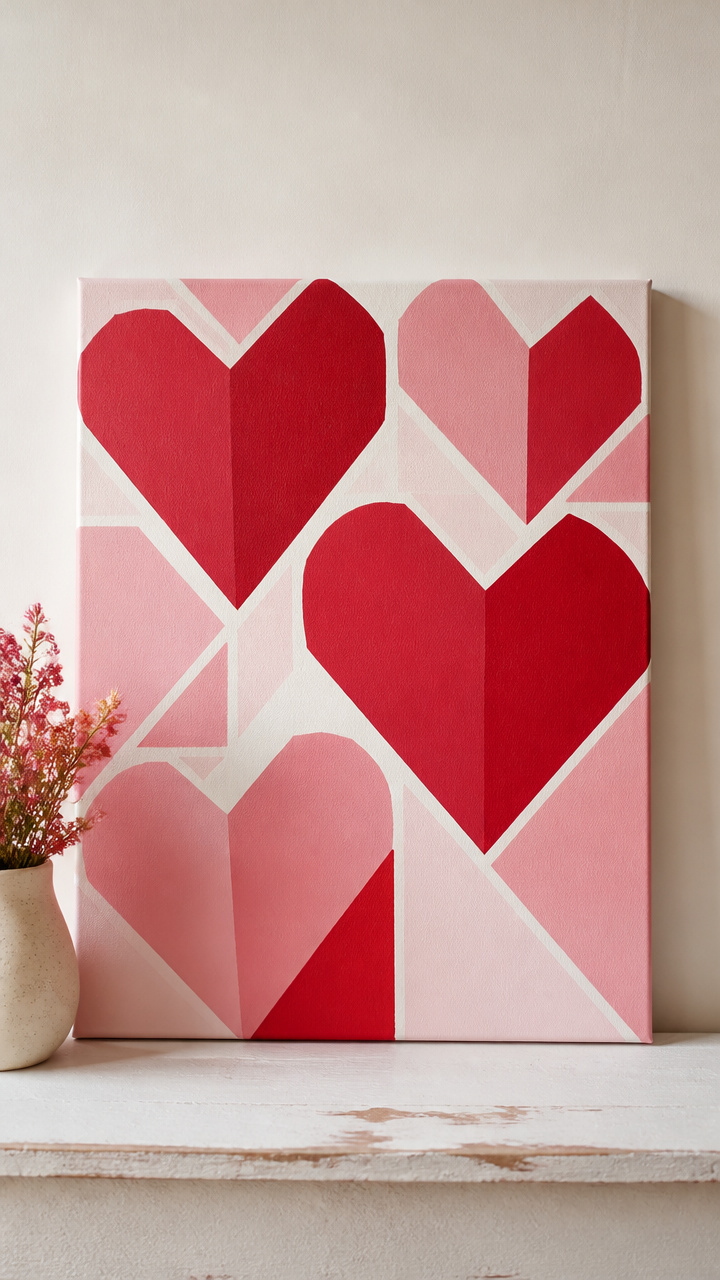
Sharp triangles align to form abstract hearts in bold crimson and soft rose. This modern piece commands attention with clean lines.
Materials Needed
- Stretched canvas, 16×20 inches
- Crimson acrylic paint
- Rose quartz acrylic paint
- Painter’s tape, 1 inch wide
- Foam brush, 1 inch
- Small plastic cup
- Water
- Ruler
How to Make It
- Use the ruler and pencil to lightly mark triangle placements forming two overlapping hearts in the center.
- Apply painter’s tape along the edges of each triangle, pressing down firmly to prevent bleed.
- Pour crimson paint into the cup. Dip the foam brush and coat three top triangles. Let dry 20 minutes.
- Remove tape carefully while paint is still slightly tacky to avoid peeling.
- Tape new sections for the remaining heart shapes. Paint with rose quartz. Dry and remove tape.
10. Photo Clothesline Display
Easy
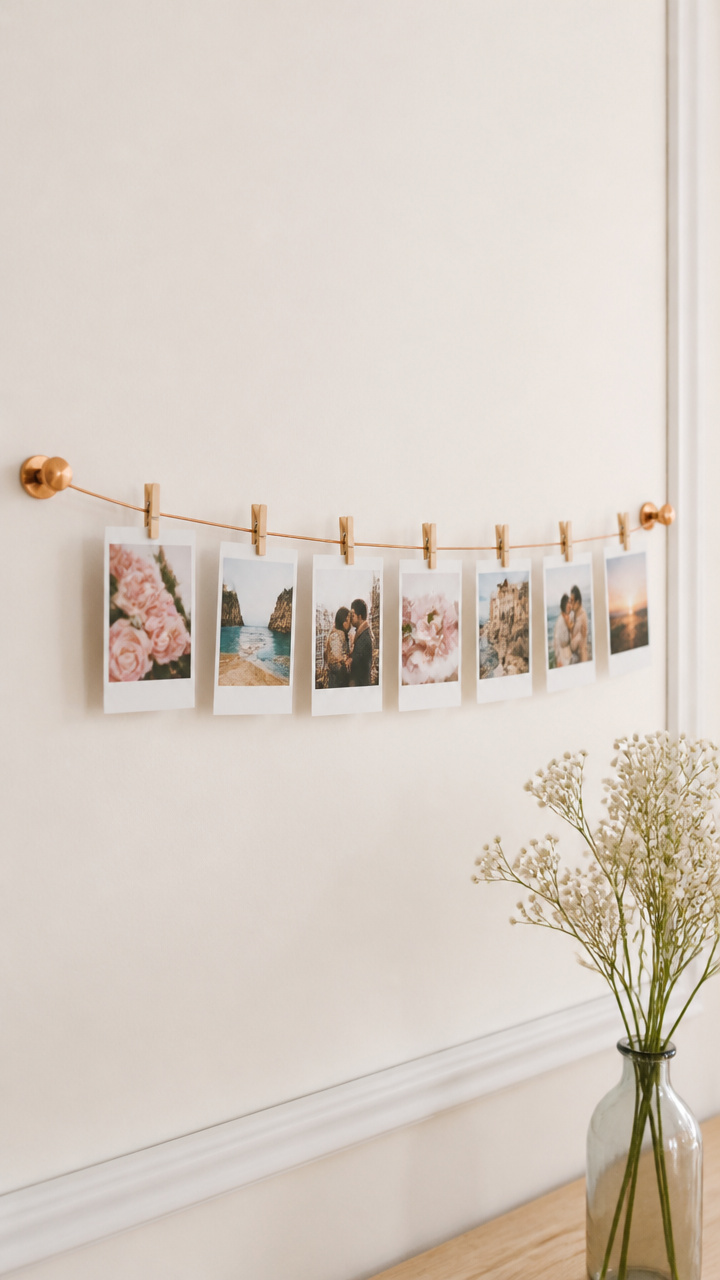
Tiny clips hold cherished moments along a thin copper wire. This evolving gallery grows more meaningful with every added picture.
Materials Needed
- Copper wire, 10 feet, 16-gauge
- Wall hooks with screws, 2 count
- Needle-nose pliers
- Mini wooden clothespins, 10 count
- Printed photos, 2×3 inches, 8 pieces
- Screwdriver
How to Make It
- Use the pliers to bend each end of the copper wire into a small loop for hanging.
- Screw one wall hook into each side of the desired space, ensuring they’re level.
- Hook the wire loops over the wall hooks. Adjust tension so the wire is taut.
- Clip photos into the clothespins. Hang them along the wire, spacing evenly.
- Adjust photo order or swap them later as you like.
11. Macramé Heart Hanger
Advanced
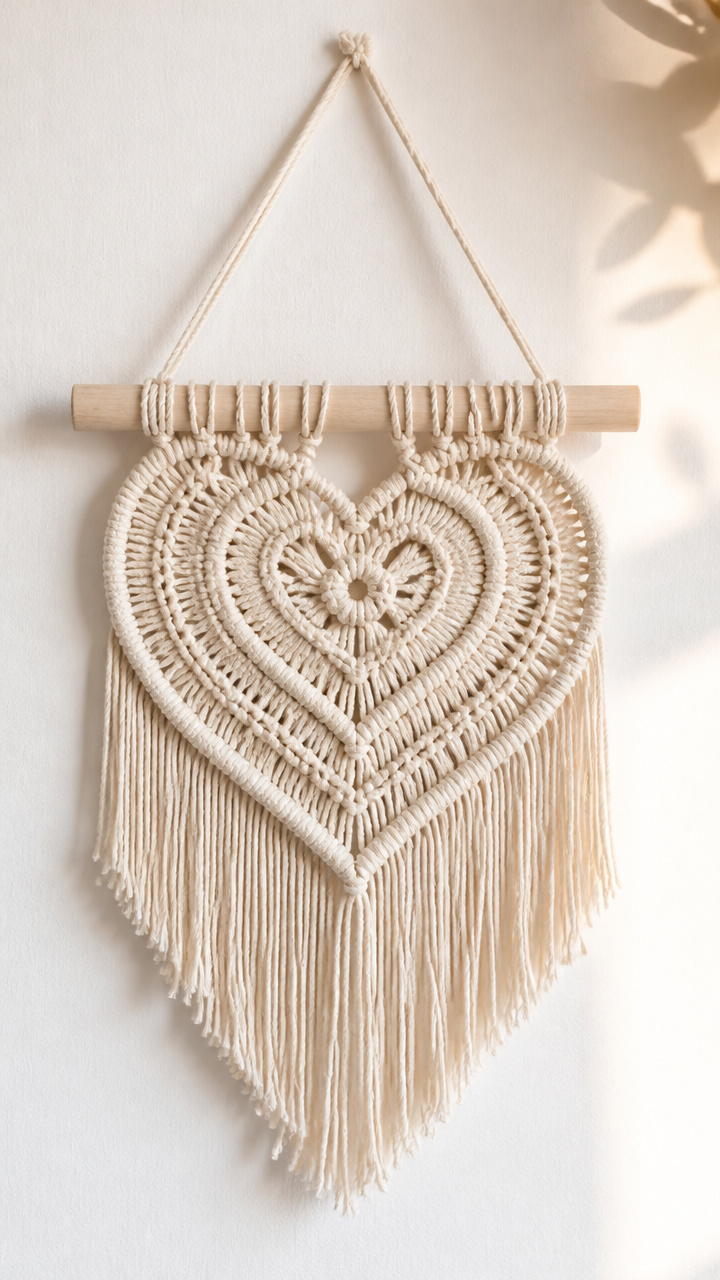
Knotted cords spiral into a soft heart that hangs like a textile jewel. This bohemian accent adds gentle romance to bare walls.
Materials Needed
- Medium-weight cotton cord, 3mm, 40 feet
- Wooden dowel, 8 inches long, 0.5 inch diameter
- Scissors
- Measuring tape
- Masking tape
How to Make It
- Cut twelve 3-foot lengths of cord. Fold each in half and attach to the dowel using lark’s head knots.
- Group cords into four sets of six strands. Tape the ends to your work surface to stabilize.
- Begin square knots: take left outer strand over the two middle, then right strand under and through. Repeat for four rows per group.
- Shift to diagonal half hitch knots—use one anchor strand angled at 45 degrees, tying others to it downward to form a V-shape.
- Merge outer groups toward center, shaping a heart outline. Finish with gathering knot at the bottom tip.
- Trim ends into a slight curve. Remove tape and hang by the dowel.
12. Chalkboard Love Notes
Easy
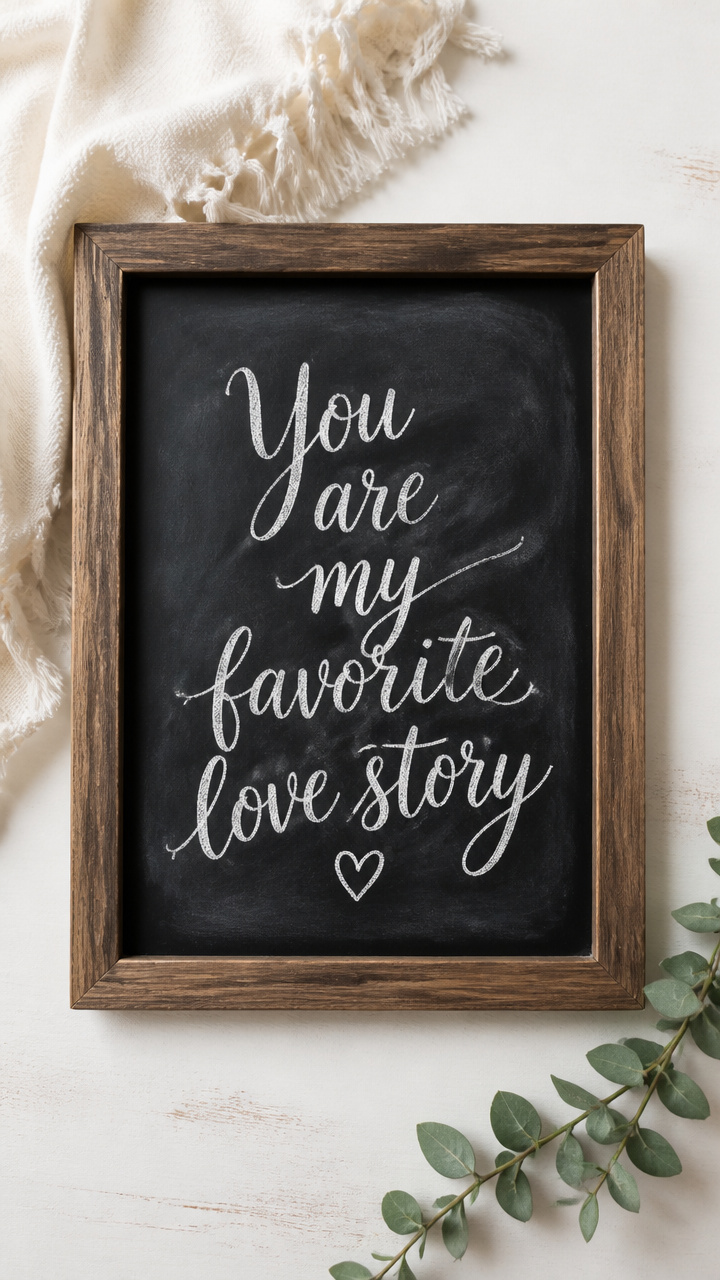
A dark rectangle holds ever-changing messages in bright white cursive. This playful piece invites daily connection.
Materials Needed
- Chalkboard panel, 8×10 inches
- Black picture frame, 8×10 inches
- White chalk marker
- Felt cleaning cloth
- Chalkboard primer pen
- Ruler
- Pencil
How to Make It
- Remove glass from the frame. Clean thoroughly with a dry cloth.
- Use the chalkboard primer pen to coat the glass evenly. Let dry 1 hour.
- Repeat with a second coat. Cure by leaving undisturbed overnight.
- Reinsert the cured glass into the frame.
- Write a message like 'I Love You More' in flowing cursive with the chalk marker.
- Erase with the felt cloth and rewrite whenever you like.
13. Wire Word Sculpture
Advanced
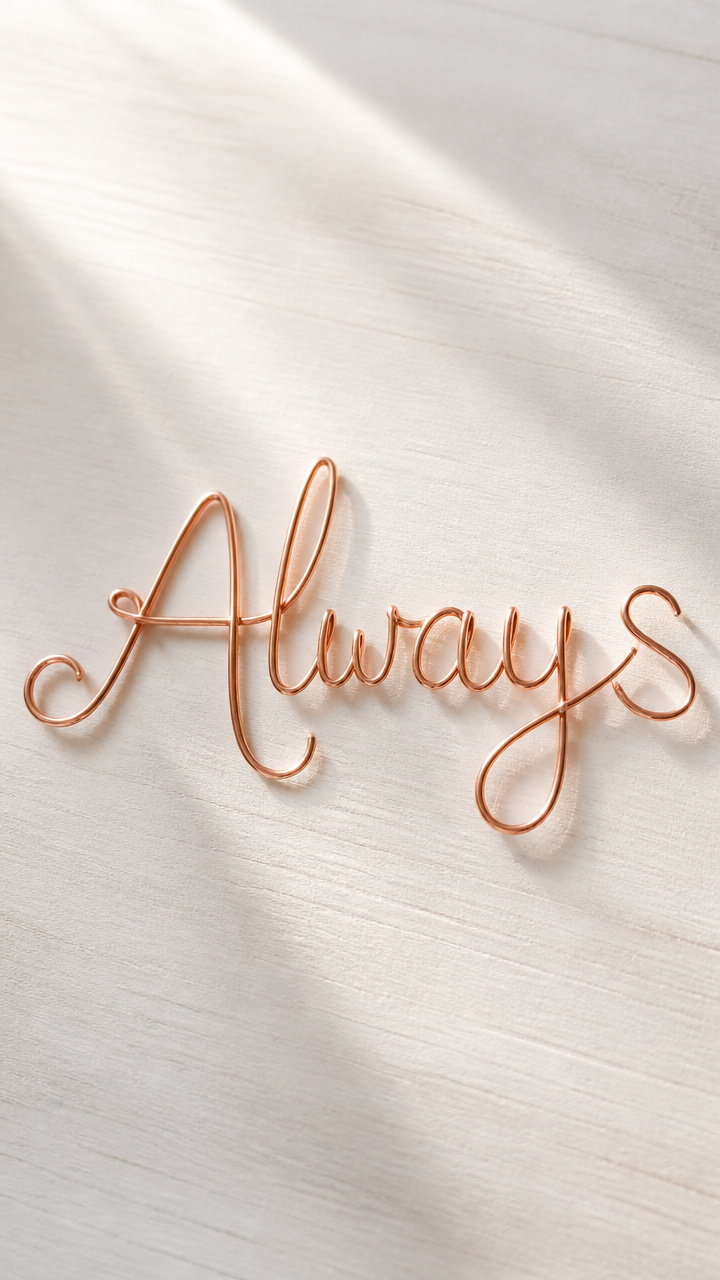
Bent copper wire forms the word 'Always' in graceful curves. This sculptural piece casts intricate shadows when lit from the side.
Materials Needed
- Copper wire, 18-gauge, 3 feet
- Round-nose pliers
- Flat-nose pliers
- Ruler
- Workbench vise or clamp
- Printed cursive template of 'Always'
- Pencil
How to Make It
- Clamp the template to your work surface. Secure one end of the wire in the vise.
- Use round-nose pliers to curl the start into a small scroll. Follow the template’s curves closely.
- Bend the wire around each letter shape, using flat-nose pliers for sharp turns and tight loops.
- When complete, trim excess wire with pliers. File sharp ends smooth.
- Gently adjust curves by hand until the word stands upright on a flat surface.
- Mount on a small wood block with hot glue if needed for stability.
14. Layered Paper Heart Wall Art
Moderate
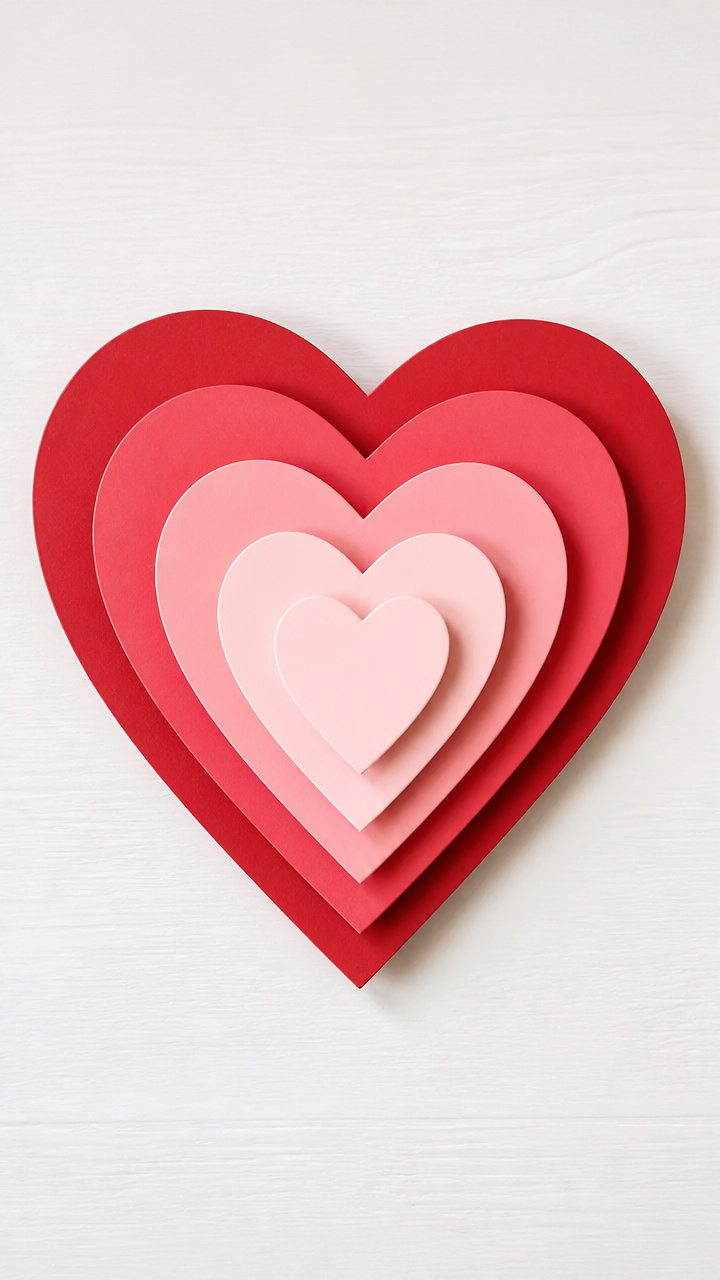
Cardstock hearts stack in ascending size, creating depth with crisp edges. This dimensional piece catches light from every angle.
Materials Needed
- Red A4 cardstock, 5 sheets
- Blush pink A4 cardstock, 1 sheet
- Circle punch, 4 inch diameter
- Double-sided foam squares, medium
- Glue stick
- Scissors
- Frame, 12×12 inches
How to Make It
- Use the circle punch to cut 10 red hearts—trace a circle, fold in half, draw half-heart shape, then cut and unfold.
- Cut one blush pink heart the same way. This will be the center.
- Arrange hearts from largest to smallest, stacking with foam squares between each layer.
- Glue the pink heart on top using the glue stick. Press firmly.
- Let dry 10 minutes. Place the layered piece in the frame without glass.
- Close the frame back and hang.
15. Tea Light Photo Backdrop
Easy
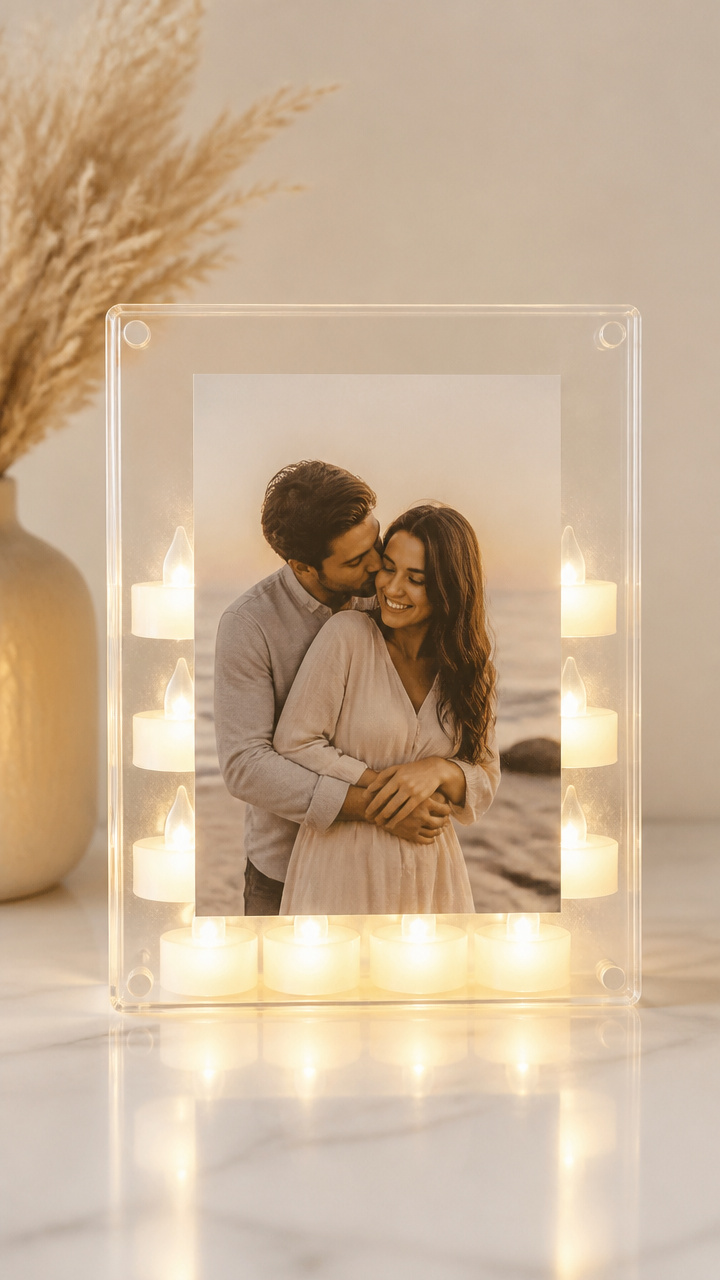
A cluster of warm lights glows behind a favorite couple photo. This inviting setup creates an instant focal point for quiet evenings.
Materials Needed
- Battery-powered LED tea lights, 10 count
- Clear acrylic sheet, 8×10 inches
- Double-sided tape
- 8×10 photo of couple
- Frame with stand, 8×10 inches
- Scissors
How to Make It
- Peel backing from double-sided tape and attach four tea lights to the back corners of the acrylic sheet.
- Add three more along the top edge and three along the bottom, evenly spaced.
- Slide the photo into the frame. Place the acrylic sheet behind it so lights surround the image.
- Turn on the tea lights and set the frame upright. Adjust position for best glow.
Each of these ideas carries a piece of your thoughtfulness. Pick one that speaks to your story and let your hands turn love into something you can see.