15 Easy Valentine’s Day Paper Crafts for Kids

Red hearts flutter on classroom walls, bright paper chains drape across shelves, and tiny hands proudly hold handmade cards with lopsided Xs and Os. These moments come alive when kids create with paper and imagination.
You don’t need fancy supplies or hours of time. With scissors, glue, and a few sheets of colored paper, you can spark joy and make keepsakes that will be tucked into lunchboxes and taped to refrigerators.
1. Heart-Shaped Paper Chains
Easy

Colorful loops twist together into cheerful garlands perfect for mantels or bedroom corners. Each heart links hand over hand in a continuous stream of love.
Materials Needed
- 6 sheets red construction paper (9 x 12 inches)
- 3 sheets pink construction paper (9 x 12 inches)
- Scissors
- Glue stick
How to Make It
- Cut each sheet into 1-inch wide strips, going lengthwise, so each sheet yields 9 strips.
- Take one strip and form a circle, overlapping the ends by 1/2 inch, then glue them together with the glue stick.
- Thread a second strip through the first loop before gluing its ends closed, creating an interlocked chain.
- Continue adding loops in alternating red and pink until the chain reaches 6 feet.
2. Paper Plate Love Monster
Easy
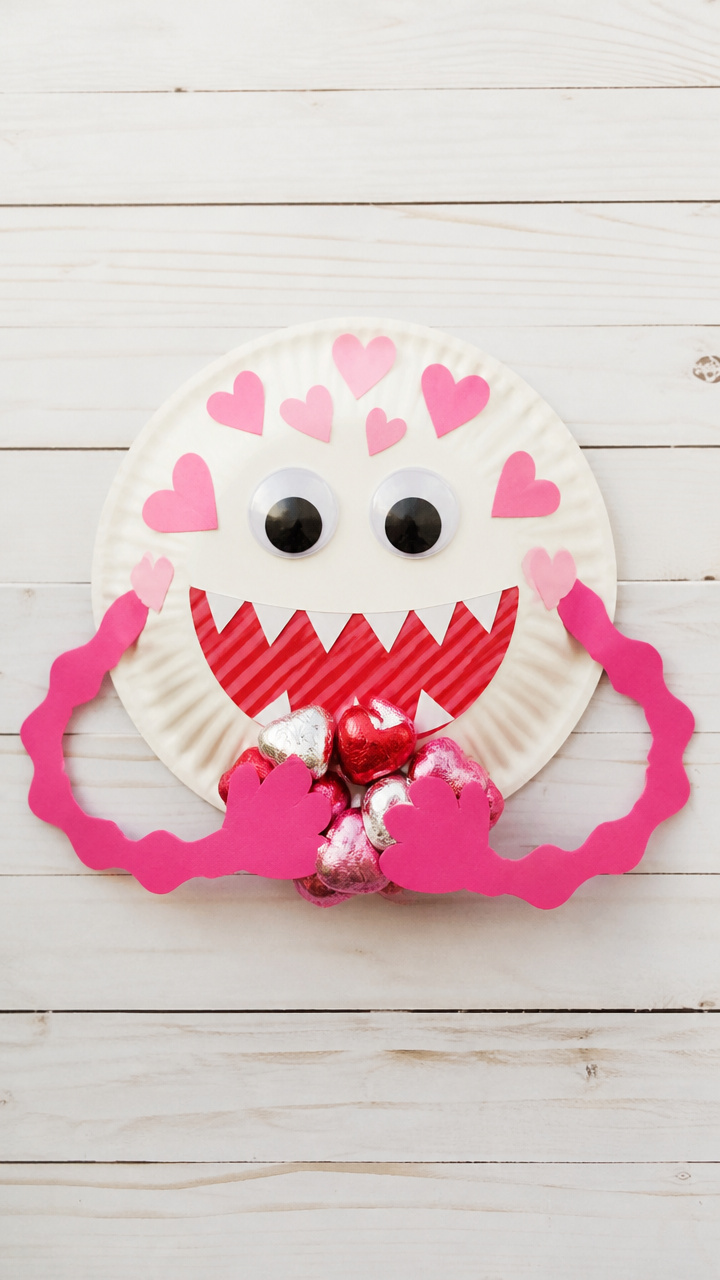
Bulging eyes, wiggly arms, and a toothy grin turn a plain plate into a silly valentine creature. This goofy pal loves giving hugs and holding candy.
Materials Needed
- 1 white paper plate (9 inches)
- Googly eyes (12 mm, pack of 12)
- Pink and red markers
- Glue stick
- Pink craft foam sheet (9 x 12 inches)
- Scissors
How to Make It
- Draw a large oval mouth near the bottom third of the plate using the red marker.
- Cut two wavy arms and two spiky hair pieces from the craft foam, each about 4 inches long.
- Glue the arms below the mouth and the hair along the top edge of the plate.
- Add six googly eyes above the mouth and use the pink marker to draw blushing cheeks.
3. Folded Heart Pop-Up Card
Easy
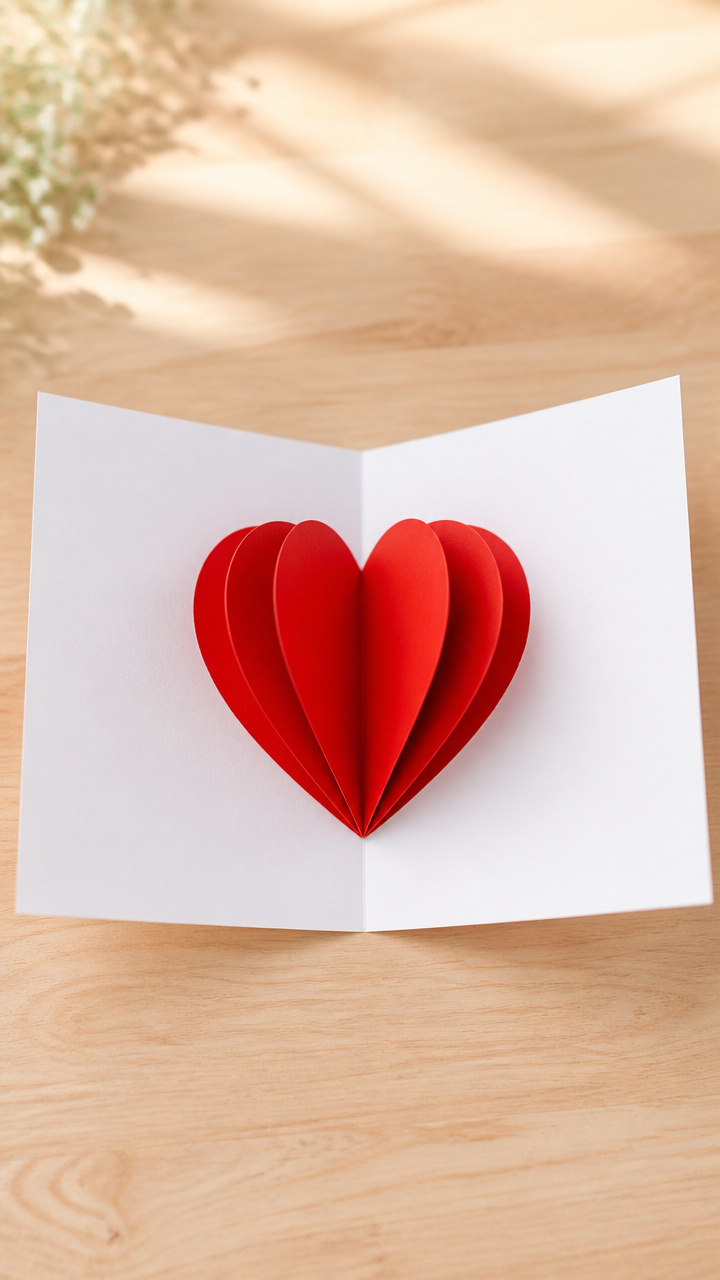
Open the card and a bright red heart jumps forward like it’s leaping into view. The surprise inside makes every reader smile.
Materials Needed
- A4 white cardstock (one sheet)
- Red construction paper (6 x 6 inches)
- Pencil
- Ruler
- Scissors
- Glue stick
How to Make It
- Fold the cardstock in half horizontally to make a 5.5 x 8.5 inch card.
- On the inside center fold, draw a 2-inch line perpendicular to the fold, starting 1 inch from the top.
- Cut along the line, then fold the resulting flap inward toward the back of the card.
- Glue the red paper heart centered on the flap so it stands upright when the card opens.
4. Cupcake Liner Roses
Easy
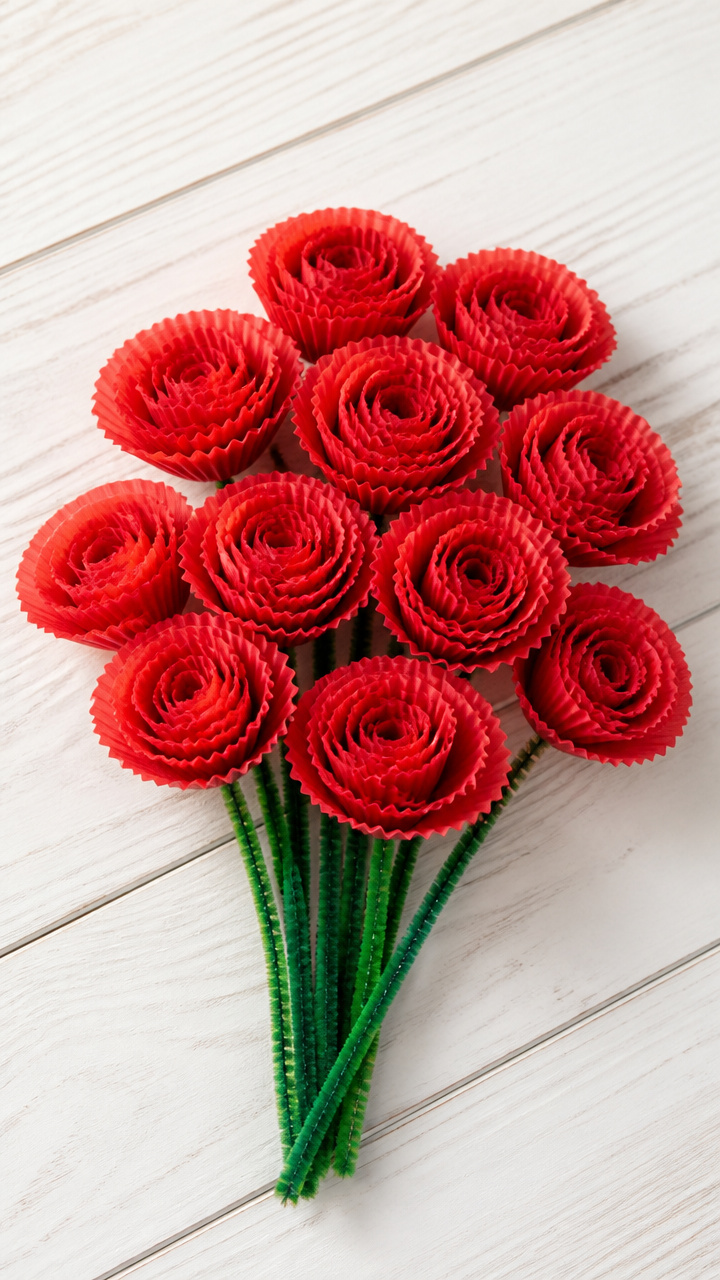
Tiny frilled blossoms made from party supplies bloom in a handmade bouquet. These soft-textured flowers last forever and fit in small hands.
Materials Needed
- 10 red cupcake liners
- 1 green pipe cleaner (per flower)
- Glue stick
- Pencil
How to Make It
- Place a cupcake liner on a flat surface and pinch the center with your fingers.
- Wrap the outer edges up and around the pencil, pressing gently to curl the ruffled layers inward.
- Slide the liner off the pencil and flatten the base slightly.
- Dab glue on the bottom center and attach it to one end of the pipe cleaner, twisting the wire to secure.
5. Paper Straw Heart Wreath
Moderate
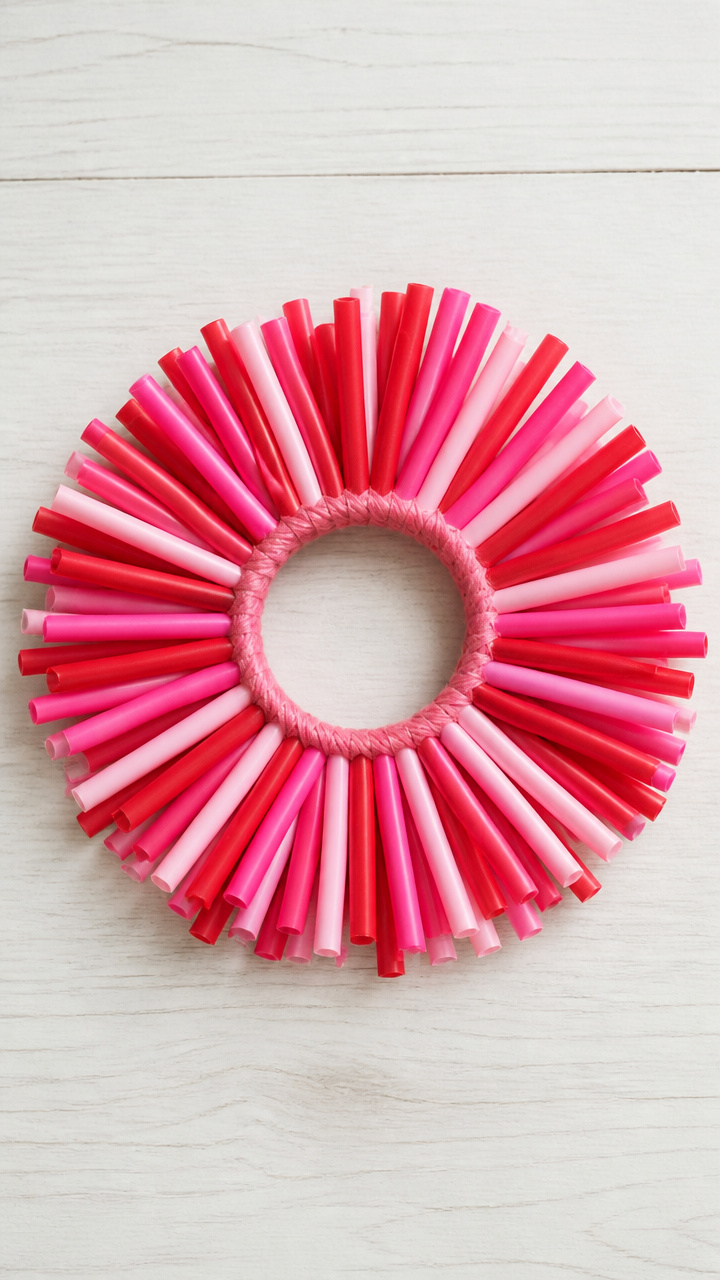
Bright drinking straws click together into a lightweight ring hung with yarn. This modern wreath brings bold color to any door.
Materials Needed
- 50 bendable plastic straws (red and pink, assorted shades)
- Scissors
- Hot glue gun
- Hot glue sticks
- Cardboard ring (6-inch outer diameter, 2-inch inner cutout)
- Pink yarn (18 inches)
How to Make It
- Cut each straw into 1-inch segments, yielding about 250 pieces.
- Apply hot glue to the cut edge of one piece and press it vertically onto the outer edge of the cardboard ring.
- Continue gluing pieces side by side all the way around the ring, alternating colors as you go.
- Tie the yarn into a loop and glue it to the back for hanging.
6. Lacing Card Hearts
Easy
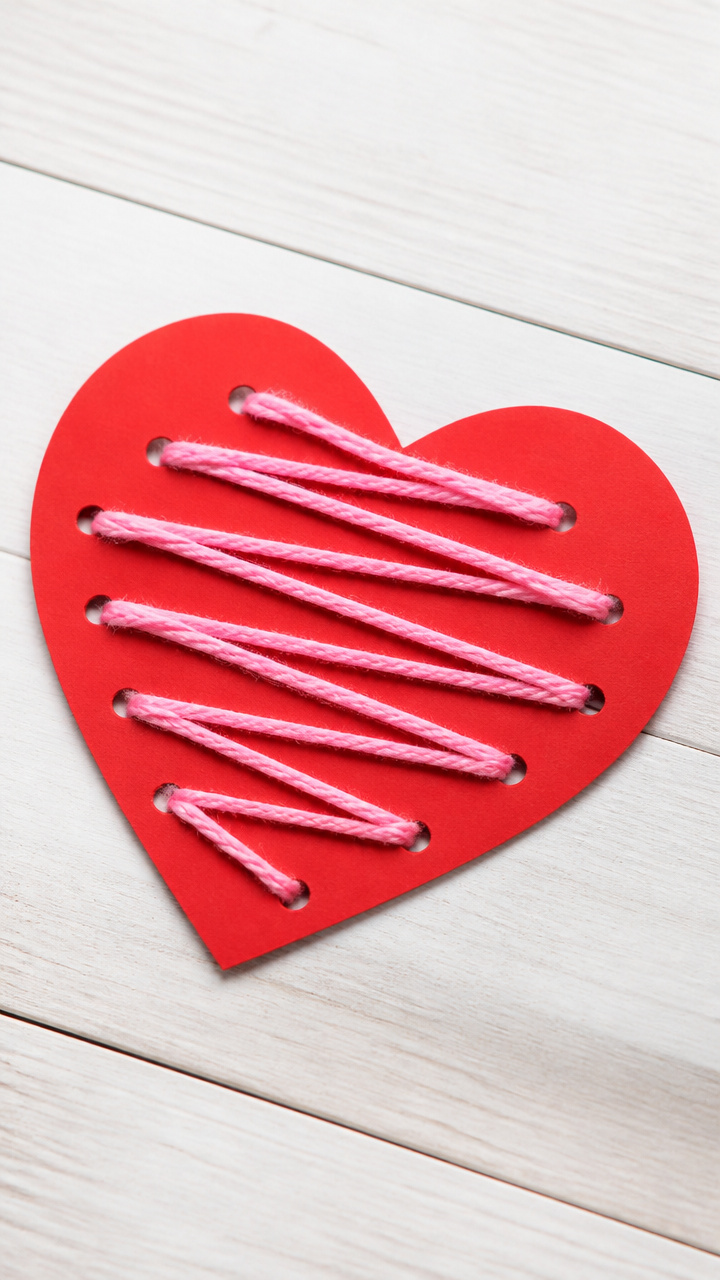
Sturdy paper hearts with punched holes invite little fingers to thread yarn through a zigzag path. This craft builds fine motor skills with flair.
Materials Needed
- Red cardstock (8.5 x 11 inches)
- Hole punch
- Yarn (24 inches, pink)
- Blunt plastic needle
- Scissors
How to Make It
- Cut the cardstock into a 5-inch heart shape using scissors.
- Punch holes evenly spaced around the edge of the heart, about 1/2 inch apart.
- Cut the yarn to 24 inches and tie one end to the blunt needle.
- Thread the yarn through the holes from front to back, weaving in and out until the edge is complete.
7. Tissue Paper Stained Glass
Easy

Sheets of crinkled red and pink tissue glow like sunlight when taped to windows. The soft blur of color feels magical on a winter day.
Materials Needed
- White contact paper (12 x 18 inches, roll)
- Red tissue paper (two full sheets)
- Pink tissue paper (two full sheets)
- Scissors
- Ruler
How to Make It
- Cut the contact paper into a 10-inch heart using the scissors and ruler for smooth curves.
- Peel the backing off and lay the sticky side up on a flat surface.
- Tear the tissue paper into 2-inch squares and layer them across the sticky surface, overlapping slightly.
- Cover with a second heart-shaped piece of contact paper, sticky sides together, to seal.
8. Paper Chain Mobile
Moderate
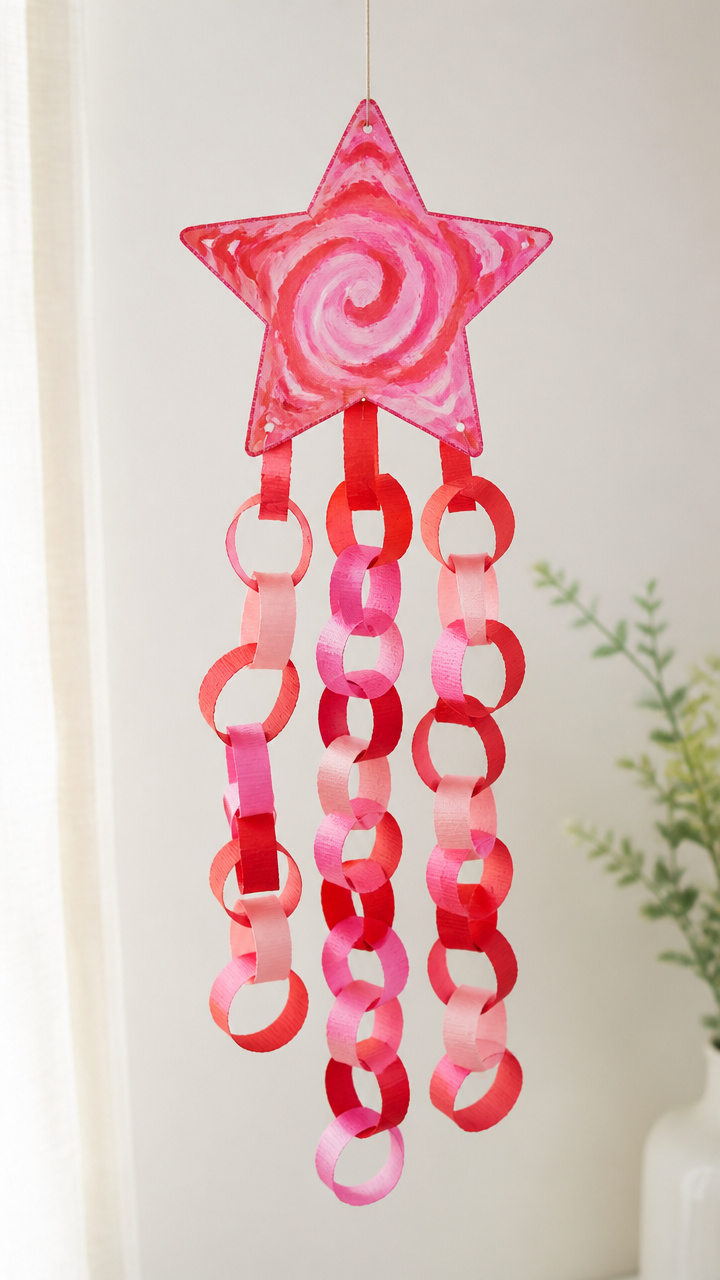
Swirling spirals dangle from a cardboard star, turning slowly with air currents. This kinetic decoration spins love into motion.
Materials Needed
- Cardboard (6 x 6 inches, 1/8 inch thick)
- Pencil
- Scissors
- Hole punch
- Red and pink crepe paper streamers (three rolls total)
- Fishing line (12 inches)
- Glue stick
How to Make It
- Draw a 5-inch star on the cardboard and cut it out with scissors.
- Punch five holes near the tips of the star points.
- Cut each crepe paper roll into 18-inch lengths, then twist them into tight spirals by rolling between your palms.
- Glue one end of each spiral to a hole on the star, then thread fishing line through the top hole and knot securely.
9. Handprint Love Bug
Easy
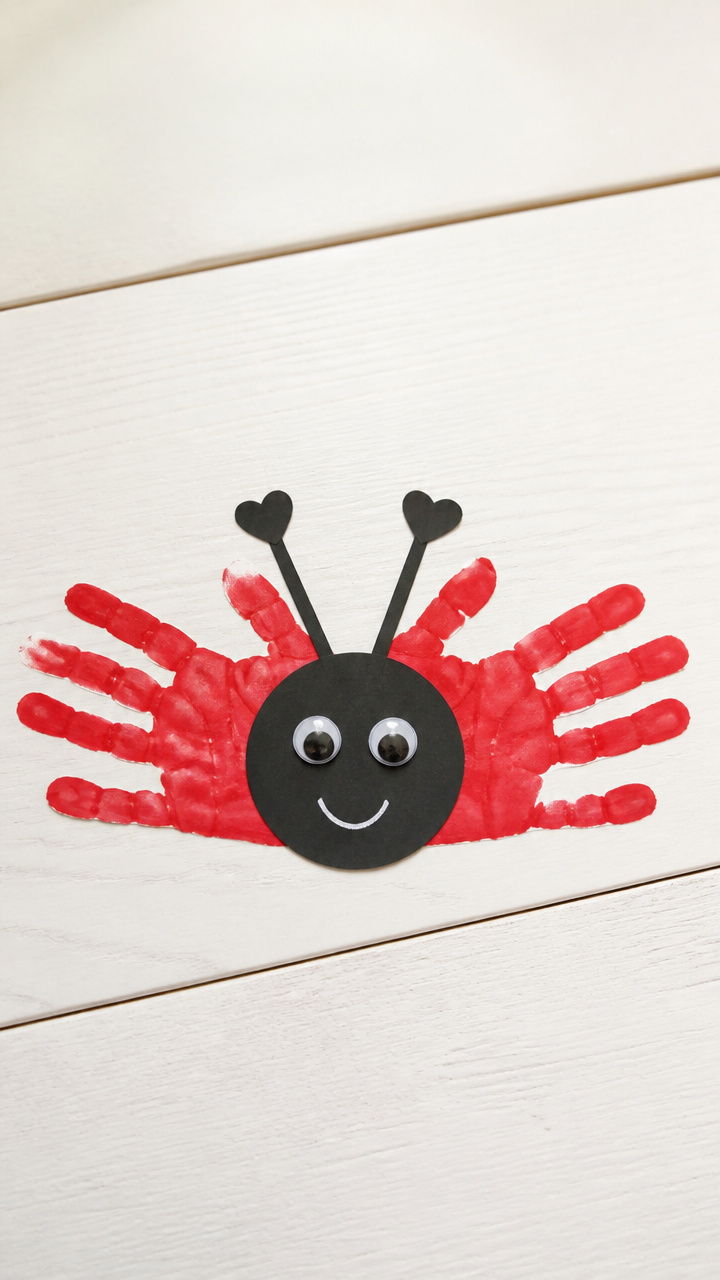
Five-fingered wings spread wide behind a smiling bug made from a painted palm. This keepsake grows more precious with every year.
Materials Needed
- White drawing paper (9 x 12 inches)
- Red washable paint
- Paintbrush (1 inch wide)
- Black marker
- Googly eyes (10 mm, two per bug)
- Glue stick
How to Make It
- Paint the child’s palm completely with red paint using the brush.
- Press the hand firmly onto the paper with fingers spread, leaving space at the wrist for the bug body.
- Let the paint dry for 10 minutes.
- Draw a round head above the wrist, add antennae with the marker, and glue on two googly eyes.
10. Valentine’s Pinwheel
Easy
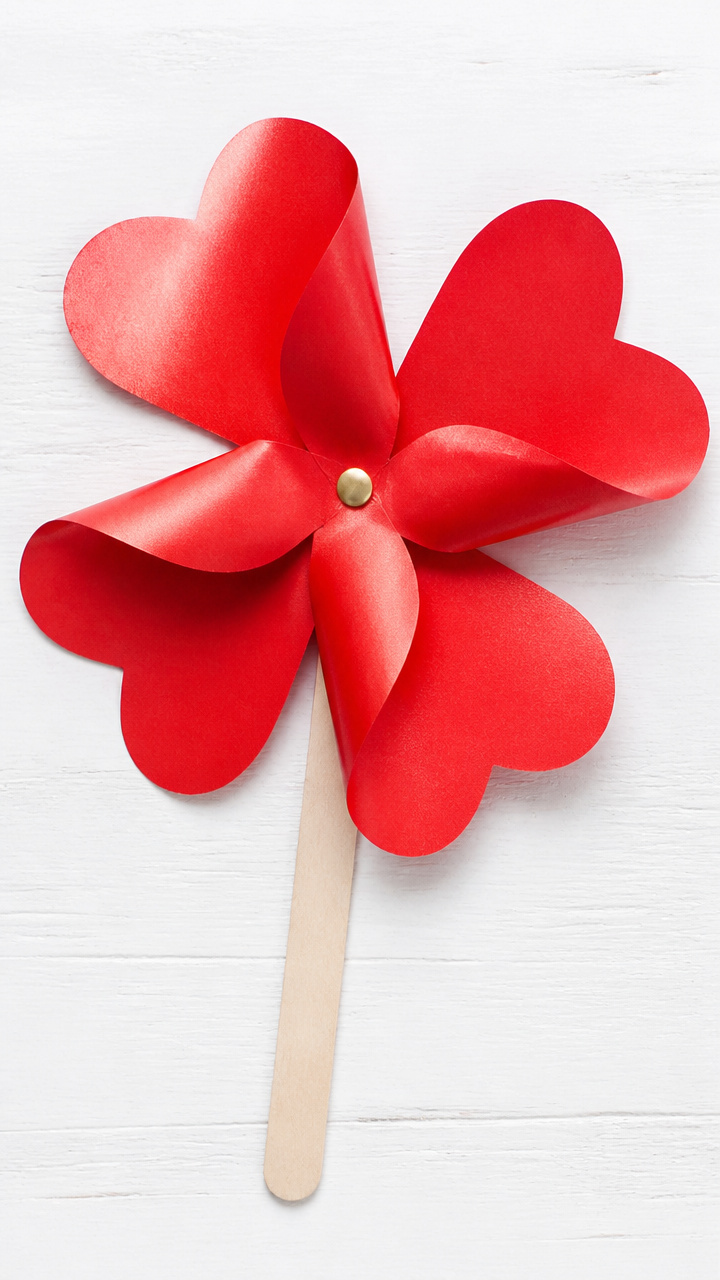
A spinning heart whirls on a wooden stick when caught by a breeze. Bright corners flash as it twirls like a tiny celebration.
Materials Needed
- Red cardstock (8.5 x 11 inches)
- Pencil
- Ruler
- Scissors
- Brass fastener (1 inch)
- Wooden craft stick (6 inches)
How to Make It
- Cut the cardstock into an 8-inch square.
- Draw diagonal lines from corner to corner with pencil and ruler, finding the center.
- Cut along each line from the corner to within 1 inch of the center.
- Fold every other tip into the middle and secure all layers with the brass fastener, then attach it to the craft stick.
11. Paper Doily Heart Frame
Easy
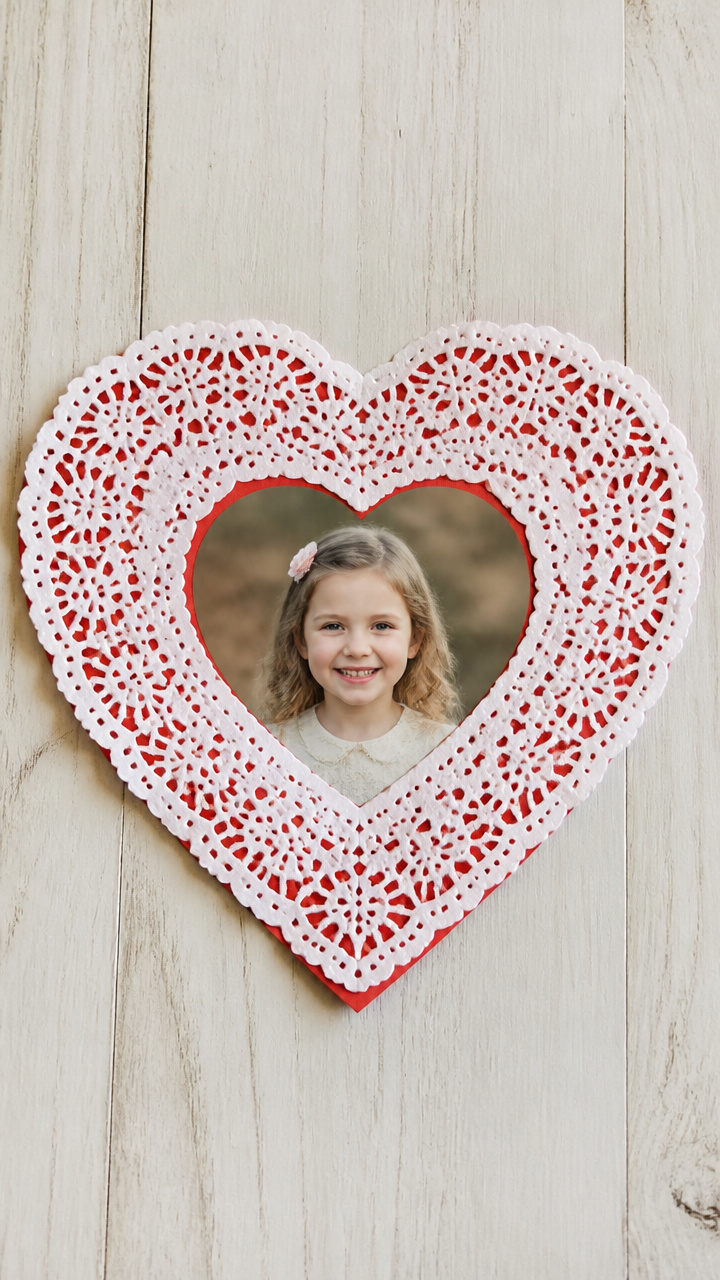
A lacy doily wraps around a photo like a delicate hug. This sweet frame holds memories close with vintage charm.
Materials Needed
- White paper doily (7 inches in diameter)
- Red construction paper (9 x 12 inches)
- Glue stick
- Child’s photo (2 x 3 inches)
- Scissors
How to Make It
- Cut the construction paper in half to make a 4.5 x 9 inch base.
- Fold the base in half vertically to form a 4.5-inch square card.
- Apply glue around the edge of the photo and center it on the front of the card.
- Glue the doily over the photo, letting the lace edges extend beyond the picture on all sides.
12. Heart-Shaped Name Puzzle
Moderate
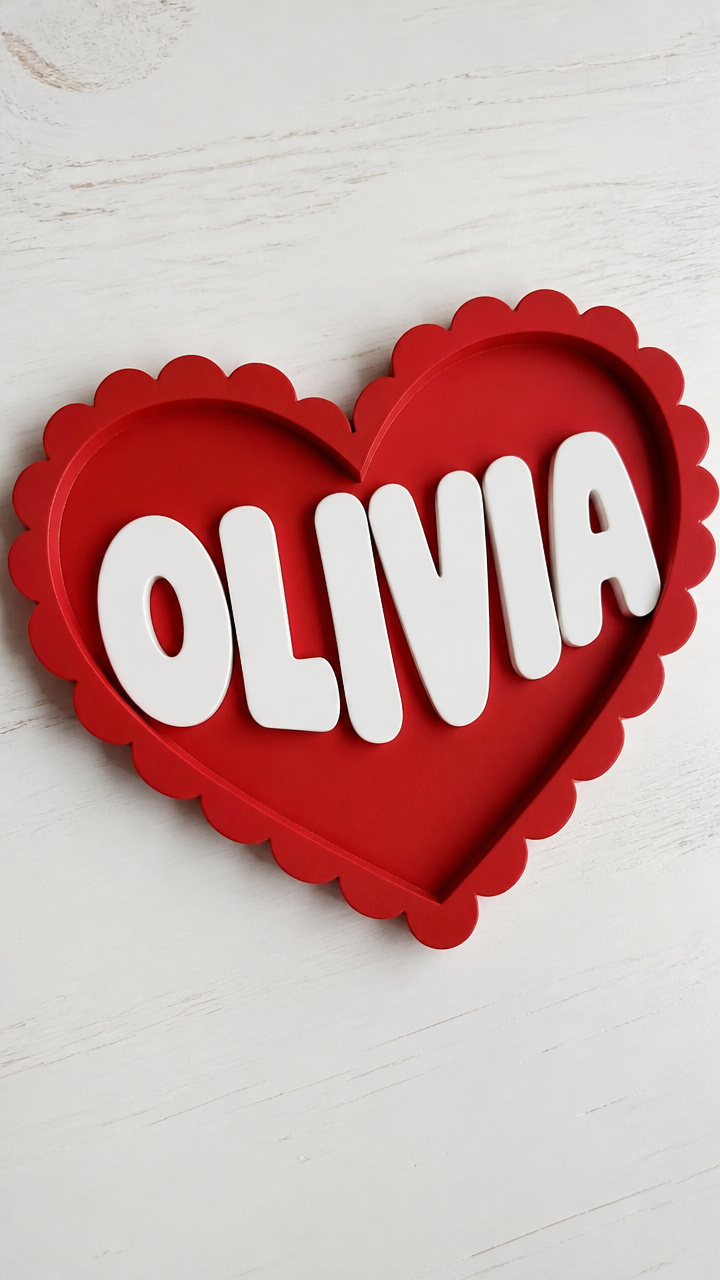
Chunky letters with scalloped edges fit into a red heart tray. Kids match their name while practicing spelling with pride.
Materials Needed
- Thick red poster board (11 x 14 inches)
- Pencil
- Ruler
- Scissors
- Child’s name stencil (1 inch letters)
- Craft knife
- Cutting mat
How to Make It
- Draw a 7-inch heart on the poster board and cut it out with scissors.
- Trace each letter of the child’s name onto the heart using the stencil, spacing them evenly.
- Use the craft knife on the cutting mat to carefully cut out each letter shape, removing the centers.
- Cut matching letters from scrap poster board to fit into the empty spaces.
13. Paper Bag Love Puppet
Easy
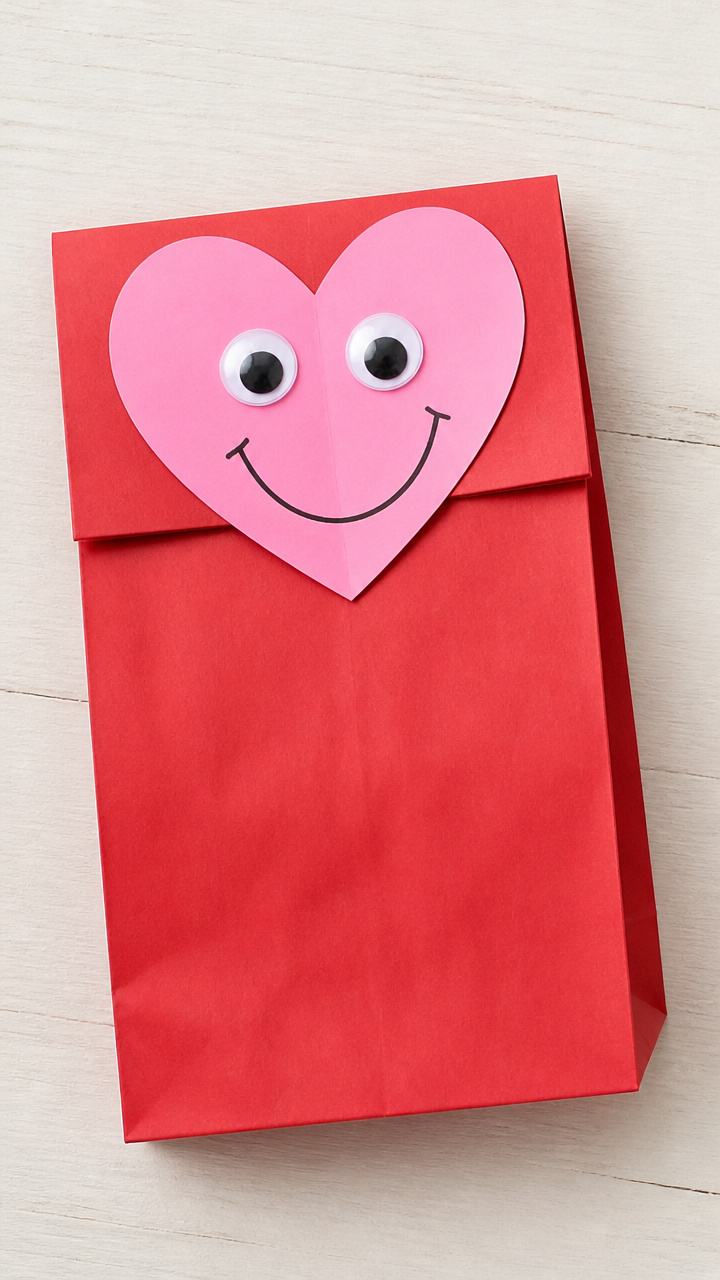
A smiling heart face peers from a red lunch bag, ready to sing love songs. This puppet talks, waves, and gives imaginary kisses.
Materials Needed
- Red paper lunch sack (standard size)
- Pink construction paper (6 x 6 inches)
- Glue stick
- Black marker
- Scissors
- Wiggle eyes (12 mm, two)
How to Make It
- Cut two heart ears from the pink paper, each 2 inches tall.
- Glue the ears to the bottom of the sack so they peek just above the folded edge.
- Draw a wide smile and rosy cheeks on the front of the sack with the marker.
- Glue the wiggle eyes above the smile, positioning them near the center of the bag.
14. Popcorn Box Love Train
Moderate
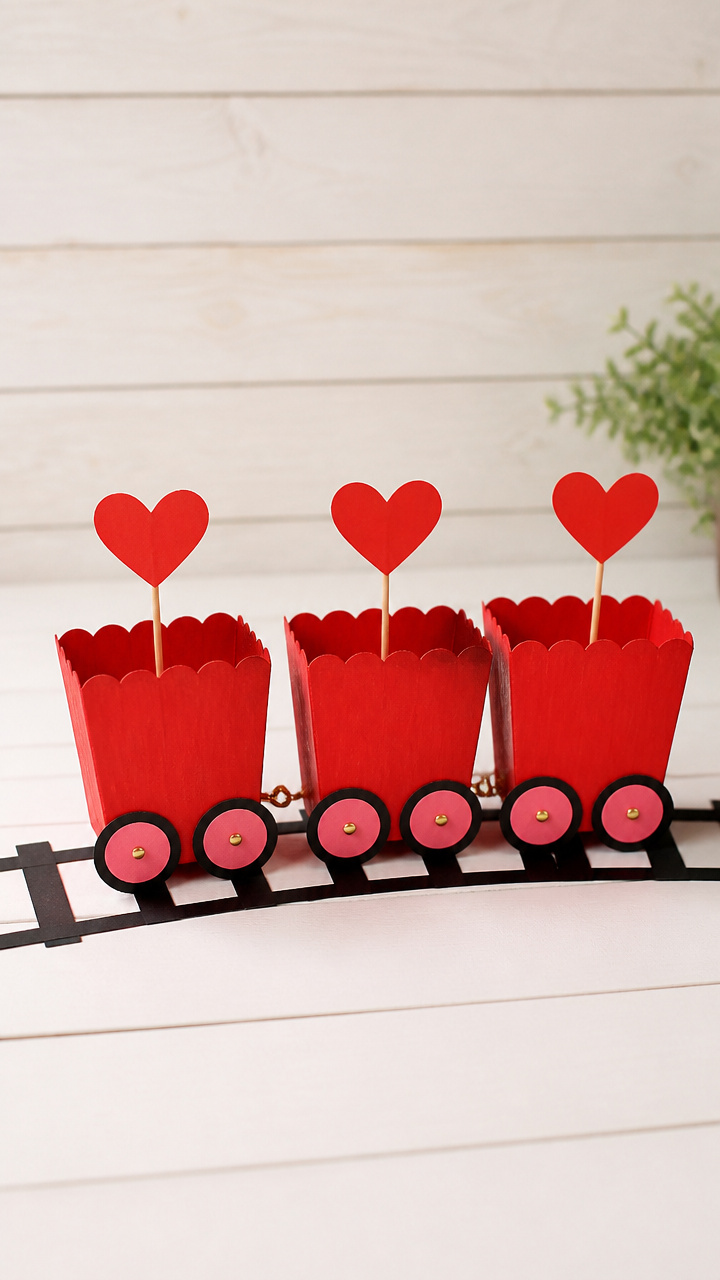
Mini cardboard boxes chug along on a paper track, each carrying a heart flag. This adorable train delivers valentines down the hallway.
Materials Needed
- Three small popcorn boxes (7 inches tall)
- Red paint (acrylic)
- Paintbrush (1 inch)
- Pencil
- Construction paper (red, 9 x 12 inches)
- Glue stick
- Yarn (12 inches)
How to Make It
- Paint the outside of each popcorn box red and let dry for 15 minutes.
- Cut three 3-inch heart flags from the red construction paper.
- Glue one flag to the top back of each box, letting it stand upright.
- Punch a hole in the front of the first box and the back of each following box, then connect them with yarn ties.
15. Shredded Paper Heart Bowl
Easy
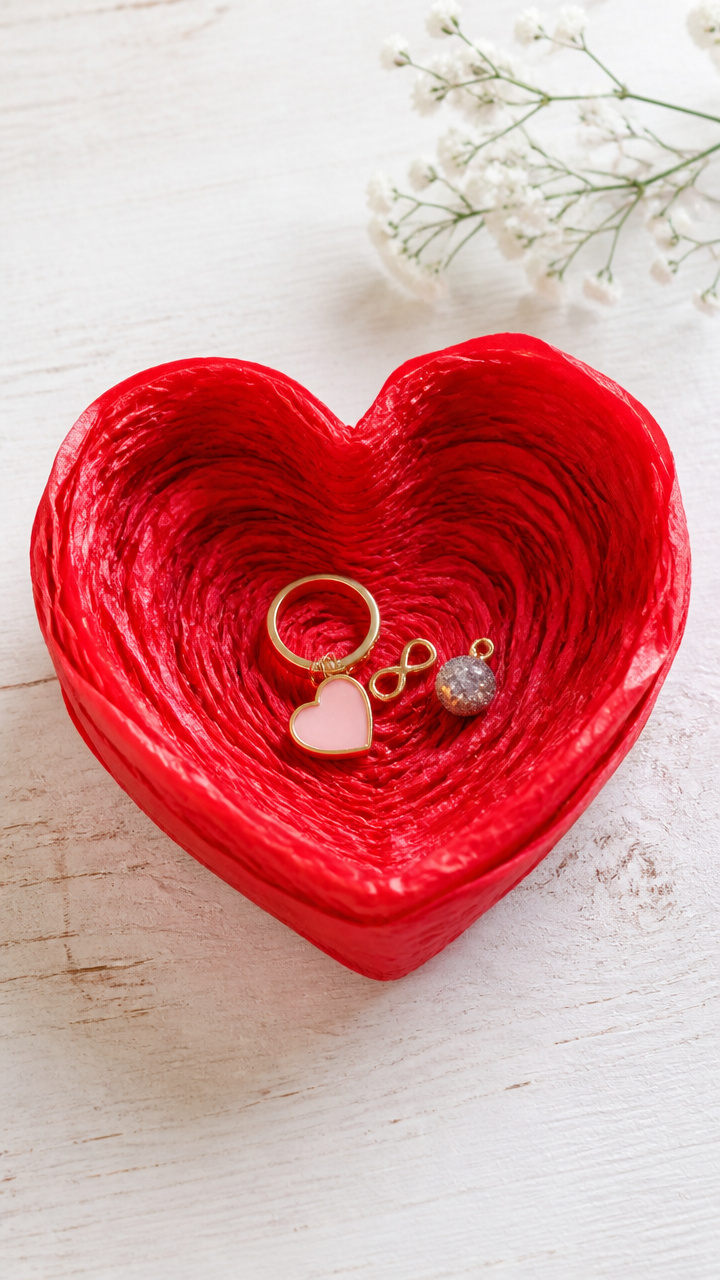
Curled strips of red paper coil into a bowl that holds candy hearts or trinkets. The soft spiral shape feels satisfying to touch.
Materials Needed
- Red tissue paper (four sheets)
- White school glue (4 oz)
- Mixing bowl (medium)
- Pencil
- Balloon (6 inch)
- Vaseline
How to Make It
- Blow up the balloon to a 5-inch width and tie it off.
- Rub a thin layer of Vaseline over the top half of the balloon.
- Tear the tissue paper into 1-inch wide strips, about 3 inches long.
- Mix equal parts glue and water in the bowl, dip each strip in, then lay it smoothly over the balloon in a spiral, covering the top half.
Grab a stack of paper, open the glue drawer, and start creating. These crafts are simple enough for small hands but special enough to treasure.