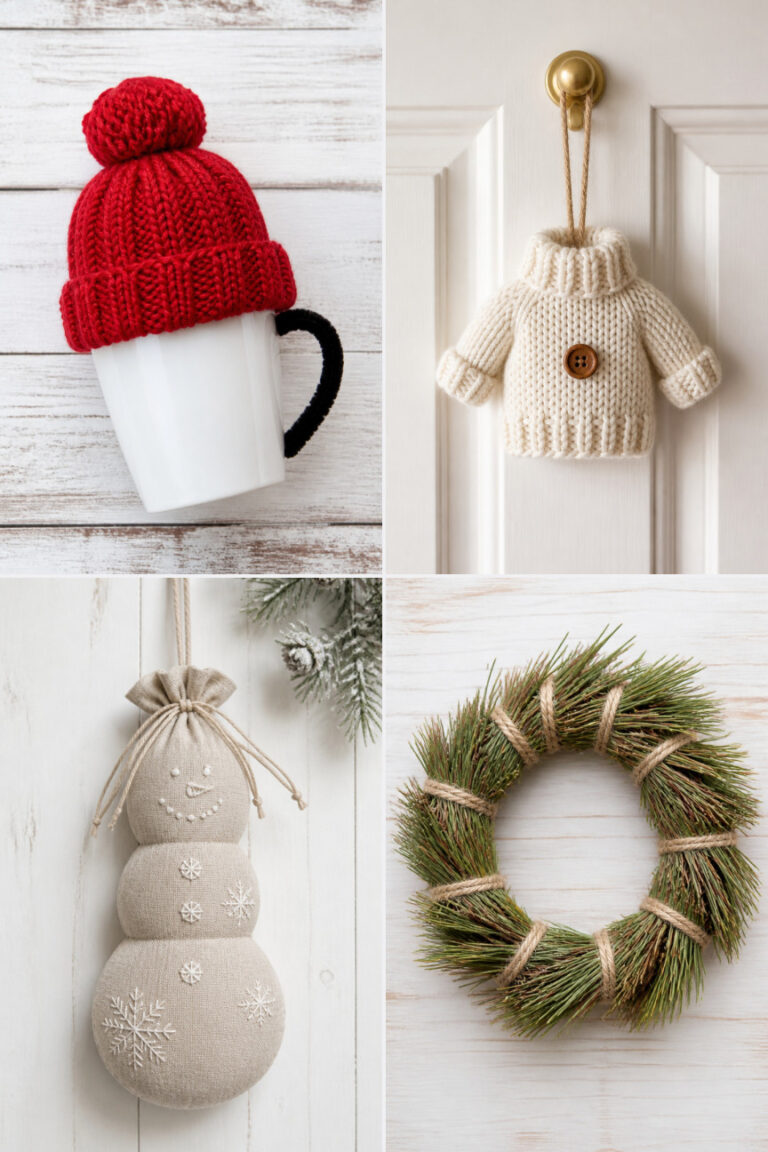
15 Winter Crafts for Elementary Kids That Look Amazing

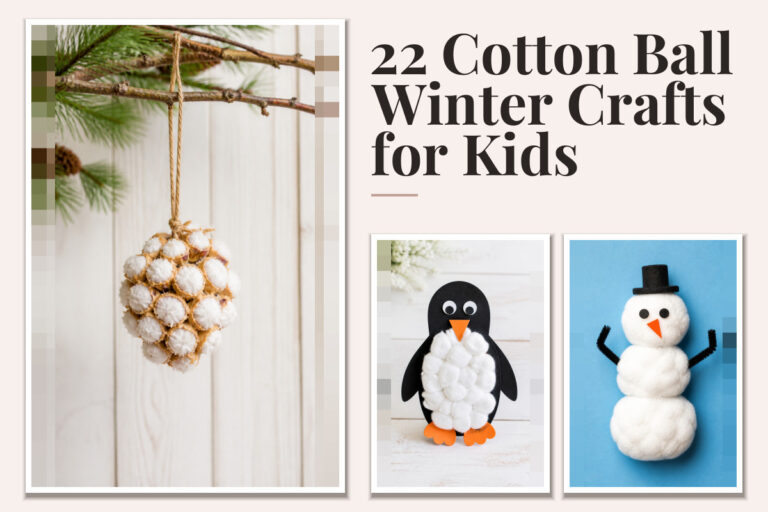
Glitter dusts the edges of paper snowflakes, pom-poms roll into tiny penguins, and cotton balls puff up like fresh snow on pine trees. These winter crafts bring cozy joy to classrooms and living rooms alike.
Each one is chosen not just for sparkle or charm but for how well it works with small hands and big imaginations. You'll find no confusing steps or rare supplies—just real projects that deliver wow-worthy results.
1. Glittery Pinecone Ornaments
Easy
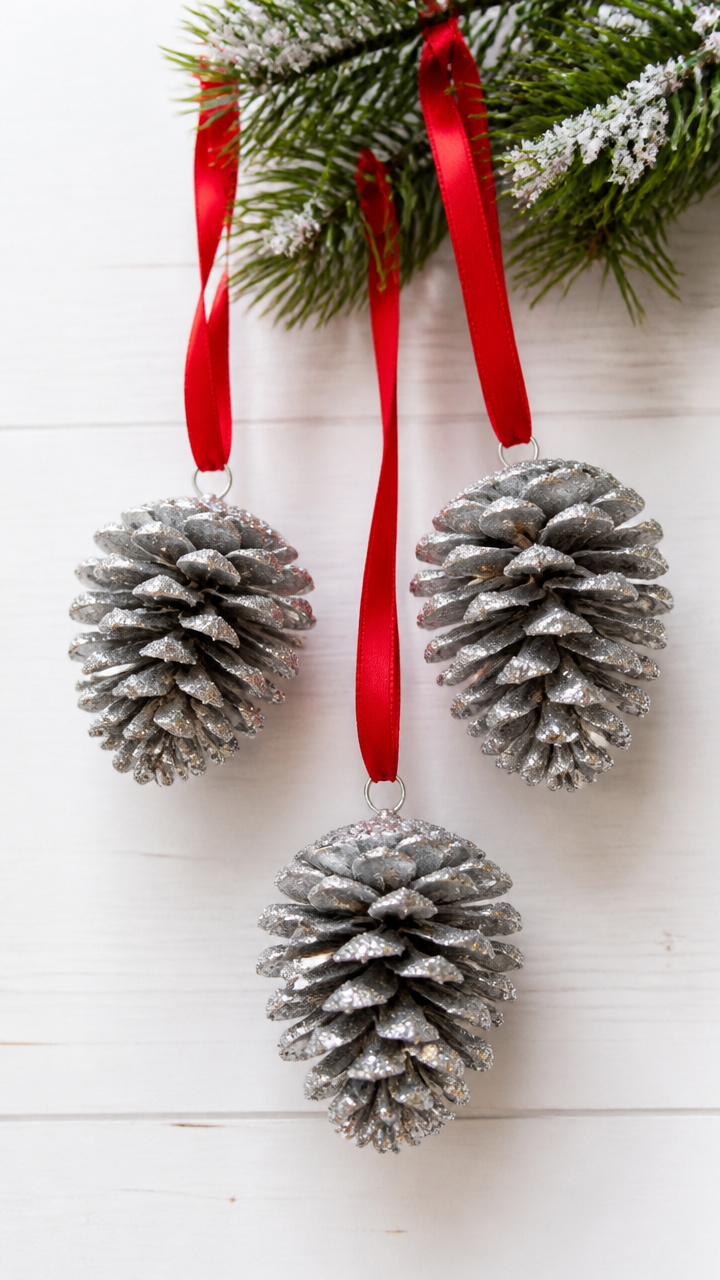
Shimmering pinecones dangle from red ribbons, catching light like frost in the morning sun. These make heartfelt gifts or sweet classroom decorations.
Materials Needed
- 3 pinecones (about 3 inches tall)
- White school glue
- Fine silver glitter
- 12-inch red satin ribbon (3 pieces)
- Small mixing bowl
- Paintbrush (1/2 inch wide)
How to Make It
- Pour glitter into the mixing bowl.
- Use the paintbrush to coat each pinecone completely with white school glue.
- Roll the glued pinecone in the glitter until fully covered. Tap off excess.
- Cut a 12-inch piece of red ribbon, loop it through the top of the pinecone, and tie ends together tightly.
2. Cotton Ball Snowman Scene
Easy
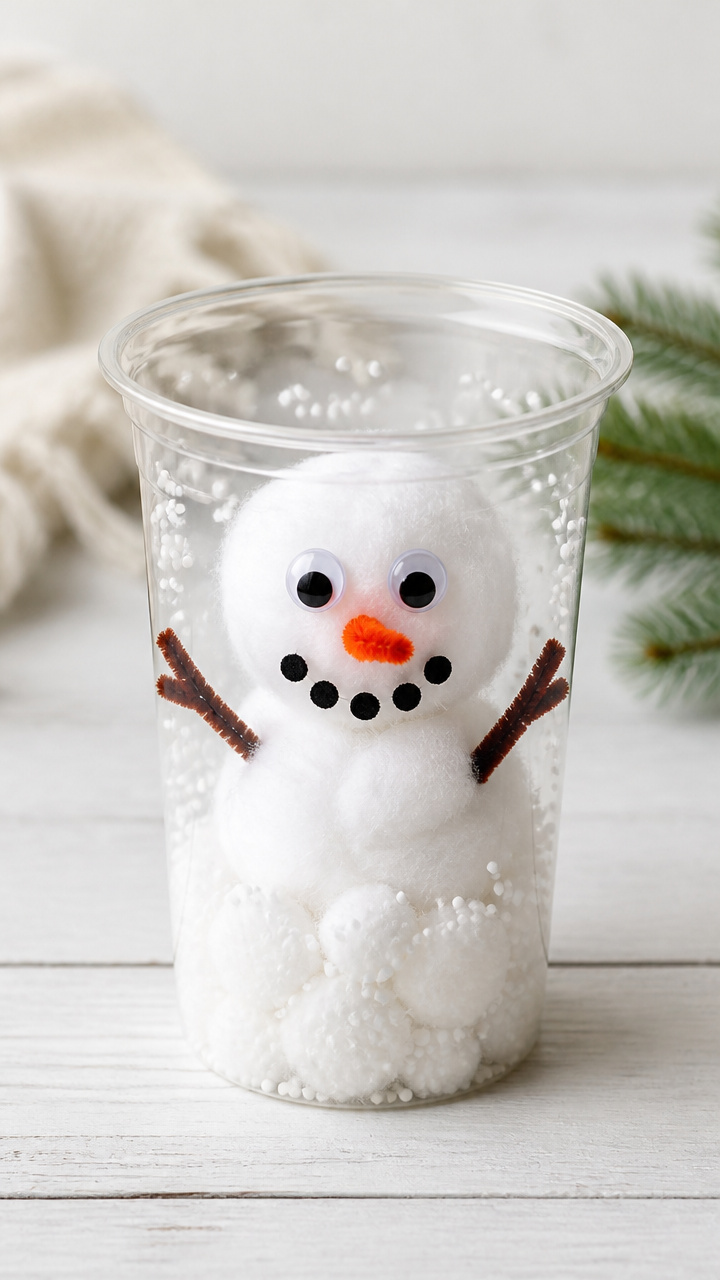
A snowy landscape blooms inside a clear plastic cup, complete with a smiling snowman made of soft white balls. This craft fits perfectly on a windowsill.
Materials Needed
- Clear plastic cup (9 oz)
- White cotton balls (20 large)
- Black felt sheet (4×4 inches)
- Orange pipe cleaner (1 piece)
- Googly eyes (2, 10mm)
- School glue
- Blue construction paper (8.5×11 inches)
How to Make It
- Cut the blue construction paper to fit around the outside of the cup as a background.
- Glue cotton balls all over the front and sides of the cup to look like snow drifts.
- Cut two small circles from black felt for eyes and a tiny triangle for a nose.
- Glue the googly eyes, felt pieces, and a bent orange pipe cleaner nose onto one cotton ball to form the snowman's face.
- Stack three cotton balls vertically on the cup and press gently to stick them together.
3. Salt Dough Handprint Reindeer
Moderate
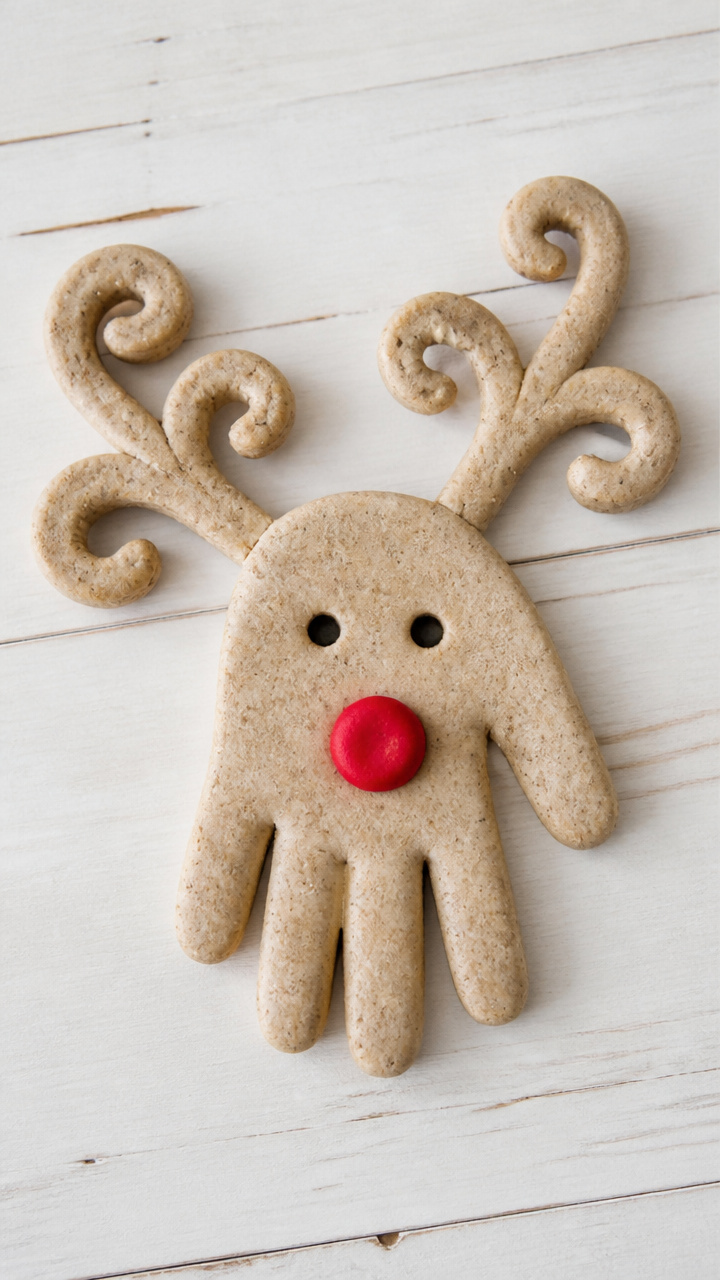
Tiny handprints curl into reindeer heads with antlers and red noses, preserved in crisp salt dough. Each one holds a child’s unique shape and holiday cheer.
Materials Needed
- 2 cups all-purpose flour
- 1 cup table salt
- 3/4 cup warm water
- Mixing bowl
- Rolling pin
- Parchment paper
- Bamboo skewer
- Red acrylic paint
- Brown craft paint
- Paintbrush set (small round and flat)
- Oven
How to Make It
- Mix flour, salt, and warm water in a bowl until a smooth dough forms.
- Roll the dough to 1/4 inch thick on parchment paper.
- Press one child’s palm down firmly into the dough, fingers pointing up.
- Use the bamboo skewer to poke a hole near the top for hanging later.
- Bake at 200°F for 3 hours or until hard. Let cool completely.
- Paint the palm brown for the reindeer head, add red nose with red paint, and draw antlers with brown paint.
4. Tissue Paper Mosaic Windows
Easy
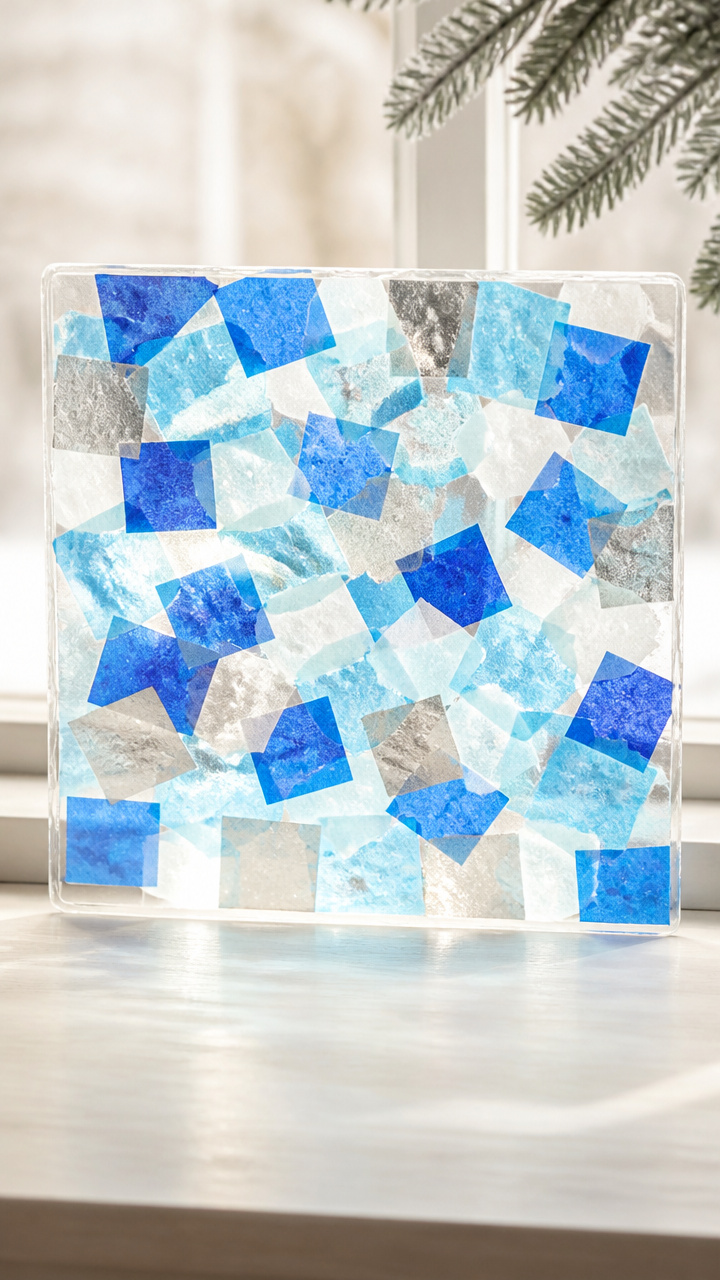
Bright squares of colored tissue paper glow when taped to glass, turning any window into a frost-kissed art display. Light shines through like stained glass.
Materials Needed
- White contact paper (12×18 inches, sticky side up)
- Blue, white, and silver tissue paper (6 sheets total)
- Scissors
- Ruler
- X-Acto knife
- Cutting mat
How to Make It
- Lay the contact paper on the cutting mat with the sticky side facing up.
- Cut tissue paper into 1-inch squares using scissors and ruler.
- Press the tissue squares onto the sticky surface to fill the entire sheet, overlapping slightly.
- Trim the edges of the contact paper with the X-Acto knife to clean up the border.
- Peel off the backing and smooth the mosaic onto a clean window.
5. Popsicle Stick Ice Skates
Moderate
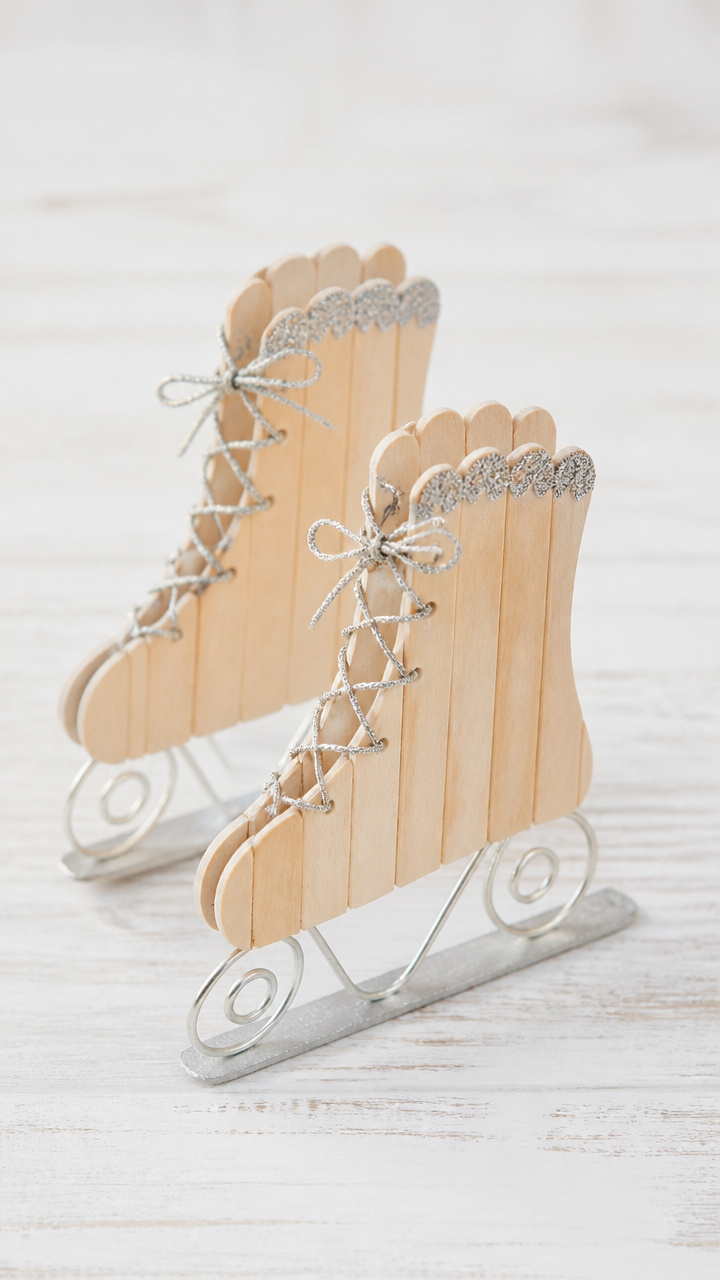
Mini ice skates stand upright on glittery blades, crafted from painted sticks and curled wire. These sit cute on desks or bookshelves.
Materials Needed
- 6 flat wooden popsicle sticks
- Silver metallic paint
- Paintbrush (small flat)
- White glue
- 18-gauge silver floral wire (12 inches)
- Wire cutters
- Hot glue gun
- Hot glue sticks
- Ribbon scraps (red and white)
How to Make It
- Paint both sides of each popsicle stick with silver metallic paint. Let dry for 20 minutes.
- Cut two 4-inch pieces of floral wire using wire cutters.
- Shape each wire into a U-shape to mimic a skate blade.
- Use hot glue to attach the wire under one end of two sticks placed parallel to each other.
- Glue a third stick across the top as a crossbar to hold the foot shape.
- Tie a small bow from ribbon and glue it to the front.
6. Q-Tip Snowflakes
Easy
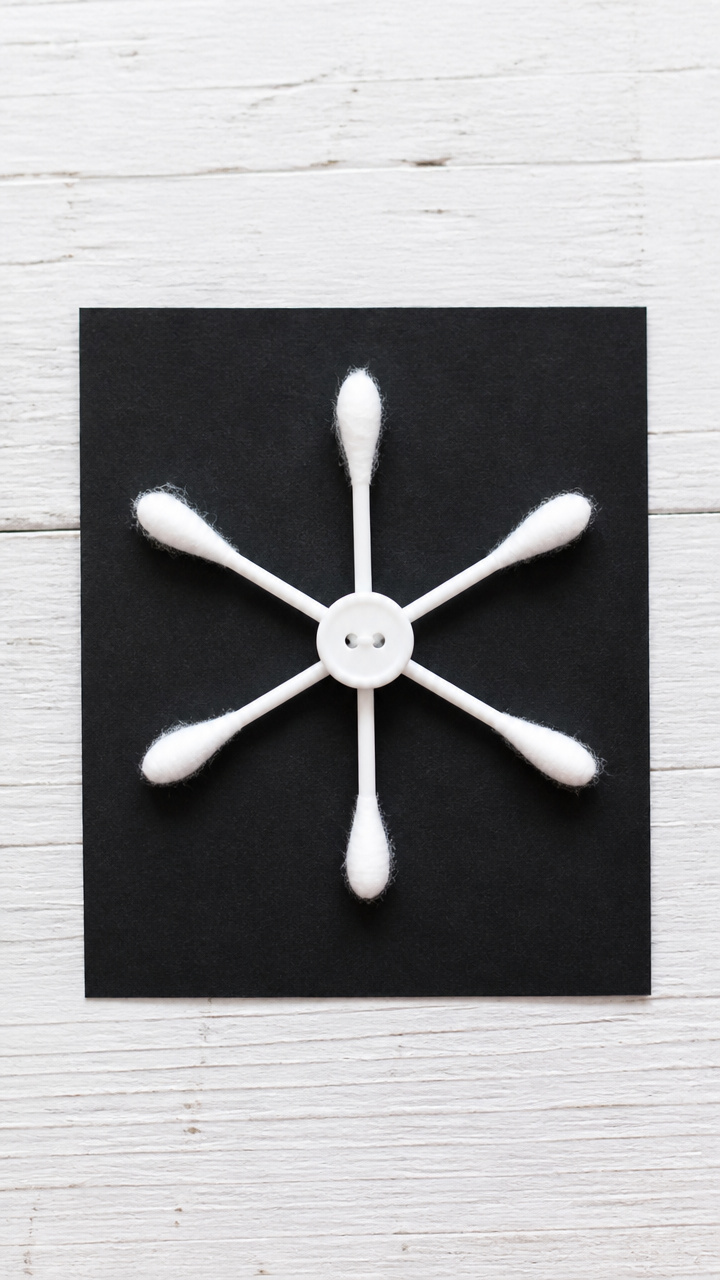
Six arms of cotton swabs radiate from a center button, forming delicate snowflakes that hang from ceilings or walls. The symmetry delights young crafters.
Materials Needed
- 6 Q-Tips per snowflake
- White school glue
- 5mm white button (1 per snowflake)
- Craft tweezers
- Black construction paper (8.5×11 inches)
- Glue brush (1/4 inch)
How to Make It
- Place the button in the center of the black paper.
- Apply a small dot of glue to one end of a Q-Tip using the glue brush.
- Press the glued end to the back of the button, letting the cotton end point outward.
- Repeat with five more Q-Tips spaced evenly around the button to form a six-pointed star.
- Let dry flat for 30 minutes before lifting.
7. Fingerprint Light Bulbs
Easy
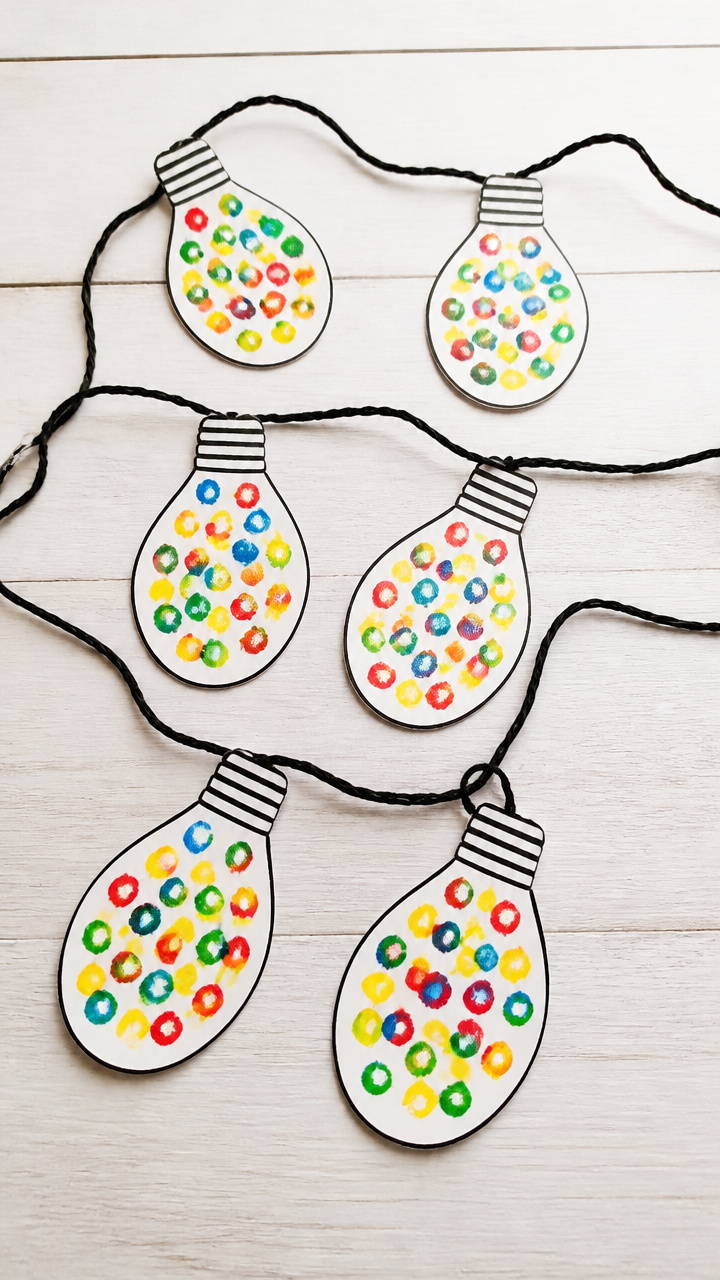
Rows of colorful fingerprints glow inside drawn light bulbs, strung together like festive holiday lights. A playful way to show off tiny inked prints.
Materials Needed
- White drawing paper (8.5×11 inches)
- Washable stamp pads (red, yellow, blue, green)
- Black fine-tip marker
- Ruler
- Pencil
How to Make It
- Use pencil and ruler to lightly draw 5 bulb outlines in a row on the paper.
- Trace over each bulb with the black marker, including the screw base and filament lines.
- Press one fingertip onto a stamp pad color, then press it once inside each bulb shape.
- Repeat with different colors for each bulb, letting prints dry for 10 minutes.
8. Yarn-Wrapped Snow Globes
Moderate
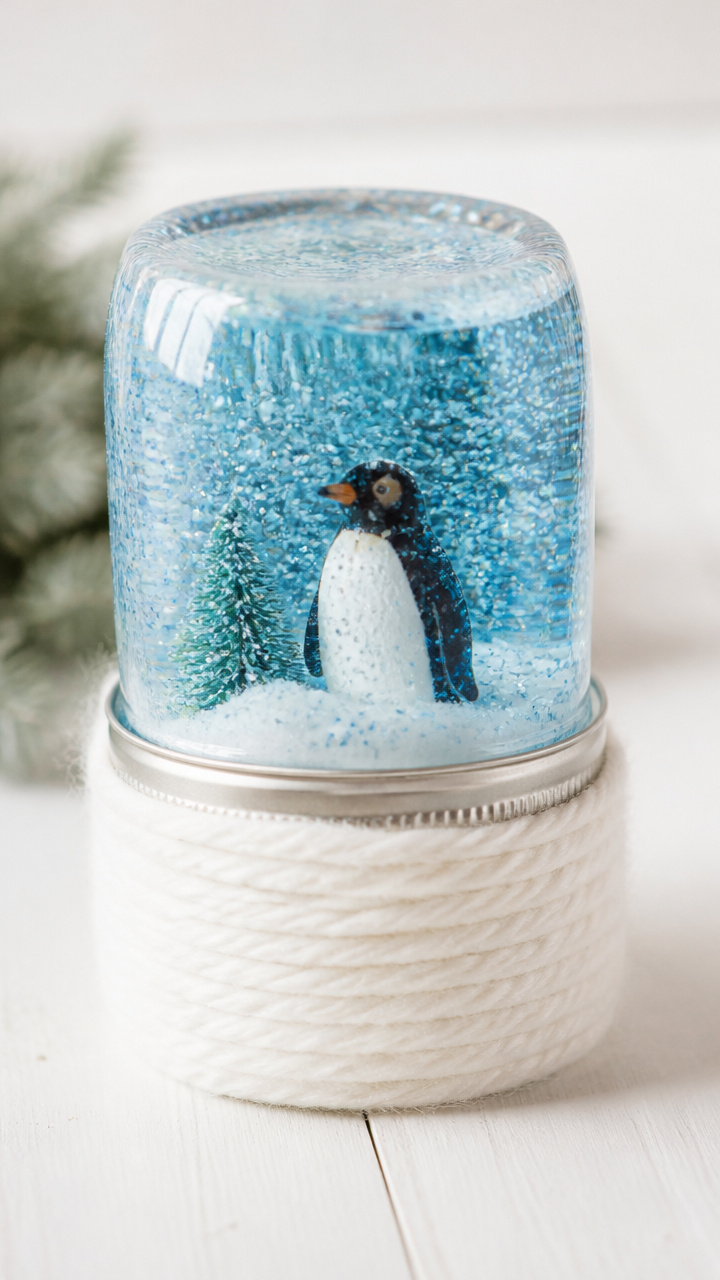
Jars wrapped in fuzzy white yarn hold tiny scenes of trees or animals under glittery water. These double as keepsakes or nightstand decor.
Materials Needed
- Mason jar with lid (4 oz, 2.5 inches tall)
- White yarn (worsted weight, 20 yards)
- White school glue
- Paintbrush (1/2 inch)
- Small plastic animal figure (1 inch tall)
- Glitter (fine blue)
- Distilled water (3 oz)
- Glycerin (1 teaspoon)
- Funnel
How to Make It
- Brush a thin layer of glue onto the outside of the mason jar.
- Wrap yarn tightly around the jar, pressing into the glue. Overlap slightly as you go.
- Let the glue dry for 1 hour before touching.
- Fill the jar with distilled water using the funnel, leaving 1/2 inch space at the top.
- Add glycerin and a pinch of glitter.
- Place the small animal inside, then screw the lid on tightly. Turn to watch the snow fall.
9. Paper Plate Polar Bears
Easy
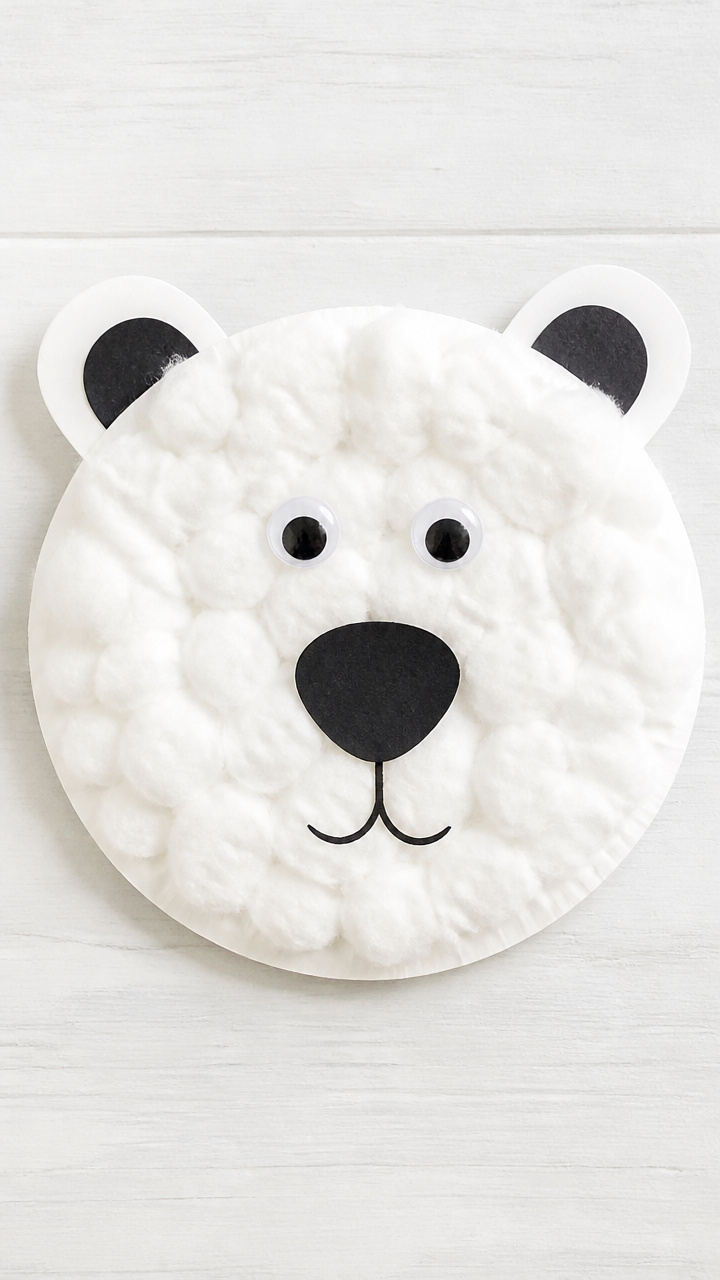
Fluffy polar bears peer out from paper plates, their faces framed by torn cotton batting fur. Soft and sweet, these hang proudly on the fridge.
Materials Needed
- White paper plate (9 inches)
- Cotton batting (1/4 cup)
- School glue
- Black construction paper (4×4 inches)
- Googly eyes (2, 12mm)
- Scissors
- Glue brush
How to Make It
- Tear cotton batting into small clumps.
- Spread glue over the front rim of the paper plate using the glue brush.
- Press cotton batting onto the glued edge to form a fluffy fur ring.
- Cut two small ears and a nose from black construction paper.
- Glue on the ears at the top of the plate, nose and eyes in the center.
10. Pipe Cleaner Northern Lights
Moderate
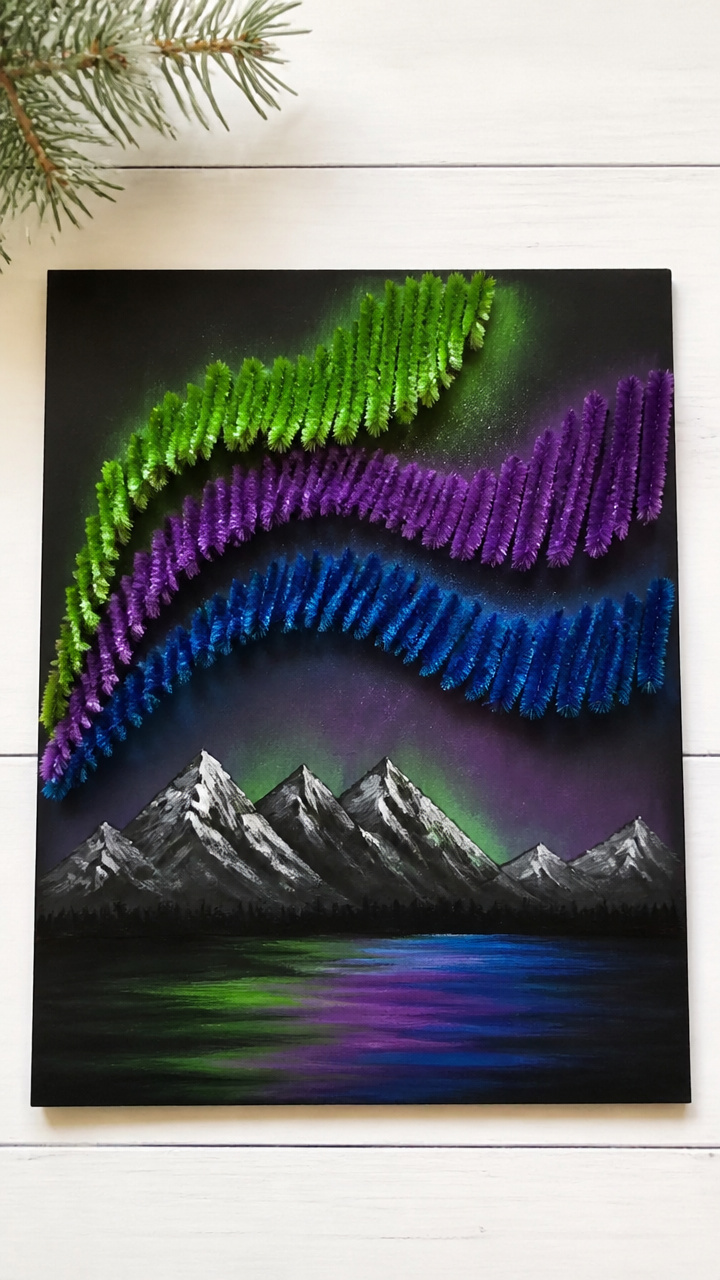
Curved strands of colored wire arc across a dark background, mimicking shimmering auroras. This craft teaches color blending with simple bends.
Materials Needed
- Black cardstock (8.5×11 inches)
- Green, purple, and blue pipe cleaners (2 each)
- Glue dots (small, 6 pieces)
- Ruler
- Scissors
How to Make It
- Cut each pipe cleaner in half to make 12 short pieces.
- Bend each piece into a gentle wave or curve.
- Arrange the curved pieces horizontally across the cardstock, layering colors to blend.
- Press one glue dot under each end of every pipe cleaner to secure it to the paper.
11. Button Mitten Wreath
Moderate
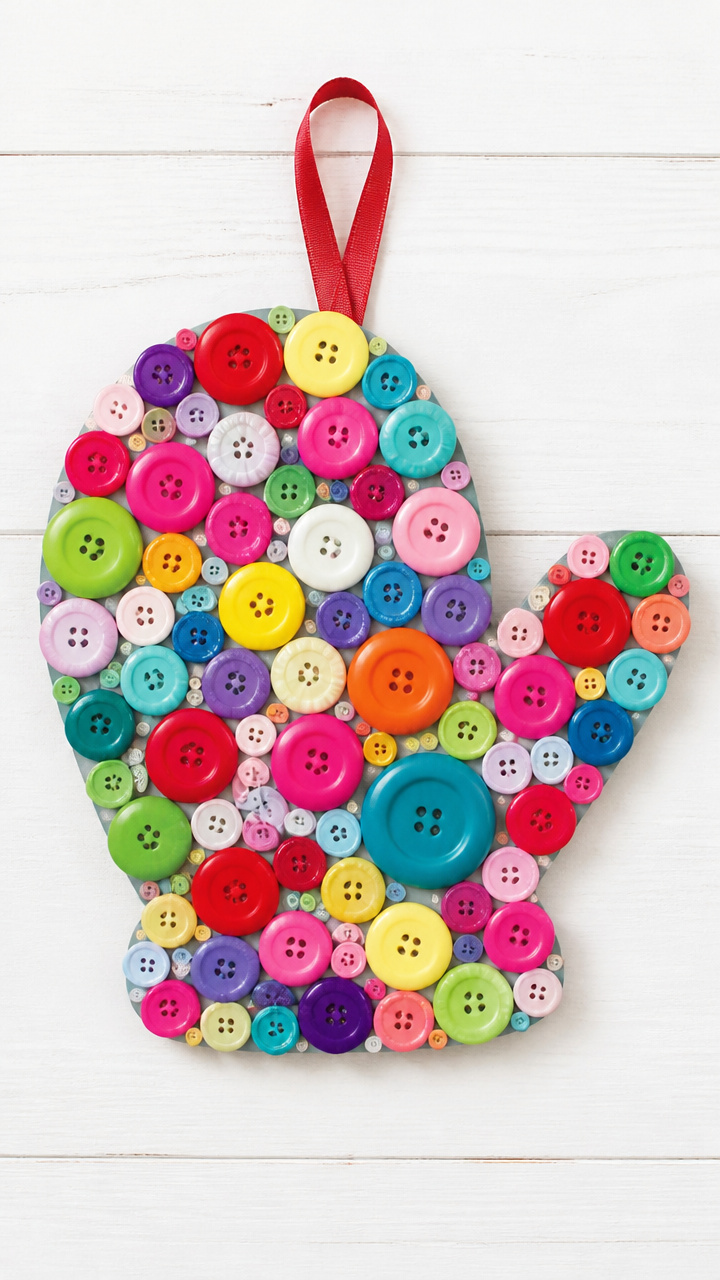
A circle of mismatched buttons forms a cheerful wreath shaped like a mitten. This celebrates texture and color in a wearable art style.
Materials Needed
- Cardboard (6×6 inches)
- Pencil
- Scissors
- Hot glue gun
- Hot glue sticks
- Assorted buttons (25 pieces, various sizes and colors)
- Ribbon (12-inch piece, green)
How to Make It
- Draw a mitten outline on cardboard using pencil and cut it out with scissors.
- Work from the bottom up, applying hot glue to the back of each button and pressing it onto the cardboard.
- Overlap buttons slightly to cover the surface completely.
- Glue a loop of green ribbon to the top back for hanging.
12. Crayon Wax Resist Snowscapes
Easy
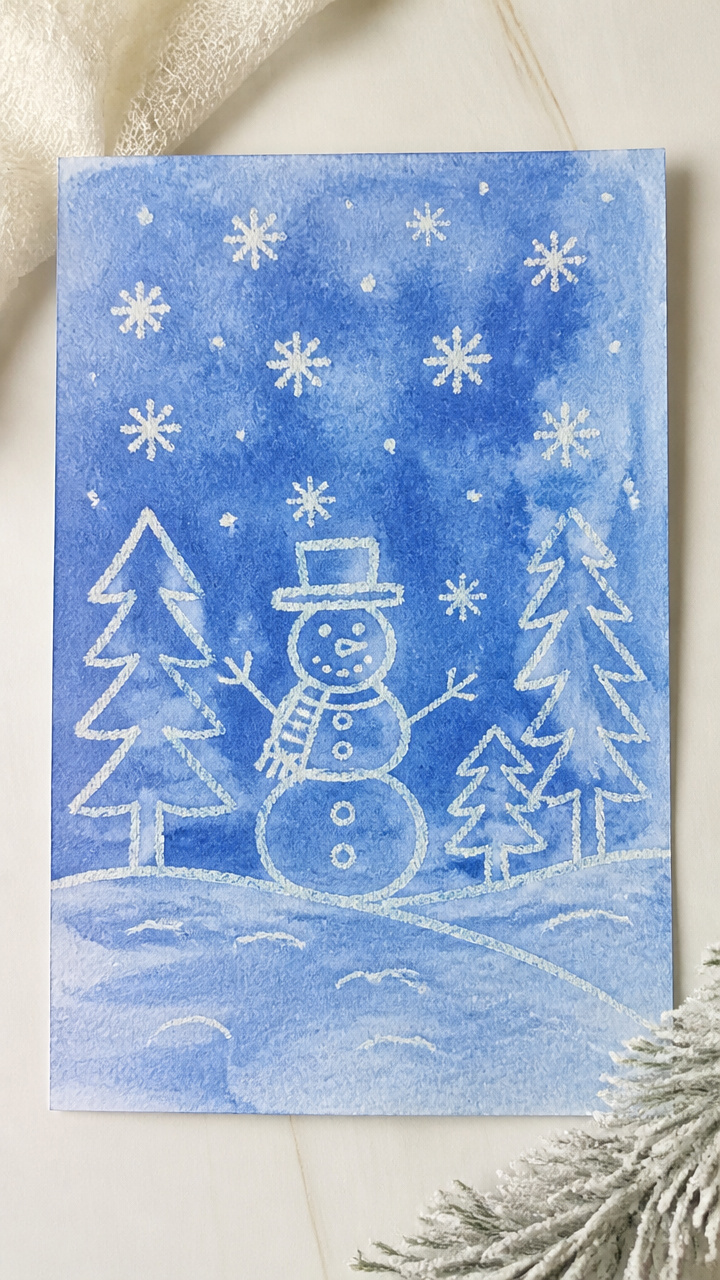
Hidden white crayon drawings emerge under blue paint washes, revealing snowmen and trees like magic. Kids love the surprise reveal.
Materials Needed
- White drawing paper (8.5×11 inches)
- White crayon
- Blue liquid watercolor paint (2 tablespoons)
- Small paint tray
- Water dropper (1 mL)
- Paintbrush (large flat, 1 inch)
How to Make It
- Draw snowmen, trees, or stars on the paper using the white crayon. Press hard.
- Pour blue watercolor paint into the tray.
- Use the dropper to add 5 drops of water to the paint.
- Wet the brush and spread the paint smoothly over the entire page.
- Let dry flat for 20 minutes to see the wax-resist images appear.
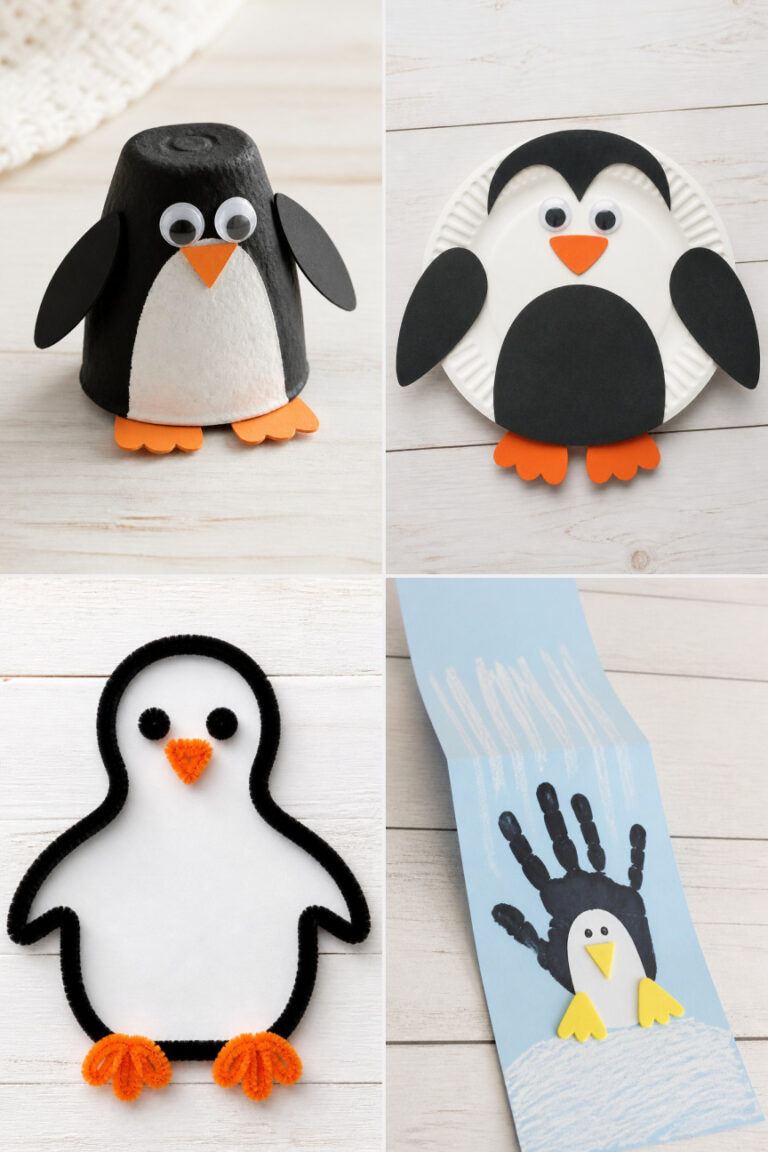
13. Clothespin Penguin Families
Easy
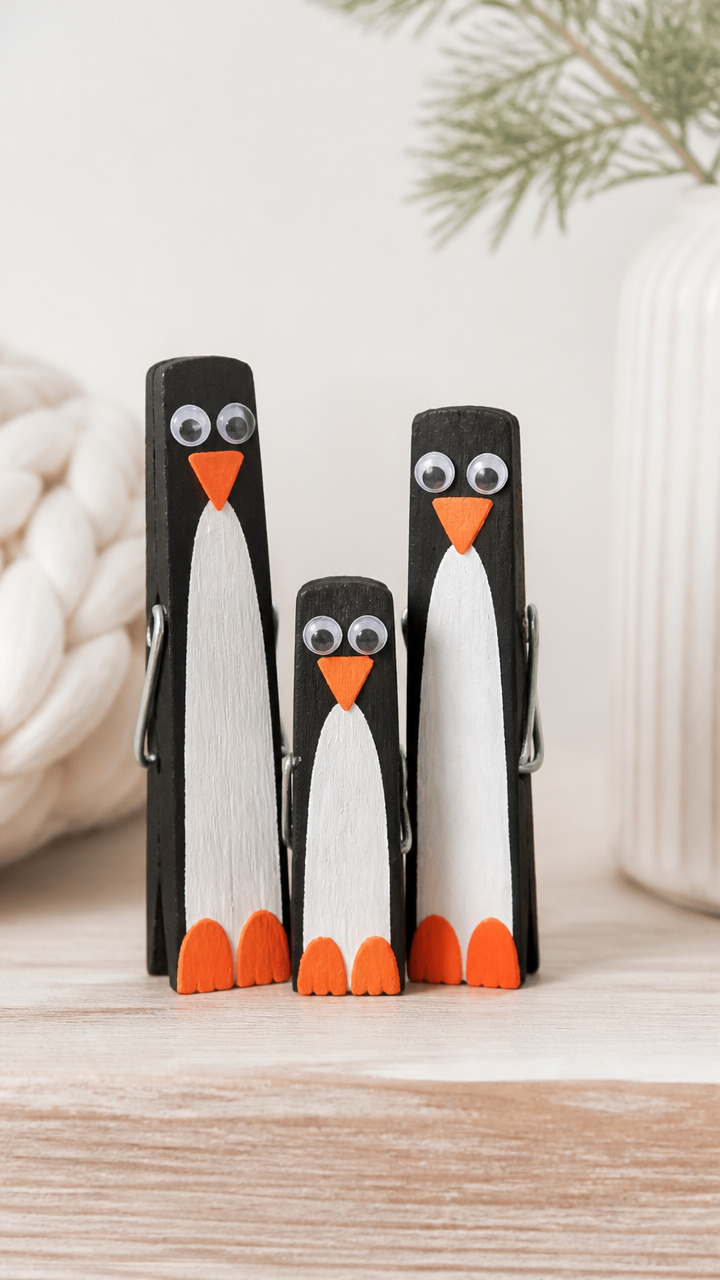
Wooden clothespins waddle with flippers and faces, standing in clusters as cute penguin families. These perch on shelves or greeting cards.
Materials Needed
- Wooden clothespins (3 per family)
- Black acrylic paint
- White acrylic paint
- Orange acrylic paint
- Small paintbrushes (round size 1)
- Googly eyes (6, 6mm)
- School glue
How to Make It
- Paint the entire body of each clothespin black using the small brush. Let dry for 15 minutes.
- Paint the front chest area of each with white paint. Let dry another 15 minutes.
- Use orange paint to add feet and beaks, painting small triangles at the bottom and tip.
- Glue two googly eyes above each beak once paint is dry.
14. Foam Sheet Snow Village
Advanced
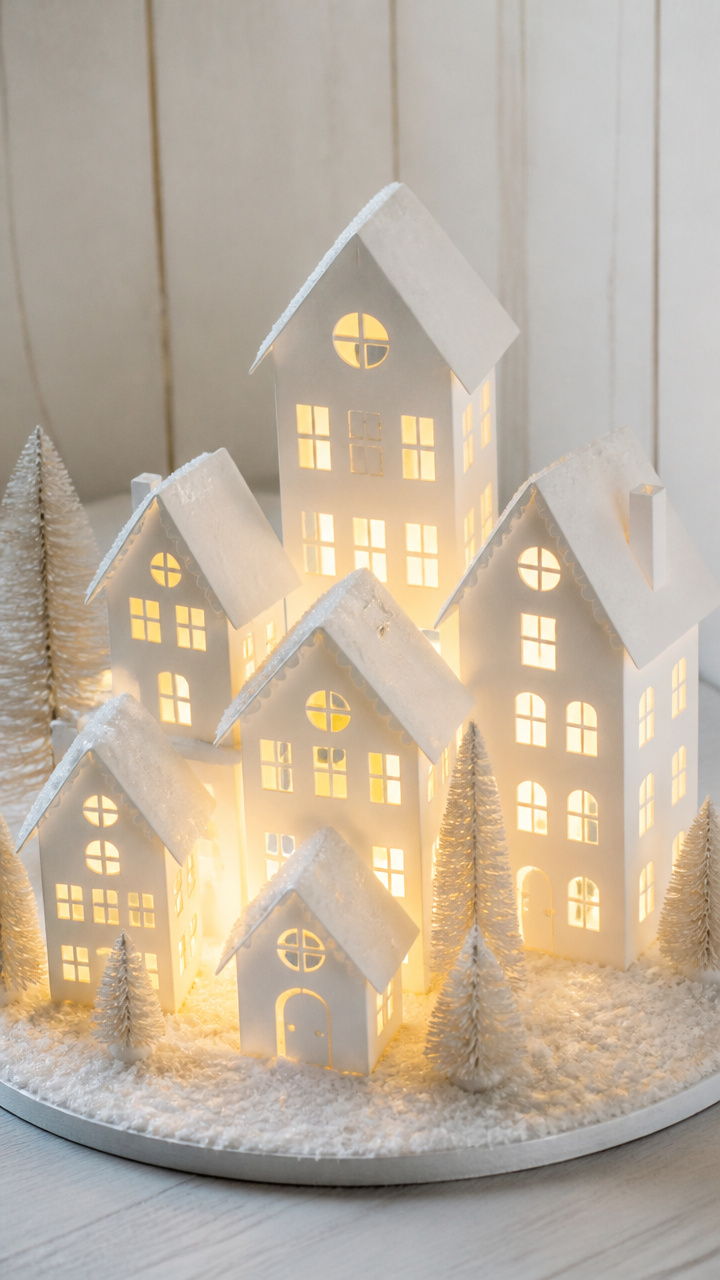
Layered foam houses stack into a glowing village, lit from within by tea lights. The soft shapes cast warm shadows at dusk.
Materials Needed
- White foam sheets (3, 12×18 inches)
- Craft knife
- Cutting mat
- Ruler
- Pencil
- LED tea light (battery-powered)
- Glue stick
- Window markers (blue and yellow)
How to Make It
- Draw house outlines on foam sheets using pencil and ruler: square bases with triangle roofs.
- Cut out 5 house shapes with the craft knife on the cutting mat.
- Score vertical lines on each house side with the dull edge of the knife to make panels.
- Use the glue stick to attach smaller foam pieces as chimneys or doors.
- Color windows with blue and yellow window markers.
- Stack houses around the LED tea light, tallest at back, shortest in front.
15. Straw Print Snow Patterns
Easy
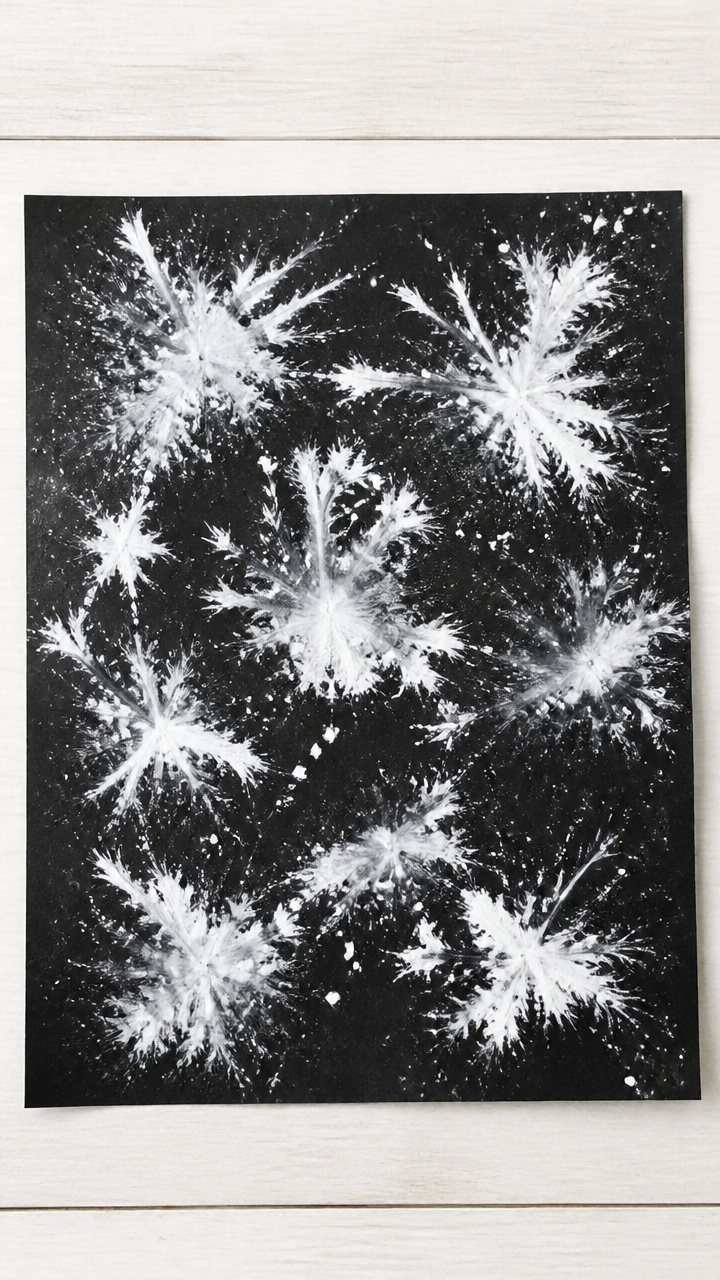
Blown paint streaks through straws create wild snowstorm patterns on dark paper. This active craft invites breath and motion.
Materials Needed
- Black construction paper (8.5×11 inches)
- White tempera paint (2 tablespoons)
- Plastic drinking straws (3 per child)
- Paper plate
- Cotton swab
How to Make It
- Pour white tempera paint onto the paper plate.
- Dip one end of a straw into the paint, then place the other end on the black paper.
- Blow gently through the straw to push paint outward in branching lines.
- Repeat with clean straws to avoid clumping.
- Use a cotton swab to dab excess paint if needed.
Grab your glue and glitter, pull up a chair, and let the cold-season creativity flow. These crafts are ready to bring smiles and sparkle to your days.