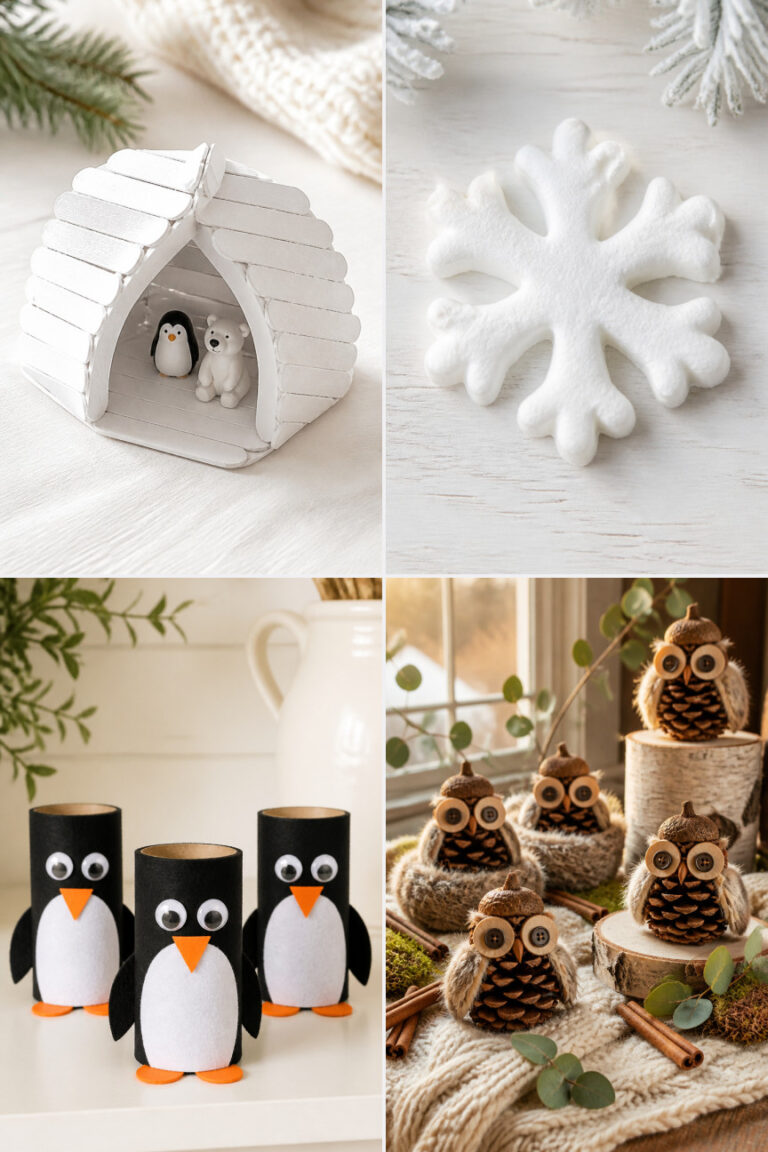
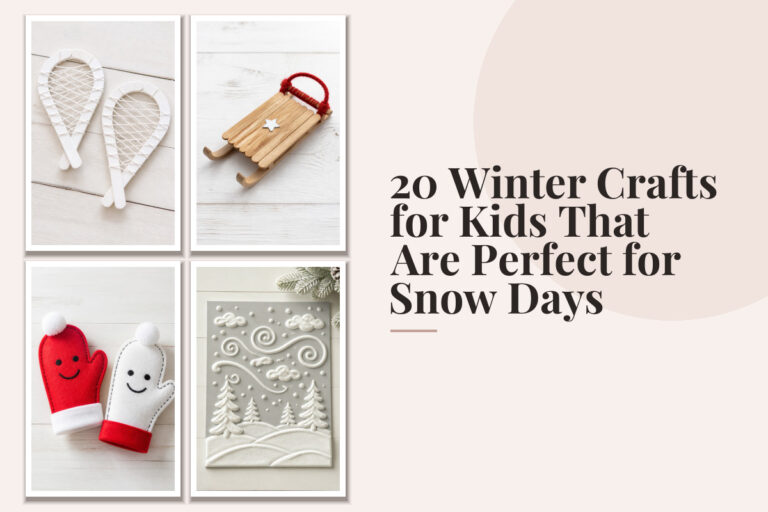
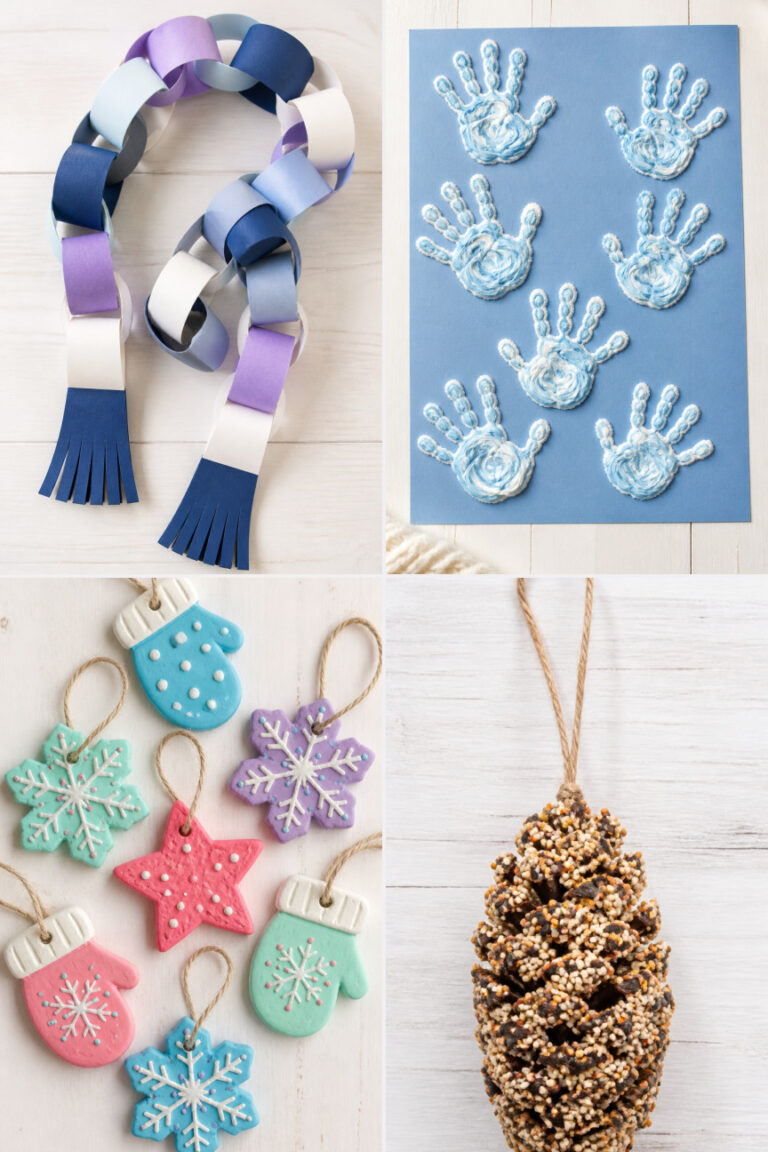
18 Winter Crafts for Elementary Students Using Paper and Glue

Snowflakes drift past classroom windows, mittens pile up on hooks, and the air hums with quiet excitement. This season, turn simple paper and glue into joyful handmade moments that spark creativity and keep small hands busy.
Each craft here uses only paper and glue, with clear steps and exact supplies so you can start right away. These are real projects that create real keepsakes, from classroom decorations to gifts that glow with winter charm.
1. 3D Paper Snowflakes
Easy

Delicate layered snowflakes with real dimension that catch the light like frost on glass. These make stunning window displays or hanging ornaments.
Materials Needed
- 6 sheets 6×6 inch white tissue paper
- White school glue
- Glue brush (1/2 inch wide)
- Pencil
- Scissors
- String (12 inch piece)
How to Make It
- Cut each tissue paper square into a circle using scissors.
- Stack all six circles evenly, then pinch the center and secure with a folded piece of string tied tightly.
- Use the pencil to gently lift and curve each outer layer upward, creating a puffy shape.
- Apply a thin layer of glue along the edges of each layer with the brush, wait 2 minutes, then shape again.
- Let dry completely for 20 minutes before trimming the string to 4 inches for hanging.
2. Folded Paper Penguins
Easy
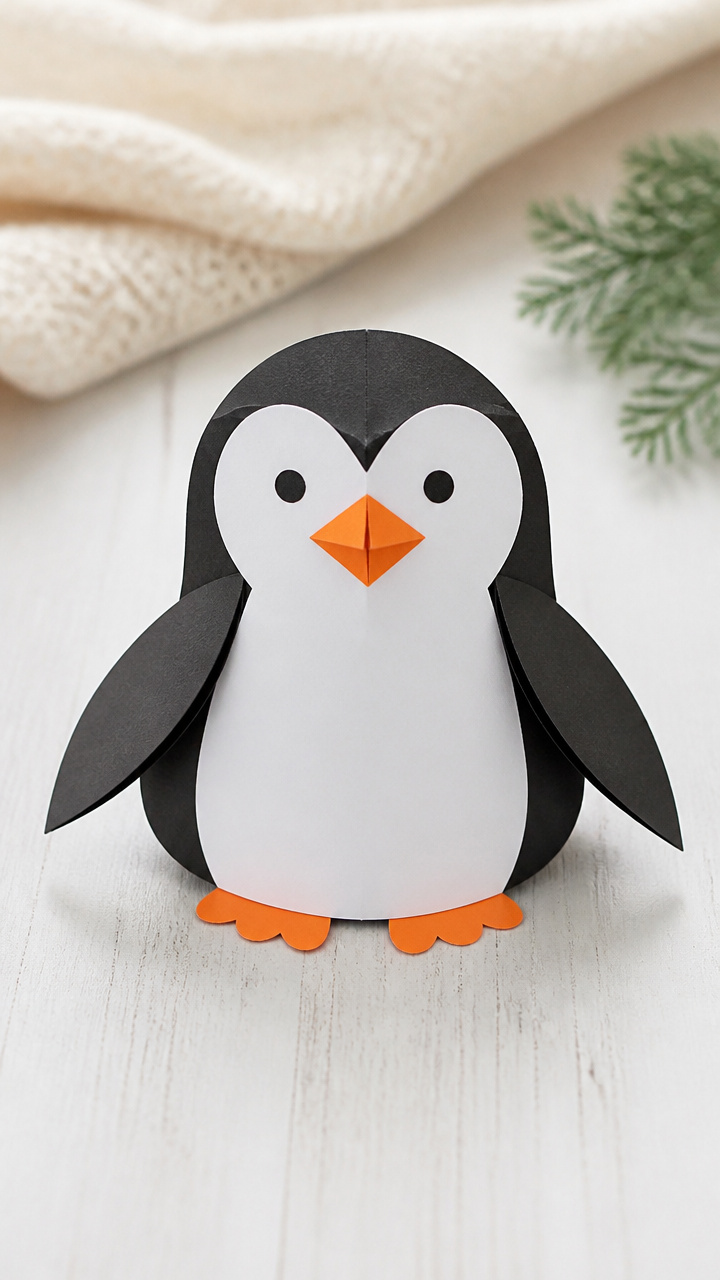
Chubby penguins with folded wings and a glossy beak that stand upright on their own. These are perfect for winter story corners or holiday cards.
Materials Needed
- 1 sheet 8.5×11 inch black construction paper
- 1 sheet 6×6 inch orange cardstock
- 1 sheet 1×2 inch white paper
- White school glue
- Glue brush
- Scissors
- Black marker
How to Make It
- Fold the black paper in half vertically, then cut along the fold to make two pieces.
- Take one piece and fold the top two corners down to meet at the center, forming a triangle head.
- Glue the two side flaps together behind the head with a line of glue along each edge.
- Cut two small wings from the remaining black paper and glue them to the sides with the brush.
- Glue the orange cardstock triangle for the beak under the head, then add two white eye circles and draw pupils with the marker.
3. Paper Mitten Chains
Easy

Colorful mitten garlands linked together like real pairs hung by the fireplace. These brighten bulletin boards or classroom windows.
Materials Needed
- 6 sheets 6×9 inch colored construction paper (assorted colors)
- White school glue
- Glue brush
- Scissors
- Hole punch
How to Make It
- Fold each sheet in half lengthwise, then cut along the fold to make 12 rectangles.
- Fold each rectangle in half with the short ends together.
- Cut a mitten shape along the open edge, keeping the fold as the wrist edge.
- Unfold to reveal a symmetrical mitten, then punch one hole at the top of each mitten.
- Thread a string through the holes, adding a dab of glue at each knot to secure the loop.
4. Glued Cotton Ball Snowmen
Easy
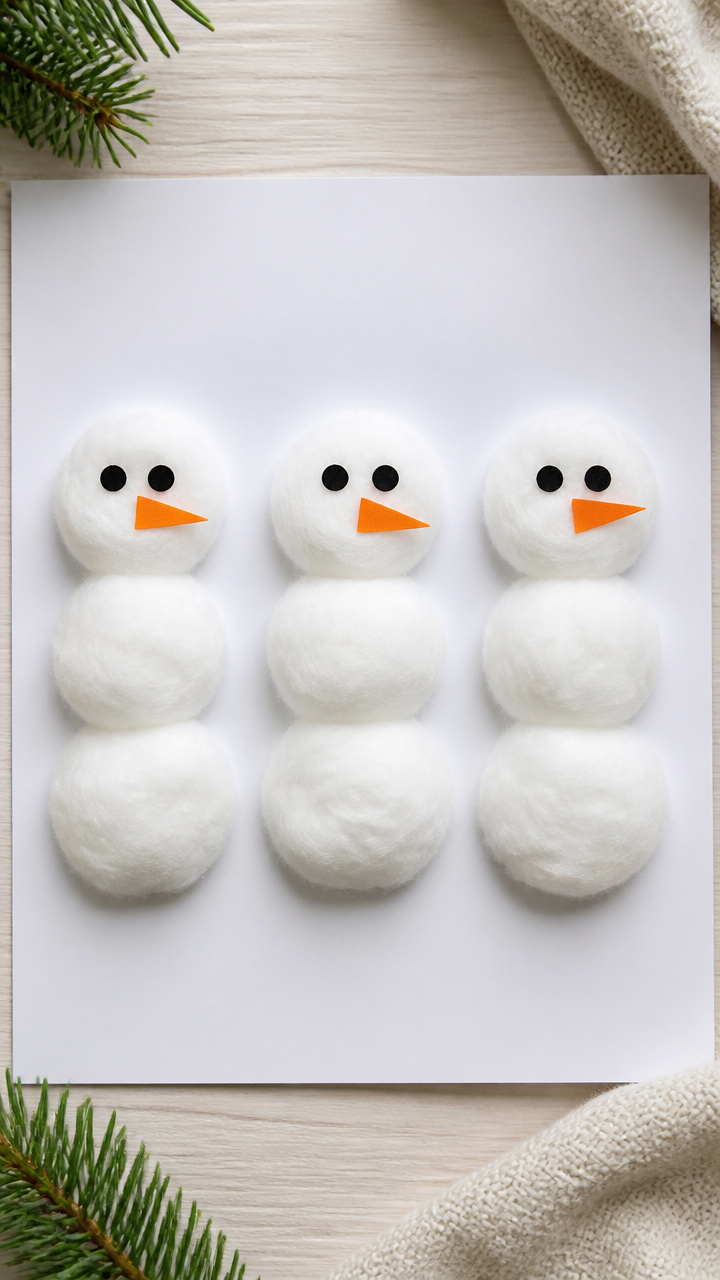
Fuzzy snowmen built from paper circles and cotton balls that feel soft and look cozy. These stand well on desks or as gift toppers.
Materials Needed
- 1 sheet 8.5×11 inch white construction paper
- 1 sheet 1×1 inch black construction paper
- 1 sheet 1×1 inch orange construction paper
- 20 cotton balls
- White school glue
- Glue brush
- Scissors
How to Make It
- Cut three large circles from the white paper: one 3 inch, one 2.5 inch, one 2 inch.
- Stack the circles from largest to smallest, gluing each layer with a dab of glue in the center.
- Glue three small black paper circles for eyes and buttons, and a small orange triangle for the nose.
- Apply glue to the top circle and press 5 cotton balls around the edge to form a scarf.
- Let dry flat for 15 minutes before displaying.
5. Layered Ice Skates
Moderate

Shiny paper skates with layered blades that look like they're ready to glide across a frozen pond. These make sweet decorations or cards.
Materials Needed
- 1 sheet 6×6 inch blue cardstock
- 1 sheet 1×4 inch silver foil paper
- 1 sheet 1×1 inch white paper
- White school glue
- Glue brush
- Scissors
- Ruler
- Pencil
How to Make It
- Draw a skate shape on the blue cardstock using the ruler and pencil, 4 inches tall, then cut it out.
- Cut two 4 inch strips from the silver foil paper, each 1/4 inch wide.
- Glue one strip vertically down the front of the skate with the brush, curving slightly at the bottom.
- Glue the second strip just behind the first, offset by 1/8 inch to create depth.
- Cut two small white ovals and glue them near the top for laces detail.
6. Paper Snow Globe Scenes
Moderate
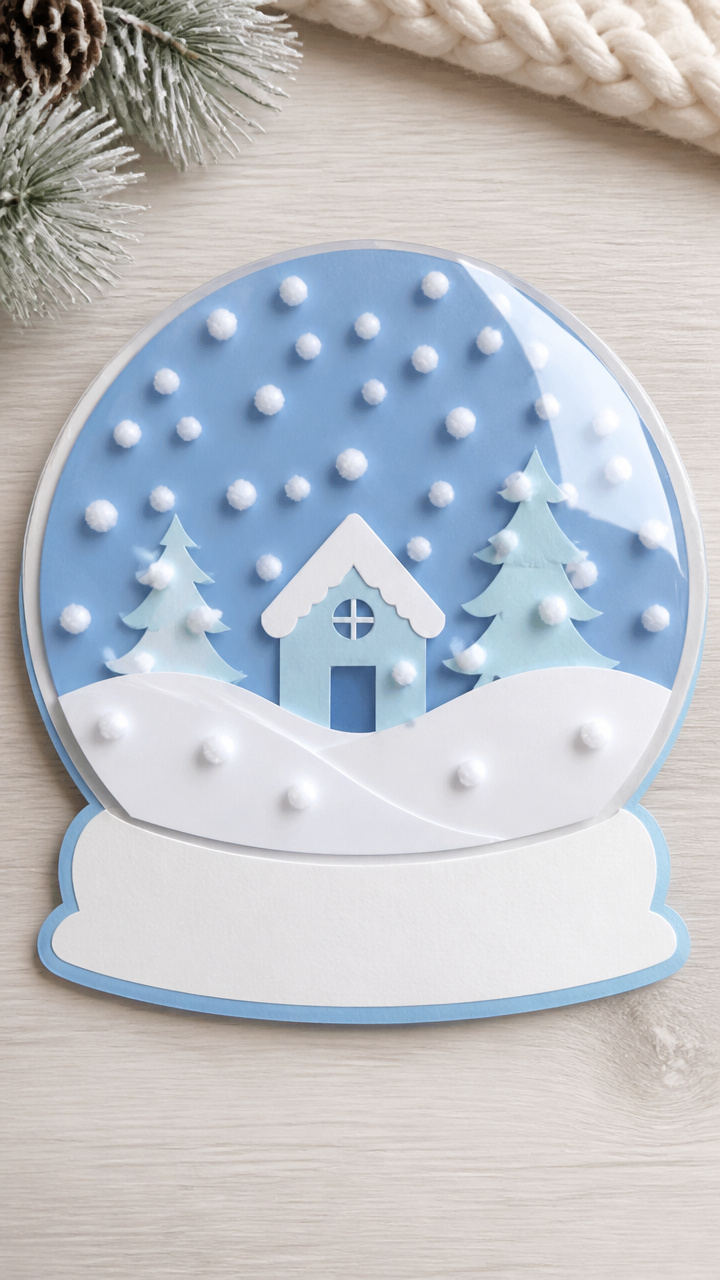
Mini winter scenes sealed under a domed paper cover that look like real snow globes. These are magical on desks or as gifts.
Materials Needed
- 1 sheet 8.5×11 inch clear acetate sheet
- 1 sheet 6×6 inch white cardstock
- 1 sheet 4×4 inch blue construction paper
- 10 white pom-poms (3mm size)
- White school glue
- Glue brush
- Scissors
- Round lid (3 inch diameter)
How to Make It
- Trace the lid on the white cardstock and cut out the circle.
- Glue the blue paper square to the center of the circle, leaving a white border.
- Arrange three small pom-poms on the blue square as snowmen, gluing each with a dot of glue.
- Trace the lid again on the acetate and cut out the circle.
- Glue the acetate circle over the scene, letting it dome slightly, and sprinkle remaining pom-poms underneath the edge before sealing completely.
7. Folded Paper Reindeer
Moderate
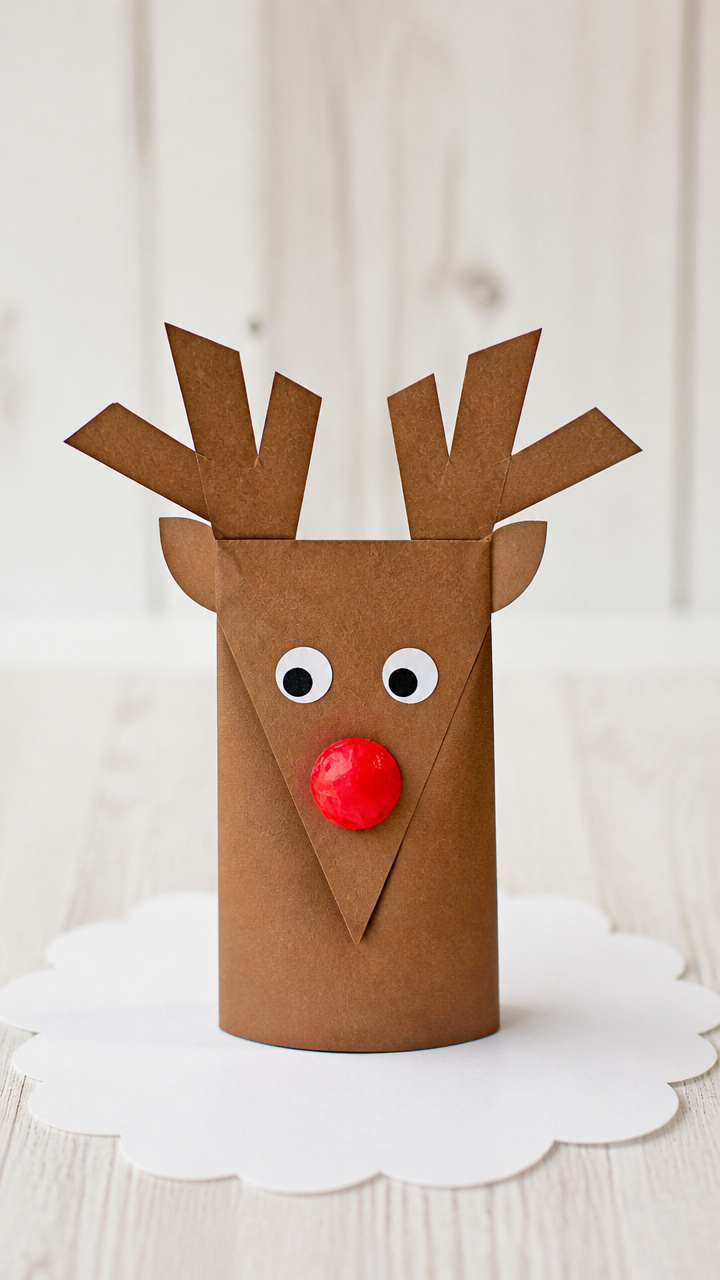
Standing reindeer with folded antlers and a red nose that tilt forward like they're sniffing snow. These are great for holiday displays.
Materials Needed
- 1 sheet 8.5×11 inch brown construction paper
- 1 sheet 1×1 inch red tissue paper
- 1 sheet 1×1 inch white paper
- White school glue
- Glue brush
- Scissors
- Black marker
How to Make It
- Fold the brown paper in half lengthwise, then cut from the fold to 1 inch from the edge to create legs.
- Fold each leg outward at a 45 degree angle so the reindeer can stand.
- Cut two antler shapes from the remaining brown paper and glue them to the top front with the brush.
- Crumple the red tissue paper into a tiny ball and glue it to the front of the face.
- Glue on two white eye circles and add pupils with the marker.
8. Glittered Paper Ornaments
Easy

Sturdy paper shapes coated in glue and glitter that sparkle like real holiday decorations. These hold up well on trees or strings.
Materials Needed
- 6 sheets 6×6 inch white cardstock
- White school glue
- Glitter (blue and silver mix)
- Glue brush
- Scissors
- String (6 inch pieces, 6 total)
- Pencil
How to Make It
- Draw six simple shapes (star, tree, snowflake) on the cardstock with pencil and cut them out.
- Paint a thin, even layer of glue over one side of each shape using the brush.
- Sprinkle glitter evenly over the glued side, covering completely.
- Shake off excess glitter after 1 minute, then let dry for 10 minutes.
- Glue a string loop to the top back of each ornament and let dry another 5 minutes.
9. Paper Igloo Dome
Moderate
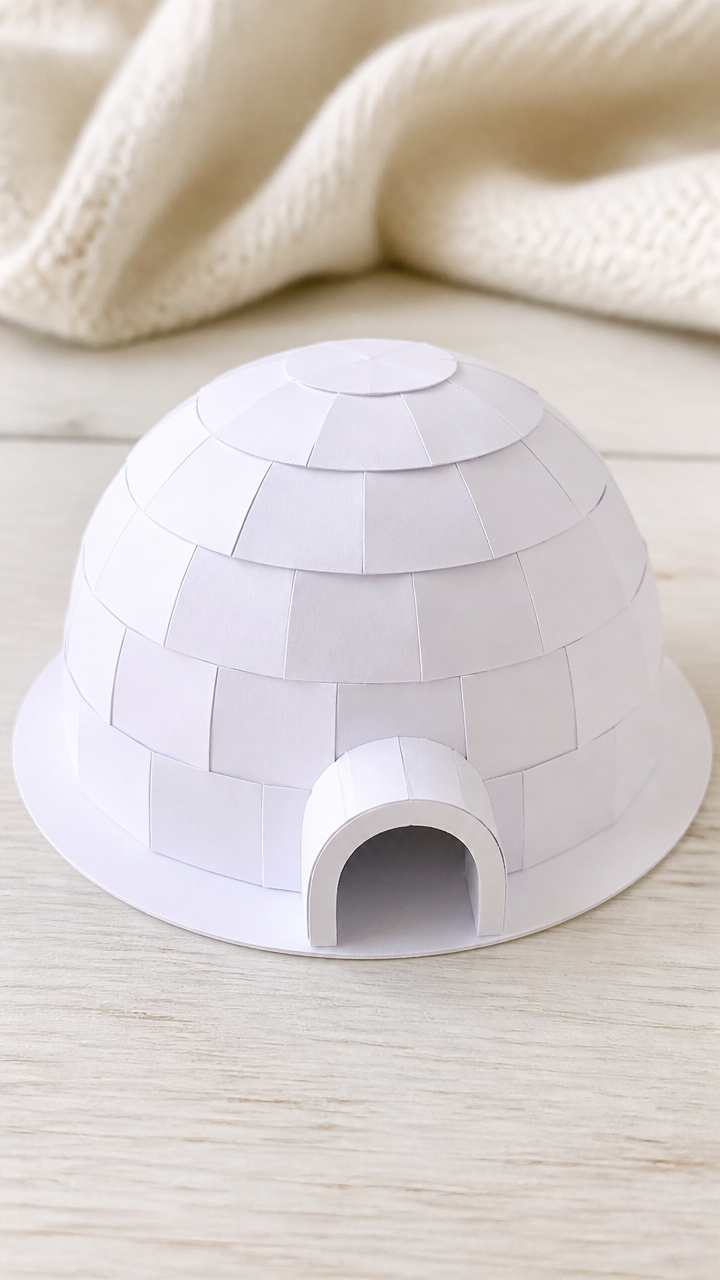
A curved igloo made from layered paper strips that stands solid on a flat base. This doubles as a story prop or centerpiece.
Materials Needed
- 12 strips 1×4 inch white cardstock
- 1 sheet 6×6 inch white cardstock
- White school glue
- Glue brush
- Scissors
- Pencil
How to Make It
- Draw a 5 inch circle on the 6×6 sheet and cut it out for the base.
- Bend each 1×4 inch strip into a gentle arch.
- Glue one end of each strip to the edge of the base circle, spacing them evenly like wheel spokes.
- Apply glue where the opposite ends meet at the top and press together to form a dome.
- Let dry upright for 20 minutes, supporting with books if needed.
10. Torn Paper Snowy Trees
Easy
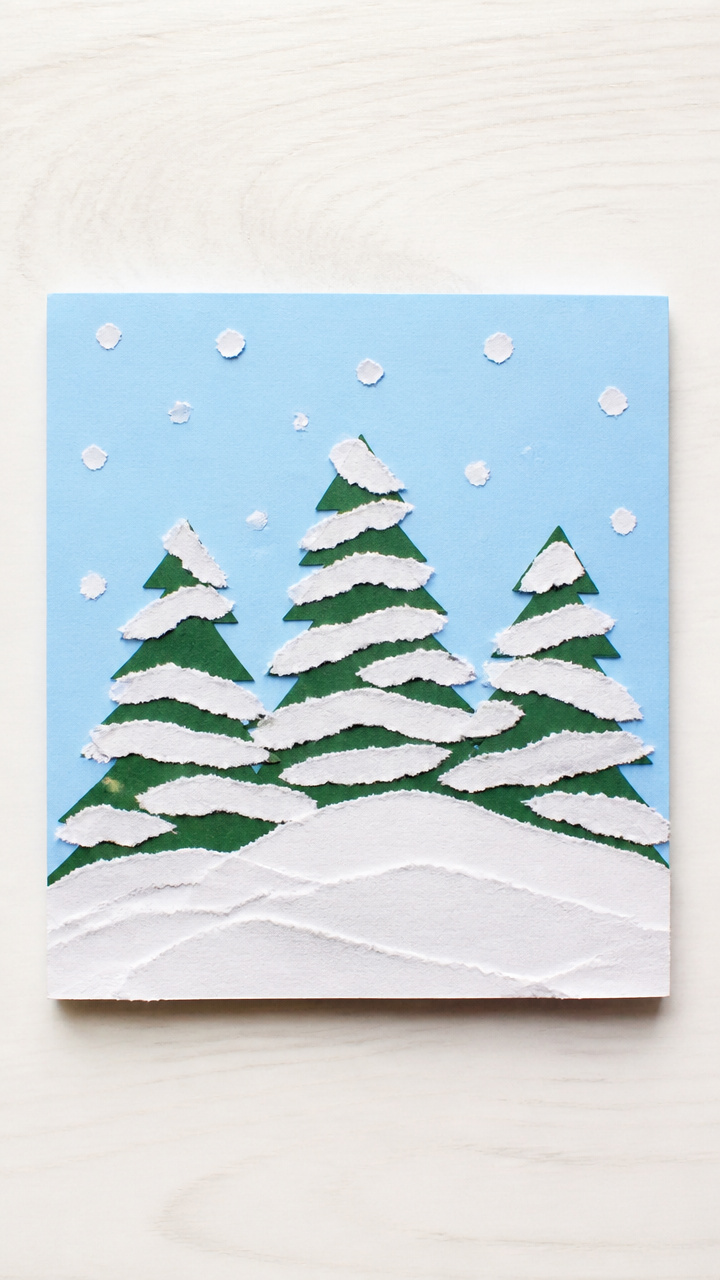
Woodland scenes made with hand-torn paper strips that create soft, snowy evergreens. These look beautiful framed or taped to windows.
Materials Needed
- 1 sheet 8.5×11 inch green construction paper
- 1 sheet 8.5×11 inch white construction paper
- 1 sheet 6×6 inch blue construction paper
- White school glue
- Glue brush
- Scissors
How to Make It
- Tear the green paper into 1 inch wide strips, then tear jagged tops to resemble tree canopies.
- Tear the white paper into small irregular pieces, about the size of a dime.
- Glue the blue paper to the bottom third of a full sheet as the sky base.
- Arrange three green strips on the blue paper as trees, gluing each at the base.
- Sprinkle white pieces over the trees and ground, gluing each with a dot of glue to look like fresh snow.
11. Paper Sled with Runners
Moderate
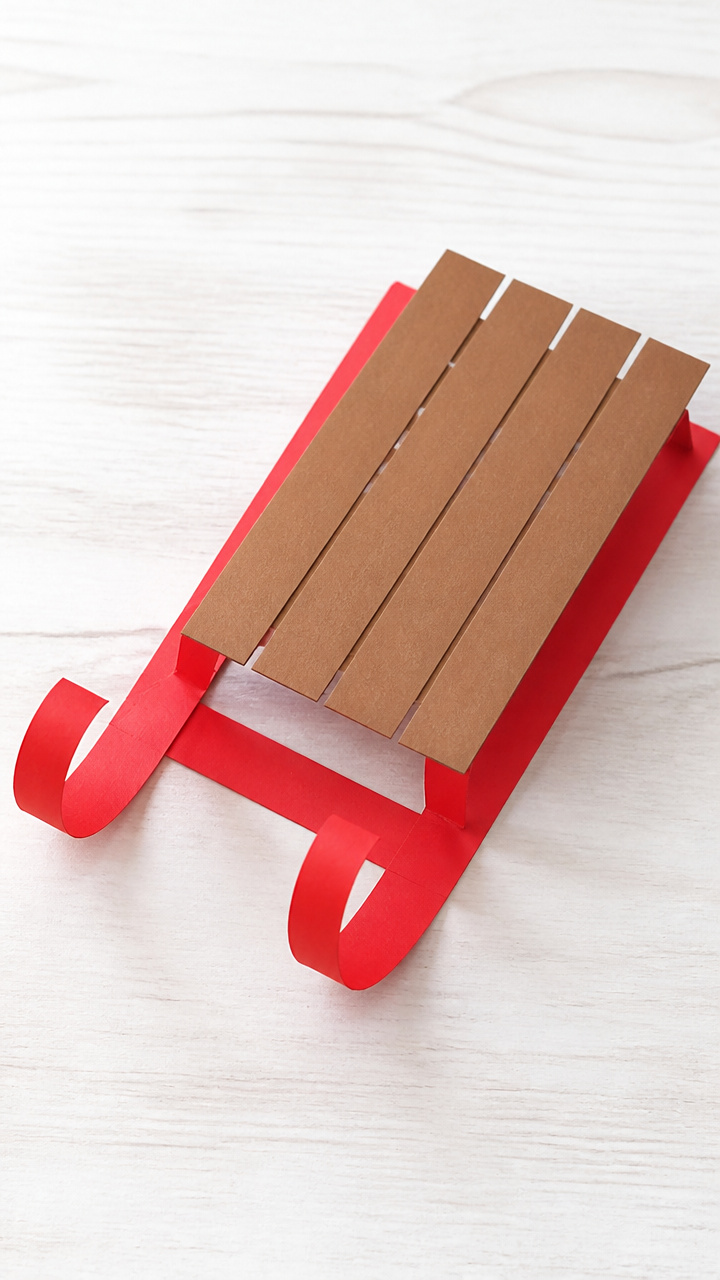
A sled with curved red runners and a flat bed that stands on its own. This makes a cheerful desk decoration or book report prop.
Materials Needed
- 1 sheet 6×9 inch red construction paper
- 1 sheet 6×9 inch brown construction paper
- White school glue
- Glue brush
- Scissors
- Ruler
- Pencil
How to Make It
- Cut two 8 inch strips from the red paper, each 1/2 inch wide for runners.
- Bend each strip into a shallow U shape with a 1 inch flat base at the bottom.
- Cut a 3×4 inch rectangle from the brown paper for the sled bed.
- Glue the runners to the back of the bed, aligning the flat base with the bottom edge.
- Let dry for 15 minutes, keeping the sled upright with support on both ends.
12. Glued Paper Snow People
Easy
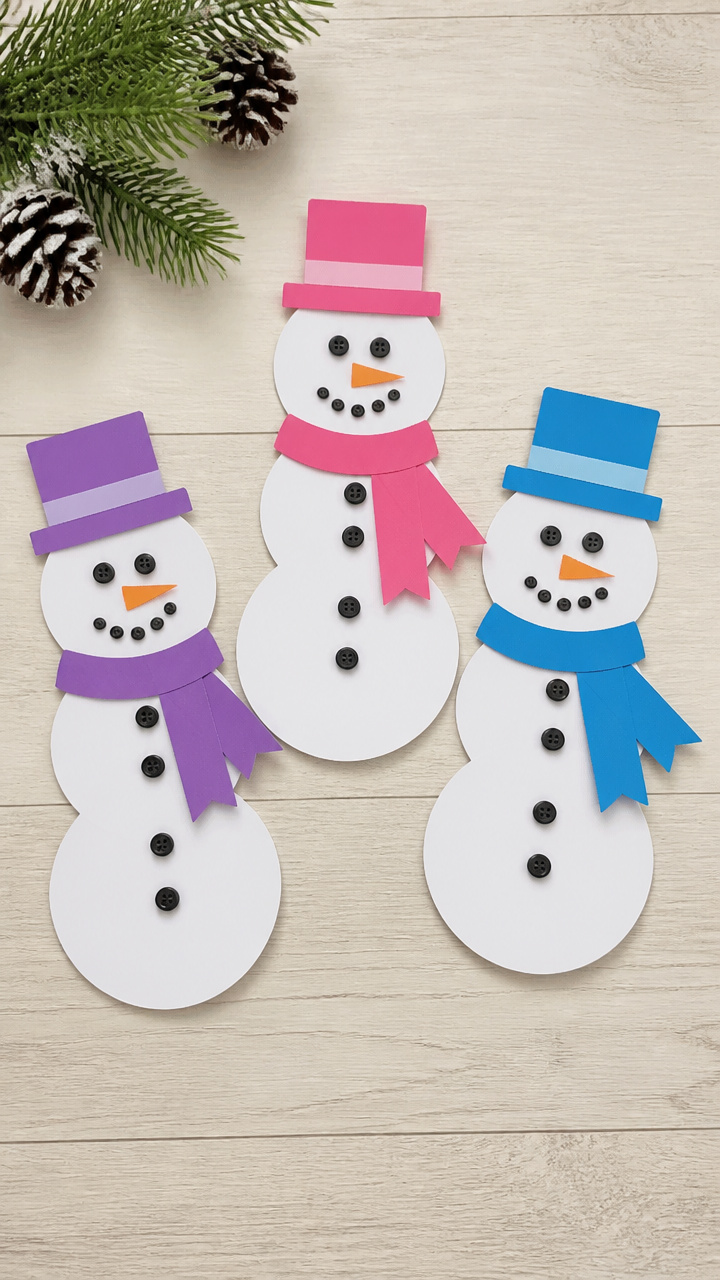
Stacked snow people with paper scarves and hat brims that pop with color. These are ideal for winter bulletin boards.
Materials Needed
- 3 sheets 4×4 inch white paper
- 3 sheets 1×4 inch colored construction paper (assorted colors)
- 3 small black buttons
- White school glue
- Glue brush
- Scissors
How to Make It
- Cut each 4×4 inch white paper into three circles: one 3 inch, one 2.5 inch, one 2 inch.
- Stack the circles from largest to smallest, gluing each with a dab of glue in the center.
- Cut the colored paper into 1 inch wide loops and glue around the middle section as scarves.
- Glue one black button to each snow person's face for a nose.
- Let dry flat for 10 minutes before arranging on display.
13. Folded Paper Mittens
Easy

Symmetrical mittens with thumb bumps and crimped edges that look like real knit gloves. These work well as cards or gift tags.
Materials Needed
- 2 sheets 6×6 inch colored construction paper
- White school glue
- Glue brush
- Scissors
- Pencil
How to Make It
- Fold each paper square in half diagonally to form a triangle.
- Draw half a mitten shape along the folded edge, including a thumb bump, and cut it out.
- Unfold to reveal a full mitten with symmetrical sides.
- Use scissors to make small cuts along the outer edge every 1/4 inch, then bend each tab slightly inward.
- Glue the two mittens together at the wrist edge, leaving the top open.
14. Paper Pine Tree Silhouettes
Easy
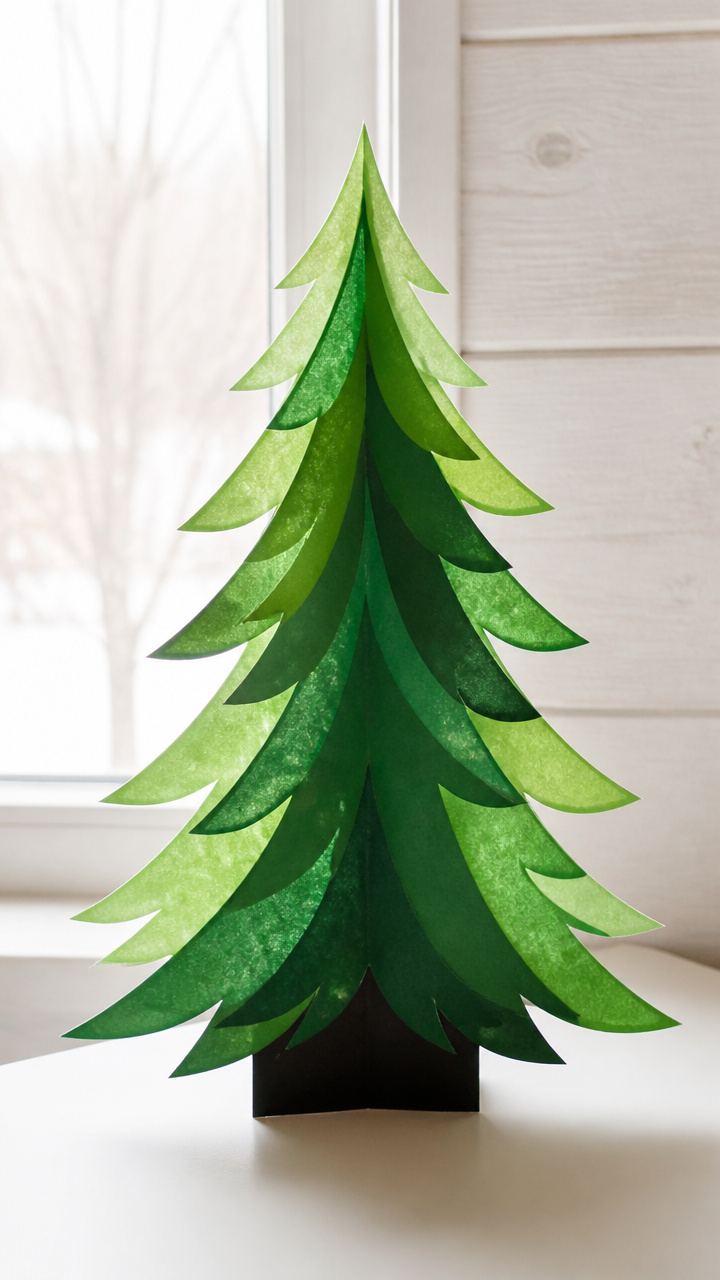
Tall, layered evergreens made from stacked paper triangles that create depth against a window. These look stunning backlit.
Materials Needed
- 3 sheets 6×6 inch green cardstock (light, medium, dark)
- 1 sheet 6×6 inch black cardstock
- White school glue
- Glue brush
- Scissors
- Pencil
How to Make It
- Cut each green sheet into a 5 inch tall triangle with a flat base.
- Layer the triangles from darkest at the back to lightest at the front, offsetting slightly downward.
- Glue the tips together at the top with a small dot of glue.
- Cut a 1×2 inch rectangle from the black paper and glue it vertically under the base as the trunk.
- Let dry for 10 minutes before taping to a window.
15. Glued Paper Snowflakes
Moderate
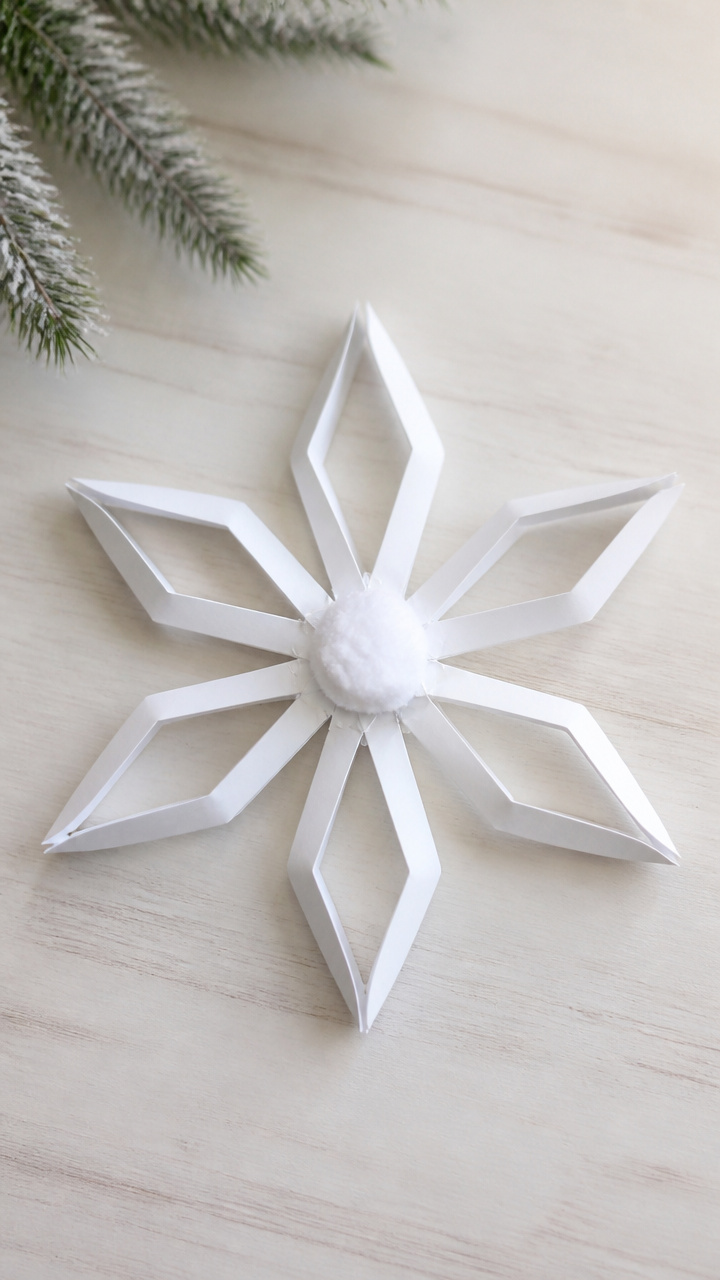
Flat snowflakes built from overlapping paper strips that radiate from a center point. These are perfect for mobiles or window art.
Materials Needed
- 6 strips 1/4 inch x 4 inch white cardstock
- 1 small white pom-pom (5mm)
- White school glue
- Glue brush
- Scissors
How to Make It
- Lay one strip vertically on the table.
- Place a second strip horizontally over it, forming a cross, and glue at the center.
- Add the remaining four strips diagonally, spacing them evenly, and glue each at the center.
- Press the small pom-pom into the center with glue, covering the joint.
- Let dry flat for 15 minutes before hanging with thread.
16. Paper Cup Snow Domes
Moderate
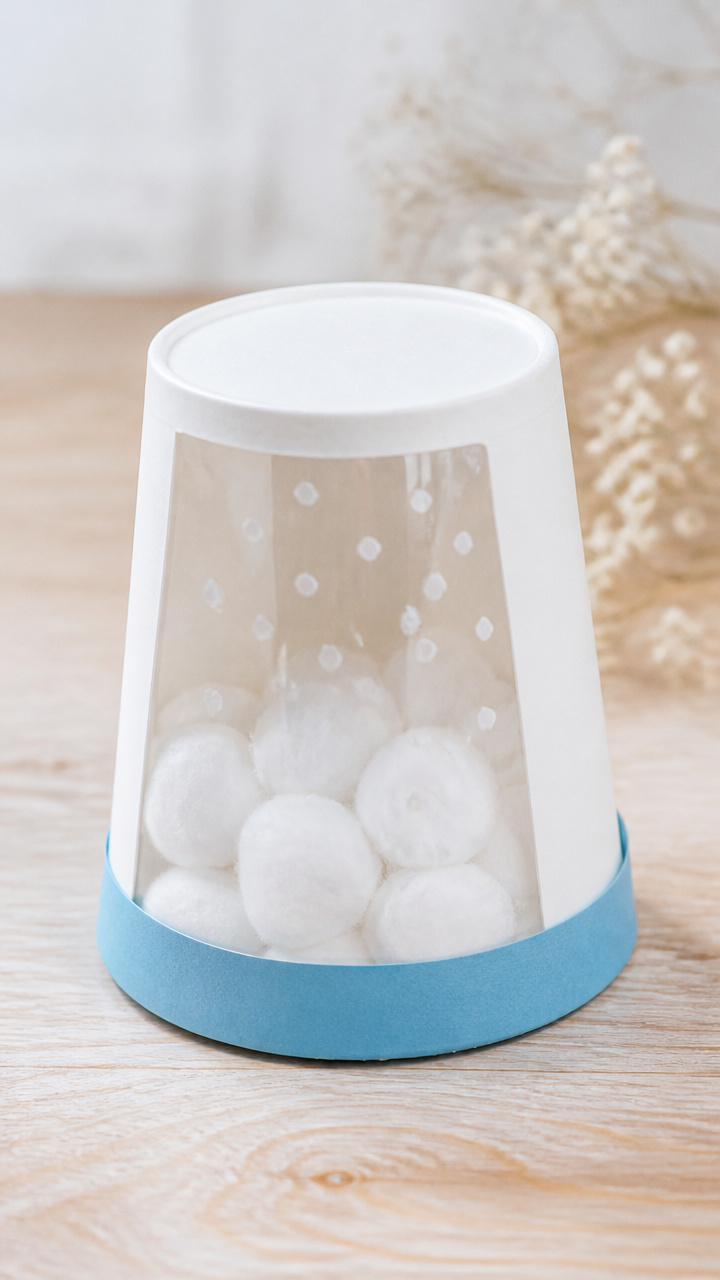
Mini winter scenes inside upside-down paper cups that mimic snow domes. These are fun to make and shake gently for effect.
Materials Needed
- 6 small white paper cups
- 6 sheets 2×2 inch blue construction paper
- 12 cotton balls
- White school glue
- Glue brush
- Scissors
- Clear tape
How to Make It
- Cut each blue paper into a 1.5 inch circle for the base.
- Glue the circle inside the bottom of each cup, which will be the top when flipped.
- Glue two cotton balls in the center of each blue circle to form a snow hill.
- Cut a small evergreen tree from leftover blue paper and glue it to the snow.
- Seal the open end of the cup with clear tape, then flip and decorate the outside as the dome.
17. Folded Paper Foxes
Moderate
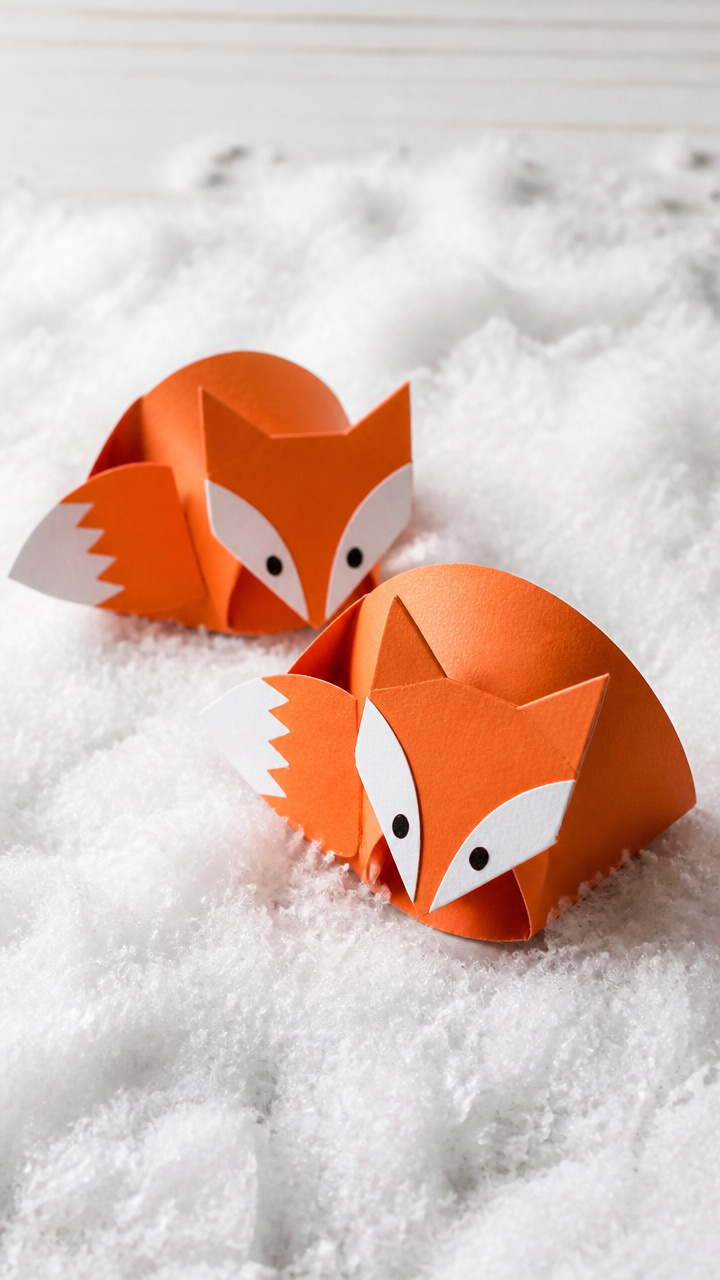
Crouching foxes with folded ears and tails that look like they're peering through snow. These add woodland magic to any display.
Materials Needed
- 1 sheet 8.5×11 inch orange construction paper
- 1 sheet 1×1 inch white paper
- 1 sheet 1×1 inch black paper
- White school glue
- Glue brush
- Scissors
How to Make It
- Fold the orange paper in half lengthwise, then cut from the fold to 1 inch from the edge to make legs.
- Fold each leg forward at a 30 degree angle so the fox can crouch.
- Cut two small triangles for ears and fold each in half, then glue to the head.
- Cut a bushy tail shape and glue it to the back, curving upward.
- Glue on white eye circles, black pupils, and a small white nose triangle.
18. Paper Window Frosting Art
Easy
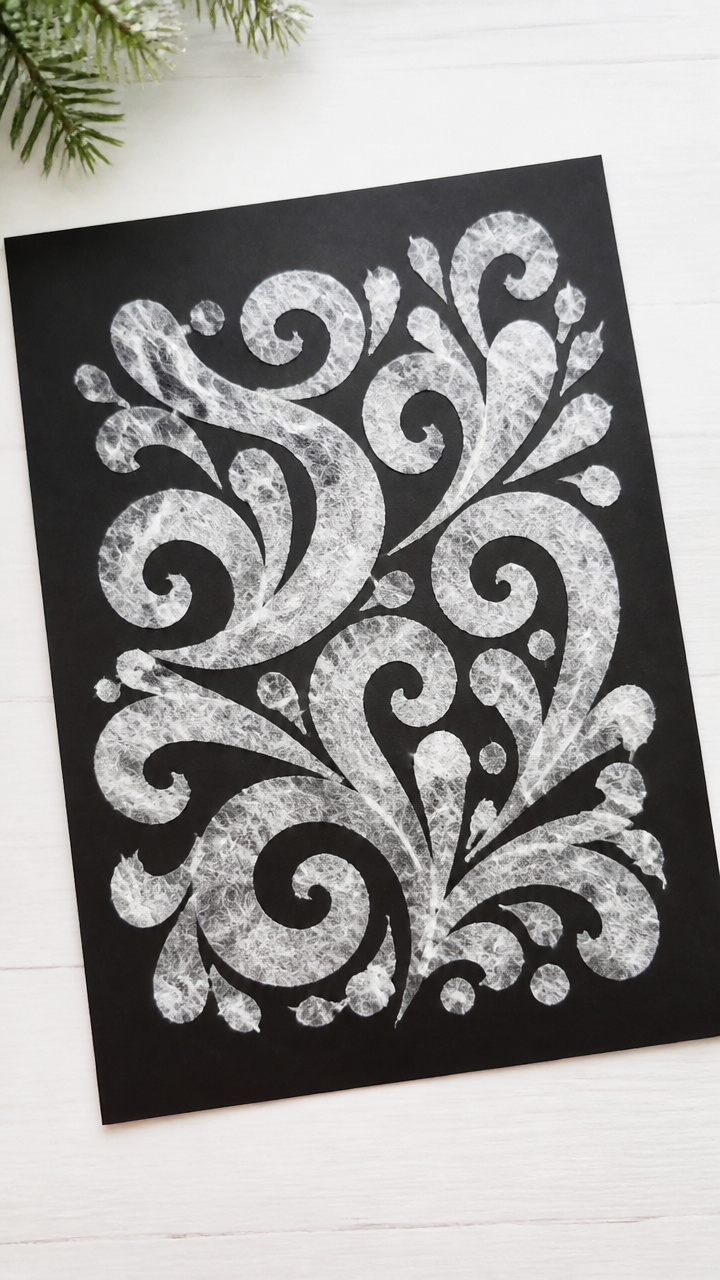
Swirled white paper designs that mimic frost on cold glass. These turn any window into a winter scene.
Materials Needed
- 1 sheet 8.5×11 inch white tissue paper
- White school glue
- Glue brush
- Scissors
- Black construction paper (8.5×11 inch)
How to Make It
- Tear the tissue paper into 1 inch pieces.
- Crumple each piece slightly, then flatten and cut into wavy, organic shapes.
- Arrange the pieces on the black paper in swirling patterns, like frost on glass.
- Glue each piece down with the brush, overlapping slightly for texture.
- Let dry completely for 15 minutes before taping to a window.
Grab your paper and glue, and let the winter magic begin. These crafts are ready to bring joy, one sticky finger at a time.