16 Easy Winter Crafts for Toddlers (Low Mess and Fun)

Fingerprints turn into snowmen, cotton balls pile up like fresh snowfall, and little hands shape mittens out of paper with pride. These quiet moments of creation build joy that lasts longer than any decoration.
Each craft fits small attention spans and big imaginations. They use simple supplies you likely have at home and keep mess to a minimum so you can focus on fun, not cleanup.
1. Cotton Ball Snowmen
Easy
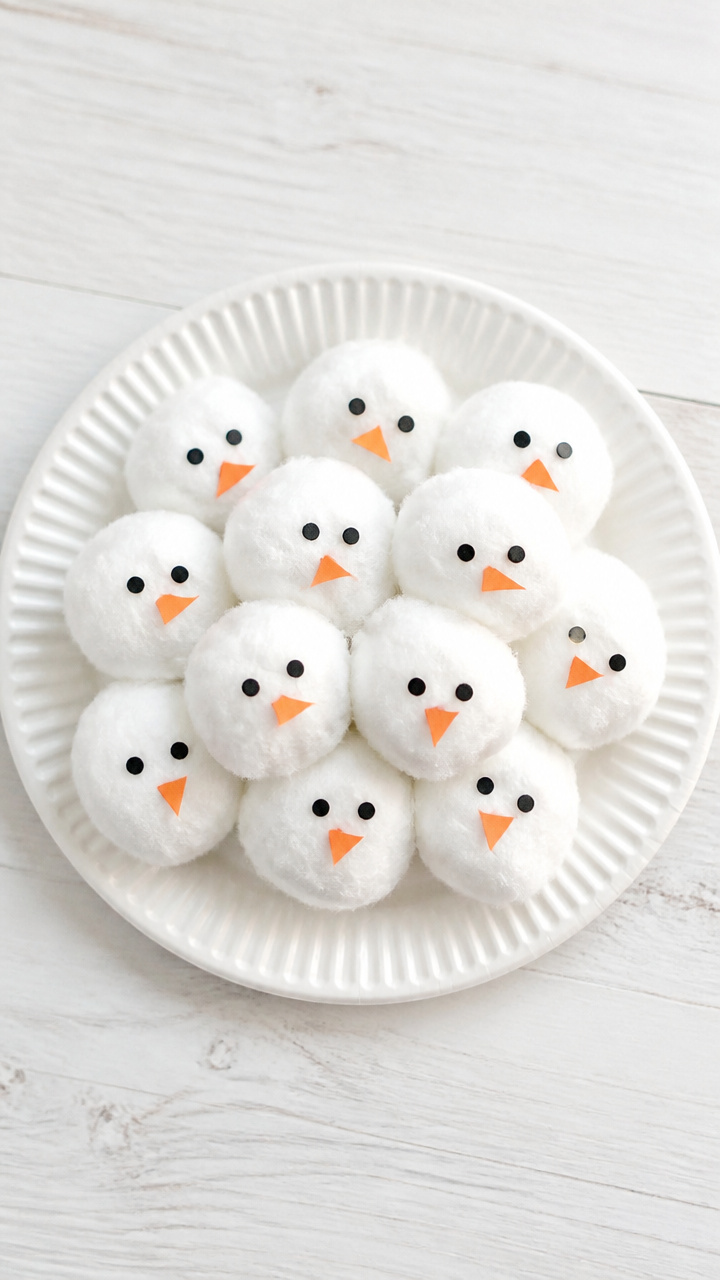
Fluffy white snowmen with button eyes and tiny orange noses rise from paper plates. This soft-textured craft invites little fingers to arrange and stick without spills or smears.
Materials Needed
- 3-inch white paper plate, 1
- White cotton balls, 15
- Black dot stickers, 2
- Orange construction paper, 1 sheet
- Glue stick, 1
- Scissors, 1 pair
How to Make It
- Cut the orange construction paper into 8 small triangles for noses.
- Apply glue from the glue stick to the center of the paper plate.
- Press 10 cotton balls into the glue to form the snowman's body.
- Glue 5 more cotton balls above for the head.
- Stick one black dot sticker on each side of the head for eyes.
- Glue one orange triangle below the eyes for the nose.
2. Pinecone Bird Feeders
Easy
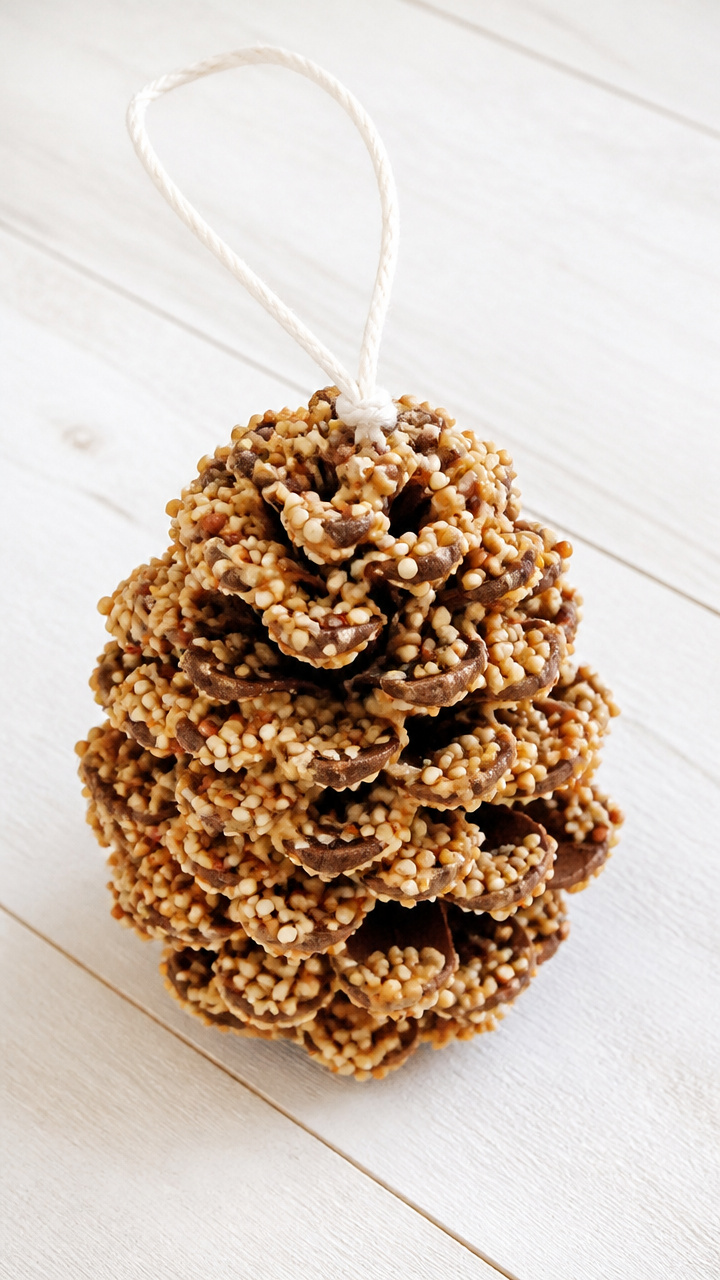
Shiny pinecones wrapped in peanut butter become cozy treats for backyard birds. Toddlers love spreading and rolling, and watching feathered friends later visit the window.
Materials Needed
- Uncut pinecone, 1
- Smooth peanut butter, 3 tablespoons
- Birdseed, 1 cup
- String, 12 inches
- Butter knife, 1
- Bowl, 1
How to Make It
- Tie the string around the top of the pinecone and knot it securely.
- Spread peanut butter all over the pinecone using the butter knife.
- Pour birdseed into the bowl.
- Roll the peanut butter-covered pinecone in the birdseed until fully coated.
- Hang the feeder outside on a tree branch or hook near a window.
3. Handprint Reindeer Art
Easy
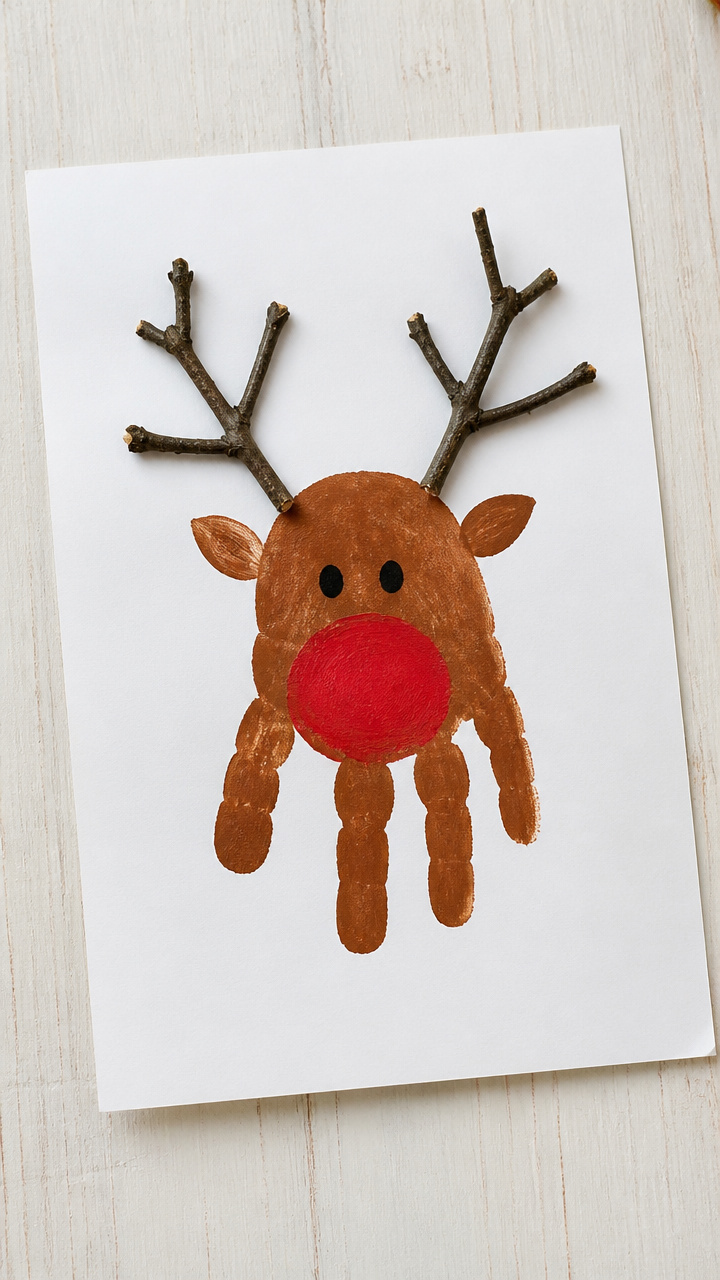
A painted hand becomes a reindeer with antlers made from twigs. This keepsake grows more special each year when you find it tucked in a holiday drawer.
Materials Needed
- Red acrylic paint, 1 tablespoon
- Brown acrylic paint, 1 tablespoon
- Paintbrush, 1
- A4 white cardstock, 1 sheet
- Small brown twigs, 2
- Glue stick, 1
- Black dot sticker, 1
How to Make It
- Paint the palm and fingers of your child’s hand with red acrylic paint.
- Press the hand firmly onto the cardstock with fingers pointing down.
- Let the paint dry completely, about 10 minutes.
- Paint two small oval shapes at the base of the thumb with brown paint for ears.
- Glue the twigs above the handprint for antlers.
- Stick the black dot near the bottom of the hand for the nose.
4. Snowflake Window Clings
Easy
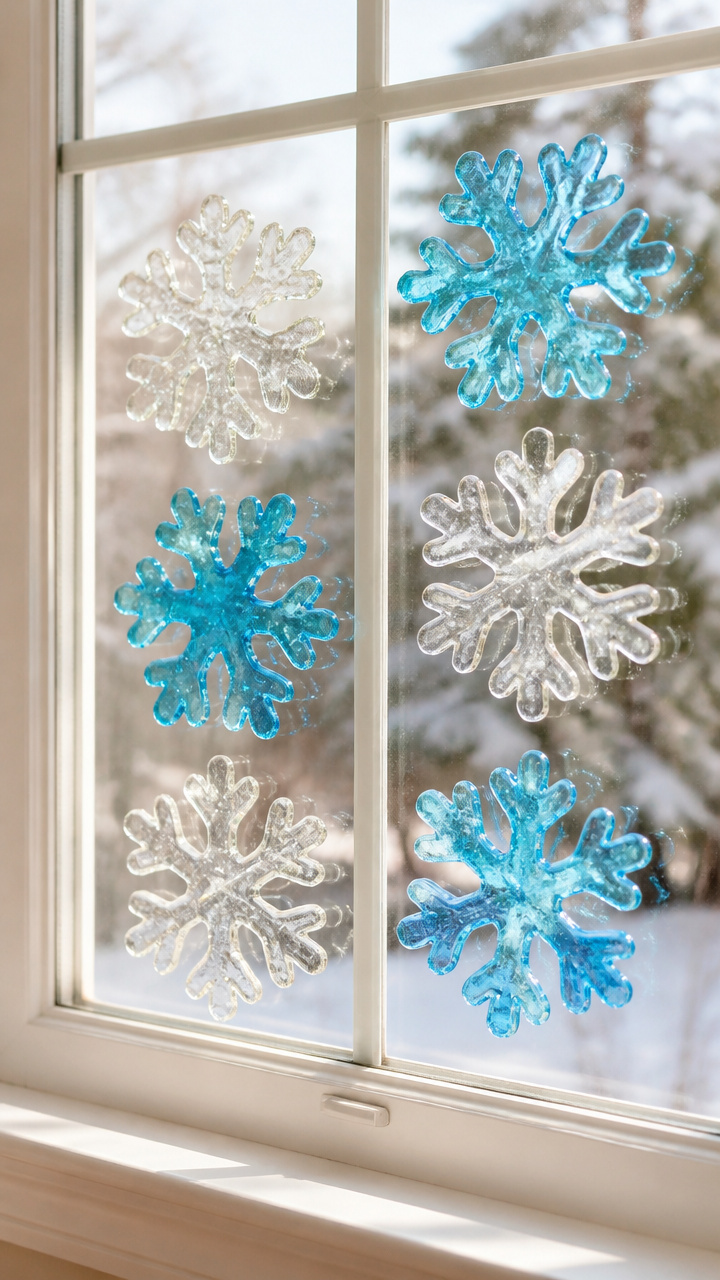
Gleaming gelatin shapes sparkle on cold windowpanes, catching winter light. The squishy texture of molding them fascinates toddlers and needs no drying time.
Materials Needed
- Unflavored gelatin powder, 2 tablespoons
- Boiling water, 3 tablespoons
- Food coloring, 3 drops (blue or clear)
- Mixing bowl, 1
- Spoon, 1
- Cookie cutters (snowflake shaped), 2
- Wax paper, 1 sheet
How to Make It
- Pour the boiling water into the mixing bowl.
- Stir in the gelatin powder until fully dissolved.
- Add food coloring and mix well.
- Place wax paper on a flat surface and set cookie cutters on top.
- Spoon the gelatin mixture into each snowflake cutter, filling to the top.
- Let sit undisturbed for 1 hour until firm, then peel off wax paper and press onto windows.
5. Mitten String Art
Easy
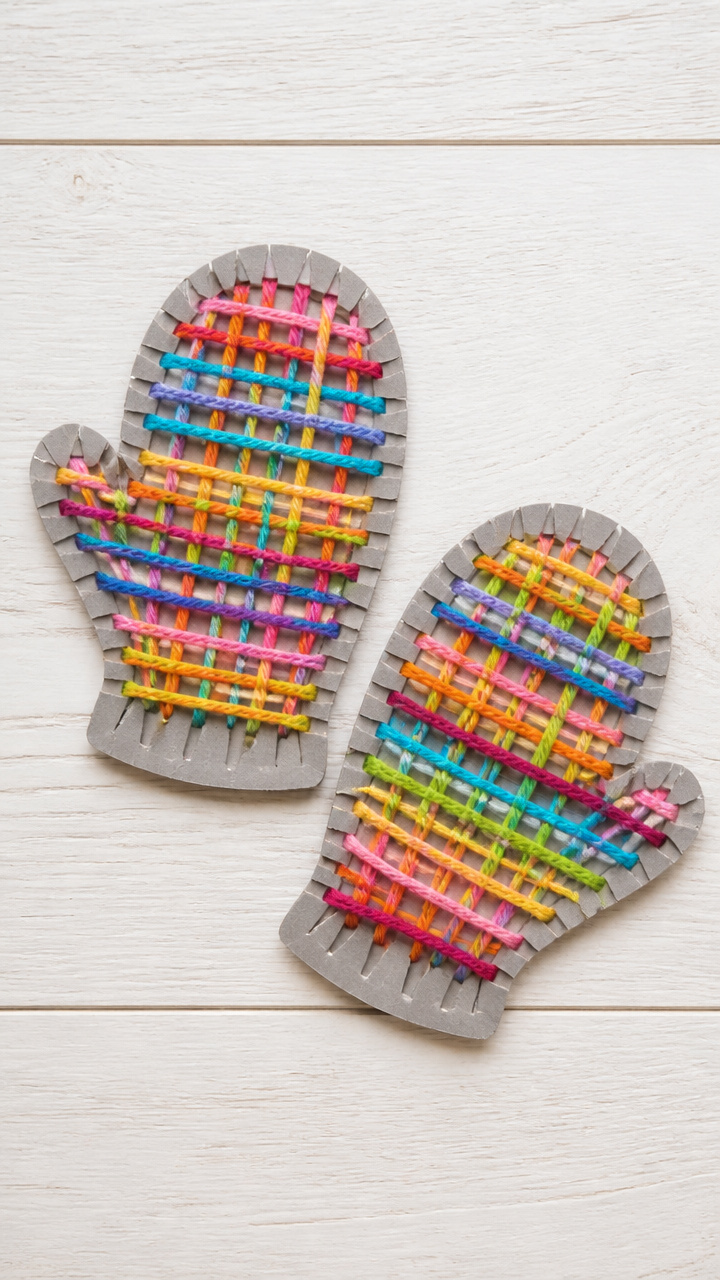
Cardboard mittens glow with colorful yarn weavings that wiggle between notches. This tactile project builds fine motor skills with every loop and tug.
Materials Needed
- Gray cardboard, 1 sheet (8.5 x 11 inches)
- Scissors, 1 pair
- Ruler, 1
- Pencil, 1
- Yarn (assorted colors), 3 skeins
- Glue, 1 bottle
How to Make It
- Draw a mitten shape on the cardboard using the pencil and ruler, 5 inches tall.
- Cut out the mitten shape with scissors.
- Make small notches every half inch along both sides of the mitten outline.
- Tie one end of a yarn color to the bottom left notch and secure with a drop of glue.
- Weave the yarn across to the opposite side, looping it into each notch as you move upward.
- Switch colors halfway by tying on a new strand and continue weaving to the top.
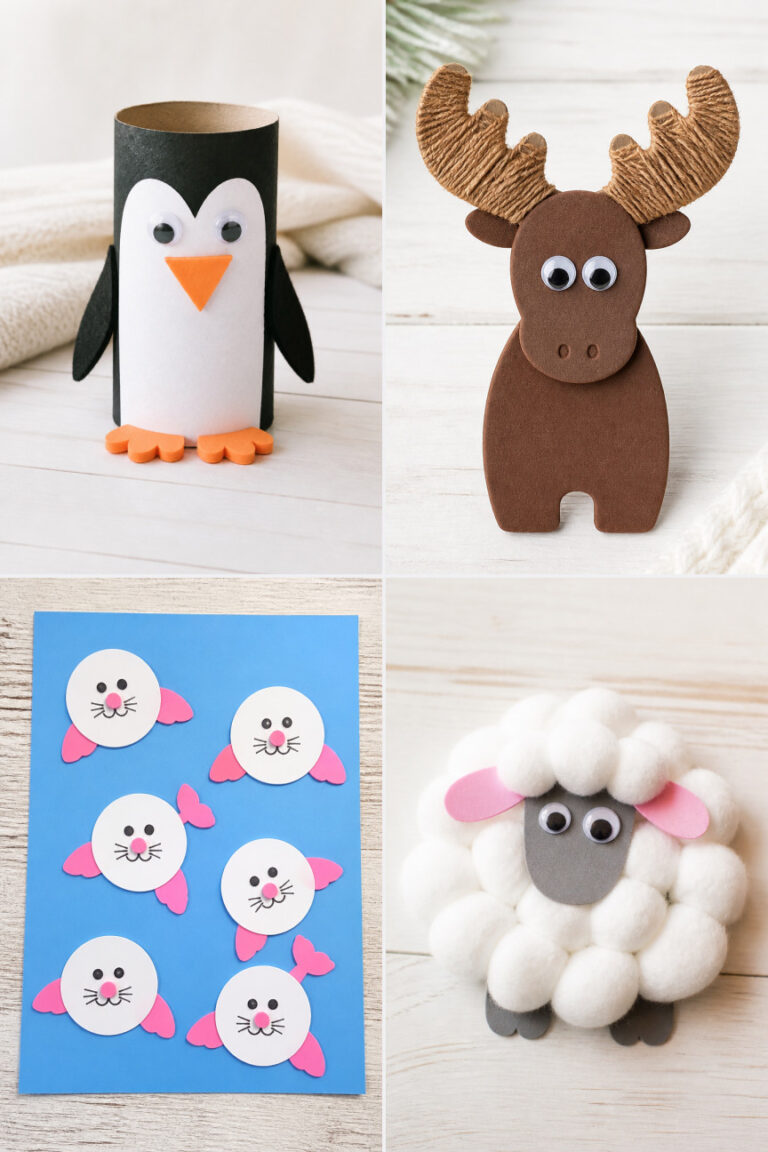
6. Toilet Paper Roll Penguins
Easy
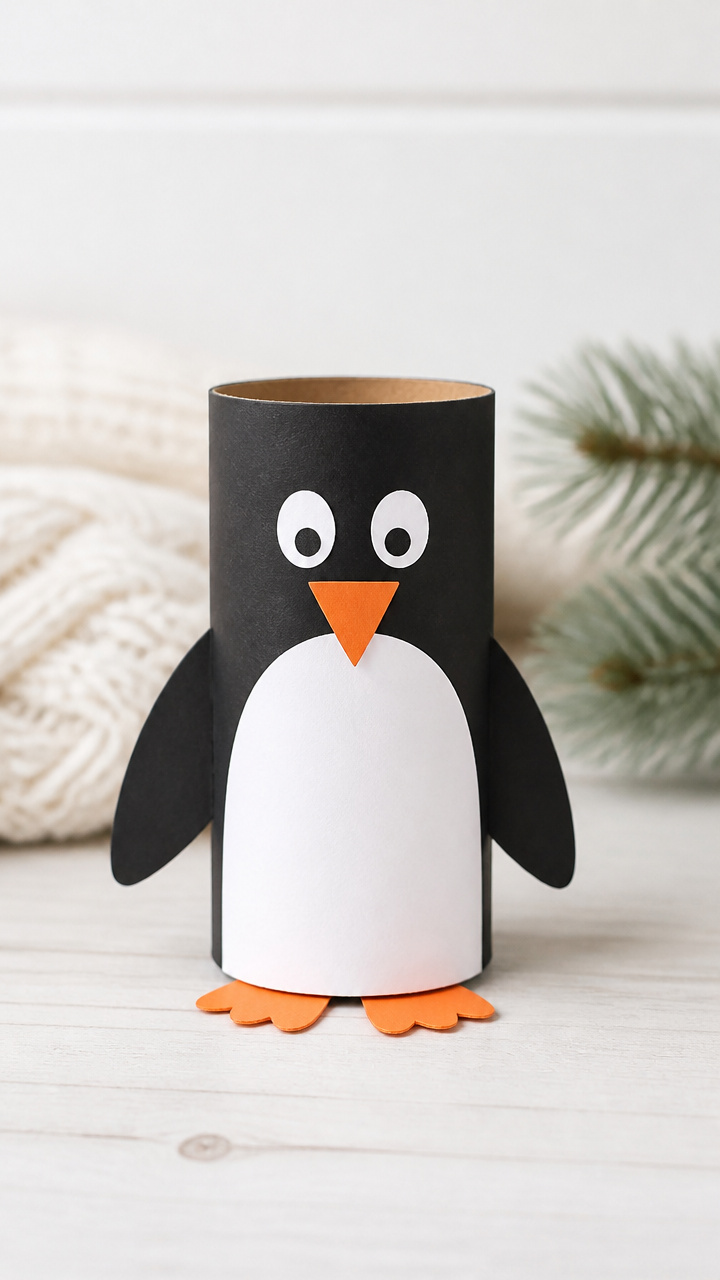
Hollow rolls transform into waddling penguins with flapping wings and round bellies. Rolling, sticking, and coloring make this a favorite quiet-time activity.
Materials Needed
- Empty toilet paper roll, 1
- Black construction paper, 1 sheet
- White construction paper, 1 sheet
- Orange construction paper, 1 sheet
- Glue stick, 1
- Scissors, 1 pair
- Googly eyes, 2 (1/2 inch)
How to Make It
- Cut the black paper in half and roll one piece around the toilet paper tube to cover it, gluing the edge shut.
- Cut a half-circle from the white paper and glue it to the front for the belly.
- Cut two small wings from the black paper and glue one to each side.
- Cut a small triangle from the orange paper for the beak and glue it to the front.
- Glue one googly eye on each side of the roll just above the beak.
- Cut two small feet from the orange paper and glue them to the bottom.
7. Glitter Jar Shakers
Easy
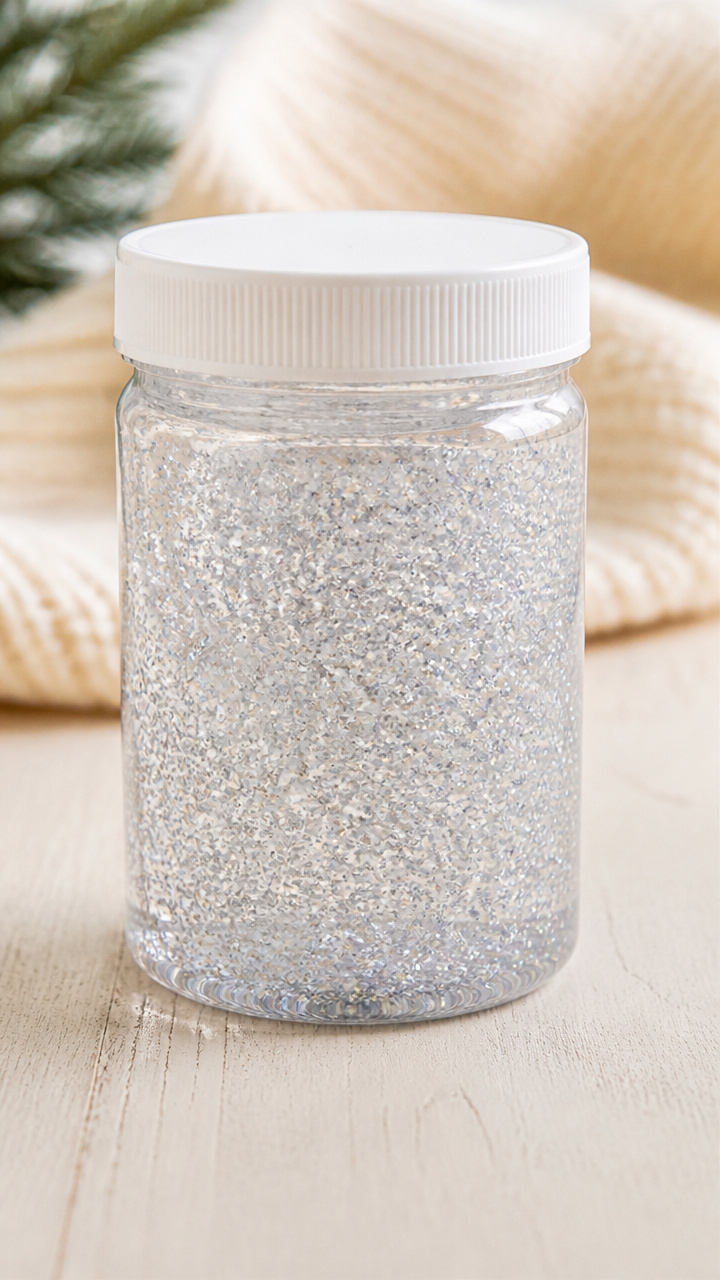
Swirling sparkles float through thick liquid in sealed jars, calming busy minds. Watching the glitter fall helps toddlers pause and breathe during hectic days.
Materials Needed
- Clear plastic jar with lid, 8 oz, 1
- Warm water, 6 oz
- Clear school glue, 2 tablespoons
- Glitter (fine silver), 1 teaspoon
- Funnel, 1
- Permanent marker, 1
How to Make It
- Use the funnel to pour warm water into the jar.
- Add the school glue and swirl gently to mix.
- Sprinkle in the glitter and close the lid tightly.
- Shake the jar hard to watch the glitter swirl and settle slowly.
- Label the lid with the marker: 'Shake Me Gently'.
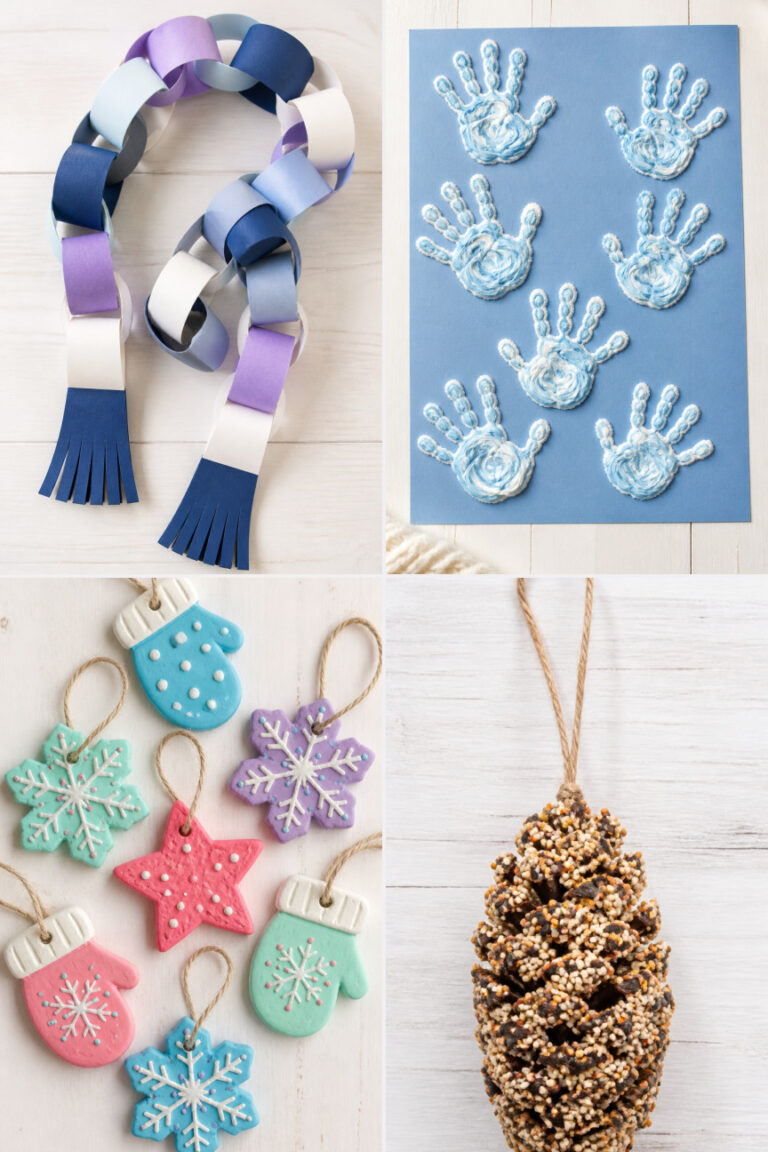
8. Paper Chain Icicles
Easy
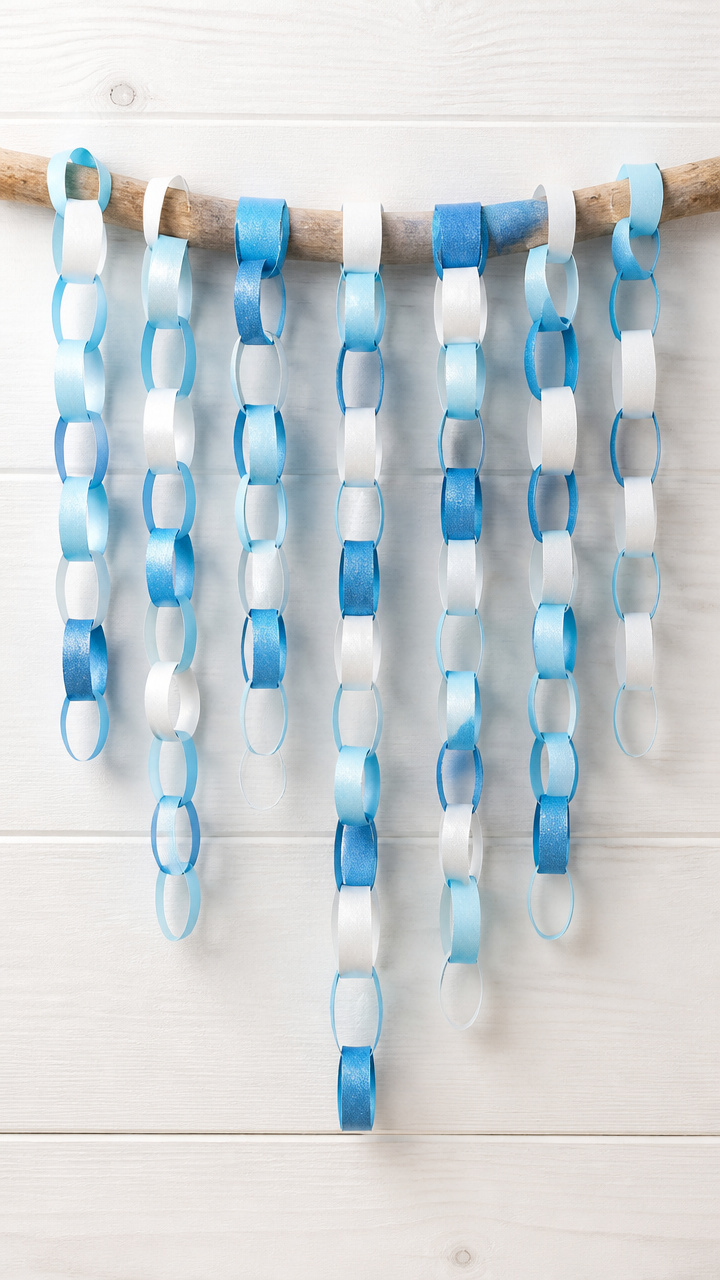
Loops of blue and white paper hang in shimmering strands from mantels and doorways. Linking rings together teaches patterns and gives instant festive results.
Materials Needed
- Blue construction paper, 1 sheet
- White construction paper, 1 sheet
- Scissors, 1 pair
- Glue stick, 1
- Ruler, 1
How to Make It
- Cut both papers into strips 1 inch wide and 8 inches long, ten per color.
- Take one blue strip and form a circle, gluing the ends together.
- Thread a white strip through the blue ring and glue its ends to form a link.
- Continue alternating colors, linking each new ring through the last.
- Make a chain of 10 links and hang it by the top loop.
9. Button Snowflake Frames
Easy
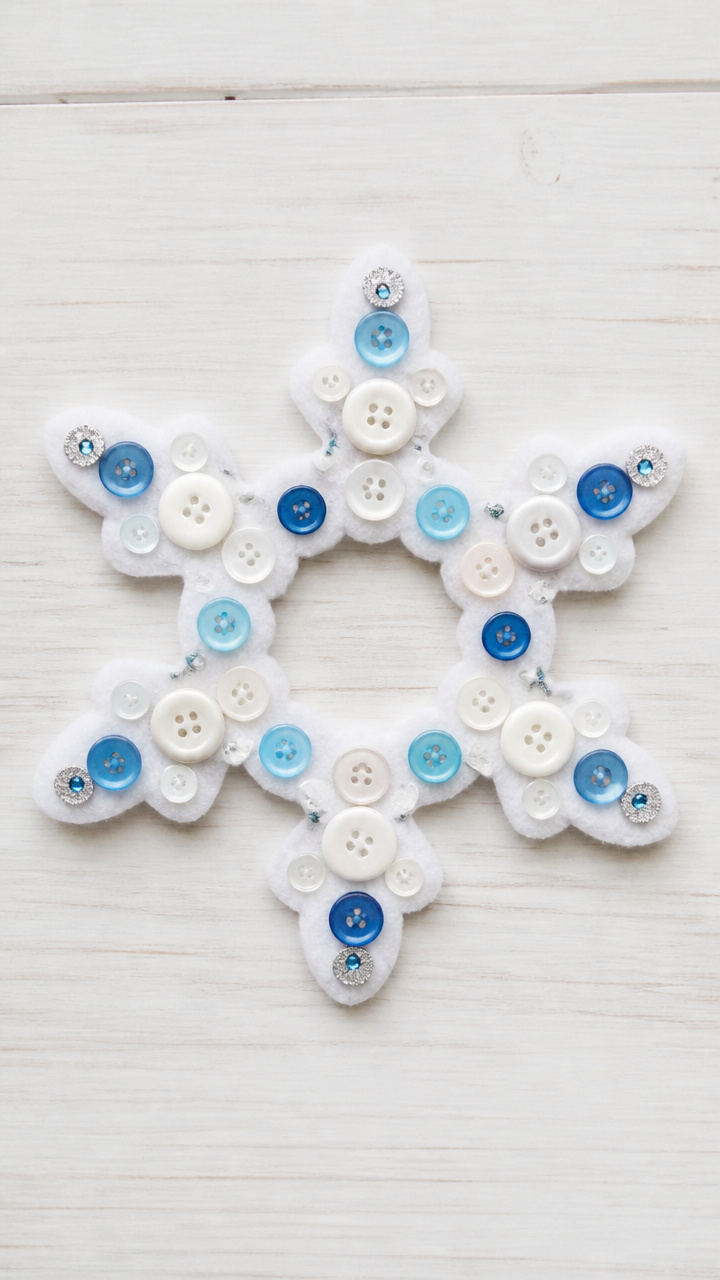
Six-armed snowflakes bloom with bright buttons held in place by glue and felt. These lightweight decorations dangle easily from ribbons or magnets.
Materials Needed
- White felt square, 6×6 inches, 1
- Assorted buttons (white, blue, silver), 12
- Fabric glue, 1 bottle
- Scissors, 1 pair
- Pencil, 1
- Ruler, 1
How to Make It
- Use the pencil and ruler to draw a six-pointed star lightly on the felt.
- Place one button at the tip of each point and glue it down.
- Add one button where all arms meet in the center and glue it.
- Glue a button midway along each arm for extra sparkle.
- Let the glue dry for 20 minutes before hanging with thread.
10. Q-Tip Trees
Easy
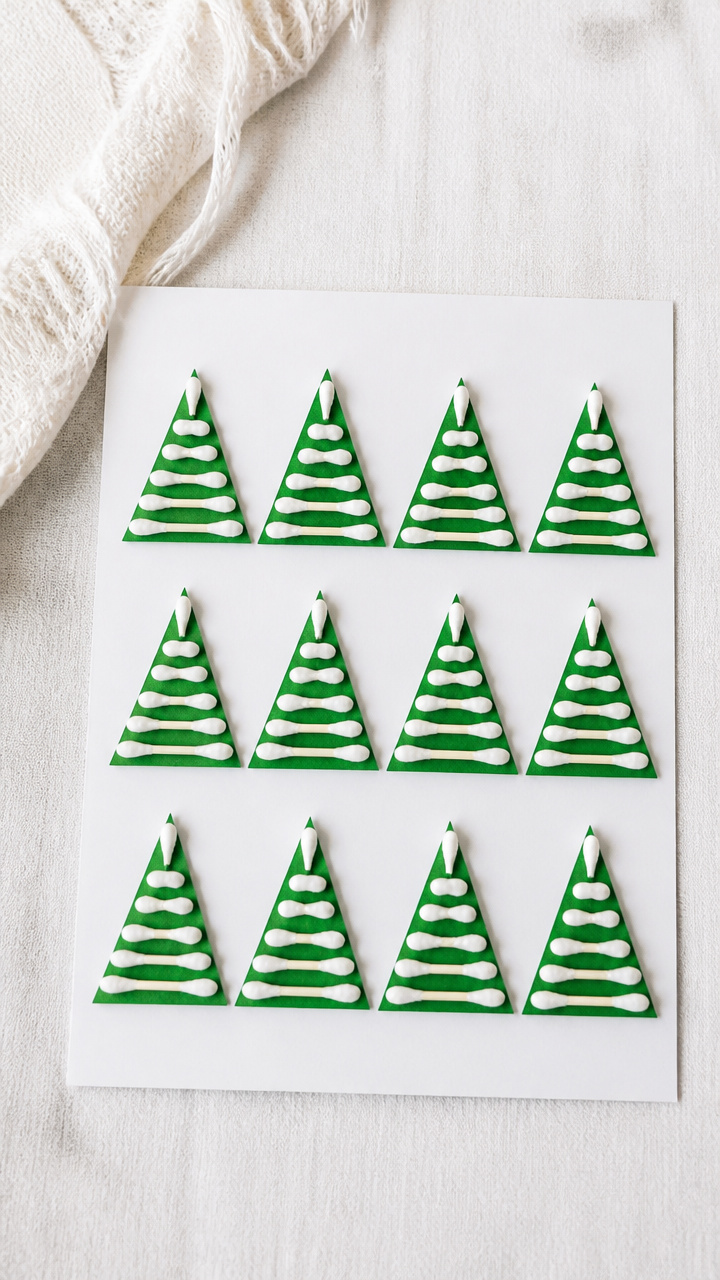
Tiny evergreens stand in neat rows on construction paper, built from cotton-tipped sticks. Snipping and placing each piece sharpens coordination and focus.
Materials Needed
- Green construction paper, 1 sheet
- White A4 cardstock, 1 sheet
- Q-Tips, 10
- Glue stick, 1
- Scissors, 1 pair
How to Make It
- Cut the green paper into 10 small triangles, each 2 inches tall.
- Lay the cardstock flat and choose where to place the trees.
- Apply glue to the bottom third of a Q-Tip.
- Press the glued end into the top of a green triangle to form the trunk.
- Glue three triangles around the Q-Tip at different heights to create full trees.
- Repeat to make three trees spaced across the cardstock.
11. Fingerprint Snowmen
Easy
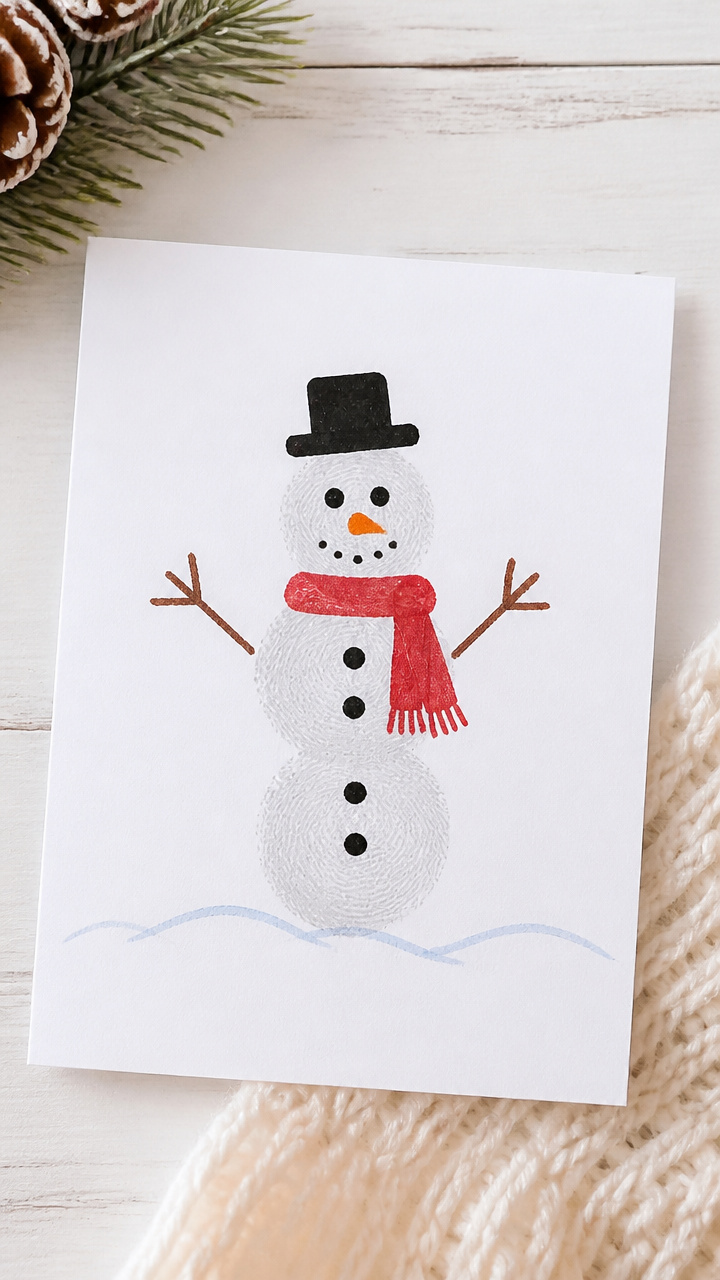
Inky fingerprints stack into jolly snowmen wearing scarves and hats. This fast craft fills greeting cards or frames with personal charm in under ten minutes.
Materials Needed
- Black ink pad, 1
- White A4 cardstock, 1 sheet
- Crayons (black, orange, red), 3
- Pencil, 1
How to Make It
- Press your toddler’s fingertip onto the ink pad.
- Press the inked finger twice on the cardstock, stacking one print on top of the other for the body.
- Let the ink dry for 2 minutes.
- Use the black crayon to draw two eyes and a mouth above the top print.
- Draw an orange carrot nose extending from the face.
- Add a short line hat and scarf in red below the body.
12. Salt Dough Ornaments
Easy
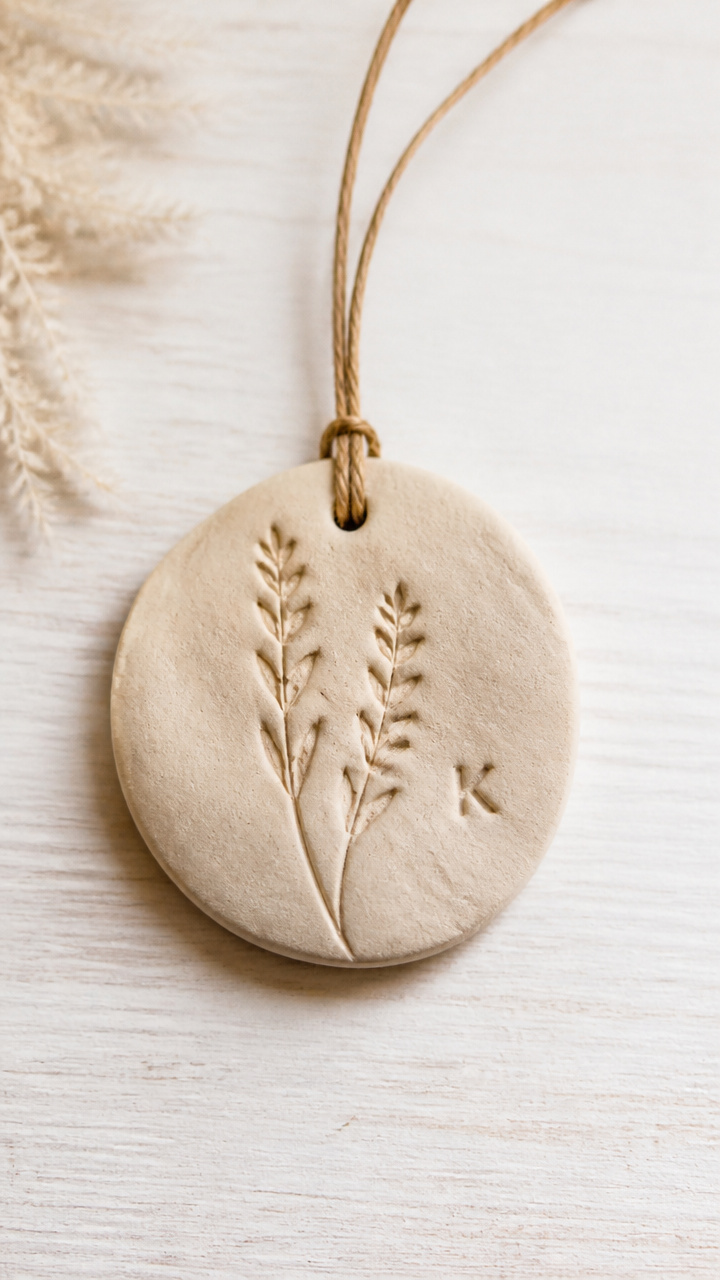
Soft dough shaped by tiny hands bakes into keepsake tree decorations. Pressing fingerprints or initials makes each ornament uniquely theirs.
Materials Needed
- All-purpose flour, 1 cup
- Table salt, 1/2 cup
- Water, 1/2 cup
- Mixing bowl, 1
- Spoon, 1
- Rolling pin, 1
- Star-shaped cookie cutter, 1
- Straw, 1
- Oven, 1
- Ribbon (red), 6 inches
How to Make It
- Mix flour, salt, and water in the bowl with the spoon until a smooth dough forms.
- Roll the dough to 1/4 inch thickness on a flat surface.
- Cut out a star shape using the cookie cutter.
- Push the straw through the top corner to make a hanging hole.
- Bake the ornament at 200°F for 3 hours until hard.
- Thread the ribbon through the hole after cooling.
13. Crayon Resist Snow Scenes
Easy
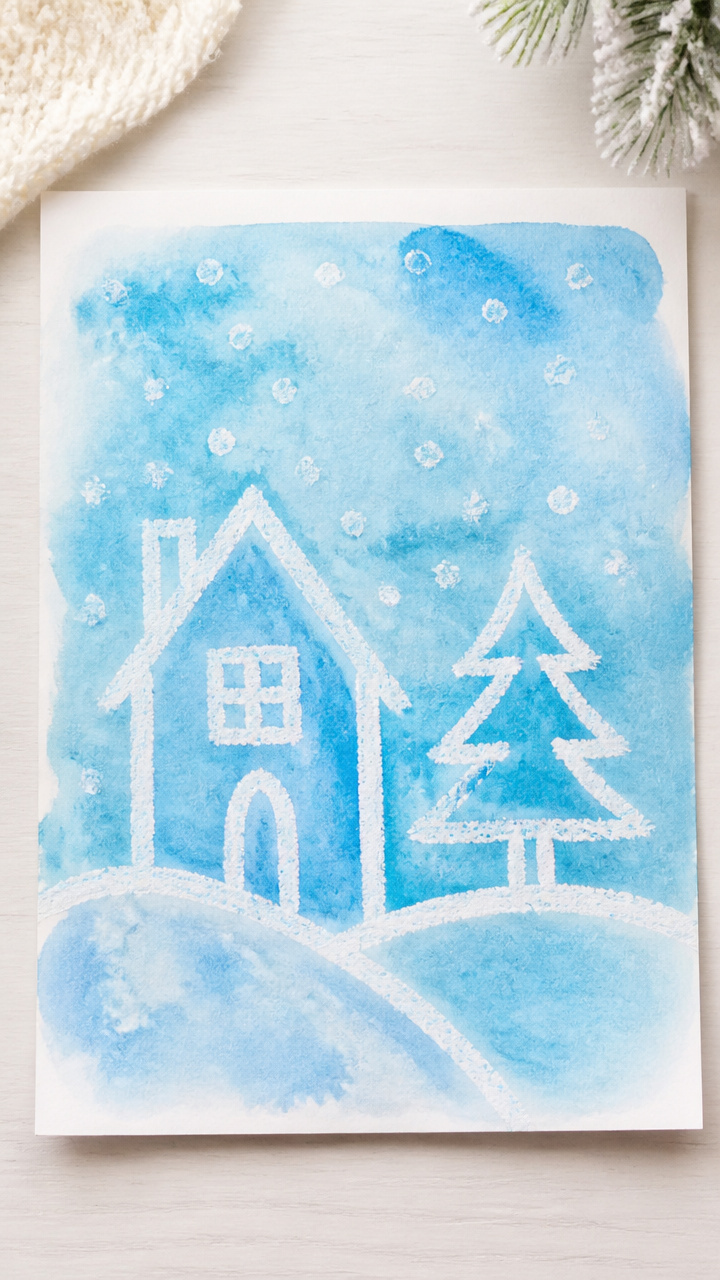
Hidden drawings appear when blue paint washes over waxy crayon marks. Toddlers gasp as their scribbled houses and trees magically emerge.
Materials Needed
- White A4 cardstock, 1 sheet
- White crayon, 1
- Blue watercolor paint, 2 tablespoons
- Paintbrush, 1
- Cup of water, 1
- Paper towel, 1
How to Make It
- Use the white crayon to draw a house, tree, or snowman on the cardstock.
- Dip the paintbrush in water and blot on the paper towel.
- Mix the blue watercolor paint with a few drops of water in a dish.
- Paint a layer of blue watercolor over the entire drawing.
- Watch the white crayon design resist the paint and appear clearly.
14. Yarn-Wrapped Gift Boxes
Easy
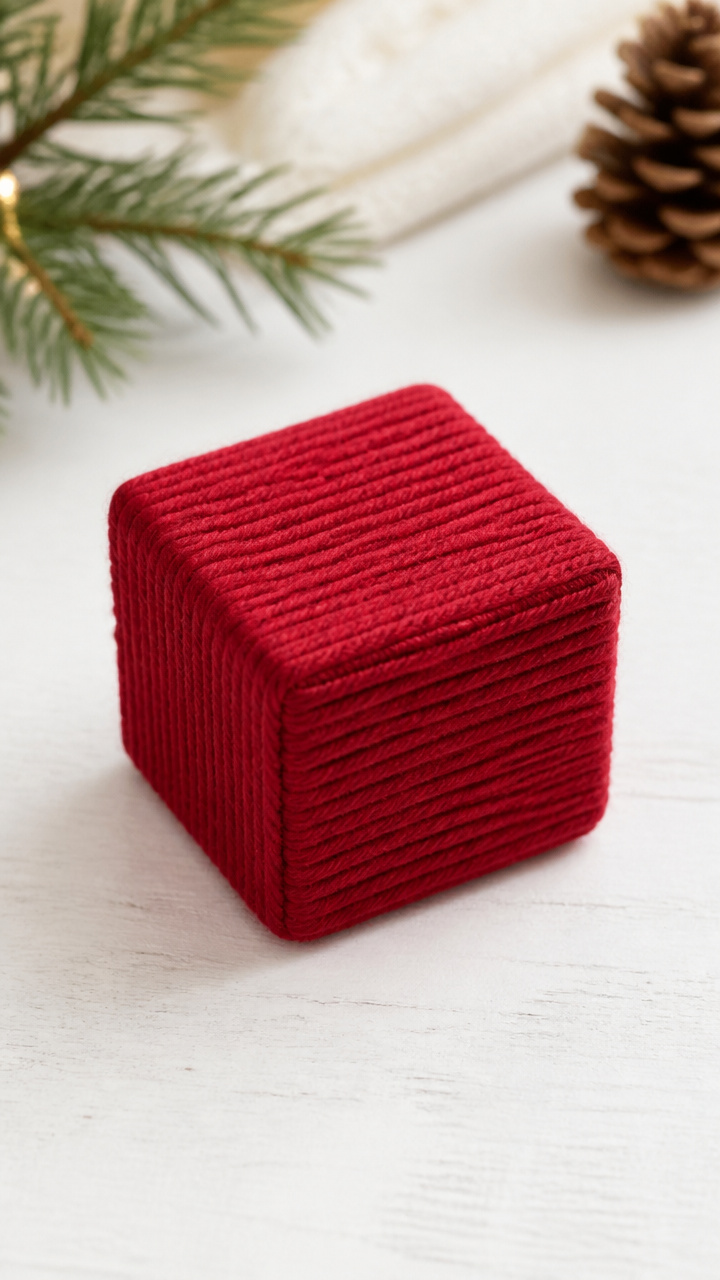
Mini cardboard boxes glow with snug layers of colorful yarn. Wrapping teaches rhythm and control while making pretend presents for toy shelves.
Materials Needed
- Small cardboard gift box (3×3 inches), 1
- Tacky glue, 1 bottle
- Yarn (red), 1 skein
- Paintbrush, 1
- Scissors, 1 pair
How to Make It
- Brush a thin layer of tacky glue onto one side of the box using the paintbrush.
- Press the end of the yarn into the glue and hold for 5 seconds.
- Wrap the yarn tightly around the box, overlapping slightly.
- Brush more glue onto the box as you go to keep the yarn stuck.
- When the box is covered, cut the yarn and glue the end down.
- Let dry for 30 minutes before handling.
15. Pom-Pom Icebergs
Easy
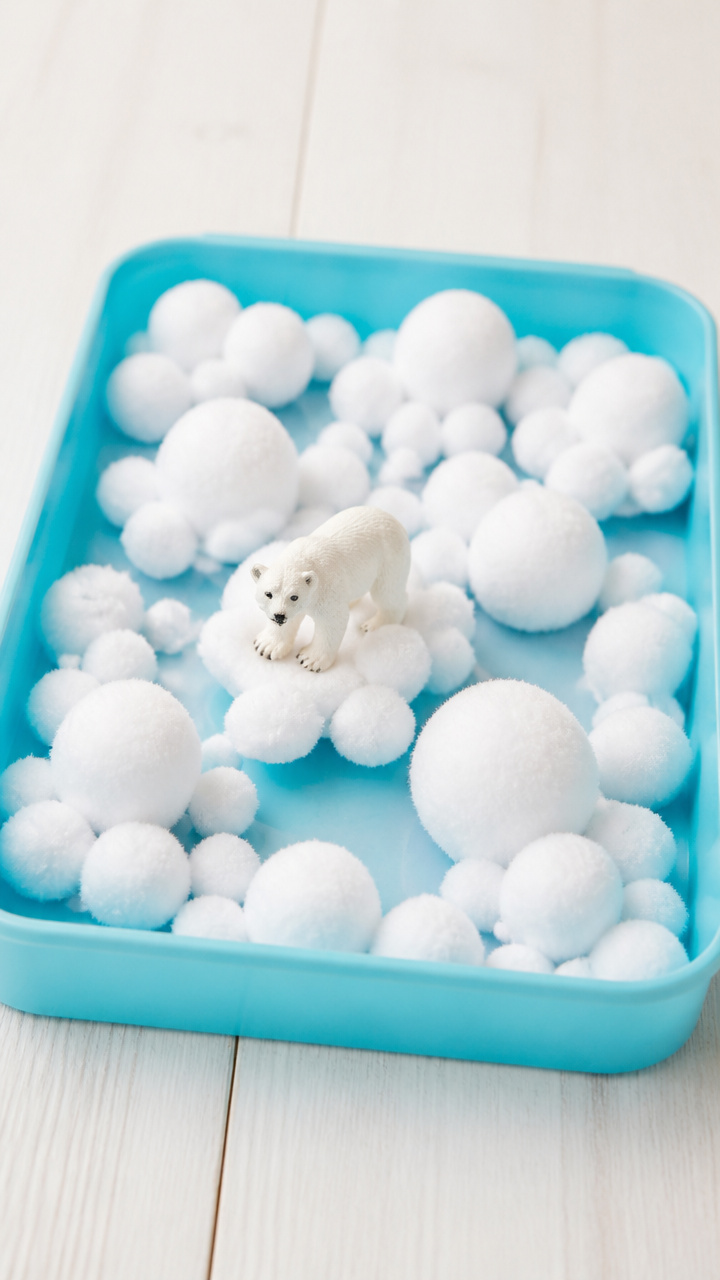
Floating blue trays hold snowy pom-poms that bob like Arctic peaks. Scooping and dropping builds hand strength and concentration.
Materials Needed
- Light blue plastic tray (from packaging), 1
- White pom-poms (1/2 inch), 20
- Small toy polar bear, 1
- Tongs (kitchen type), 1
How to Make It
- Place the blue tray on a flat table.
- Fill it with 20 white pom-poms.
- Set the toy polar bear on top of one large pom-pom.
- Give your toddler the tongs and let them scoop and move pom-poms around the tray.
16. Sticker Snow Roads
Easy

Silver stickers zigzag across dark paper like icy paths for toy cars. Peeling and placing stickers boosts pincer grip and creative storytelling.
Materials Needed
- Black construction paper, 1 sheet
- Silver sticker dots (1 inch), 12
- Toy car, 1
How to Make It
- Lay the black paper flat on the table.
- Peel one silver sticker and place it near the bottom edge.
- Add another sticker above it, slightly left or right to form a winding path.
- Continue placing stickers upward in a crooked line across the paper.
- Drive the toy car from the bottom to the top, following the silver road.
Grab a few sheets of paper, some glue, and a handful of tiny treasures from your craft drawer. The best memories are made in these simple, sticky, joyful moments.