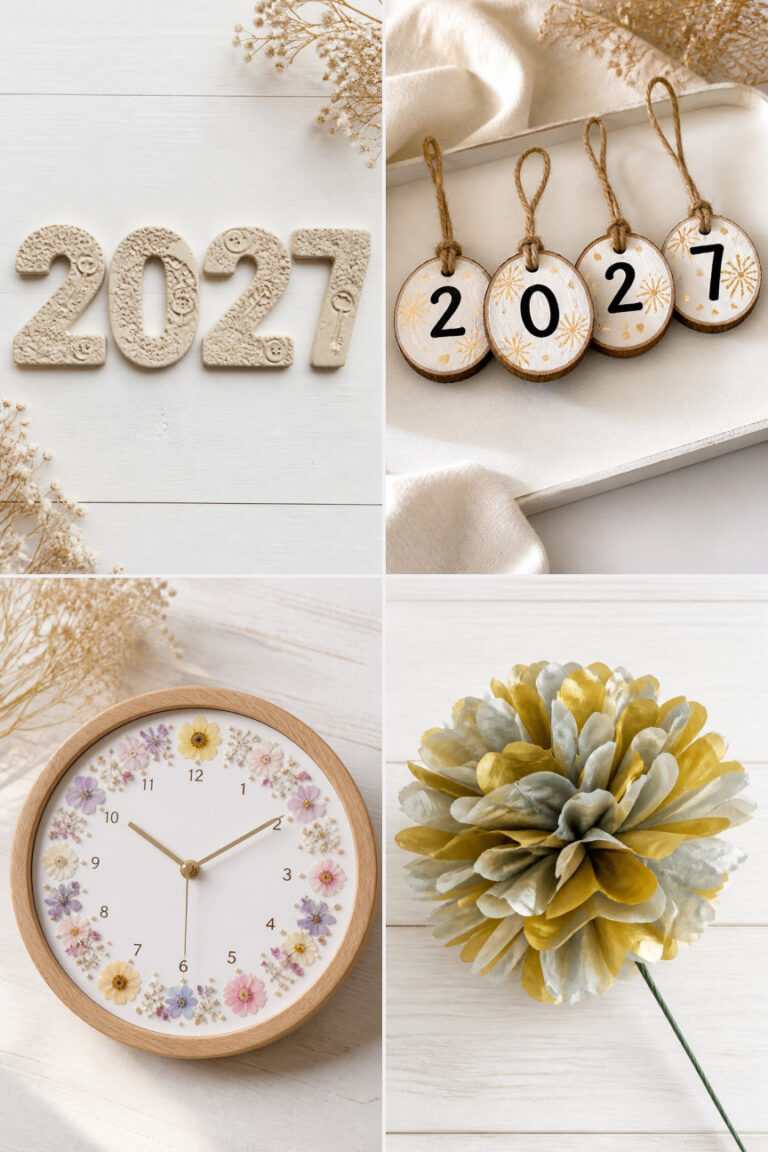
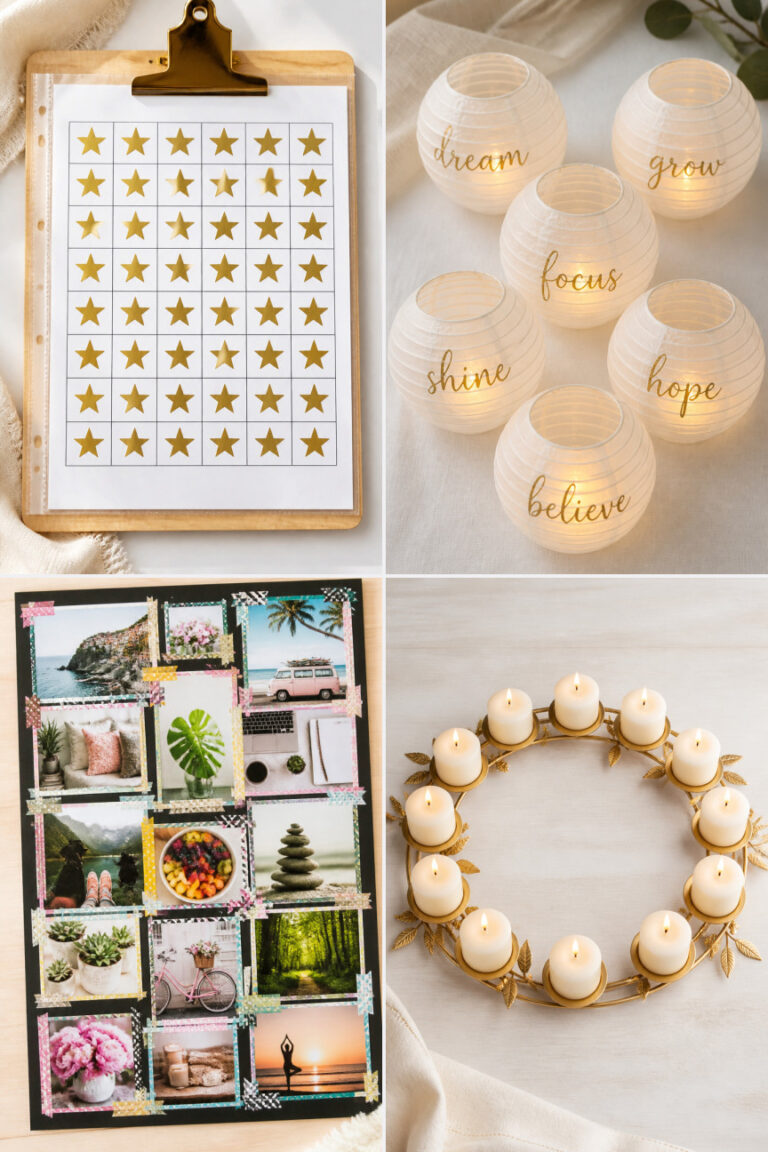
15 New Year Crafts Using Simple Supplies

Glitter spills across the table like stardust, scissors snip paper into delicate shapes, and hands shape small tokens of hope for the months ahead. New Year crafting carries a quiet magic, turning simple supplies into meaningful keepsakes that mark time with care.
Each of these projects uses materials you likely already have or can grab in one quick store visit. From shimmering decorations to thoughtful gifts, these crafts bring warmth and intention to the season without demanding perfection or a craft room full of tools.
1. Glittered Mason Jar Luminaries
Easy
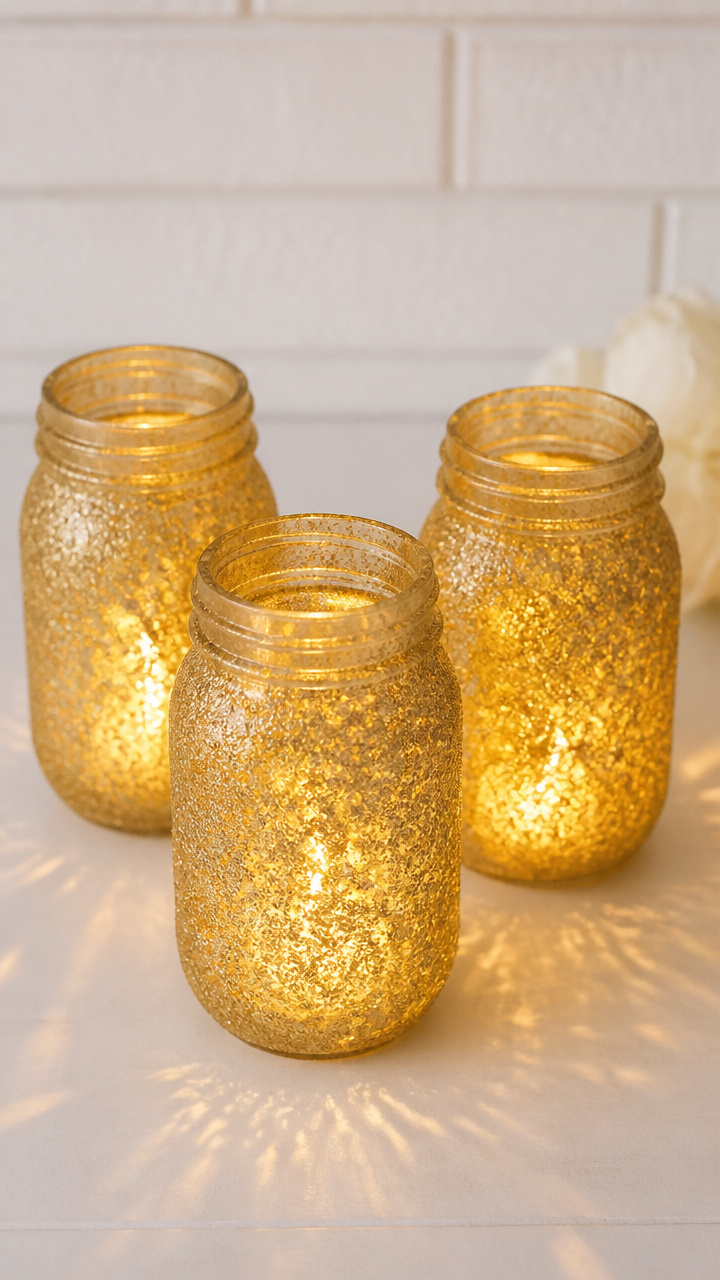
Soft golden light glows through shimmering glass, casting delicate patterns across the room. These luminaries add cozy elegance to any table and take just minutes to make.
Materials Needed
- 3 clean 16 oz mason jars
- gold glitter glue (120 ml)
- white craft glue (60 ml)
- paintbrush (1 medium flat brush)
- LED tea lights (3)
- paper plate
How to Make It
- Pour gold glitter glue onto the paper plate for easy access.
- Use the paintbrush to apply a thin, wavy line of white craft glue around the lower third of one mason jar.
- Immediately drizzle gold glitter glue over the white glue line, covering it completely.
- Repeat for the other two jars, letting each dry upright for 20 minutes.
- Place one LED tea light inside each jar and turn on to enjoy the glow.


2. Paper Quilled Number Art
Moderate
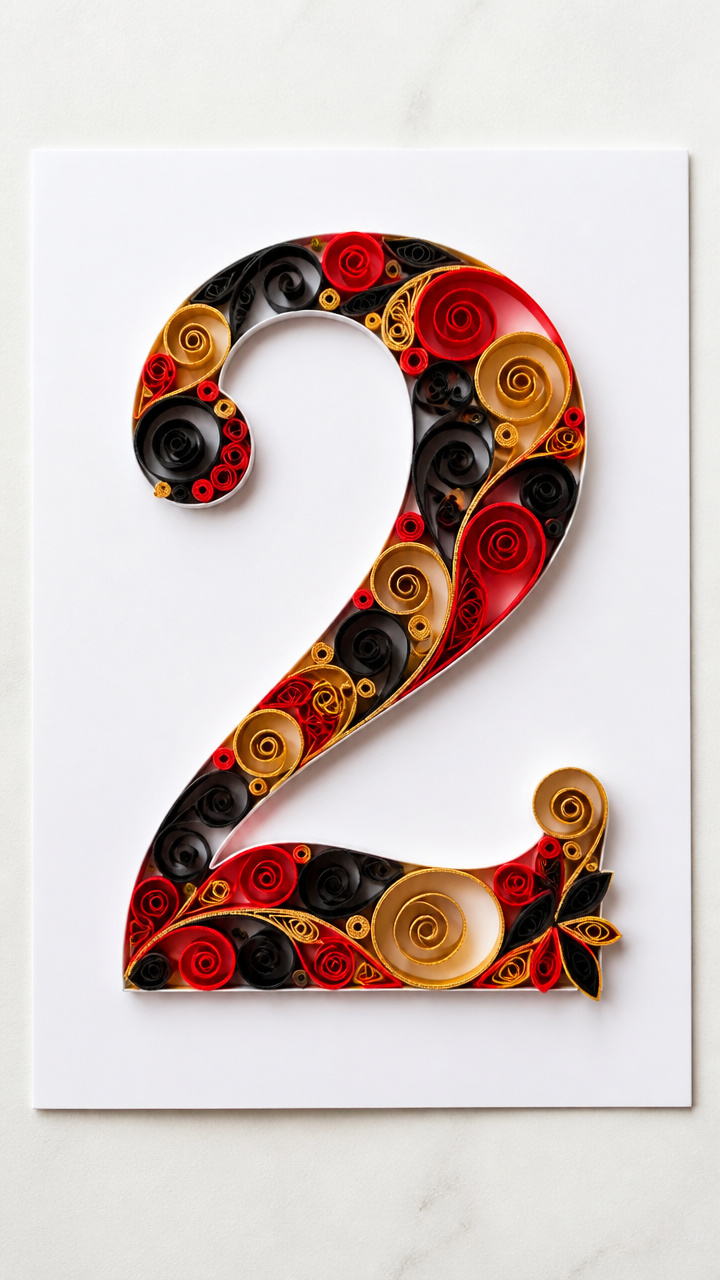
Tight coils of colored paper form the upcoming year in an elegant wall piece. This handmade art shows effort and care, perfect for gifting or displaying proudly.
Materials Needed
- Quilling paper strips (1/4 inch wide, red, black, gold, 10 each)
- Quilling tool (slotted type)
- White A4 cardstock
- Glue (tacky glue, 60 ml)
- Pencil
- Ruler
- Frame (8×10 inch)
How to Make It
- Draw the outline of the current year in bold block numbers on the cardstock using pencil and ruler.
- Roll ten red strips into tight coils, pinch one side to form teardrop shapes, and glue the end.
- Arrange the teardrop shapes along the number outlines, gluing each in place to fill the number.
- Fill remaining sections with black and gold tight coils, pressing them side by side.
- Let dry for 15 minutes, then place in the frame.


3. Felt Firework Ornaments
Easy
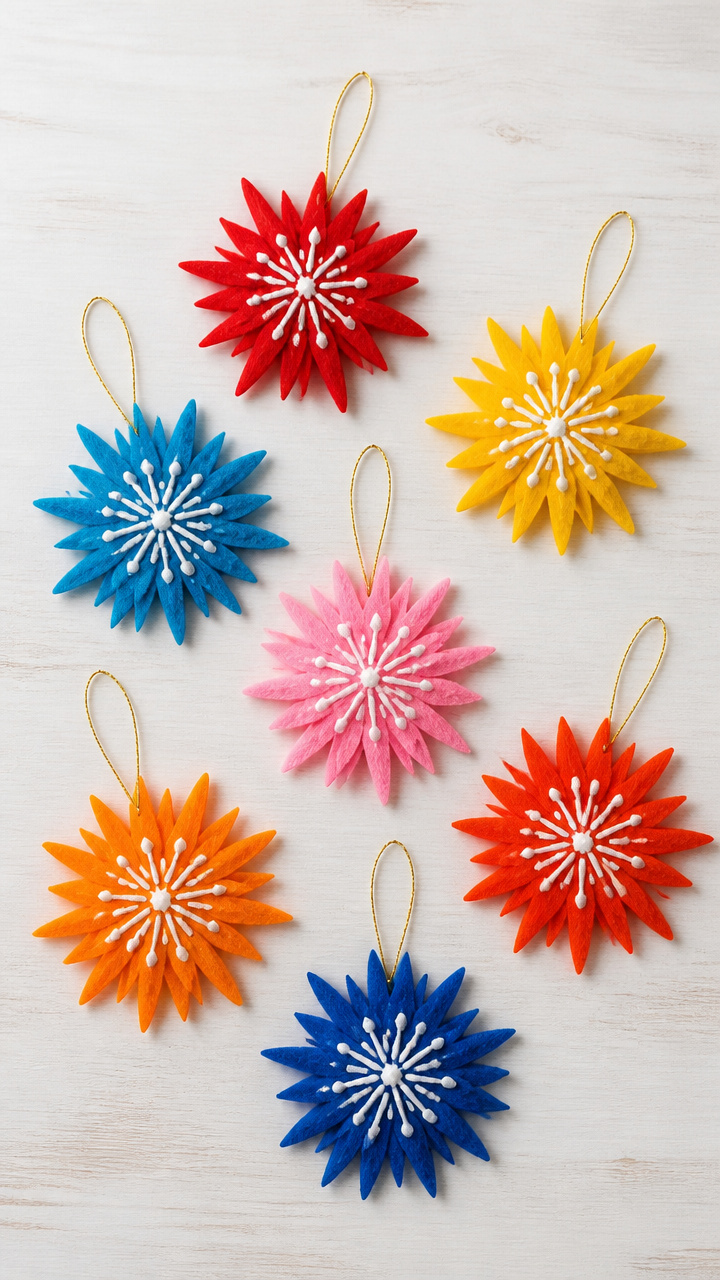
Radiating bursts of bright felt mimic fireworks against a dark sky. Hang them on a tree or string them into a garland for joyful color.
Materials Needed
- Black felt sheet (9×12 inch)
- Assorted bright felt sheets (red, yellow, blue, pink, orange, 1 each)
- Scissors
- White puffy paint (60 ml)
- Needle and thread (gold color)
- Ruler
- Pencil
How to Make It
- Cut ten 3-inch circles from assorted bright felt sheets.
- Cut each circle into a spiral, starting from the edge and winding toward the center.
- Roll each spiral loosely and fan out the layers to form a firework shape.
- Glue the center of each firework to the black felt using a dot of puffy paint.
- Stitch a small gold thread loop to the top of each ornament for hanging.
- Let puffy paint dry for 20 minutes before displaying.


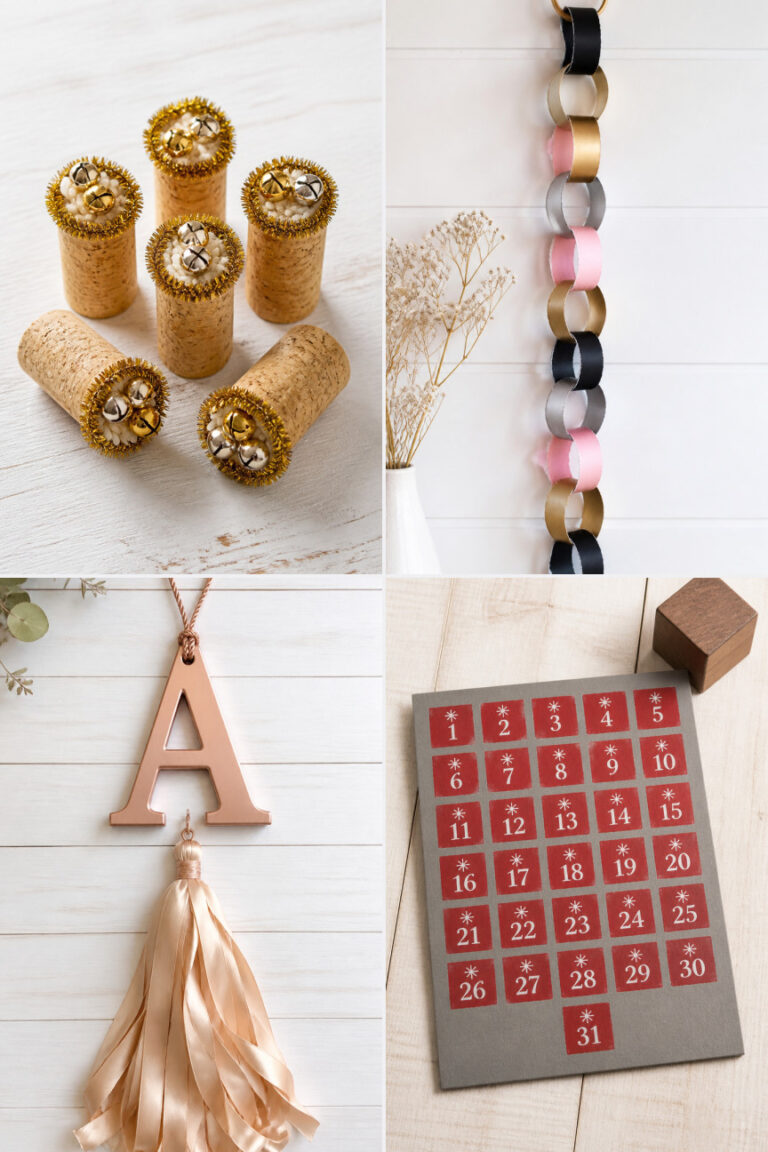
4. Wine Cork Resolution Tags
Easy
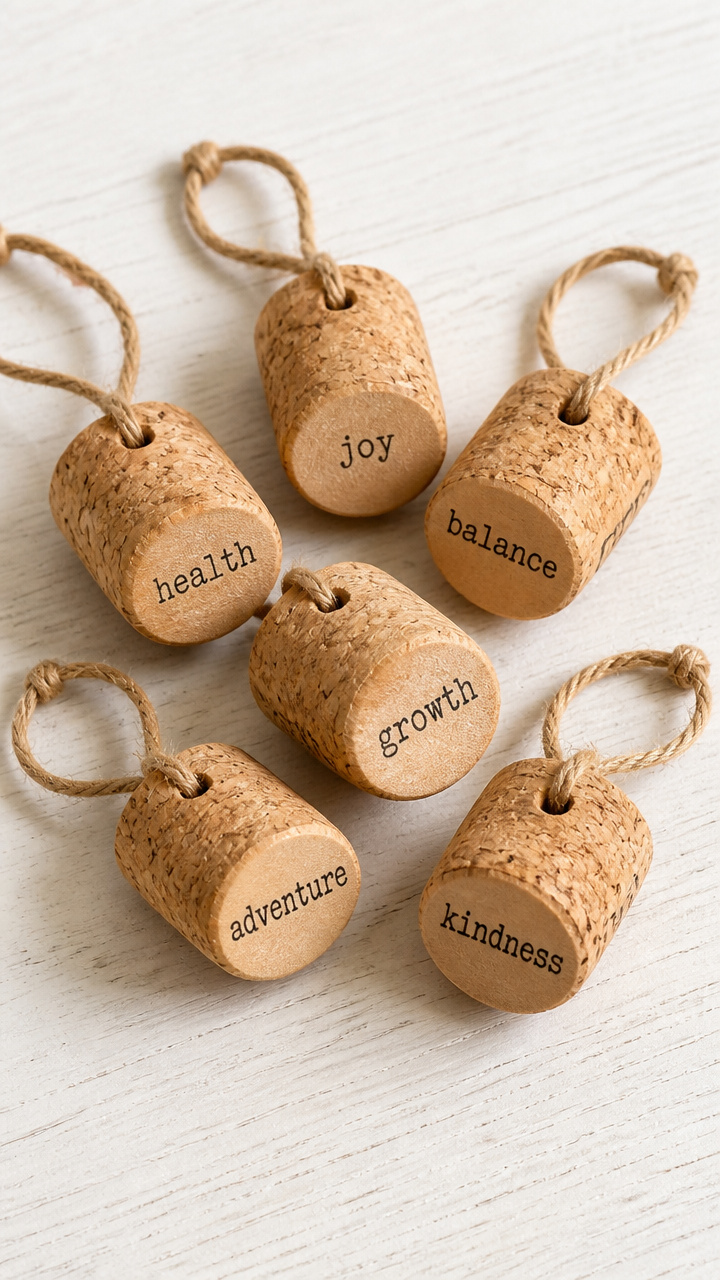
Tiny promises for the year ahead are tucked into rustic cork tags. Tie them to gifts, mirrors, or your journal for daily inspiration.
Materials Needed
- 6 wine corks
- Small alphabet rubber stamp set
- Black ink pad
- Twine (1 yard)
- Craft knife
- Sandpaper (1 piece, fine grit)
How to Make It
- Sand the flat end of each cork lightly to smooth the surface.
- Press the rubber stamp letters into the ink pad, then stamp a word like 'Breathe' or 'Grow' onto the cork end.
- Let ink dry for 2 minutes.
- Use the craft knife to make a small slit just below the stamped word.
- Thread a 6-inch piece of twine through the slit and knot it for hanging.


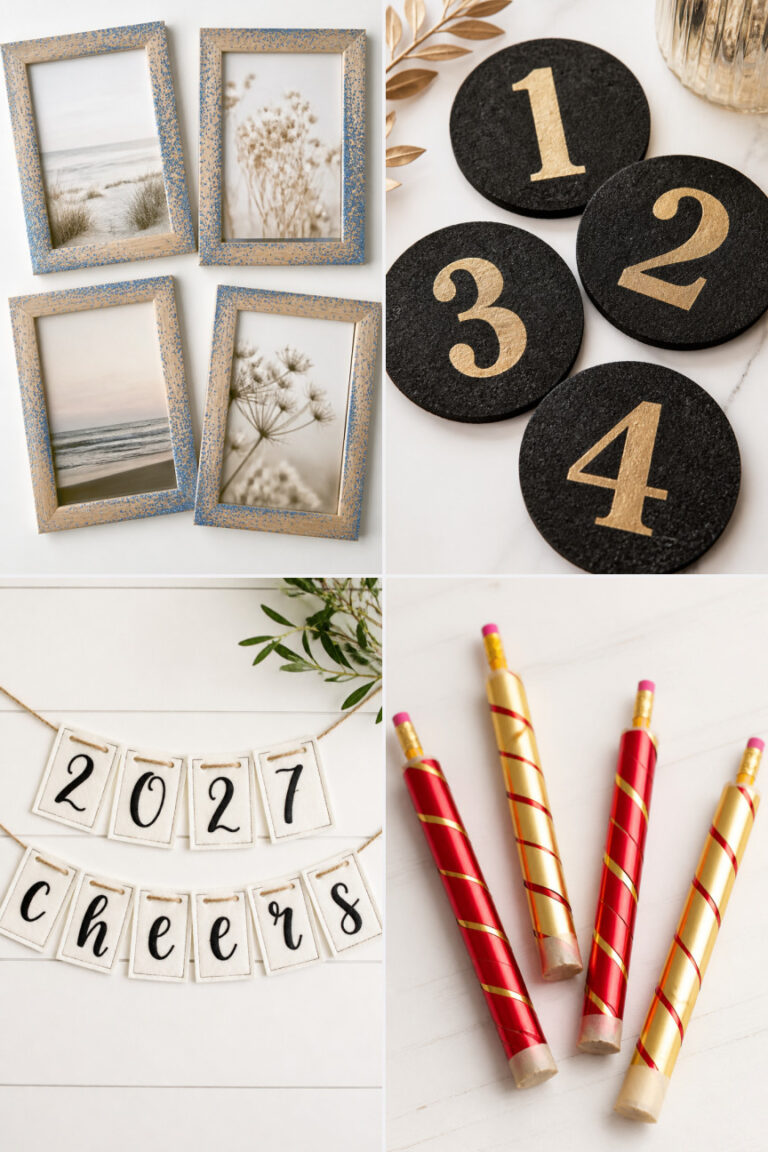
5. Painted Wood Slice Coasters
Easy
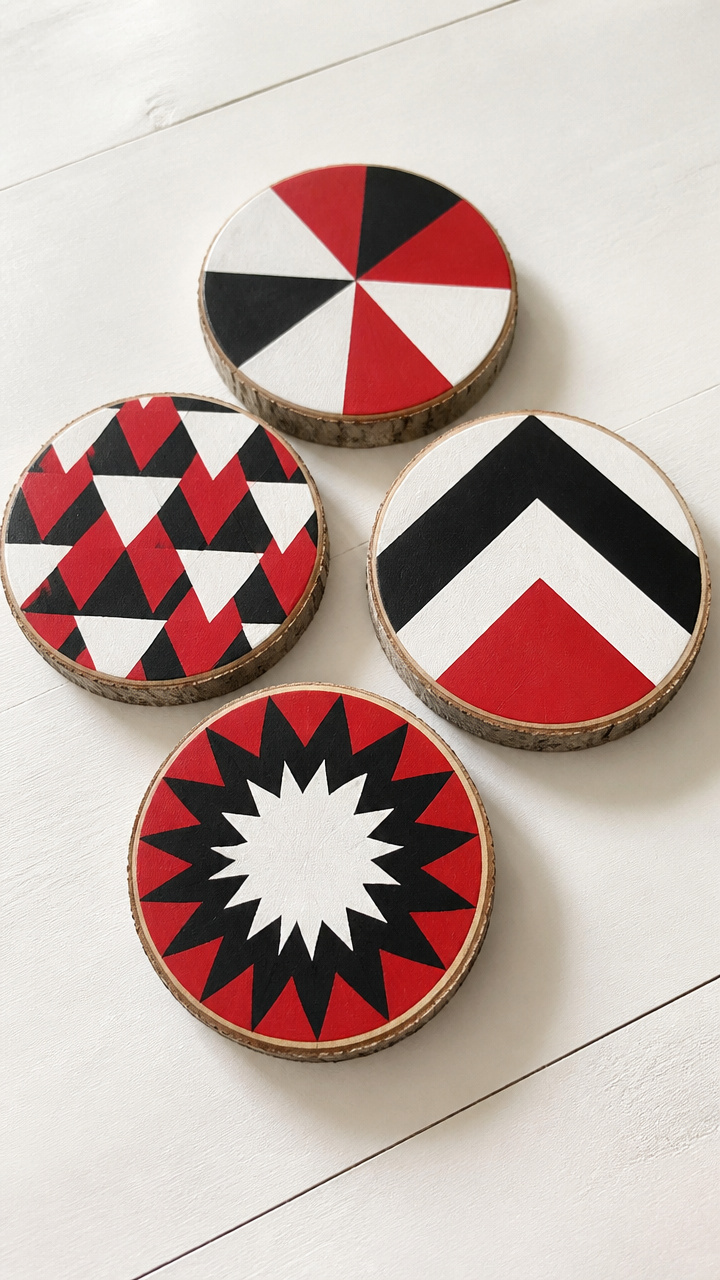
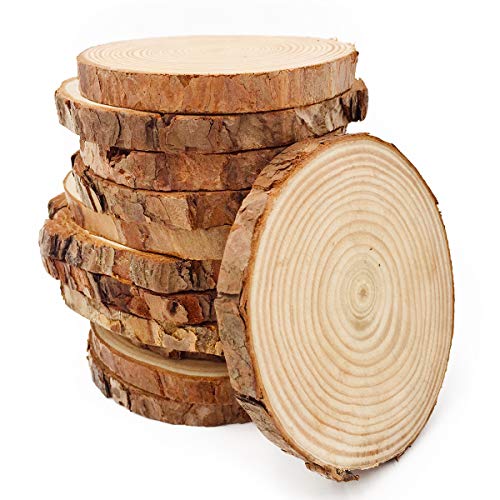
Natural wood circles become bold, colorful coasters with a modern twist. They protect surfaces while adding earthy charm to your table.
Materials Needed
- 4 unfinished wood slices (4 inch diameter, 1/2 inch thick)
- Acrylic paint (red, white, black, 30 ml each)
- Paintbrush (1 small round, 1 medium flat)
- Clear sealant spray (matte finish, 1 can)
- Paper plate
- Pencil
How to Make It
- Arrange the wood slices on a protected surface with paper underneath.
- Use the flat brush to paint two slices solid red and two solid black, letting them dry for 15 minutes.
- Use the round brush to paint a white number '1' on one red slice and '0' on the other.
- Let paint dry completely for 20 minutes.
- Spray each coaster lightly with sealant, holding the can 10 inches away, and let dry for 30 minutes.

6. Tissue Paper Window Clings
Easy
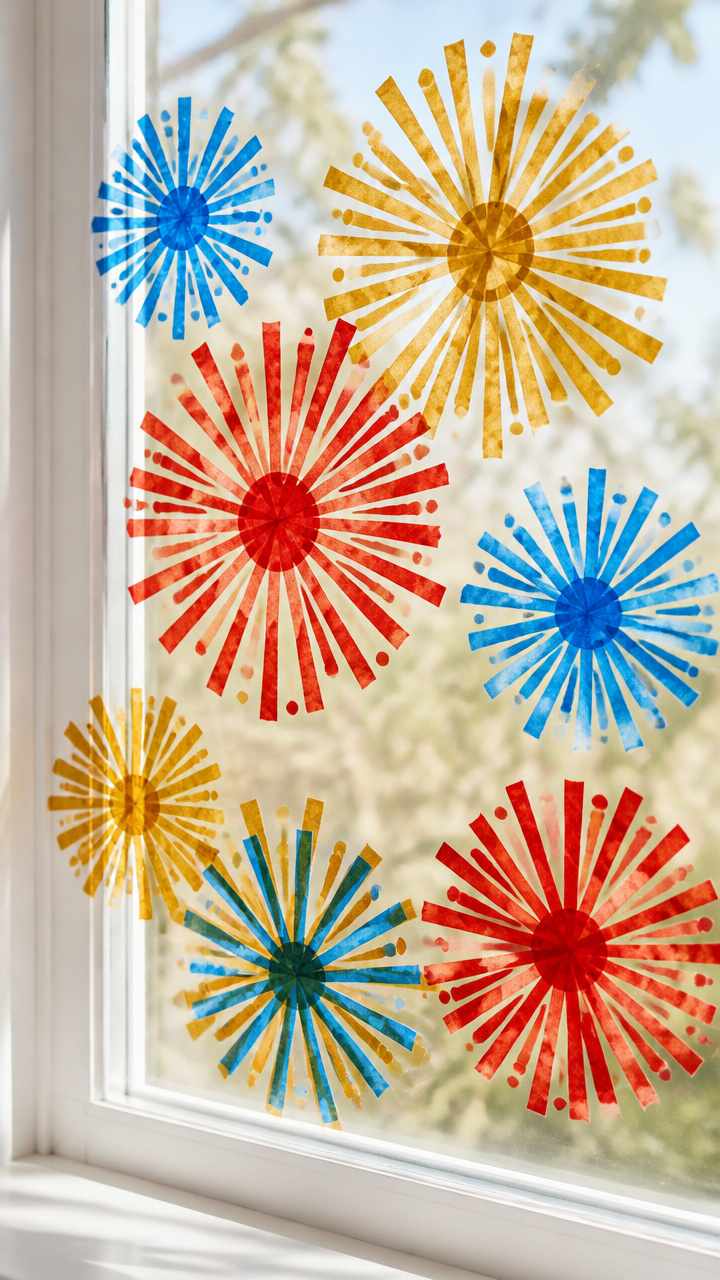
Bright bursts of color cling to glass like frozen fireworks. These temporary decorations add festive energy without residue.
Materials Needed
- Clear school glue (120 ml)
- Liquid dish soap (15 ml)
- Mixing bowl
- Whisk
- Tissue paper (red, gold, blue, 3 sheets each)
- Scissors
- Popsicle stick
- Squeegee or old credit card
How to Make It
- Mix 120 ml glue and 15 ml dish soap in the bowl using the whisk until smooth.
- Cut tissue paper into 1-inch squares and scatter them over a flat window surface.
- Use the popsicle stick to spread a thin layer of glue mixture over the tissue paper.
- Smooth the surface with the squeegee, pressing out air bubbles.
- Let dry completely for 2 hours before peeling edges to remove.


7. Yarn-Wrapped Countdown Balls
Moderate
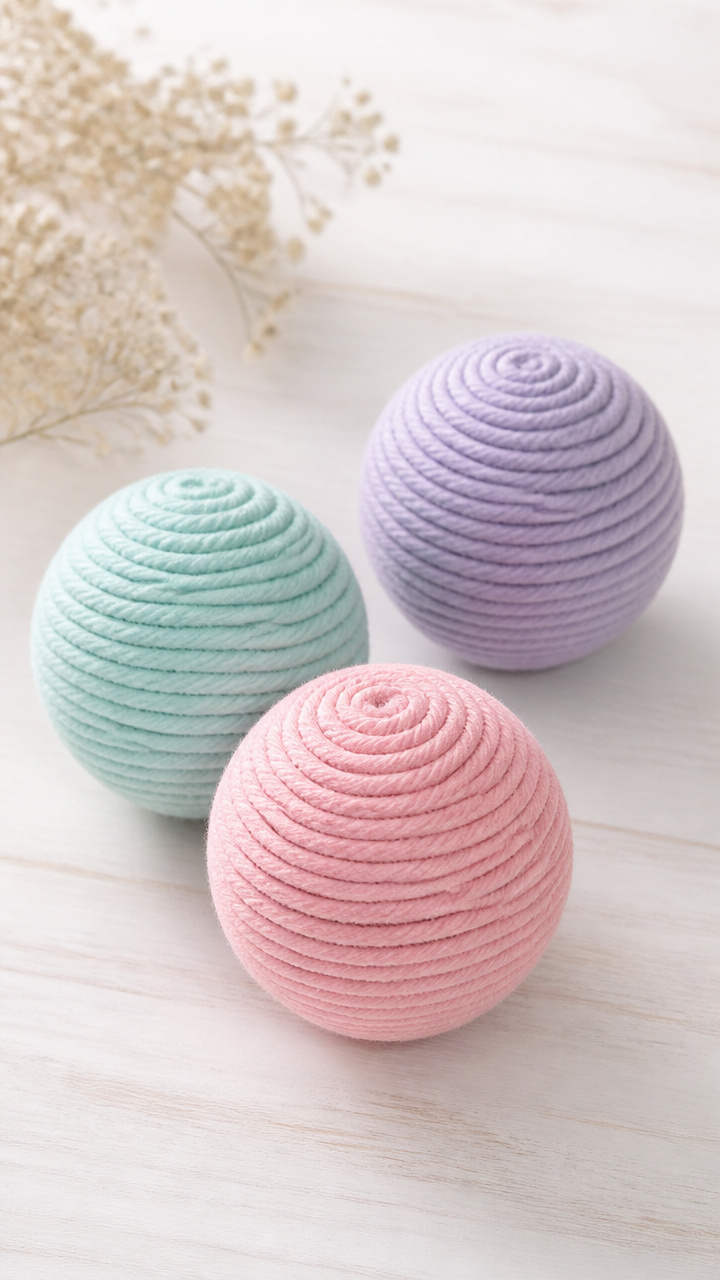
Soft pastel balls hide tiny notes with daily intentions. Unwrap one each day to reveal a small prompt or wish.
Materials Needed
- 3 Styrofoam balls (3 inch diameter)
- Pastel yarn (pink, mint, lavender, 10 yards each)
- Tacky glue (60 ml)
- Small paper strips (2×1 inch, 15)
- Pencil
- Scissors
How to Make It
- Write one word or short phrase like 'Rest' or 'Laugh' on each paper strip.
- Crumple each strip loosely and place them around the base of a Styrofoam ball.
- Apply a dot of tacky glue to the end of the yarn and press it to the ball.
- Wrap the yarn tightly around the ball and papers, covering completely.
- Glue the end down and repeat for the other two balls.


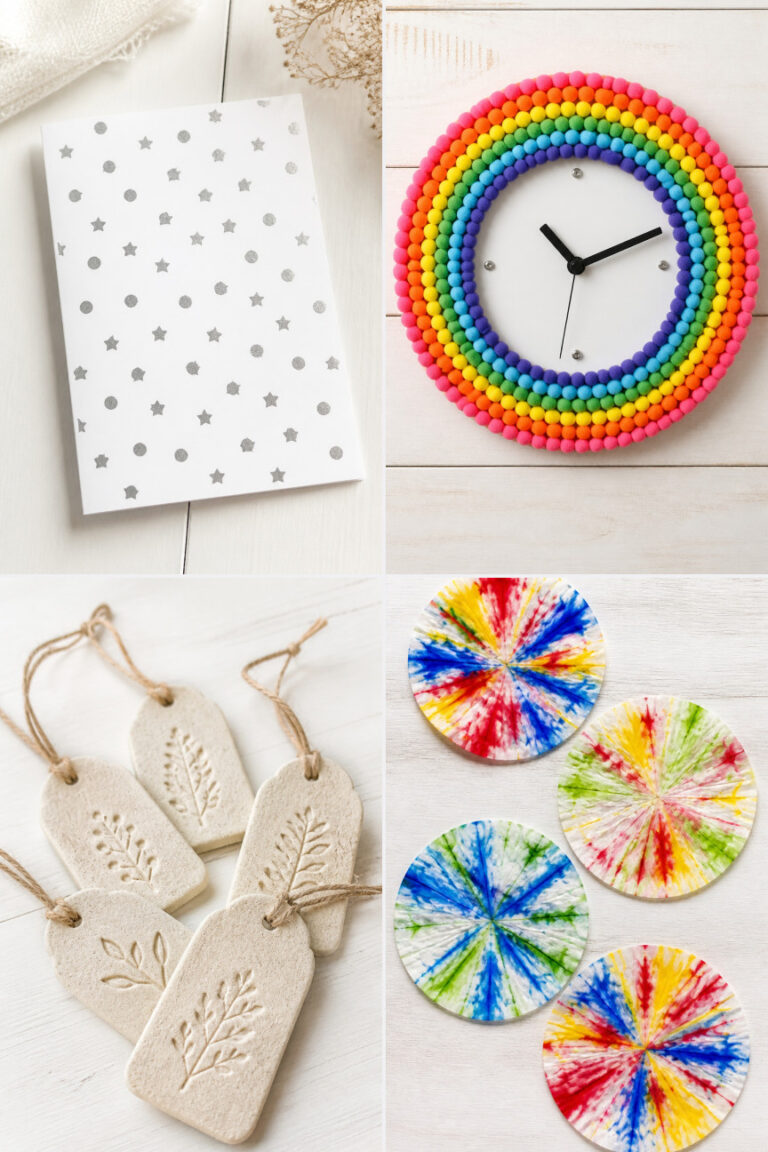
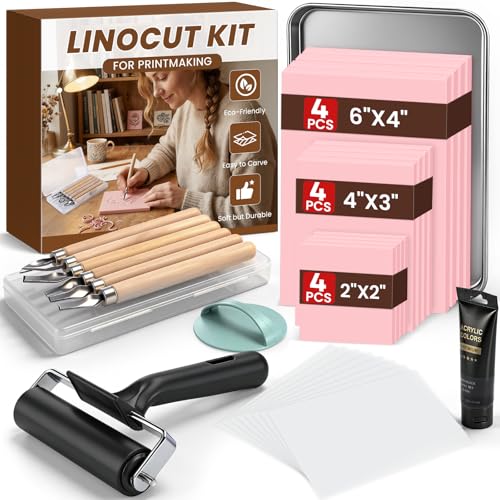
8. Foam Stamp Celebration Cards
Moderate
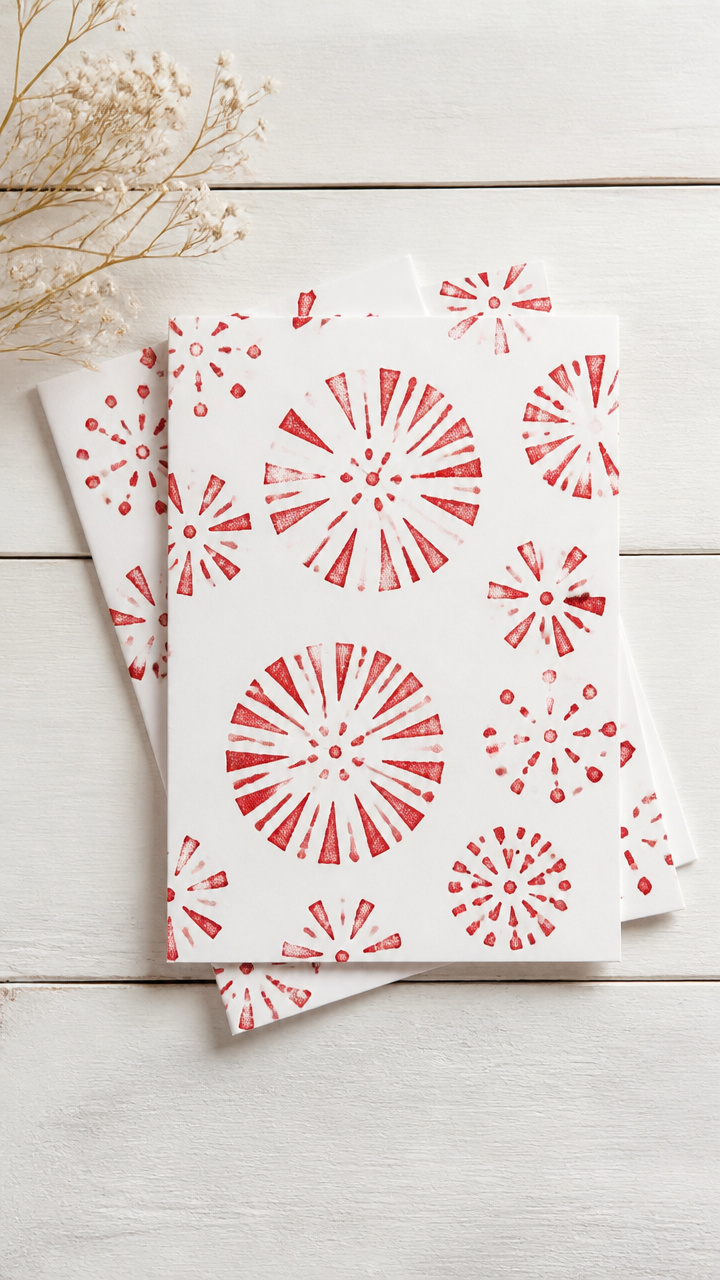
Hand-carved stamps press cheerful designs onto blank cards. Make a set for thank-yous or greetings with a personal touch.
Materials Needed
- Self-adhesive foam sheets (white, 2 sheets)
- Rubber carving block (2×3 inch)
- Carving tool set (3 blades)
- Red ink pad
- Blank white cards (4×6 inch, 6)
- Pencil
How to Make It
- Draw a simple star or balloon shape on the foam sheet with pencil.
- Peel the backing and stick the foam to the rubber block.
- Use the carving tool to cut around the shape, removing the outer foam.
- Press the stamp firmly onto the ink pad.
- Stamp the design onto the front of each card, applying even pressure.


9. Pom-Pom Noise Makers
Easy
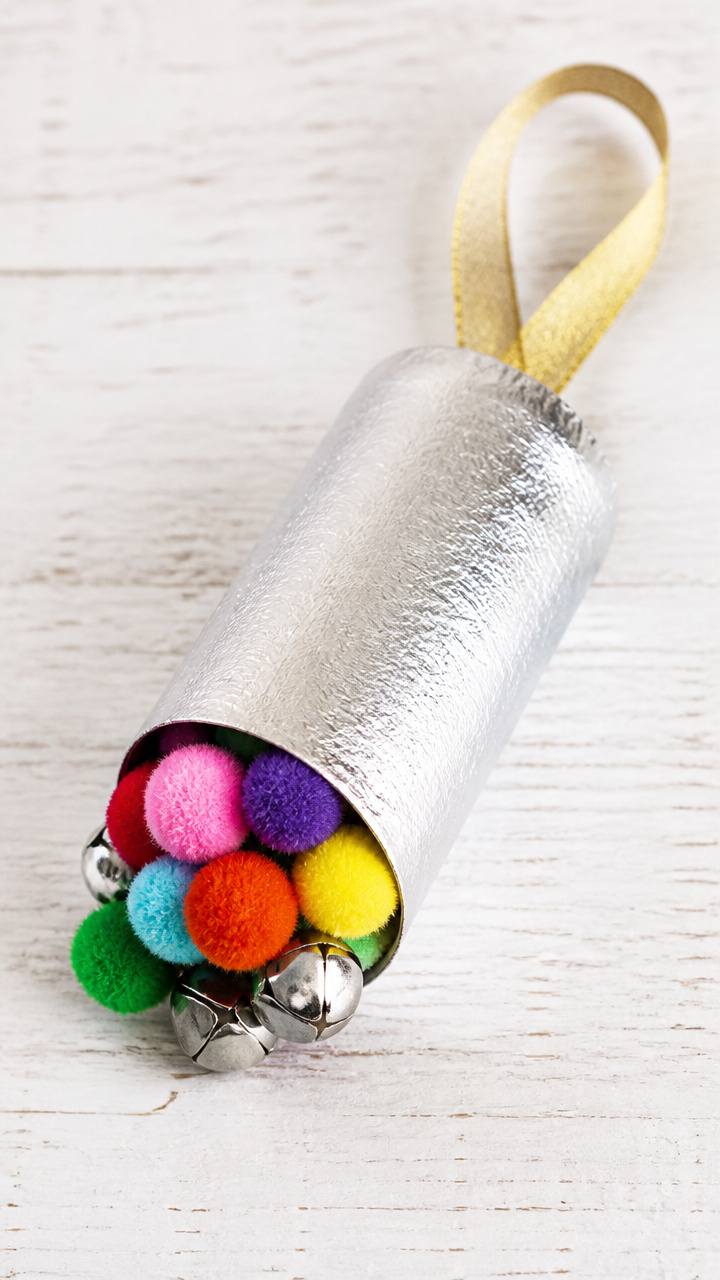
Jiggling pom-poms and jingle bells make merry noise when shaken. These handheld noisemakers bring instant cheer to any gathering.
Materials Needed
- Cardboard tube (from paper towels)
- Aluminum foil (12×12 inch sheet)
- Jingle bells (6, 1/2 inch)
- Craft glue
- Multicolored pom-poms (15, 1 inch)
- Ribbon (12 inch, gold)
- Scissors
How to Make It
- Crumple the foil into a loose ball and push it halfway into one end of the tube.
- Add 6 jingle bells on top of the foil.
- Fill the rest of the tube with pom-poms and seal the end with foil.
- Glue ribbon around the middle of the tube for decoration.
- Shake gently to test the sound before using.


10. Salt Dough Star Ornaments
Moderate
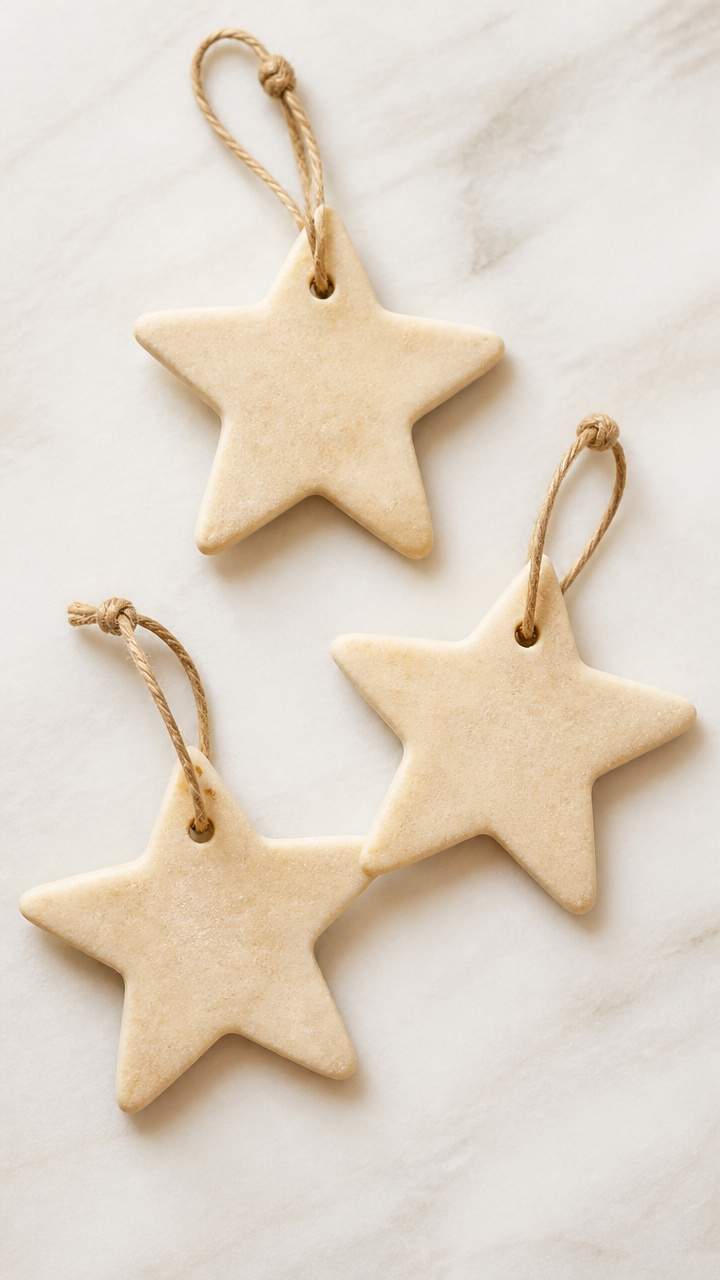
Simple dough shaped into stars bakes into lasting keepsakes. Personalize them with names or dates for a heartfelt touch.
Materials Needed
- Flour (1 cup)
- Salt (1/2 cup)
- Water (1/2 cup)
- Mixing bowl
- Rolling pin
- Star-shaped cookie cutter (3 inch)
- Straw
- Oven
- Baking sheet
- Parchment paper
- Acrylic paint (gold, 30 ml)
- Paintbrush
- Ribbon (6 inch, red)
How to Make It
- Mix flour, salt, and water in the bowl until a smooth dough forms.
- Roll the dough to 1/4 inch thickness on a floured surface.
- Cut out 5 stars using the cookie cutter.
- Use the straw to poke a hole near the top edge of each star.
- Place stars on a parchment-lined baking sheet and bake at 200°F for 3 hours.
- Let cool, then paint each star gold and let dry for 30 minutes.
- Thread ribbon through the hole and knot for hanging.


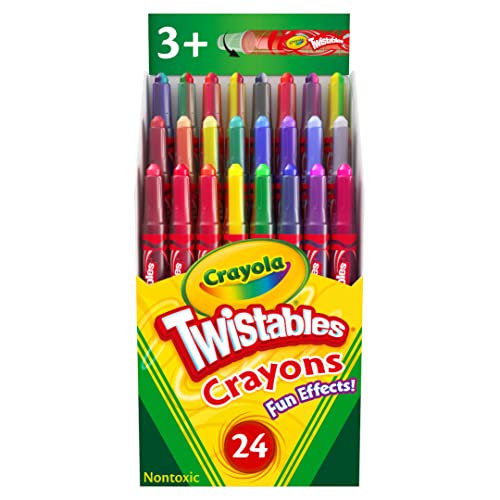
11. Crayon Melting Countdown Art
Advanced
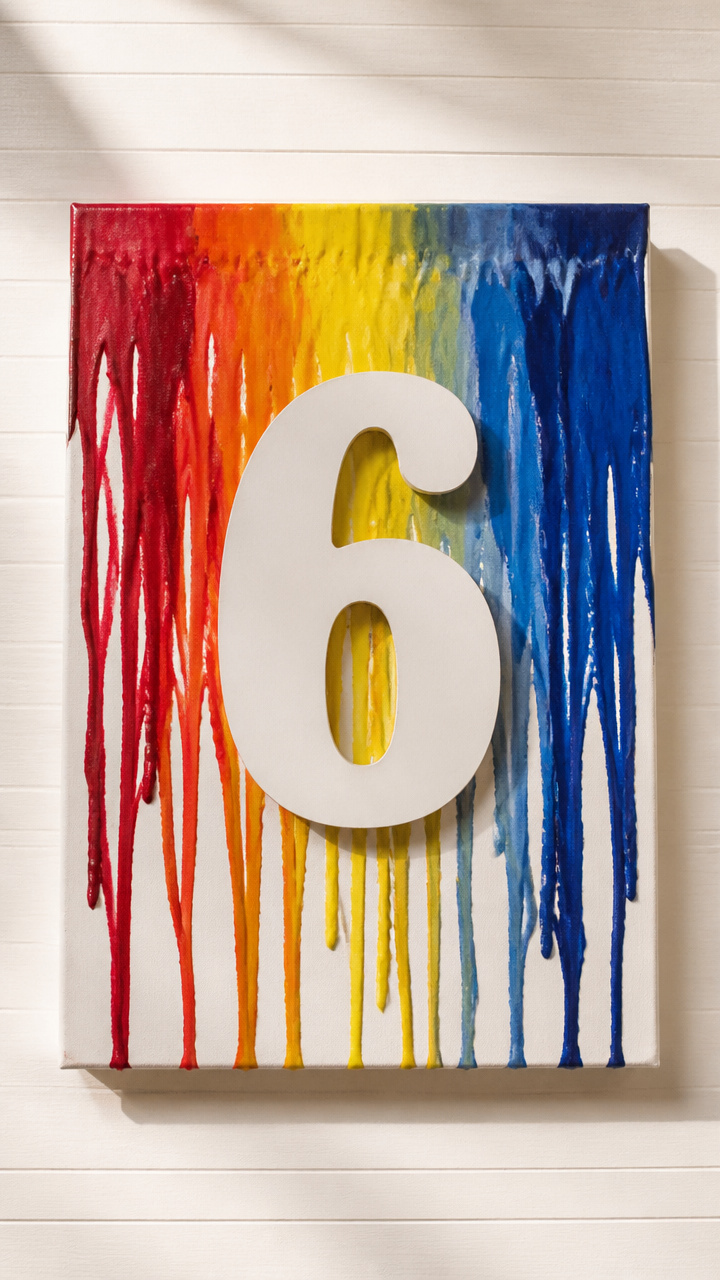
Vibrant crayon drips form a colorful mountain beneath a hand-cut number. This bold wall piece marks the year with melting wax.
Materials Needed
- Unwrapped crayons (red, yellow, blue, 15 total)
- Hot glue gun
- Hot glue sticks
- Wooden board (8×10 inch)
- Number stencil (6 inch)
- Spray adhesive
- Aluminum foil
- Hair dryer
- Pencil
How to Make It
- Cover the work surface with aluminum foil.
- Use spray adhesive to attach the stencil to the wooden board.
- Glue crayons upright below the stencil with hot glue, clustering colors together.
- Remove the stencil carefully after glue sets for 5 minutes.
- Point the hair dryer at low heat toward the crayon tips, moving slowly until wax drips downward.
- Let wax cool completely for 1 hour before hanging.


12. Button Flower Vase Decor
Moderate
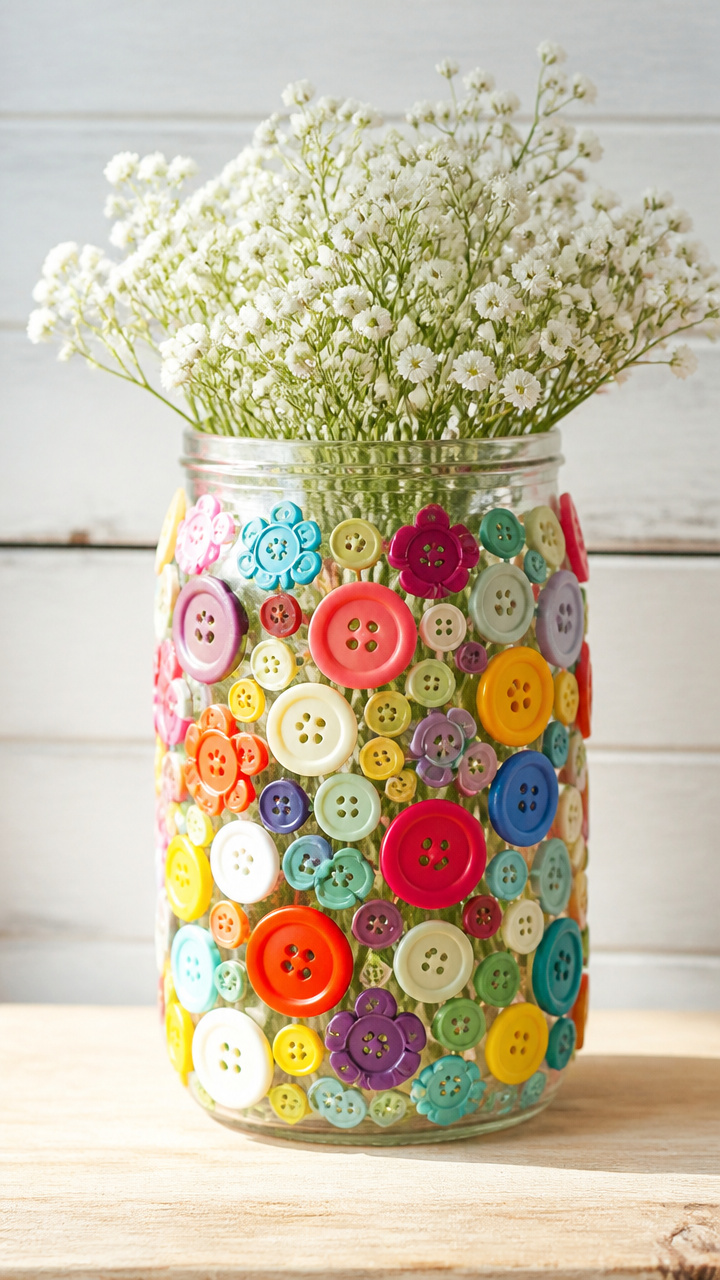
Clusters of mismatched buttons bloom around a glass jar like a garden in full color. This vase holds fresh blooms or stands alone as art.
Materials Needed
- Glass jar (8 oz)
- Assorted buttons (30, various sizes and colors)
- E6000 craft glue (30 ml)
- Tweezers
- Paper plate
How to Make It
- Arrange buttons on the jar to plan your design, starting near the base.
- Apply a small dot of E6000 glue to the back of each button using the plate to avoid mess.
- Press each button firmly onto the jar, building upward in clusters.
- Use tweezers to adjust placement if needed.
- Let glue cure for 24 hours before moving or filling with water.


13. Origami Lucky Cranes Garland
Moderate
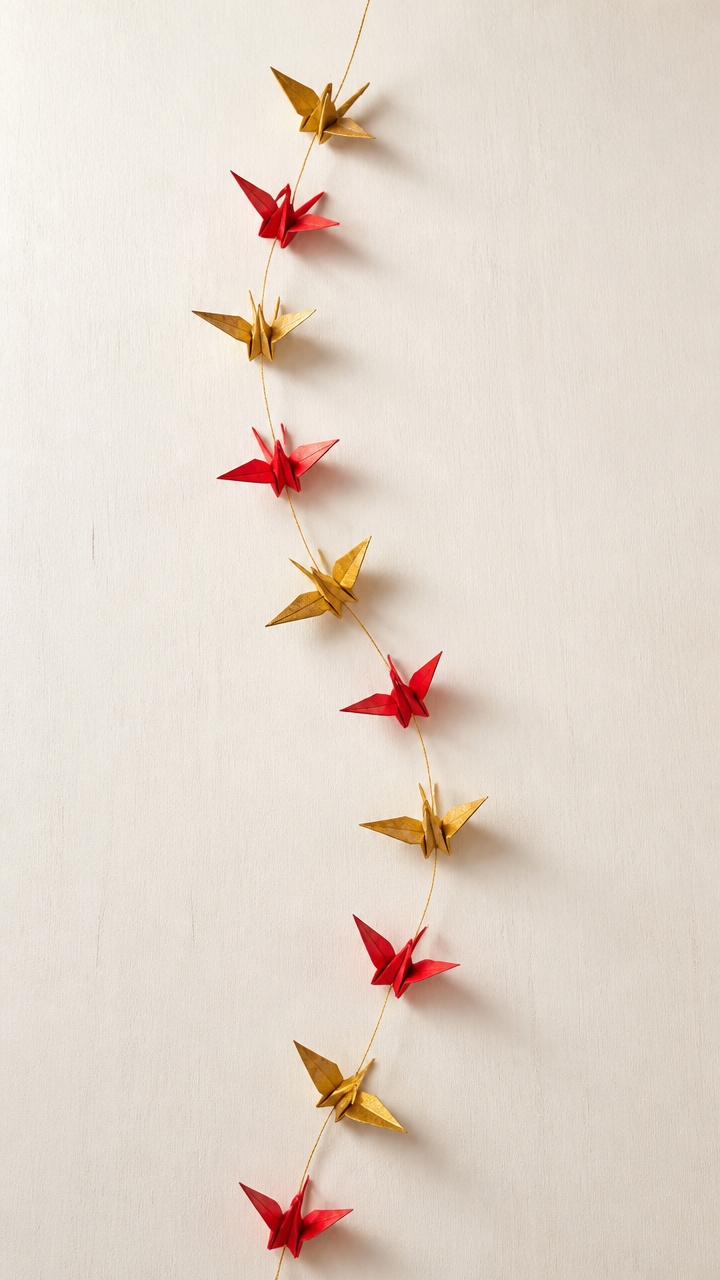
Delicate paper cranes strung on thread bring wishes for peace and luck. This delicate garland floats beautifully near a window.
Materials Needed
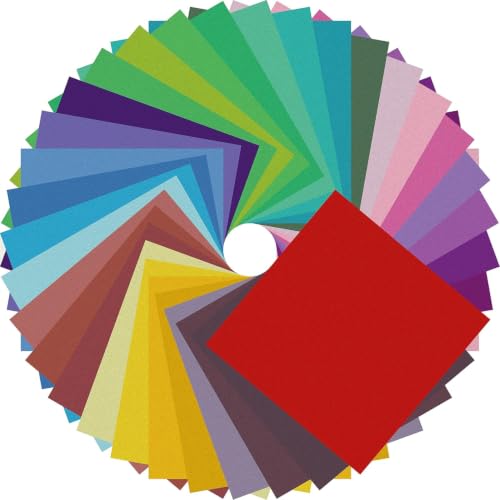
- Origami paper (7×7 inch, gold and red, 10 sheets each)
- Scissors
- Thread (2 yards)
- Needle (large eye)
- Pencil
How to Make It
- Fold each sheet into a traditional crane using origami instructions.
- Use the needle to thread the tip of the thread through the lower wing of the first crane.
- Slide the crane down and tie a knot below it to secure.
- Repeat threading and knotting for all 20 cranes.
- Hang the garland by tying ends to a small stick or directly to the wall.


14. Chalkboard Paint Countdown Board
Moderate
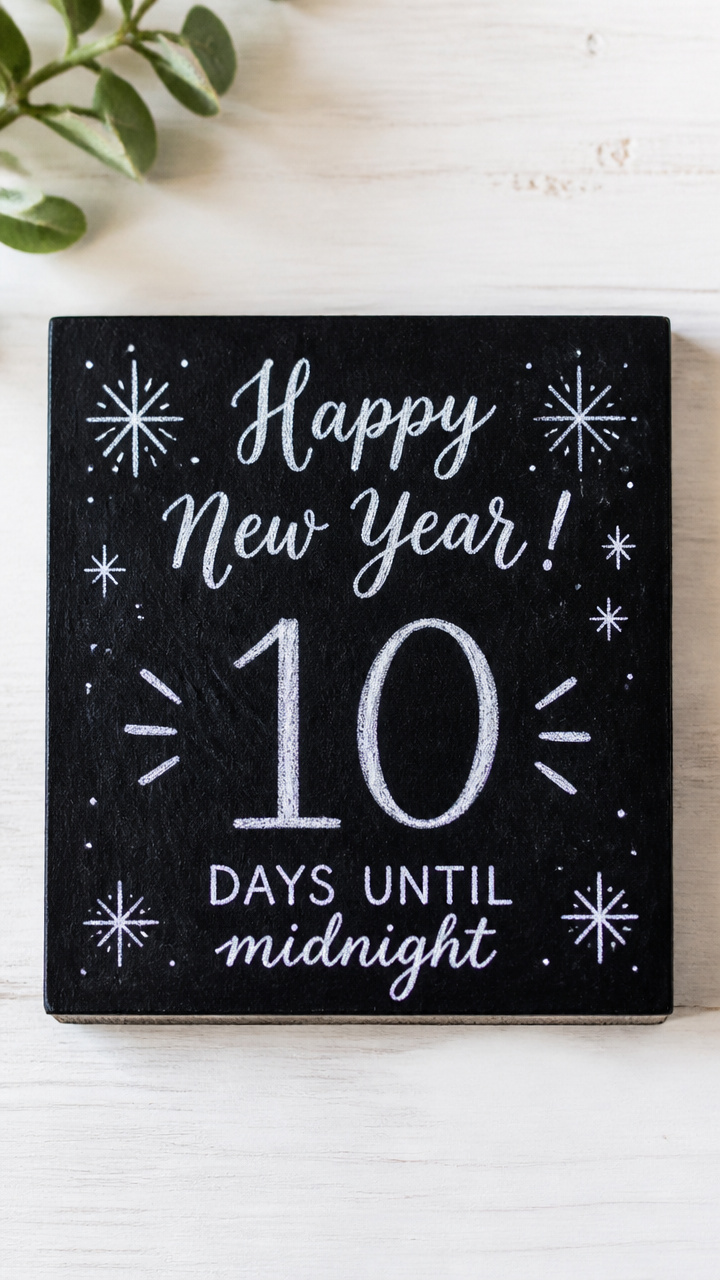
A small wooden board tracks the days with changeable chalk numbers. Write daily messages or reminders with a festive touch.
Materials Needed
- Wood square (6×6 inch)
- Chalkboard paint (30 ml)
- Paintbrush (small flat)
- Chalk (white)
- Ruler
- Pencil
- Black ribbon (12 inch)
- Hot glue gun
How to Make It
- Paint the front of the wood square with chalkboard paint using smooth strokes.
- Let dry for 20 minutes, then apply a second coat.
- Allow to cure for 2 hours.
- Use ruler and pencil to lightly mark number positions on the board.
- Write the number of days remaining with white chalk.
- Glue ribbon to the back corners to form a hanger.


15. Puzzle Piece Memory Wreath
Advanced
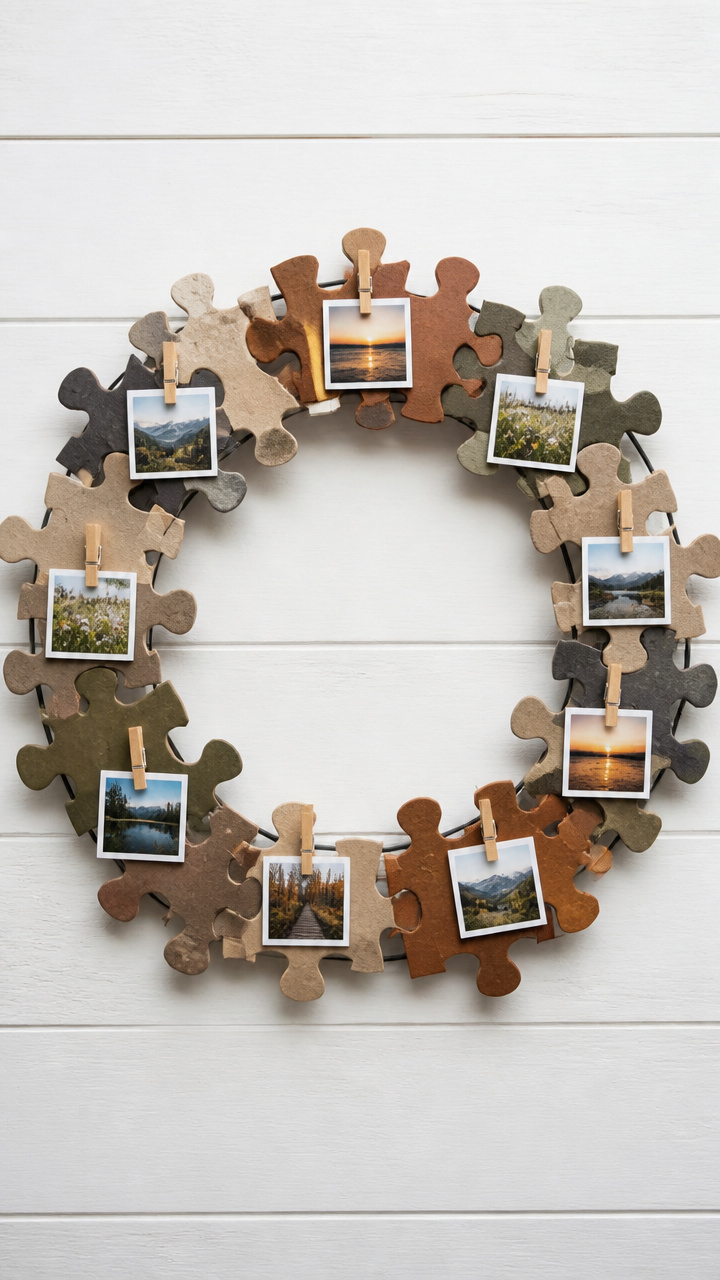
Interlocking puzzle pieces form a circular keepsake holding tiny photos from the past year. This heartfelt wreath celebrates what’s been.
Materials Needed
- Cardboard puzzle (100 pieces, completed and separated)
- Hot glue gun
- Hot glue sticks
- Mini clothespins (10)
- Small printed photos (1×1 inch, 10)
- Wire wreath frame (6 inch)
- Scissors
How to Make It
- Lay out 30 puzzle pieces with visible images or colors facing up.
- Apply hot glue to the back edge of one piece and attach it to the wire frame.
- Continue gluing pieces around the frame, interlocking them slightly.
- Let the glue cool for 30 seconds between each addition.
- Clip one photo into each clothespin and hang them from the puzzle edges.


Grab your scissors, uncap that glue, and let your hands shape something hopeful. The new year begins with small, joyful acts like these.