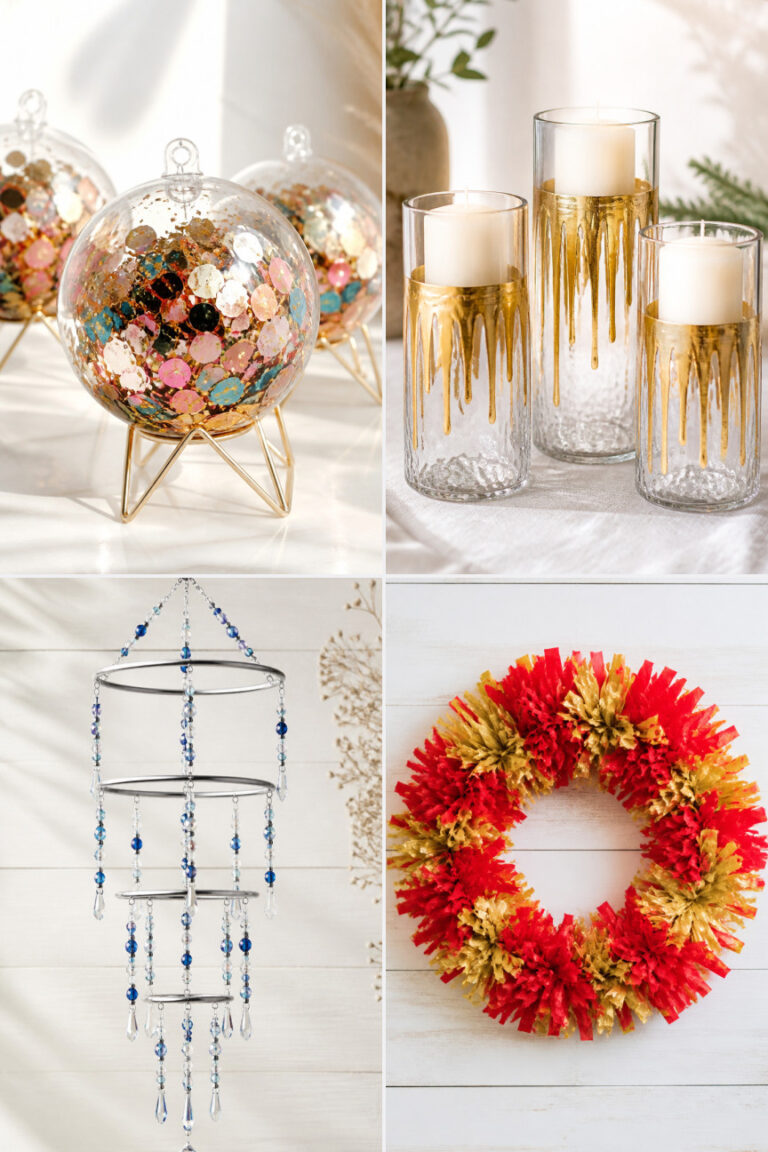
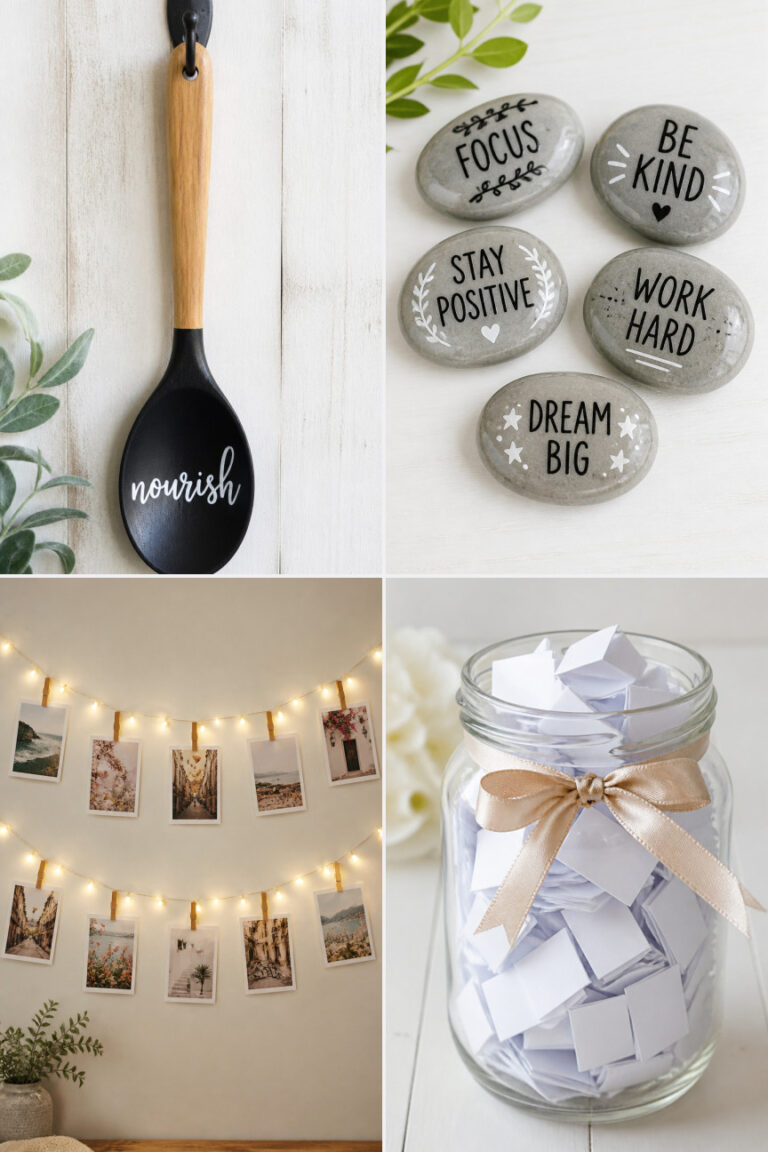
15 New Year Crafts for Home Decor

Golden confetti still clings to your floor, and the quiet after the celebration hums with possibility. This is the perfect moment to shape what comes next, one handmade detail at a time.
Fill your space with intention using these thoughtful crafts. Each one brings warmth, sparkle, or calm—exactly what a fresh start needs.
1. Glittered Mason Jar Luminaries
Easy
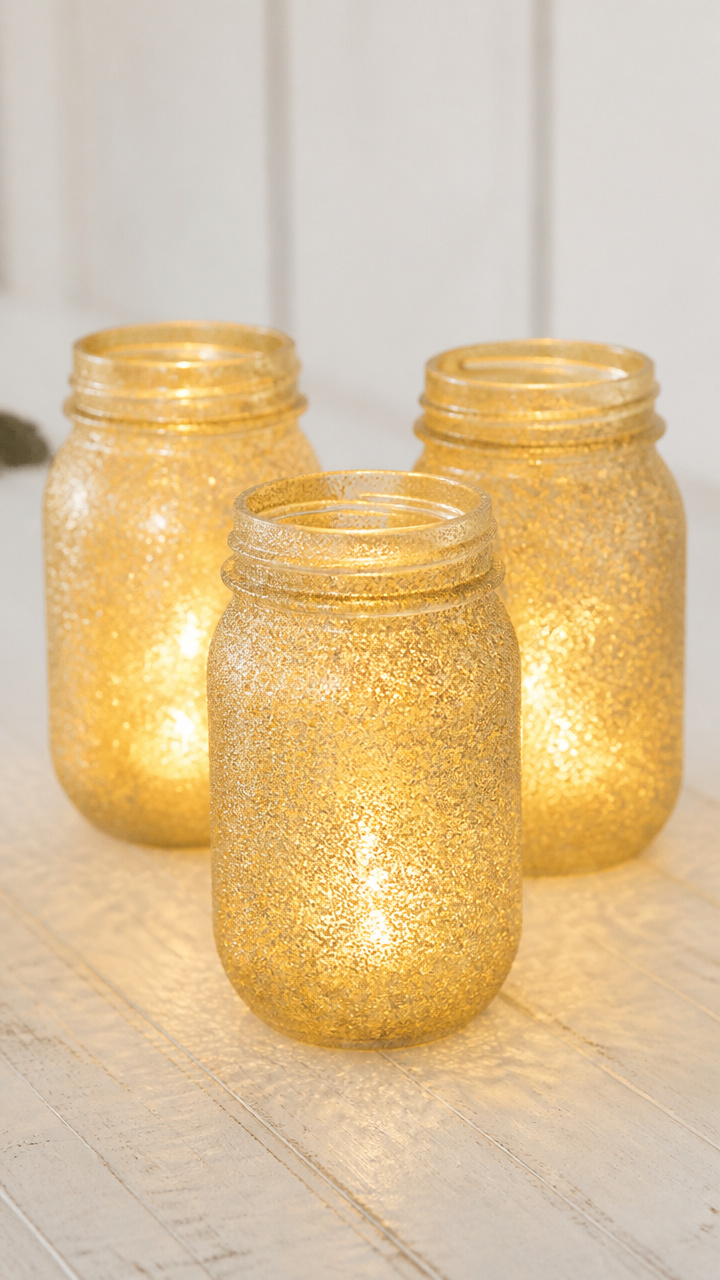
Soft golden light glows through shimmering glass, casting delicate patterns across your walls. These luminaries add instant warmth to any shelf or table.
Materials Needed
- 3 clear 16 oz mason jars
- gold fine glitter
- white craft glue
- paintbrush (1 inch flat)
- LED tea lights (3)
- paper plate
- scissors
How to Make It
- Pour a tablespoon of glue onto the paper plate. Dip the brush into the glue.
- Paint a swirling pattern on the outside of one jar. Sprinkle glitter generously over the wet glue.
- Let the jar sit for 10 minutes, then tap off excess glitter into the plate.
- Repeat for the other two jars. Let dry completely, about 20 minutes.
- Place one LED tea light inside each jar. Turn them on at dusk.


2. Paper Quilled Number Wall Art
Moderate
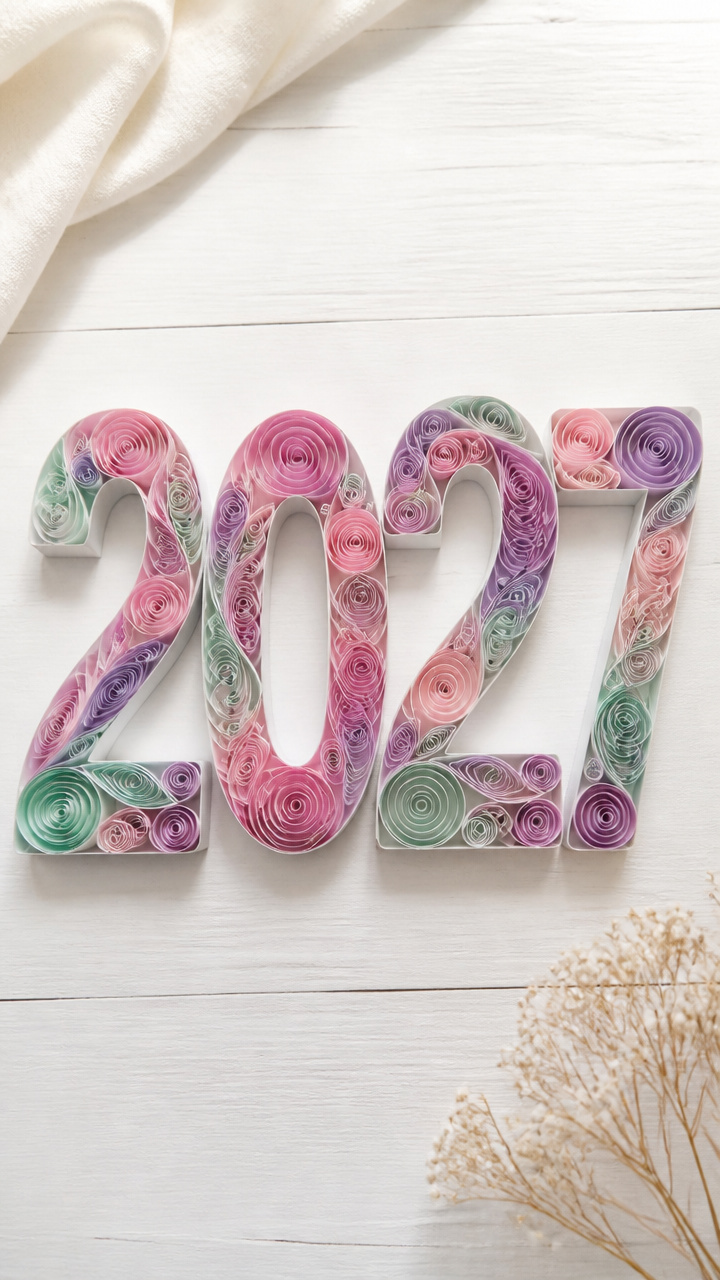
A bold '2025' in soft pastel swirls becomes a sculptural keepsake. The quilling technique gives it dimension without needing a frame.
Materials Needed
- Quilling paper strips (1/8 inch wide, colors: blush pink, soft lavender, mint green, 10 of each)
- quilling tool (slotted type)
- self-adhesive clear mounting squares (4×4 inches, 5 count)
- cardboard base (9×12 inches, white)
- tweezers
- white glue (small bottle with precision tip)
How to Make It
- Use the quilling tool to roll five tight coils from each color. Pinch one end of each coil to form teardrop shapes.
- Arrange the teardrops to form the number '2'. Place them on the cardboard and secure with mounting squares.
- Create loose spiral centers for the zeroes using three coils per zero. Glue them in place with precision glue.
- Tuck smaller folded strips around the edges to fill gaps. Let dry for 30 minutes before hanging.


3. Dried Citrus and Eucalyptus Wreath
Moderate
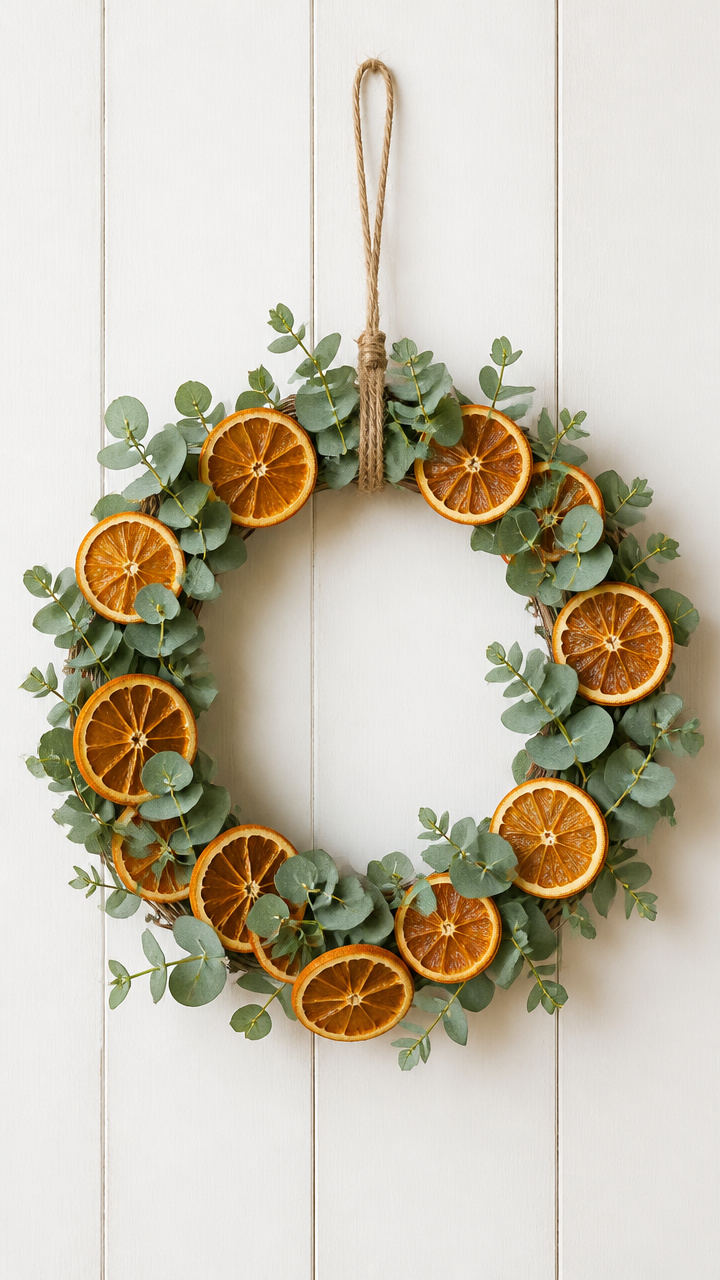
Sunset-colored orange slices mingle with silvery leaves in a natural wreath. It smells faintly herbal and looks beautiful above a mantel.
Materials Needed
- fresh eucalyptus sprigs (10 stems)
- dried orange slices (6, 1/4 inch thick)
- wire wreath frame (12 inch diameter)
- floral wire (22 gauge, 10 feet)
- wire cutters
- twine (natural jute, 18 inches)
How to Make It
- Bundle three eucalyptus sprigs together. Wrap floral wire tightly around the stems to secure.
- Attach the bundle to the wire frame by twisting the ends of the floral wire around the frame.
- Continue adding bundles, overlapping slightly, until the frame is fully covered.
- Slide dried orange slices between the eucalyptus. Secure each with a small piece of floral wire if needed.
- Tie twine to the top back of the wreath for hanging.


4. Felt Ball Garland
Easy
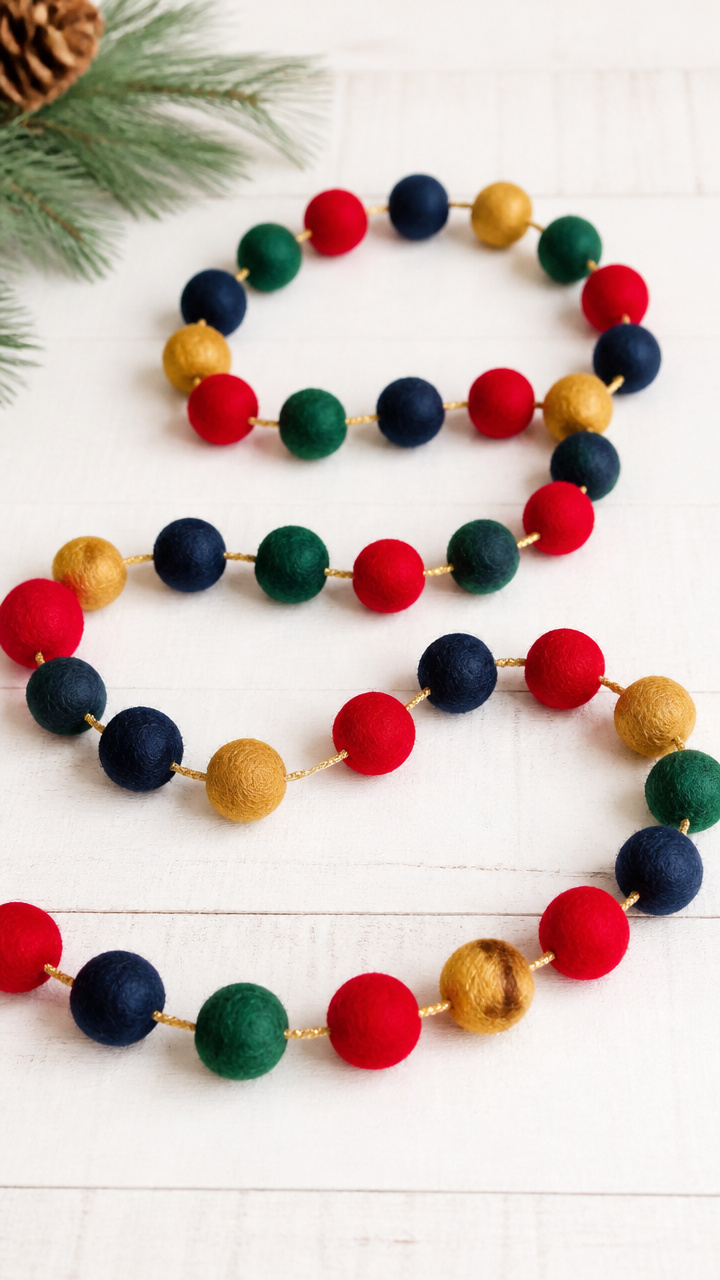
Bouncy wool balls in jewel tones drape softly over a doorway. Their texture invites touch and adds cozy color.
Materials Needed
- wool felt balls (1 inch diameter: 5 red, 5 navy, 5 emerald, 5 gold)
- embroidery floss (gold, 1 strand, 6 feet)
- yarn needle (large eye)
- scissors
How to Make It
- Thread the yarn needle with the gold floss. Knot one end.
- Push the needle through the center of a red ball. Pull until the knot stops it.
- String the balls in alternating colors: red, navy, emerald, gold. Repeat the sequence.
- Tie a loop at each end of the floss for hanging. Trim excess.


5. Marbled Air Dry Clay Ornaments
Moderate
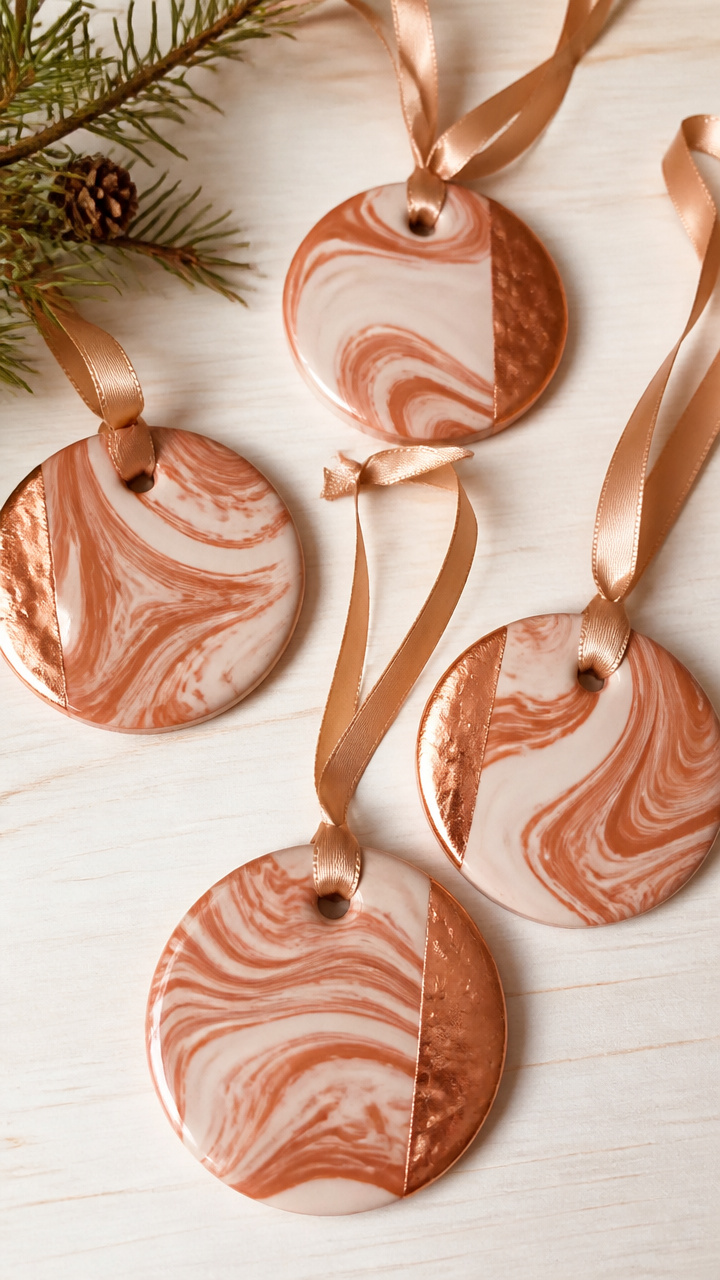
Swirled terracotta and cream ornaments hang from satin ribbon. Each one is unique, like a tiny abstract painting.
Materials Needed
- air dry clay (two colors: terracotta and cream, 2 oz each)
- rolling pin
- clay blade
- ornament cutter (circle, 2.5 inch)
- toothpick
- acrylic paint (metallic copper, small amount)
- soft brush (small round)
- red satin ribbon (1/8 inch wide, 3 feet)
- wax paper
How to Make It
- Knead both clay colors together just until they form gentle streaks. Do not blend completely.
- Roll the clay to 1/4 inch thickness on wax paper using the rolling pin.
- Cut out six circles with the cutter. Use the toothpick to poke a hole near the top edge of each.
- Let the ornaments dry overnight on a flat surface.
- Paint a thin line of copper paint around the outer edge of each. Let dry 1 hour.
- Cut ribbon into six 6-inch pieces. Thread one through each hole and tie a knot.


6. Mirror Decoupage with Gold Leaf
Advanced
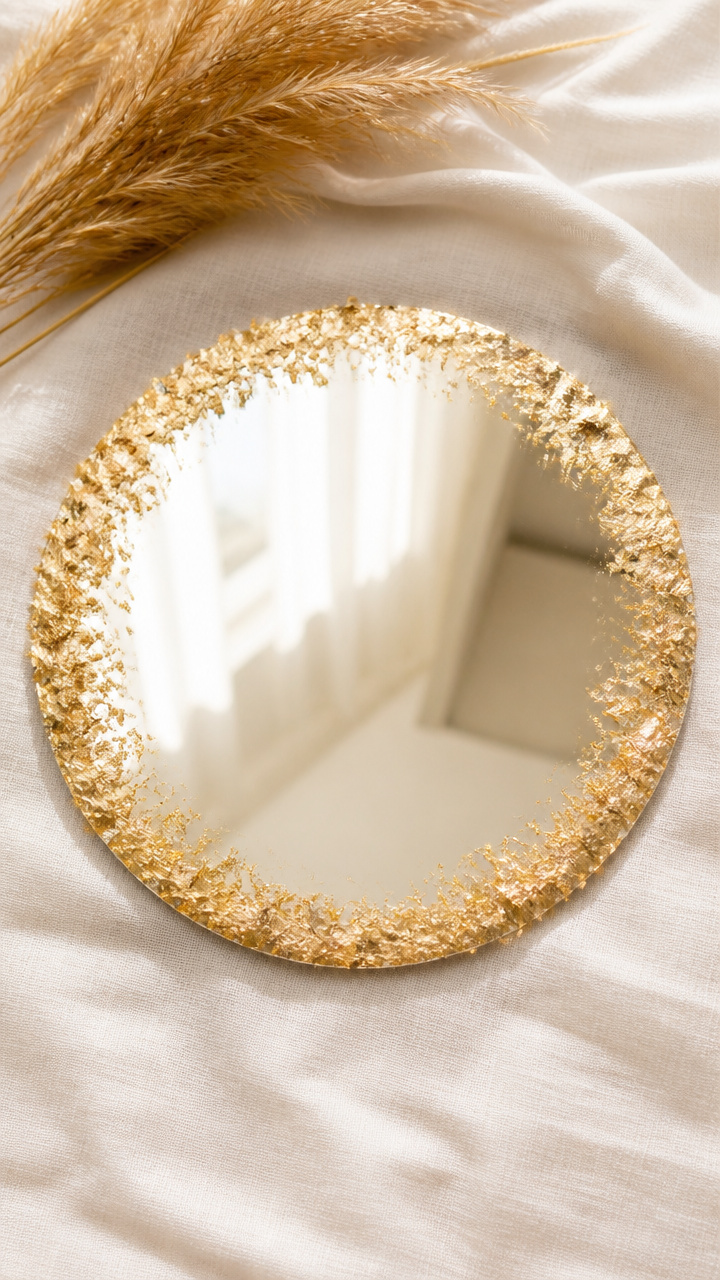
A plain round mirror gains elegance with feathered gold leaf edges. Light catches the metallic shards beautifully.
Materials Needed
- round mirror (8 inch diameter, plain frameless)
- real gold leaf sheets (2.75 x 2.75 inches, 6 count)
- leaf adhesive (liquid, 1 oz)
- gilder's tip brush
- cotton gloves
- clean soft cloth
- craft knife
How to Make It
- Wipe the mirror edge with a dry cloth. Put on cotton gloves to avoid fingerprints.
- Use the gilder's tip brush to apply adhesive to the outer rim of the mirror back, about 1/2 inch wide.
- Wait 90 seconds until the adhesive becomes tacky.
- Lift a gold leaf sheet with the gilder's tip. Lay it gently onto the adhesive. Press lightly.
- Brush outward from the center to smooth and feather the edges. Repeat around the entire rim.
- Carefully remove excess leaf with the tip of the craft knife. Let cure for 4 hours before hanging.


7. Twine-Wrapped Votive Holders
Easy
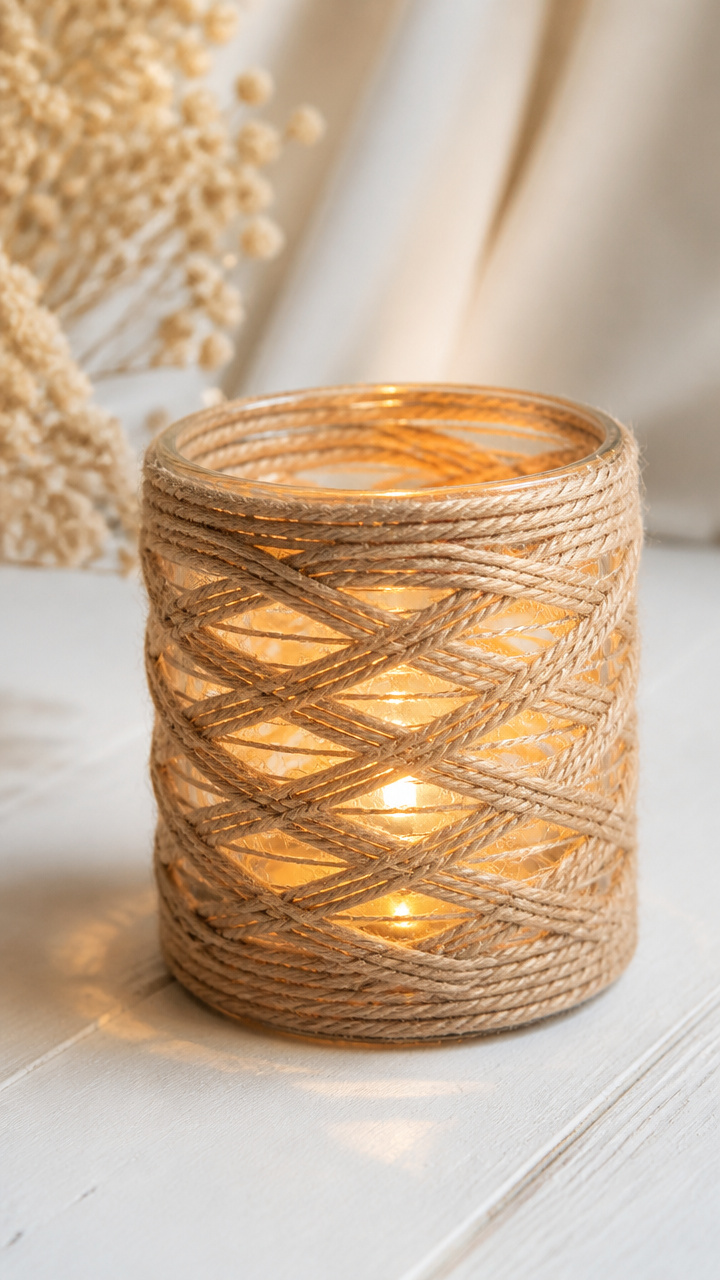
Rough natural twine wraps around glass cups, grounding their glow. These look rustic yet refined on a windowsill.
Materials Needed
- clear glass votive holders (4)
- natural jute twine (3 mm thickness, 20 feet)
- hot glue gun
- hot glue sticks (clear, 5 count)
- scissors
- LED candles (4)
How to Make It
- Plug in the hot glue gun and let it heat up. Apply a small dot of glue to the bottom side of one glass holder.
- Press the end of the twine into the glue. Hold for 10 seconds until set.
- Wrap the twine tightly around the glass, adding a dot of glue every inch to secure.
- Continue wrapping until the lower half of the glass is covered. Cut the twine and glue the end down.
- Repeat for the remaining three holders. Insert an LED candle into each when complete.

8. Painted Terra Cotta Pot Clock
Moderate
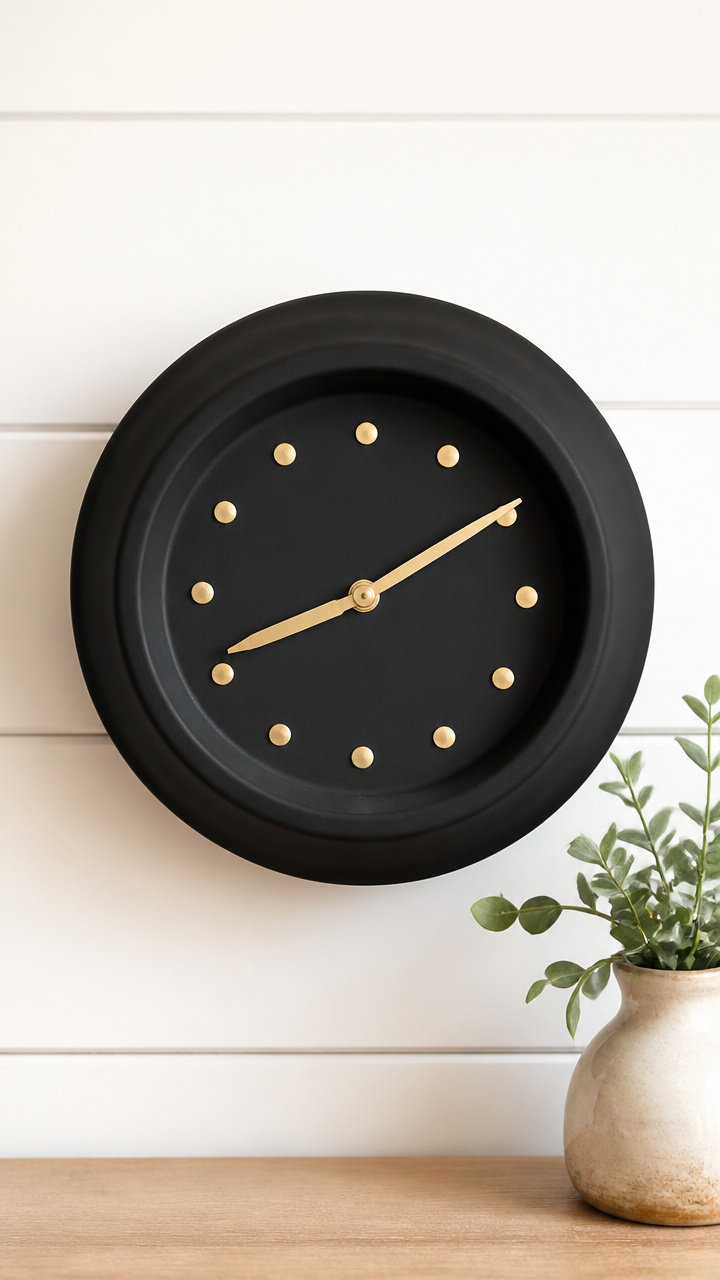
A humble pot becomes a striking wall clock with bold black strokes. It’s unexpected, modern, and full of character.
Materials Needed
- terra cotta pot (6 inch diameter, unglazed)
- black acrylic paint
- foam brush (1 inch)
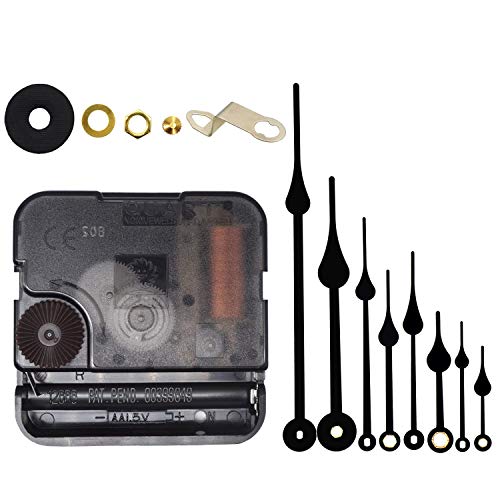
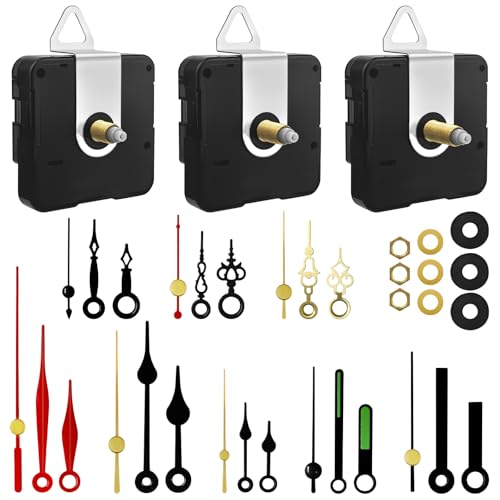
- clock mechanism kit (includes hands, motor, nut)
- drill with 3/8 inch masonry bit
- pencil
- ruler
How to Make It
- Wipe the pot exterior with a dry cloth. Paint it completely with black acrylic using the foam brush.
- Let dry for 1 hour. Apply a second coat. Let dry another hour.
- Mark the center of the pot base with a pencil. Use the ruler to confirm it's centered.
- Drill a hole through the base using the masonry bit. Wear eye protection during drilling.
- Insert the clock motor through the hole from the inside. Attach the hands and secure with the nut.

9. Copper Wire Star Sculptures
Advanced
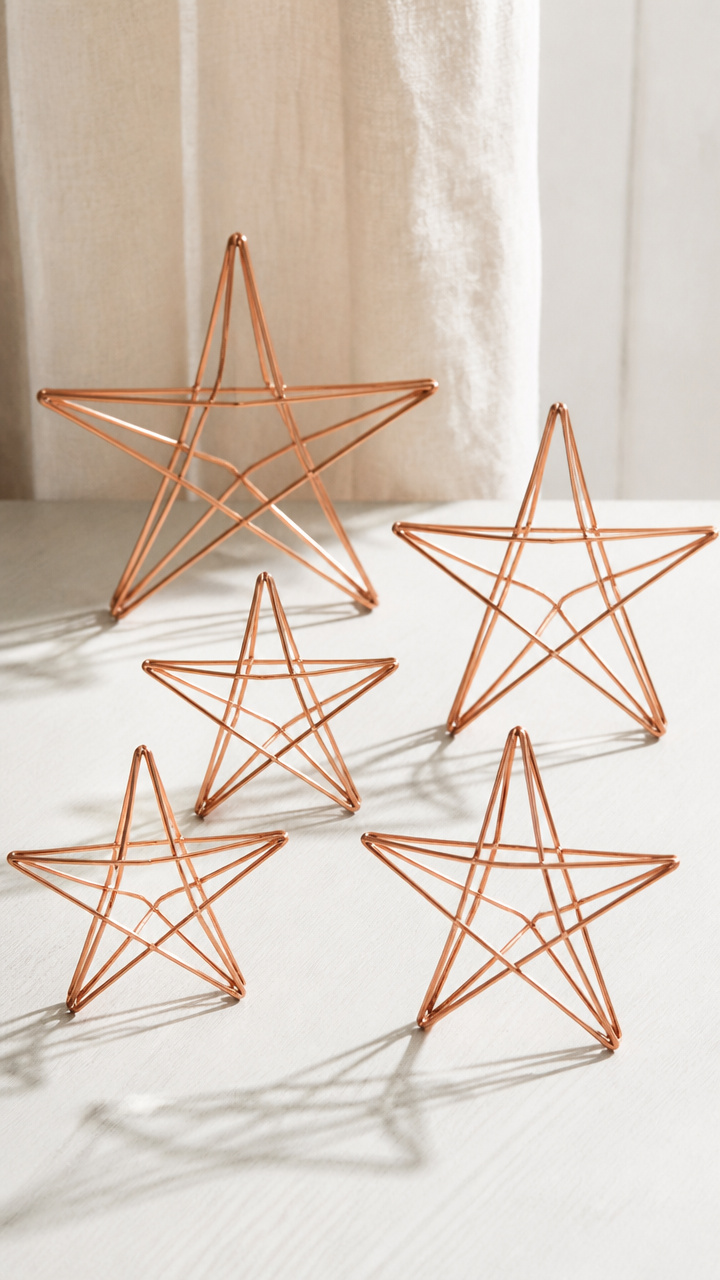
Geometric stars made from stiff wire stand upright on a shelf. They catch light and cast angular shadows.
Materials Needed
- copper wire (16 gauge, 12 feet)
- wire cutters
- round-nose pliers
- flat-nose pliers
- workbench or hard surface
How to Make It
- Cut five equal lengths of wire, each 14 inches long.
- Use the round-nose pliers to bend one end of a wire into a small loop. This forms the star tip.
- Weave the wires together at the center by hand, forming a five-pointed star. Cross them evenly.
- Use the flat-nose pliers to twist the wires tightly where they intersect.
- Shape each outer end into a small loop. Adjust points for symmetry. Stand upright on a flat surface.


10. Salt Dough Handprint Plaques
Easy
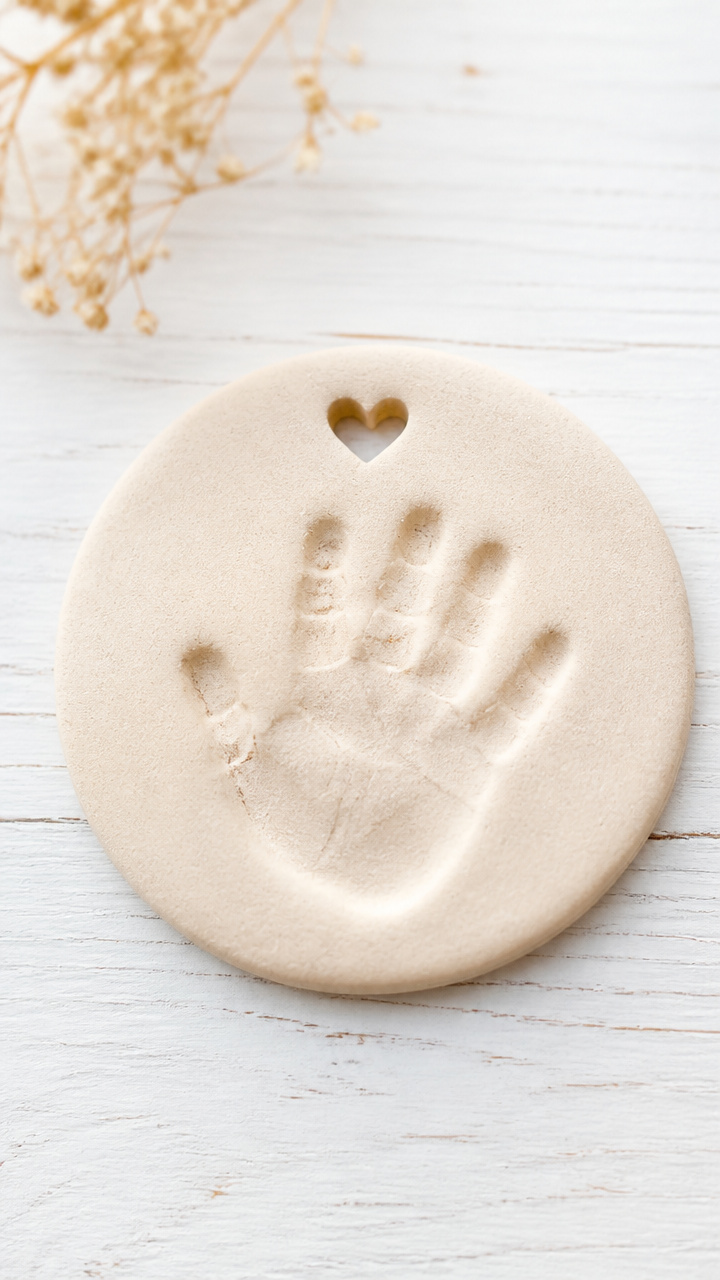
Tiny handprints pressed into pale dough become timeless keepsakes. Personal and tender, they belong in a child's room.
Materials Needed
- all-purpose flour (1 cup)
- table salt (1/2 cup)
- water (3/4 cup)
- mixing bowl
- rolling pin
- cookie cutters (heart or circle, 3 inch)
- straw
- baking sheet
- parchment paper
- ribbon (pink or blue, 1/8 inch, 2 feet)
- acrylic paint (white, optional)
How to Make It
- Mix flour, salt, and water in the bowl until a smooth dough forms. Knead for 2 minutes.
- Roll the dough to 1/4 inch thickness. Cut out two shapes per print.
- Press a clean hand firmly into one shape. Use the straw to poke a hole near the top edge.
- Place on the baking sheet lined with parchment. Bake at 200°F for 3 hours.
- Let cool. Optional: paint with white acrylic for brightness. Thread ribbon through the hole.


11. Ombre Tissue Paper Banner
Easy
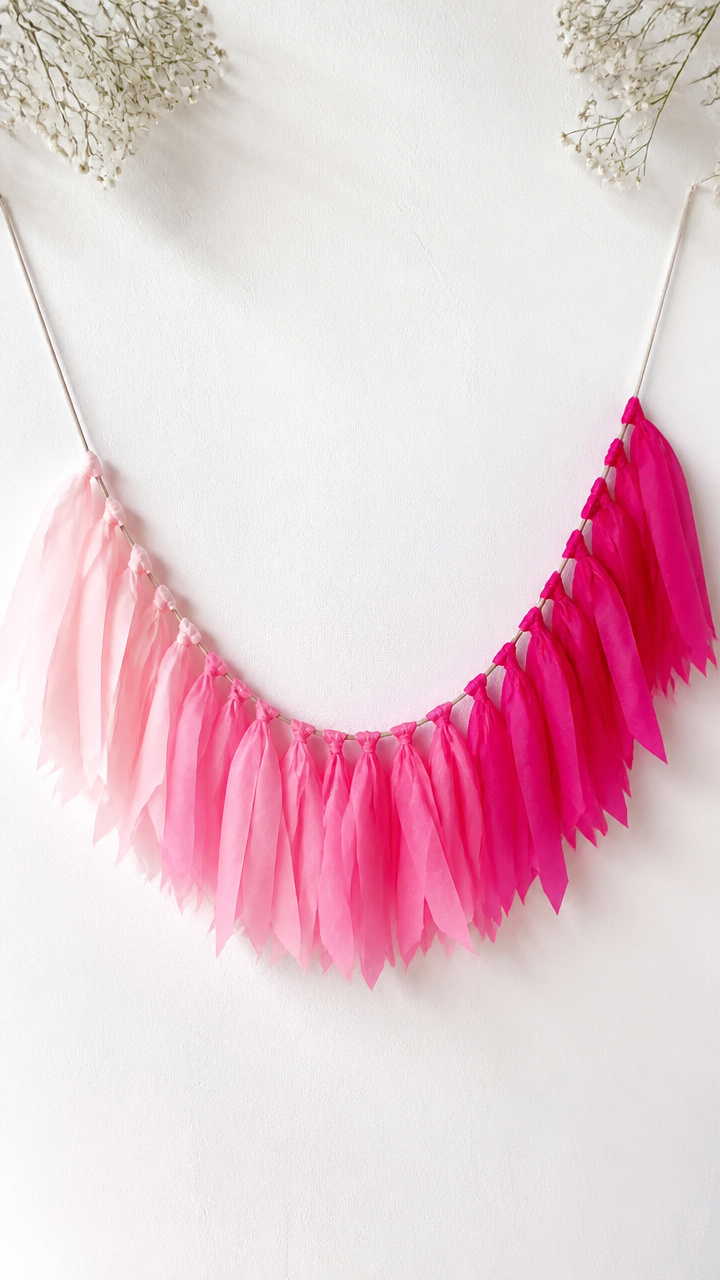
Layers of soft pink tissue fade into deep magenta between each flag. This banner flutters with joyful energy.
Materials Needed
- tissue paper (three shades: light pink, medium pink, dark pink, 10 sheets each)
- scissors
- ruler
- pencil
- string (cotton, 6 feet)
- glue stick
How to Make It
- Stack one sheet of each color, lightest on top. Fold the stack accordion-style, 1.5 inch folds.
- Cut rounded corners on one end of the folded stack. Unfold to reveal scalloped layers.
- Re-fold the stack. Apply glue along one edge. Wrap around the string and press to seal.
- Space each flag 4 inches apart. Repeat cutting and gluing until the string is full.
- Hang by tying the ends of the string to walls or furniture.


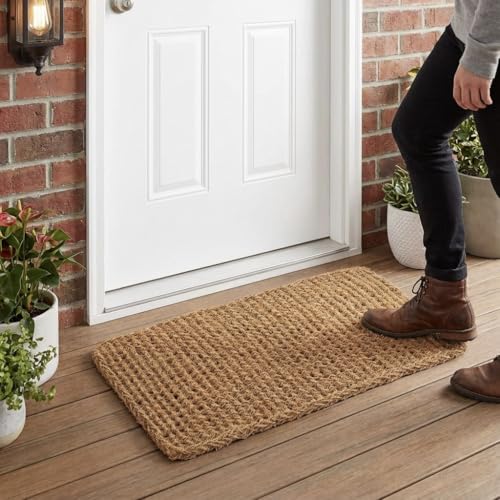
12. Stenciled Doormat
Moderate

Bold lettering welcomes guests with a crisp message. The stencil method ensures clean lines and lasting ink.
Materials Needed
- coir doormat (18×30 inches)
- acrylic paint (outdoor formula, black, 4 oz)
- foam pouncer
- cardboard stencil ('Welcome' in block letters, 12 inch tall)
- painter's tape
- paper plate
How to Make It
- Place the doormat on a flat surface. Tape the stencil firmly in the center.
- Pour a small amount of paint onto the plate. Load the pouncer lightly.
- Dab the pouncer over the stencil openings. Use even pressure to avoid bleeding.
- Carefully lift the stencil straight up. Let the paint dry for 2 hours.
- Apply a second coat the same way. Let dry overnight before placing outside.


13. Mini Succulent Terrariums
Moderate
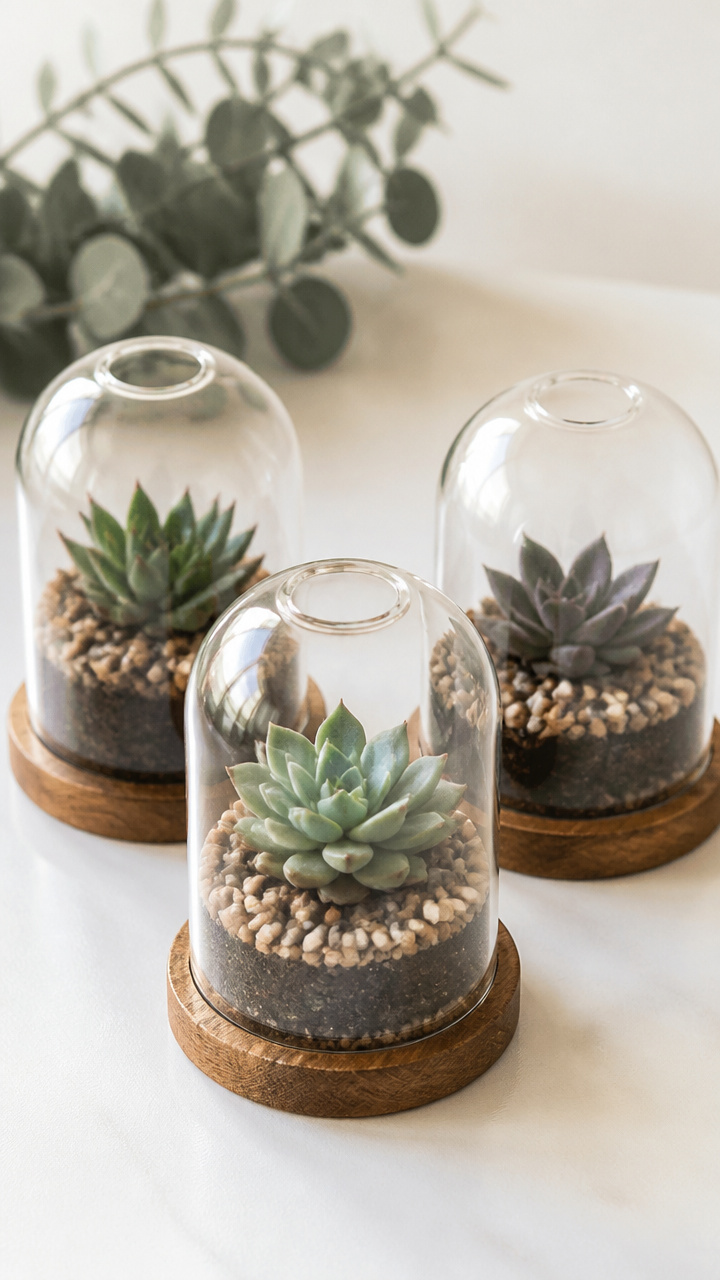
Tiny glass domes hold neat little plants and pebbles. They bring life to desks and side tables with minimal care.
Materials Needed
- glass dome terrariums with base (3 inch diameter, 3 count)
- small succulents (3, like echeveria or haworthia)
- pea-sized pebbles (1 cup)
- cactus potting mix (1 quart)
- miniature garden trowel
- spray bottle
How to Make It
- Add a 1/2 inch layer of pebbles to the bottom of each terrarium base.
- Scoop cactus mix on top, filling to within 1 inch of the rim.
- Dig a small hole in the soil. Remove a succulent from its pot and place it in the hole.
- Gently firm the soil around the base. Mist lightly with the spray bottle.
- Place in bright indirect light. Water with 2 sprays every 10 days.


14. Pom-Pom Door Knob Covers
Easy
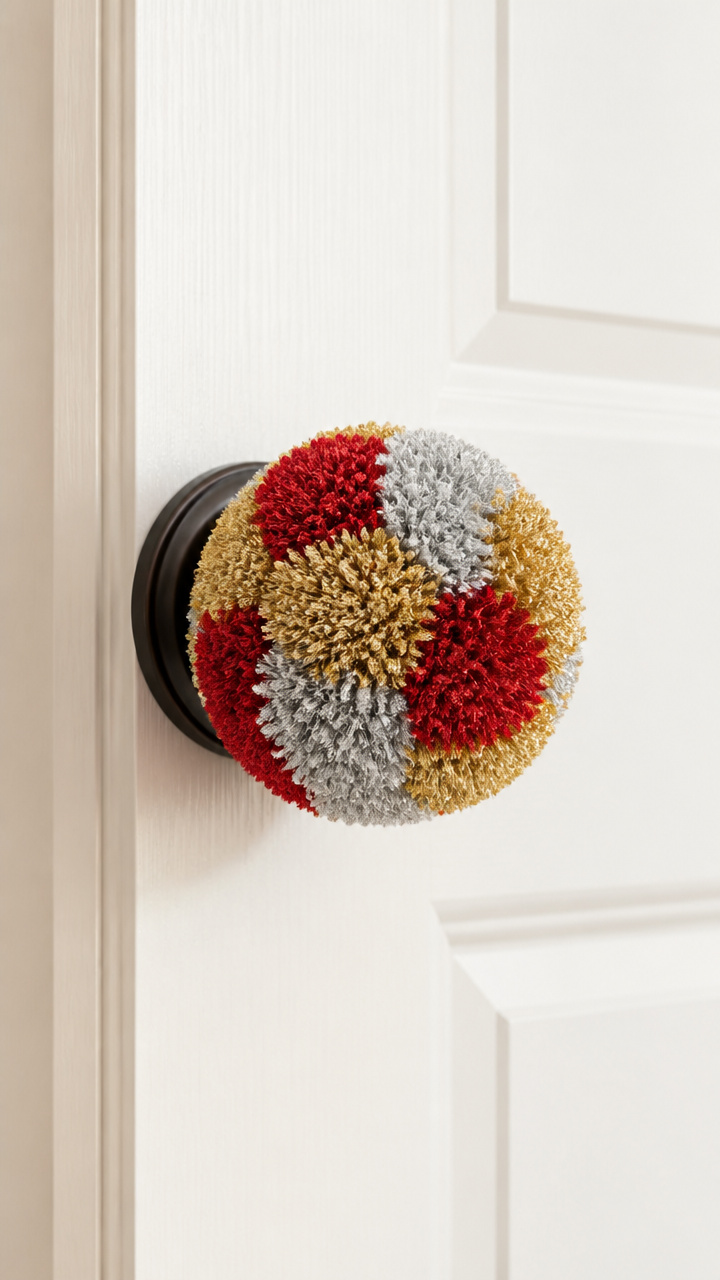
Fluffy pom-poms in festive colors cap each door knob. A playful surprise that lifts spirits all year.
Materials Needed
- yarn (red, gold, and silver, medium weight, 1 skein each)
- pom-pom maker (4 inch size, 3 arms)
- scissors
- fabric-covered hair ties (3, stretchy)
How to Make It
- Open one side of the pom-pom maker. Wrap red yarn evenly around one arm until full.
- Close the arm and trim stray ends. Repeat for the other two arms with gold and silver yarn.
- Cut along the edge between arms. Tie a hair tie tightly around the middle.
- Open the arms and remove the pom-pom. Fluff the strands with your fingers.
- Stretch the hair tie over a door knob. The pom-pom sits neatly on top.


15. Calligraphy Quote Frame
Moderate
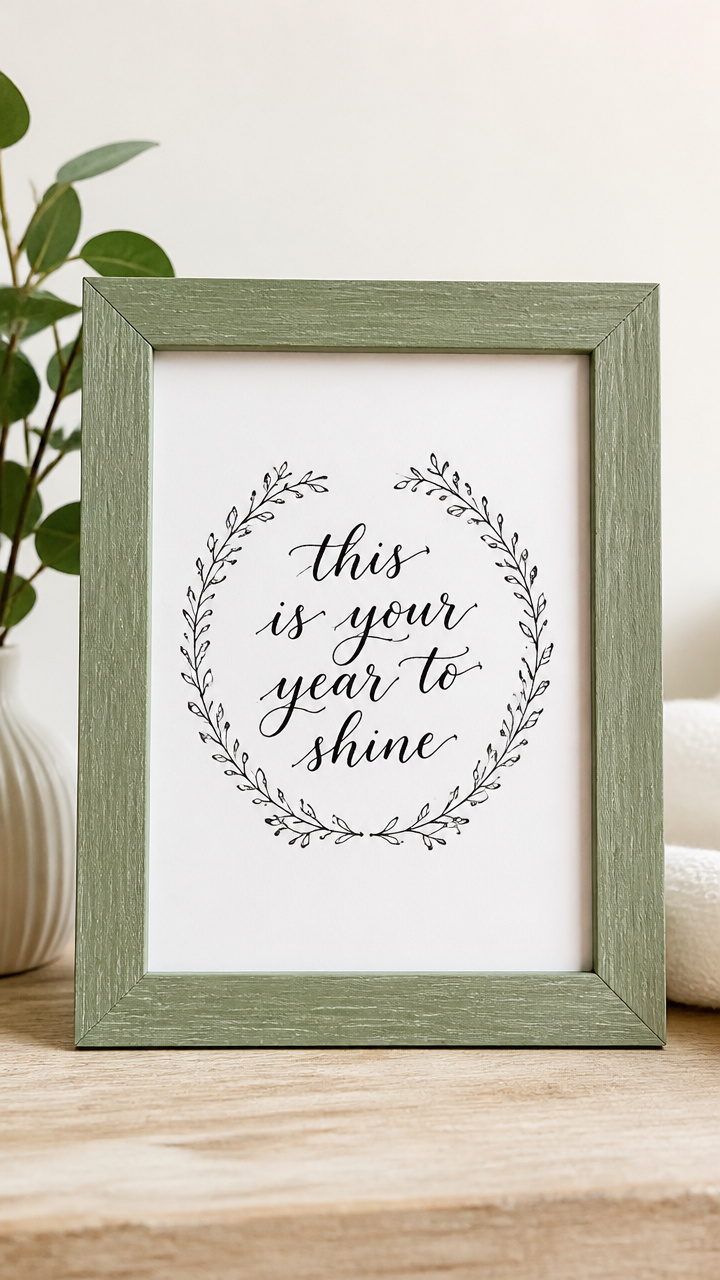
Your favorite hopeful phrase floats in elegant script on matte paper. Simple, meaningful, and perfectly framed.
Materials Needed
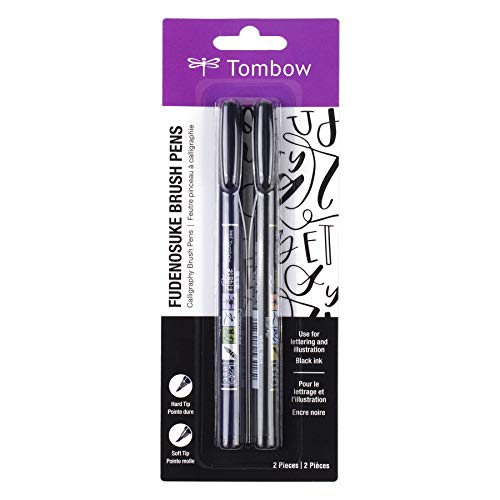
- calligraphy pen (brush tip, black ink)
- matte white cardstock (8×10 inches, 2 sheets)
- wooden picture frame (8×10 inches, unfinished pine)
- paint (chalk finish, sage green, 2 oz)
- foam brush (1 inch)
- pencil
- ruler
How to Make It
- Paint the frame with sage green using the foam brush. Let dry for 1 hour. Apply a second coat.
- On one cardstock sheet, lightly draw guide lines with pencil and ruler, 1 inch apart.
- Write your quote in smooth downward strokes with the calligraphy pen. Let ink dry 5 minutes.
- Place the painted frame face down. Insert the written cardstock behind the glass.
- Snap the back into place. Display on a bookshelf or desk.


Grab your scissors, glue, or paintbrush and start today. Your home will thank you with beauty that lasts far beyond the first sunrise.