15 Easy New Year DIY Projects

Sparkling confetti still clings to the floor, and the air hums with fresh possibility. A new year stretches ahead, and making something with your hands can turn that quiet hope into something tangible.
These projects meet you where you are. No complicated tools, no hours of work. Just simple materials, clear steps, and the satisfaction of creating something that marks the moment in a way that feels like you.
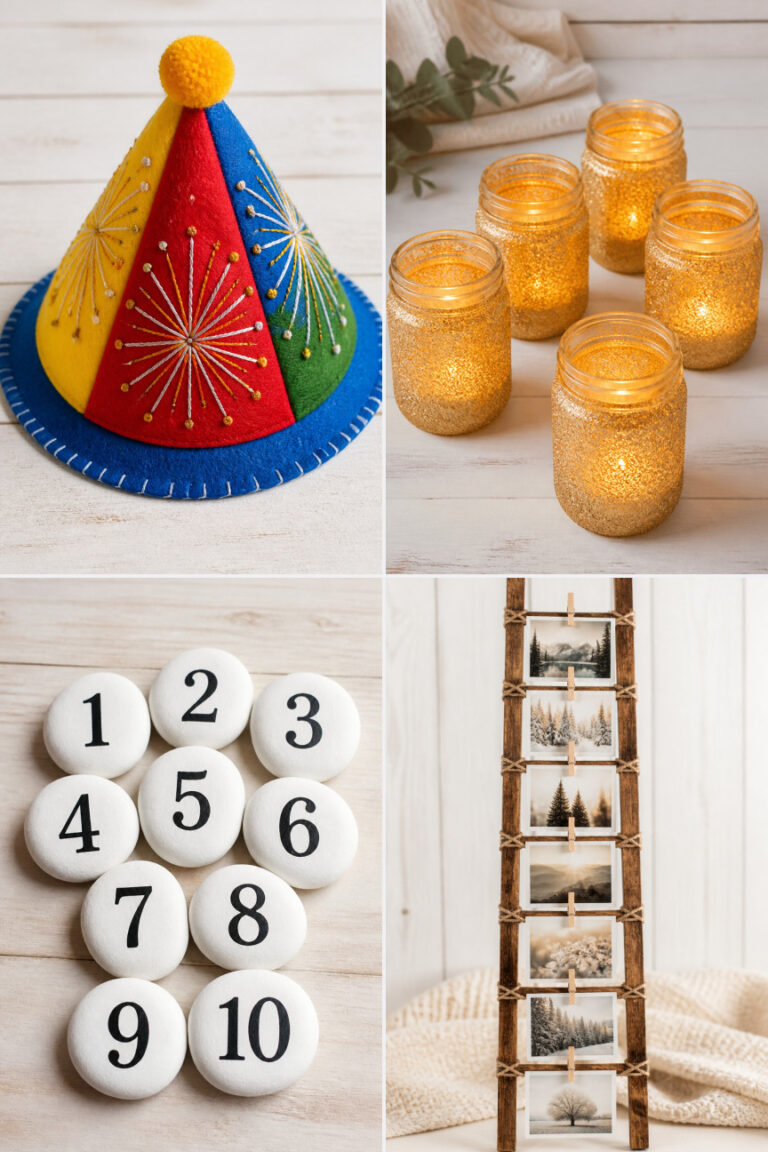
1. Glittered Mason Jar Candles
Easy
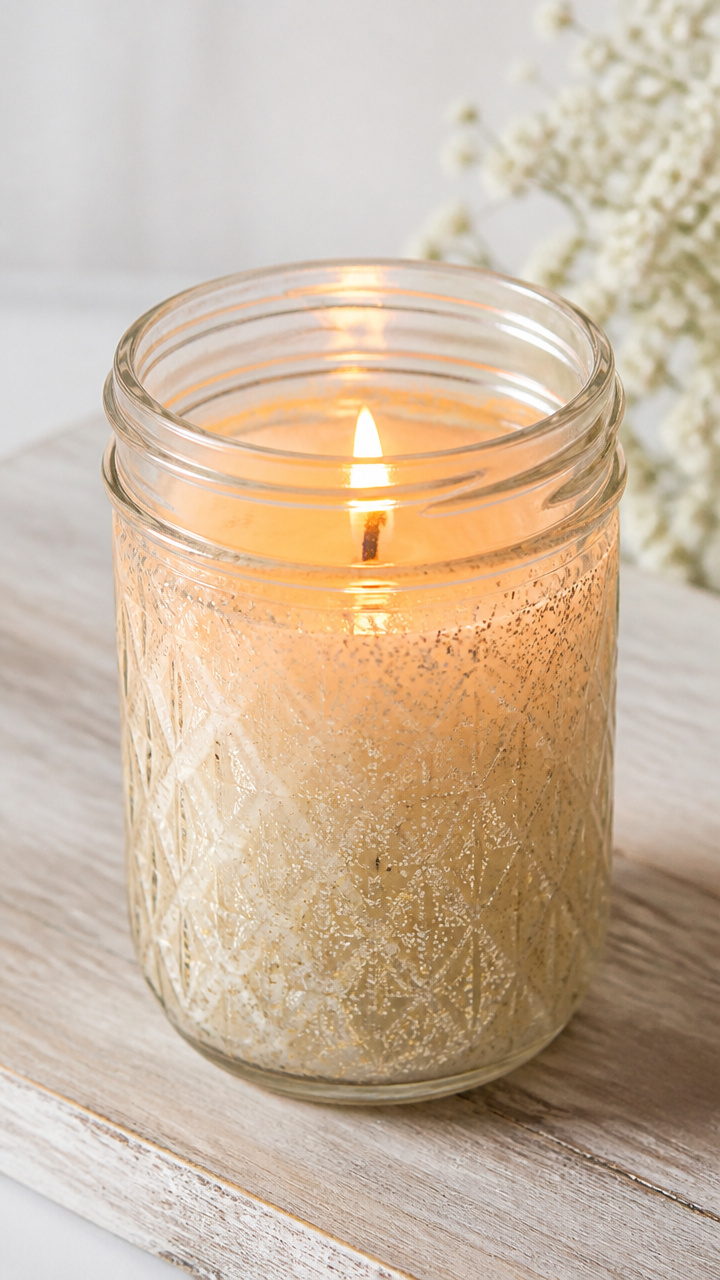
Soft golden light glows through a delicate layer of shimmer, turning a plain jar into a cozy centerpiece. These candles add warmth to any table and take minutes to make.
Materials Needed
- 4 oz mason jar, 1 per candle
- pre-wicked candle wick, 1 per jar
- soy wax flakes, 1 cup per candle
- gold fine glitter, 1 teaspoon per jar
- double boiler or heat-safe bowl and saucepan
- glue gun and glue sticks
- scissors
How to Make It
- Place a dot of hot glue in the center of the mason jar bottom and press the metal base of the wick into it. Hold for 10 seconds until secure.
- Fill a saucepan with 2 inches of water and place a heat-safe bowl on top to create a double boiler. Bring water to a simmer.
- Add soy wax flakes to the bowl and stir occasionally until fully melted, about 10 minutes.
- Remove from heat and stir in 1 teaspoon of gold glitter until evenly dispersed.
- Carefully pour the wax into the mason jar, leaving 1/2 inch at the top. Let cool completely, at least 2 hours.


2. Number Banner with Twine
Easy

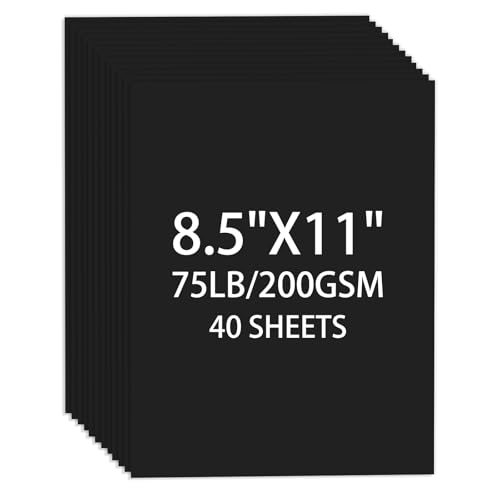
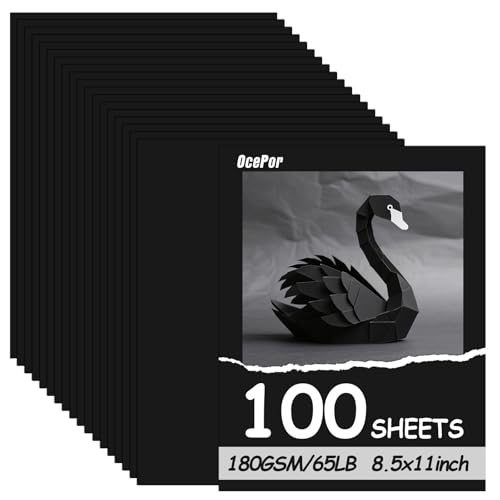
A bold, custom banner proudly displays the coming year above your mantel or doorway. Cut from crisp cardstock, it’s festive without being fussy.
Materials Needed
- black A4 cardstock, 3 sheets
- white paint pen, 1
- scissors
- hole punch
- natural jute twine, 3 feet
- ruler
How to Make It
- Use the ruler to measure and draw four large numbers on the cardstock, each at least 4 inches tall.
- Cut out the numbers carefully with scissors. Write the year using the white paint pen for clean edges.
- Punch two holes at the top corners of each number.
- Thread the jute twine through the holes, tying knots behind each number to secure in place along the twine.

3. Painted Rock Resolution Stones
Easy
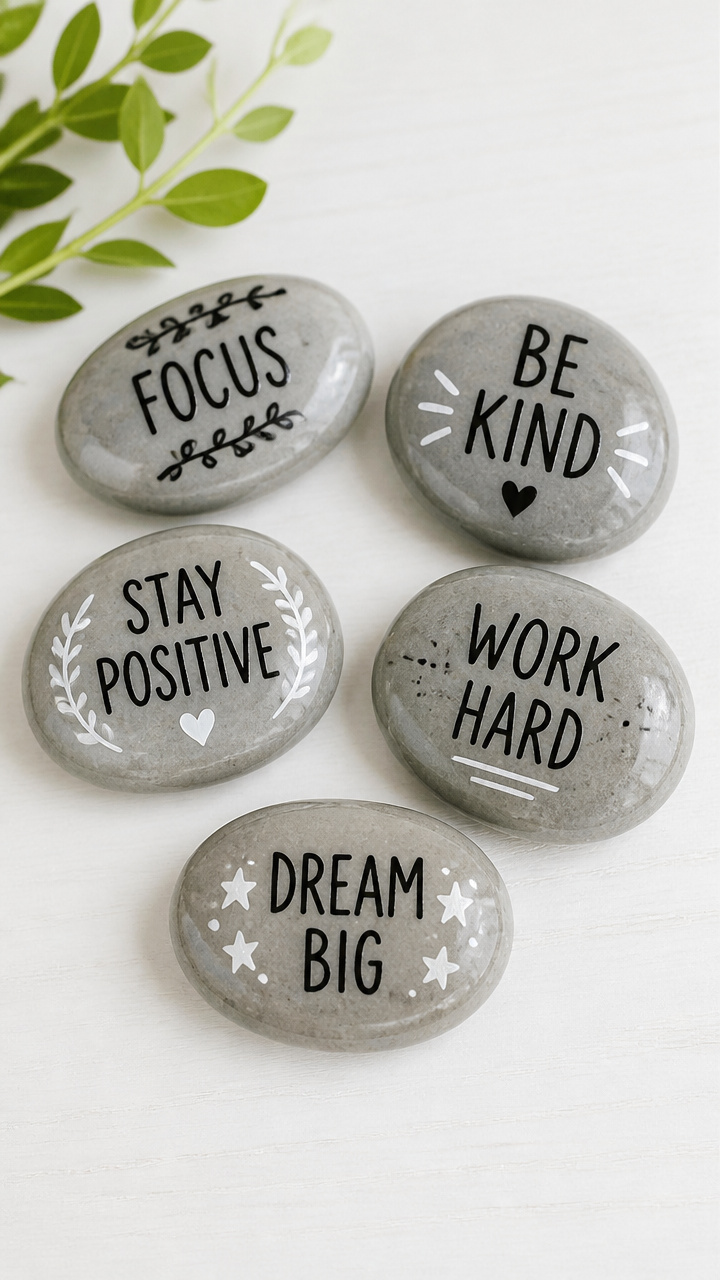
Smooth river rocks become personal reminders of your intentions, tucked in a pocket or displayed on a desk. Each one carries a single word in crisp paint.
Materials Needed
- 5 smooth river rocks, 1 to 2 inches wide
- acrylic paint, black and white
- fine-tipped paintbrush
- clear acrylic sealer spray, 1 can
- paper plate
How to Make It
- Clean each rock with soapy water and dry completely.
- Place rocks on a paper plate. Use the fine-tipped brush to paint one word per rock, such as 'breathe', 'grow', or 'joy'. Let dry 20 minutes.
- Apply a light, even coat of clear sealer spray to each rock. Let dry 30 minutes before handling.


4. Tissue Paper Pom-Poms
Easy
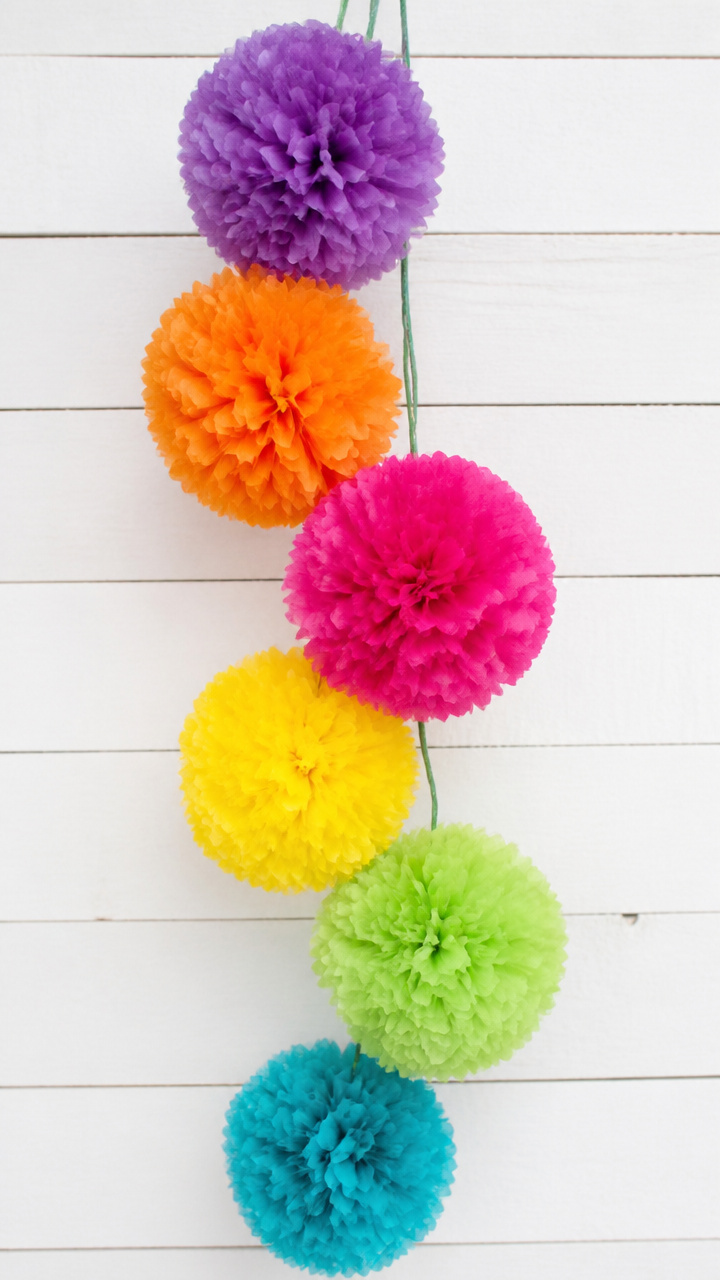
Fluffy bursts of color hang like confetti clouds from the ceiling. These lightweight decorations take seconds to assemble and bring instant cheer.
Materials Needed
- tissue paper, 8 sheets per pom-pom, assorted colors
- scissors
- green floral wire, 12 inches per pom-pom
- ruler
How to Make It
- Stack 8 sheets of tissue paper and fold them in 1-inch accordion pleats using the ruler for accuracy.
- Center the folded stack over the middle of the floral wire. Twist the wire tightly around the center to secure.
- Fan out the tissue layers and gently pull each sheet apart from the center, alternating sides, until the pom-pom is full and round.


5. Washi Tape Countdown Calendar
Easy
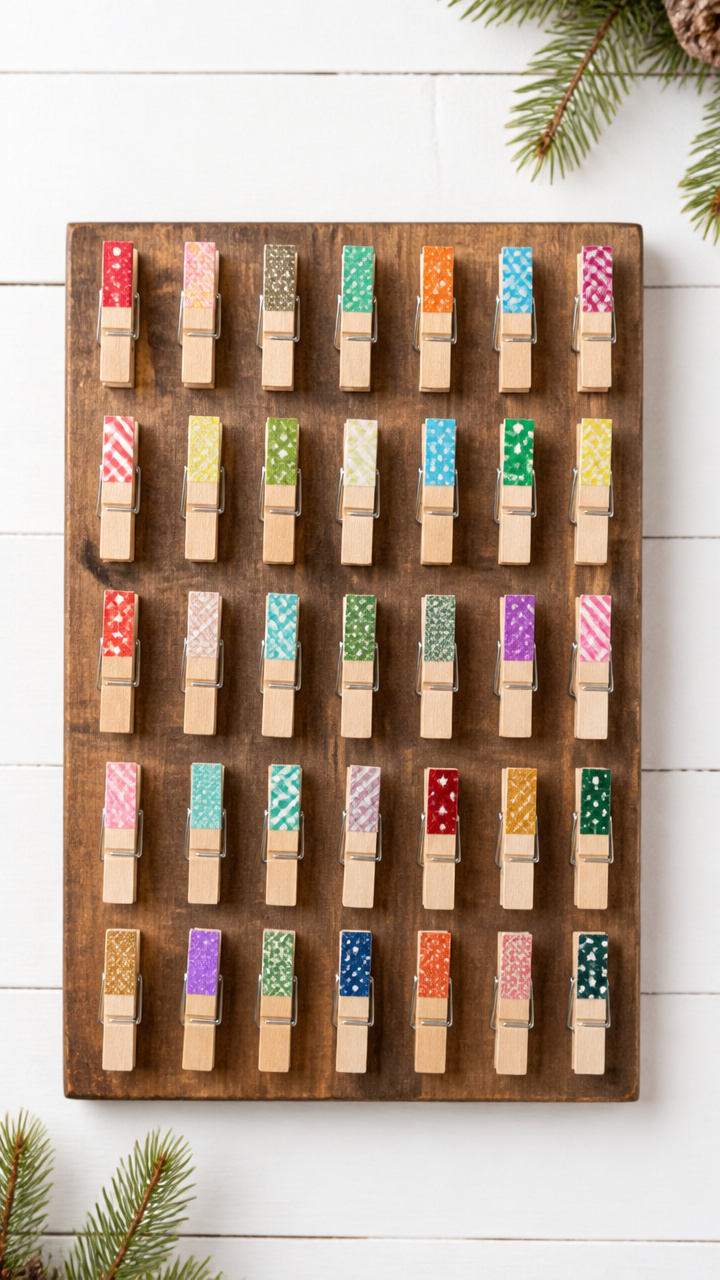
A sleek wooden clothespin board marks each day with a pop of patterned tape. It’s satisfying to remove each strip as the days pass.
Materials Needed
- natural wood mini clothespin board, 1
- assorted washi tape, 5 rolls
- fine-tipped marker
- scissors
How to Make It
- Cut 31 small strips of washi tape, each about 1 inch long, using different patterns.
- Write the numbers 1 through 31 on the clothespins with the marker.
- Clip one numbered clothespin to the board and attach a washi tape strip to the front. Repeat for all days.


6. Foam Stamp New Year Cards
Moderate
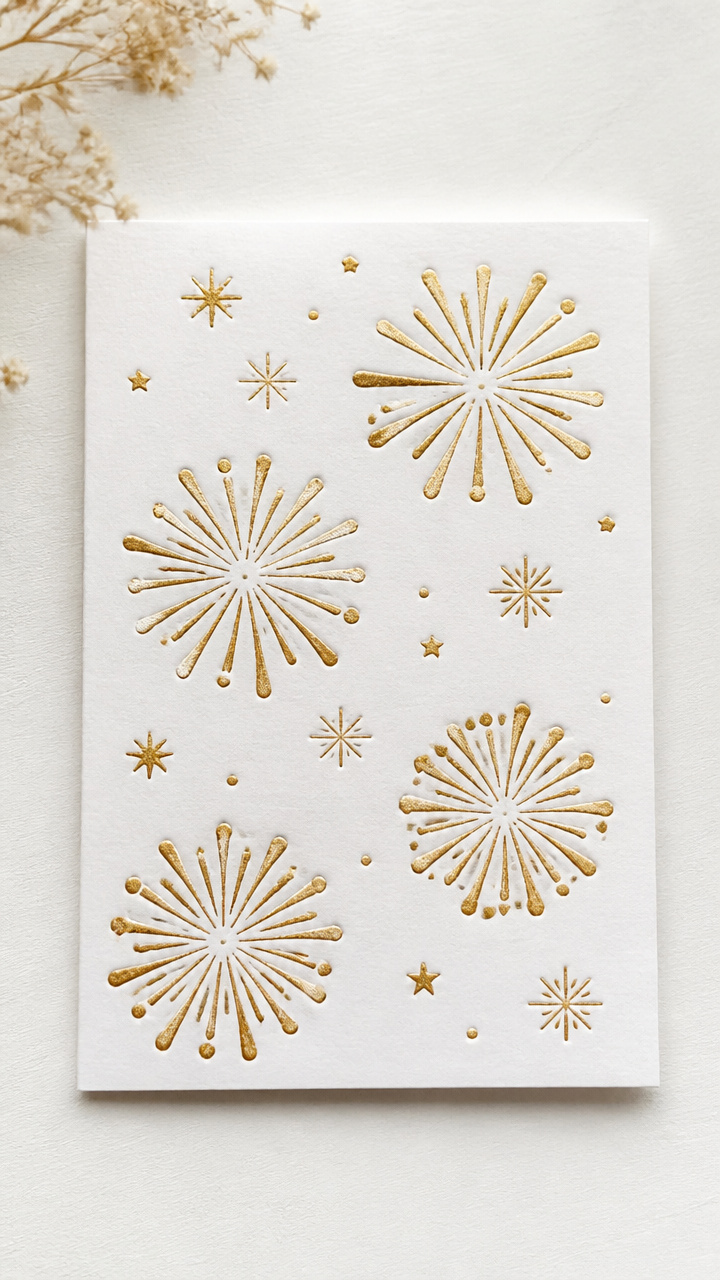
Hand-stamped cards with custom shapes feel personal and joyful. Carving your own stamp gives you a design no one else has.
Materials Needed
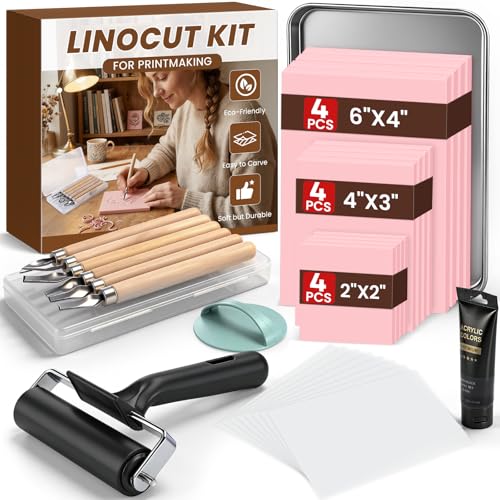
- foam sheet, 6×9 inches, craft grade
- linoleum carving tool with #1 and #3 blades
- pencil
- acrylic stamp pad, gold
- blank white cards and envelopes, 10
- ruler
How to Make It
- Use the pencil to draw a simple design like a star or '2025' on the foam sheet, keeping lines bold and connected.
- Use the #1 blade to carve away the foam around the design, pressing gently to avoid tearing. Use the #3 blade for finer details.
- Press the carved foam stamp firmly onto the gold stamp pad, covering the raised surface.
- Stamp the design onto the front of each card, holding the stamp straight down to avoid smudging.


7. Ribbon-Tied Memory Jars
Easy
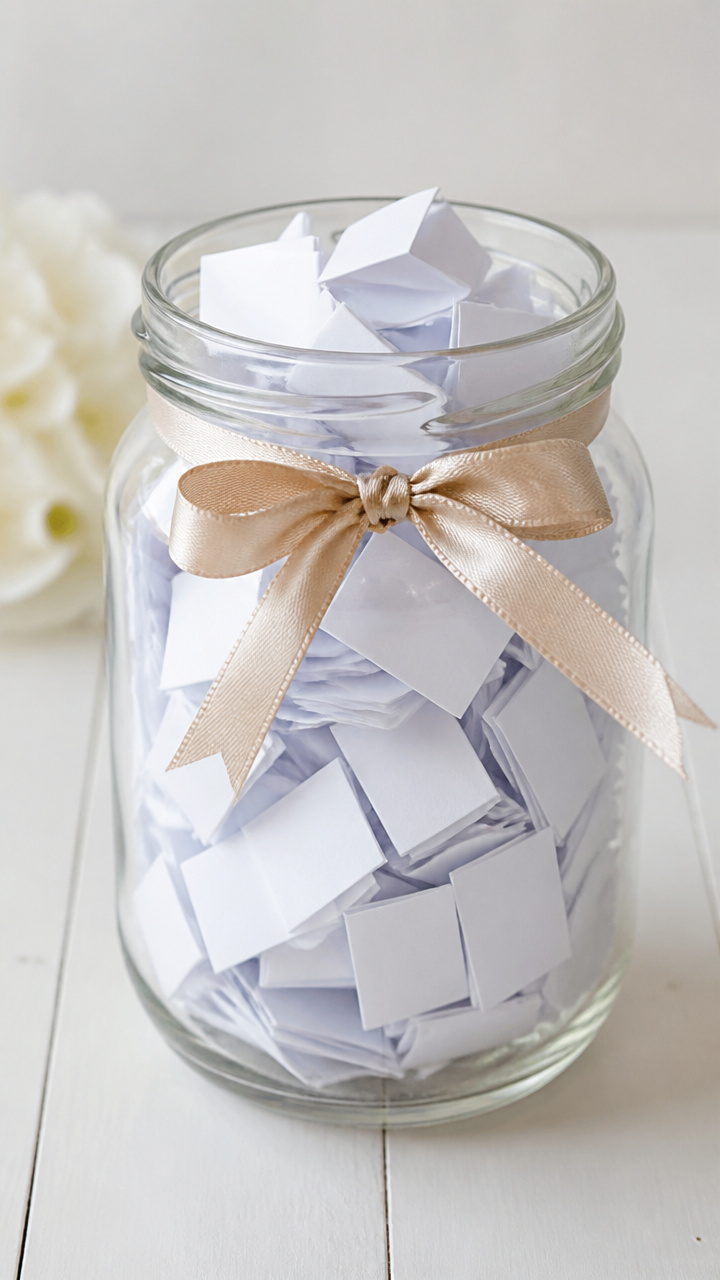
A clear jar filled with handwritten notes becomes a treasure chest of moments worth remembering. Tie it with satin ribbon for a polished look.
Materials Needed
- 12 oz clear glass jar with lid, 1
- small blank paper squares, 30
- black gel pen, 1
- satin ribbon, 1/4 inch wide, 2 feet
- scissors
- hole punch
How to Make It
- Write one happy memory or moment of gratitude on each paper square using the gel pen.
- Fold each square in half and place it in the jar. Fill the jar with all 30 notes.
- Punch a hole in the center of the lid. Thread the ribbon through and tie in a bow on top.


8. Felt Ball Garlands
Easy

Soft spheres in festive colors drape gently over a shelf or mirror. The mix of texture and hue feels modern and welcoming.
Materials Needed
- 1-inch wool felt balls, 20 total (mix of silver, white, and blush)
- embroidery needle
- white embroidery floss, 3 yards
- scissors
How to Make It
- Thread the embroidery needle with 18 inches of floss and tie a knot at the end.
- Push the needle through the center of a felt ball, pulling the floss all the way through.
- String 19 more felt balls in your chosen pattern, spacing them evenly. Tie a knot at each end of the floss to secure.


9. Chalkboard Paint Jars
Moderate
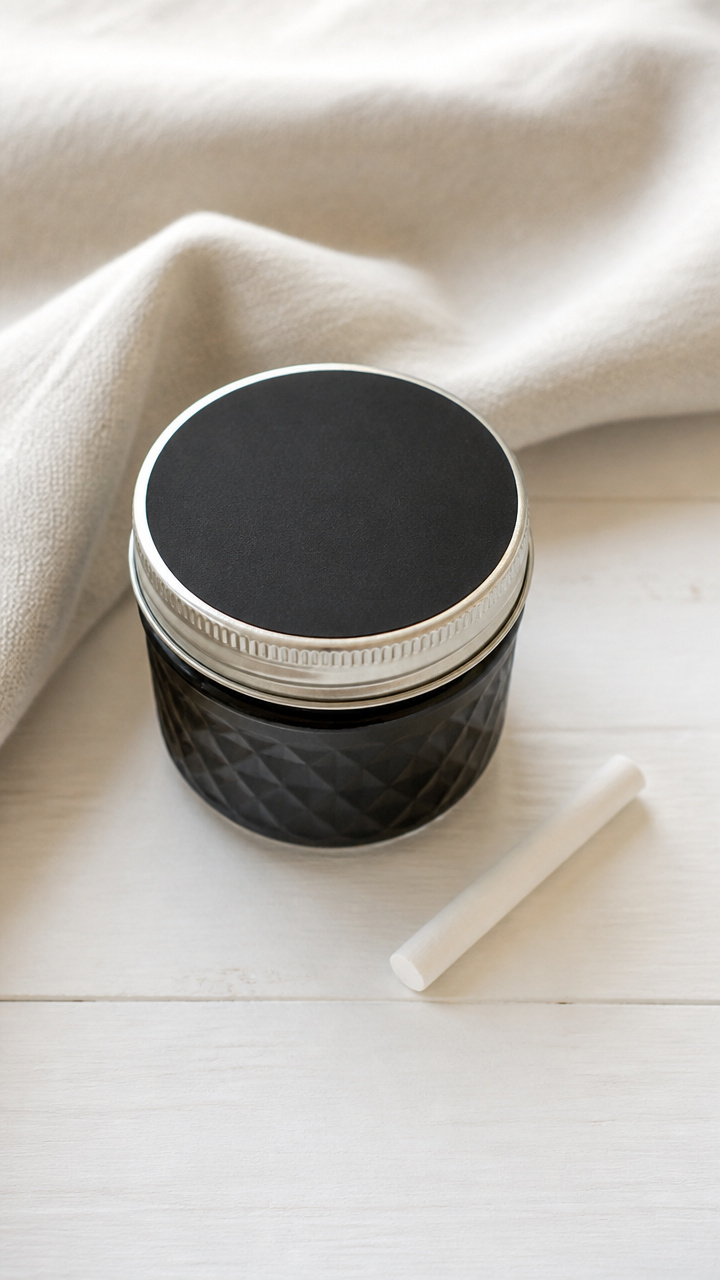
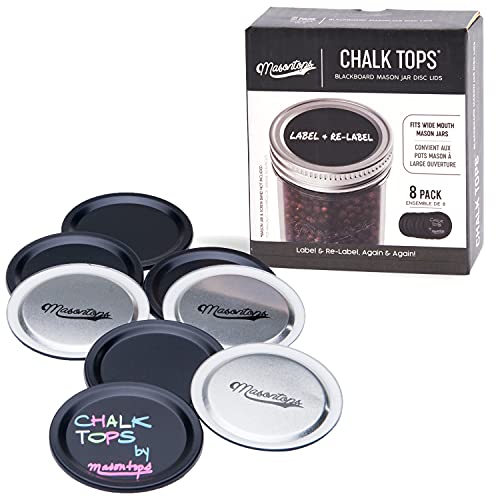
A mason jar with a painted lid becomes a reusable message holder. Write intentions, quotes, or daily prompts with chalk.
Materials Needed
- 4 oz mason jar with metal lid, 1
- chalkboard paint, 2 oz
- small foam brush, 1
- liquid dish soap
- white chalk stick, 1
How to Make It
- Wash the metal lid with soapy water and dry completely to remove any oil.
- Use the foam brush to apply a thin, even coat of chalkboard paint to the top of the lid. Let dry 1 hour.
- Apply a second coat and let dry another hour.
- Rub the side of the chalk stick over the painted surface, then wipe with a dry cloth to season the surface.


10. Photo String Light Display
Easy
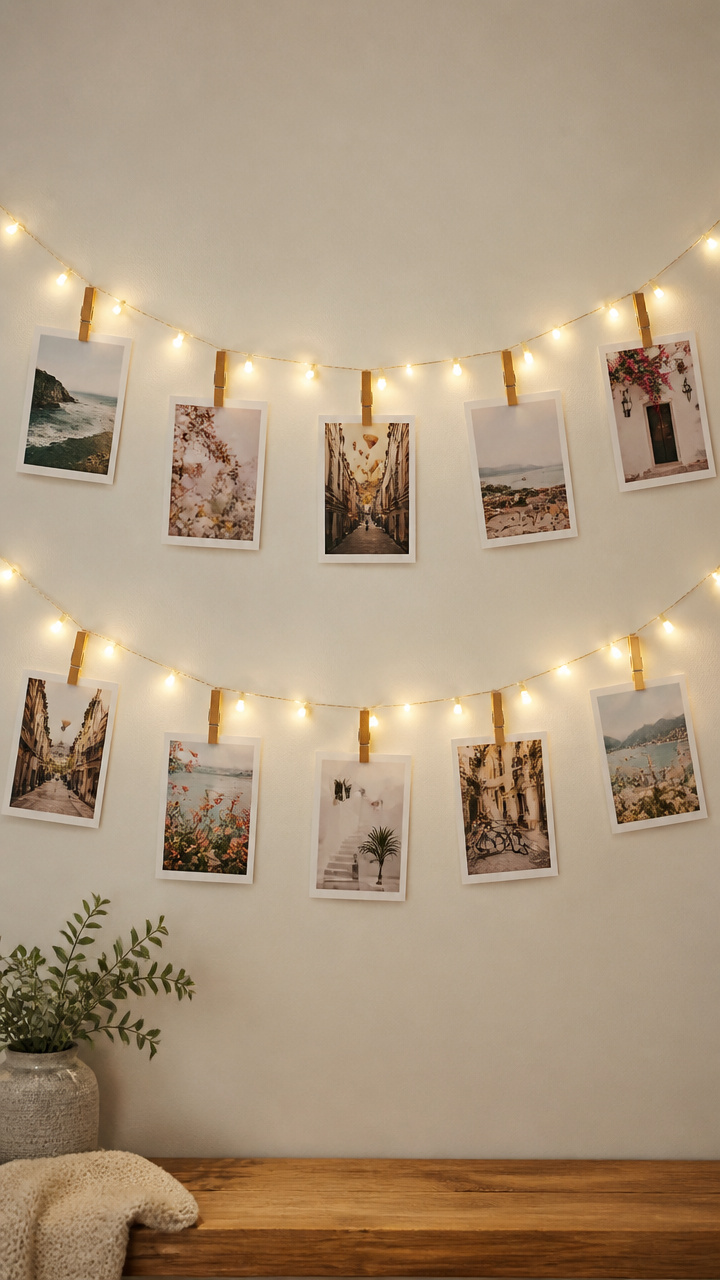
Twinkling lights double as a photo gallery with mini clothespins. This cozy display turns a blank wall into a personal highlight reel.
Materials Needed
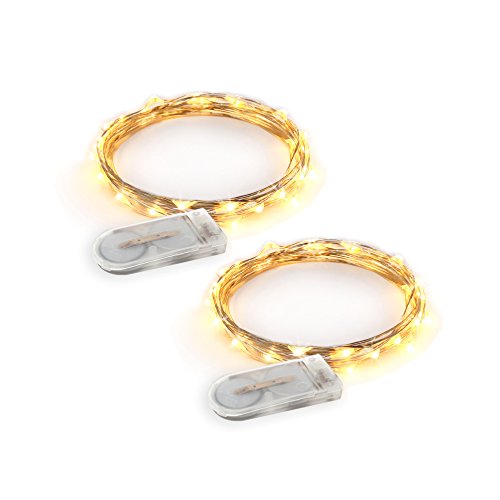
- fairy lights with 20 bulbs, 1 strand
- mini wooden clothespins, 10
- 3×5 inch printed photos, 10
- tape or adhesive hooks, 4
How to Make It
- Use adhesive hooks to hang the fairy light strand on the wall, plugging it in to test.
- Clip one photo to each of 10 clothespins.
- Attach the clothespins to the wire between the bulbs, spacing them evenly.

11. Origami Paper Wall Art
Moderate
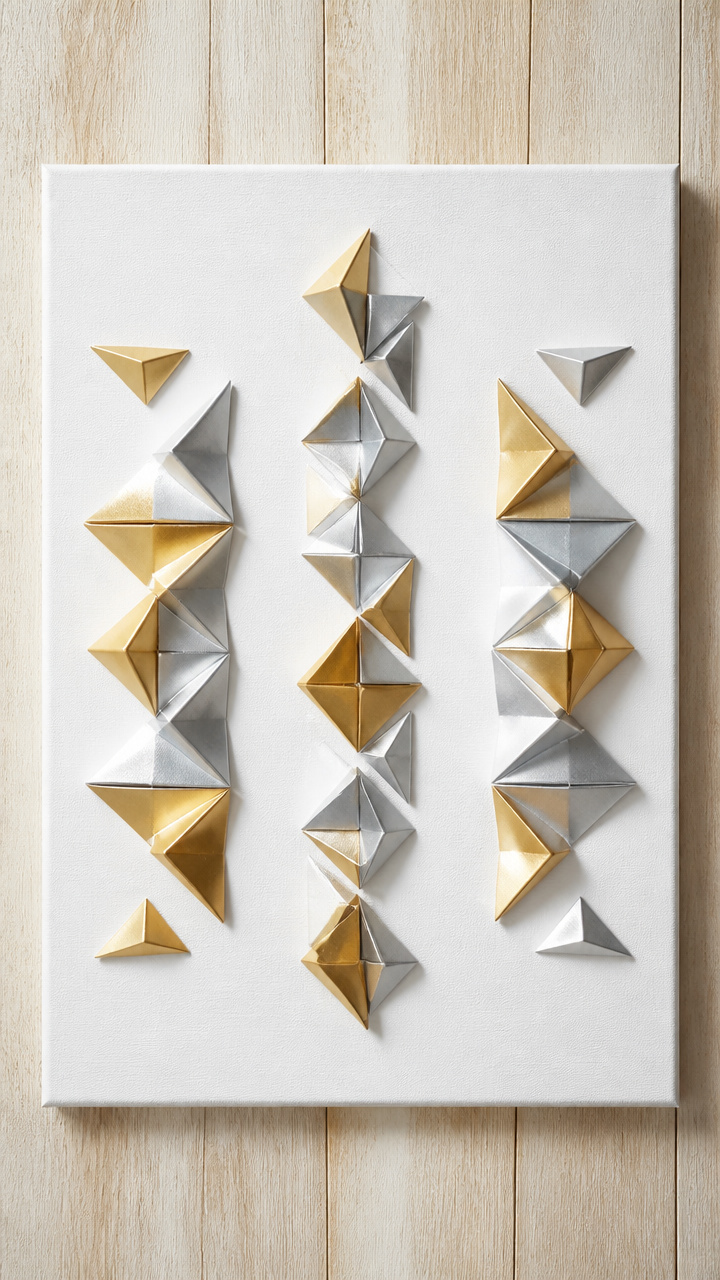
Geometric folds in metallic paper catch the light and create eye-catching patterns. Mounted on a canvas, they look like modern art.
Materials Needed
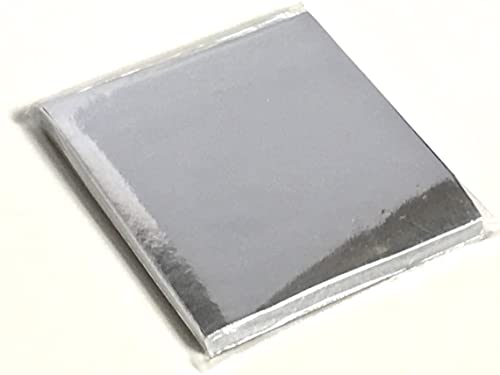
- 6×6 inch gold and silver origami paper, 8 sheets
- 10×10 inch stretched canvas, 1
- mod podge matte finish, 3 oz
- foam brush, 1
- ruler
- pencil
How to Make It
- Fold each origami paper into a simple waterbomb base: fold diagonally both ways, then collapse into a triangle.
- Arrange the folded shapes on the canvas in a balanced pattern, using the ruler to space them evenly.
- Brush a thin layer of mod podge onto the back of each shape and press onto the canvas.
- Brush a final coat of mod podge over the entire canvas to seal and let dry overnight.


12. Painted Wooden Spoon
Easy
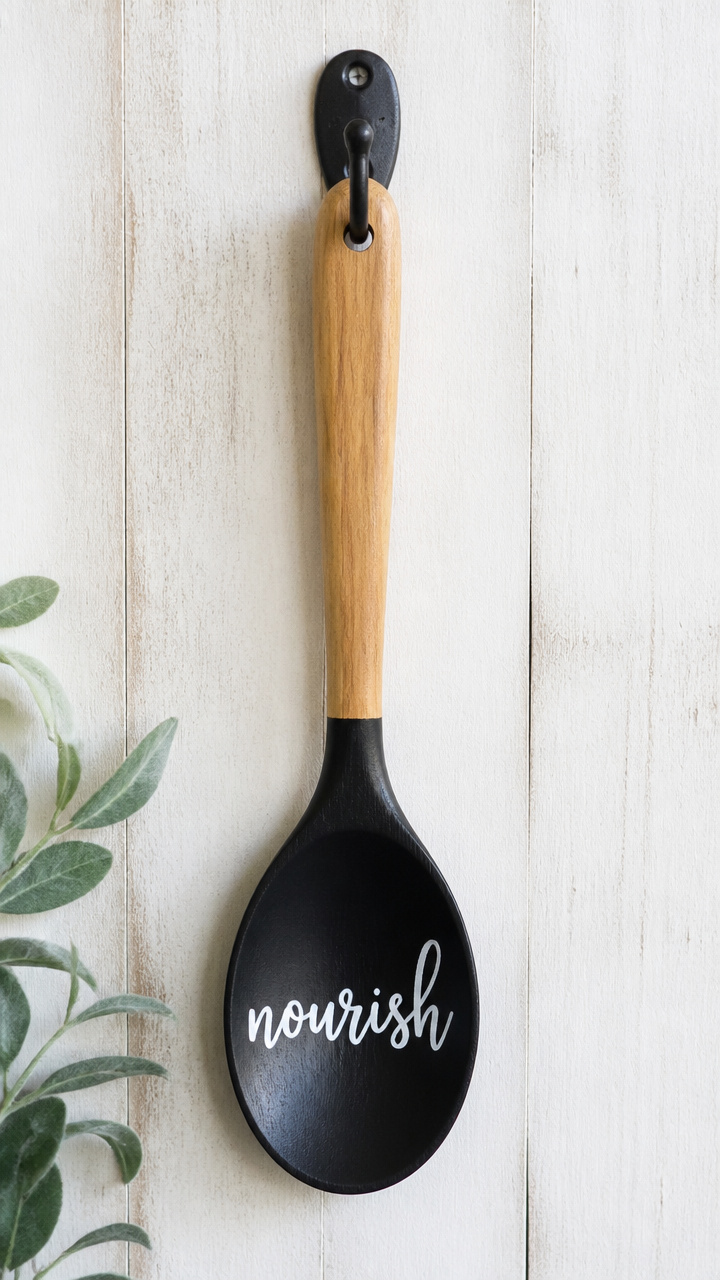
A plain wooden spoon becomes a keepsake with a hand-lettered word like 'nourish' or 'gather'. Use it in the kitchen or display it on a hook.
Materials Needed
- unfinished wooden spoon, 1
- acrylic paint, black
- fine-tipped paintbrush
- clear sealant spray, 1 can
How to Make It
- Use the fine-tipped brush to paint a single word on the handle of the spoon, such as 'love' or 'create'. Let dry 15 minutes.
- Apply a light coat of clear sealant spray to protect the paint. Let dry 30 minutes before touching.


13. Confetti-Filled Baubles
Easy
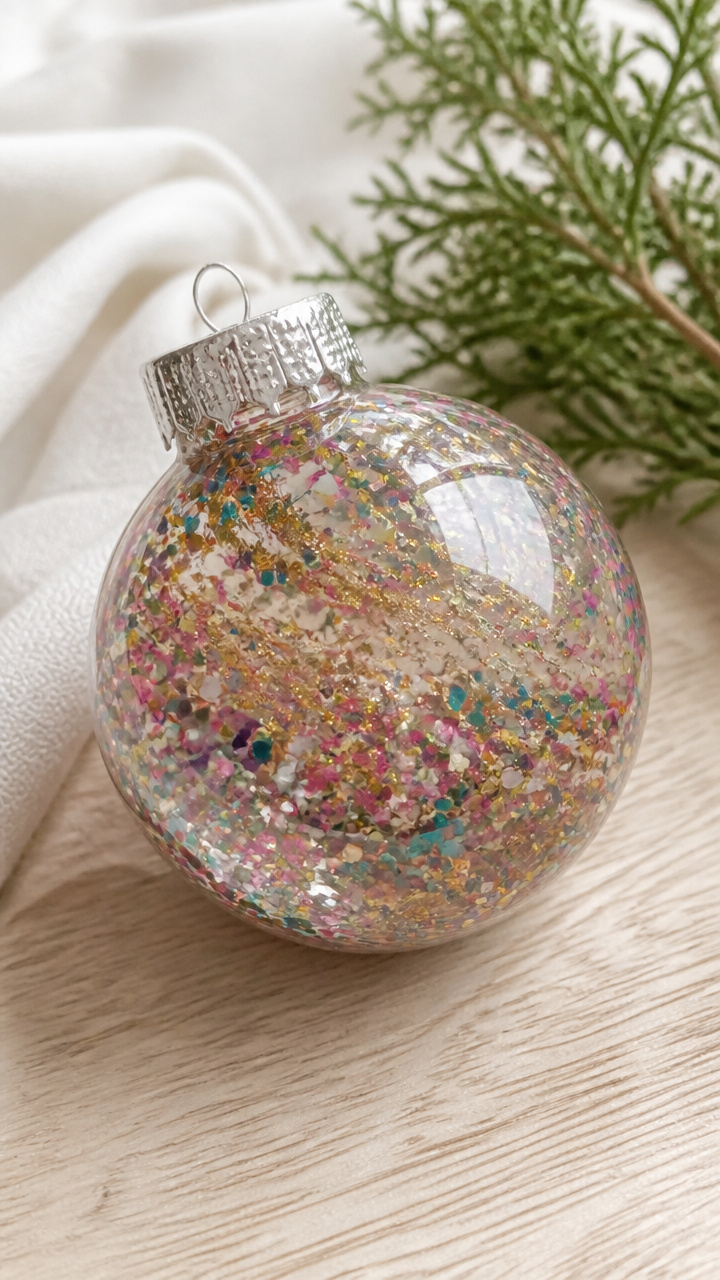
Clear ornament balls swirl with color when you shake them. These mini snow globes add whimsy to your tree or a centerpiece.
Materials Needed
- clear plastic ornament ball, 3 inches, 1
- fine paper confetti, 1 tablespoon
- glitter glue, 1 tube
- small funnel
How to Make It
- Open the two halves of the ornament ball.
- Use the small funnel to pour 1 tablespoon of confetti into the bottom half.
- Squeeze a thin line of glitter glue around the inner rim of the bottom half.
- Press the top half firmly onto the bottom and hold for 30 seconds until sealed.


14. Button Flower Pots
Moderate
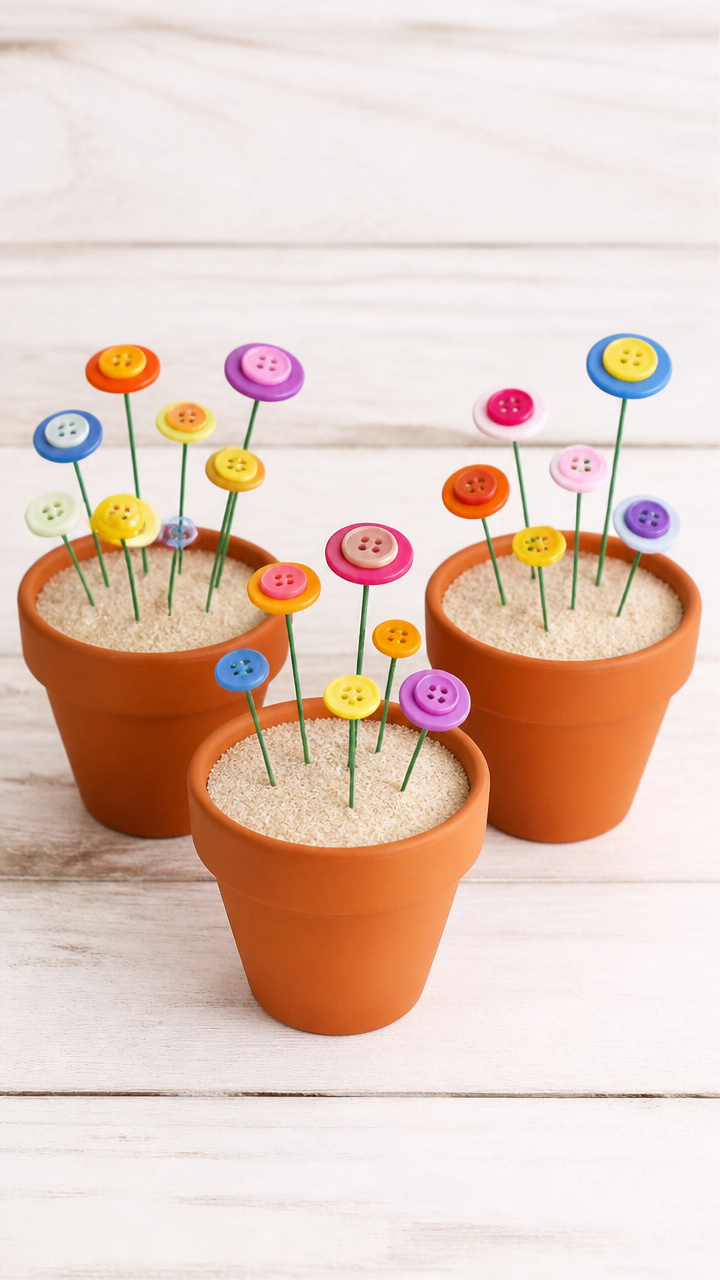
Tiny pots bloom with colorful button flowers on wire stems. These cheerful miniatures brighten a windowsill or desk.
Materials Needed
- 3 small terracotta pots, 2 inches tall
- assorted buttons, 15 total (mix of sizes and colors)
- green floral wire, 18 inches per flower
- hot glue gun and glue sticks
- sand, enough to fill pots
How to Make It
- Cut 3 pieces of floral wire, each 18 inches long.
- Thread 5 buttons onto one wire, arranging largest at the bottom, smallest at the top. Twist the wire at the top to secure.
- Use hot glue to attach the base of each wire stem into a pot. Let cool 1 minute.
- Fill each pot with sand to stabilize the stem.


15. Salt Dough Ornaments
Moderate
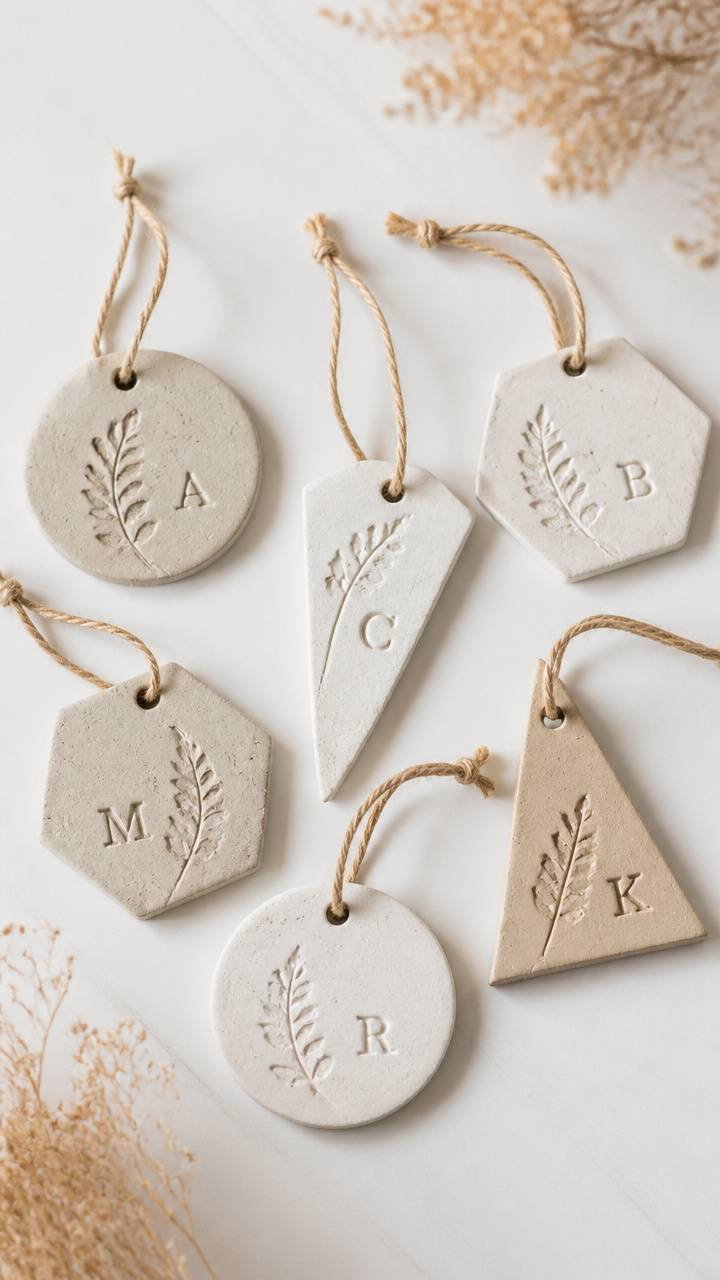
Simple dough shaped by hand bakes into keepsake decorations. Press in initials or dates to make them last for years.
Materials Needed
- all-purpose flour, 1 cup
- table salt, 1/2 cup
- water, 1/2 cup
- mixing bowl
- rolling pin
- ornament shape cookie cutters, 3
- straw
- baking sheet
- parchment paper
- acrylic paint, assorted colors
- fine brush
- clear glaze sealer, 2 oz
- ribbon, 12 inches per ornament
How to Make It
- In a bowl, mix flour, salt, and water until a smooth dough forms. Knead for 2 minutes.
- Roll the dough to 1/4 inch thickness. Cut shapes with cookie cutters.
- Use a straw to poke a hole near the top edge of each shape for hanging.
- Place shapes on a parchment-lined baking sheet. Bake at 200°F for 3 hours until hard.
- Let cool completely. Paint designs with acrylics and let dry 1 hour.
- Brush a coat of clear glaze sealer over each ornament and let dry 2 hours.
- Thread ribbon through the hole and tie in a loop.


You’ve got everything you need to start right now. Pick one project, gather your supplies, and make the first small mark on the year.