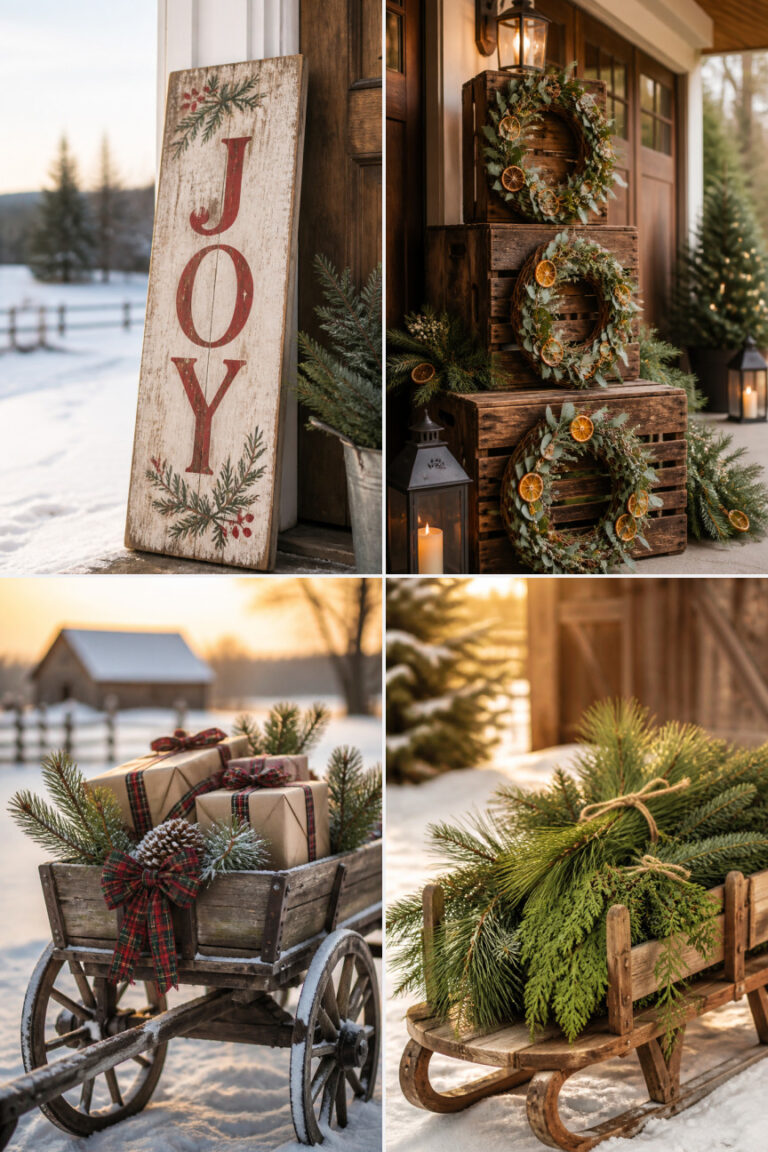
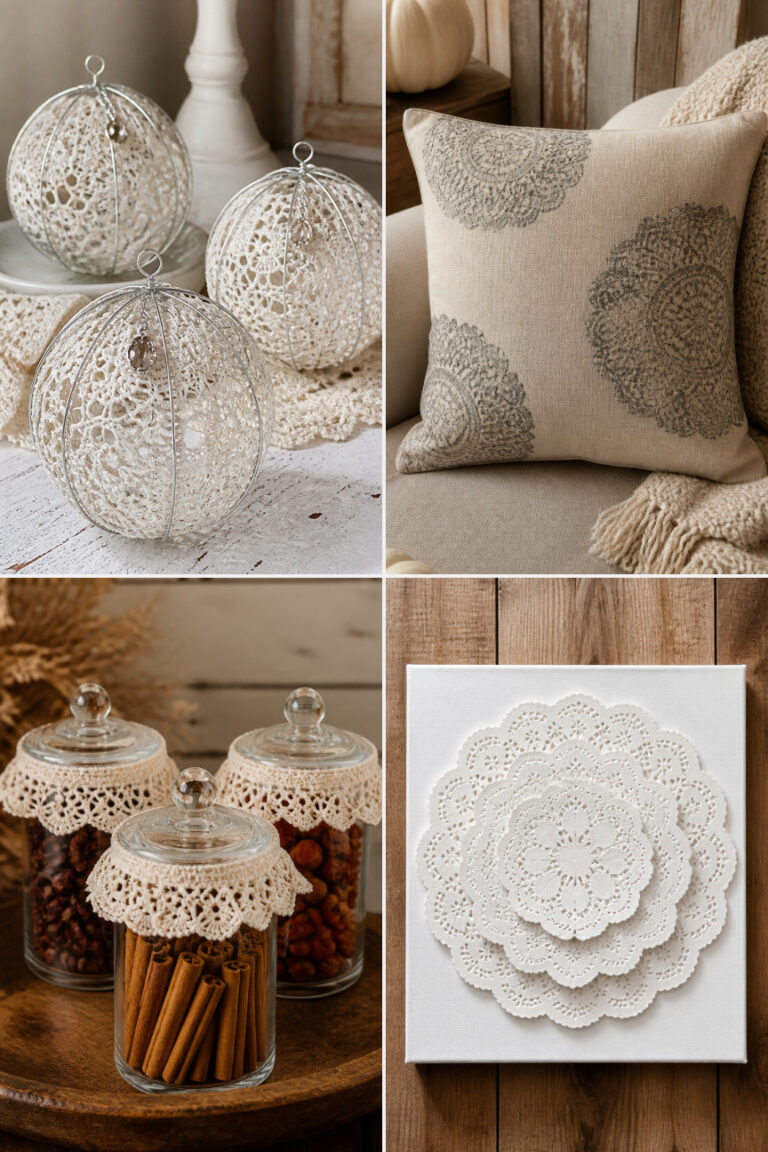
15 Rustic Farmhouse Christmas Crafts for a Cozy Holiday Home

The soft glow of candlelight, the scent of pine and cinnamon, the creak of wooden floors underfoot, these are the quiet moments that make a farmhouse Christmas feel like home. With simple materials and heartfelt effort, you can fill your space with handmade charm that lasts through the season.
Each craft here leans into natural textures, warm neutrals, and vintage touches. These aren’t just decorations, they’re little acts of care that gather around your table, mantle, and windowsills.
1. Burlap Tree Skirt with Lace Trim
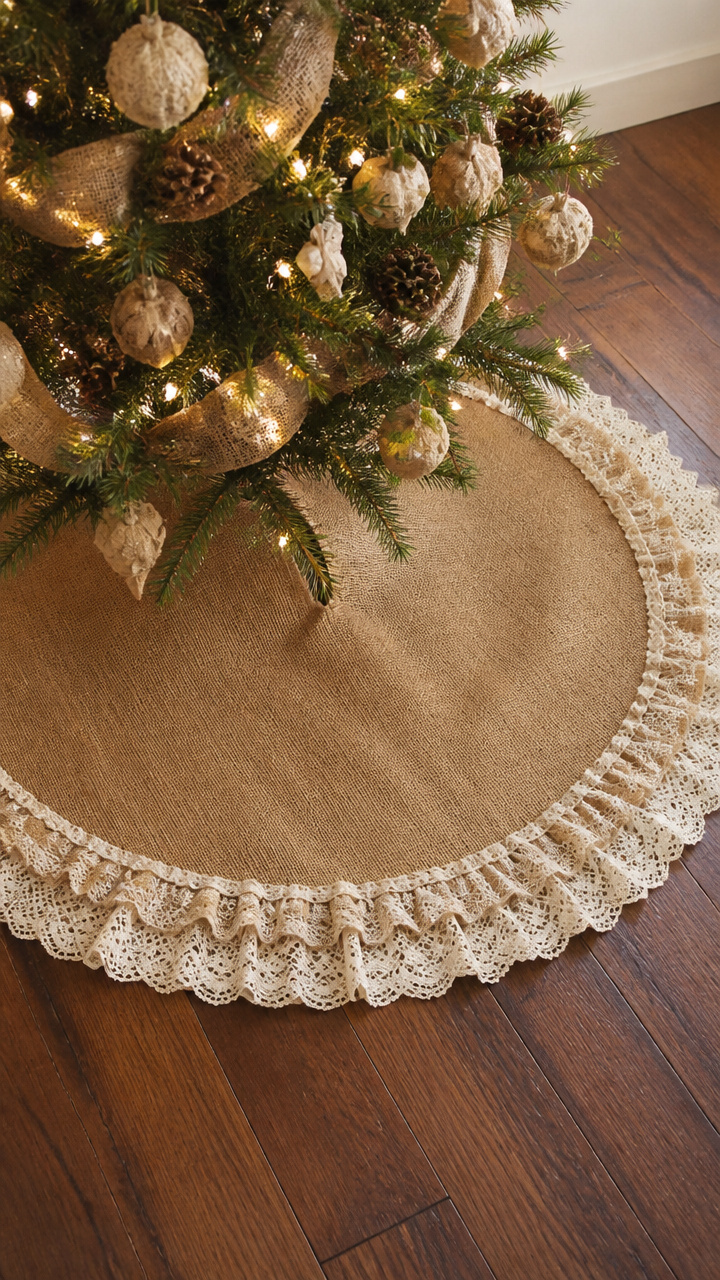
A textured tree skirt made from burlap and vintage lace wraps your holiday tree in rustic warmth. The layered edge catches light softly and wears its imperfections proudly.
Materials Needed
- 1 yard natural burlap
- 2 yards ivory cotton lace trim, 2 inches wide
- Matching burlap thread
- Scissors
- Measuring tape
- Sewing machine or needle for hand stitching
- Fabric marker
How to Make It
- Cut a 36-inch circle from the burlap using a fabric marker and measuring tape. Cut a 6-inch circle in the center for the tree trunk.
- Pin the lace trim along the outer edge of the burlap circle, aligning the bottom edge of the lace with the raw edge of the burlap.
- Sew the lace in place with a straight stitch using the sewing machine, or use a whipstitch by hand for a more homespun look.


2. Pinecone Wreath on Grapevine Base
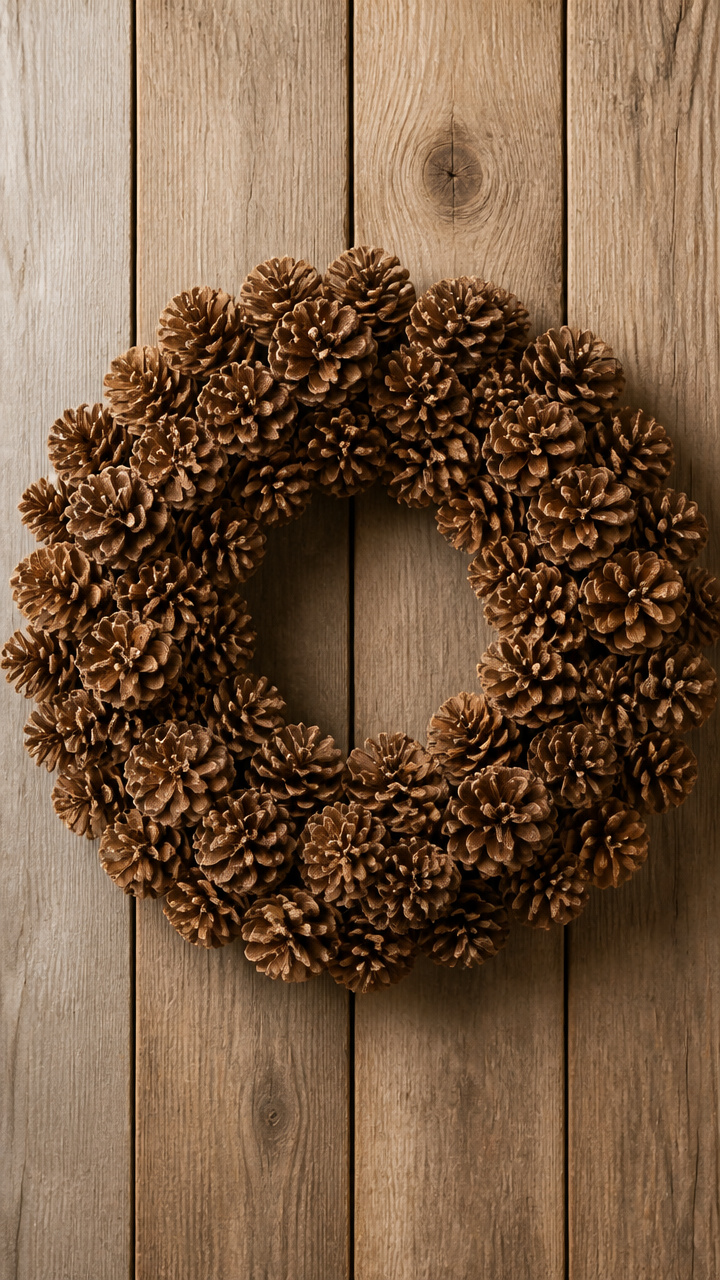
A full wreath built from gathered pinecones and wired to a grapevine base creates a rich, earthy statement. It deepens in color over time and needs no watering.
Materials Needed
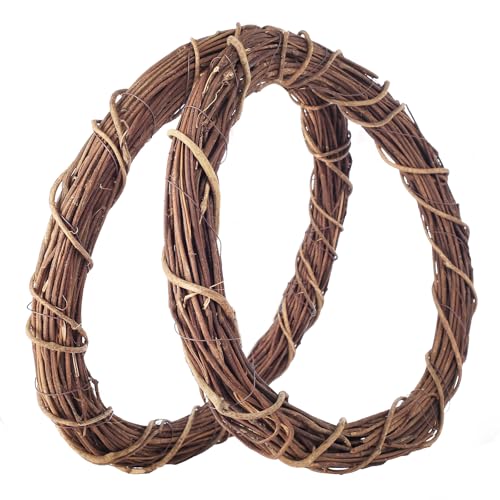
- 1 grapevine wreath base, 16 inches
- 40 medium brown pinecones
- Floral wire, 22-gauge
- Wire cutters
- Hot glue gun and glue sticks
How to Make It
- Apply a small dot of hot glue to the base of each pinecone and press it onto the grapevine wreath, starting at the outer edge.
- Secure each pinecone further by wrapping floral wire around its base and twisting it tightly to the grapevine.
- Continue until the entire front and sides are covered, overlapping slightly for a dense, natural look.


3. Mason Jar Snow Globe Centerpiece
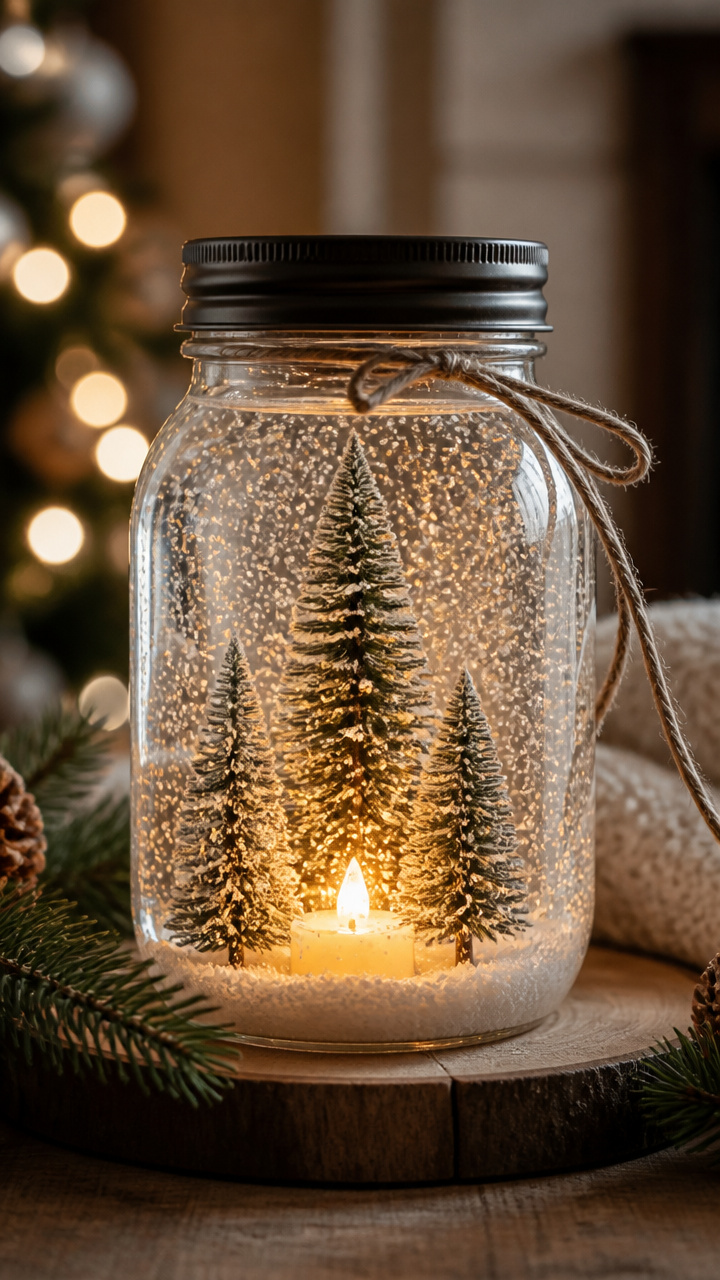
A snow globe made inside a wide-mouth mason jar becomes a glowing centerpiece when paired with a flickering LED candle. It’s mesmerizing on a dining table.
Materials Needed
- 1 quart-sized mason jar with lid
- Miniature evergreen trees, 3 pieces
- Distilled water, 3 cups
- Glycerin, 2 tablespoons
- Glitter, fine white, 1 tablespoon
- Waterproof craft glue
- LED tea light
How to Make It
- Glue the miniature trees to the underside of the jar lid and let dry completely for 2 hours.
- Fill the jar with distilled water, then add glycerin and glitter. Stir gently with a spoon.
- Screw the lid onto the jar tightly, turn it upside down, and place the LED tea light beneath it on the table.


4. Chalkboard Ornament Countdown Tags

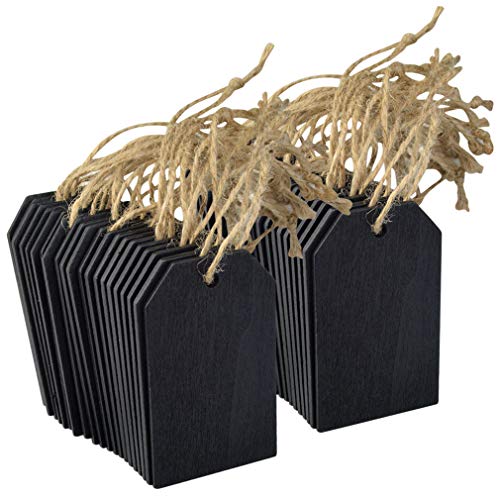
Small chalkboard tags tied to ornaments let you write daily holiday messages or countdown numbers. They add a personal rhythm to your tree.
Materials Needed
- 12 unfinished wood ornament tags, 2×3 inches
- Black chalkboard paint
- Foam brush, 1 inch
- White chalk pencil
- Twine, 24 inches per tag
- Paint tray
How to Make It
- Pour a small amount of chalkboard paint into a paint tray and use the foam brush to coat one side of each tag. Let dry 1 hour.
- Turn the tags over and paint the back side. Allow to cure fully for 4 hours before writing.
- Write a number from 1 to 12 on each tag with the chalk pencil and tie to an ornament with twine.


5. Ladder Shelf Mini Tree Display
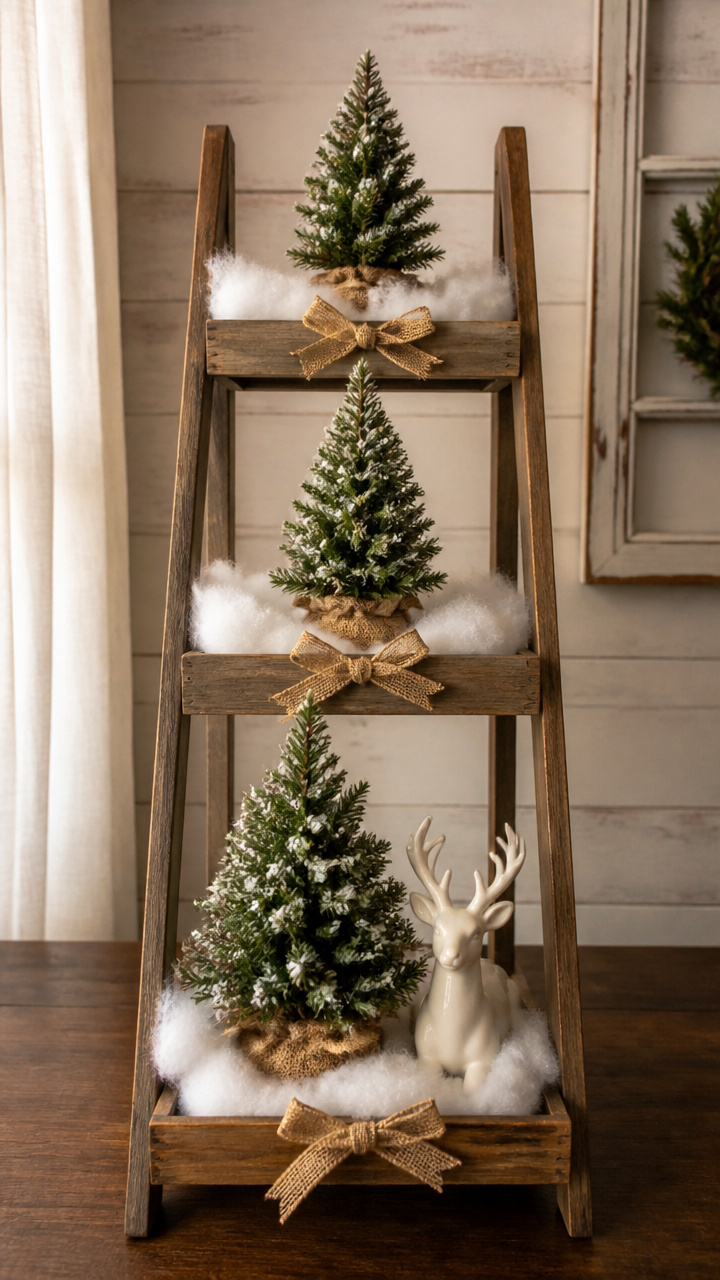
Three tiny trees staged on a wooden ladder shelf create a tiered vignette full of charm. Use faux trees with pine-scented oil for realism.
Materials Needed
- Wooden step ladder shelf, 24 inches tall
- 3 mini artificial evergreen trees, 6, 8, and 10 inches tall
- Cotton batting, 1 roll
- Pine essential oil, 10 drops
- Small ceramic deer figurine
- Jute ribbon, 12 inches
How to Make It
- Pull apart cotton batting into fluffy clumps and tuck around the base of each tree pot to mimic snow.
- Add two drops of pine essential oil to each tree’s branches to release a fresh forest scent.
- Arrange the trees on the three shelves of the ladder, tallest in back, and place the deer in front. Tie jute ribbon around the middle shelf post.


6. Vintage Book Page Tree Ornaments
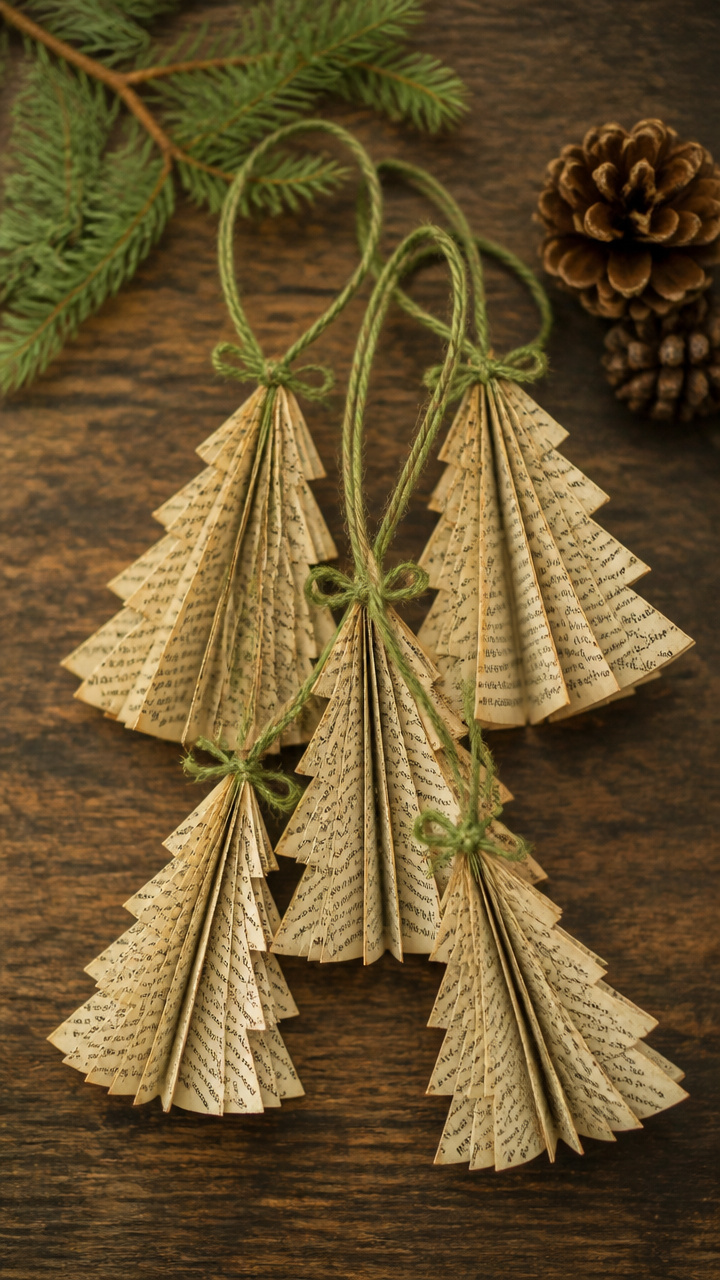
Folded pages from an old book become delicate paper trees that dangle lightly from sturdy branches. Each one carries the whisper of stories past.
Materials Needed
- Pages from a vintage hardcover book, 6 sheets
- Bone folder
- Ruler
- Craft knife
- Cutting mat
- Green twine, 8 inches per ornament
- Clear-drying glue
How to Make It
- Use the ruler and bone folder to score each page vertically into three 2-inch columns.
- Cut along the scores and roll each strip into a cone shape, securing the edge with a dab of glue.
- Tuck one end of twine under the glued seam before it dries completely, then hang from a tree branch or mantle.


7. Wood Slice Candle Holders

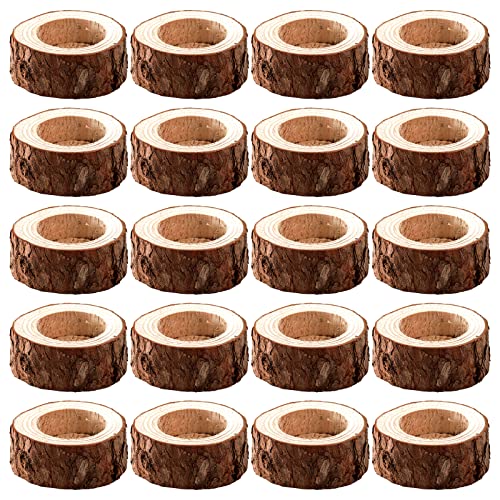
Sanded wood slices cradle pillar candles in a way that feels both grounded and festive. The grain glows warmly when lit.
Materials Needed
- 6 wood slices, 4 inches diameter, 1 inch thick
- Sandpaper, 120-grit
- Drill with 2-inch spade bit
- 3-inch white pillar candles, 6
- Linseed oil, 2 tablespoons
- Soft cloth
How to Make It
- Sand both sides and edges of each wood slice until smooth. Wipe away dust with a dry cloth.
- Drill a 2-inch hole ¾ of the way through the center of each slice. Do not go all the way through.
- Soak a cloth in linseed oil and rub it into each slice. Let cure overnight. Place a candle in each holder.

8. Flour Sack Towel Stockings
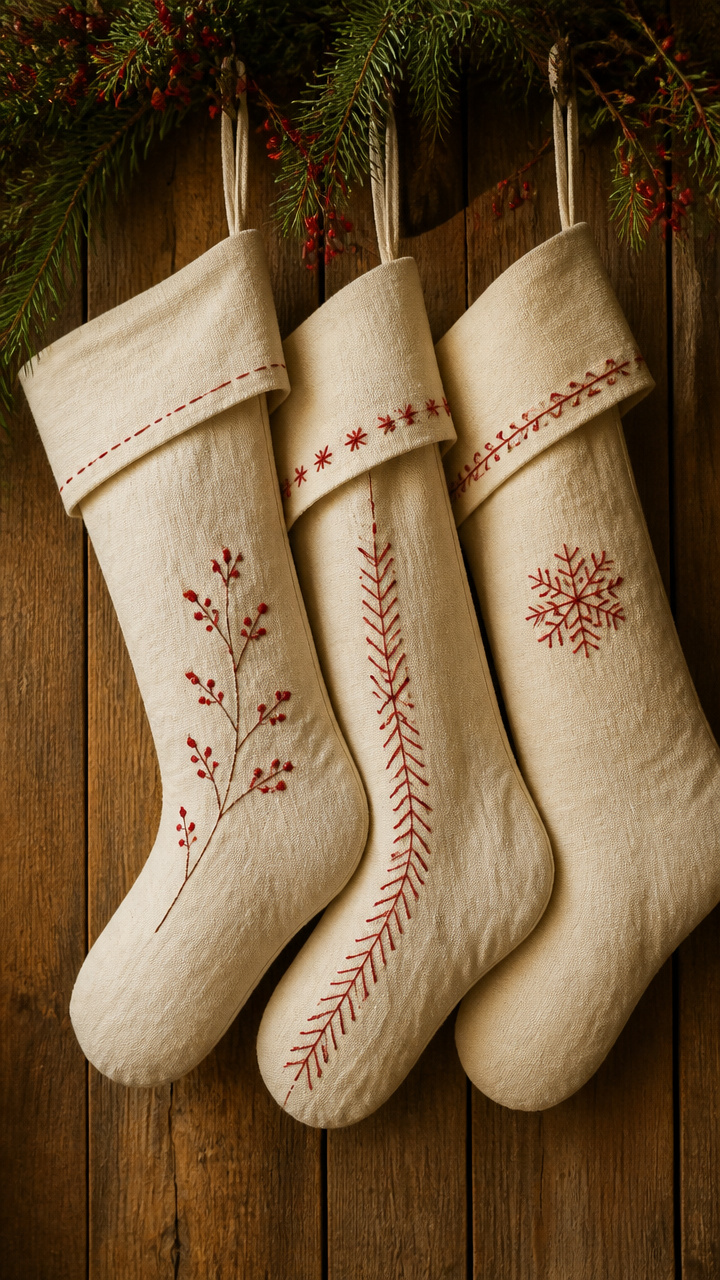
Upcycled flour sack towels form the body of simple stockings with folded cuffs. Their worn texture tells a story before the first gift goes in.
Materials Needed
- 3 unbleached flour sack towels
- Red embroidery floss
- Embroidery needle
- Scissors
- Straight pins
- Sewing machine
- Brown leather cord, 18 inches
How to Make It
- Fold each towel in half lengthwise and pin along the side edge. Sew a straight seam from the fold to the open end, leaving the top open.
- Fold the top 3 inches down to form a cuff. Secure the backside of the cuff with three stitches of red floss in a cross pattern.
- Tie a leather cord through the loop formed by the cuff for hanging.

![Utopia Kitchen Natural Flour Sack Towels [12 Pack - 28 x 28 in] 100% Cotton | Tea Towels for Cleaning & Drying - Highly Absorbent Kitchen Dish Cloth](https://m.media-amazon.com/images/I/41a2oPKYRlL._SL500_.jpg)

9. Antique Drawer Mantle Display
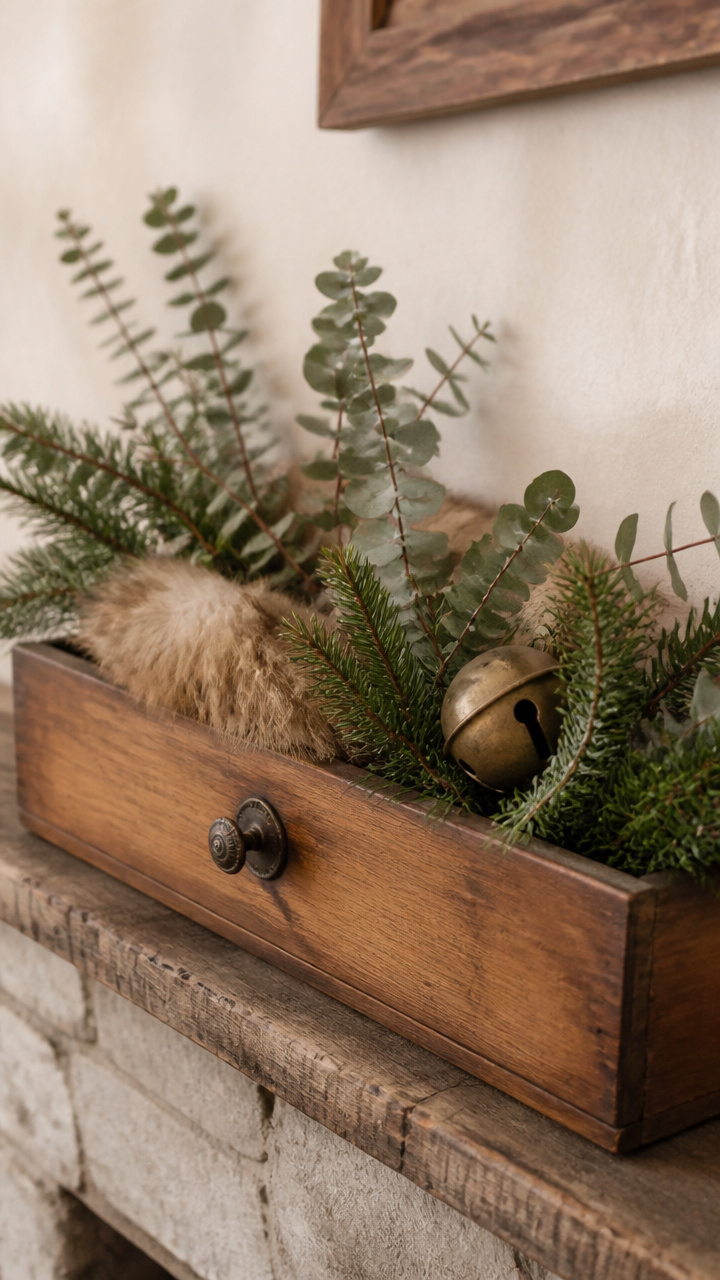
An old dresser drawer laid flat on the mantle becomes a contained scene for seasonal greenery and heirloom figures. It frames the holidays like a memory.
Materials Needed
- One wooden drawer, 18×6 inches
- Dried eucalyptus stems, 4
- Mini pine garland, 12 inches
- Vintage brass bell
- Faux fur throw scrap, 6×8 inches
- Hot glue gun
How to Make It
- Lay the drawer face down and flip it upright so the opening faces forward. Sand any rough edges.
- Arrange dried eucalyptus in the back of the drawer, leaning against the back wall.
- Place the pine garland in front, drape the fur scrap to one side, and set the bell in the center.



10. Hand-Stitched Felt Stockings

Wool-blend felt stockings sewn by hand wear their uneven stitches like badges of honor. Choose red and cream for timeless contrast.
Materials Needed
- Red wool-blend felt sheet, 9×12 inches
- Cream wool-blend felt sheet, 9×12 inches
- Embroidery needle
- Cream embroidery floss
- Scissors
- Stocking template printed at 8 inches tall
- Fabric marker
How to Make It
- Trace the stocking template onto the red felt twice and the cream felt once. Cut out all three pieces.
- Place one red piece and the cream piece together. Whipstitch them with cream floss, leaving the top open.
- Place this front against the second red piece and stitch around all edges, leaving the top open. Turn right side out.


11. Mug Tree with Vintage Teacups
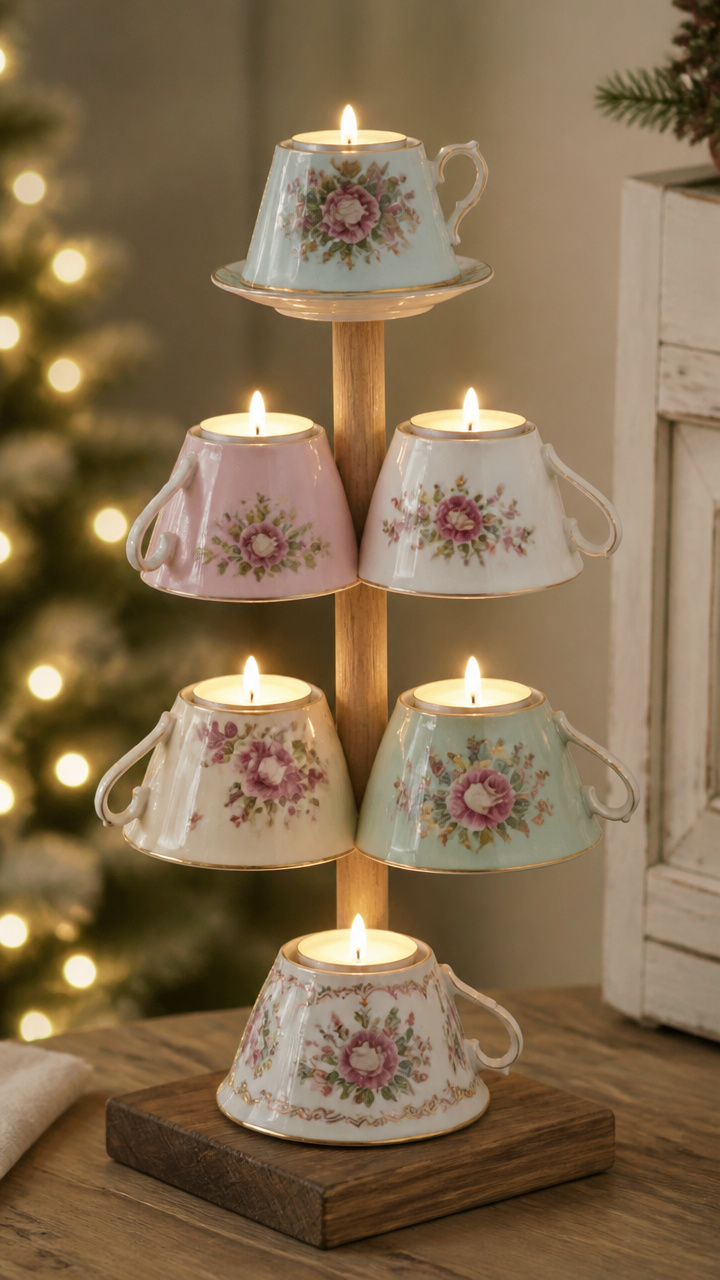
Stacked teacups inverted on a central rod form a whimsical tree shape perfect for tiny gifts. It spins gently when touched.
Materials Needed
- 6 vintage teacups with saucers
- 1 wooden dowel, 12 inches long, ½ inch diameter
- Drill with ½ inch bit
- Wood block base, 6 inches square
- Wood glue
- Tealight candles, 6
How to Make It
- Drill a ½ inch hole through the center of the wood block base. Insert the dowel and secure with wood glue. Let dry 3 hours.
- Invert each teacup and slide it up the dowel, placing the largest at the bottom and smallest at the top.
- Set a tealight on each saucer and arrange the saucers around the base of the tree.


12. Cinnamon Stick Bundles with Twine
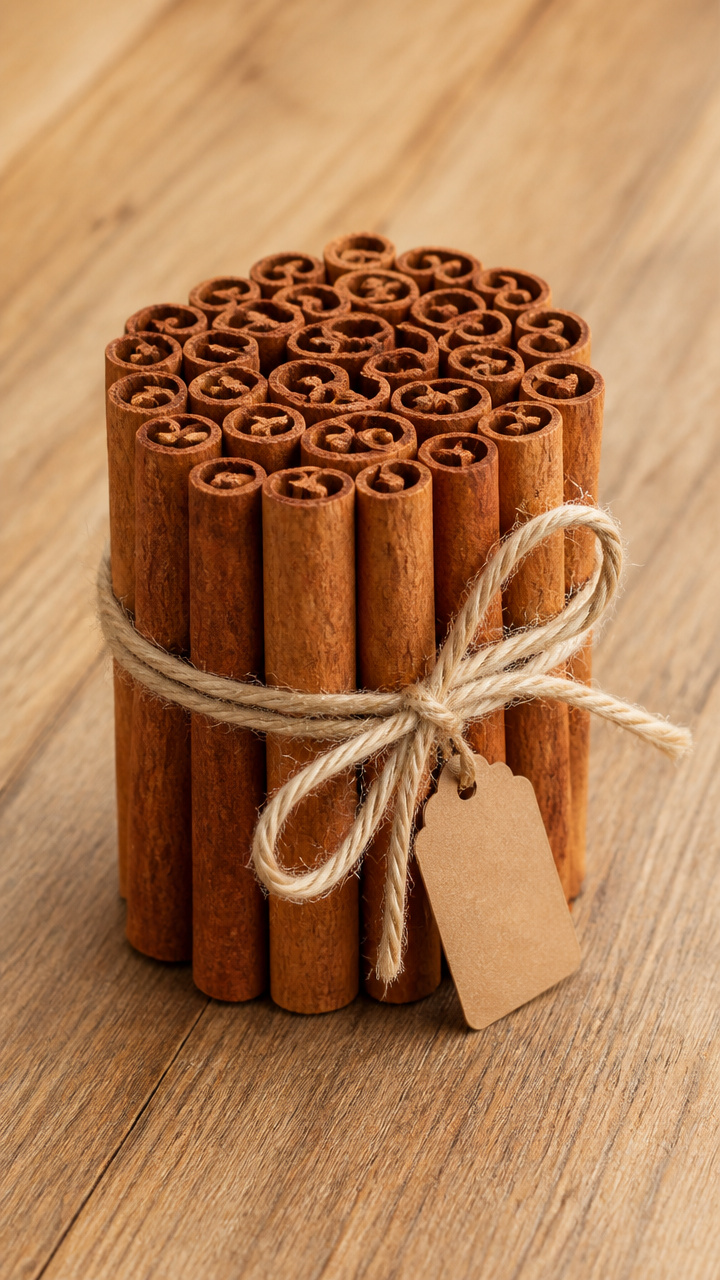
Tightly bound bundles of cinnamon sticks tied with baker’s twine release a sweet spice scent and look elegant grouped in a bowl or hung with care.
Materials Needed
- 30 cinnamon sticks, 3 inches long
- Baker’s twine, 12 yards
- Scissors
- Small paper tags
- Hole punch
How to Make It
- Group five cinnamon sticks together into six bundles. Wrap twine around one end and knot securely.
- Wrap the twine again 1 inch down and tie another knot to keep the bundle tight.
- Attach a paper tag to each bundle with twine, punching a hole in the tag corner before tying.



13. Linen Napkin Gift Wrap
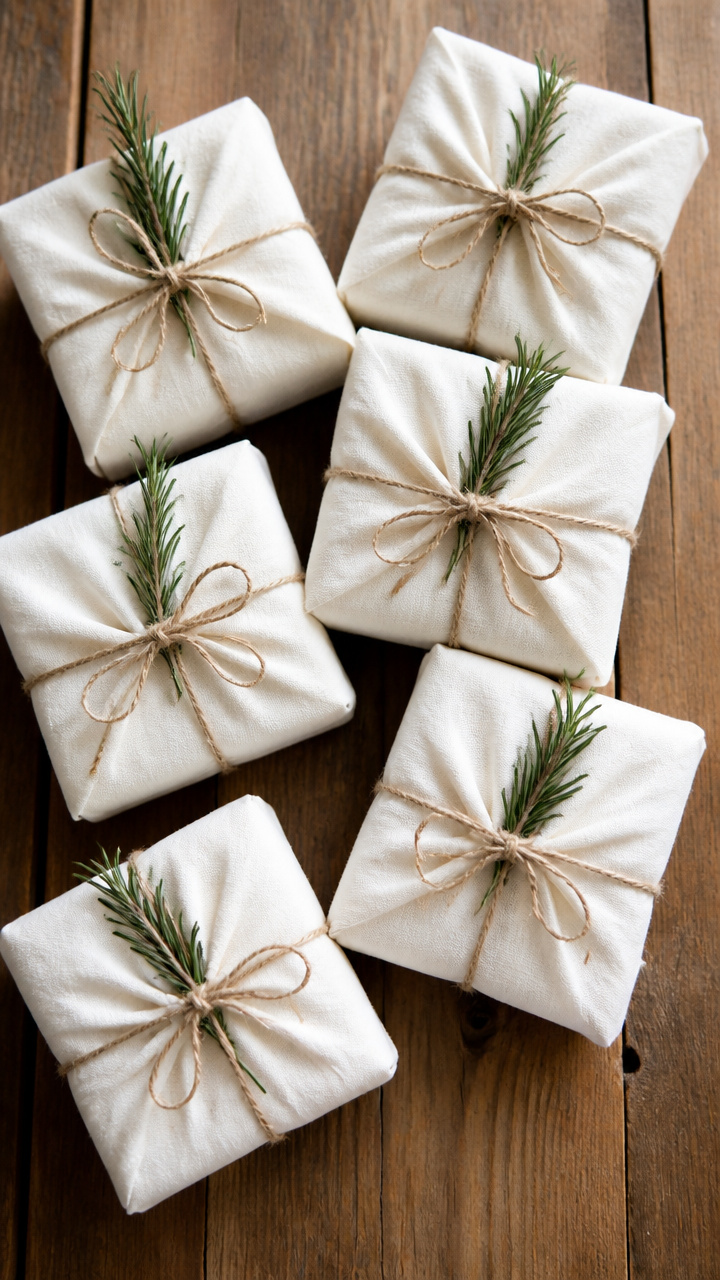
Square linen napkins wrapped around gifts and tied with twine replace paper with reusable charm. A sprig of rosemary finishes each package.
Materials Needed
- 6 white linen napkins, 14×14 inches
- Jute twine, 3 yards
- Sprigs of dried rosemary, 6
- Scissors
- Gifts of similar size
How to Make It
- Place a gift in the center of a napkin. Bring opposite corners together over the top and tie with twine.
- Repeat with the other two corners, forming a cross on top. Knot the twine securely.
- Tuck a sprig of rosemary under the knot on each package.


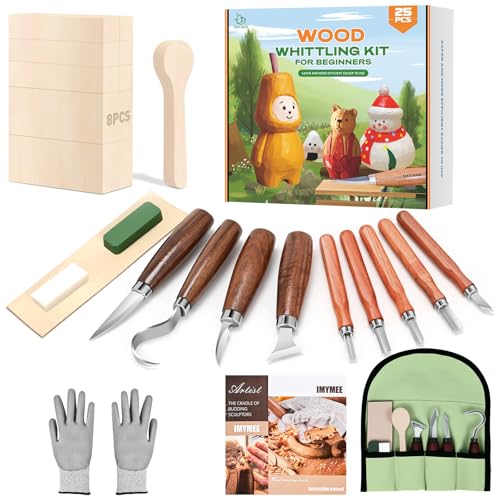
14. Whittled Wooden Star Ornaments
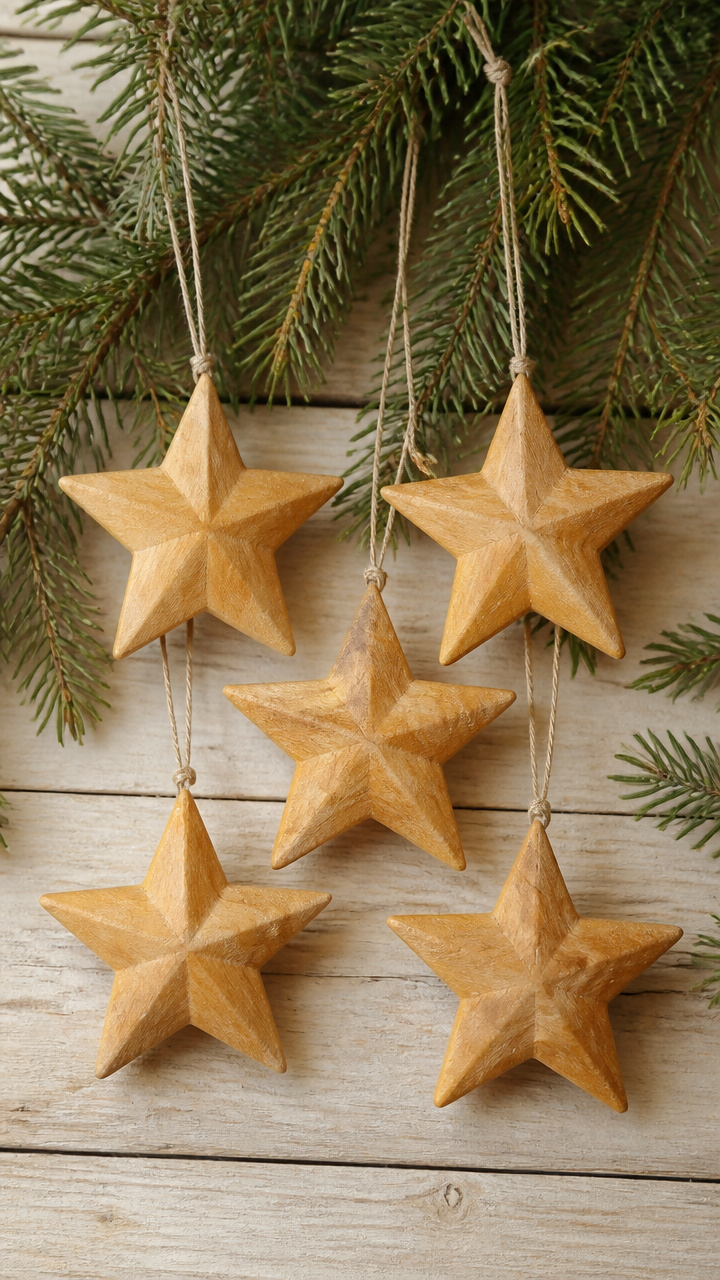
Simple star shapes carved from basswood blocks with a pocketknife carry the marks of handwork. They hang lightly from waxed linen thread.
Materials Needed
- 5 basswood carving blocks, 3×3 inches
- Pocketknife with sharp blade
- Sandpaper, 220-grit
- Beeswax
- Linen thread, 10 inches per star
- Small brush
How to Make It
- Draw a five-pointed star on one face of each block. Carve along the lines with steady, shallow cuts using the pocketknife.
- Smooth all edges with sandpaper until safe to touch. Brush off dust.
- Rub beeswax over each star and attach linen thread by threading through a small drilled hole at the top point.


15. Clay Handprint Reindeer Ornaments
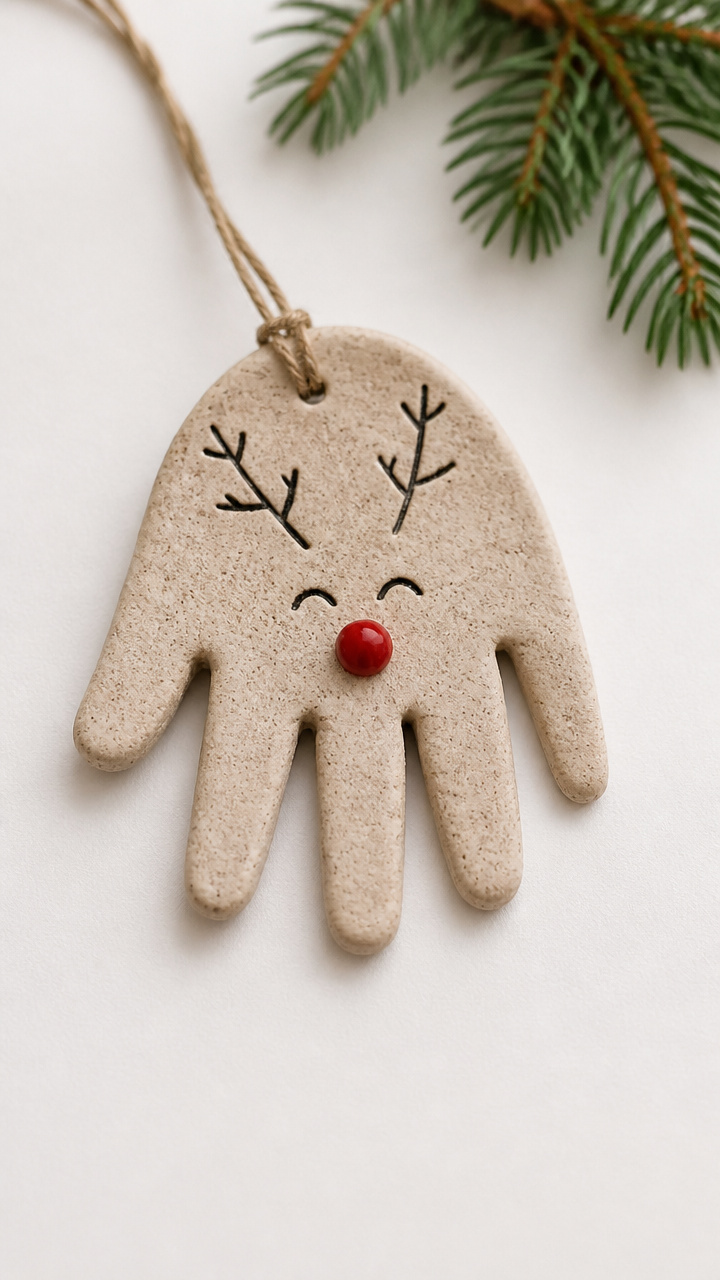
Air-dry clay pressed with a child’s hand becomes a reindeer with drawn antlers and red bead nose. It’s a keepsake that grows more precious yearly.
Materials Needed
- White air-dry clay, 1/2 pound
- Rolling pin
- Child’s hand
- Plastic straw
- Black marker
- Red round bead, 1/4 inch
- Googly eyes, 2 per ornament
- Red yarn, 6 inches
How to Make It
- Roll the clay to 1/4 inch thickness. Press the child’s hand firmly into the surface to make a print. Lift carefully.
- Use the straw to poke a hole at the top for hanging. Draw antlers with the black marker on the thumb side.
- Glue on googly eyes and the red bead for the nose. Thread yarn through the hole to hang.


You don’t need a workshop or years of experience to bring this warmth into your home. Just a few tools, some quiet time, and the desire to make something real.