15 Acorn Crafts for Kids

Gathering acorns in the fall brings a quiet joy, the kind that starts with small hands filling pockets and ends with handmade treasures on display. These simple gifts from nature open up a world of creative play and cozy projects you can make together.
Each craft uses real acorns and everyday supplies to create something meaningful. From playful animals to quiet decorations, these ideas invite curiosity and care.
1. Acorn Top Whirligigs
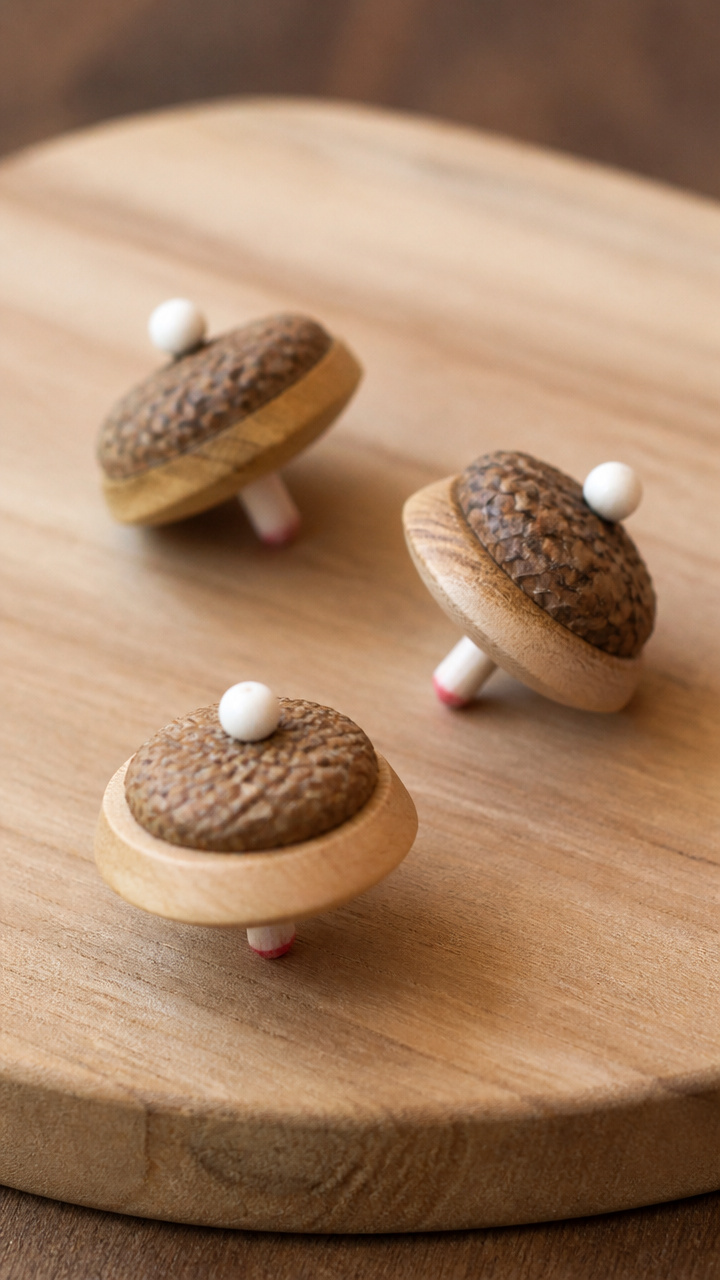
Smooth wooden tops that spin when you twist them between your fingers. Kids love watching them wobble and whirl on smooth surfaces.
Materials Needed
- 10 medium acorns with caps
- 10 wooden beads, 1/2 inch diameter
- White craft glue
- Pencil with eraser end
- Fine-grit sandpaper
How to Make It
- Sand the flat side of each acorn cap lightly so it spins smoothly.
- Put a drop of white craft glue on the top of an acorn and press a wooden bead into it, letting it dry for 20 minutes.
- Twist the pencil's eraser end into the center of the bead until snug, then release to spin.


2. Acorn Cap Bird Feeders
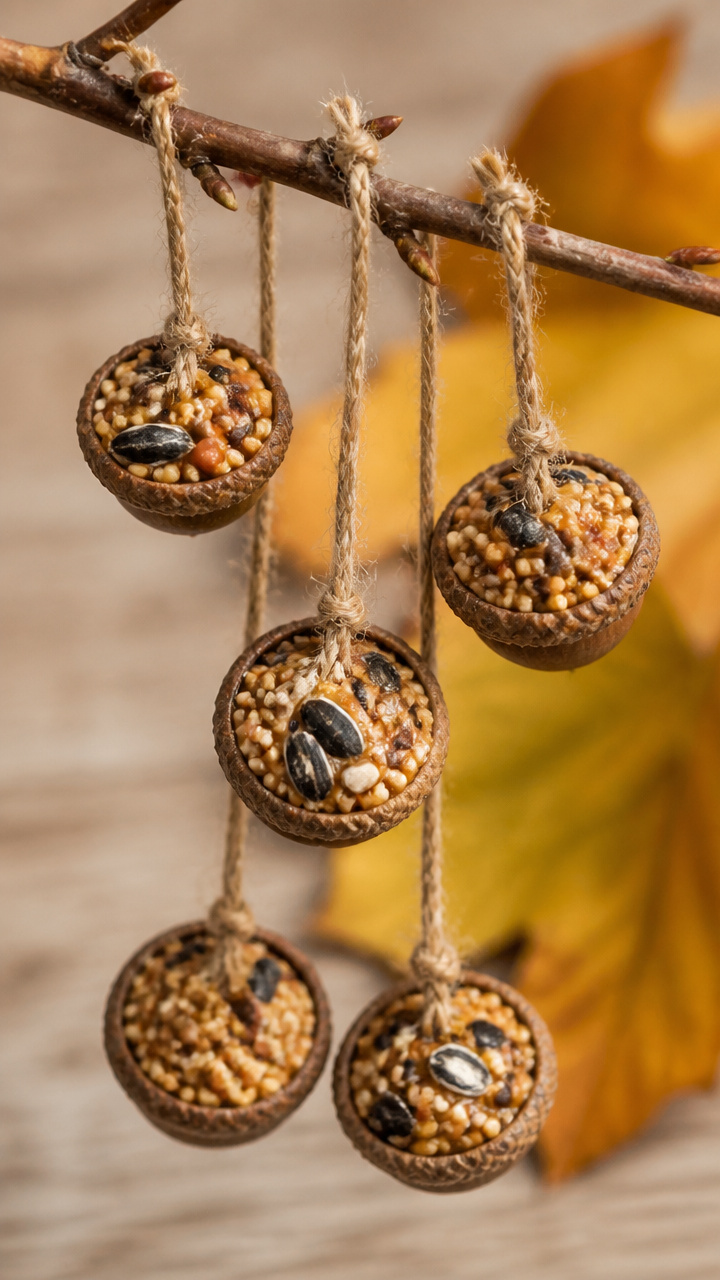
Tiny holders made from acorn caps filled with peanut butter and birdseed. Hang them outside and watch birds come close.
Materials Needed
- 15 acorn caps with stems
- 1/4 cup creamy peanut butter
- 1/2 cup mixed birdseed
- Short hemp twine, 6 inches per feeder
- Butter knife
How to Make It
- Press a small amount of peanut butter inside each acorn cap using the butter knife.
- Roll the sticky side in birdseed until fully coated, then thread twine through the stem.
- Tie the twine to a low tree branch or bush where birds can reach easily.

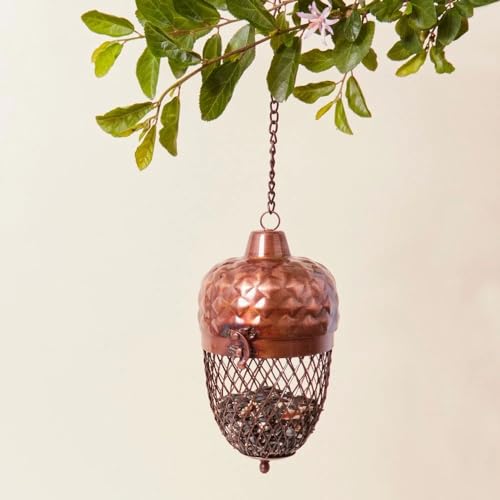

3. Acorn Stamp Patterns
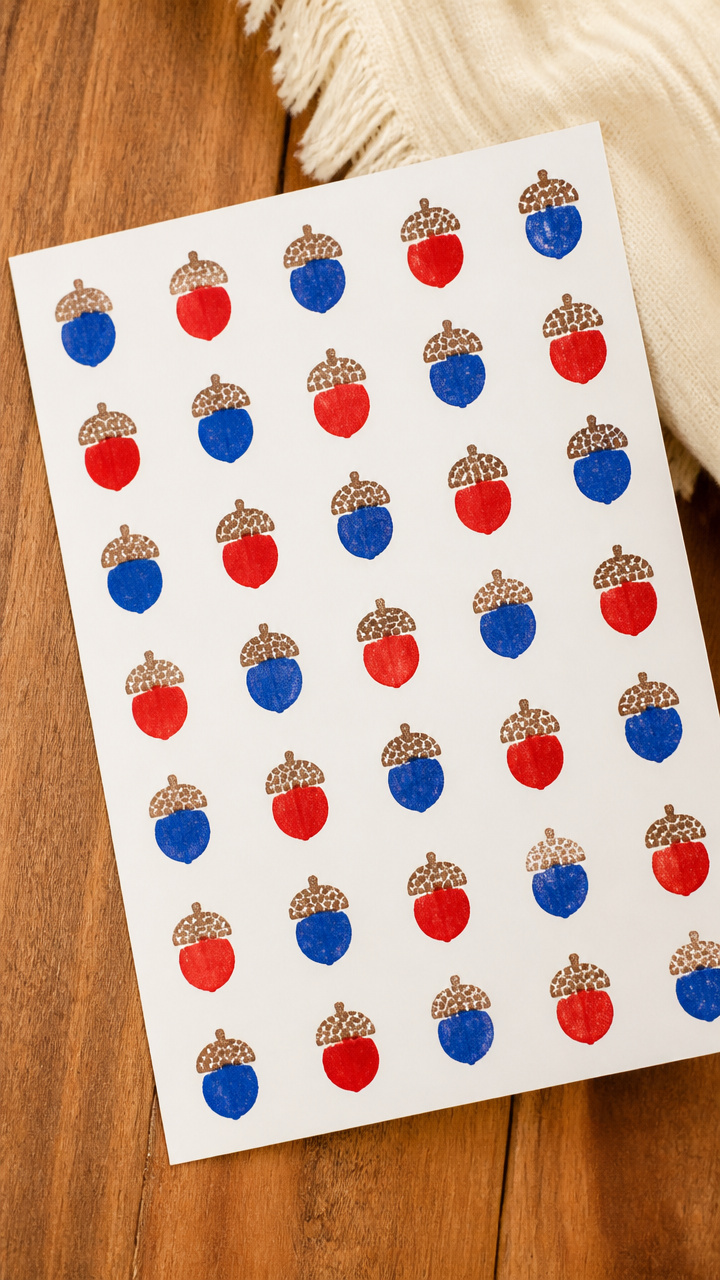
Cork-textured prints made by dipping the flat base of acorns in paint. Create repeating patterns on paper or fabric.
Materials Needed
- 12 large acorns
- Red acrylic paint
- Blue acrylic paint
- A4 white cardstock
- Paper plate
- Paper towel
How to Make It
- Place red and blue paint in separate spots on the paper plate.
- Dip the flat bottom of an acorn into red paint and press firmly onto the cardstock to make one dot.
- Repeat with blue paint and vary spacing to form a pattern, cleaning the acorn with the paper towel between colors.
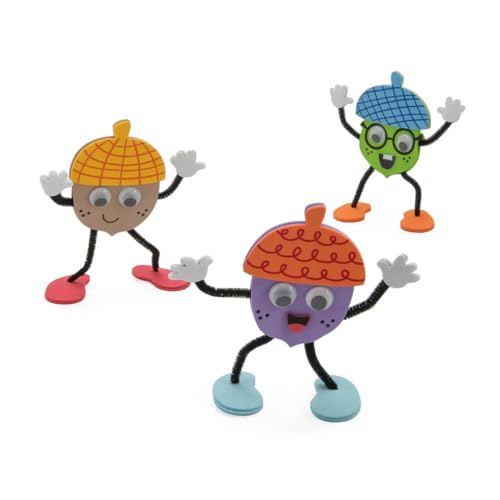

4. Mini Acorn People
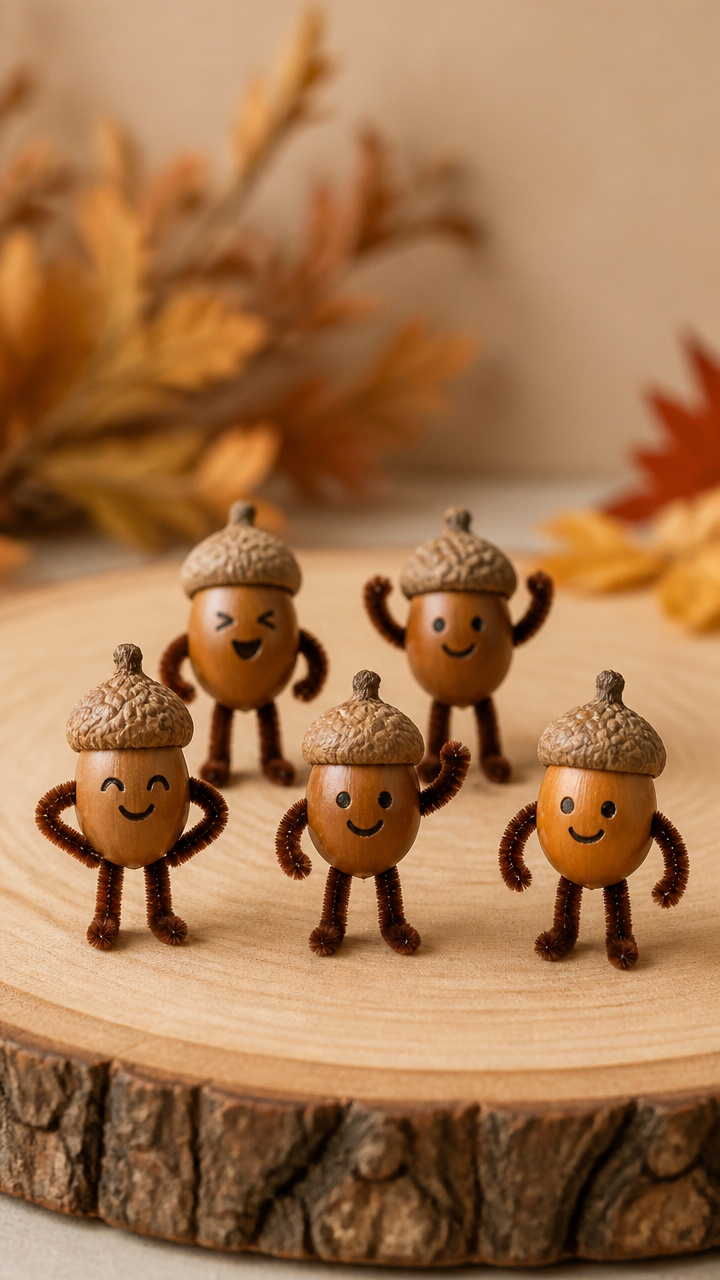
Whimsical little figures with acorn bodies and twig arms. Each one stands upright with a hand-carved face.
Materials Needed
- 8 large acorns with caps
- 8 brown pipe cleaners, 6 inches long
- Black fine-tip permanent marker
- Scissors
- Craft knife
How to Make It
- Cut each pipe cleaner into four equal lengths and bend two pieces into arms at the center.
- Push one arm piece into each side of the acorn body just below the cap.
- Draw two eyes and a mouth on the acorn with the marker, using light pressure.

5. Acorn Mosaic Picture
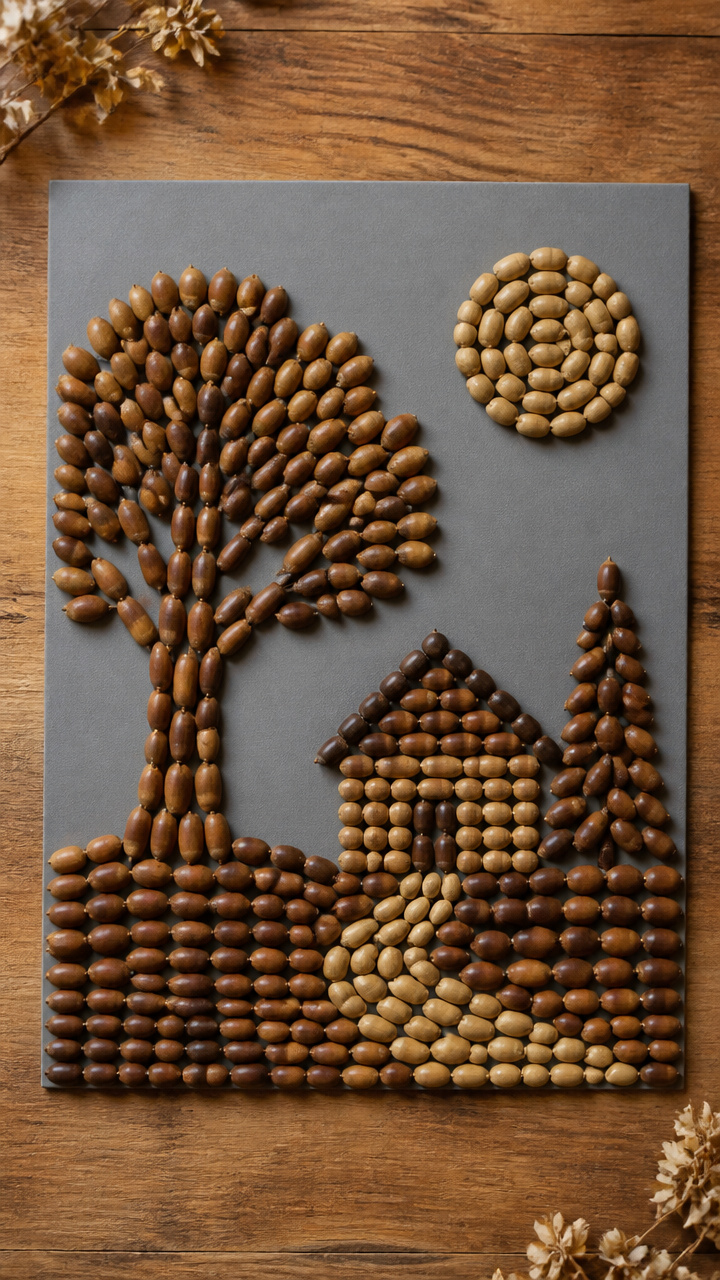
A woodland scene built from dozens of tiny acorns arranged like tiles. The natural shades create depth without any paint.
Materials Needed
- 60 small acorns
- 9×12 inch gray construction paper
- School glue
- Small paintbrush
How to Make It
- Sketch a simple tree shape in the lower third of the paper with a pencil.
- Apply a dab of school glue to the flat side of each acorn and place it within the tree outline.
- Fill the shape completely, pressing each acorn gently so it adheres, and let dry for 2 hours.


6. Acorn Wind Chime
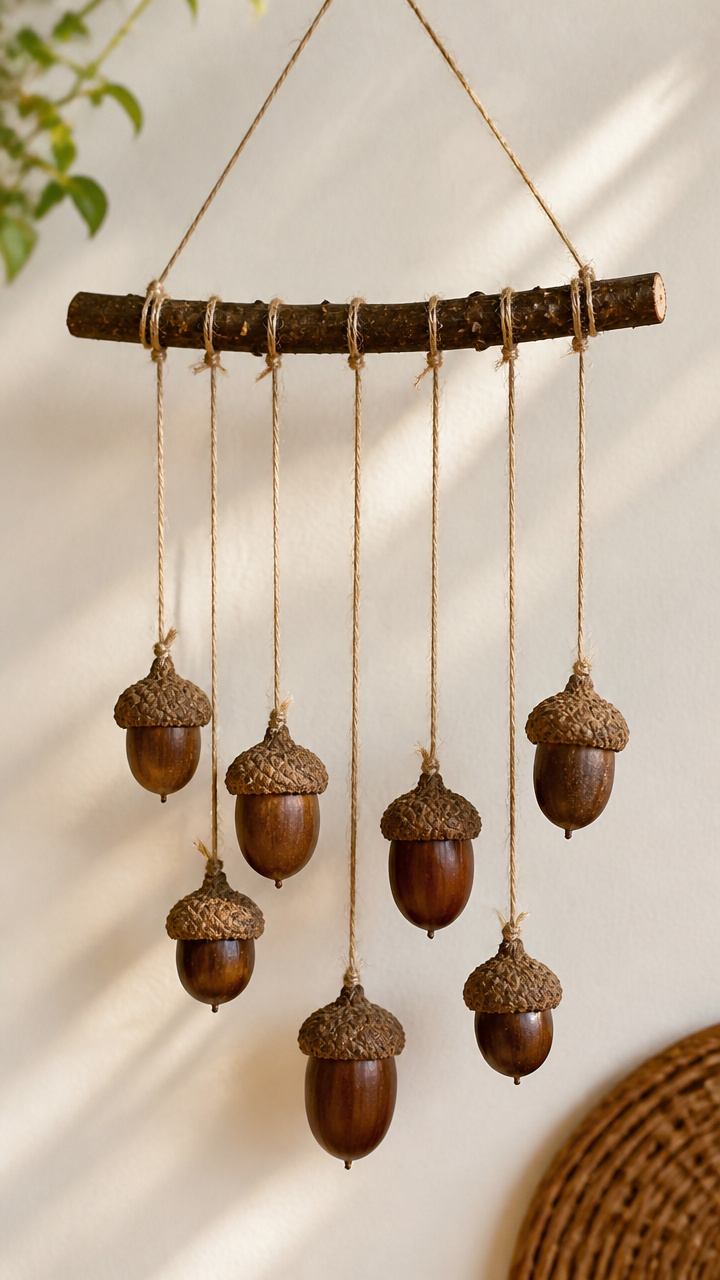
A delicate string of acorns that clicks softly in the breeze. Hang it near a window or porch.
Materials Needed
- 7 medium acorns
- 12-inch willow branch, 1 inch thick
- 7 feet of thin cotton string
- Drill with 1/8 inch bit
- Scissors
How to Make It
- Drill a small hole through the top of each acorn just under the cap.
- Cut seven 1-foot strings and tie one end through each acorn, knotting securely.
- Tie the loose ends to the willow branch spaced evenly, then hang the chime with a longer string.
7. Acorn Cap Rain Chains
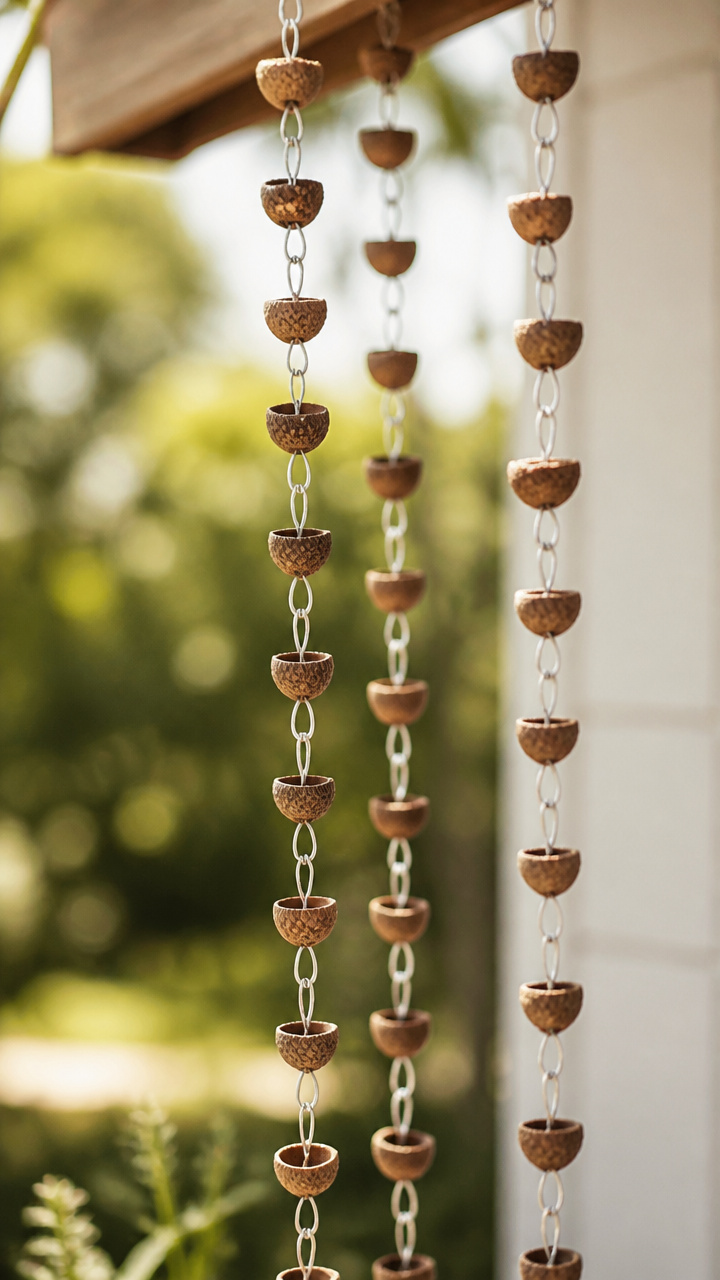
Linked chains made by threading acorn caps together. They catch light and move with air currents.
Materials Needed
- 20 acorn caps
- Thin silver wire, 24 gauge
- Wire cutters
- Round-nose pliers
How to Make It
- Cut 20 pieces of wire, each 4 inches long.
- Use the pliers to bend one end of each wire into a small loop, then thread the straight end through an acorn cap.
- Connect the next link by threading the wire through the previous loop and forming a new loop at the end.


8. Acorn Animal Match Game
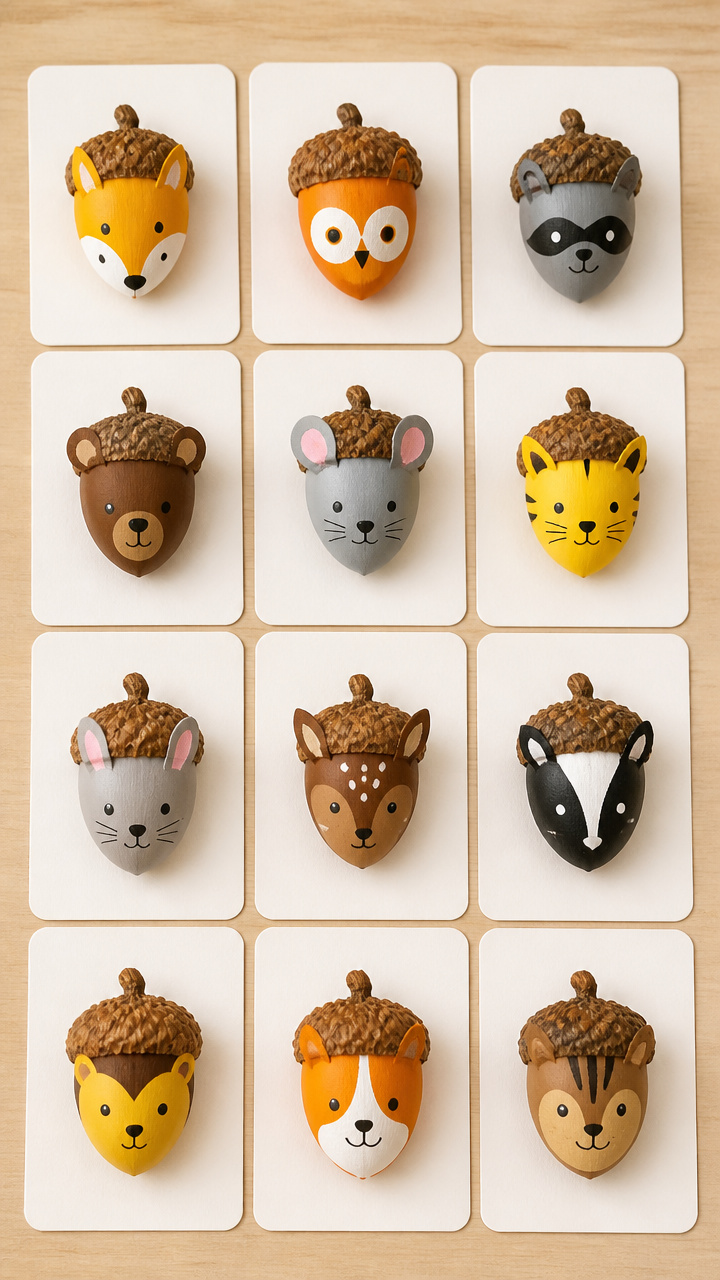
Paired cards with painted acorns as animal faces. Flip and find matching creatures.
Materials Needed
- 12 large acorns
- Yellow acrylic paint
- Black acrylic paint
- Fine paintbrush
- 12 index cards, 3×5 inches
How to Make It
- Paint six acorns yellow and let dry for 30 minutes on a flat surface.
- Use black paint to draw bear, fox, raccoon, squirrel, deer, and rabbit faces on the acorns with the brush.
- Copy each animal face onto two index cards with black pen, shuffle, and play face down.


9. Acorn Lanterns
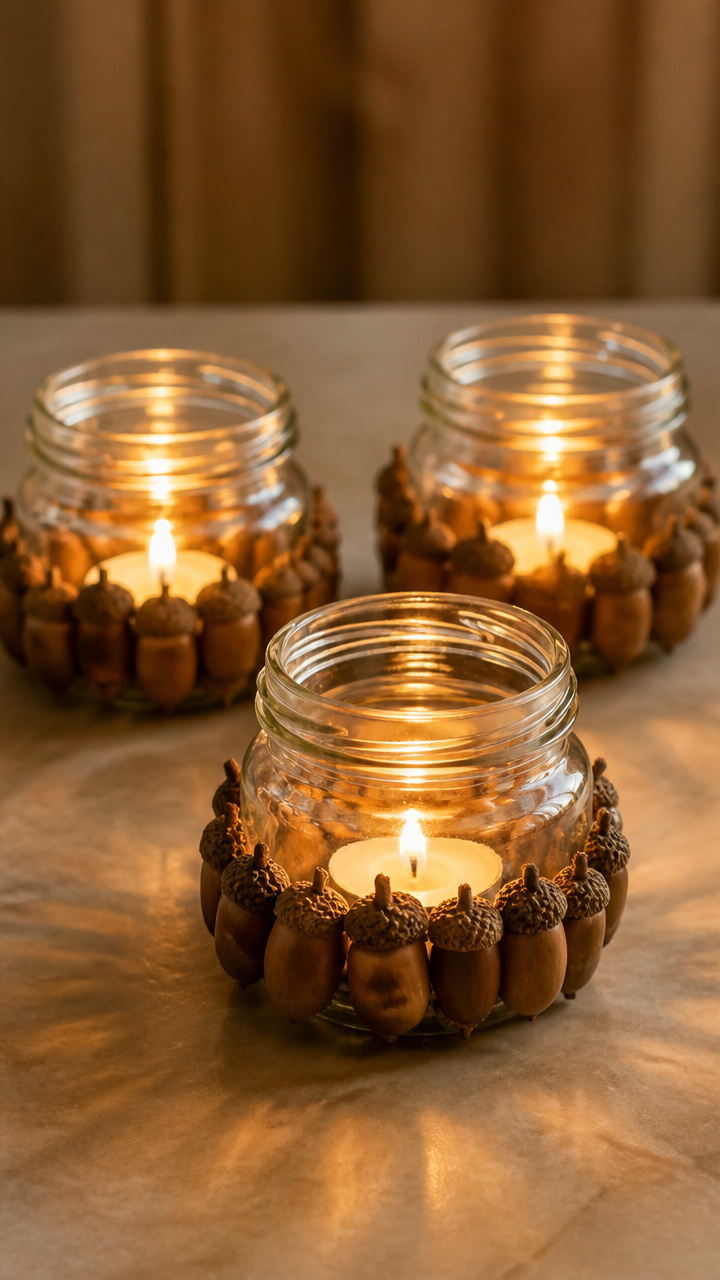
Clear glass jars with acorns glued around the base. A tea light inside casts warm shadows.
Materials Needed
- 6 clean baby food jars
- Hot glue gun
- Glue sticks
- 6 tea lights
- 24 small acorns
How to Make It
- Arrange four acorns around the base of each jar, flat side down.
- Apply hot glue to the flat side and press each acorn firmly to the glass, holding for 10 seconds.
- Let cool completely, then place a tea light inside the jar and light carefully.


10. Acorn Counting Sticks
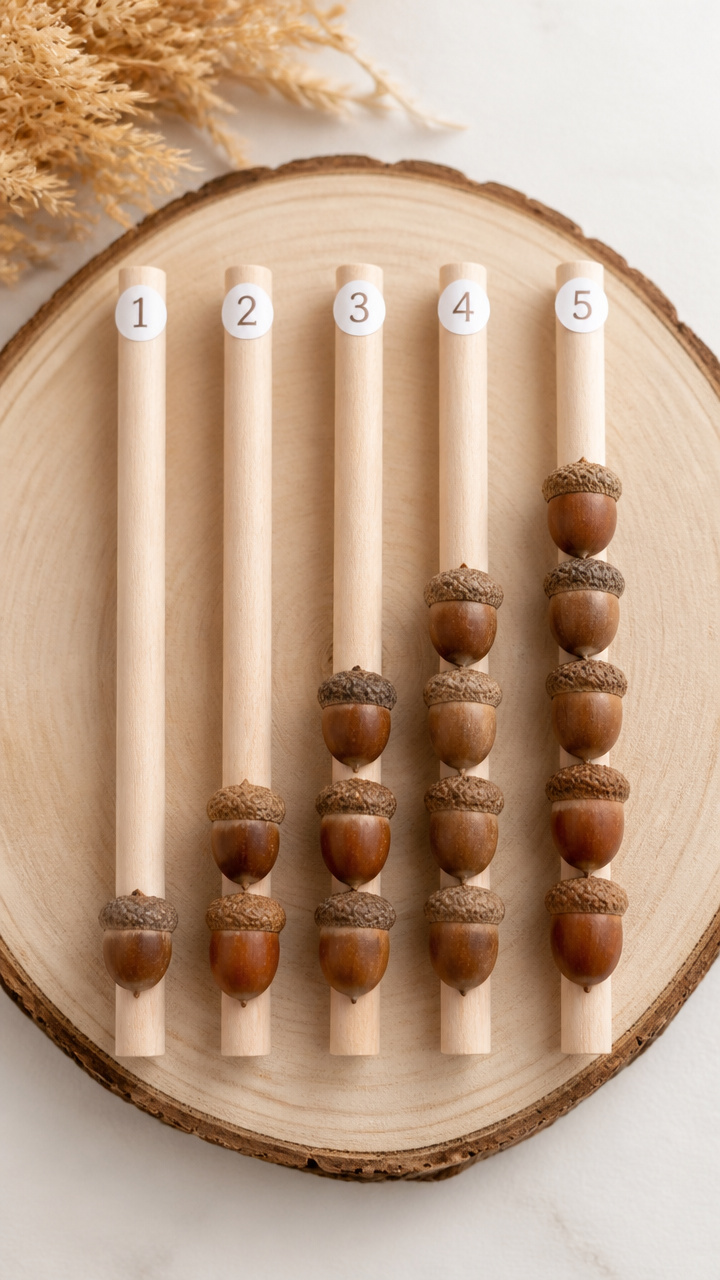
Wooden dowels with numbered sections where kids slide acorns. A hands-on way to learn numbers.
Materials Needed
- 5 wooden dowels, 1/4 inch thick, 8 inches long
- Numbered stickers 1 through 5
- 20 medium acorns
- Fine sandpaper
How to Make It
- Smooth the edges of each acorn with sandpaper to help them slide easily.
- Stick one number label near the top of each dowel, starting with 1 and ending with 5.
- Slide the matching number of acorns onto each dowel, such as three acorns on the dowel labeled 3.


11. Acorn Cap Bracelets
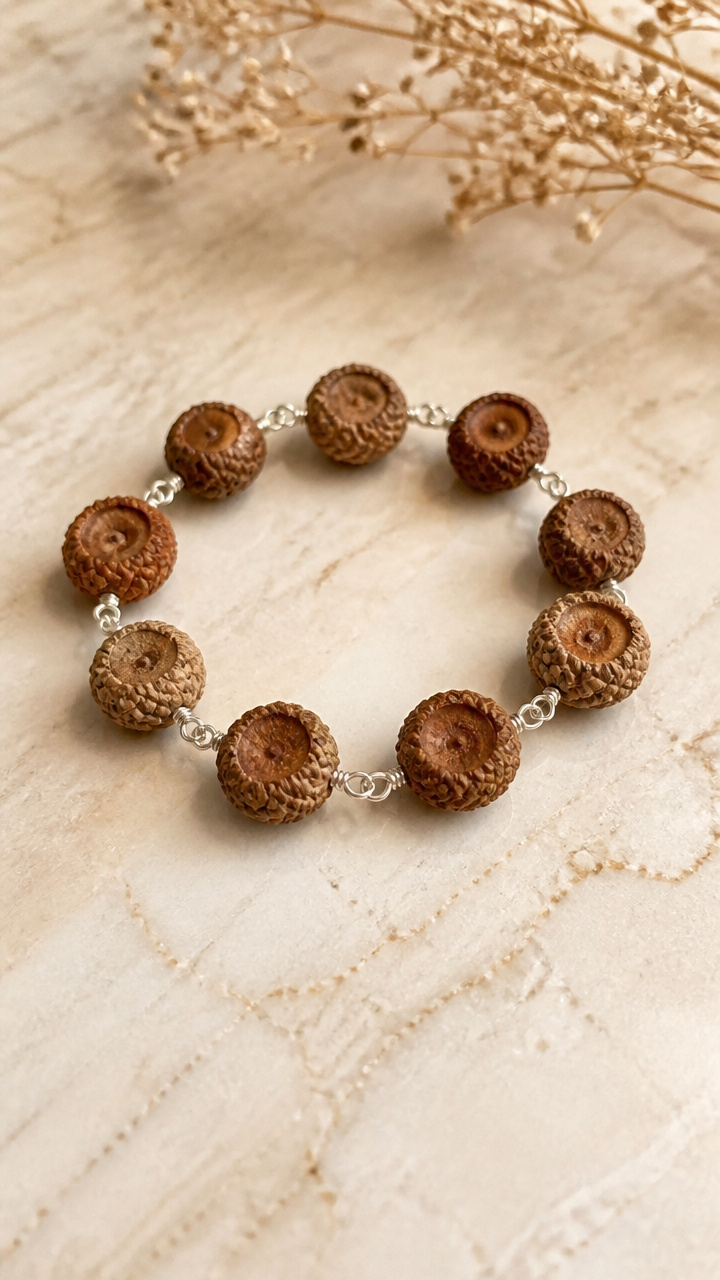
Flexible bands made by linking acorn caps with short wire. Each one fits a child's wrist.
Materials Needed
- 10 acorn caps
- Thin aluminum wire, 20 gauge
- Wire cutters
- Ruler
How to Make It
- Cut the wire into ten 2-inch pieces.
- Thread one piece through the stem hole of an acorn cap and twist both ends together at the back.
- Link the next cap by threading a new wire piece through the twisted end and cap hole, repeating until the band wraps your wrist.


12. Acorn House Models
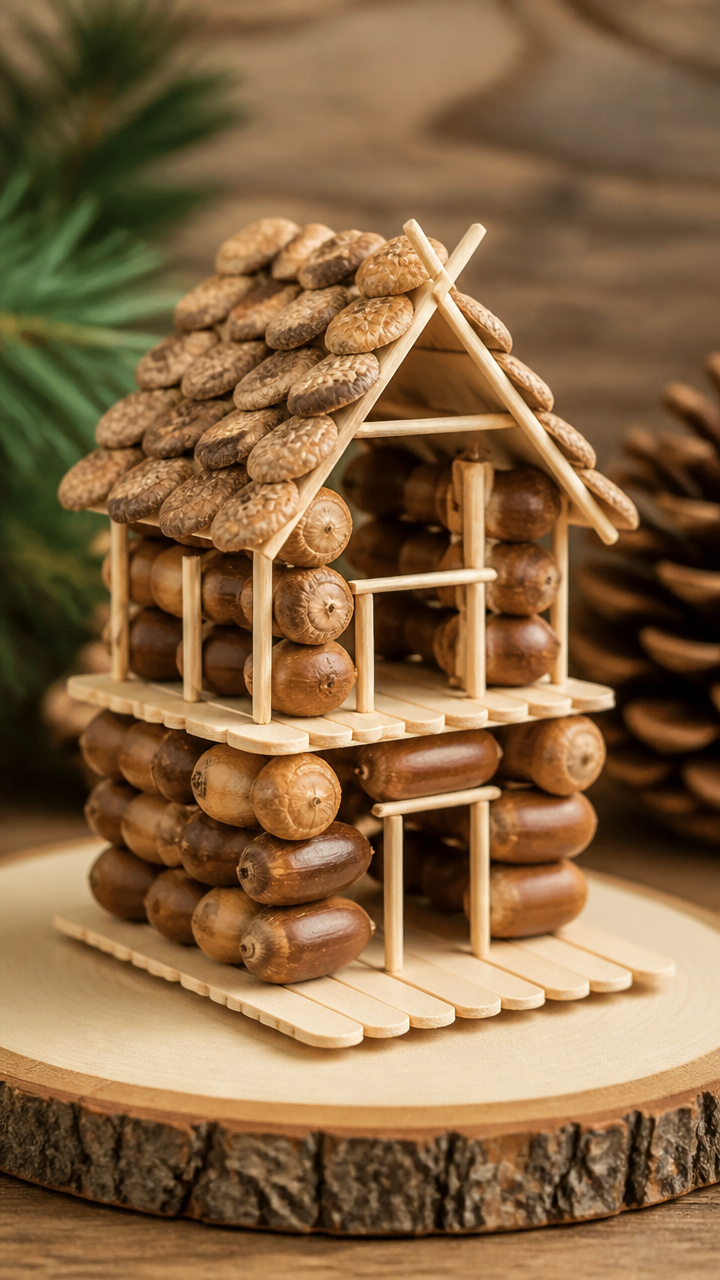
Tiny cabins built from stacked acorns with toothpick beams. They stand on their own like forest shelters.
Materials Needed
- 18 large acorns
- 12 flat toothpicks
- White craft glue
- Popsicle stick
How to Make It
- Lay two acorns side by side on the popsicle stick base and glue in place.
- Add a row of toothpicks across the first layer, then stack two more acorns on top.
- Continue alternating layers until three levels are complete, letting glue dry 1 hour between stages.
13. Acorn Cap Magnets
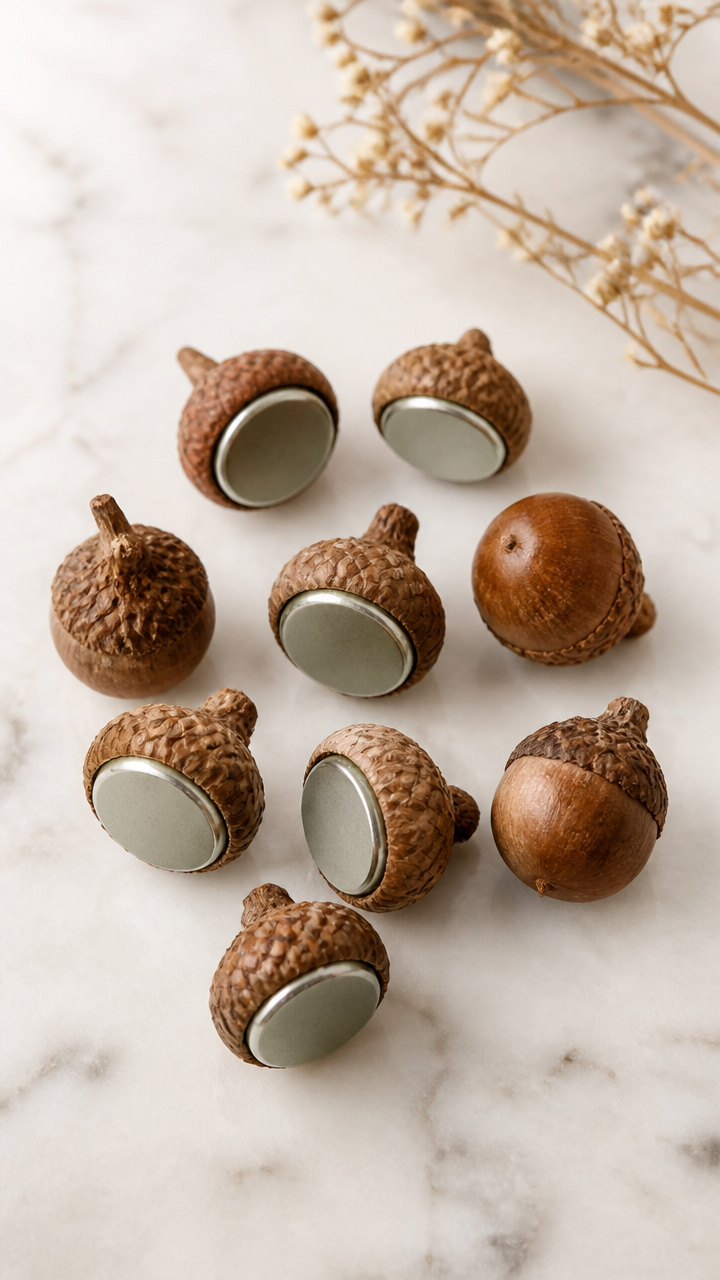
Small metal discs tucked inside acorn caps and sealed. Stick them to the fridge with hidden adhesive.
Materials Needed
- 10 acorn caps
- 10 round magnets, 1/2 inch diameter
- E6000 glue
- Cotton swab
How to Make It
- Place a dab of E6000 glue in the center of each magnet.
- Press each magnet into an acorn cap, flat side out, and hold for 15 seconds.
- Let dry completely for 24 hours before use, applying glue with the swab for precision.


14. Acorn String Art
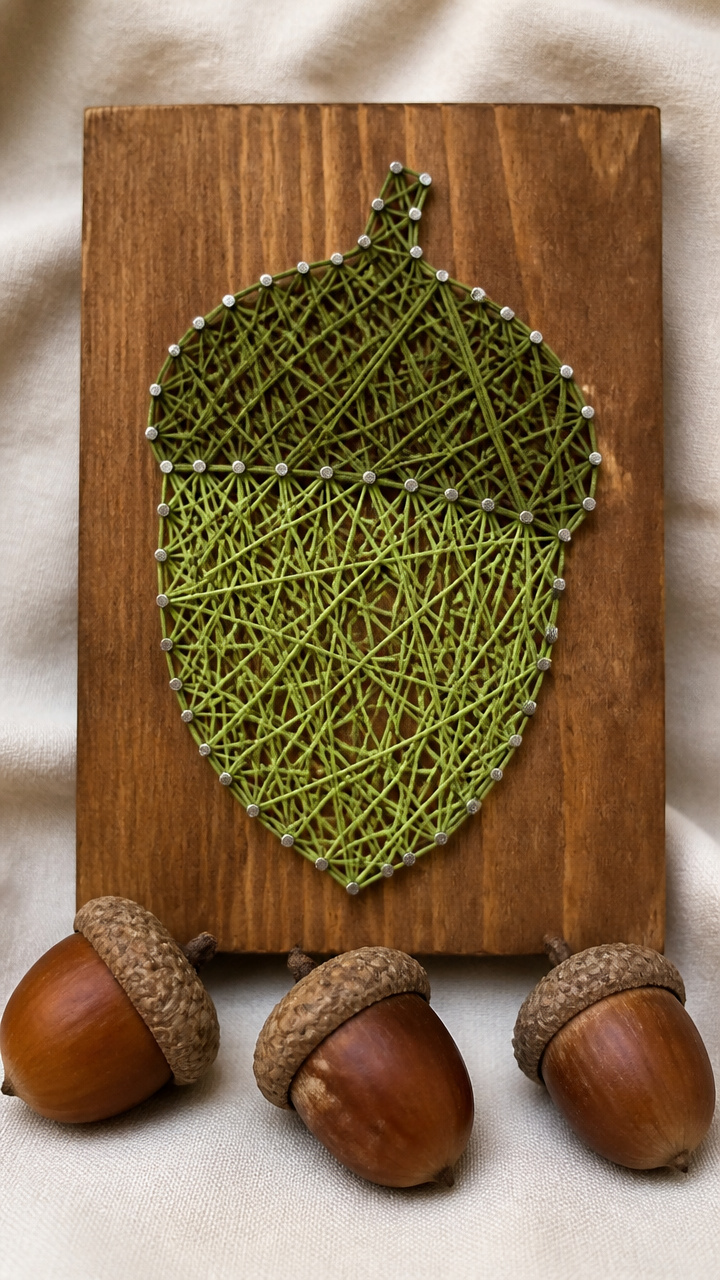
A pinecone shape outlined with nails and filled with colored thread. Acorns sit at the base like fallen seeds.
Materials Needed
- 1 pine board, 6×8 inches
- 15 small nails, 1 inch long
- Hammer
- Green embroidery floss
- 3 large acorns
How to Make It
- Draw a pinecone shape lightly in pencil on the board and place nails along the outline every inch.
- Hammer each nail partway in so it stands upright, then wrap green floss tightly around the nails in a zigzag pattern.
- Glue three acorns to the board beneath the pinecone, flat side down, once the thread work is complete.
15. Acorn Fairy Lanterns
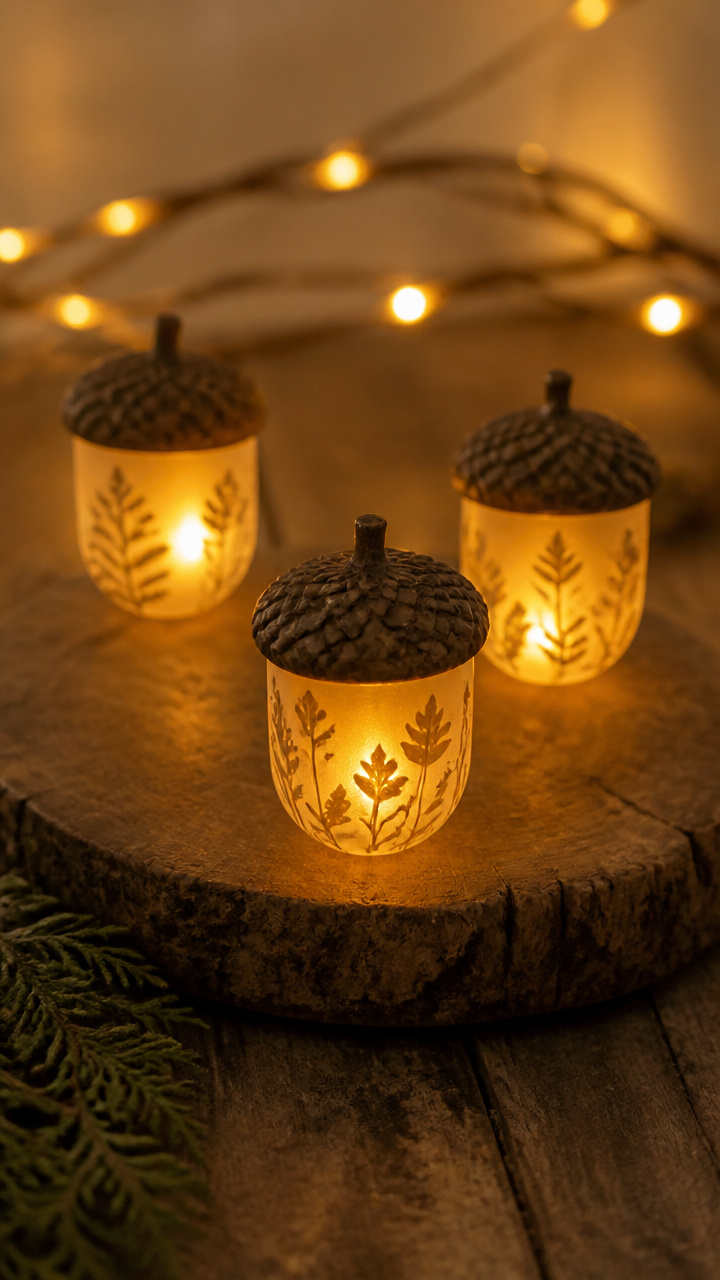
Delicate paper sleeves slipped over acorns with LED lights inside. They glow like forest lanterns.
Materials Needed
- 6 large acorns
- 6 sheets of vellum paper, 3×3 inches
- Glue stick
- Battery-powered tea light with flicker effect
How to Make It
- Wrap one vellum sheet around each acorn like a sleeve, overlapping the edge slightly.
- Seal the overlap with a swipe of glue stick and let dry for 10 minutes.
- Place the acorn inside the tea light's flame area so the light shines through the paper.


These crafts grow from simple moments outdoors and turn into keepsakes that last. Your table, walls, and garden can all hold a little piece of this season’s magic.