18 Sock Gnome Craft Ideas

There’s something deeply comforting about turning simple materials into handmade treasures. Sock gnomes bring a little magic to shelves, windowsills, and holiday decor with their soft shapes and whimsical charm.
Each of these ideas starts with a humble sock and grows into a character full of personality. You’ll find playful styles, seasonal touches, and clever details that make every gnome one of a kind.
1. Classic Bearded Sock Gnome

Soft wool-blend sock forms a round-cheeked gnome with a long white beard and a pointed hat. This version uses basic stitching for a timeless look.
Materials Needed
- 1 cream-colored ankle sock
- 2 black sewing buttons, 8mm
- 10 inches of white fleece fabric
- 12 inches of red felt
- Embroidery floss in black and red
- Needle and thread
- Polyester stuffing
- Hot glue gun and glue sticks
How to Make It
- Cut the toe from the sock and fill it with polyester stuffing to form the head.
- Sew two black buttons onto the front of the head for eyes using double-threaded embroidery floss.
- Cut a small oval from white fleece and glue it below the eyes for a nose.
- Glue a strip of white fleece along the jawline for the beard, layering pieces to create thickness.
- Roll the remaining sock downward to form a red pointed hat using the red felt to reinforce the tip.
- Secure the hat seam with hot glue and add a small red felt pom-pom at the tip.

2. Mini No-Sew Sock Gnome
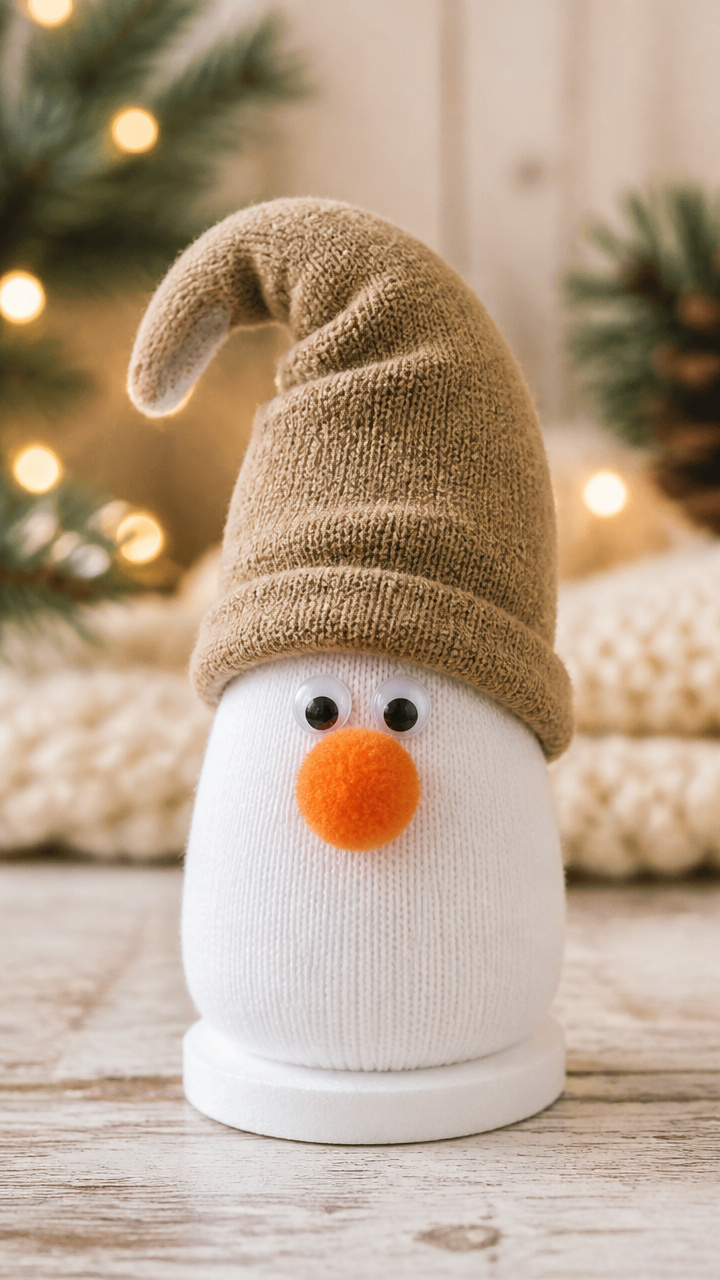
Tiny gnomes made without any needlework are perfect for quick gifts or tree ornaments. They rely on fabric glue and pre-cut shapes.
Materials Needed
- 2 white baby crew socks
- 1 sheet tan craft foam
- 1 sheet white craft foam
- Fabric glue
- Small orange pom-pom, 15mm
- Googly eyes, 6mm, 2 per gnome
- Scissors
- Red chenille stem
How to Make It
- Cut a 3-inch circle from tan craft foam and glue it inside the toe of each sock to shape the face.
- Glue googly eyes near the top edge of the foam circle and center an orange pom-pom beneath for the nose.
- Layer strips of white craft foam below the nose to build a glued-on beard.
- Fold the sock over the back of the foam and secure with fabric glue.
- Twist a 4-inch piece of red chenille stem into a loop and glue it behind the head as a hanger.


3. Button-Eyed Garden Gnome
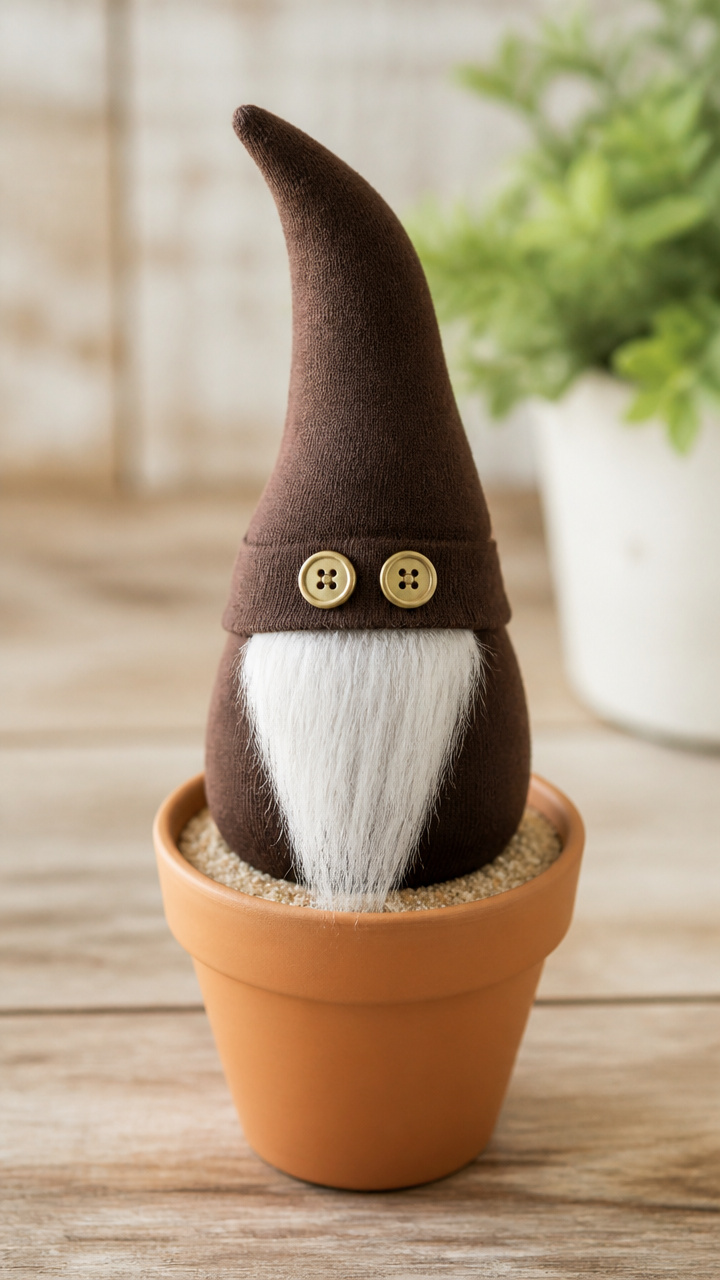
A sturdy outdoor gnome features rust-resistant buttons and weather-treated fabric. Ideal for porch decoration year-round.
Materials Needed
- 1 brown knee-high cotton sock
- 2 brass buttons, 12mm
- 1 cup coarse sand
- Polyester stuffing
- 1 small terracotta pot, 4-inch diameter
- Waterproof wood glue
- Green acrylic paint
- Paintbrush
How to Make It
- Fill the toe of the sock with equal parts polyester stuffing and sand for weight.
- Sew brass buttons securely onto the upper third of the stuffed toe using strong thread.
- Paint the terracotta pot with green acrylic paint and let dry completely for two hours.
- Pull the sock over the pot rim so the head sits on top and the leg covers the pot body.
- Use waterproof wood glue to fix the sock to the pot rim and allow six hours to set.

4. Felt Hat Sock Gnome
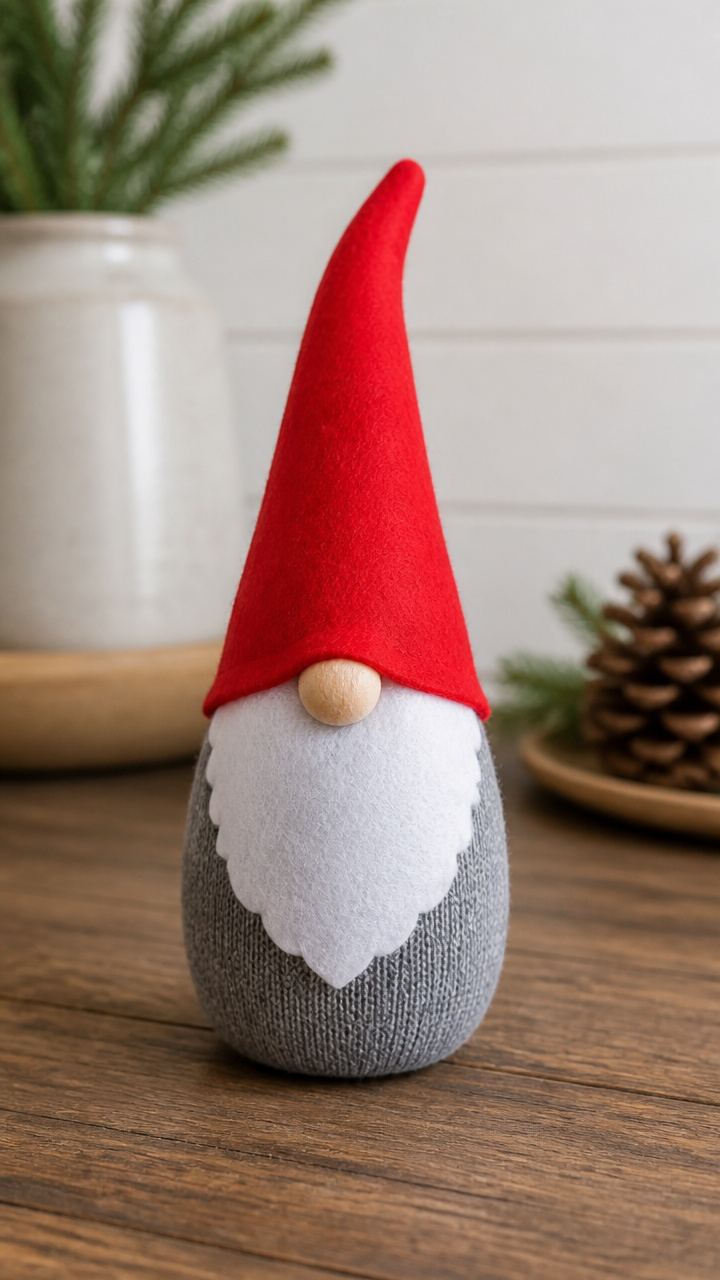
Bright hand-cut felt forms a snug cap that won’t fray. This gnome highlights clean color blocking and smooth textures.
Materials Needed
- 1 gray quarter-length sock
- 1 sheet red craft felt
- 1 sheet white craft felt
- Fabric scissors
- Fabric marker
- Fabric glue
- Polyester stuffing
- Black embroidery floss
How to Make It
- Draw a triangle 5 inches wide and 7 inches tall on red felt and cut it out.
- Fold the triangle into a cone shape and glue the seam with fabric glue.
- Cut a 1-inch wide strip of white felt and glue it around the base of the cone as a trim.
- Stuff the sock toe with polyester filling and shape the face by pinching the nose area.
- Sew two small stitches with black floss for eyebrows above the eyes.
- Slide the felt hat down over the head and secure lightly with a dot of fabric glue if needed.


5. Reindeer Horn Sock Gnome
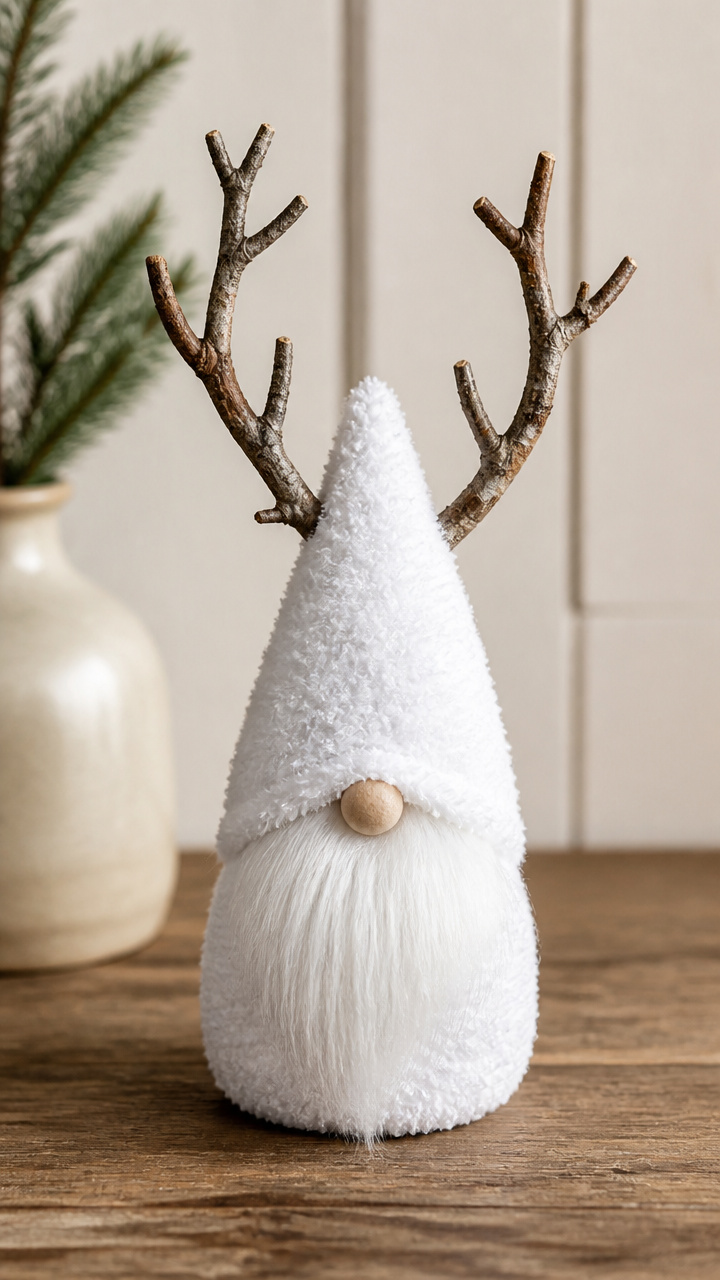
Antlers crafted from bent twigs give this gnome a wintry woodland feel. Perfect for December displays.
Materials Needed
- 1 white fuzzy sock
- 2 dried birch twigs, 6 inches long
- Brown acrylic paint
- Paintbrush
- Hot glue gun
- Polyester stuffing
- Small red pom-pom, 10mm
- Black marker
How to Make It
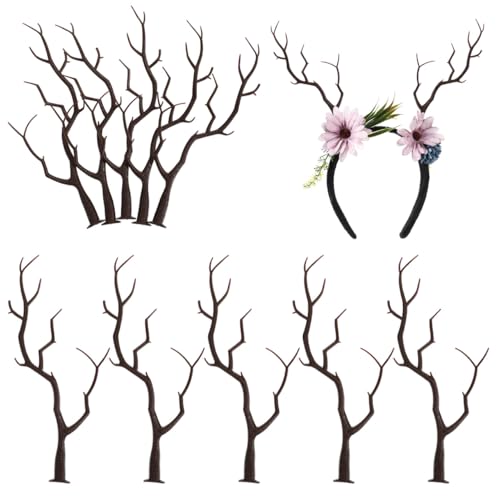
- Bend each twig slightly to form a gentle curve and paint them brown. Let dry for one hour.
- Stuff the sock toe with polyester filling and pinch just below the top to define the neck.
- Draw two small eyes and a smile on the face using a black marker.
- Glue the red pom-pom centered below the eyes for a nose.
- Position the twigs on either side of the head and glue them securely at the base with hot glue.


6. Patchwork Denim Gnome
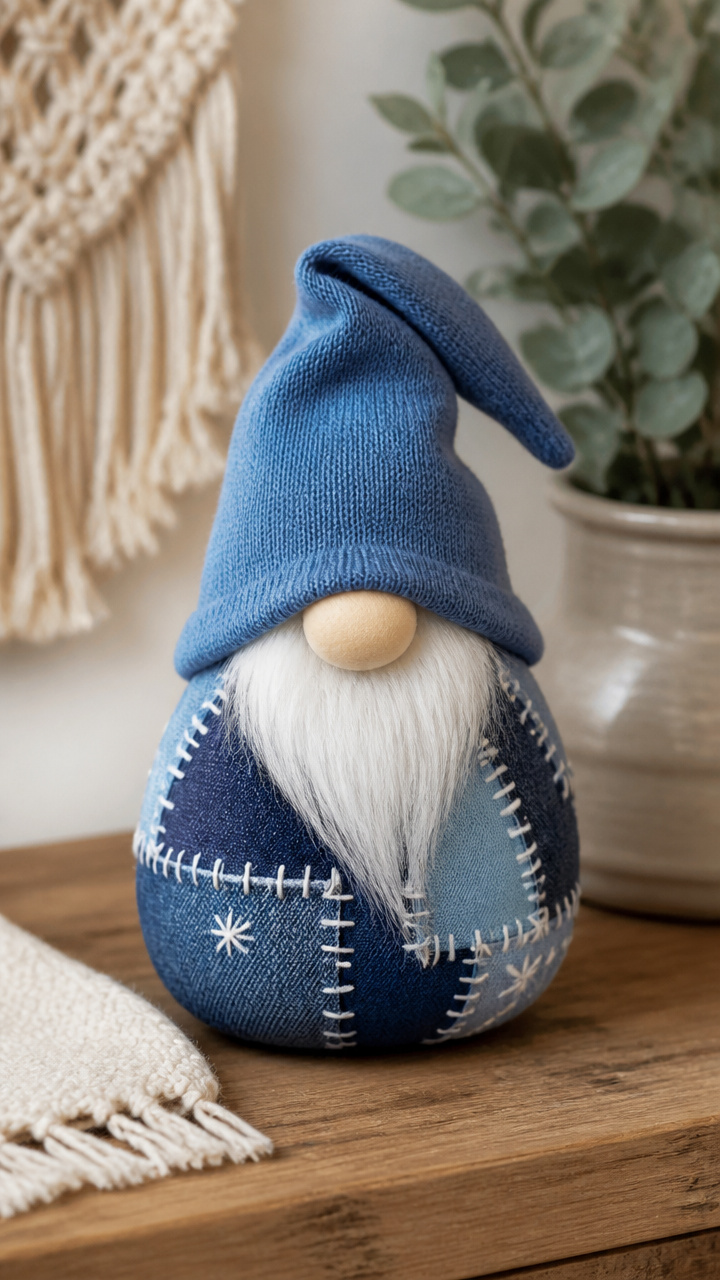
Scraps of old jeans form a rugged, textured body. Each patch is stitched with visible seams for a handmade touch.
Materials Needed
- 1 blue denim sock
- Assorted denim fabric scraps, 4 total pieces
- Needle and blue thread
- Polyester stuffing
- White embroidery floss
- Scissors
- Leather sewing needle
How to Make It
- Cut the toe from the sock and fill it with stuffing to make the head.
- Pin a 2×2 inch denim scrap to the lower part of the head for a patch.
- Stitch each corner of the patch with a cross-stitch using blue thread.
- Repeat with three more patches spaced evenly around the neck area.
- Use white embroidery floss to stitch a short beard line just below the chin.


7. Floral Crown Sock Gnome
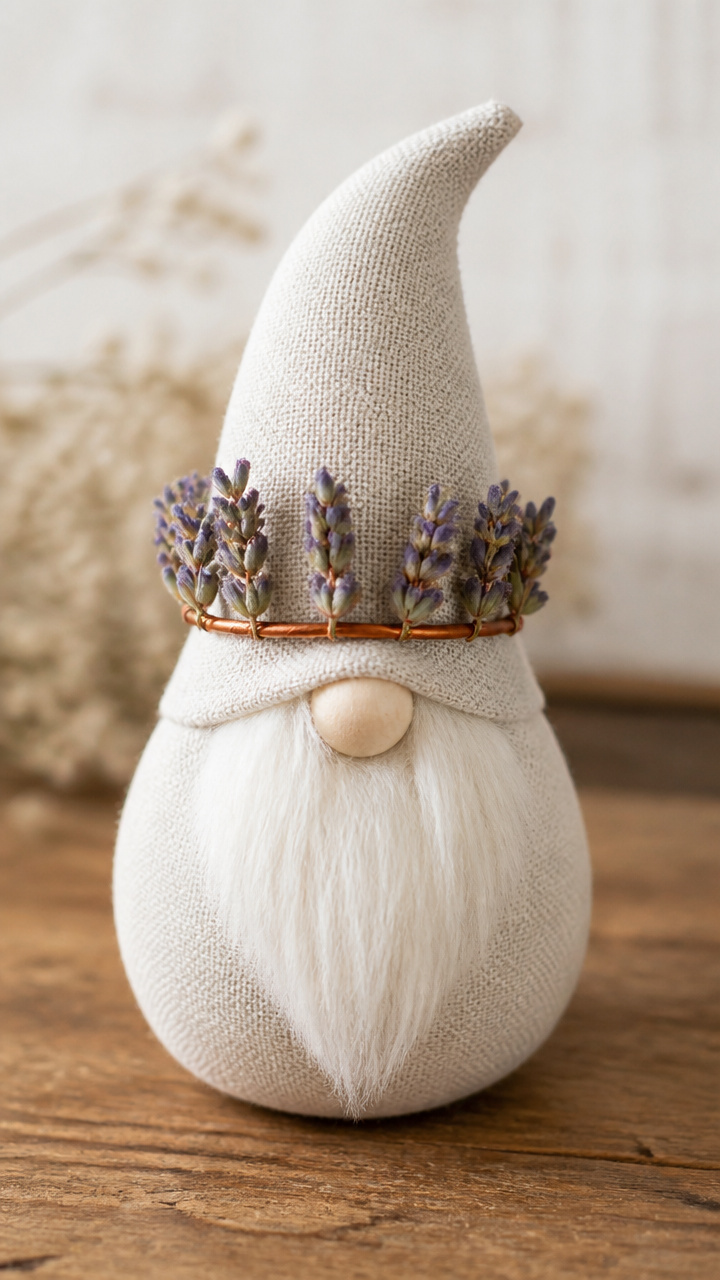
Dried mini blooms wired into a delicate crown sit gently atop a linen sock gnome. A spring-ready accent piece.
Materials Needed
- 1 natural linen-blend sock
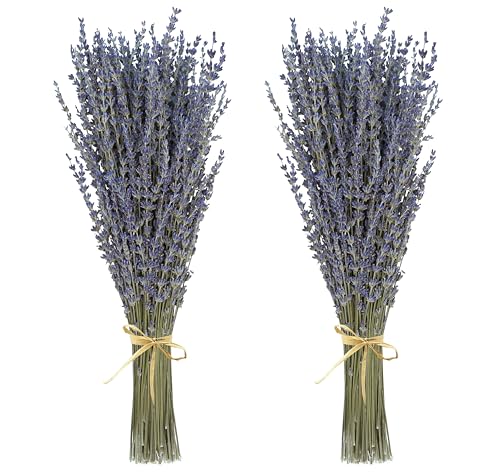
- 6 dried lavender sprigs
- 10-inch copper wire
- Wire cutters
- Hot glue gun
- Polyester stuffing
- Tan chenille stem
How to Make It
- Cut each lavender sprig to 2 inches and remove excess leaves.
- Thread five sprigs onto the copper wire and twist the ends to close into a ring.
- Add a sixth sprig at the front and glue it in place with hot glue for fullness.
- Stuff the sock toe and shape the face with light pinching at the cheeks.
- Place the floral crown gently on the head and use a dot of glue under one bloom to hold it.


8. Pom-Pom Hat Sock Gnome
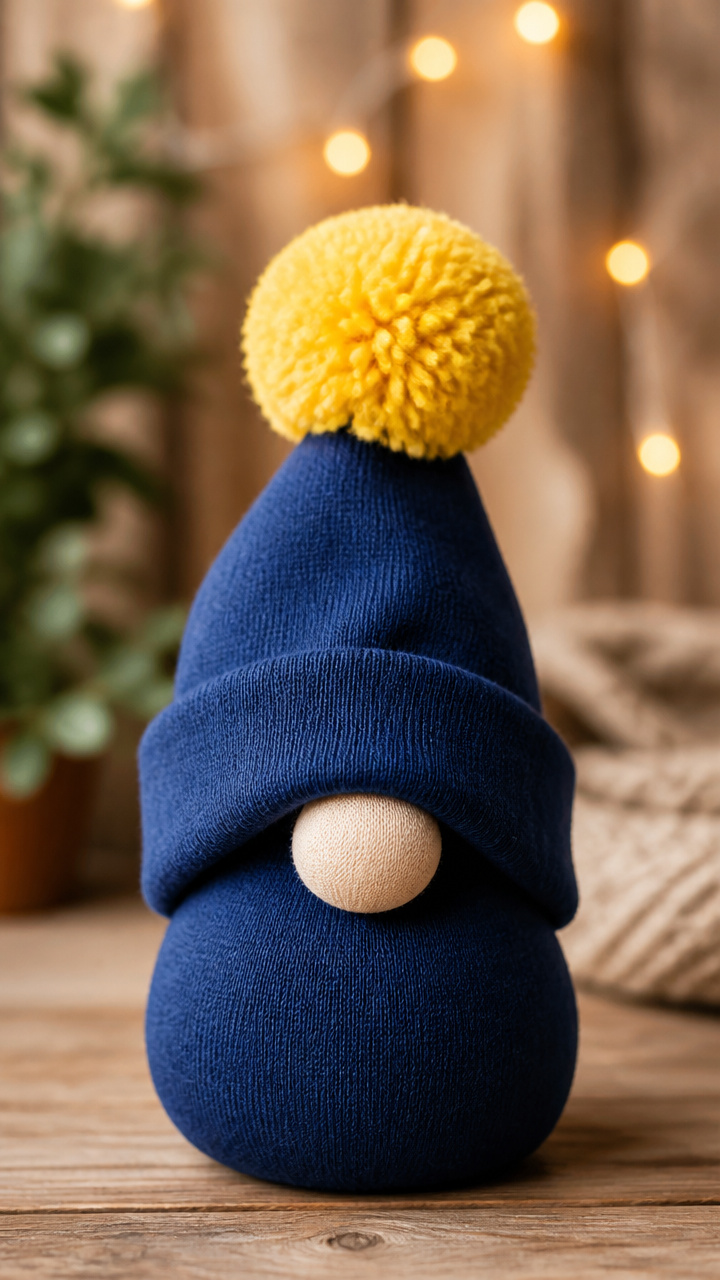
A fluffy yellow pom-pom caps a cheerful blue sock gnome. The hat shape is formed with folded fabric.
Materials Needed
- 1 navy crew sock
- 1 yellow pom-pom, 1.5 inches
- Polyester stuffing
- Ruler
- Fabric marker
- Scissors
- Hot glue gun
How to Make It
- Measure 4 inches from the toe and mark with a fabric marker.
- Cut across the sock at the mark and discard the foot portion.
- Turn the sock right-side out and stuff the toe section with polyester filling.
- Fold the open end inward by half an inch to hide raw edges.
- Glue the yellow pom-pom to the tip and press the fold flat to form a brimless hat shape.


9. Mason Jar Lid Base Gnome
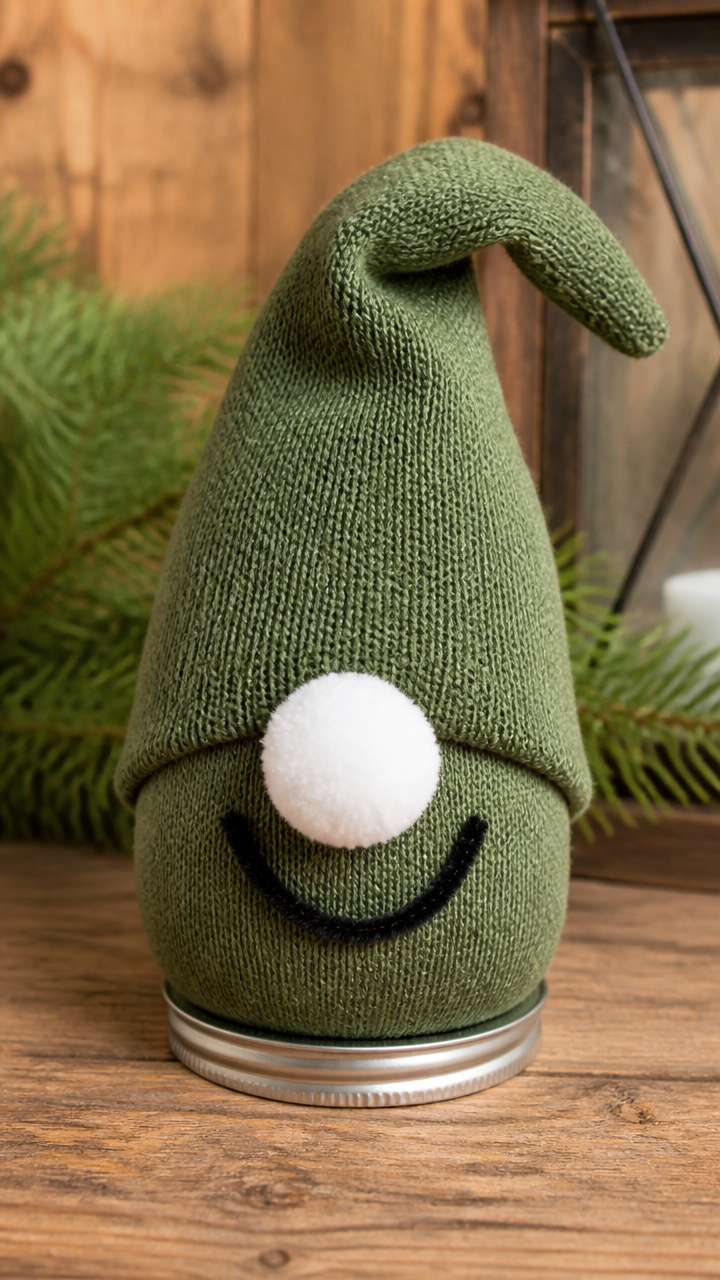
A metal lid anchors the gnome for stable display. The sock attaches cleanly with a wrapped knot.
Materials Needed
- 1 green sock
- 1 mason jar lid, 3-inch
- E6000 craft adhesive
- Polyester stuffing
- Black chenille stem
- Small white pom-pom
- Glitter glue
How to Make It
- Fill the sock toe with stuffing and tie a tight knot just above the filled section.
- Apply E6000 adhesive to the underside of the mason jar lid.
- Press the knotted end firmly into the adhesive and wait twelve hours to dry.
- Glue a white pom-pom to the front of the head for a nose.
- Add two short lines of glitter glue above the nose for rosy cheeks.


10. Knit Scarf Sock Gnome
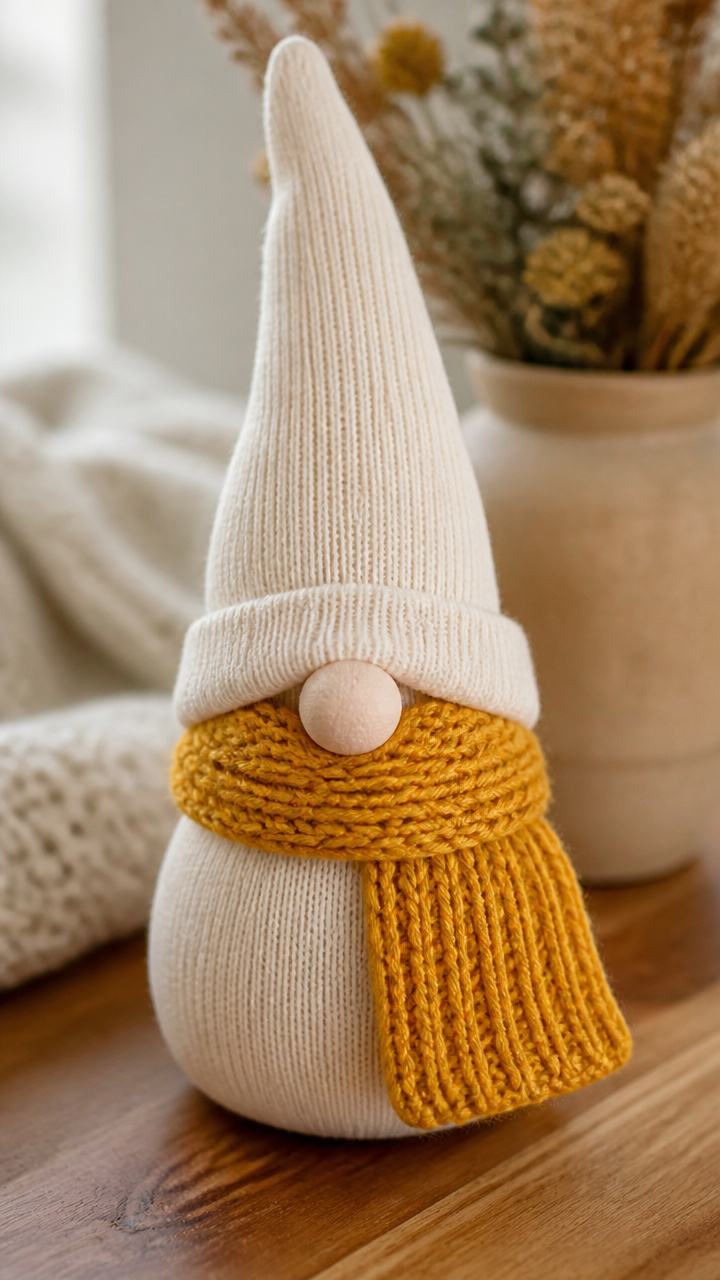
A tiny ribbed scarf wraps snugly around the neck. Knitting adds warmth and dimension.
Materials Needed
- 1 cream sock
- Worsted weight yarn in mustard yellow
- Size 6 knitting needles
- Tapestry needle
- Polyester stuffing
- Scissors
How to Make It
- Cast on 10 stitches and knit 12 rows in rib pattern (k1, p1).
- Bind off loosely and weave in ends with a tapestry needle.
- Stuff the sock toe and shape the face by smoothing the fabric.
- Slide the scarf around the neck just below the head.
- Tie the scarf ends in a small knot at the front to hold in place.


11. Seashell Beach Gnome
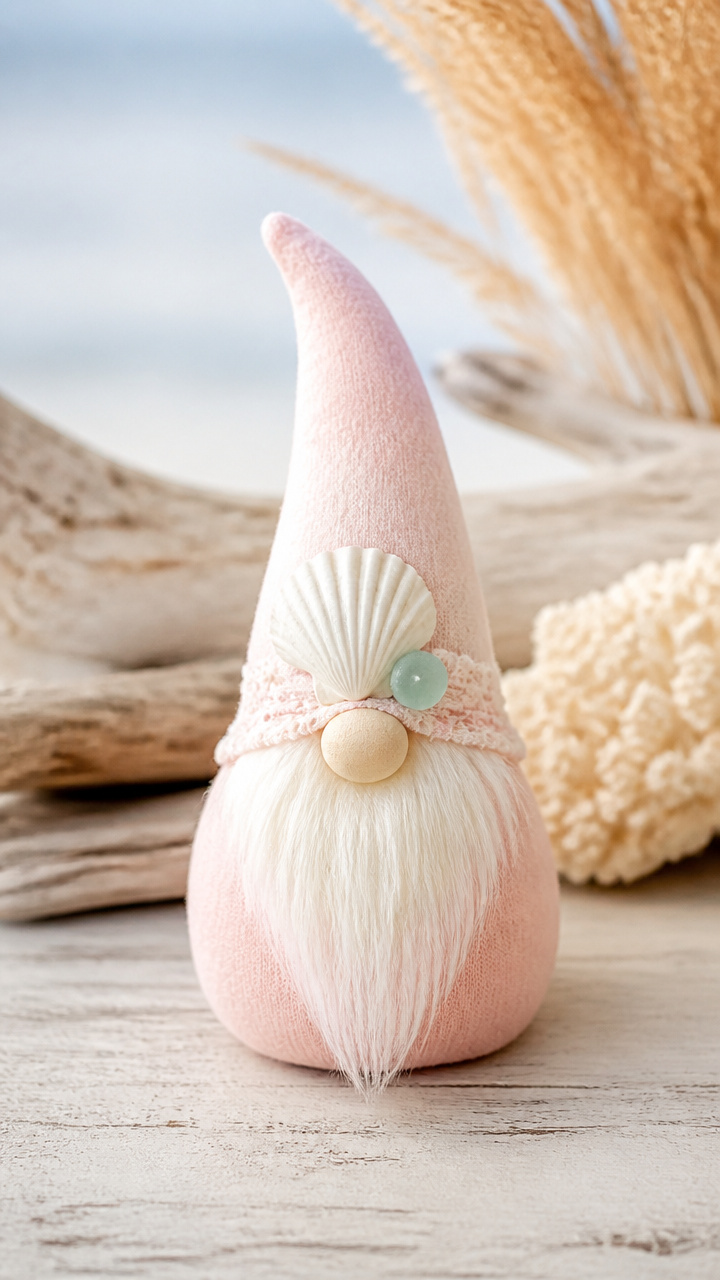
Tiny scallop shells form a mermaid-style hat. Ideal for coastal-themed rooms or summer decor.
Materials Needed
- 1 pale pink sock
- 8 small white scallop shells, 0.75 inch
- White craft glue
- Polyester stuffing
- Sea glass bead, 12mm
- Fine brush
How to Make It
- Clean shells with mild soap and water and let dry overnight.
- Arrange four shells in a circle on a flat surface, tips pointing outward.
- Glue each shell to the next using a fine brush for precision.
- Stack a second ring of four shells on top, offsetting the gaps.
- Stuff the sock toe, then glue the shell structure to the top like a crown.


12. Chalkboard Sign Gnome

A mini chalkboard hangs from the gnome’s hand. Chalk messages can be changed weekly.
Materials Needed
- 1 striped tube sock
- 1 rectangle of chalkboard paper, 2×3 inches
- White chalk
- Mini clothespin
- Jute string, 6 inches
- Polyester stuffing
- Craft stick
How to Make It
- Cut the sock toe and stuff it with filling to form the head.
- Write a message on the chalkboard paper with white chalk.
- Glue the paper to a craft stick and clip it into the mini clothespin.
- Glue the clothespin to the gnome’s side at waist level.
- Tie jute string through the clothespin hole and attach it to the back of the hand.


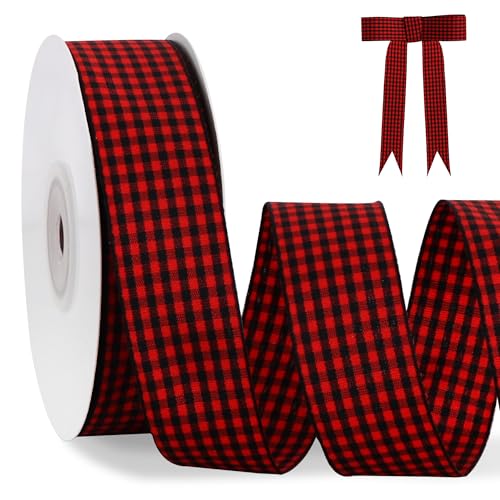
13. Plaid Shirt Gnome
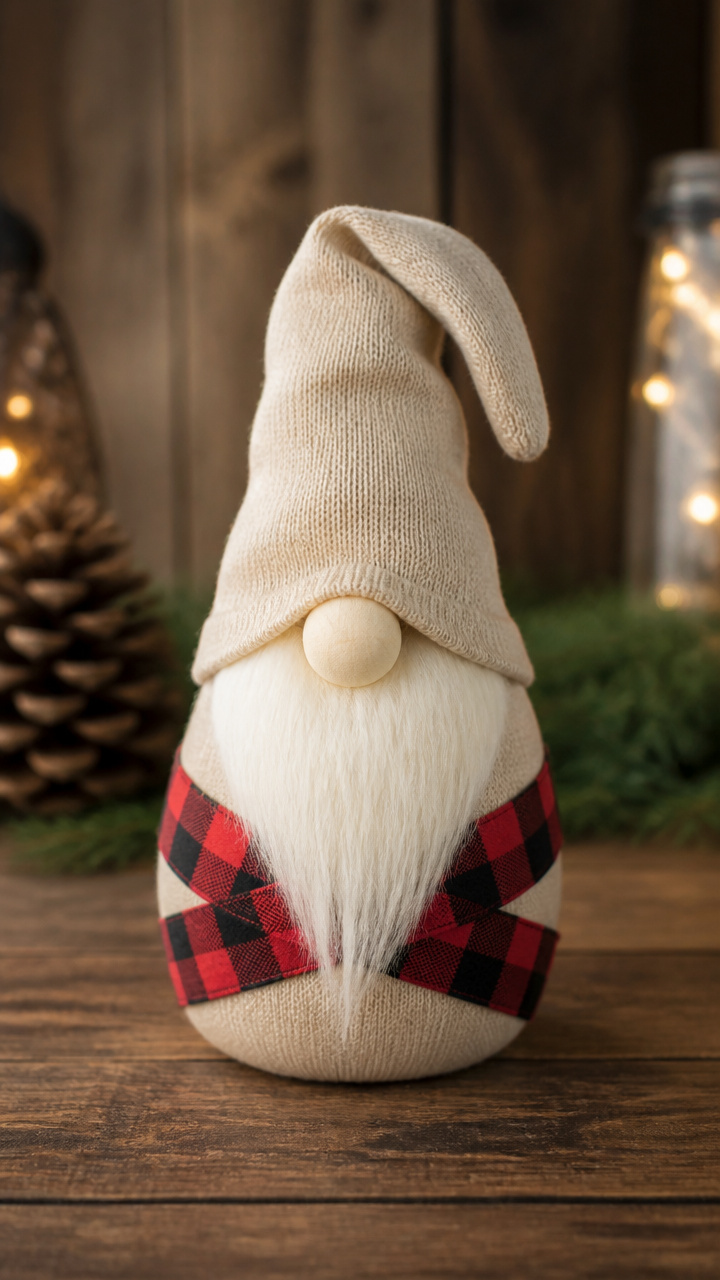
Red-and-black plaid ribbon mimics flannel fabric. It wraps around the body for instant detail.
Materials Needed
- 1 beige sock
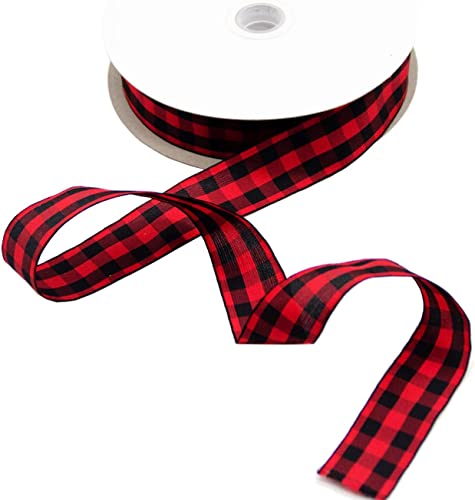
- 12 inches red-and-black plaid ribbon, 1 inch wide
- Fabric glue
- Polyester stuffing
- Scissors
How to Make It
- Cut the toe from the sock and stuff it firmly with polyester filling.
- Cut a 4-inch length of ribbon and glue it vertically down the front of the body.
- Wrap the remaining ribbon around the middle of the body like a shirt.
- Overlap the ends at the back and glue them together.
- Smooth the fabric to avoid wrinkles and let dry for thirty minutes.
14. Snowman-Like Winter Gnome
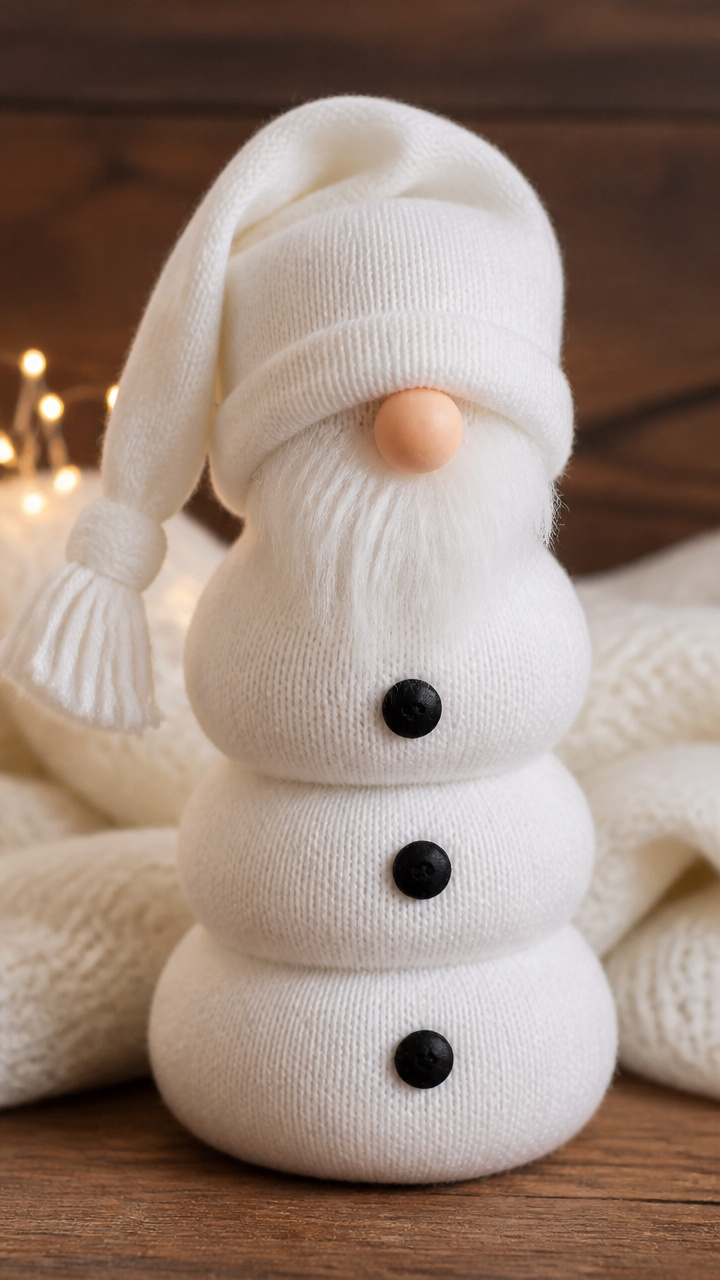
Three stacked sections mimic a snowman shape. Felt coal buttons add vintage winter charm.
Materials Needed
- 1 white long sock
- 3 black felt circles, 1 inch diameter
- Polyester stuffing
- Orange craft foam
- Fabric glue
- Scissors
How to Make It
- Divide the sock into three equal sections and tie knots between each with thread.
- Stuff each section fully so they sit rounded and upright.
- Glue one black felt circle to each section for buttons.
- Cut a small triangle from orange craft foam and glue it to the top section for a nose.
- Balance the bottom section on a flat surface to keep the figure upright.


15. Mustache Gnome Gentleman
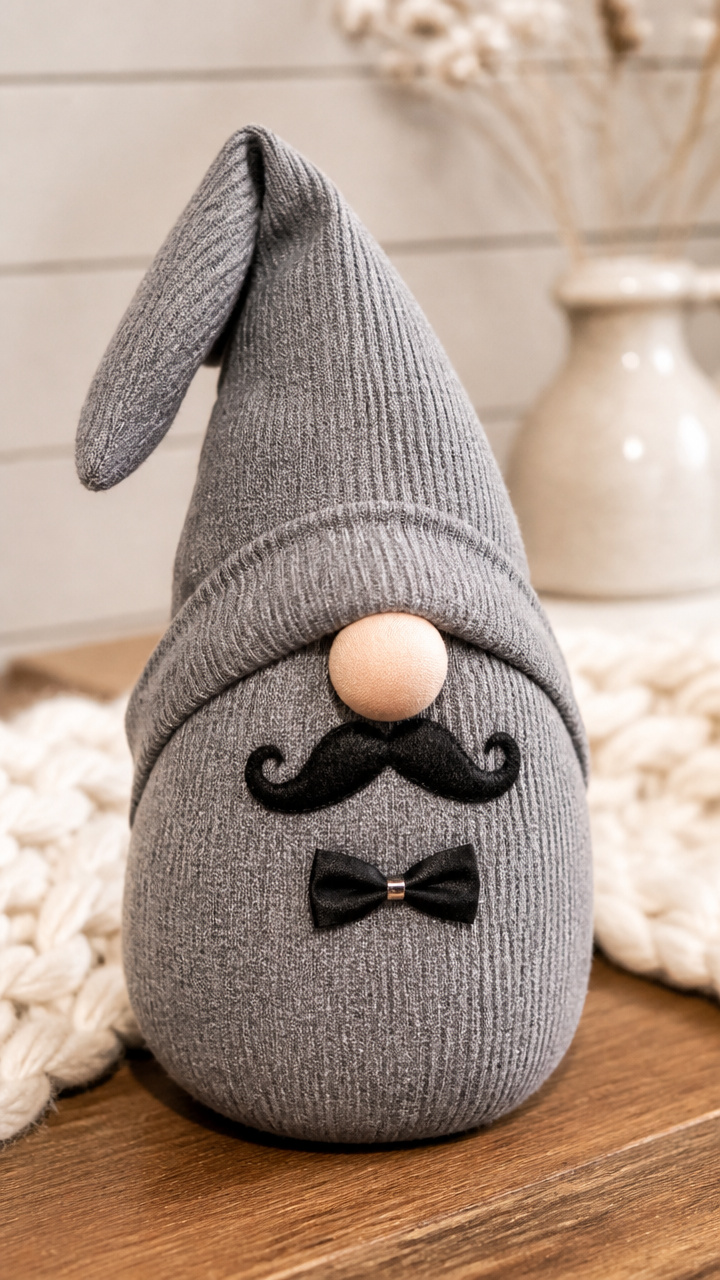
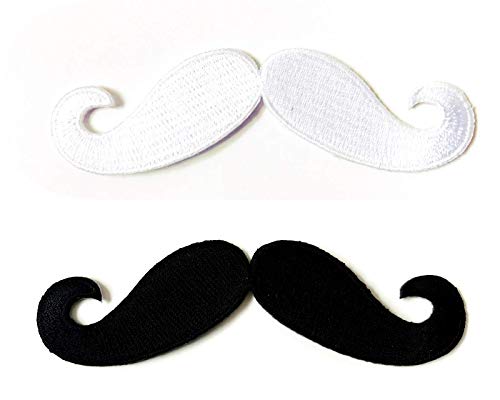
A curled black mustache gives this gnome old-world flair. The expression is both serious and sweet.
Materials Needed
- 1 gray sock
- Black embroidery floss
- Needle
- Polyester stuffing
- Small bowtie charm
- Fabric glue
How to Make It
- Stuff the sock toe and shape the face by pulling the fabric taut at the cheeks.
- Thread a needle with double black embroidery floss.
- Stitch a curved line from each corner of the mouth upward to form the mustache ends.
- Knot the thread securely on the inside of the head.
- Glue a small bowtie charm just below the chin.


16. Beaded Hair Gnome
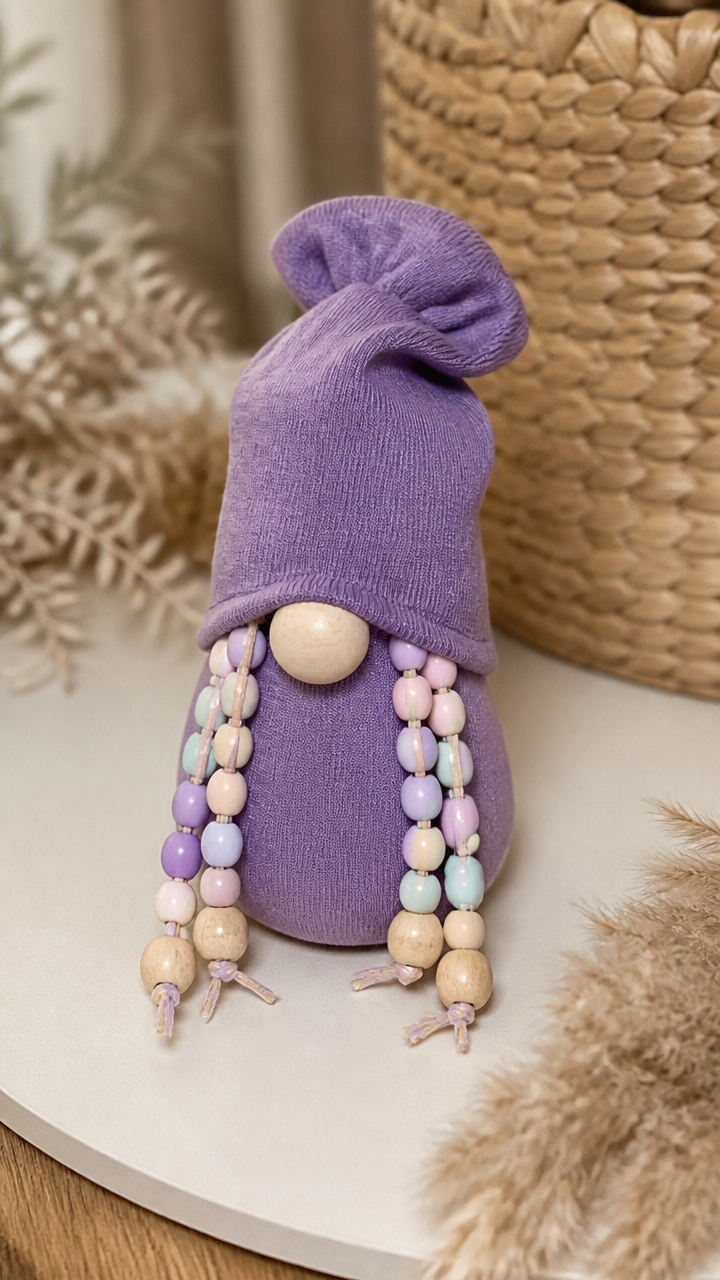
Strands of wooden beads hang like braids from a bun. Movement adds life to the still figure.
Materials Needed
- 1 purple sock
- 12 wooden beads, 8mm, assorted pastel colors
- Beading wire, 18 inches
- Wire cutters
- Hot glue gun
- Polyester stuffing
How to Make It
- Cut the toe and stuff it with polyester filling.
- Thread six beads onto a 9-inch piece of beading wire.
- Loop the wire end and crimp to form a pendant braid.
- Repeat to make three braids total.
- Glue the top of each braid to the back of the head and gather them into a bun with a wire twist.


17. Mini Lantern Gnome
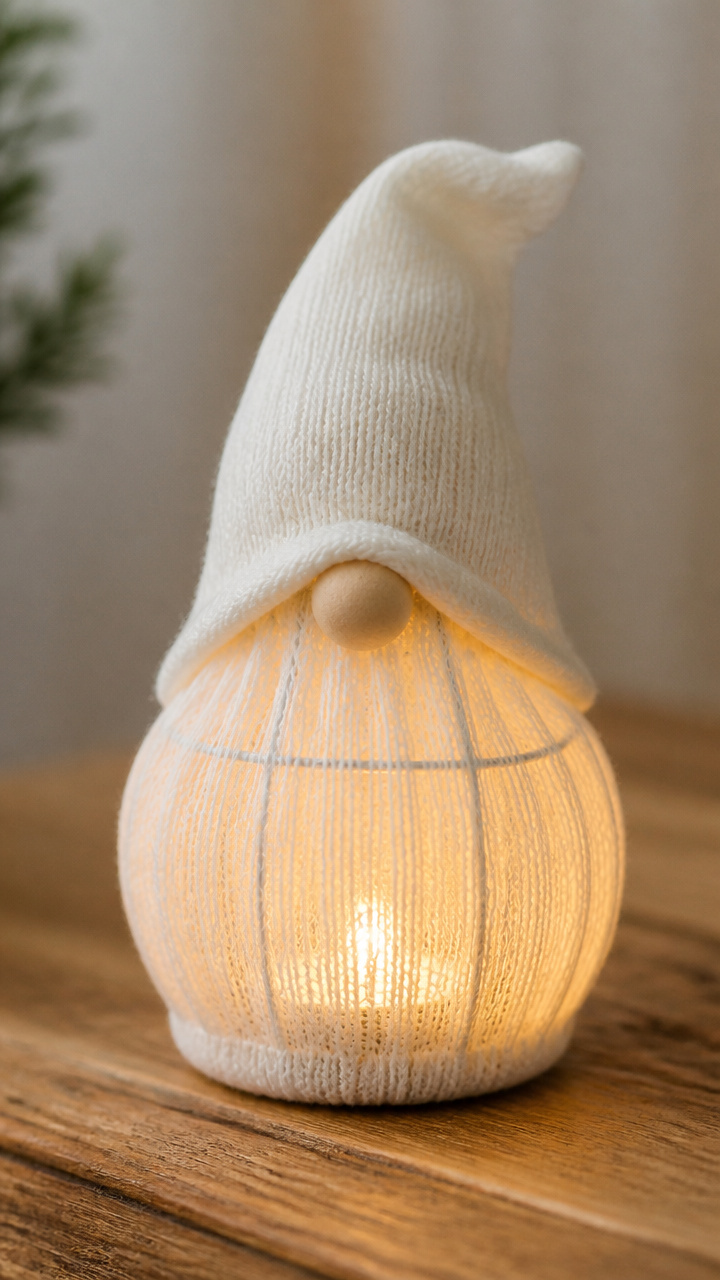
A battery tea light fits inside a wire cage. The glow peeks through the sock’s knit pattern.
Materials Needed
- 1 sheer ivory sock
- 1 battery-powered tea light
- Aluminum wire, 12 inches, 18-gauge
- Wire cutters
- Round-nose pliers
- Polyester stuffing
How to Make It
- Shape the aluminum wire into a dome using round-nose pliers.
- Form a base ring and attach it to the dome with twisted wire joints.
- Stuff the sock toe and place it over the wire frame.
- Ensure the tea light fits inside the body and turns on easily.
- Adjust the sock fabric so light glows through the knit holes.


18. Acorn Cap Gnome
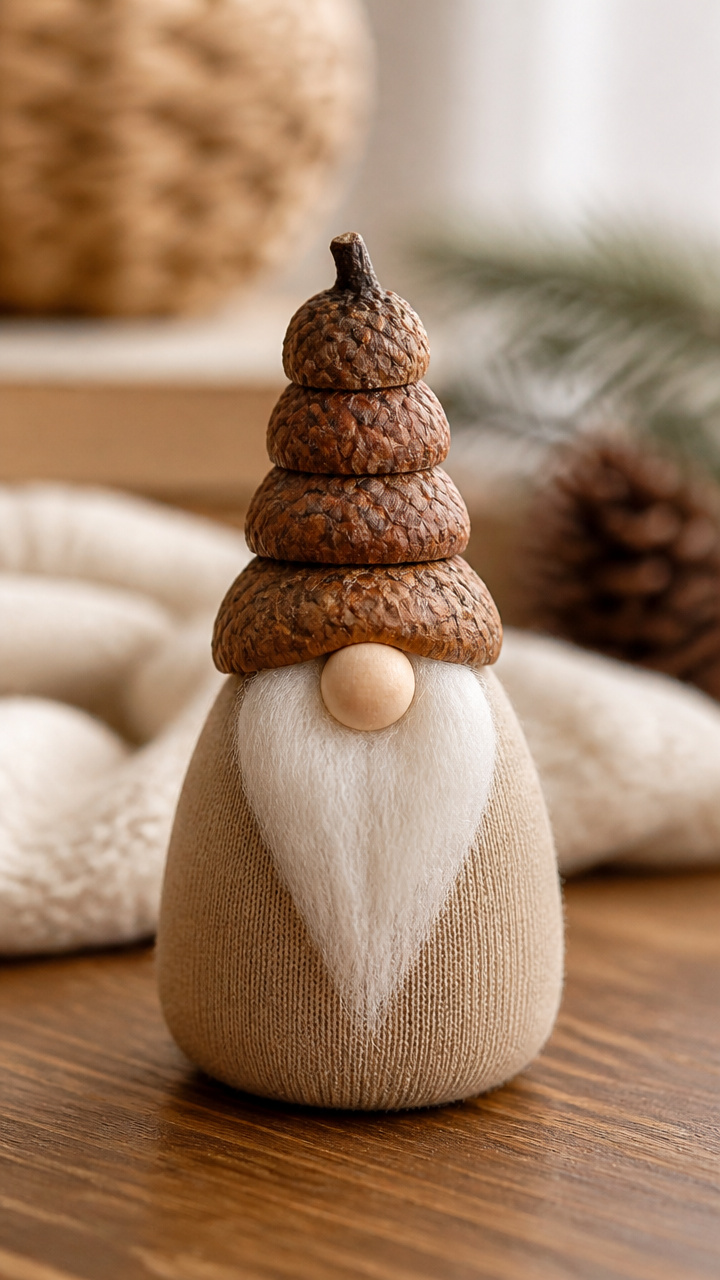
Real acorn caps become natural hats. Collected in autumn, they bring earthy authenticity.
Materials Needed
- 1 tan sock
- 4 large acorn caps
- Wood glue
- Fine brush
- Polyester stuffing
- Toothpick
How to Make It
- Clean acorn caps with a damp cloth and let dry completely.
- Arrange three caps in a fan shape on a flat surface.
- Use a toothpick to apply wood glue between each cap connection.
- Press gently and let dry for two hours.
- Stuff the sock toe and glue the cap cluster to the top of the head with wood glue.


You’ve got everything you need to start creating right now. Pick your favorite idea and let the quiet joy of crafting carry you forward.