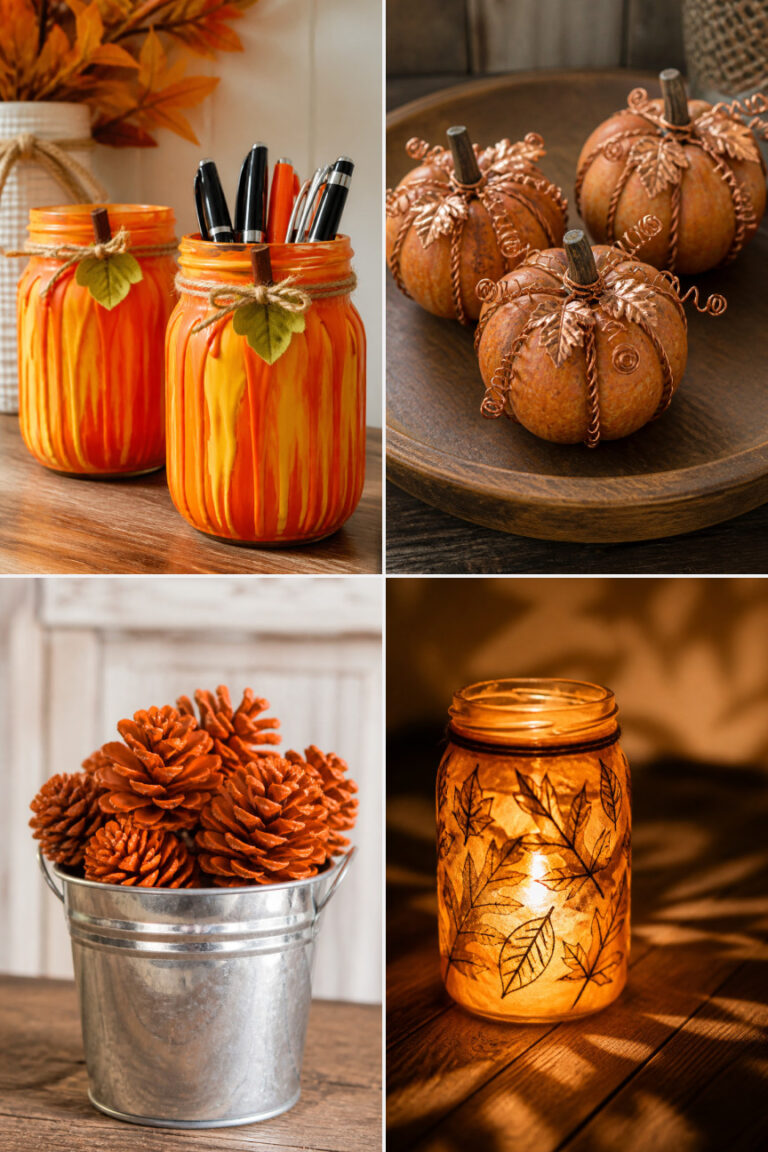
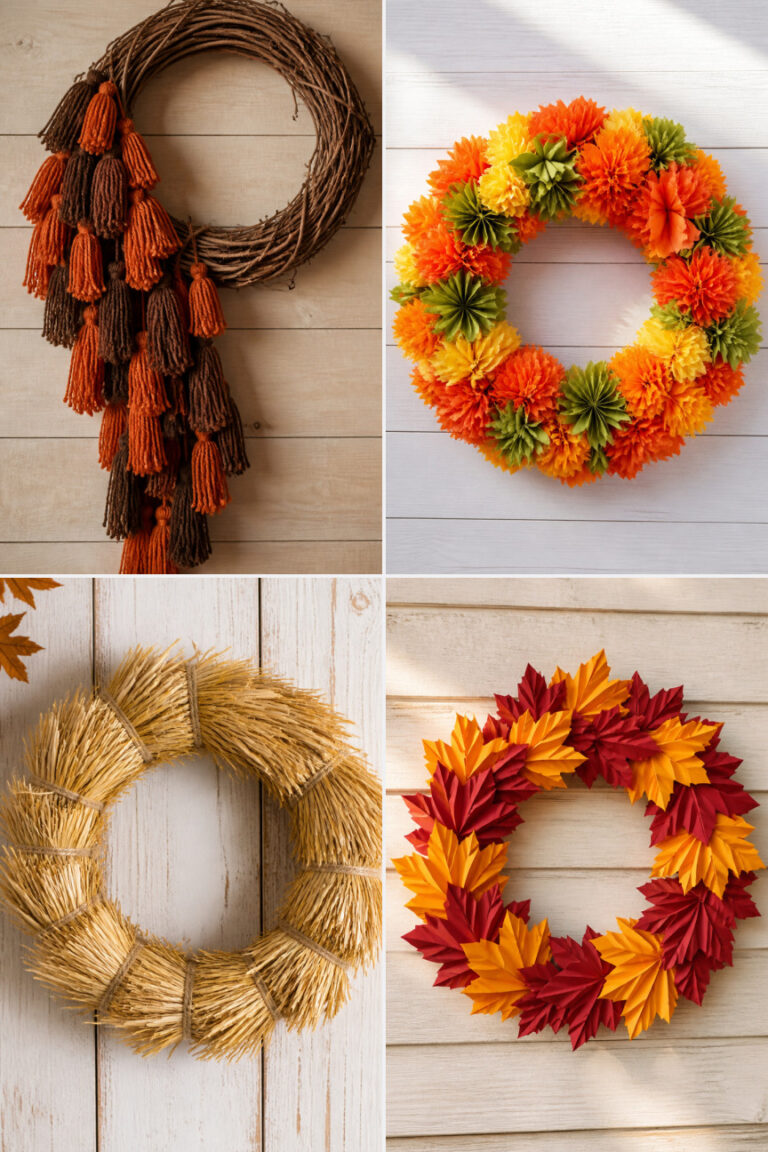
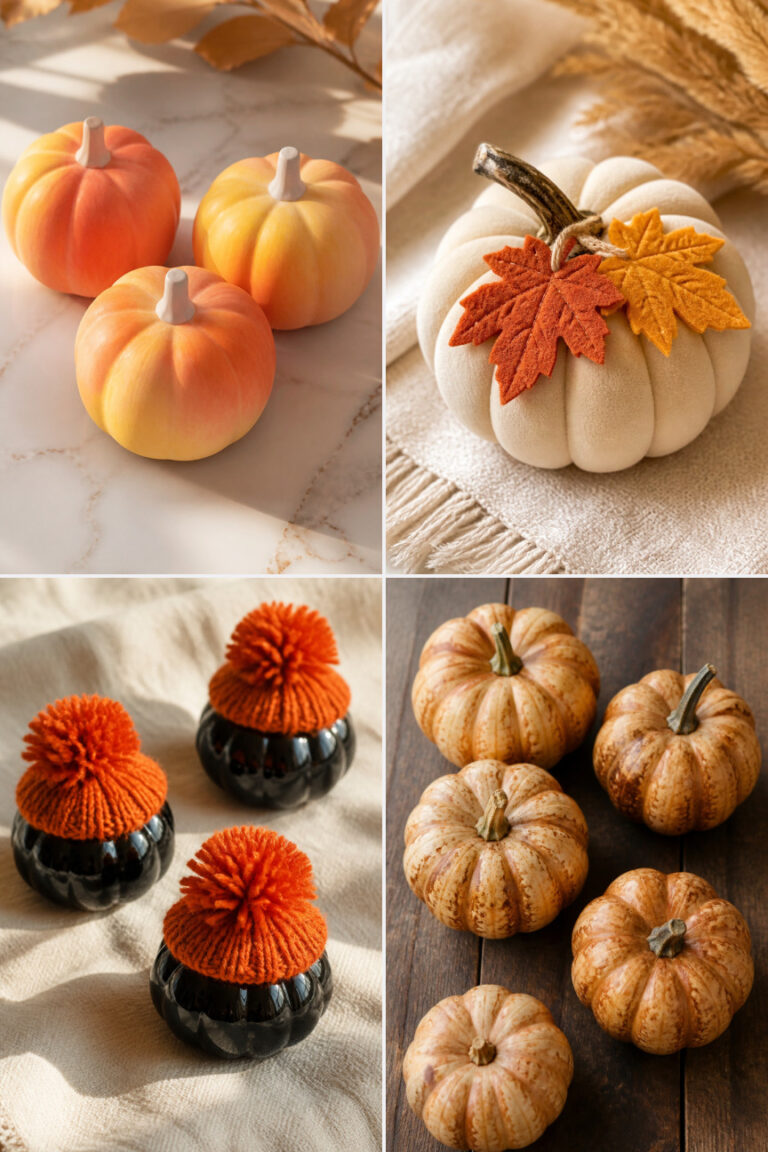
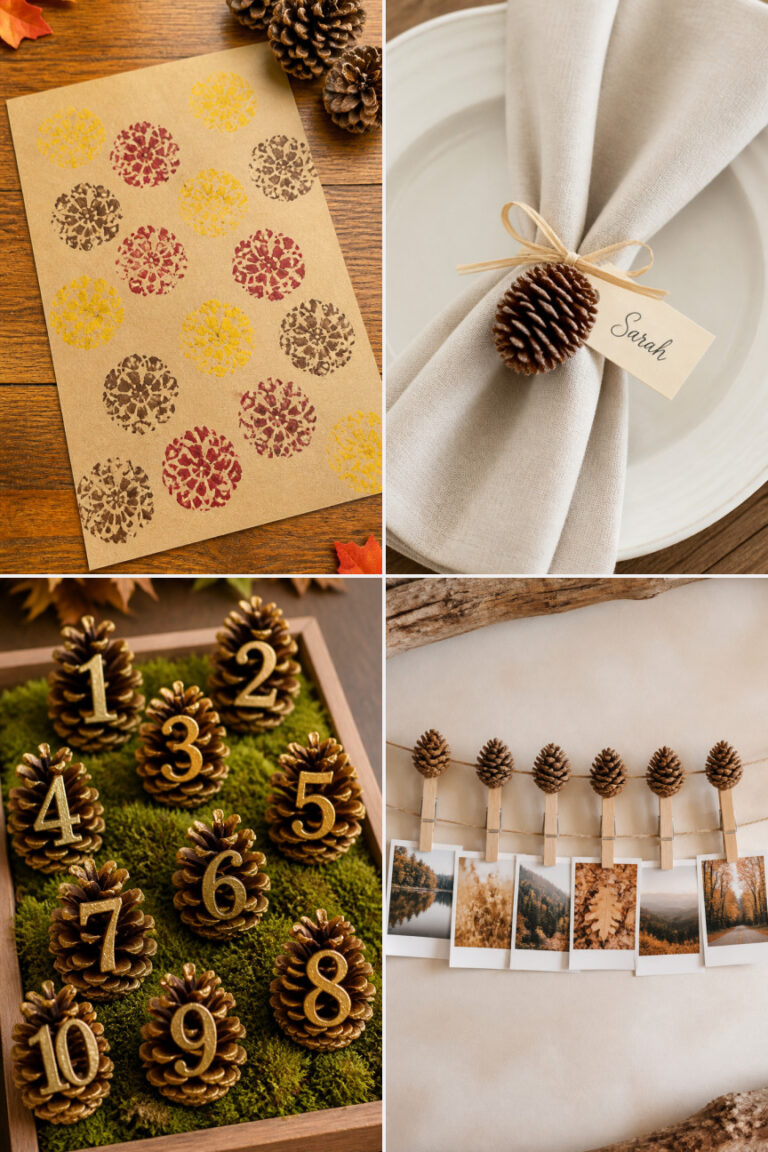
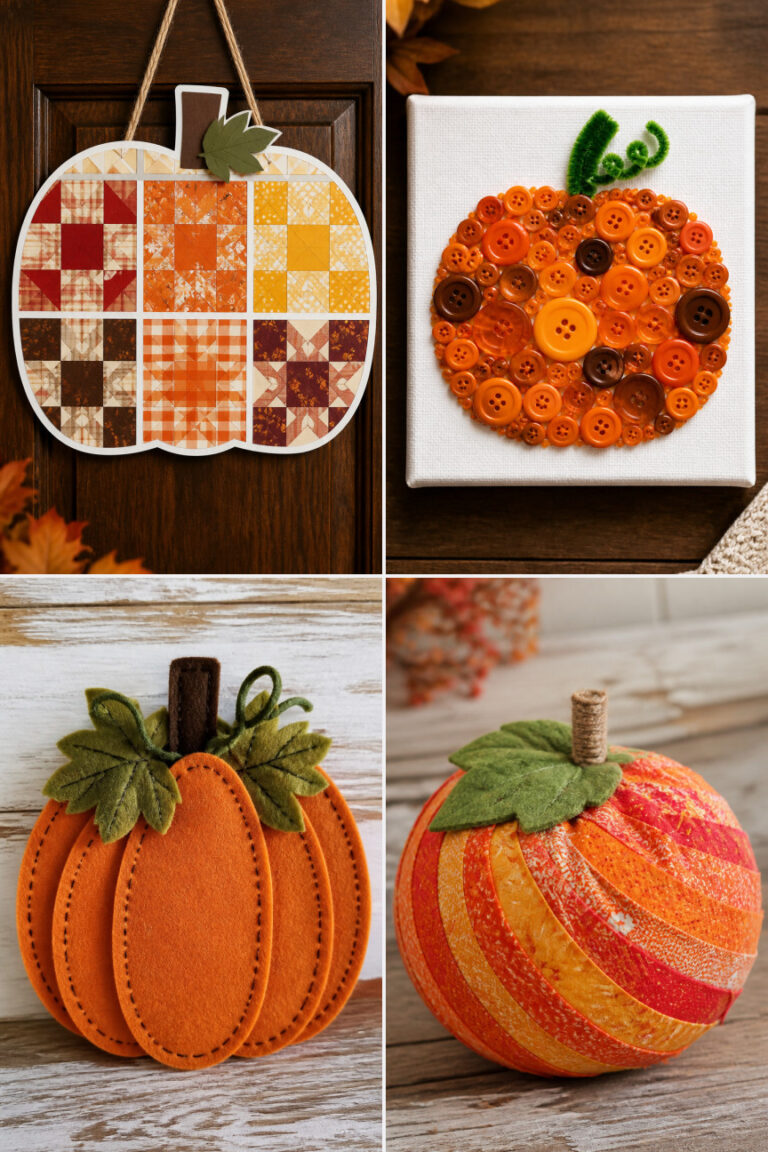
15 Dollar Tree Pumpkin Crafts on a Budget

Autumn brings a quiet magic, and crafting with simple materials can bring that warmth into your home. With just a trip to Dollar Tree, you can create handmade decor that feels personal and inviting without stretching your budget.
These pumpkin projects use affordable, accessible supplies and deliver charm with every stitch, paint stroke, and cut. Each one is designed to be doable in an afternoon, with clear steps and real results you’ll want to display.
1. Painted Burlap Pumpkin
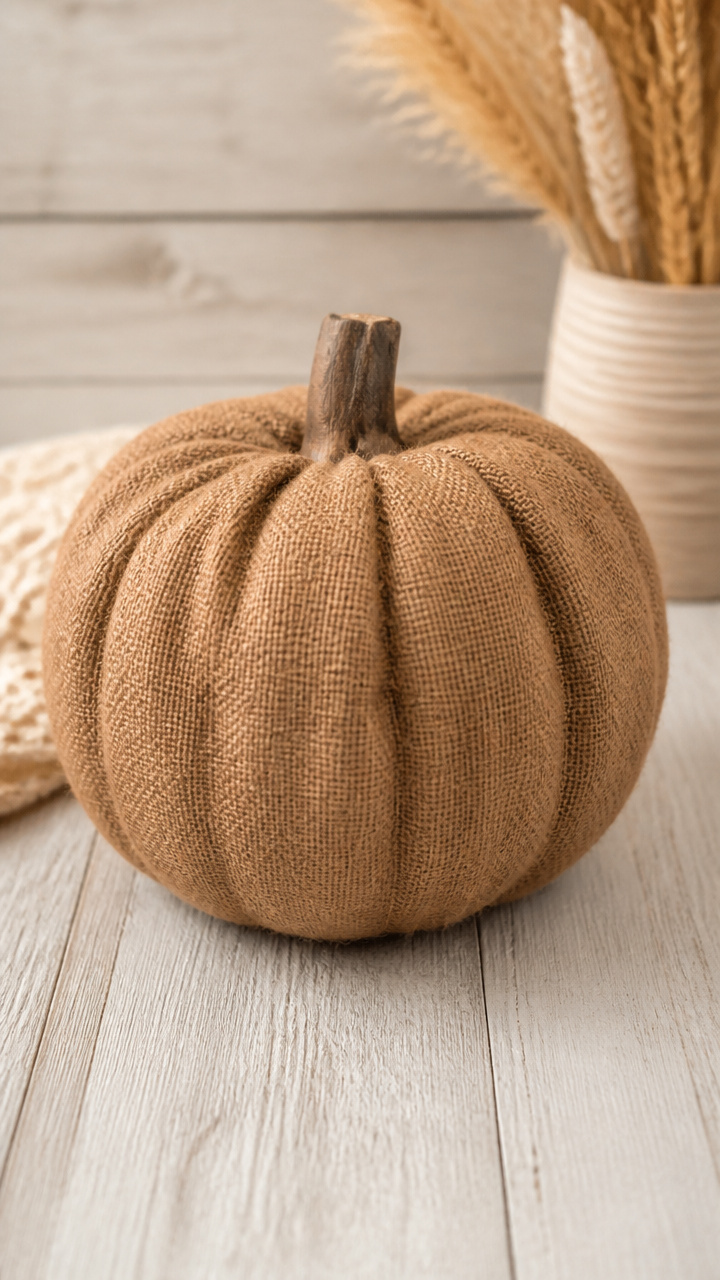
Soft texture and earthy color make this burlap pumpkin a cozy addition to shelves or centerpieces. It holds its shape well and looks handmade in the best way.
Materials Needed
- 12-inch square burlap fabric
- 6-inch plastic pumpkin
- Scissors
- Hot glue gun
- Hot glue sticks
- Brown acrylic paint
- Small paintbrush
How to Make It
- Lay the burlap flat and place the plastic pumpkin in the center. Pull the edges up around the pumpkin to form gathers.
- Use the hot glue gun to secure the gathered burlap at the stem, pressing the fabric into place evenly.
- Dip the paintbrush in brown acrylic paint and lightly dry-brush the burlap surface to add aged texture. Let dry for 20 minutes.


2. Glitter Mason Jar Lid Pumpkin
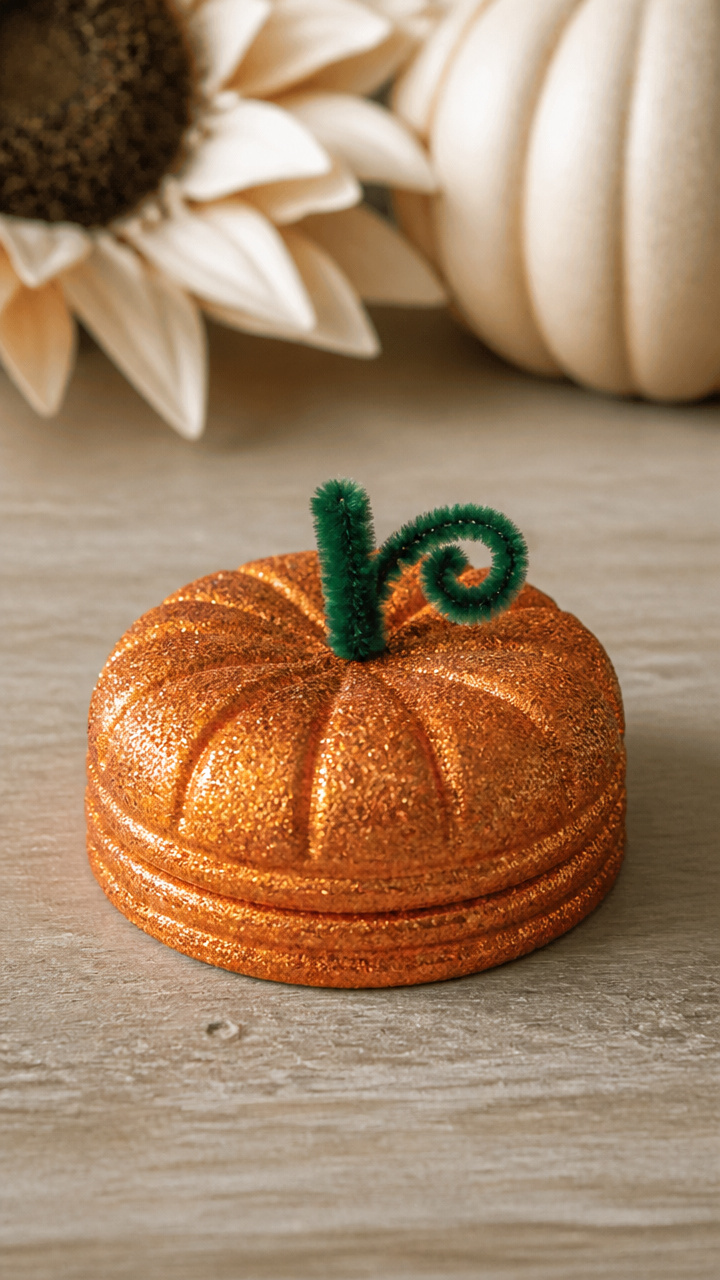
A shiny, sturdy pumpkin made from a recycled jar lid becomes a cheerful table accent. The glitter catches light beautifully and adds festive sparkle.
Materials Needed
- One 4-inch metal mason jar lid
- Orange glitter
- White craft glue
- Small foam brush
- Green pipe cleaner
- Hot glue gun
- Hot glue stick
How to Make It
- Spread white craft glue over the entire outer surface of the mason jar lid using the foam brush.
- Pour orange glitter over the glued lid, turning it to coat every side. Shake off excess and let dry for 30 minutes.
- Bend the green pipe cleaner into a curly stem shape and glue it to the center using hot glue. Hold 10 seconds until set.


3. Felt Strip Wreath Pumpkin
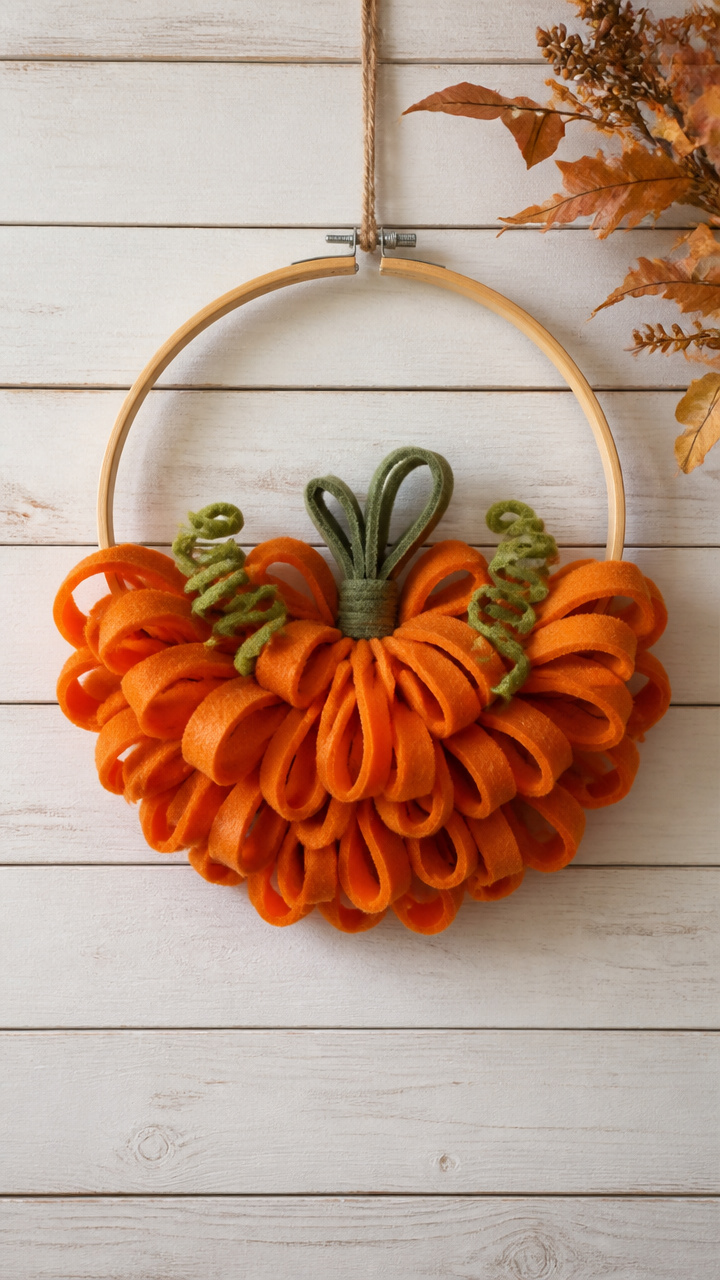
Loose, looping felt strips form a round pumpkin that hangs like a wreath. It’s lightweight and perfect for doors or walls.
Materials Needed
- 12 orange felt strips (1 inch x 18 inches)
- 6 green felt strips (1 inch x 18 inches)
- 12-inch embroidery hoop
- Scissors
- Hot glue gun
- Hot glue stick
How to Make It
- Open the embroidery hoop and lay it flat. Tie one orange felt strip to the inner ring using a knot in the center.
- Continue tying strips close together around the full circle until the inner ring is covered.
- Glue green strips around the outer edge to form leaf shapes, layering three strips per section. Let dry 15 minutes.


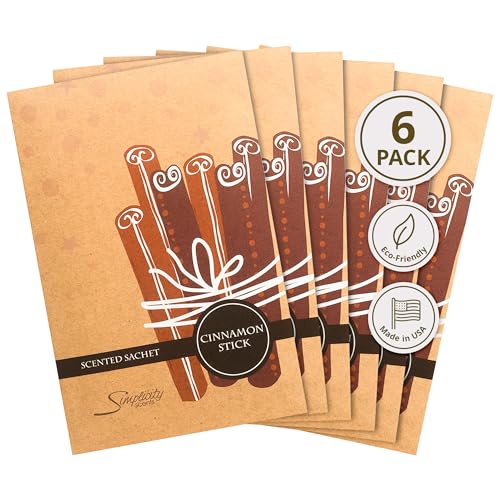
4. Pumpkin-Scented Cotton Ball Sachet
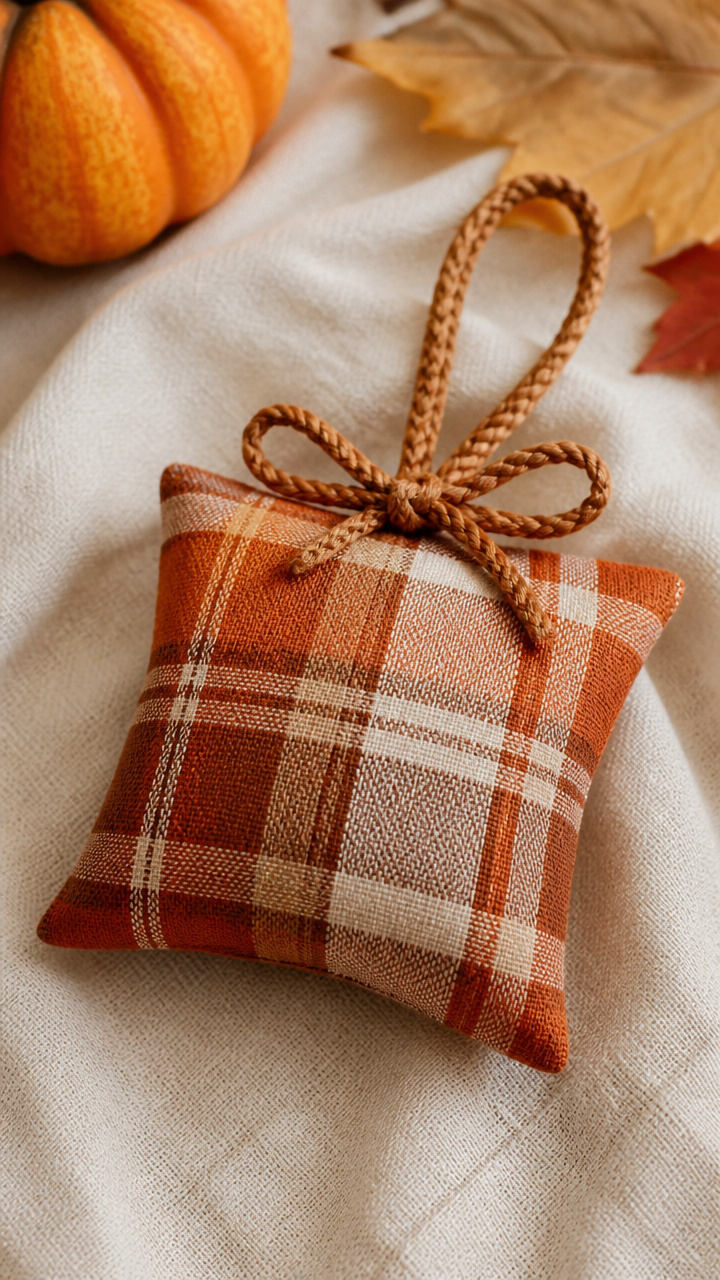
A small fabric pouch filled with cinnamon-scented cotton balls brings autumn fragrance to drawers or baskets. It feels soft and smells like fall.
Materials Needed
- 4-inch square cotton fabric
- Cotton balls
- Cinnamon essential oil, 10 drops
- Ribbon, 12 inches
- Needle and thread
- Scissors
How to Make It
- Place 5 cotton balls on the fabric square and add 10 drops of cinnamon essential oil.
- Pull the fabric corners up and gather them together. Wrap the ribbon around the gathered top and tie a knot.
- Stitch the ribbon in place with a few hand stitches to secure the bundle.

5. Paper Plate Fan Pumpkin
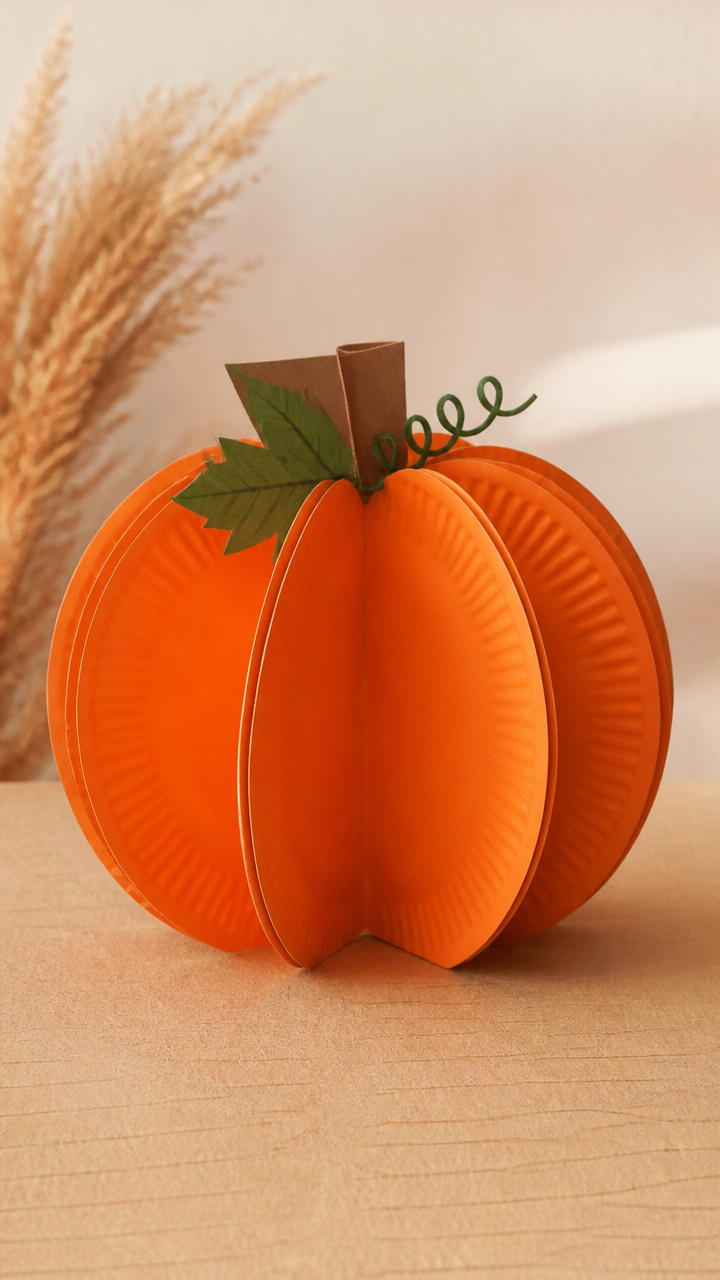
Folded paper plates create a 3D fan shape that stands on a shelf. The layered orange arcs mimic real pumpkin curves.
Materials Needed
- 3 paper plates
- Orange paint
- Paintbrush
- Ruler
- Pencil
- Scissors
- Hot glue gun
- Hot glue stick
How to Make It
- Paint each paper plate orange and let dry for 25 minutes. Use even strokes from center outward.
- Cut each plate from edge to center. Overlap the cut edges and glue to form a slight curve.
- Stack the three curved plates offset by 45 degrees and glue at the center with hot glue. Let dry 10 minutes.


6. Twine-Wrapped Foam Pumpkin
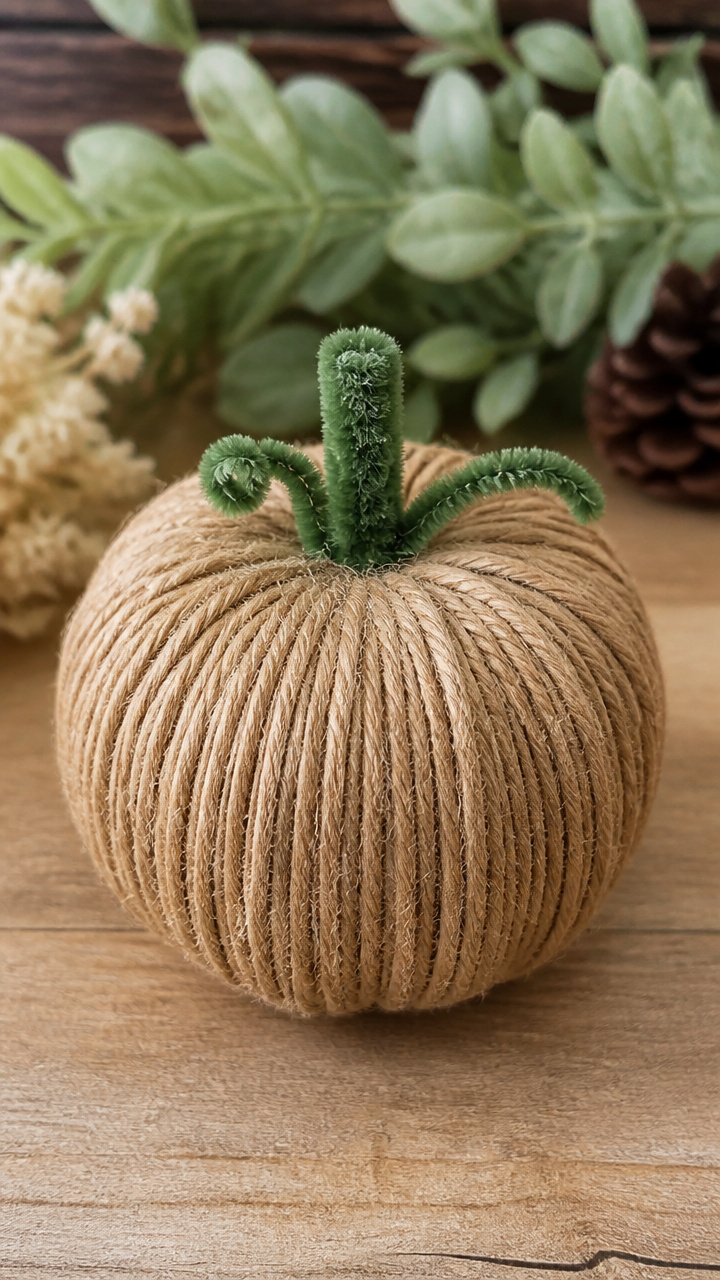
Tightly wound twine over a foam ball gives a rustic, textured look. This pumpkin holds up well year after year.
Materials Needed
- 4-inch white foam ball
- Natural twine, 50 feet
- Hot glue gun
- Hot glue stick
- Green chenille stem
How to Make It
- Apply a dot of hot glue to the foam ball and press the end of the twine into it. Wait 10 seconds.
- Wrap the twine tightly around the ball, adding a dot of glue every inch to secure and prevent slipping.
- When the ball is fully covered, cut the twine and glue the end down. Twist the green chenille stem into a stem and glue on top.


7. Popsicle Stick Pumpkin Frame
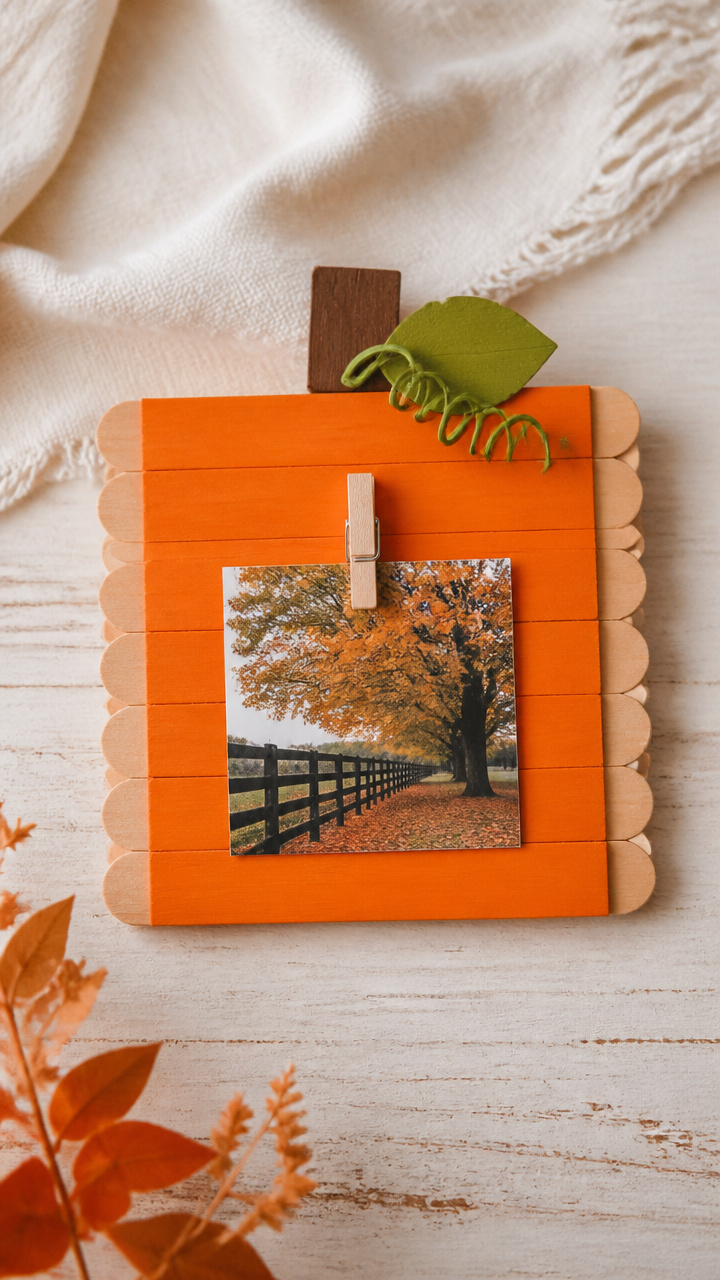
A tiny photo frame made from painted sticks holds a fall snapshot. It’s a personal gift or sweet keepsake.
Materials Needed
- 10 flat wooden popsicle sticks
- Orange acrylic paint
- Paintbrush
- Small clothespin
- Craft glue
- 2-inch square photo
- Scissors
How to Make It
- Paint all sticks orange and let dry for 20 minutes. Lay four sticks vertically side by side on a flat surface.
- Glue two sticks horizontally across the back at the top and bottom to form a frame. Let dry 15 minutes.
- Clip the photo into the clothespin and attach it to the back of the frame. Set upright on a shelf.


8. Pumpkin Tea Towel Banner
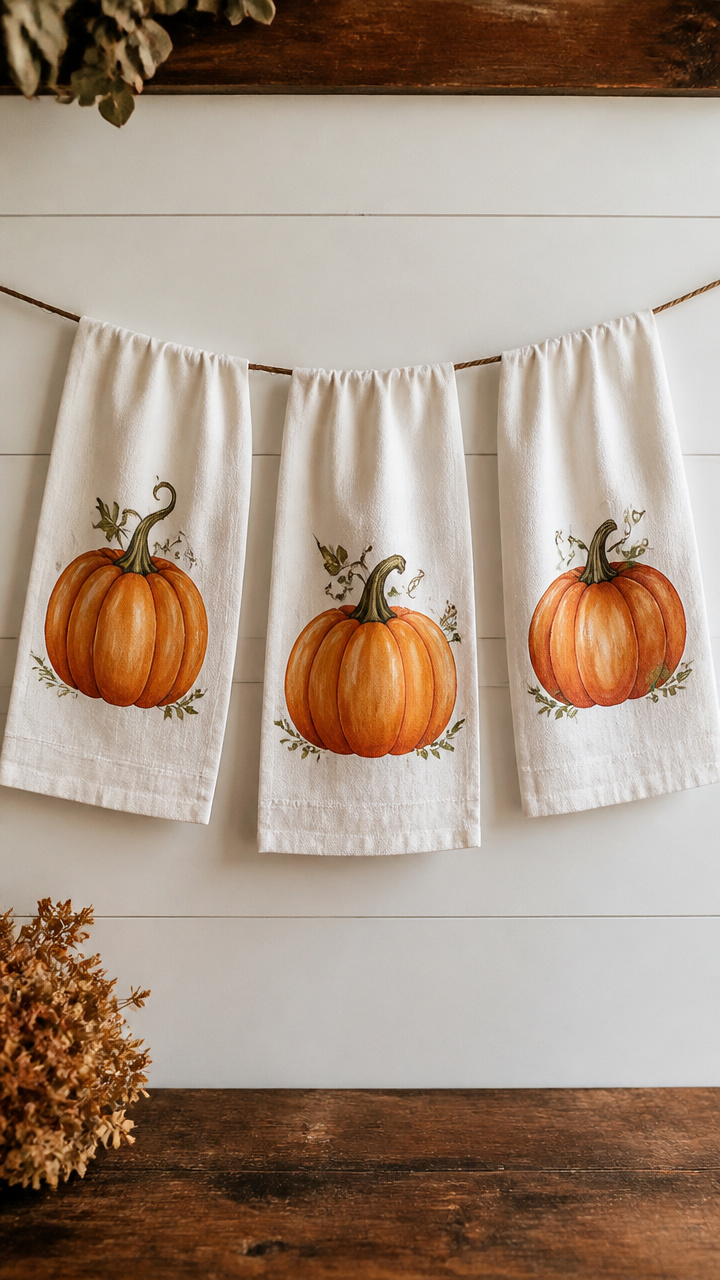
Mini tea towels become festive flags with painted pumpkins. Hang them across a mantel for instant seasonal cheer.
Materials Needed
- 3 small cotton tea towels
- Orange fabric paint
- Small stencil brush
- Pencil
- Baker’s twine, 3 feet
- Clothespins
How to Make It
- Fold each tea towel in half and sketch a small pumpkin shape near the open edge using a pencil.
- Dip the stencil brush in orange fabric paint and fill in each pumpkin. Let dry 30 minutes.
- Thread the baker’s twine through the folded edge of each towel and clip with clothespins to hang.


9. Pinecone Base Pumpkin
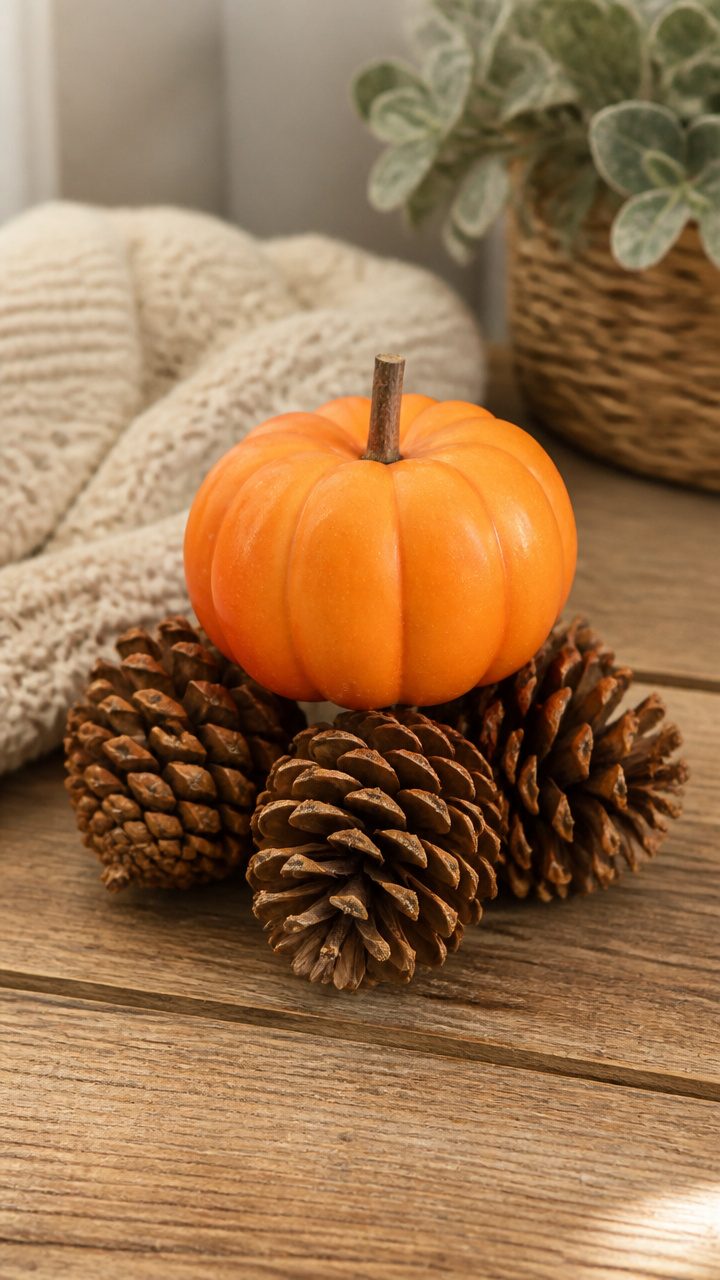
Real pinecones form a textured base under a smooth foam pumpkin. This combo brings woodland charm indoors.
Materials Needed
- 3 medium pinecones
- 3-inch orange foam pumpkin
- Hot glue gun
- Hot glue stick
- Small twig, 2 inches
How to Make It
- Arrange the pinecones in a triangle on a flat surface, tips pointing outward.
- Glue the foam pumpkin on top, pressing down gently until the glue sets, about 15 seconds.
- Glue the small twig into the top of the foam pumpkin to extend the stem. Let dry 10 minutes.


10. Washi Tape Pumpkin Jars
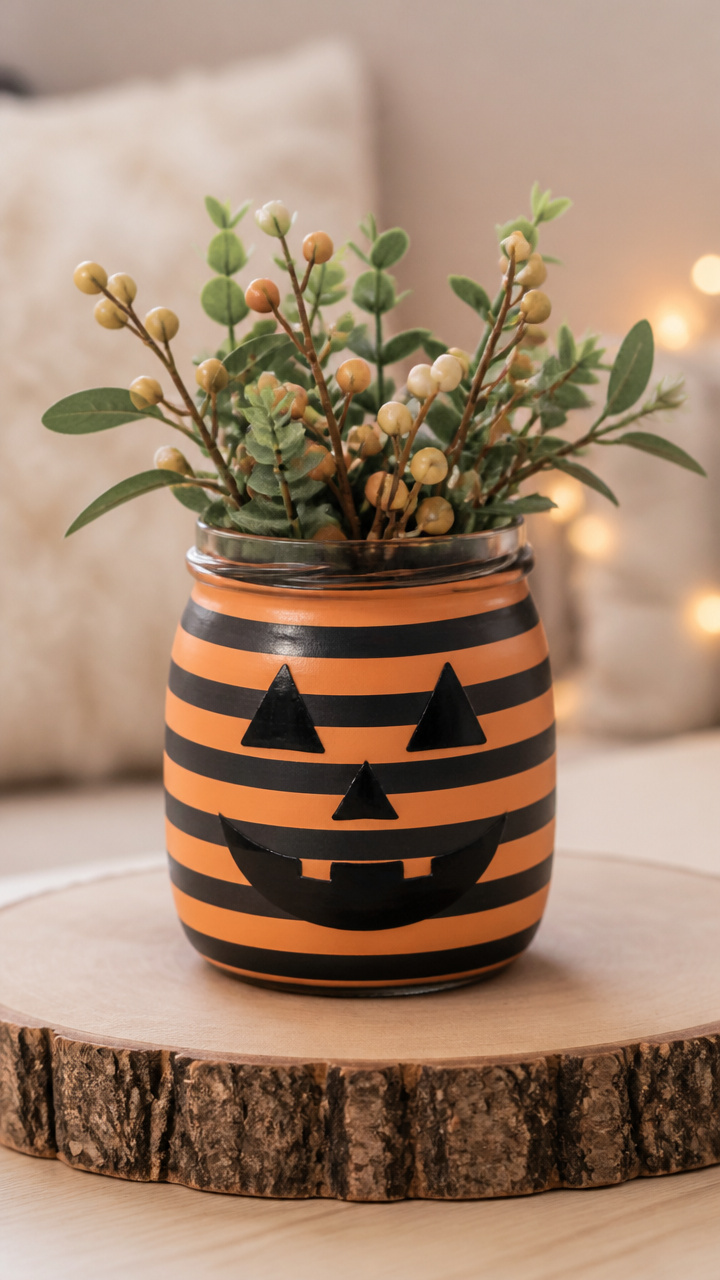
Clear jars become pumpkin-shaped vases with striped tape and painted faces. They’re great for holding pens or faux stems.
Materials Needed
- 3 small glass jars with lids
- Orange and black washi tape
- Black acrylic paint
- Small brush
- Cotton swab
- Scissors
How to Make It
- Wrap orange washi tape vertically around each jar, overlapping slightly to cover the glass completely.
- Cut black washi tape into small triangles and apply to make faces. Use three per jar.
- Paint a short stem shape on the lid using black acrylic paint. Wipe excess with a cotton swab. Let dry 20 minutes.


11. Yarn-Wrapped Clothespin Pumpkin
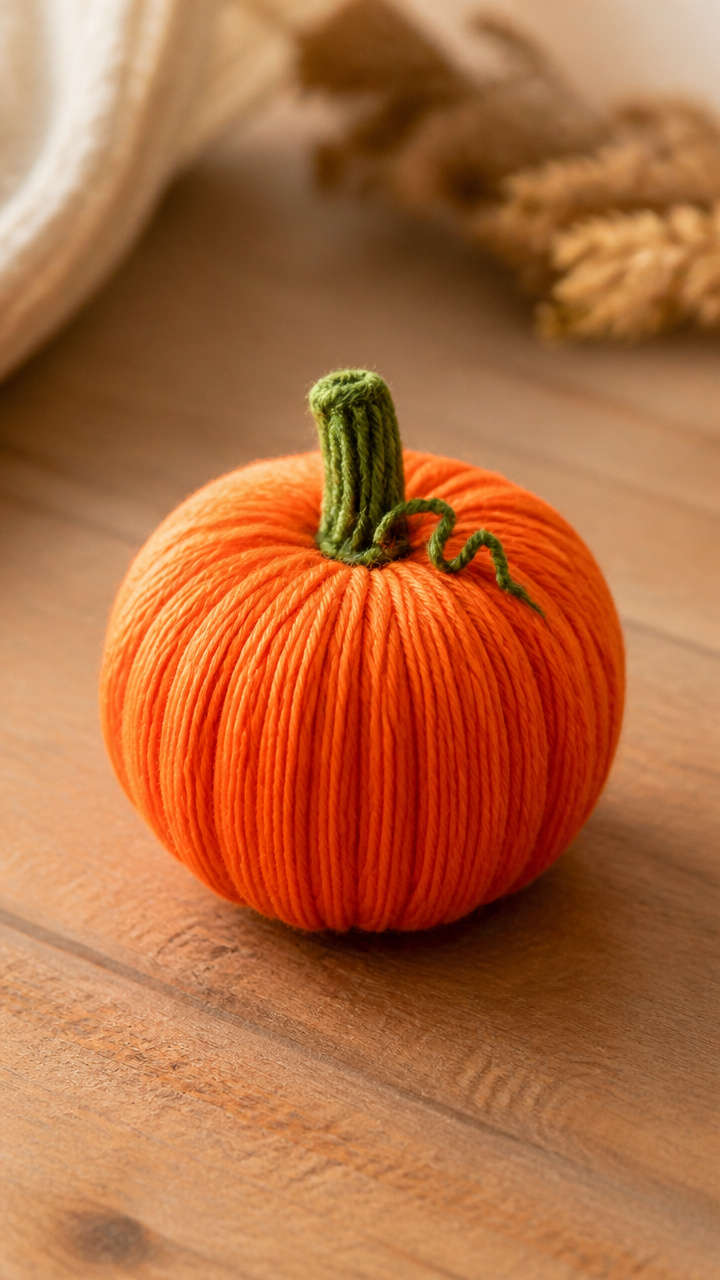
A single clothespin transforms into a tiny pumpkin with wrapped orange yarn. Clip it to a tag or garland.
Materials Needed
- 1 large wooden clothespin
- Orange yarn, 3 feet
- Hot glue gun
- Hot glue stick
- Green embroidery floss, 6 inches
How to Make It
- Glue one end of the yarn to the rounded end of the clothespin and begin wrapping tightly around the body.
- Continue wrapping until the entire body is covered, then glue the end down securely.
- Tie the green embroidery floss around the top to form a stem. Trim ends neatly.


12. Cardstock Pumpkin Lantern
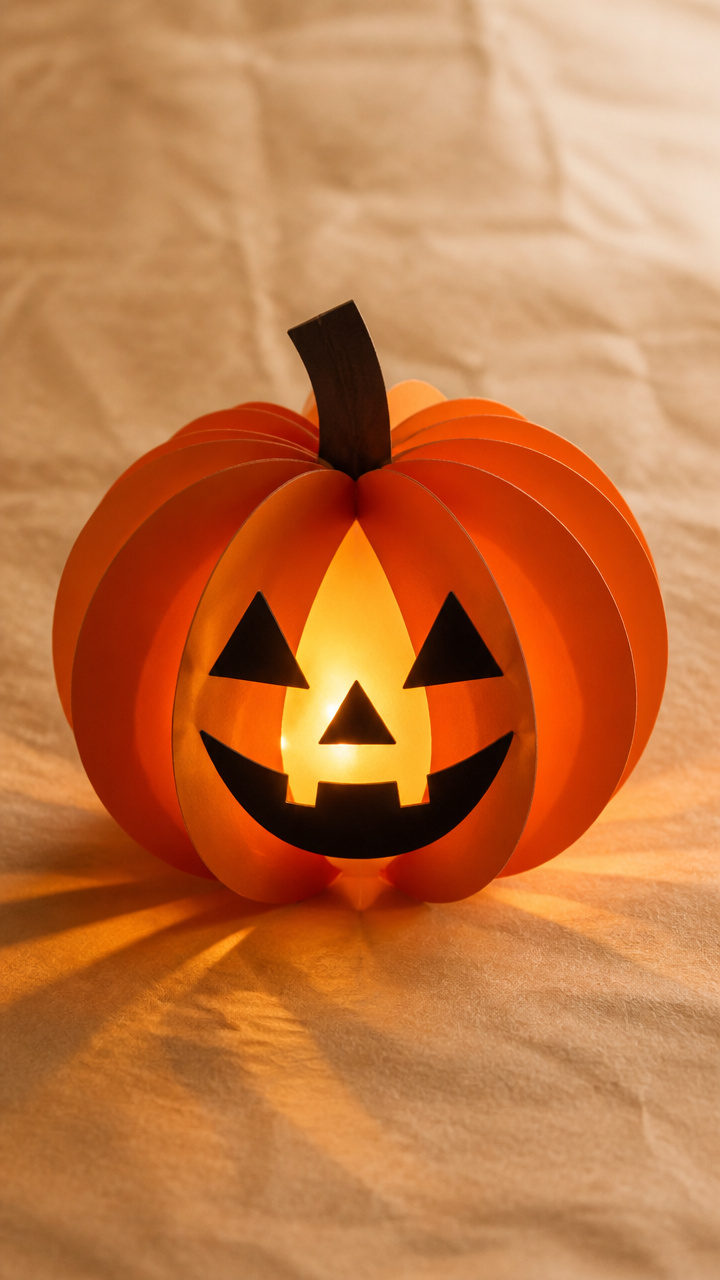
Layered orange cardstock forms a glowing pumpkin when placed over a tea light. The cut-out eyes and mouth cast pretty shadows.
Materials Needed
- A4 orange cardstock
- Black marker
- X-Acto knife
- Cutting mat
- Glue stick
- LED tea light
How to Make It
- Fold the cardstock in half lengthwise. Draw half a pumpkin shape along the fold, including a stem and half-face.
- Use the X-Acto knife on the cutting mat to cut out the shape and facial features. Open the fold to reveal the full pumpkin.
- Apply glue along one edge and roll into a lantern shape. Insert the LED tea light before the glue dries completely.


13. Plastic Spoon Pumpkin Topiary
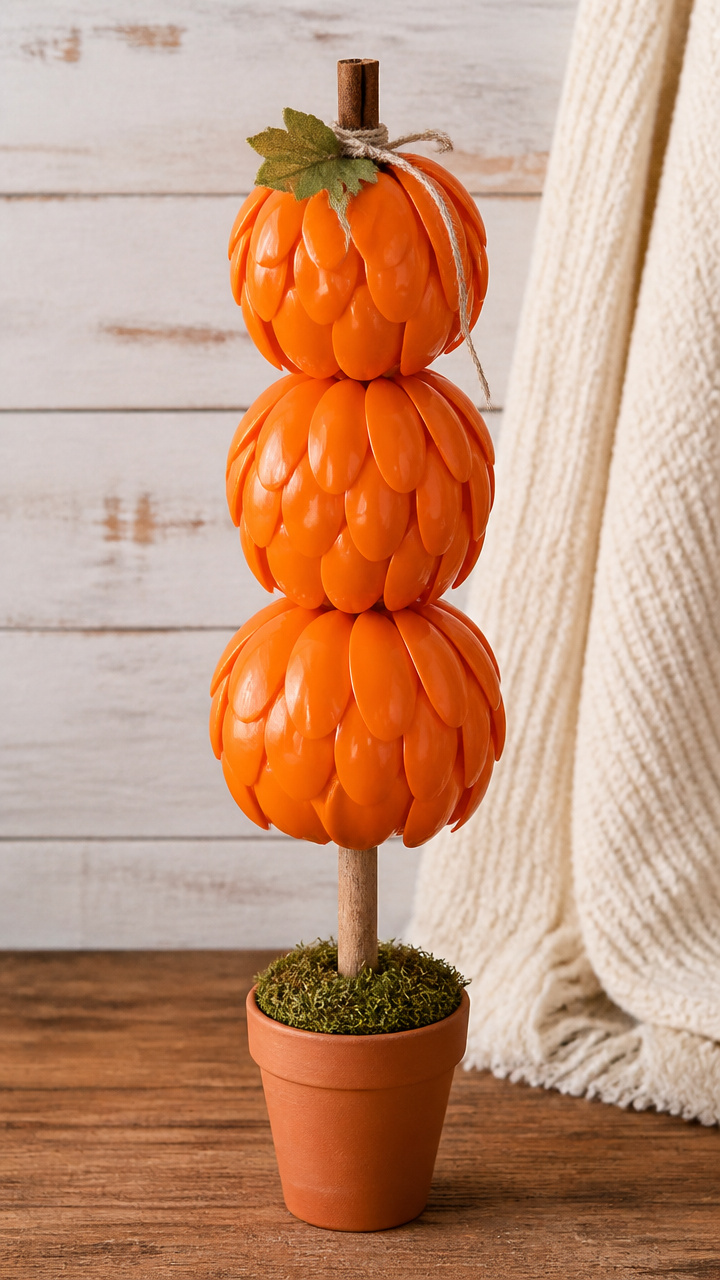
Spoon bowls become pumpkin bodies stacked on a dowel. This topiary fits in a small pot and stands tall on a side table.
Materials Needed
- 6 plastic spoons
- 12-inch wooden dowel
- Small terracotta pot
- Orange spray paint
- Scissors
- Hot glue gun
- Hot glue stick
How to Make It
- Cut the handles off the spoons, leaving just the bowl. Spray paint all bowls orange and let dry for 30 minutes.
- Glue three spoon bowls together in a cluster at the top of the dowel. Let dry 10 minutes.
- Glue the remaining three bowls below to form a second layer. Insert the dowel into the pot filled with pebbles for stability.


14. Chalkboard Paint Pumpkin
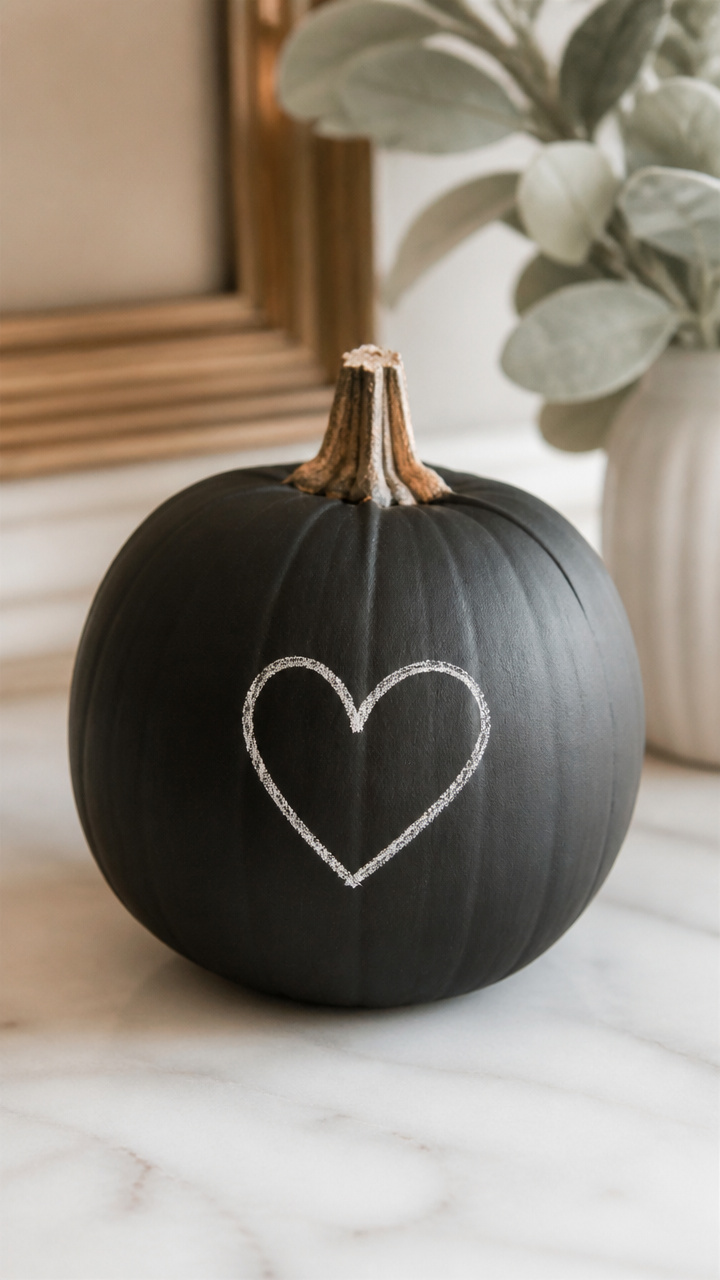
A black-painted pumpkin doubles as a mini chalkboard for writing sweet messages. It’s interactive and changes with your mood.
Materials Needed
- 4-inch foam pumpkin
- Black chalkboard paint
- Small foam brush
- White chalk
- Cotton pad
How to Make It
- Apply black chalkboard paint to the pumpkin using the foam brush, covering all sides evenly.
- Let dry for 30 minutes, then apply a second coat. Wait 1 hour before using.
- Write a message with white chalk. Wipe clean with a cotton pad when you want to change it.


15. Fabric Scrap Pumpkin Pincushion
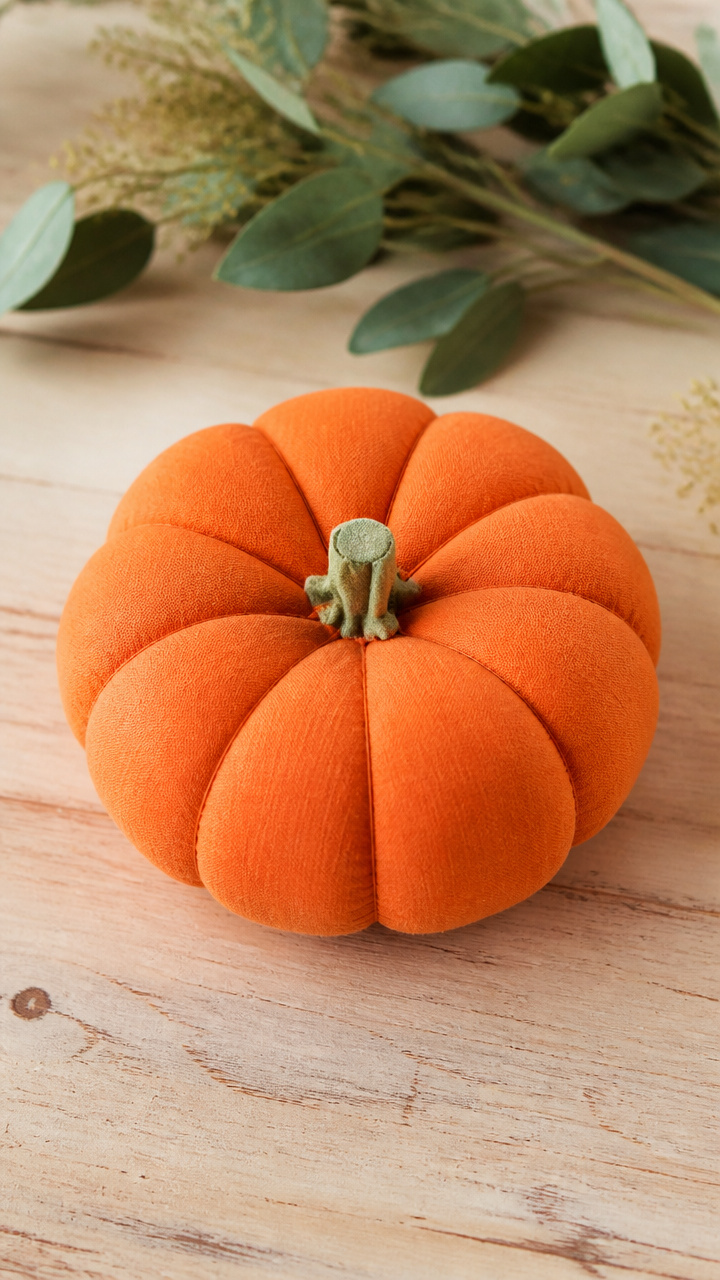
Scraps of orange fabric stuffed with fiberfill become a soft pincushion. It’s useful and cute on a sewing table.
Materials Needed
- Two 5-inch squares of orange cotton fabric
- Polyester fiberfill
- Needle
- Orange thread
- Scissors
- Straight pins
How to Make It
- Place the fabric squares together, patterned sides facing in. Sew around the edges with a 1/4-inch seam, leaving a 2-inch gap.
- Turn the fabric right side out and stuff firmly with fiberfill. Use a pencil end to push stuffing into corners.
- Hand-stitch the gap closed with small invisible stitches. Use it to hold pins with the heads facing up.


You’ve got everything you need to start creating right now. Grab your bag and head to Dollar Tree with this list in hand, and let each project bring a little more warmth to your space.