15 Cute Valentine’s Day Animal Crafts for Kids

Tiny paper hearts flutter on a squirrel's tail, a ladybug smiles with polka-dot wings, and a bunny peeks from a handmade card — these little animal crafts turn simple supplies into sweet keepsakes your child will love making and giving.
Each project uses easy-to-find materials and offers just enough challenge to keep young hands busy and imaginations bright. These aren’t just decorations, they’re moments of connection, giggles over glue sticks, and the joy of creating something special together.
From paint-splattered piggies to googly-eyed owls, every craft here brings a smile and fits perfectly into classroom gifts, party favors, or cozy afternoon fun.
1. Paper Plate Fox Mask
Easy
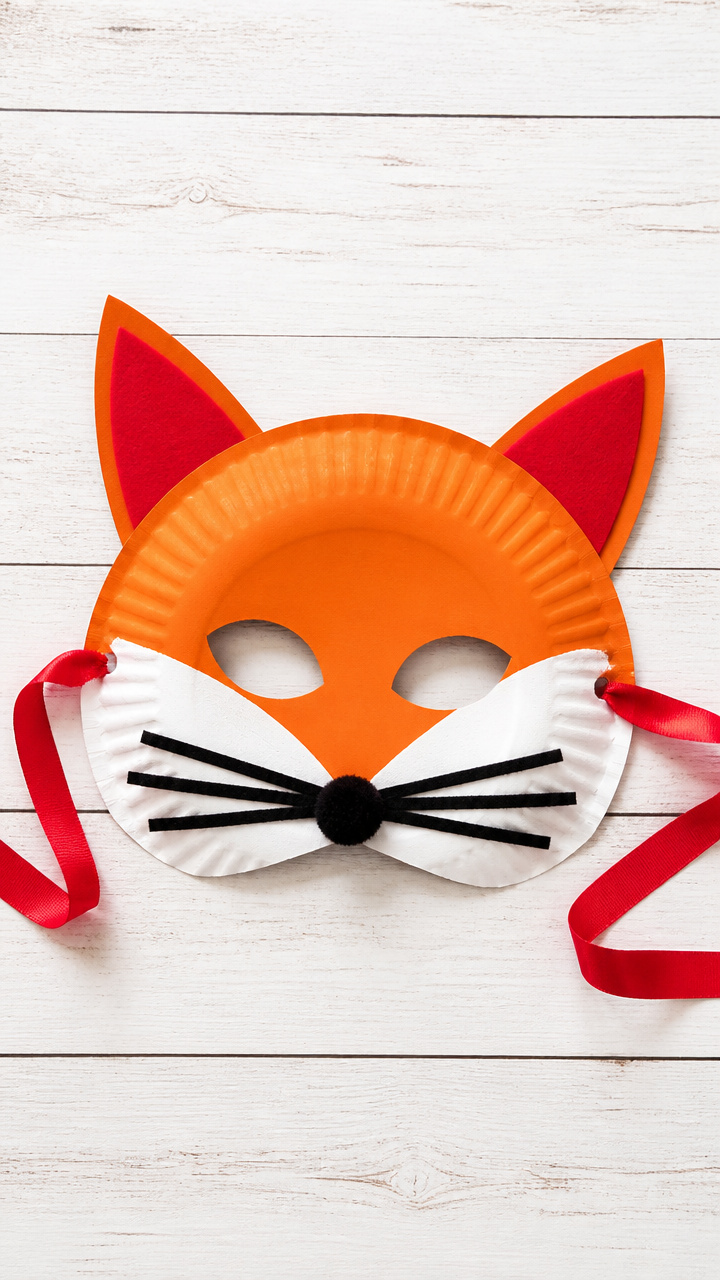
Orange construction paper forms sharp ears and a bushy face, turning your child into a playful forest fox ready for Valentine’s Day storytelling or dress-up play.
Materials Needed
- 1 orange paper plate
- 2 red craft foam sheets (8.5 x 11 inches)
- 1 black craft foam sheet (8.5 x 11 inches)
- White school glue
- 1 hole punch
- 12-inch red ribbon
- Googly eyes (12mm, 2 pieces)
- Scissors
- Pencil
How to Make It
- Draw two large triangle ears on the red craft foam and one small nose triangle on the black foam, then cut them out.
- Glue the fox’s ears to the back top edge of the paper plate, pressing firmly and letting dry for 10 minutes.
- Center the black nose triangle below the plate’s center and glue it in place, then add the googly eyes above it.
- Cut a 6-inch strip from the red ribbon, punch one hole on each side of the plate near the edges, and thread the ribbon through to tie at the back.

2. Heart-Shaped Hedgehog
Easy
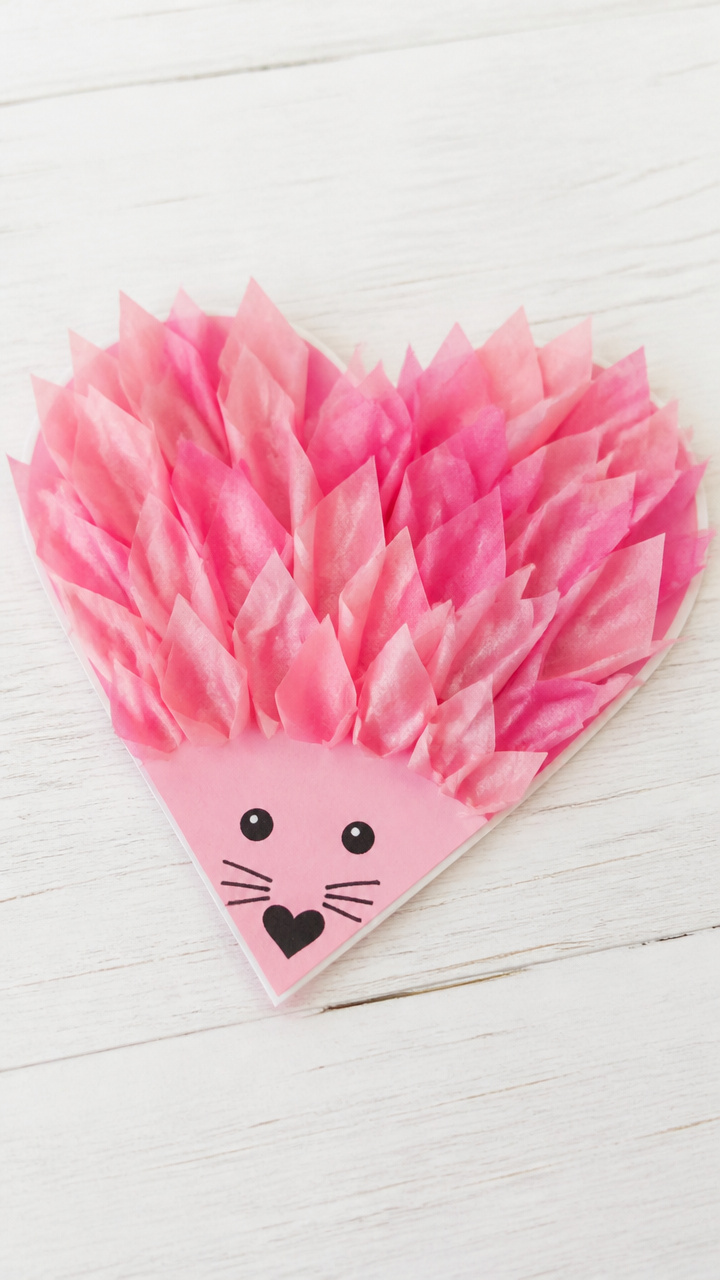
A folded pink heart becomes a spiky hedgehog body, its quills made from layered tissue paper strips that puff up with soft texture and bright color.
Materials Needed
- 1 pink A4 cardstock
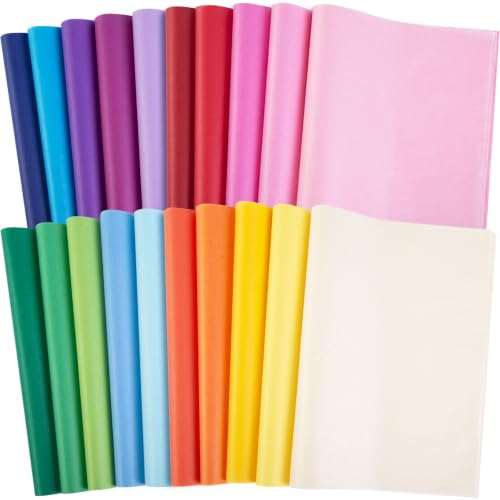
- Pink tissue paper (10 sheets, 12 x 12 inches)
- White school glue
- Black fine-tip marker
- Scissors
- Ruler
- Pencil
How to Make It
- Fold the pink cardstock in half and draw half a heart along the fold using the ruler to make it symmetrical, then cut and unfold to create a full heart.
- Cut the tissue paper into 1-inch wide strips, about 6 inches long, and gather them into a small stack.
- Apply glue in a zigzag line across the top third of the heart shape and press the tissue strips into the glue, fanning them out like spikes.
- Let dry for 15 minutes, then draw two eyes and a tiny mouth on the lower part of the heart with the black marker.


3. Cotton Ball Sheep Card
Easy
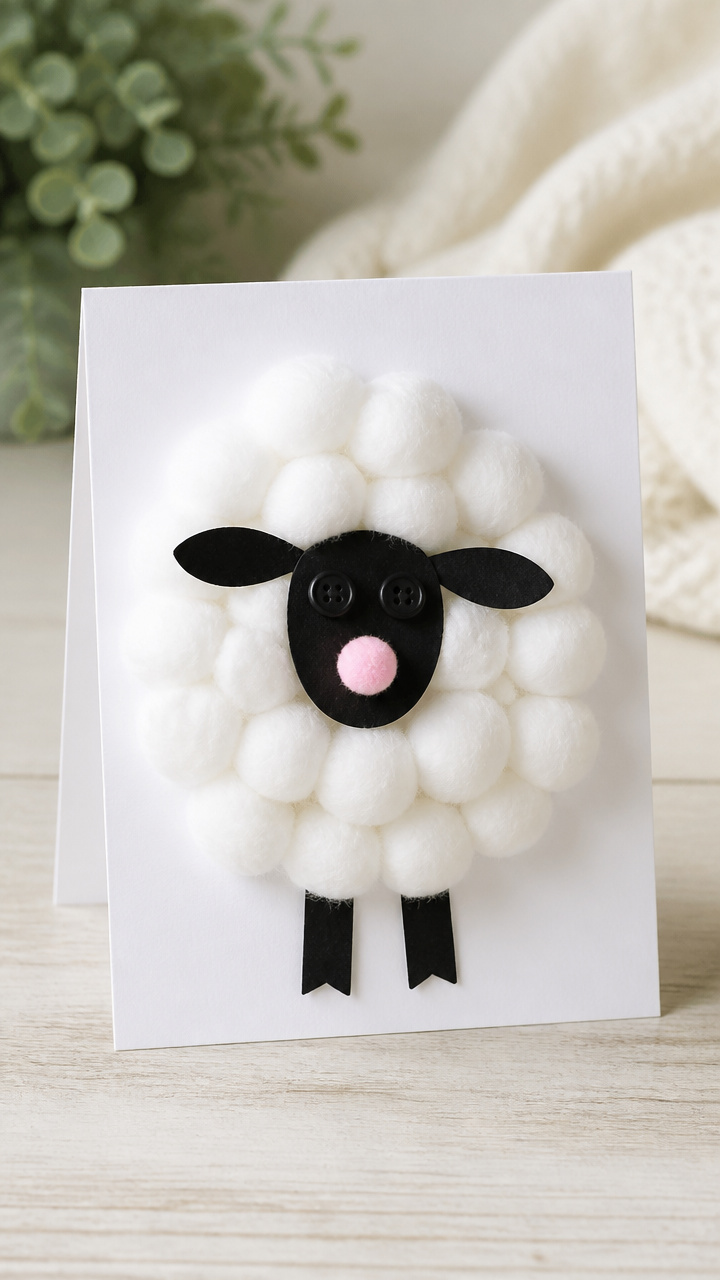
Fluffy cotton balls pile into a woolly sheep on a folded card, its face peeking out with button eyes and a pink nose for a soft, cuddly look.
Materials Needed
- 1 white A4 cardstock
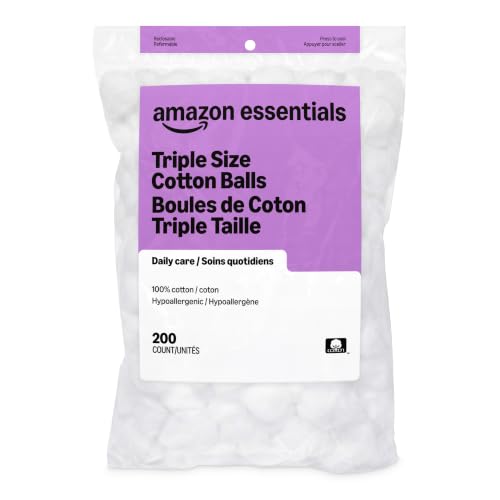
- Regular-sized cotton balls (15 pieces)
- White school glue
- Two 8mm black buttons
- Small pink pom-pom (10mm)
- Red crayon
- Scissors
- Pencil
How to Make It
- Fold the cardstock in half horizontally to make a 5.5 x 8.5 inch card and smooth the crease with your finger.
- Glue 12 cotton balls in a rounded cluster near the top center of the front, slightly overlapping to form the sheep’s body.
- Glue the two black buttons below the cotton ball group for eyes and the pink pom-pom just beneath for the nose.
- Use the red crayon to draw a small smiling mouth under the pom-pom and add two short legs with hoof lines underneath the body.

4. Popsicle Stick Bird Feeder
Moderate
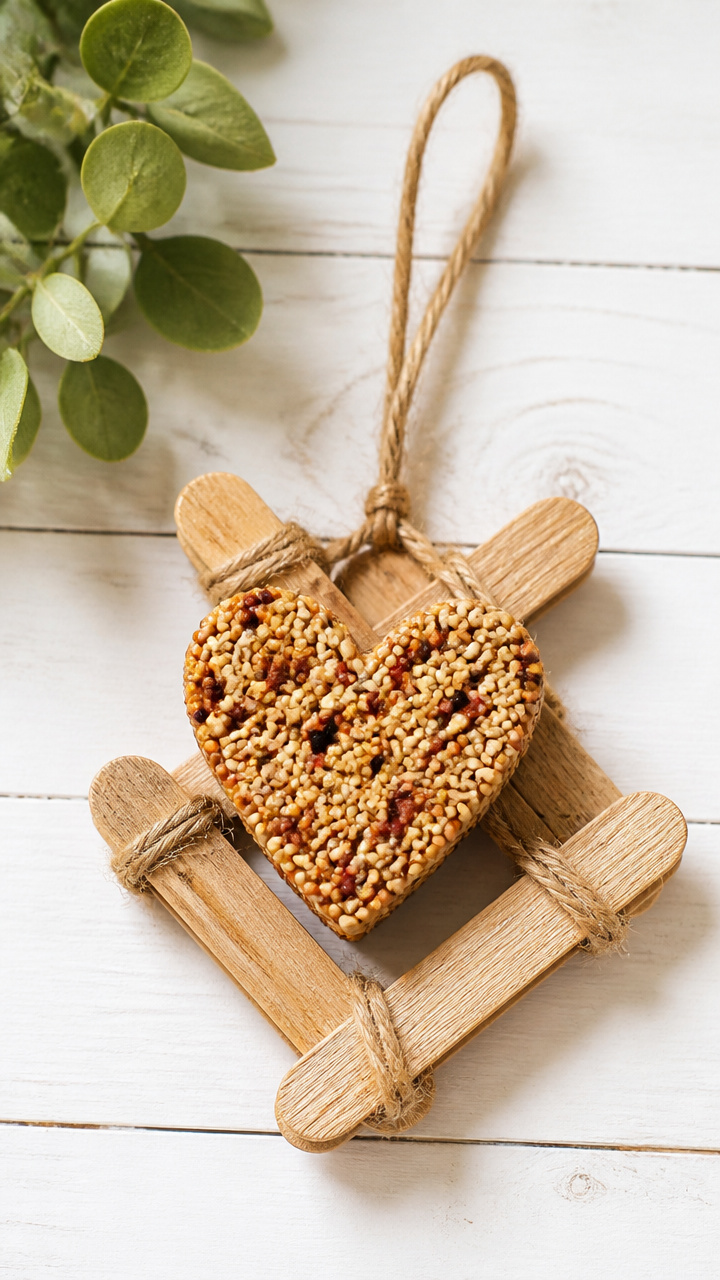
Three popsicle sticks crisscross into a mini platform, strung with yarn and filled with birdseed hearts shaped by cookie cutters for a nature-loving gift.
Materials Needed
- 3 standard popsicle sticks
- White school glue
- Natural jute twine (18 inches)
- Heart-shaped cookie cutter (2.5 inch)
- Birdseed (1/2 cup)
- Corn syrup (2 tablespoons)
- Small mixing bowl
- Popsicle stick (extra)
- Scissors
How to Make It
- Lay two popsicle sticks parallel and glue the third across them perpendicularly in the center to form a cross, holding until set for 30 seconds.
- Tie the jute twine around both ends of the horizontal sticks to make a hanger, knotting securely and trimming excess.
- Mix birdseed and corn syrup in the bowl until clumping, then press the mixture into the heart-shaped cookie cutter and let sit for 10 minutes.
- Carefully lift the seed heart onto the popsicle stick platform and let dry completely for 2 hours before hanging outside.


5. Fingerprint Ladybugs
Easy
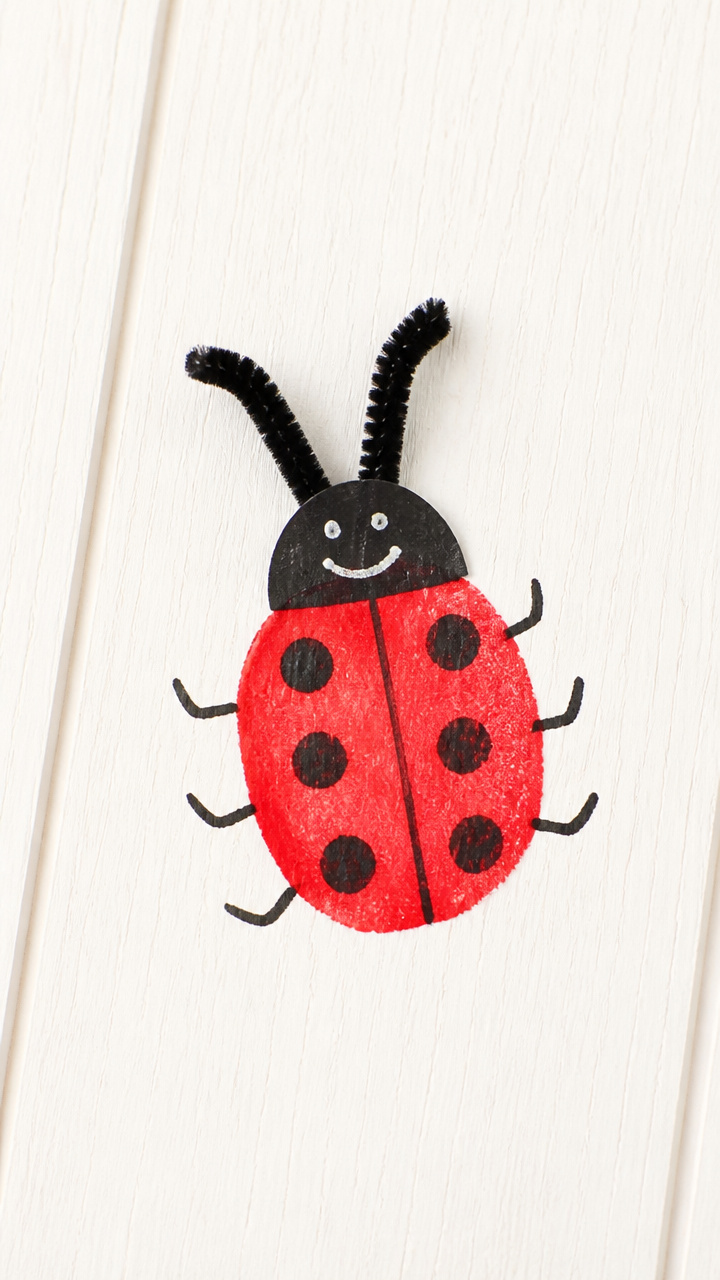
Your child’s thumbprint blooms into a spotted ladybug with painted wings and pipe cleaner antennae, perfect for greeting cards or framed art.
Materials Needed
- Red washable ink pad
- White drawing paper (9 x 12 inches)
- Black fine-tip permanent marker
- Black pipe cleaners (2 pieces)
- White school glue
- Scissors
- Ruler
How to Make It
- Press your child’s thumb firmly onto the ink pad, then press it straight down on the paper to make a round print, repeating for five bugs.
- Let the prints dry for 3 minutes, then use the black marker to draw a curved line down the center of each to split the wings.
- Add six black spots on each side of the line and draw a small head with legs beneath each thumbprint.
- Cut the pipe cleaners in half, glue one piece vertically on each head for antennae, and let dry for 10 minutes.


6. Toilet Paper Roll Bunny
Easy
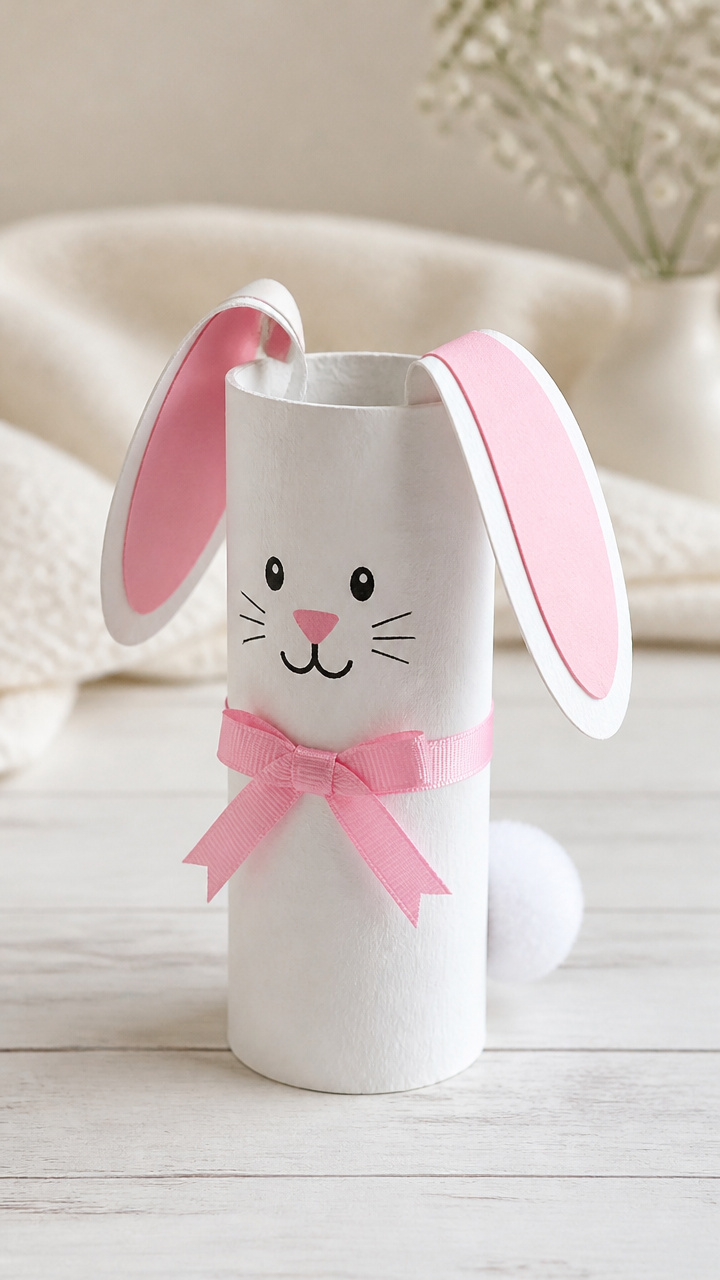
An empty toilet paper roll grows floppy ears and a cotton tail, becoming a standing bunny dressed in a tiny paper bowtie.
Materials Needed
- 1 empty toilet paper roll
- White craft paint
- Paintbrush (1/2 inch flat)
- Pink craft foam sheet
- White school glue
- 12-inch pink ribbon
- Googly eyes (10mm, 2 pieces)
- Scissors
- Pencil
How to Make It
- Paint the entire toilet paper roll white and let dry completely for 20 minutes on a scrap paper surface.
- Cut two long oval ears from the pink foam and fold each in half lengthwise, then glue the flat side to the inside top rim of the roll.
- Glue the googly eyes near the top front of the roll and twist the pink ribbon into a bow, gluing it below the eyes.
- Pinch a cotton ball into a puff and glue it to the bottom back edge of the roll for the tail.


7. Handprint Heart Giraffe
Moderate
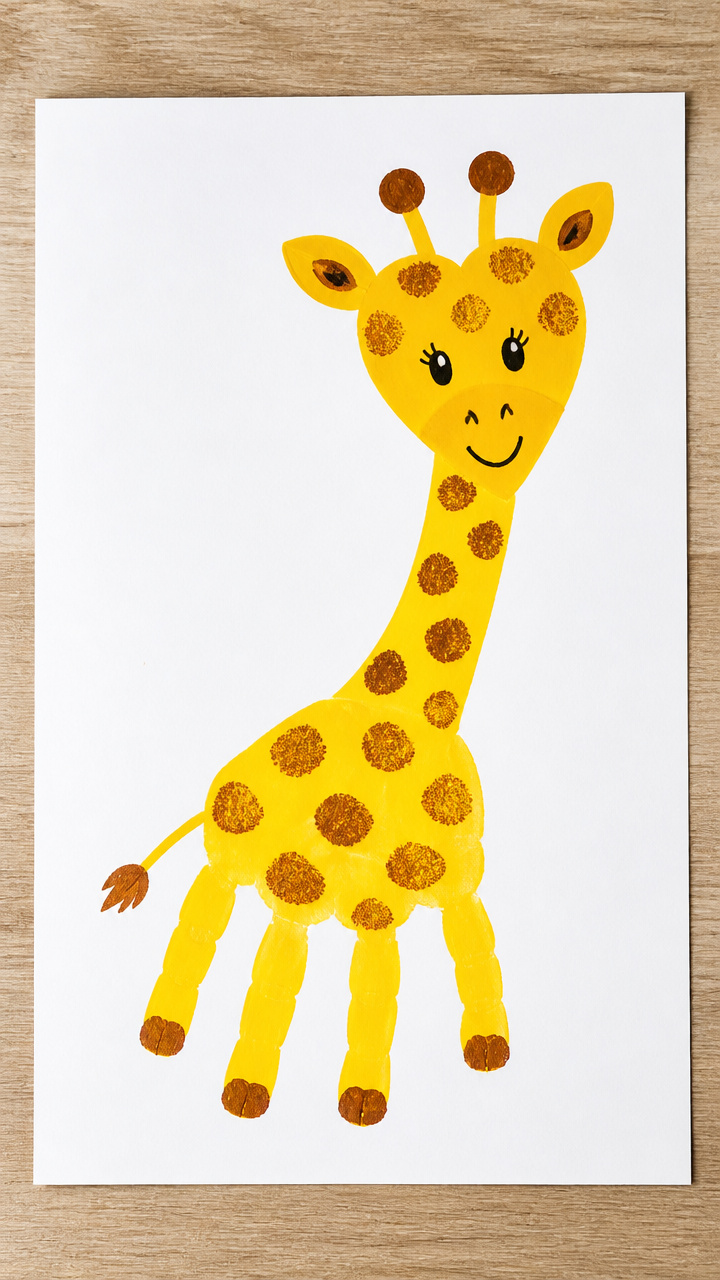
A child’s handprint bends into a giraffe neck, stretched toward a heart-shaped head with bold spots and a yellow mane.
Materials Needed
- Yellow washable paint
- Large white drawing paper (12 x 18 inches)
- Paintbrush (1 inch flat)
- Brown acrylic paint
- Black fine-tip marker
- White school glue
- Orange construction paper
- Scissors
- Pencil
How to Make It
- Have your child spread fingers wide and press their right hand sideways near the bottom edge of the paper, wrist pointing left, to form the base of the neck.
- Use the brush to paint a long, curved neck upward from the middle fingers and a round head at the top, then let dry for 25 minutes.
- Cut a heart shape from orange paper and glue it to the end of the neck for the head, then draw two horns with the marker.
- Dip the brush tip in brown paint and stamp random spots along the neck and head, adding eyelashes and a smile with the marker.


8. Pipe Cleaner Chicks
Moderate
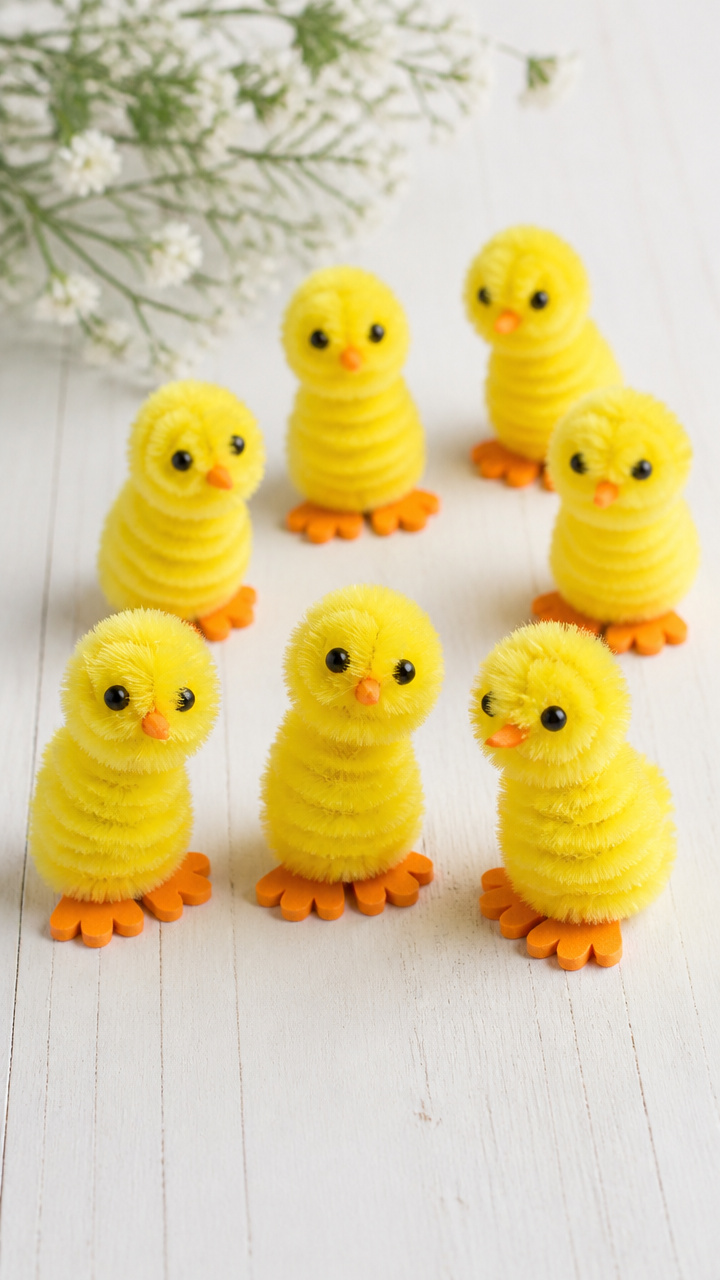
Twisted yellow pipe cleaners coil into fuzzy chicks with bead eyes and paper feet, cheeping from desks or tucked into bouquets.
Materials Needed
- Yellow pipe cleaners (3 pieces)
- Two 6mm orange beads
- One 8mm black bead
- Orange craft foam sheet
- White school glue
- Scissors
- Pencil
How to Make It
- Take one pipe cleaner and bend it in half, twisting the top 2 inches tightly to form a small looped head.
- Wrap a second pipe cleaner around the base of the head 3 times to make feathers, leaving the ends loose as legs.
- Slide the black bead onto the head loop for an eye and glue one orange bead beside it for the beak.
- Cut two small foot shapes from orange foam and glue them to the leg ends, letting dry for 10 minutes.


9. Paper Cup Owl
Moderate
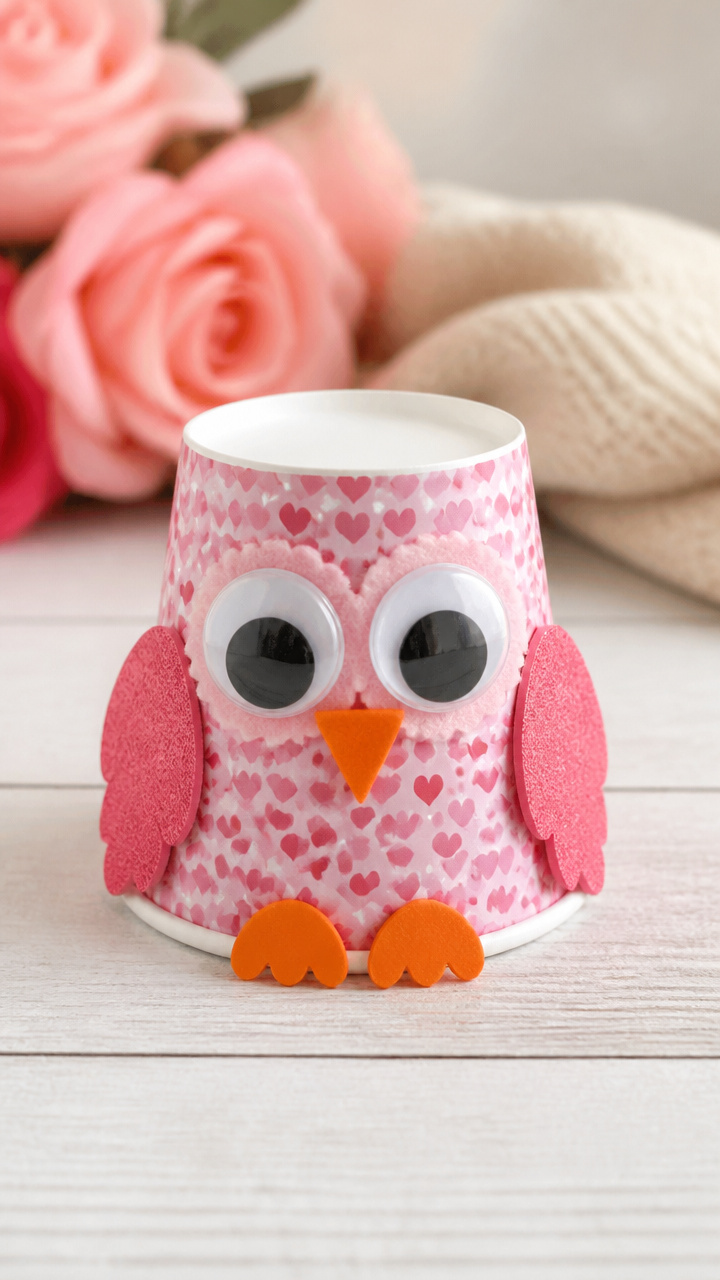
A plain white paper cup turns upside down into a wide-eyed owl, its feathered body wrapped in patterned scrapbook paper.
Materials Needed
- 1 white paper cup (9 oz)
- Patterned scrapbook paper (6 x 6 inches, owl-themed or neutral tone)
- White school glue
- Two 15mm googly eyes
- Orange craft foam sheet
- Scissors
- Pencil
- Ruler
How to Make It
- Cut the scrapbook paper to 3.5 inches tall and wrap it around the cup, measuring to fit snugly and gluing the seam closed.
- Glue the wrapped cup upside down onto a scrap paper base so it stands steadily, letting the glue set for 5 minutes.
- Cut a small triangle beak from orange foam and glue it between the googly eyes just below the cup rim.
- Bend the top edge of the cup inward slightly to form ear tufts and press the googly eyes into place above the beak.


10. Pom-Pom Penguins
Easy
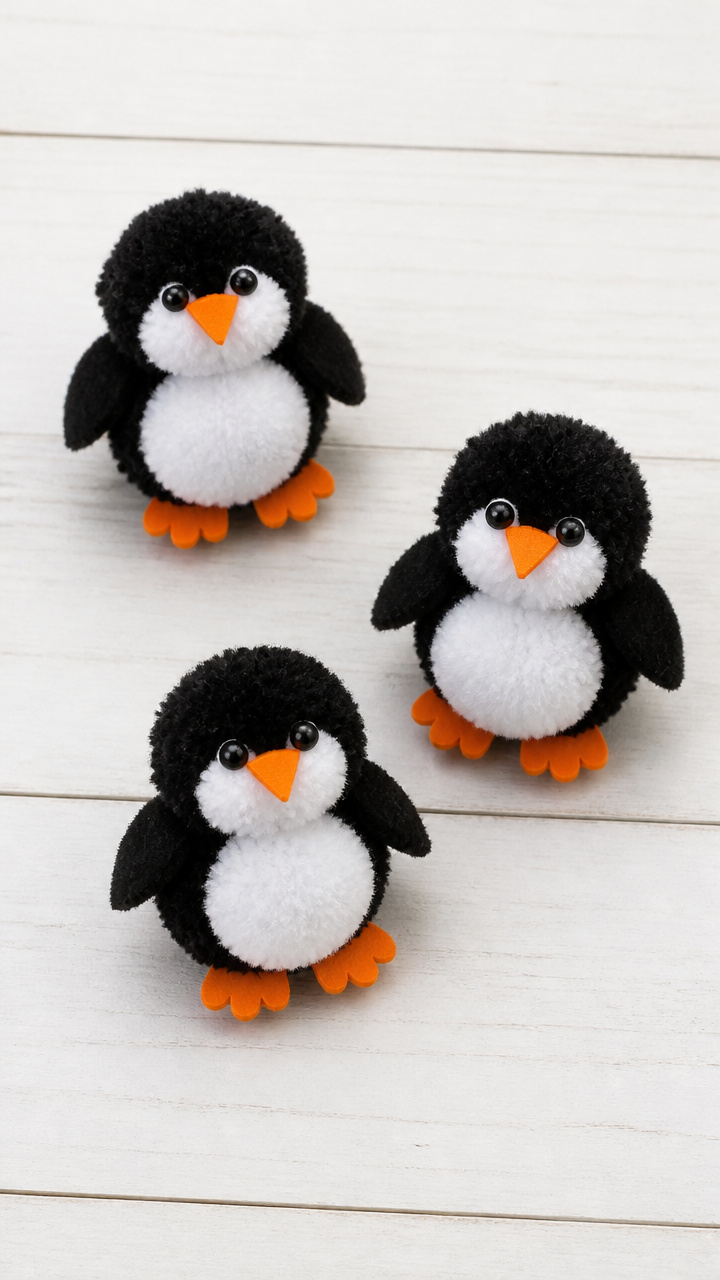
Black and white pom-poms stack into waddling penguins with orange paper beaks and feet, ideal for magnet backs or gift toppers.
Materials Needed
- One 1-inch black pom-pom
- One 3/4-inch white pom-pom
- White school glue
- Orange craft foam sheet
- Small round magnet backs (2 pieces)
- Scissors
- Pencil
How to Make It
- Glue the white pom-pom centered on top of the black pom-pom to form the penguin’s body and head, holding for 30 seconds.
- Cut a small triangle beak and two foot shapes from orange foam and glue them to the front of the black pom-pom.
- Let dry for 15 minutes, then glue a magnet back to the bottom of the penguin if using as a decoration.


11. Sock Monkey Puppet
Advanced
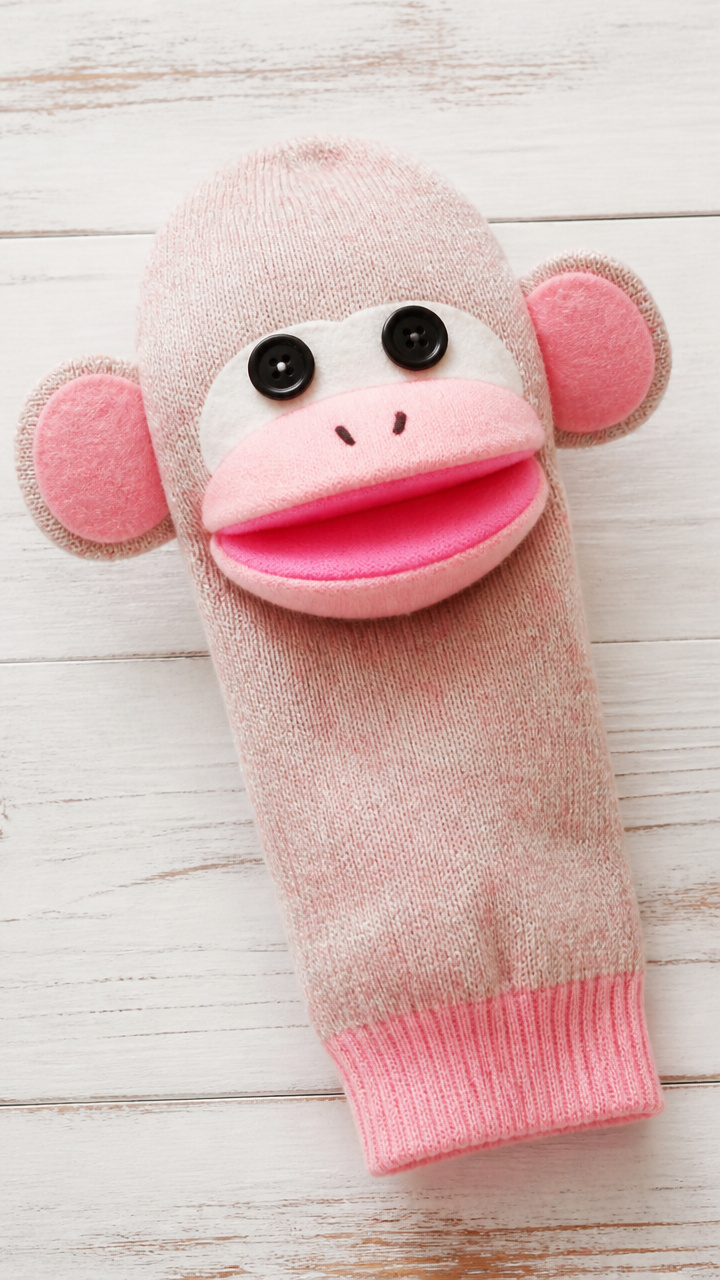
An old baby sock finds new life as a wide-eyed monkey with button ears and a moving mouth when you slide your hand inside.
Materials Needed
- One clean baby sock (pink or tan, ankle length)
- Two 12mm black buttons
- Pink embroidery floss (6-inch strand)
- Embroidery needle
- Pink craft felt sheet
- White school glue
- Scissors
- Polyester stuffing (1/4 cup)
How to Make It
- Cut two ear shapes from pink felt and fold each in half, stitching one button onto the center of each to secure layers.
- Thread the needle with floss and stitch the ears just above the heel of the sock, one on each side.
- Push a small pinch of stuffing into the toe to form a snout, then glue the two black buttons below the sock cuff for eyes.
- Use the needle to stitch a 'Y' shape in pink floss below the eyes for the nose and mouth, pulling tight and knotting at the back.


12. Butterfly Pasta Art
Easy
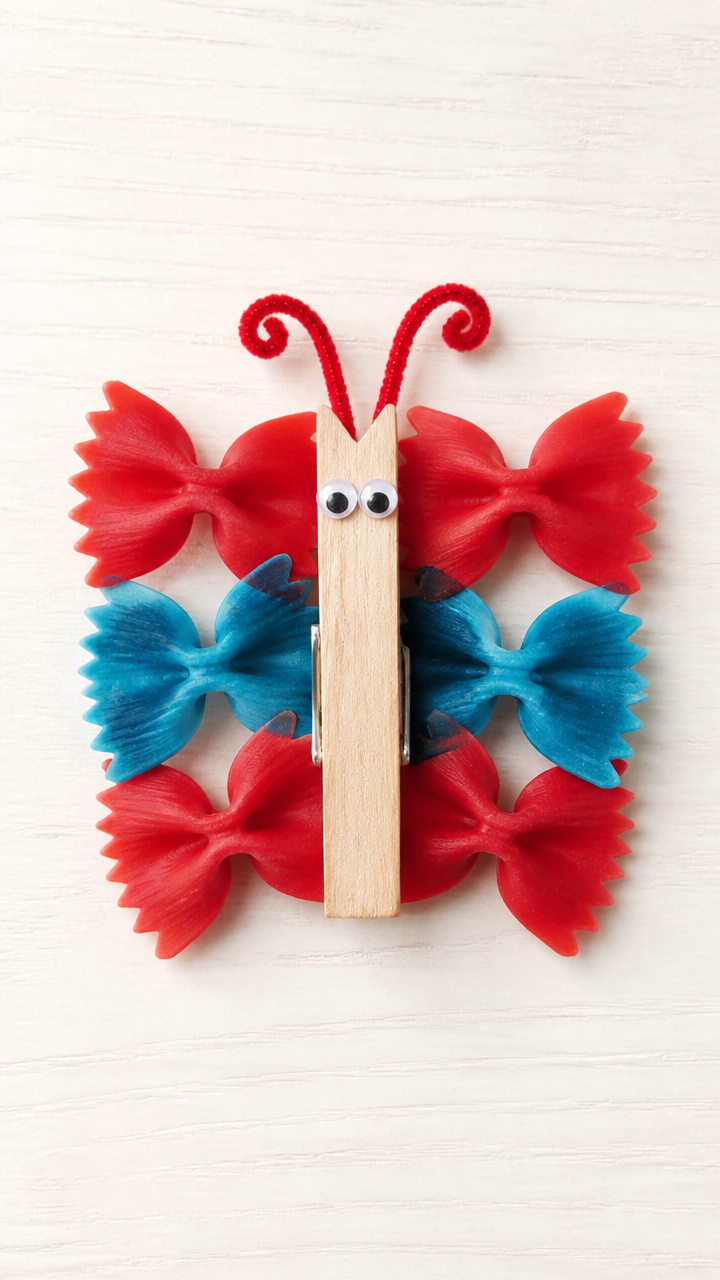
Colored bowtie pasta pieces arrange into butterfly wings, glued symmetrically around a clothespin body for a 3D display.
Materials Needed
- Bowtie pasta (20 pieces)
- Red food coloring
- Blue food coloring
- Two small bowls
- Water (1/2 cup per bowl)
- Clothespin (standard size)
- White school glue
- Googly eyes (6mm, 2 pieces)
- Paintbrush (1/4 inch)
How to Make It
- Mix 10 bowtie pasta pieces with water and 3 drops of red food coloring in one bowl, and repeat with blue in another, soaking for 10 minutes.
- Drain and lay pasta flat on paper towels to dry for 1 hour, flipping once halfway through.
- Paint glue in a V-shape on each side of the clothespin and press 5 red pasta pieces on one side, 5 blue on the other, forming wings.
- Glue two googly eyes to the top of the clothespin and let dry for 20 minutes before displaying.


13. Egg Carton Caterpillar
Moderate
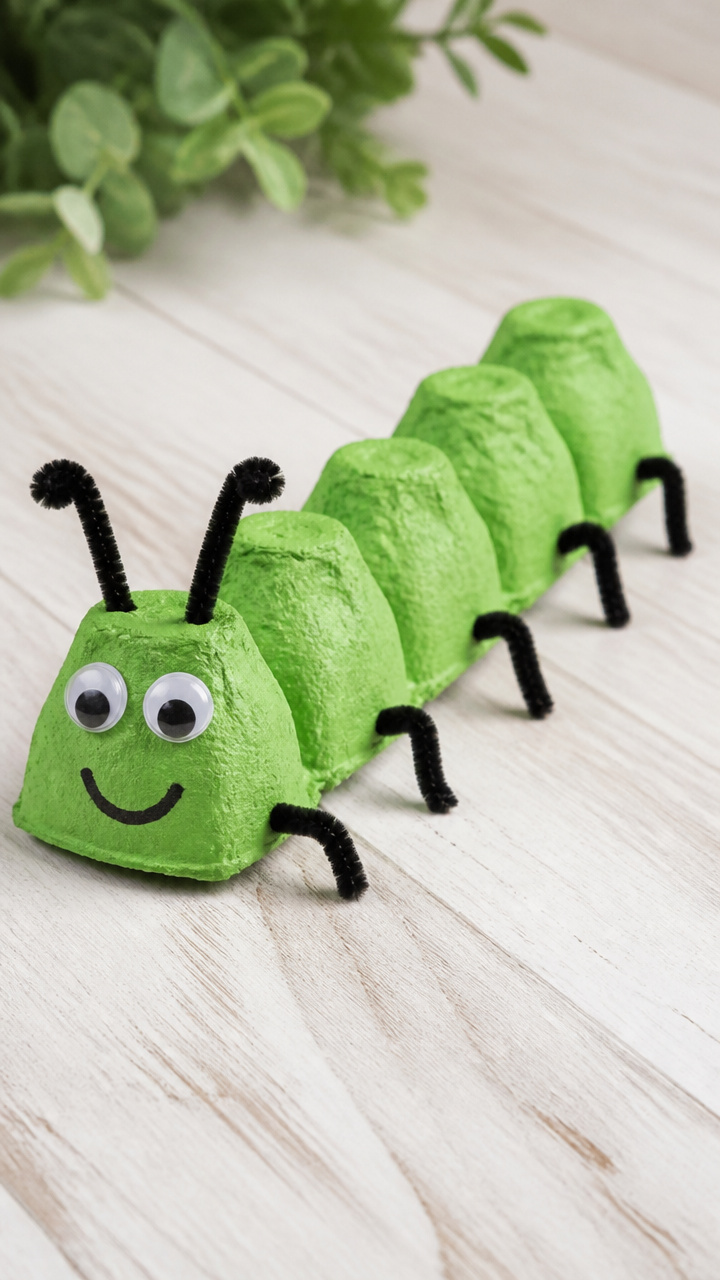
Six connected cups from an egg carton curl into a bumpy caterpillar, painted green with pipe cleaner legs and a smiling face.
Materials Needed
- One cardboard egg carton
- Green acrylic paint
- Paintbrush (1/2 inch)
- Two 10mm googly eyes
- Black fine-tip marker
- Two black pipe cleaners
- White school glue
- Scissors
How to Make It
- Cut six connected cups from the egg carton and flip them upside down so the dome sides face up.
- Paint the entire top and sides green, including between cups, and let dry for 30 minutes on a paper-lined tray.
- Glue googly eyes to the first cup and draw a small smile below with the marker.
- Cut each pipe cleaner into three equal lengths and push one end of each into the sides of the cups for legs, bending the tips outward.


14. Washi Tape Fish
Easy
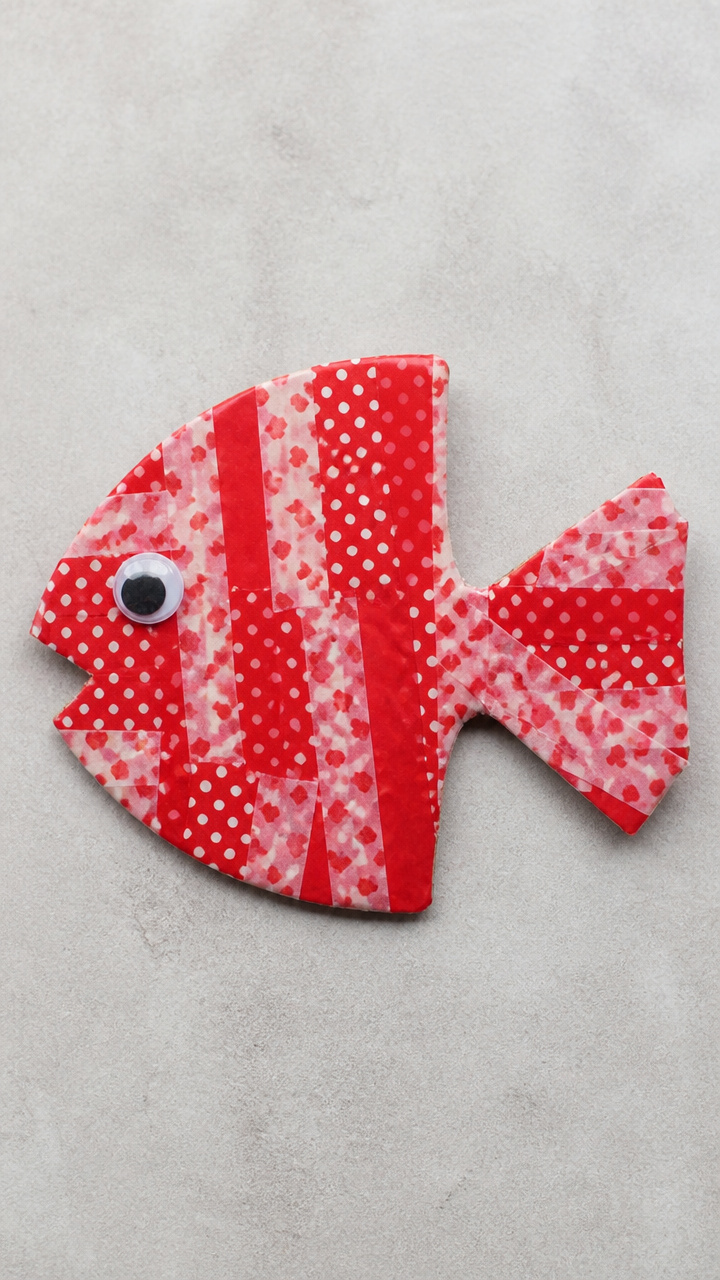
Shiny strips of washi tape wrap a cardboard fish shape, its tail flicking with contrasting colors and a googly eye for playful charm.
Materials Needed
- Gray cardboard (9 x 12 inches)
- Red washi tape (1/2 inch wide)
- Polka dot washi tape (1/2 inch wide)
- White school glue
- One 12mm googly eye
- Scissors
- Pencil
- Ruler
How to Make It
- Draw a fish shape 6 inches long on the cardboard using pencil and ruler, with a wide body and pointed tail, then cut it out.
- Wrap the red washi tape horizontally around the body from head to tail, overlapping slightly and pressing smooth.
- Cover the tail section with polka dot tape, cutting to fit neatly and butting edges without overlap.
- Glue the googly eye near the front and let dry for 5 minutes before displaying on a shelf or wall.


15. Straw Blown Heart Pig
Moderate
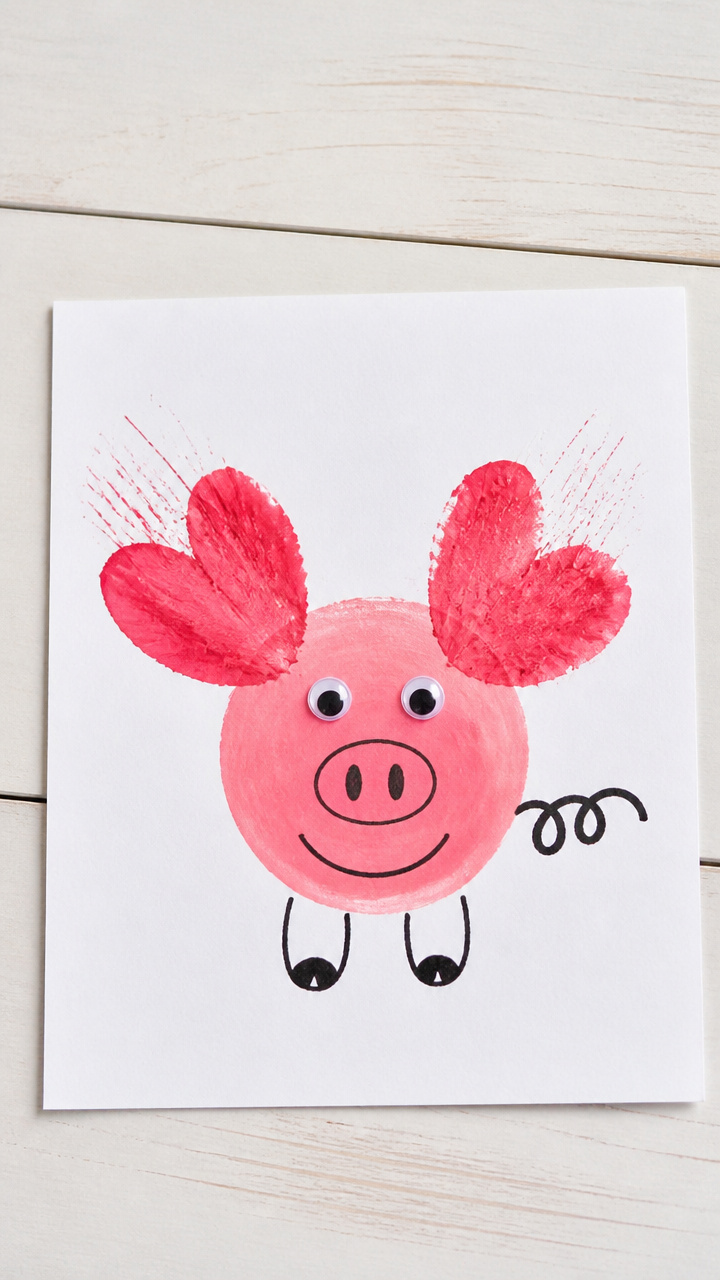
Red paint blown through a straw bursts into heart-shaped ears, framing a googly-eyed pig face drawn on cardstock with a curly tail.
Materials Needed
- White drawing paper (9 x 12 inches)
- Red washable paint (1 tablespoon)
- Plastic drinking straw
- Black fine-tip marker
- One 10mm googly eye
- White school glue
- Pink pom-pom (15mm)
- Scissors
How to Make It
- Place a drop of red paint near the top left and right edges of the paper, about 2 inches from the corners.
- Have your child blow hard through the straw to spread each paint drop into a heart-shaped spray, making two ear shapes, then let dry for 15 minutes.
- Draw a round pig face between the ears with the marker, adding cheeks, nostrils, and a small smiling mouth.
- Glue the googly eye on one side of the face and the pink pom-pom on the opposite side for the tail, letting dry for 10 minutes.


Grab your glue, gather the kids, and start crafting. These adorable animals are waiting to leap off the table and into someone’s heart.