15 DIY Valentine’s Day Garland Ideas for Your Home

Soft pinks, rich reds, and tiny paper hearts strung across a mantel can turn any room into a cozy celebration of love. These handmade garlands add warmth and personality, each one crafted with care and ready to become part of your favorite moments.
You don’t need fancy tools or years of experience to make something beautiful. With just a few supplies and a little time, you can create decorations that feel personal, joyful, and perfectly suited to the season.
1. Paper Heart Chain Garland
Easy

A fluttering trail of interlocking hearts in warm reds and blush pinks dances across walls or doorways. This classic design uses only folded paper and scissors but delivers big visual charm.
Materials Needed
- 8 sheets red construction paper
- 8 sheets pink construction paper
- Scissors
- Ruler
- Pencil
- Glue stick
How to Make It
- Cut each sheet of paper into 1-inch wide strips using scissors and a ruler for straight edges.
- Form a loop with one strip and glue the ends together, then thread a second strip through the first before gluing it into its own loop.
- Repeat this linking process with alternating red and pink strips until the garland reaches 6 feet in length.


2. Felt Heart Bunting
Moderate
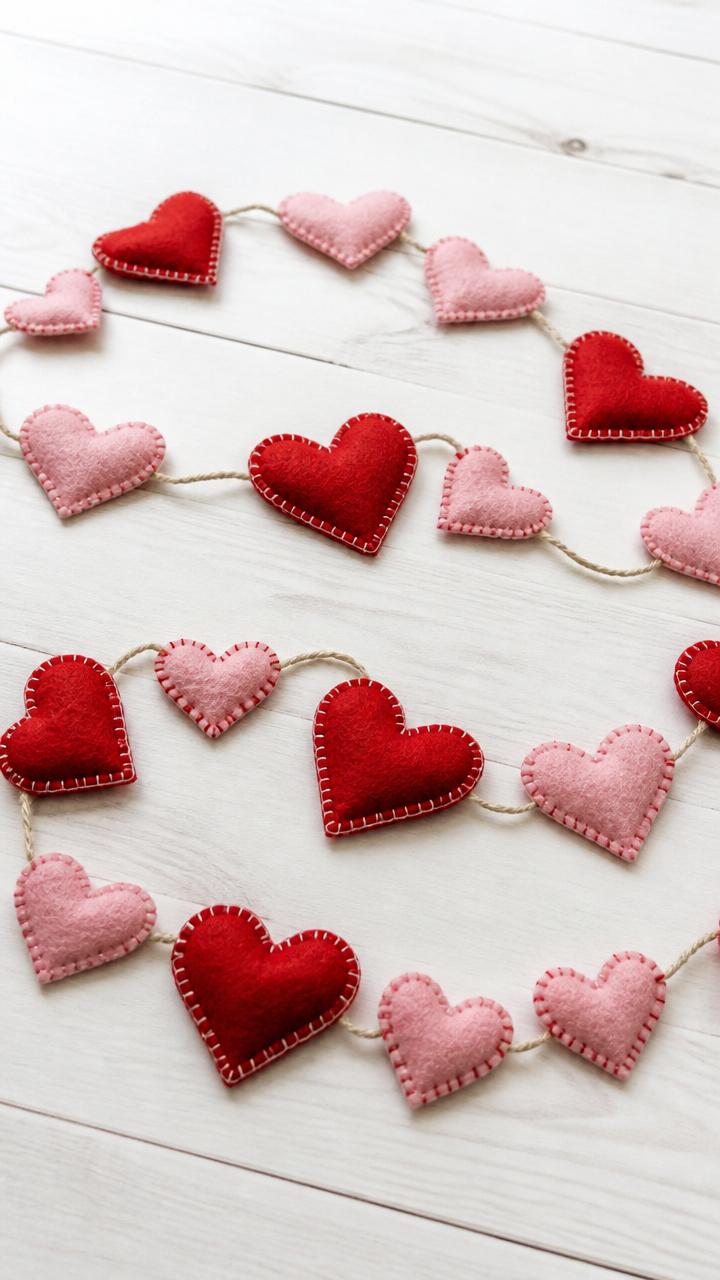
Velvety soft hearts in graduated sizes hang from a rustic cotton cord, adding texture and quiet elegance to a bookshelf or bedside. The hand-stitched look gives it heirloom charm.
Materials Needed
- 1 red wool-blend felt sheet
- 1 blush wool-blend felt sheet
- Natural cotton twine, 5 feet
- Embroidery needle
- Red embroidery floss
- Blush embroidery floss
- Scissors
- Fabric scissors
- Heart templates (small, medium, large)
How to Make It
- Trace three sizes of heart shapes onto the felt using the templates and cut them out with fabric scissors, making five of each size per color.
- Thread the embroidery needle with red floss and stitch around the edge of a red heart using a blanket stitch, leaving a small opening at the top.
- Slide a 6-inch section of twine into the opening, then finish stitching the heart closed around the cord. Repeat with all hearts, alternating colors and sizes.


3. Pom-Pom Yarn Garland
Easy
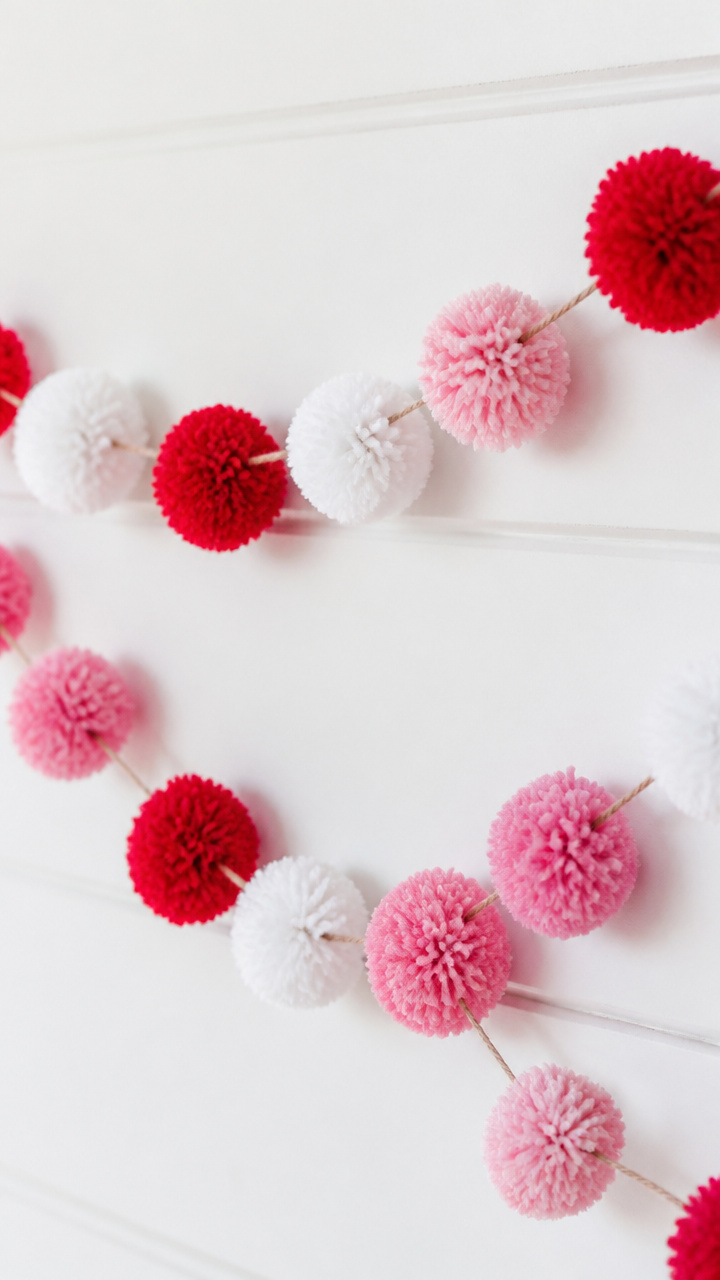
Fluffy clusters of yarn in candy-colored shades sway gently above a windowsill. Each pom-pom is wound by hand and tied tight, creating a cheerful cascade of texture.
Materials Needed
- Red yarn, 2 skeins
- Pink yarn, 2 skeins
- White yarn, 1 skein
- Cardboard, 4×4 inches
- Scissors
- Jute twine, 6 feet
How to Make It
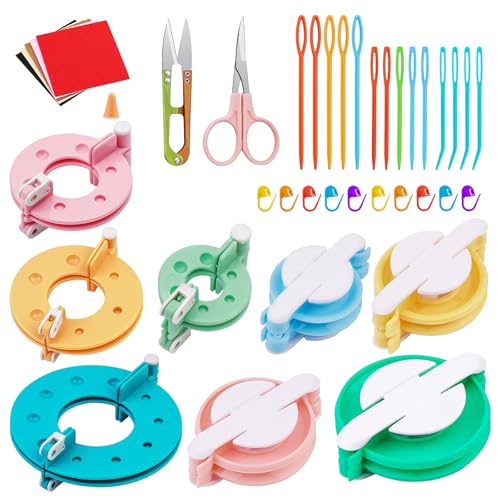
- Cut two 4-inch cardboard pieces into identical C-shapes to use as pom-pom winders.
- Wrap red yarn around one C-shape tightly 100 times, then slide the bundle off and tie a short piece of yarn firmly around the middle.
- Cut the loops on both ends, trim into a round shape, and attach to jute twine every 4 inches using a double knot. Repeat with pink and white yarn, alternating colors.


4. Photo Clothespin Garland
Easy
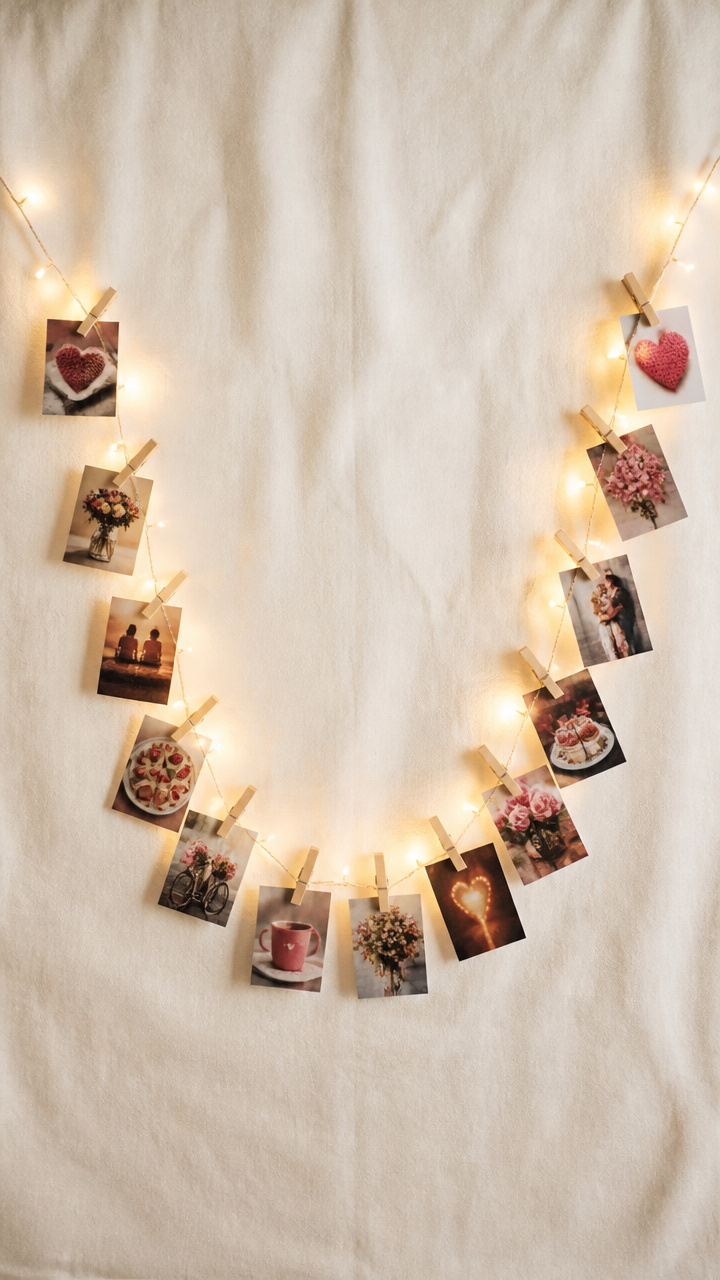
Smiling faces clipped to a string of lights bring warmth and memory into your space. This garland doubles as decor and a sweet display of connection.
Materials Needed
- Mini clothespins, 15
- String lights, 10 feet
- Small printed photos, 2×3 inches, 15
- Double-sided tape
How to Make It
- Peel backing from a piece of double-sided tape and press it onto the back of a photo.
- Press the taped side of the photo onto the flat surface of a clothespin, centering it carefully.
- Clip each photo-covered clothespin onto the string lights at 6-inch intervals, spacing evenly along the strand.


5. Cinnamon Stick & Dried Orange Garland
Moderate
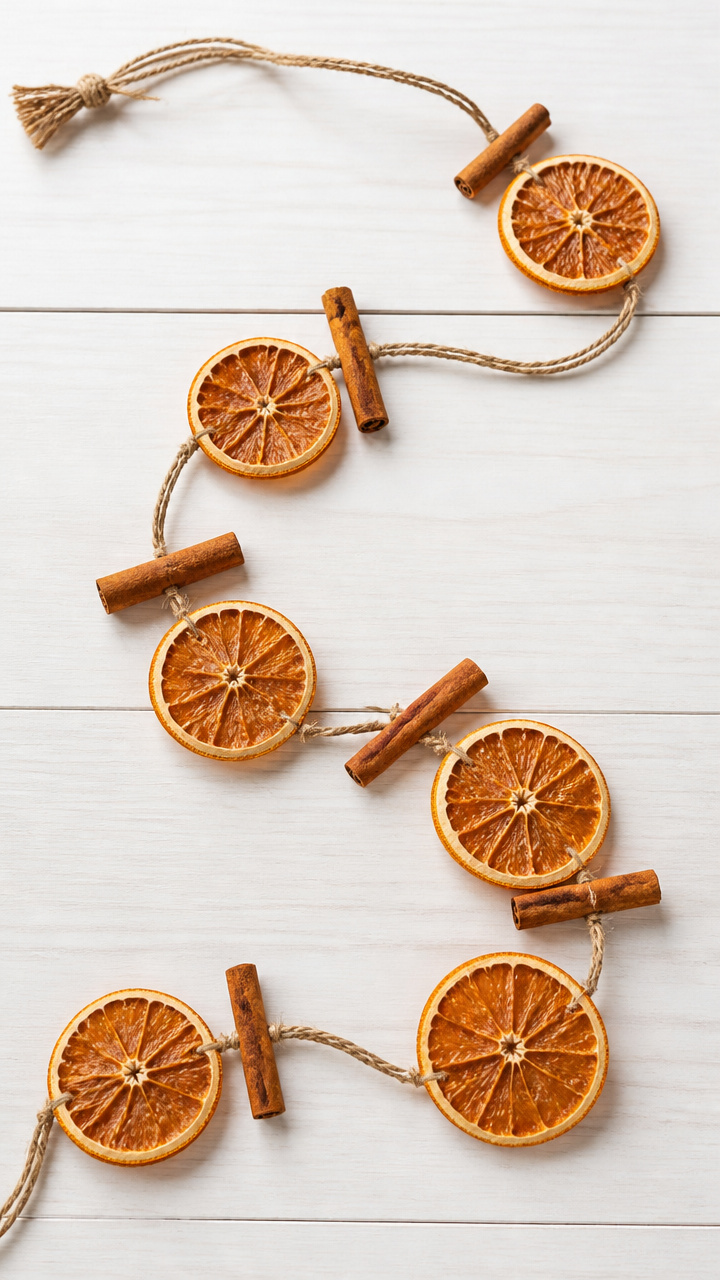
Earthy cinnamon sticks paired with thin wheels of dried citrus fill the air with a comforting scent. This natural garland brings warmth to kitchens and dining areas.
Materials Needed
- Cinnamon sticks, 15, about 3 inches long
- Oranges, 3
- Knife
- Baking sheet
- Parchment paper
- Olive oil
- Drinking straw
- Navy blue waxed linen thread, 7 feet
- Needle
How to Make It
- Preheat oven to 200°F. Slice oranges into 1/4-inch thick rounds, place on a parchment-lined baking sheet, and brush lightly with olive oil.
- Bake orange slices for 3 hours, flipping halfway, until dry and slightly curled. Let cool completely.
- Use a drinking straw to punch a hole near the top edge of each dried slice, then thread alternating cinnamon sticks and orange slices onto waxed linen thread using a needle, spacing 2 inches apart.


6. Origami Crane Love Garland
Moderate
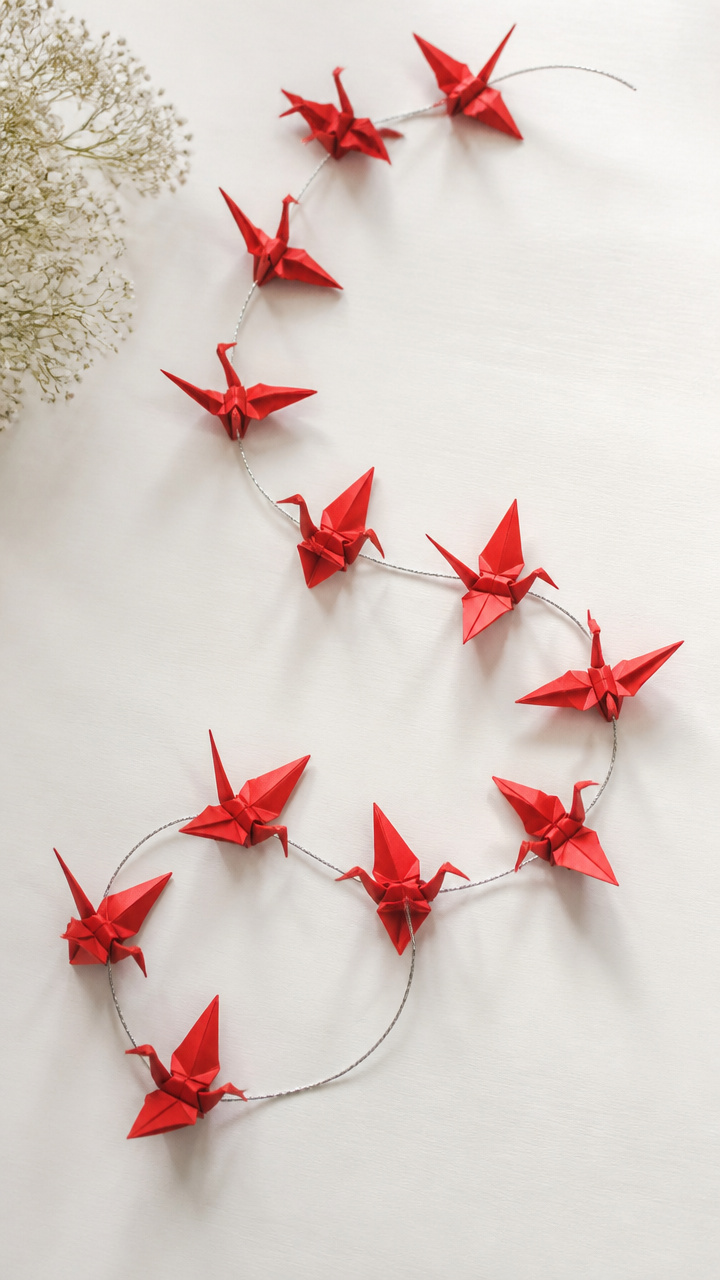
Delicate folded cranes in cherry-red kami paper rise and fall along a silver thread, symbolizing hope and affection. Each fold carries intention and calm focus.
Materials Needed
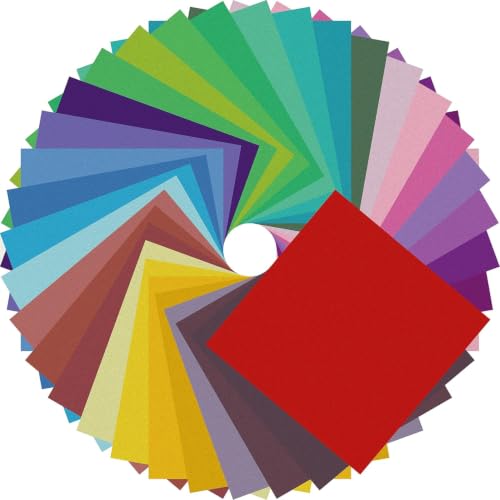
- Red origami paper squares, 6×6 inches, 12 sheets
- Silver metallic embroidery thread, 8 feet
- Needle
- Bone folder
How to Make It
- Follow standard origami crane folding instructions using one sheet at a time, pressing each crease sharply with the bone folder for crisp lines.
- Once complete, thread the needle with metallic thread and pass it through the base of the crane’s tail, just enough to secure without tearing.
- Space cranes 5 inches apart along the thread, tying a small knot behind each one to hold position, until all 12 are attached.


7. Clay Heart Name Garland
Moderate
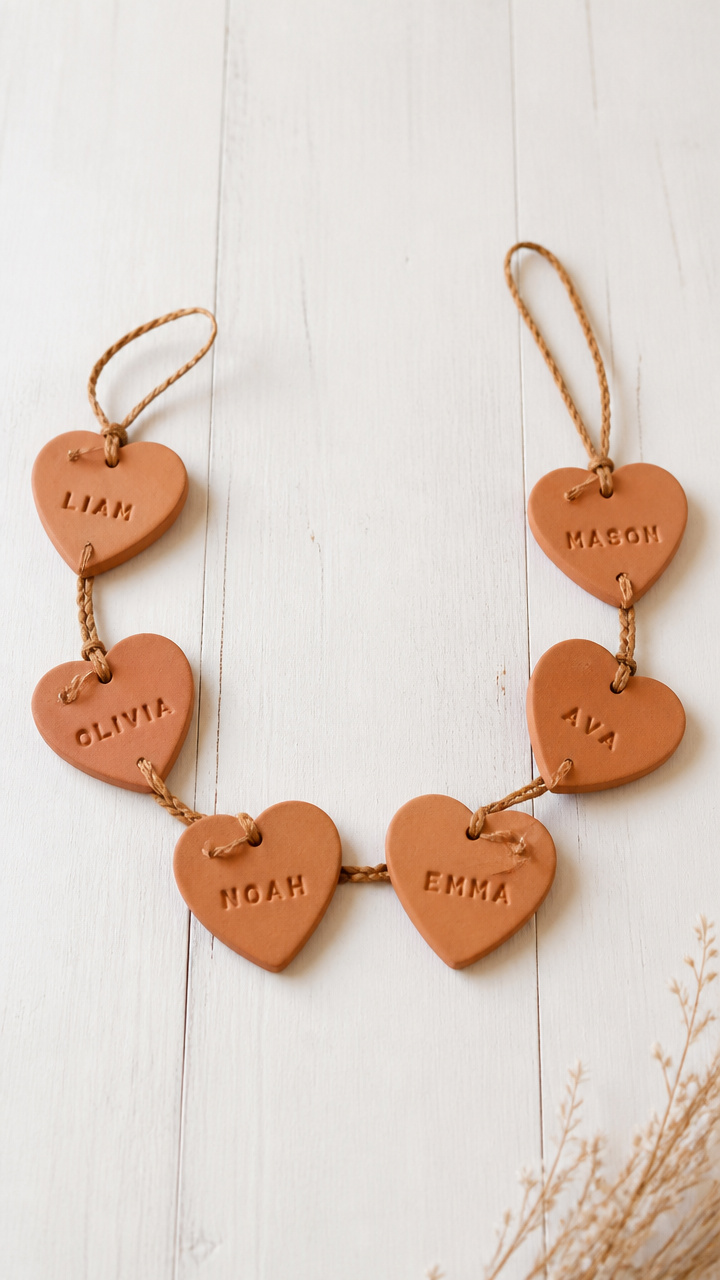
Personalized hearts stamped with names or initials sit side by side on a braided leather cord. These oven-baked clay pieces feel substantial and lasting.
Materials Needed
- Polymer clay, terra cotta color, 2 oz block
- Rolling pin
- Heart-shaped cookie cutter, 2 inches
- Wooden skewer
- Alphabet stamps
- Leather cord, 3-strand braid, 6 feet
- Needle
- Oven-safe tile
How to Make It
- Roll clay to 1/4-inch thickness using the rolling pin, then cut out 10 hearts with the cookie cutter.
- Press name initials into each heart using alphabet stamps, then poke a hole at the top with the skewer for hanging.
- Place hearts on an oven-safe tile and bake at 275°F for 15 minutes. Cool completely, then thread onto leather cord with a needle and tie knots between each to prevent sliding.


8. Lace Doily Hearts Garland
Easy
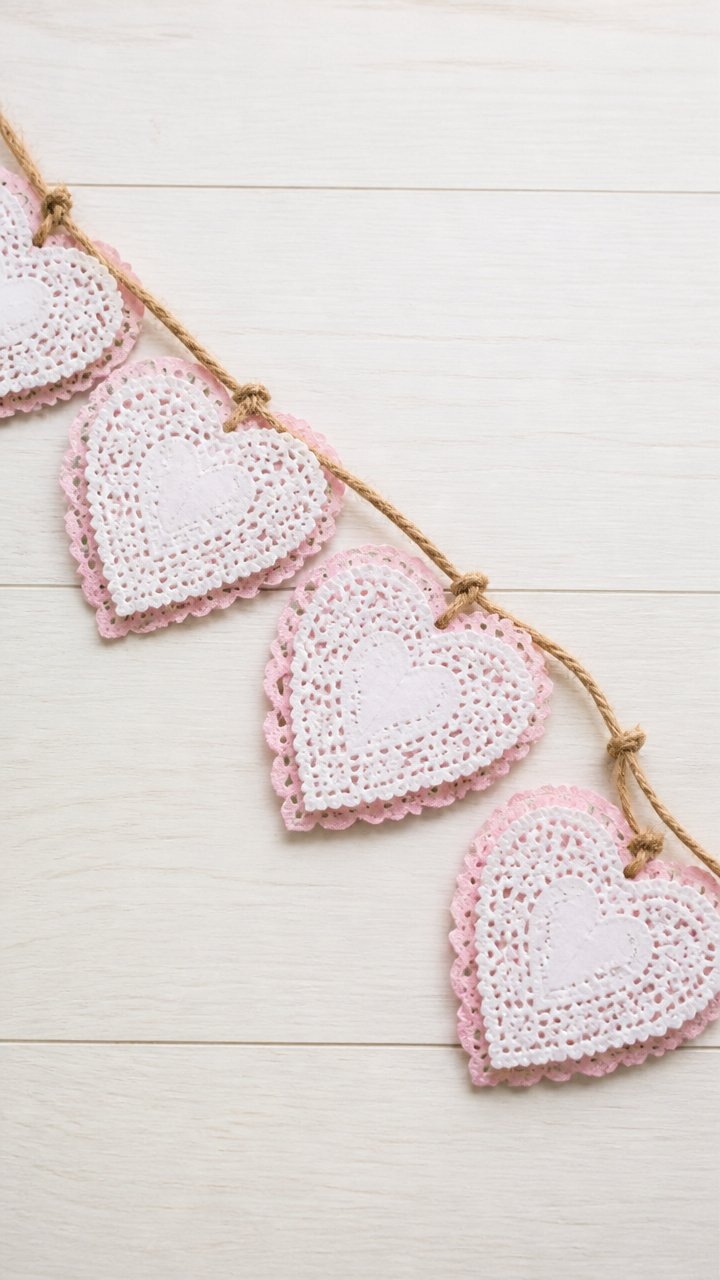
Vintage-inspired doilies trimmed with crocheted edges bloom like flowers when painted and layered. This airy garland adds romance to a bedroom or entryway.
Materials Needed
- White paper doilies, 5 inches diameter, 10
- Craft glue
- Pink spray paint
- Clothesline rope, 5 feet
- Clothespins
How to Make It
- Lay doilies flat on a protected surface outdoors and spray evenly with pink spray paint from 12 inches away, coating both sides lightly. Let dry for 20 minutes.
- Fold each painted doily in half and apply a line of craft glue along the curved edge, pressing the halves together to form a heart shape.
- Use clothespins to clip finished hearts to the clothesline rope at 5-inch intervals, allowing them to drape naturally.


9. Wine Cork Slice Hearts
Advanced
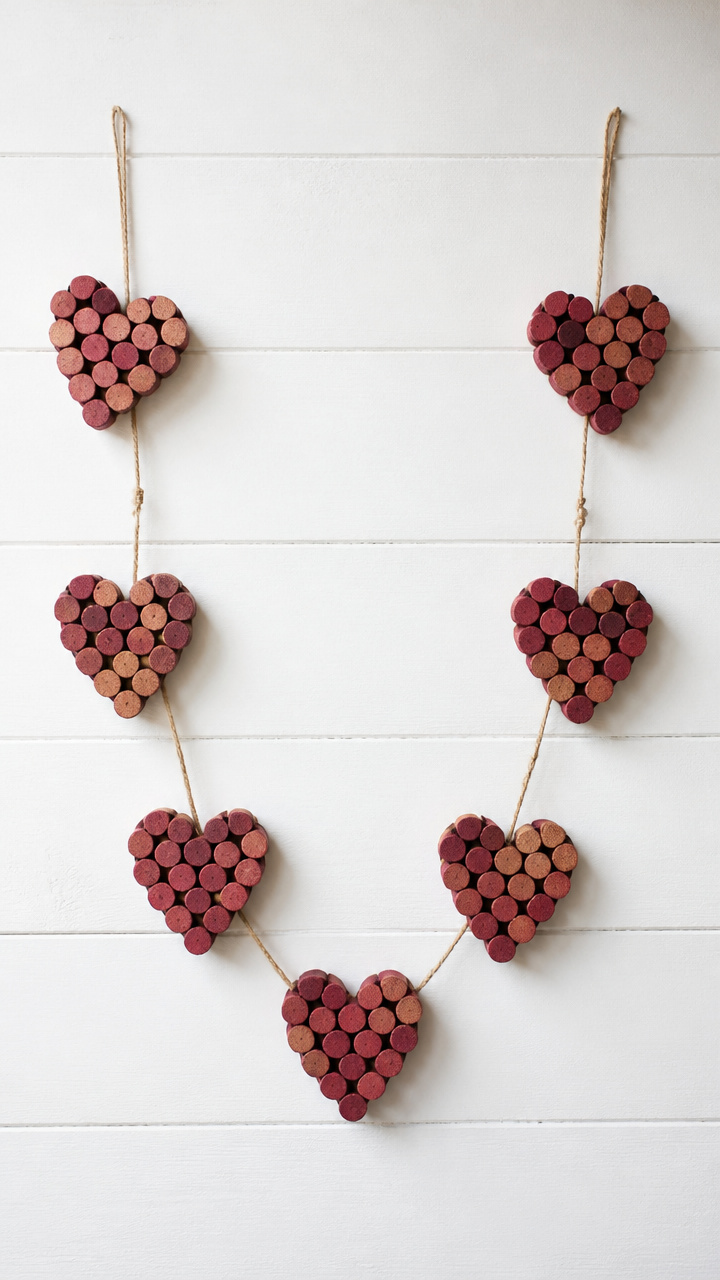
Thin cross-sections of wine corks become rustic charms when shaped into hearts. This eco-friendly garland celebrates love and reuse in equal measure.
Materials Needed
- Used wine corks, 12
- Craft knife
- Heart template, 1.5 inches tall
- Sandpaper, 220 grit
- Twine, 6 feet
- Hot glue gun
- Glue sticks
How to Make It
- Slice each cork into 1/4-inch thick rounds using a craft knife, cutting slowly and keeping fingers clear of the blade.
- Trace the heart template onto each cork slice and carefully cut out the shape with the craft knife, then smooth rough edges with sandpaper.
- Heat the glue gun, apply a small dot to the back of each cork heart, and press it onto the twine at 4-inch intervals, holding for 10 seconds until set.


10. Button Heart Garland
Moderate
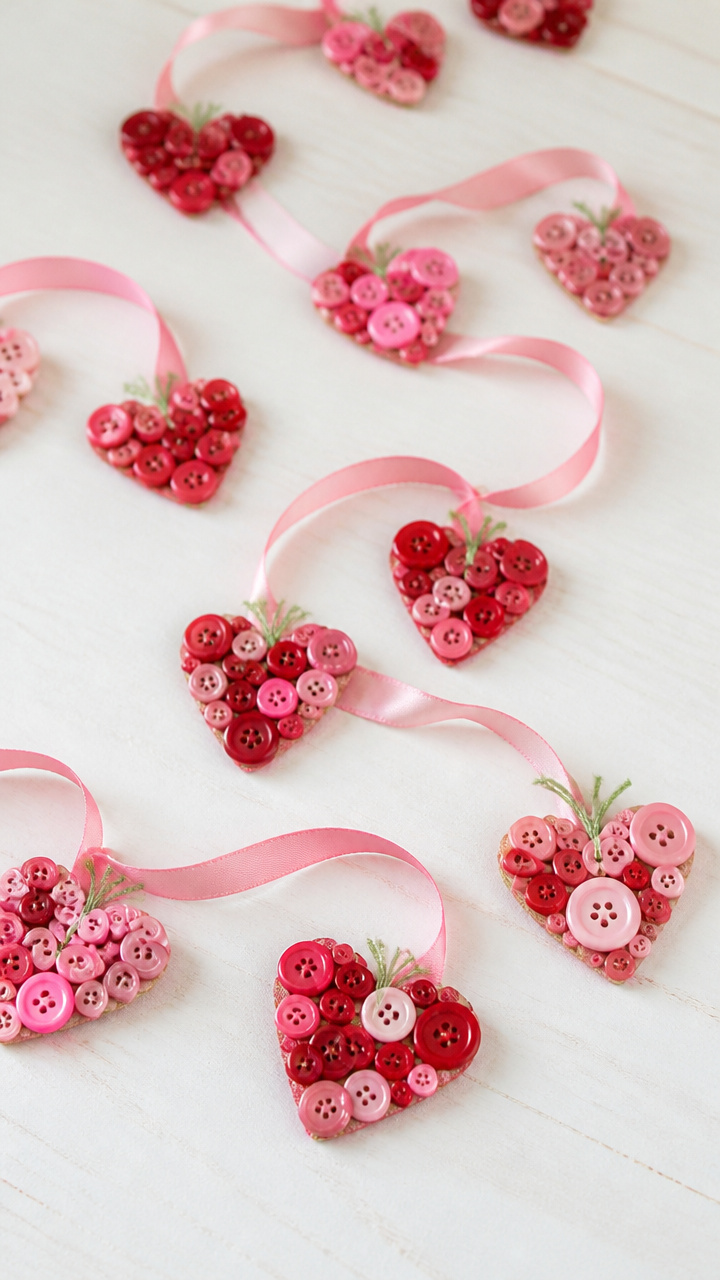
Mismatched vintage buttons in rosy tones cluster into tiny hearts and hang from satin ribbon. Each button carries history and charm.
Materials Needed
- Assorted red and pink buttons, 30 total, various sizes
- Green embroidery floss
- Satin ribbon, 1 inch wide, 5 feet
- Needle
- Scissors
- Cardboard, 2×2 inches
How to Make It
- Cut a 2-inch square of cardboard and wrap green embroidery floss tightly around it 20 times, then slide off and tie the center with a knot.
- Arrange six buttons in a heart shape around the floss center, threading the needle with matching floss and sewing each button securely to the back layer.
- Repeat to make five button hearts, then space them 8 inches apart along the satin ribbon, sewing each directly to the fabric with hidden stitches.


11. Salt Dough Bead Garland
Easy
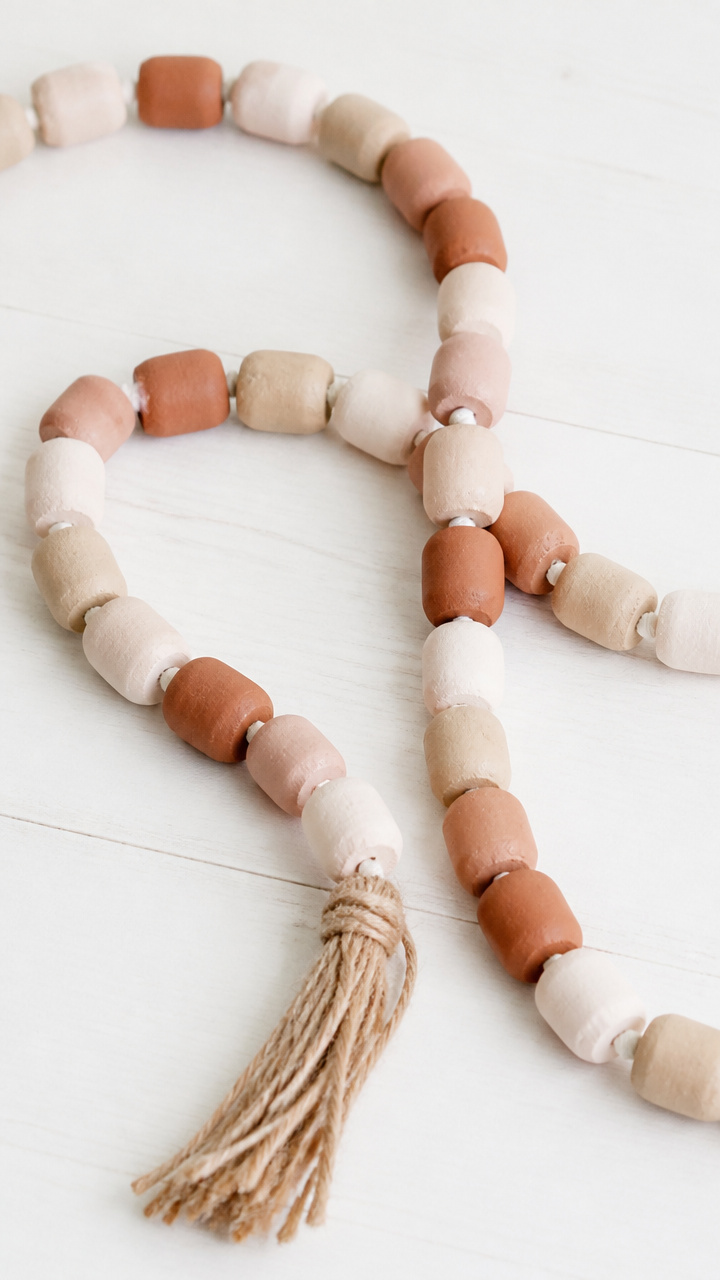
Hand-rolled beads baked until firm carry the simple beauty of childhood crafts. These matte-finish beads age gracefully with your home.
Materials Needed
- 2 cups all-purpose flour
- 1 cup salt
- 3/4 cup water
- Mixing bowl
- Wooden spoon
- Straw
- Baking sheet
- Parchment paper
- Red acrylic paint
- Paintbrush
- Jute string, 6 feet
How to Make It
- Mix flour, salt, and water in a bowl with a wooden spoon until a stiff dough forms, kneading by hand for 2 minutes until smooth.
- Roll dough into 15 pea-sized balls, press a straw through the center of each, and place on a parchment-lined baking sheet.
- Bake at 200°F for 3 hours, let cool, then paint each bead red with acrylic paint and thread onto jute string once dry, spacing 1 inch apart.
12. Tissue Paper Fan Garland
Easy
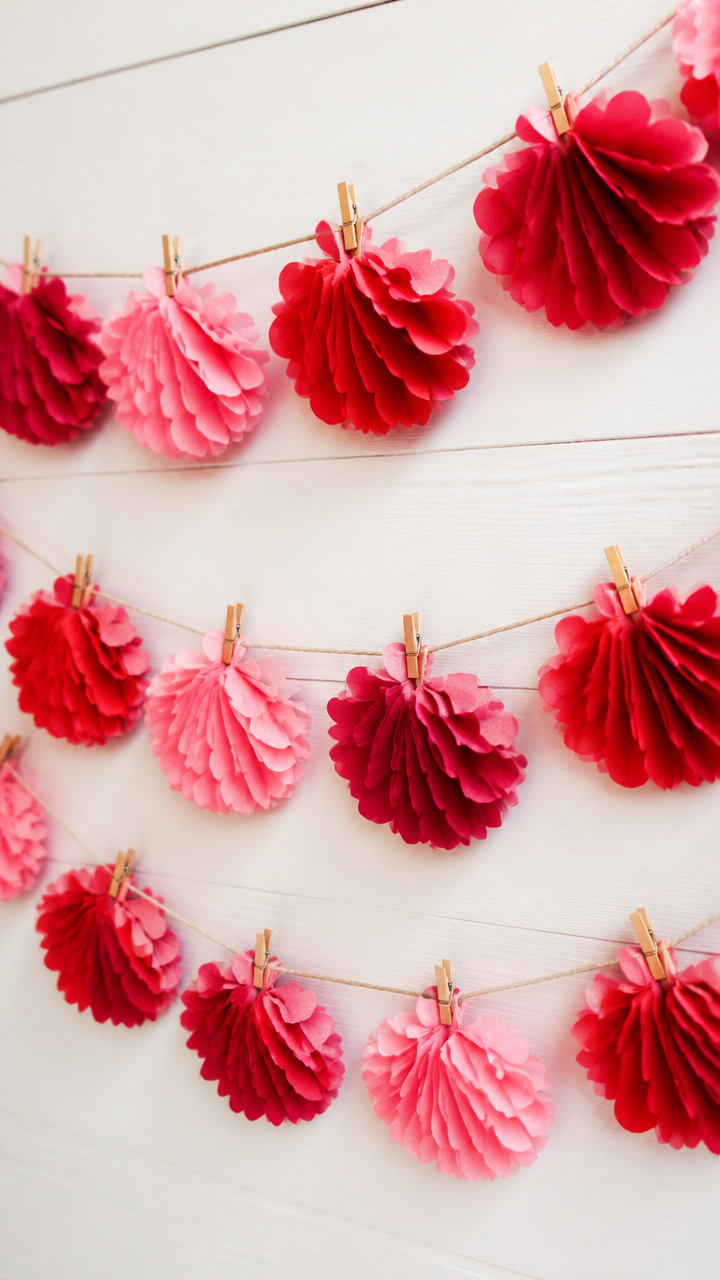
Layers of crimson and coral tissue paper open like blooming roses when pulled and clipped. This lightweight garland floats with the slightest breeze.
Materials Needed
- Red tissue paper, 20×28 inches, 5 sheets
- Pink tissue paper, 20×28 inches, 5 sheets
- Clothespin clips, 10
- String, 6 feet
How to Make It
- Stack one red and one pink tissue sheet together, then accordion-fold them widthwise into 1.5-inch pleats, using crisp folds for best results.
- Pinch the center of the folded stack and secure it with a clothespin clip, bending the wings outward to form a fan shape.
- Attach each fan to the string by clipping the clothespin directly to the line, placing them 6 inches apart along the full length.


13. Wire Frame Heart Garland
Advanced
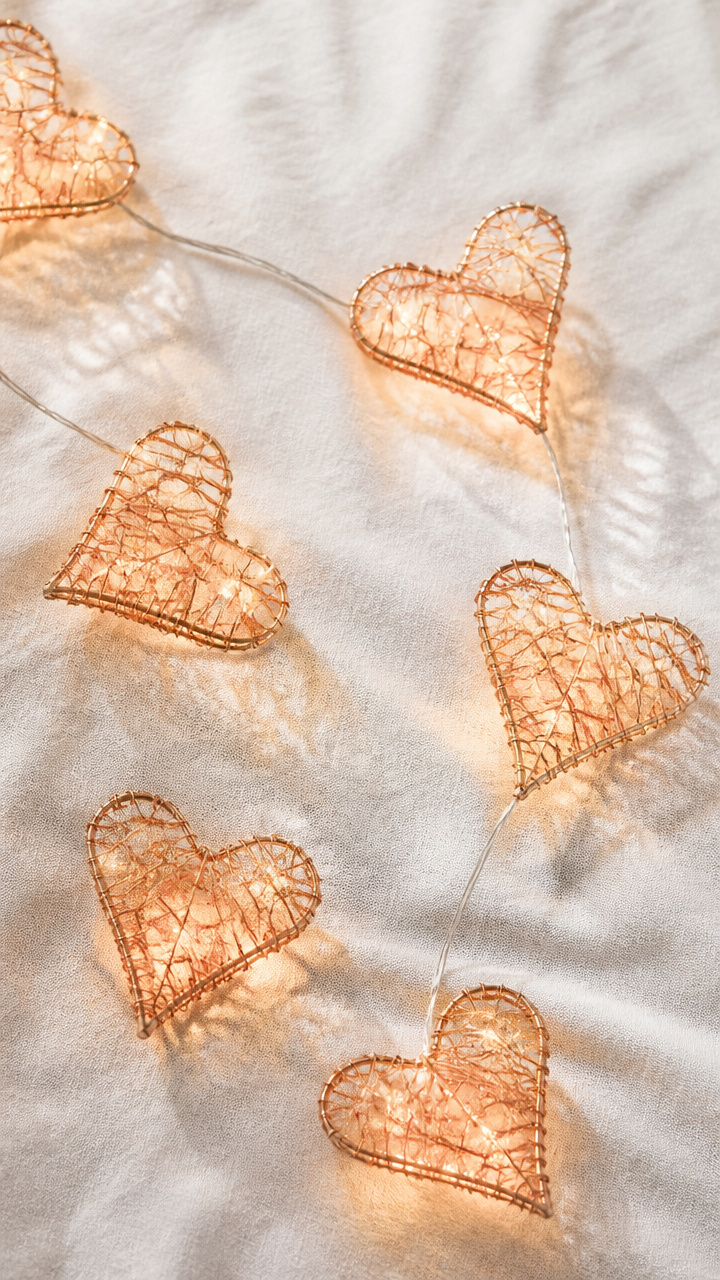
Sturdy hearts made from bendable copper wire glow softly when lit from within. These modern shapes cast delicate shadows on nearby walls.
Materials Needed
- Copper craft wire, 18 gauge, 10 feet
- Round-nose pliers
- Wire cutters
- LED fairy lights, 3 feet
- Clear tape
How to Make It
- Use round-nose pliers to bend 1 foot of copper wire into a heart shape, twisting the ends together at the bottom to secure.
- Repeat to make nine more hearts, varying sizes from 3 to 5 inches wide, ensuring each has a small loop at the base for hanging.
- Weave LED fairy lights through the hearts by threading the bulb wire through each loop, securing with small pieces of clear tape where needed to prevent slipping.


14. Embroidered Hoop Mini Garland
Moderate
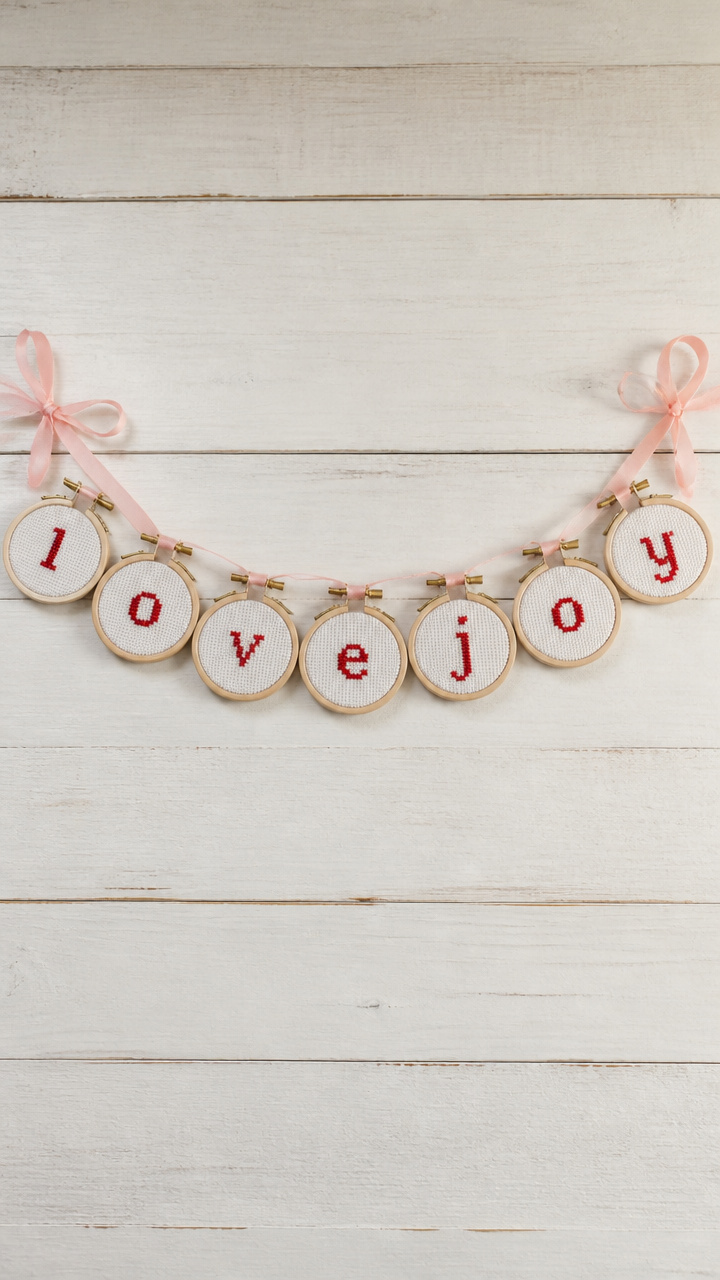
Tiny embroidery hoops hold stitched messages like 'love' and 'joy' in neat cross-stitch. These miniature artworks dangle like secrets on a silk thread.
Materials Needed
- 4-inch embroidery hoops, wooden, 5
- White cotton embroidery fabric
- Red embroidery floss
- Embroidery needle
- Scissors
- Pale pink silk ribbon, 7 feet
- Iron
How to Make It
- Cut fabric into 6-inch squares and stretch one tautly in each hoop, trimming excess from the back with scissors.
- Stitch a single word like 'love' or 'yes' onto each hoop using cross-stitch and red floss, keeping letters even and centered.
- Iron the back of each hoop to flatten, then tie the silk ribbon through the screw at the top of each hoop, spacing them 8 inches apart along the ribbon.


15. Dried Flower Rice Paper Garland
Advanced
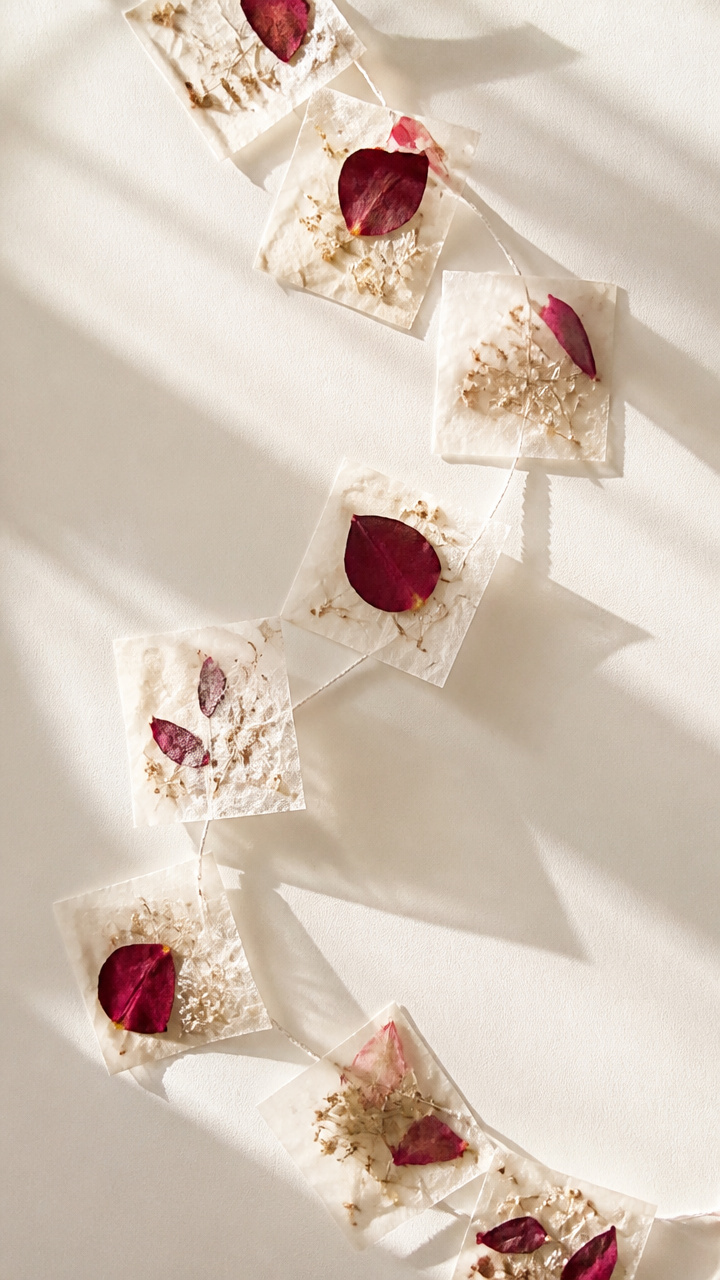
Sheets of translucent rice paper encase pressed rose petals and baby’s breath, glowing like stained glass when hung in sunlight. This fragile garland feels poetic and fleeting.
Materials Needed
- Rice paper sheets, 6×6 inches, 10
- Pressed red rose petals
- Pressed baby’s breath sprigs
- Small paintbrush
- Wheat paste
- Clear drying craft glue
- Fishing line, 8 feet
- Needle
How to Make It
- Mix wheat paste according to package directions and use a paintbrush to apply a thin, even layer over one rice paper sheet.
- Arrange rose petals and baby’s breath in a loose cluster on the wet surface, then seal with another coat of paste, letting it dry flat for 2 hours.
- Once dry, punch a hole at the top corner with a needle, thread fishing line through, and knot securely, repeating every 7 inches with new panels.
Each of these garlands holds the chance to make your space feel more intimate and joyful. Pick up a pair of scissors or a spool of thread and let your hands begin the story.