15 Cute Valentine’s Day DIY Crafts on a Budget

Red heart confetti catches the light as it spills from a handmade card, and suddenly the kitchen table feels like a workshop of love. These small creations carry big meaning, and they don’t need a big budget to make someone feel special.
Each craft here uses simple materials with clear steps so you can make something heartfelt without stress. From tiny gifts to sweet decorations, these ideas are made for real life and real homes.
1. Heart-Shaped Paper Chain Garland
Easy

Bright linked hearts flutter across the mantel, adding playful charm to any room with just paper and glue. This garland brings instant festive energy without cluttering your space.
Materials Needed
- 8 sheets red construction paper
- 8 sheets pink construction paper
- Scissors
- White glue
- Ruler
- Pencil
How to Make It
- Cut each sheet of paper into ten 1-inch wide strips, yielding 80 red and 80 pink strips total.
- Take one strip and form a loop, gluing the ends together. Thread a second strip through the first loop before gluing it into its own circle.
- Continue linking strips in alternating colors until the garland reaches 6 feet long.
- Let glue dry completely for 10 minutes between connections to prevent tearing.
2. Felt Heart Coasters
Moderate
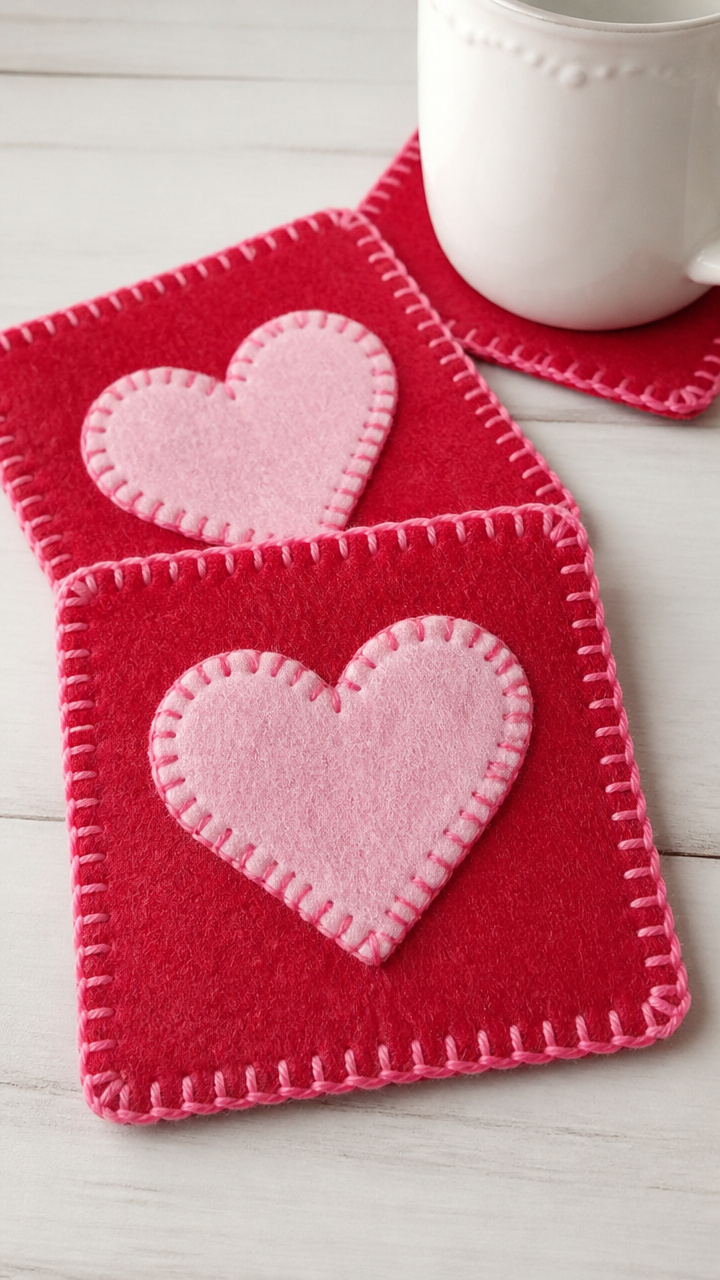
Soft red felt squares with stitched edges protect surfaces while adding cozy texture to a romantic dinner. These hold up to warm mugs and wipe clean with ease.
Materials Needed
- 1 red wool-blend felt sheet (9×12 inches)
- Sewing needle
- Pink embroidery floss
- Scissors
- Fabric ruler
- Chalk fabric marker
- Iron-on adhesive sheet
How to Make It
- Cut the felt into four 4×4 inch squares using the fabric ruler and chalk marker for straight lines.
- Apply the iron-on adhesive to the back of each square following the manufacturer’s heat settings.
- Fold each edge inward by 1/4 inch and pin in place to create a clean border.
- Stitch around the perimeter using a running stitch and pink embroidery floss for contrast.
3. Mini Mason Jar Love Notes
Easy
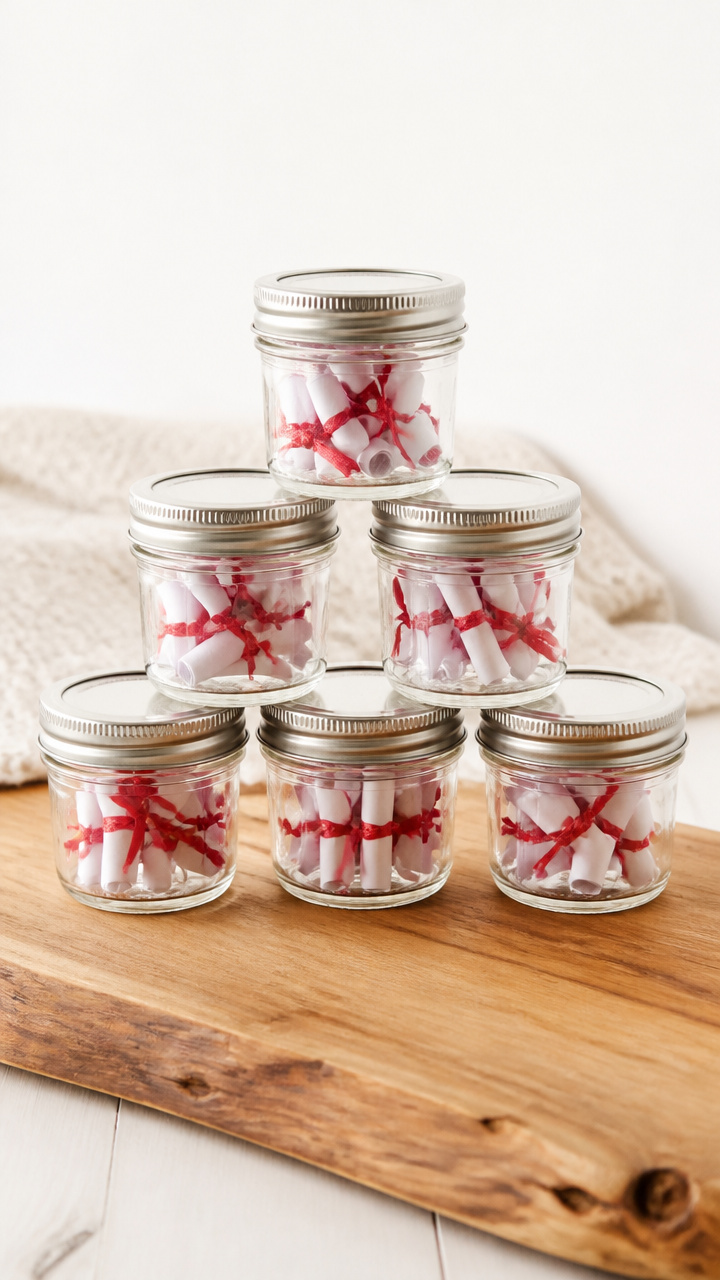
Tiny glass jars hold rolled scrolls tied with ribbon, each hiding a personal message inside. These fit perfectly on a desk or nightstand.
Materials Needed
- 6 mini mason jars with lids (2 oz size)
- 15 index cards (3×5 inches)
- Red gel pen
- Scissors
- Narrow red ribbon (1/8 inch wide, 3 yards)
- Craft tweezers
How to Make It
- Write one short loving note on each index card using the red gel pen.
- Cut each card in half to make 30 small rectangles, then roll tightly into scrolls.
- Use tweezers to place two scrolls into each jar without wrinkling them.
- Tie a 6-inch piece of ribbon around the lid of each jar and secure with a bow.
4. Washi Tape Picture Frames
Easy
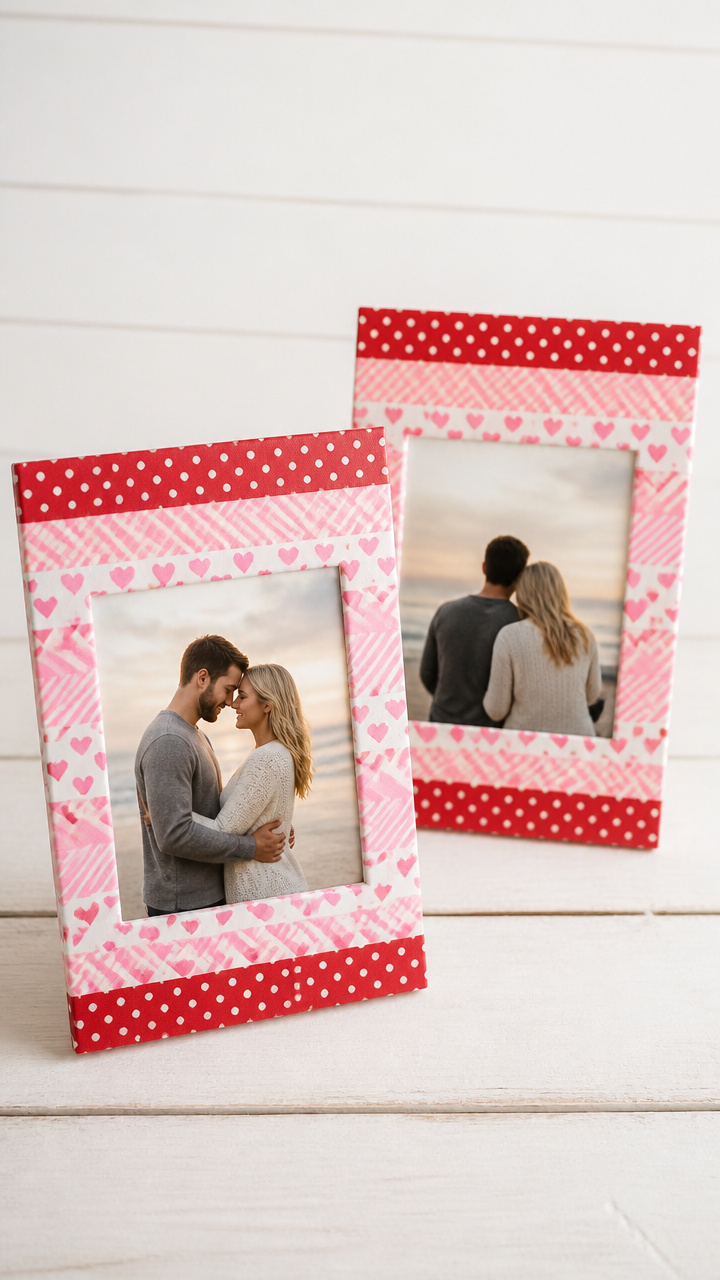
Plain wooden frames turn vibrant with layered tape patterns, framing your favorite couple photo in cheerful color. The design stays crisp and clean with no paint mess.
Materials Needed
- 2 unfinished pine picture frames (4×6 inches)
- Clear matte sealant spray
- 3 rolls washi tape (1/2 inch wide, red polka dot, pink stripe, white heart pattern)
- Craft knife
- Ruler
How to Make It
- Wrap the outer edge of each frame with a different washi tape, pressing firmly to avoid bubbles.
- Use the craft knife and ruler to make clean cuts at corners for sharp edges.
- Layer a second strip of contrasting tape slightly offset over the first on each side.
- Spray both frames with one even coat of sealant and let dry flat for 20 minutes.
5. Cinnamon Stick Bouquet
Easy
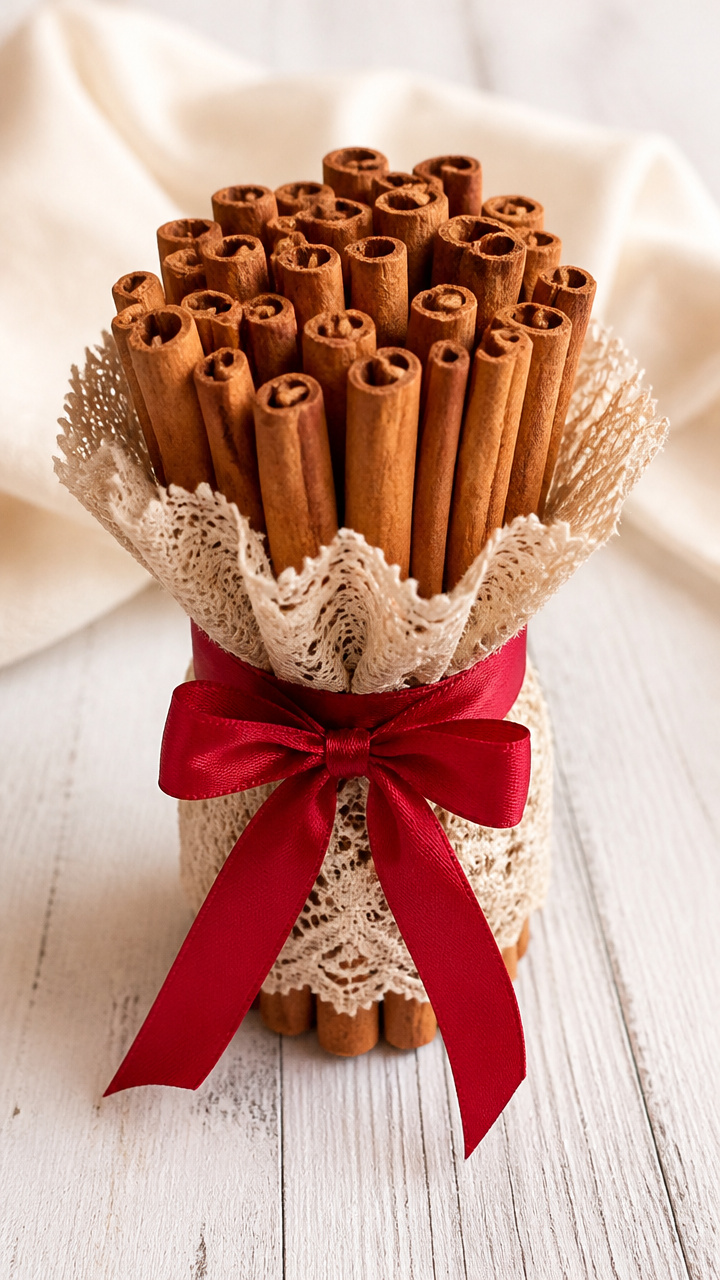
Bundles of cinnamon sticks wrapped in lace smell warm and look elegant on a coffee table. This fragrant centerpiece costs less than store-bought flowers.
Materials Needed
- 15 cinnamon sticks (6 inches long)
- Red satin ribbon (1/2 inch wide, 2 yards)
- Lace trim (1/4 inch wide, 1 yard)
- Hot glue gun
- Glue sticks
- Floral wire (18 gauge, 12 inches)
How to Make It
- Group five cinnamon sticks together and wrap floral wire around the middle twice, twisting tight at the back.
- Glue the lace trim around the wire, covering the twist neatly.
- Wrap red ribbon over the lace and tie a full bow at the front.
- Repeat to make three identical bundles and display them standing upright in a small vase.
6. Button Heart Magnet
Moderate
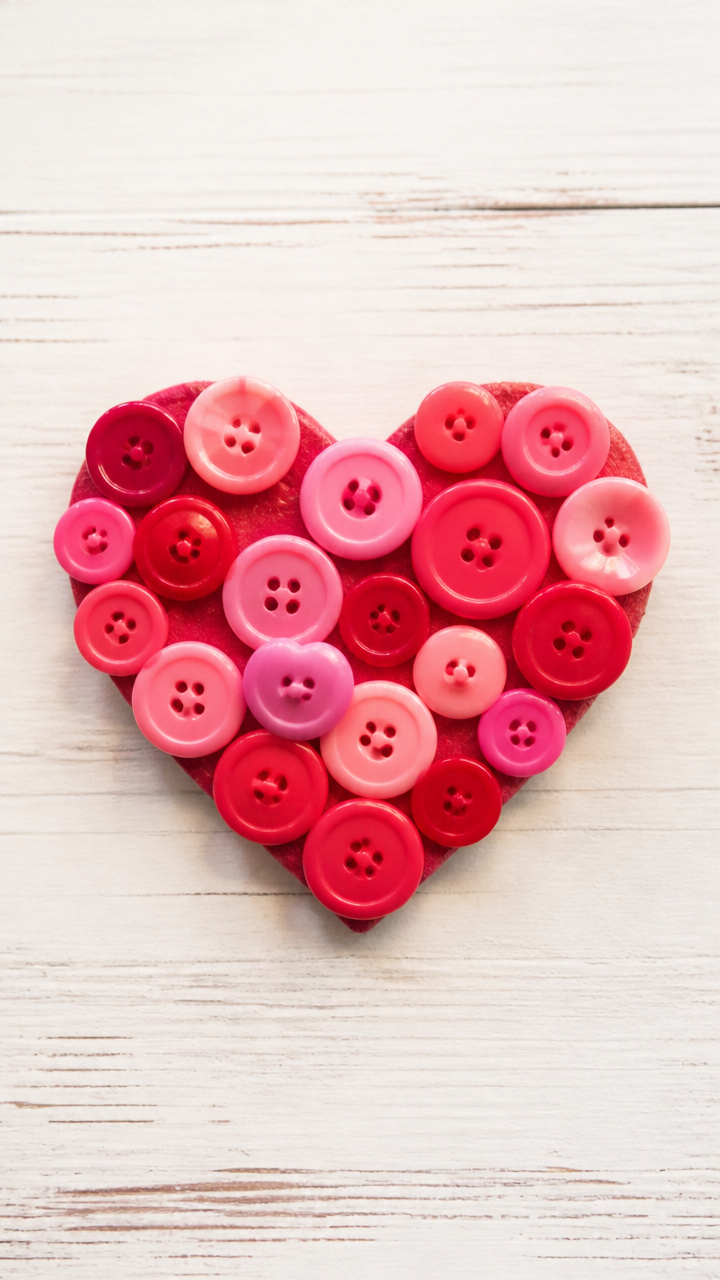
Mismatched buttons in rosy tones form a tiny heart that sticks to the fridge with quiet charm. Every button catch holds a bit of nostalgia.
Materials Needed
- 20 assorted red and pink buttons (various sizes, 1/4 to 3/4 inch)
- Strong craft glue (E6000 type)
- Small heart-shaped template (2 inches tall)
- Cardboard scrap
- Refrigerator magnet strip (1 inch x 2 inches)
- Tweezers
How to Make It
- Trace the heart shape onto cardboard and cut it out with scissors.
- Arrange buttons on the cardboard heart starting from the bottom edge, filling in tightly.
- Use tweezers to place smaller buttons in gaps and glue each one down with a dab of craft glue.
- Once dry, glue the magnet strip to the back and wait 2 hours before use.
7. Salt Dough Ornaments
Moderate
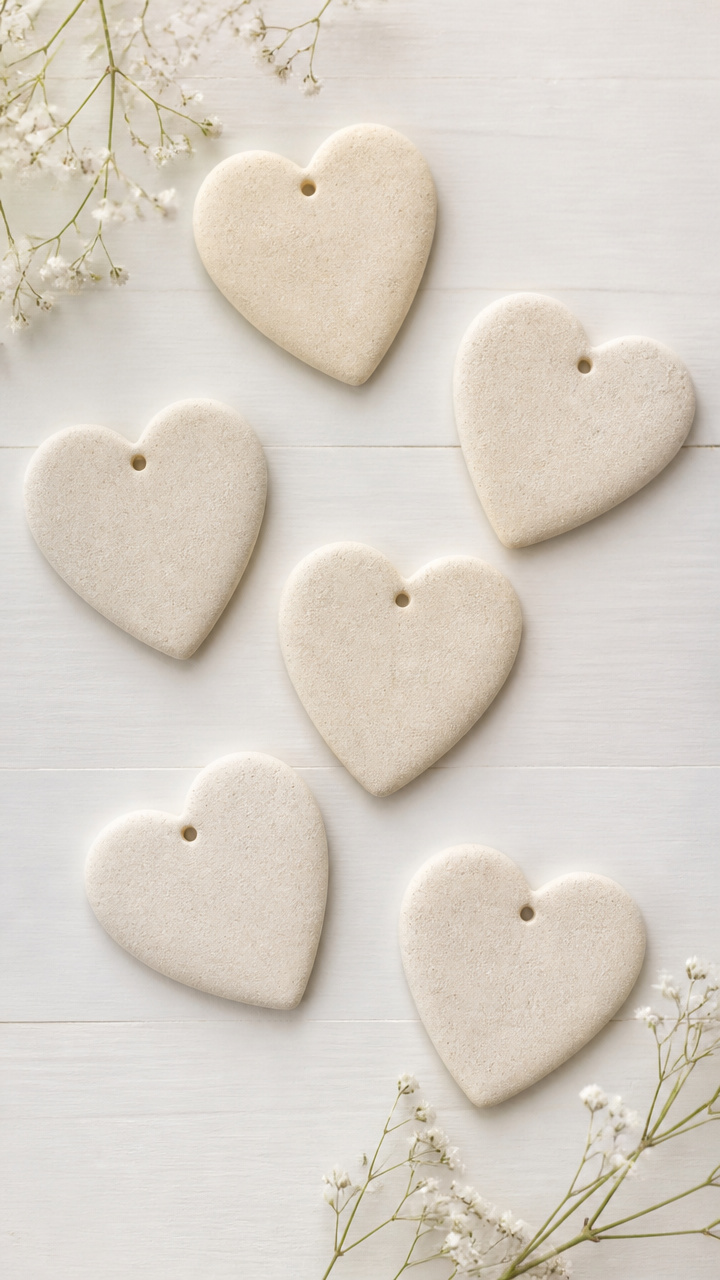
Hand-pressed shapes bake firm and light, ready to hang on a tree or gift as keepsakes. Kids and adults alike enjoy shaping these from scratch.
Materials Needed
- 2 cups all-purpose flour
- 1 cup table salt
- 3/4 cup warm water
- Rolling pin
- Heart-shaped cookie cutter (2 inches)
- Straw
- Baking sheet
- Parchment paper
- Red acrylic paint
- Fine paintbrush
- Red yarn (12 inches per ornament)
How to Make It
- Mix flour, salt, and warm water in a bowl until a smooth dough forms, kneading briefly on a floured surface.
- Roll the dough to 1/4 inch thickness and cut out six hearts using the cookie cutter.
- Push a straw through the top of each heart to make a hanging hole.
- Place ornaments on a parchment-lined baking sheet and bake at 200°F for 3 hours until hard.
- Paint each ornament with red acrylic paint and let dry 30 minutes.
- Thread yarn through the hole and knot to make a hanger.
8. Origami Heart Bookmarks
Moderate
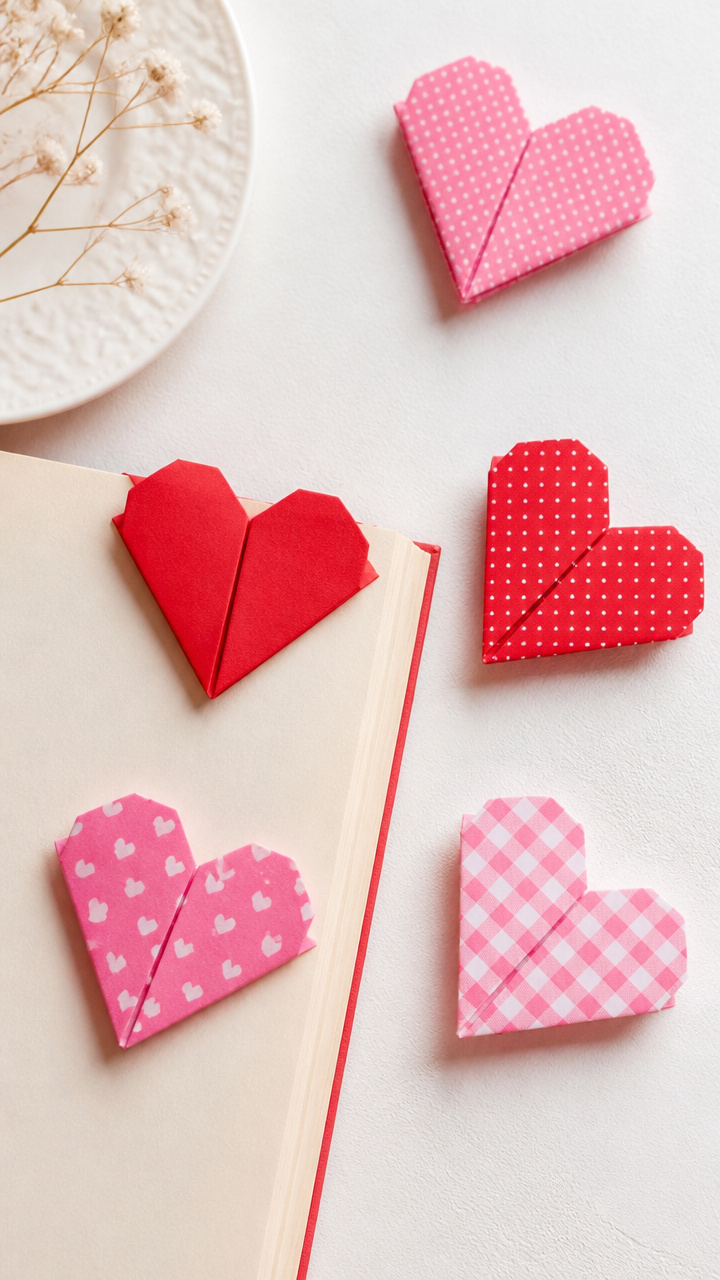
Crisp folds of decorative paper create delicate hearts that mark pages with care. Slide one into a loved one’s favorite novel as a surprise.
Materials Needed
- 6 sheets origami paper (6×6 inches, red and pink patterns)
- Bone folder
- Flat work surface
How to Make It
- Fold one sheet in half diagonally to form a triangle, creasing sharply with the bone folder.
- Fold the left and right corners upward to meet at the top point, forming a diamond shape.
- Flip the paper over and fold the bottom corner up about 1 inch to create the bookmark tail.
- Press all creases firmly and repeat with remaining sheets for a set of six.
9. Pom-Pom Love Garland
Easy
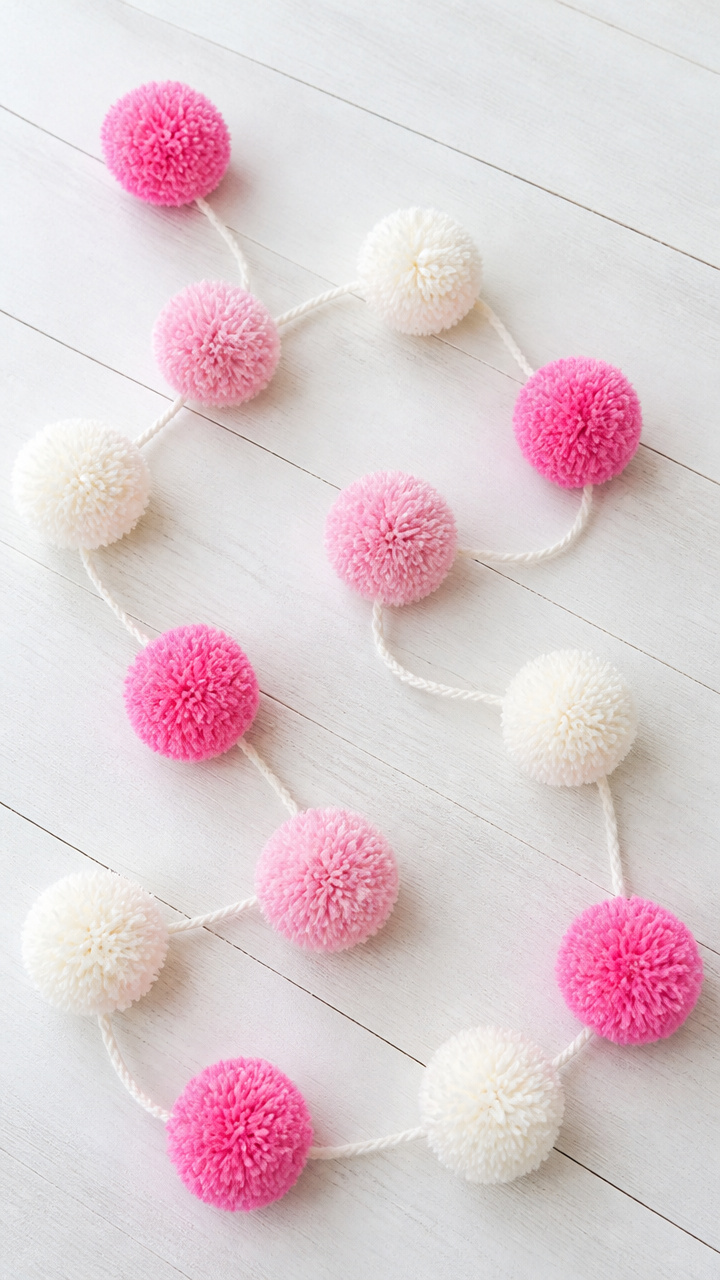
Fluffy pink and white pom-poms dangle from twine, bouncing gently above a windowsill. Their soft bounce adds movement and whimsy to quiet spaces.
Materials Needed
- 12 pink yarn pom-pom kits (1 inch size)
- 6 white yarn pom-pom kits (1 inch size)
- Cotton twine (3 yards)
- Scissors
- Tape measure
How to Make It
- Make each pom-pom using the cardboard templates in the kit, following package directions.
- Trim excess fibers for a neat round shape after removing the wrapper thread.
- Cut the twine to 36 inches and mark every 4 inches with a pencil dot.
- Tie one pom-pom at each mark, alternating pink and white, leaving 6 inches free at each end.
10. Painted Rock Hearts
Easy

Smooth river stones wear tiny hand-painted hearts, perfect for tucking into lunchboxes or planters. Each one feels like a hidden token of affection.
Materials Needed
- 10 flat river rocks (2 to 3 inches long)
- White acrylic paint
- Fine-tipped black paint pen
- Red acrylic paint
- Small flat paintbrush
- Paper plate
- Water cup
- Paper towel
How to Make It
- Paint one side of each rock with white acrylic paint and let dry 20 minutes on a paper plate.
- Use the fine-tipped black paint pen to draw a small heart outline near the center.
- Fill in the heart with red acrylic paint using the small brush, dabbing excess on paper towel.
- Let paint dry completely for 1 hour before handling.
11. Clothespin Cupid Dolls
Moderate
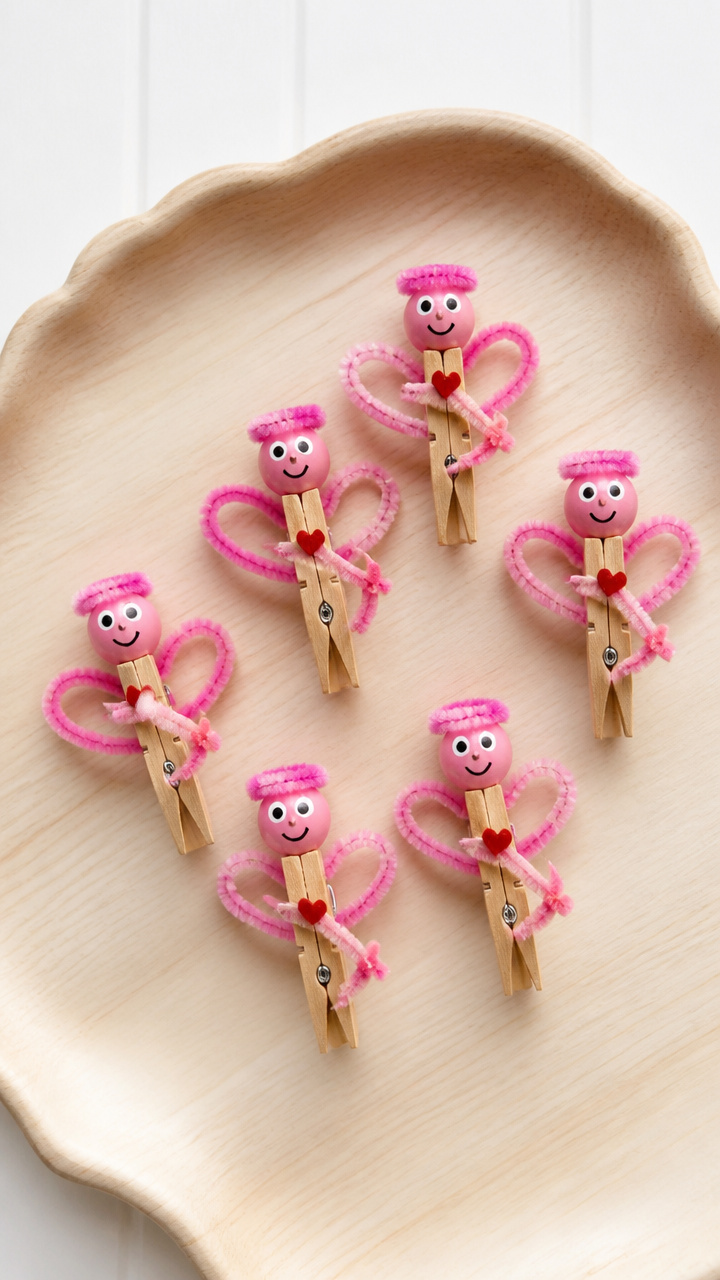
Wooden clothespins grow wings and bows, turning into tiny cupids that clip onto photos or cards. Their silly grins bring lighthearted fun to any display.
Materials Needed
- 6 wooden clothespins (mini size)
- Pink acrylic paint
- Small round foam brush
- Googly eyes (1/4 inch, 12 pieces)
- White craft glue
- Pink pipe cleaners (6 pieces)
- Red chenille stems (6 pieces)
- Scissors
How to Make It
- Paint the head and arms of each clothespin with pink acrylic paint and let dry 15 minutes.
- Glue two googly eyes just below the tip of each head and let set for 5 minutes.
- Bend one pink pipe cleaner into a wing shape and glue one on each side of the body.
- Twist a red chenille stem into a bow shape and glue it between the wings.
- Let glue cure fully for 1 hour before clipping onto anything.
12. Tissue Paper Window Decor
Easy
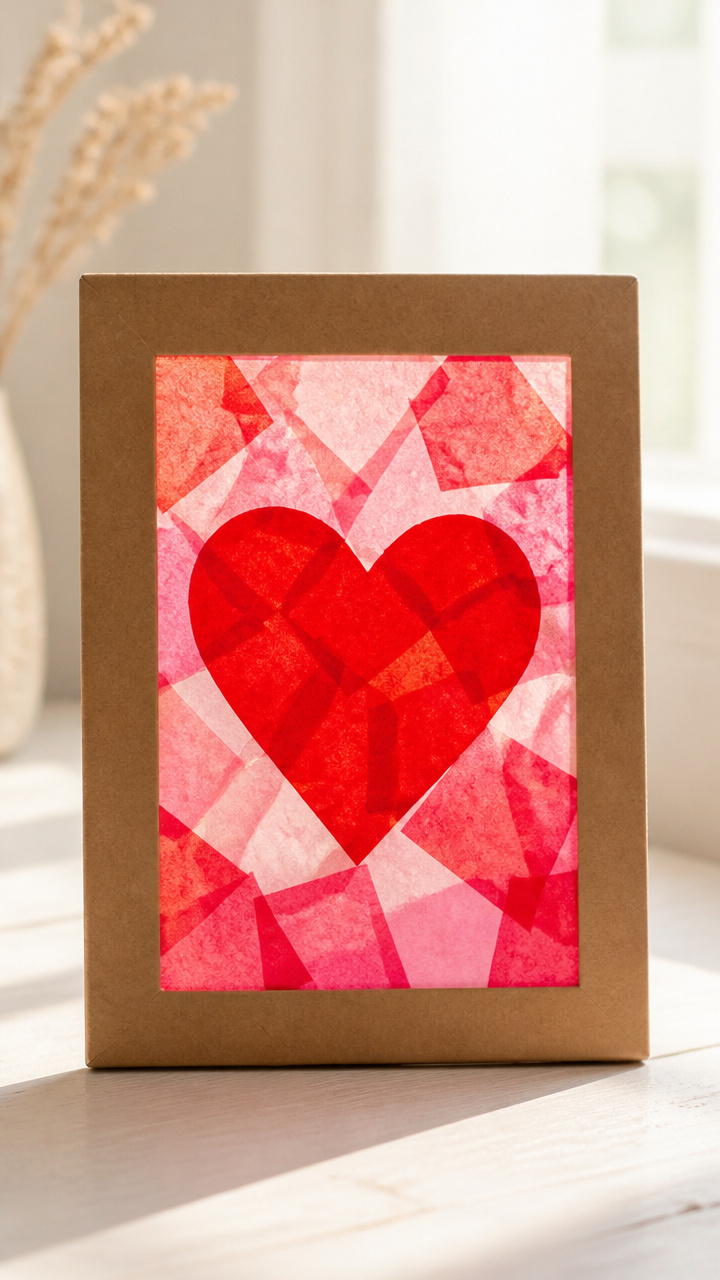
Layers of red and pink tissue bloom like stained glass when taped to sunny windows. Light passes through softly, casting warm colored shadows.
Materials Needed
- 4 sheets red tissue paper
- 4 sheets pink tissue paper
- Scissors
- Double-sided tape
- Cardboard window template (5×7 inches)
How to Make It
- Stack one red and one pink tissue sheet and fold accordion-style into 1 inch pleats.
- Cut both ends into a rounded arch using scissors for a soft top edge.
- Unfold slightly and pinch the middle, securing with a staple to form a fan.
- Attach the fan to the cardboard template with double-sided tape and press flat against the window.
13. Embroidered Heart Patches
Advanced
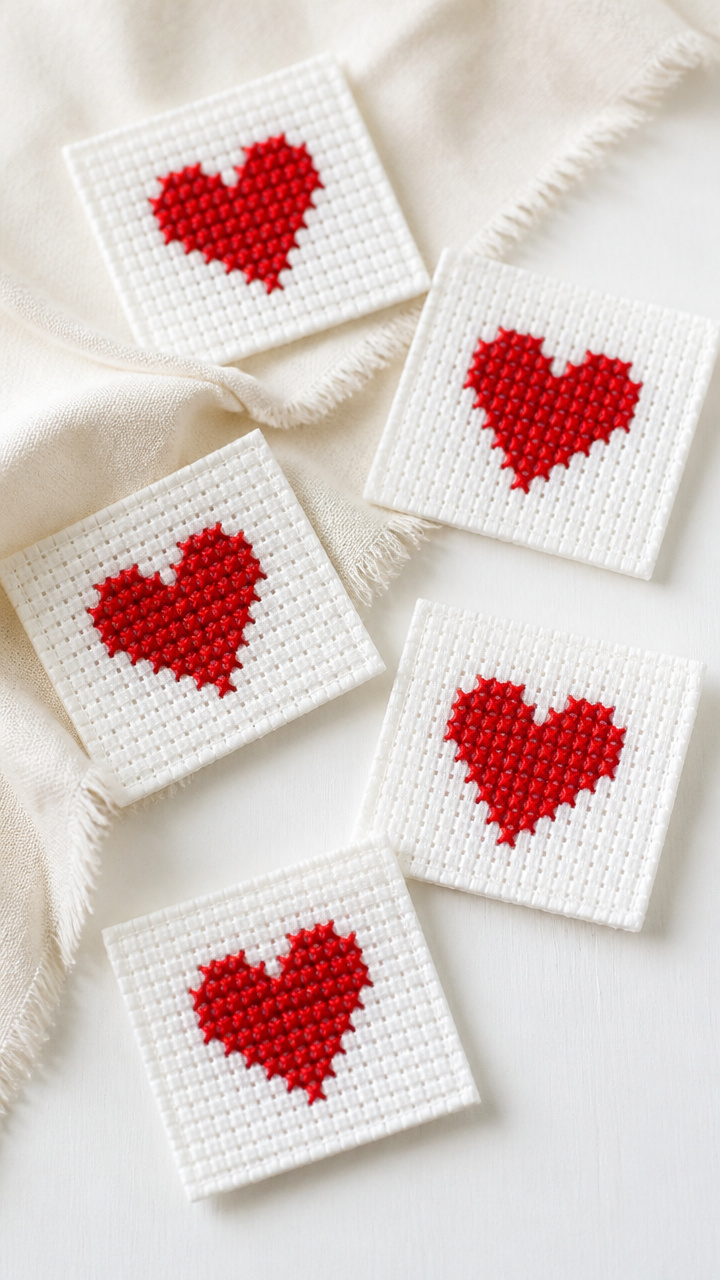
Tiny red stitches form hearts on cotton squares, ready to sew or iron onto jackets and bags. Handmade details like this show extra thought.
Materials Needed
- Red embroidery floss (1 skein)
- Aida cloth (5×5 inch square, white)
- Size 7 embroidery needle
- Embroidery hoop (4 inch)
- Fabric scissors
- Iron-on patch backing (4×4 inch sheet)
- Pencil
How to Make It
- Place the Aida cloth in the embroidery hoop and tighten the screw to stretch it taut.
- Sketch a small heart shape in the center with a pencil.
- Use the backstitch with two strands of red floss to trace the heart outline neatly.
- Remove the hoop and trim the cloth to a 2×2 inch square around the design.
- Fuse the iron-on backing to the back of the patch following heat instructions.
- Let cool completely before applying to fabric.
14. Candy Box Pop-Up Card
Moderate

Open the card to reveal a rising box filled with a single chocolate treat. The surprise inside makes it unforgettable.
Materials Needed
- Red A4 cardstock (1 sheet)
- X-Acto knife
- Metal ruler
- Cutting mat
- Glue stick
- Small chocolate bar (1.5×1.5 inches)
- Double-sided foam squares (4 pieces)
How to Make It
- Fold the cardstock in half to form a 5.5×8.5 inch card and crease sharply.
- On the front flap, cut a 1.75 inch square centered 1 inch from the top using the X-Acto knife and ruler on the cutting mat.
- Attach one foam square to each corner of the chocolate bar.
- Stick the chocolate bar behind the cutout window so it sits flush when closed.
- Write a message inside and reinforce the back with glue along the edges.
15. Yarn-Wrapped Gift Tags
Easy
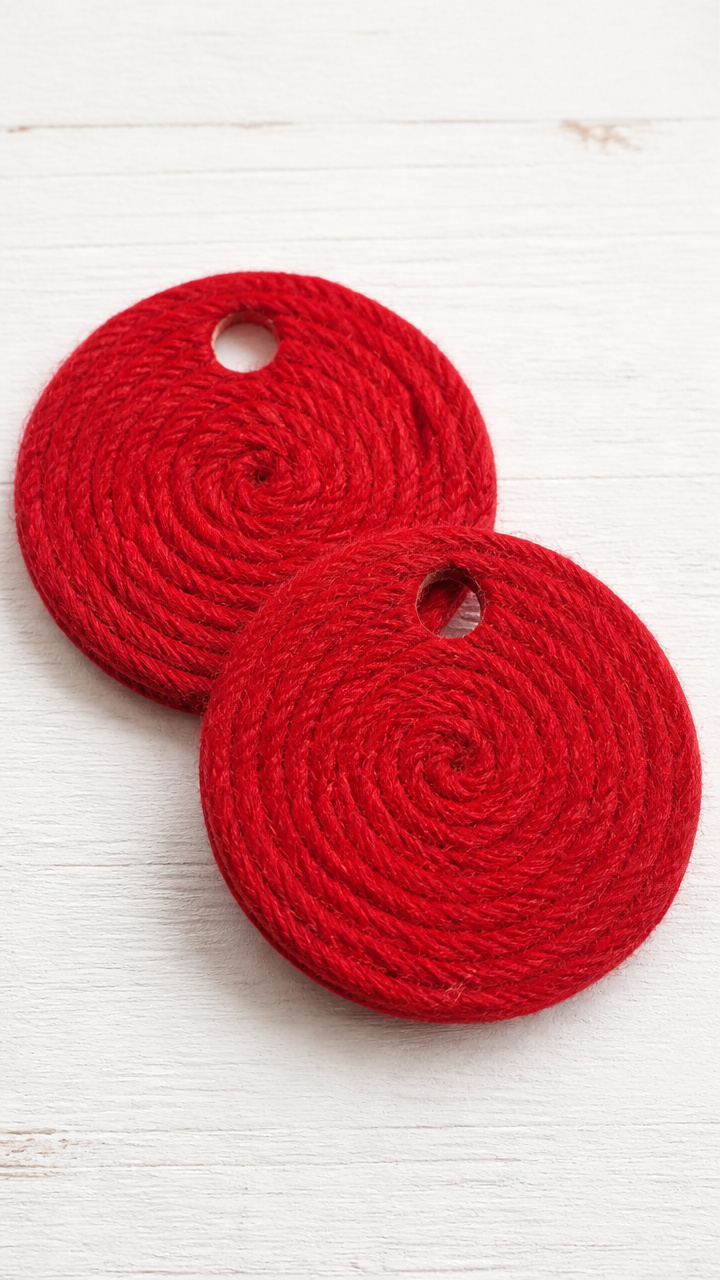
Sturdy cardboard tags wear snug spirals of yarn, adding texture to wrapped presents. They’re simple to make but feel luxuriously detailed.
Materials Needed
- Round cardboard tags (2 inches diameter, 8 pieces)
- Red yarn (size 4, 10 yards)
- White glue
- Small paintbrush
- Hole punch
- Ruler
How to Make It
- Apply a thin line of white glue around the edge of one tag using the paintbrush.
- Press the yarn end down and begin wrapping tightly around the tag in a spiral.
- Brush a drop of glue every inch to keep the yarn from lifting.
- When the tag is fully covered, cut the yarn and glue the end down securely.
- Punch a hole at the top and thread with baker’s twine for gifting.
Grab your scissors, dig out that leftover yarn, and start crafting. Each of these little projects holds the chance to say 'you matter' in a way words alone never could.