18 Winter Memory Care Crafts: Mason Jar Candles and Bird Feeders

Flickering candlelight inside a painted mason jar, the soft clink of glass wind chimes in frosty air, bright ribbons tied around jars filled with seeds for visiting birds — these small handmade things bring steady joy during quiet winter days.
Crafting together builds gentle moments of connection, especially when working with older adults in memory care. Each project here uses clear steps, familiar materials, and thoughtful details that invite participation without pressure.
1. Frosted Pinecone Candle Jar
Moderate
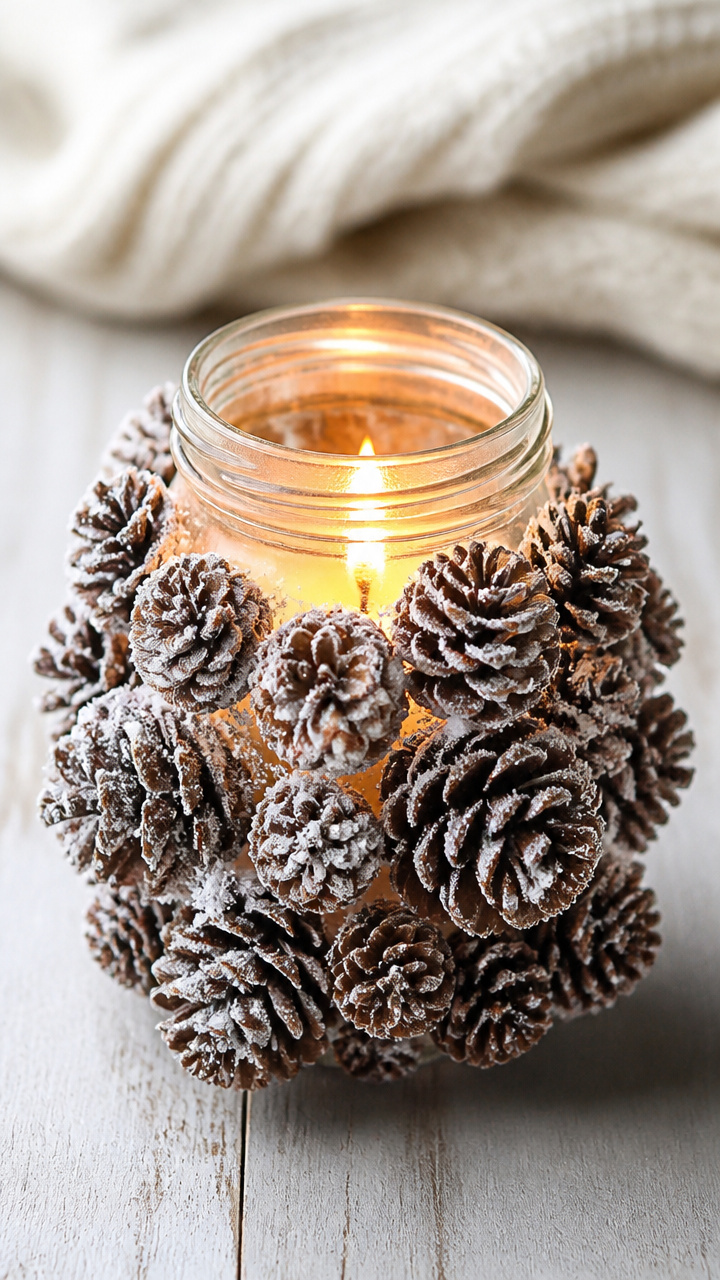
A glowing mason jar wrapped in real pinecones and faux snow creates a woodsy centerpiece that feels like a forest at dusk.
Materials Needed
- 1 clean 16 oz wide-mouth mason jar
- 6 small pinecones, dried
- Hot glue gun and 2 glue sticks
- Artificial snow spray, 6 oz can
- 3 oz soy wax melt cup
- Tealight candle
How to Make It
- Arrange pinecones around the outside of the mason jar to plan spacing.
- Use hot glue to attach each pinecone base-first to the jar, holding 5 seconds until set.
- Spray artificial snow lightly over pinecone tips, angling the can to avoid wetting the jar glass.
- Let dry 10 minutes on newspaper.
- Place wax melt cup inside the jar, then set tealight on top.
2. Salt-Dough Ornament Window Hangings
Easy
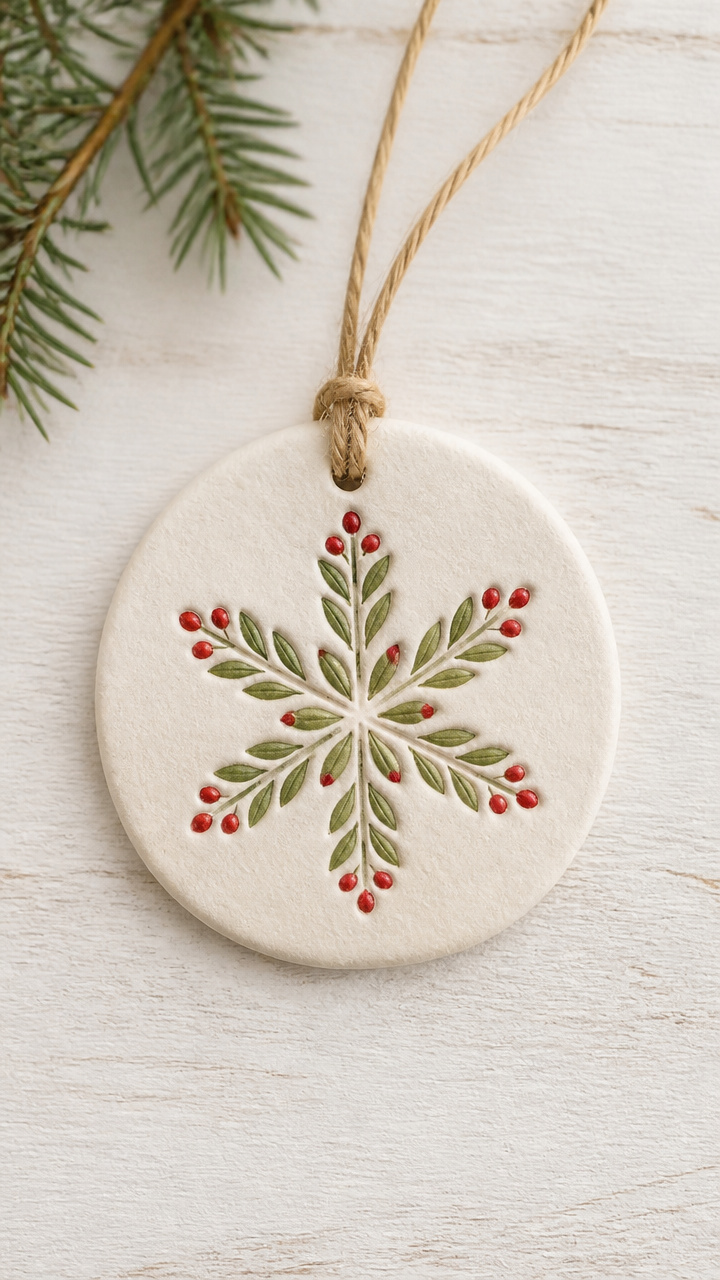
Soft white salt-dough shapes pressed with cookie cutters dangle from ribbon against frosted windows, catching afternoon light.
Materials Needed
- 2 cups all-purpose flour
- 1 cup table salt
- 3/4 cup warm water
- Rolling pin
- Winter-themed cookie cutters (snowman, tree, star)
- Parchment paper
- Baking sheet
- Oven
- Hole punch
- 12 inch red satin ribbon, 1/4 inch wide
How to Make It
- Mix flour, salt, and water in a bowl until a smooth dough forms.
- Roll dough to 1/4 inch thickness on floured surface, then cut shapes with cookie cutters.
- Place shapes on parchment-lined baking sheet and bake at 200°F for 2 hours.
- Cool completely, then punch a small hole near the top edge of each.
- Thread ribbon through each hole and tie into a loop for hanging.
3. Layered Sand Suncatcher Jars
Easy
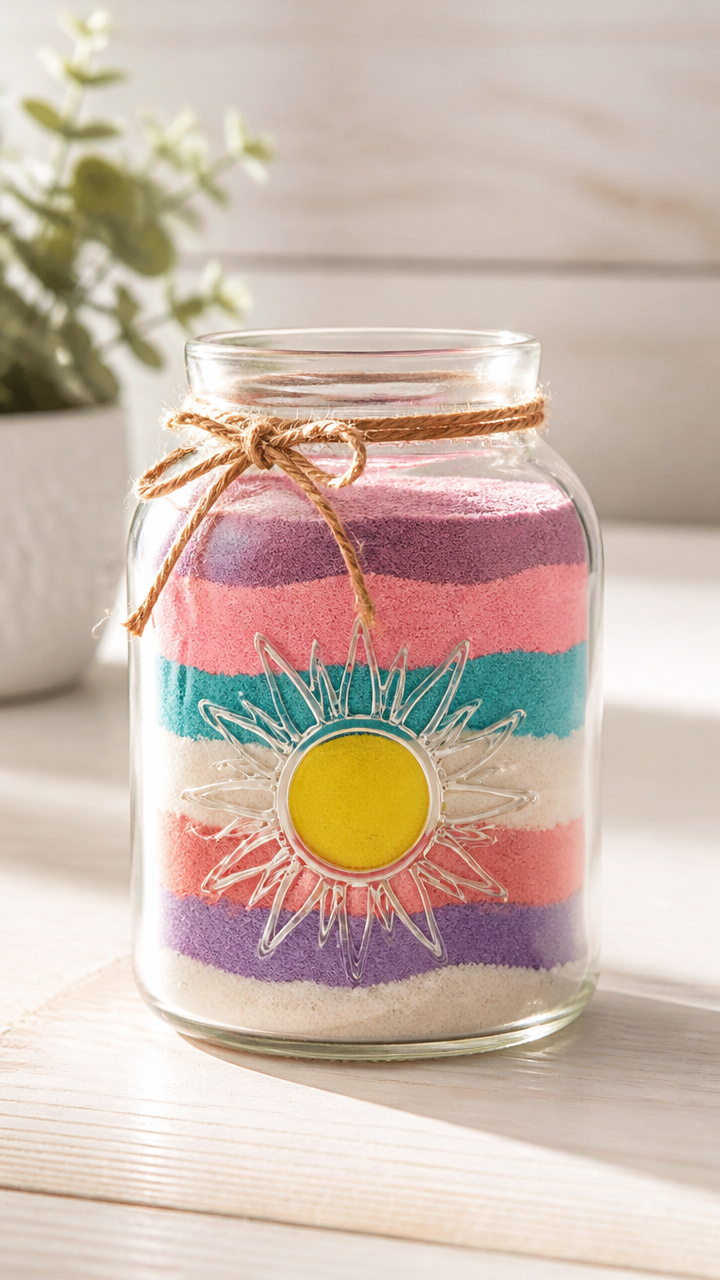
Bright colored sand in swirling layers turns a simple jar into a sunlit prism that casts jewel-toned shadows across the room.
Materials Needed
- 1 clean 12 oz jelly mason jar
- 1/4 cup blue craft sand
- 1/4 cup yellow craft sand
- 1/4 cup red craft sand
- White school glue, 4 oz bottle
- Small plastic spoon
- Clear plastic lid liner or food wrap
How to Make It
- Pour blue sand into the jar to fill 1 inch, then sprinkle a thin line of glue on top.
- Add 1 inch of yellow sand, another glue line, then 1 inch of red sand.
- Tap jar gently on table to settle layers.
- Cover opening with plastic lid liner and screw on metal ring to seal.
4. Yarn-Wrapped Bird Feeder Jar
Moderate
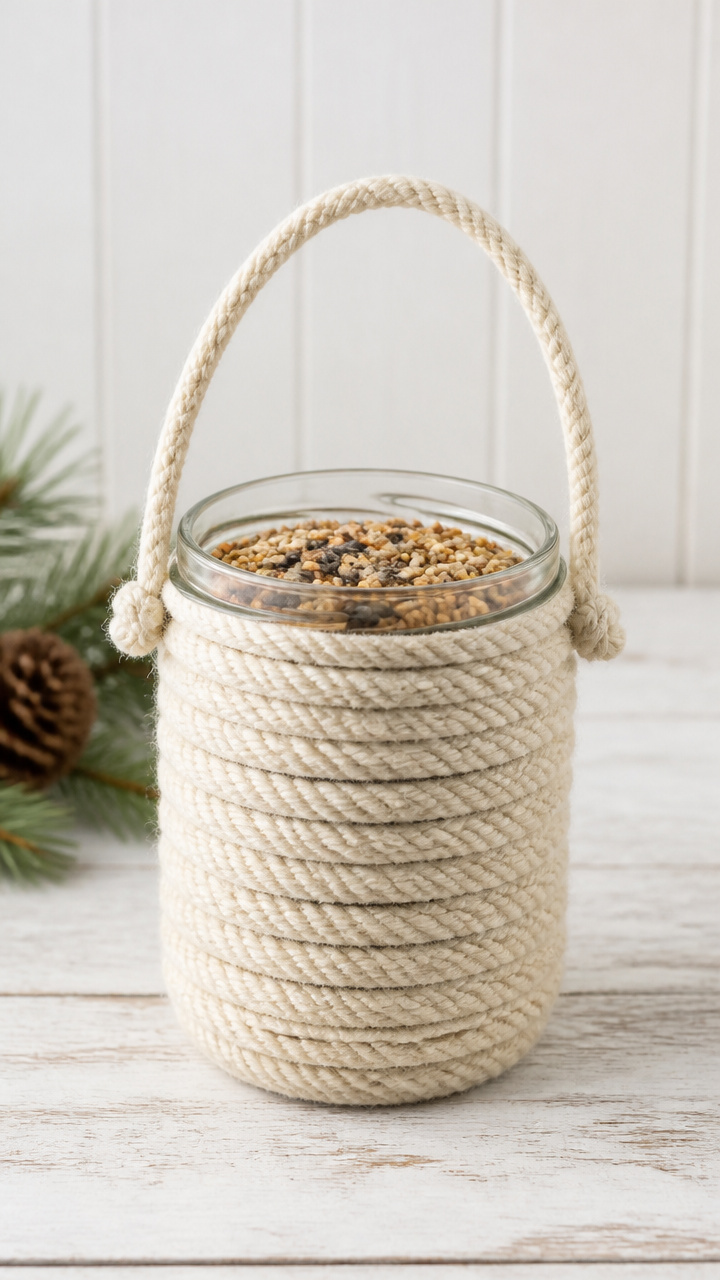
Thick yarn spirals up a quart jar, forming cozy texture while holding seed behind glass for easy refills.
Materials Needed
- 1 clean 32 oz wide-mouth mason jar
- 1 skein cream-colored bulky yarn (about 70 yards)
- Tacky glue, 2 oz bottle
- Small paintbrush
- Birdseed mix, 2 cups
- Wooden clothespin, jumbo size
How to Make It
- Brush a 1/2 inch band of tacky glue around the lower third of the jar.
- Press yarn end onto glue and wrap tightly upward in even spirals, adding more glue every 2 inches.
- Continue wrapping until 1 inch from the rim, then trim and glue down the end.
- Fill jar with birdseed and clip clothespin to the neck as a perch.
5. Cinnamon-Apple Simmer Jar
Easy
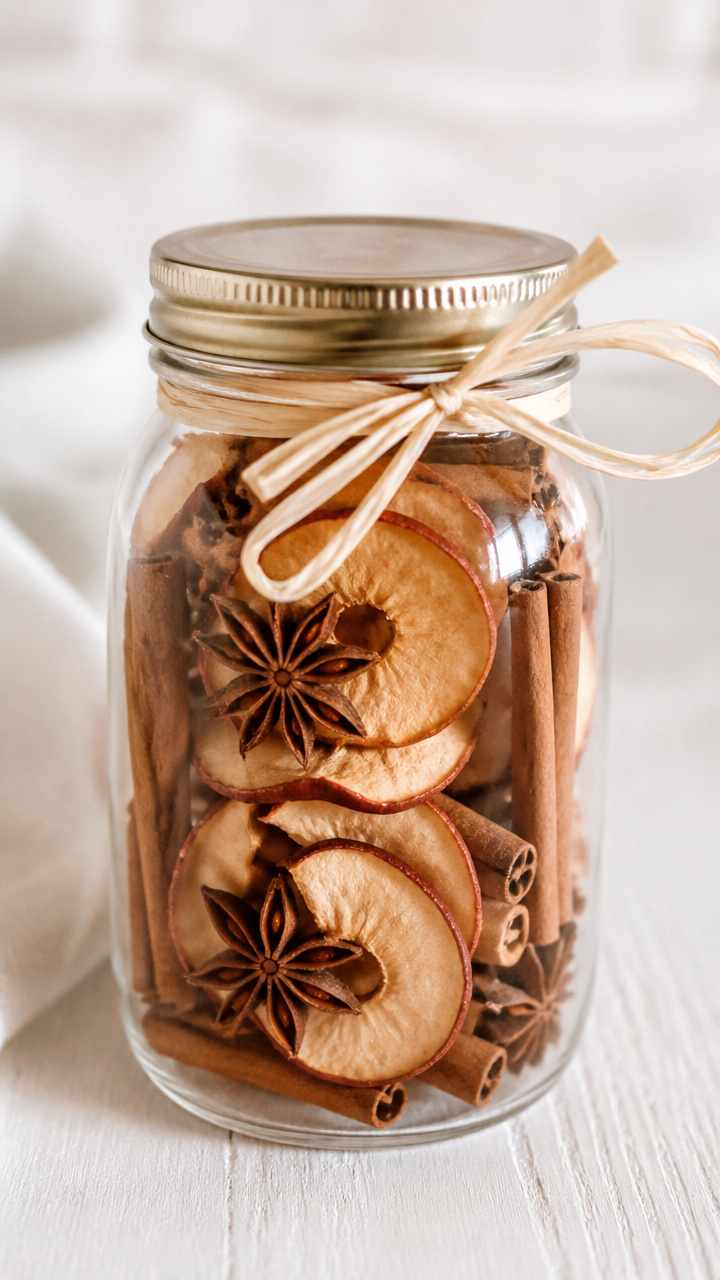
Dried apple slices and cinnamon sticks packed in a jar release warmth with just a spoonful added to simmering water.
Materials Needed
- 1 clean 8 oz jelly mason jar with lid
- 6 dried apple rings
- 3 cinnamon sticks, 3 inches long
- 1 star anise pod
- Raffia bundle, 6 inch length
- Scissors
How to Make It
- Stand apple rings upright around the inside edge of the jar, then place cinnamon sticks in the center.
- Tuck star anise between apples and cinnamon.
- Cut raffia to 8 inches and tie in a bow around the jar neck.
6. Glitter-Dipped Pine Twig Luminaries
Moderate
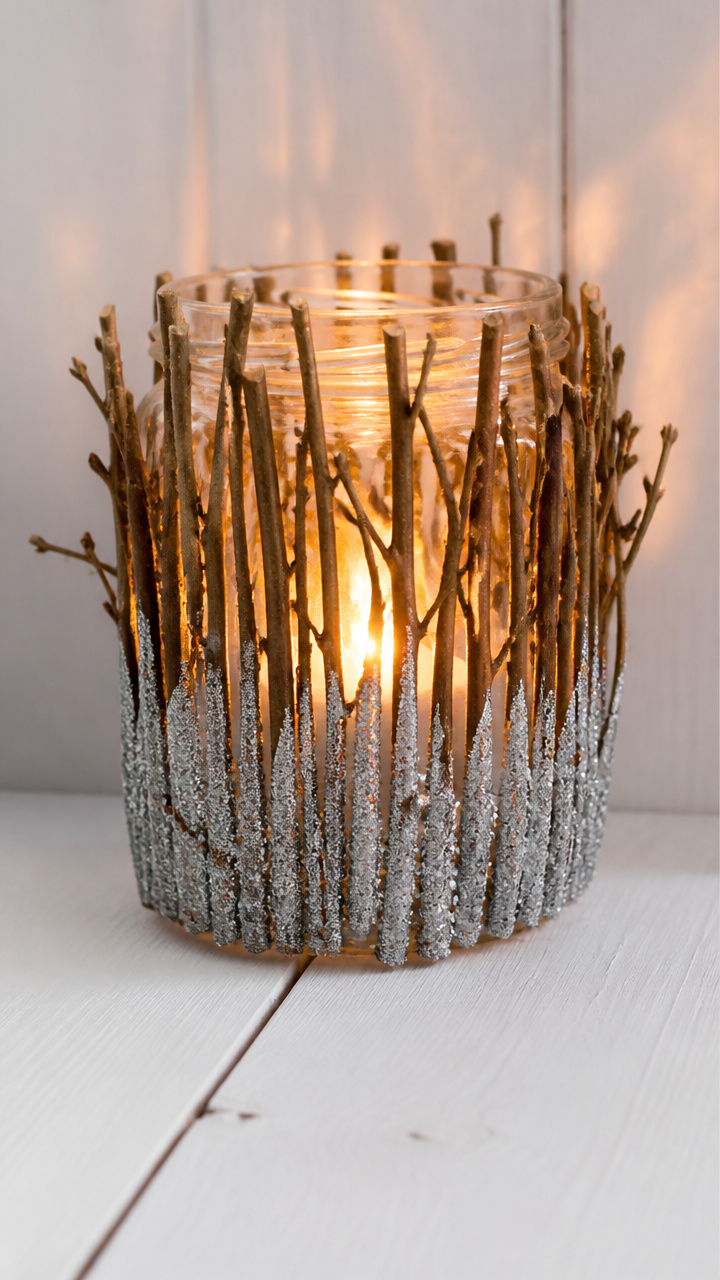
Short pine twigs glued around a jar catch glitter on their bark, turning candlelight into a snowy woodland glow.
Materials Needed
- 1 clean 16 oz mason jar
- 8 straight pine twigs, 6 inches long
- Hot glue gun and 1 glue stick
- Fine silver glitter, 2 oz shaker
- Clear-drying craft glue, 2 oz bottle
- Paintbrush
- Tealight candle
How to Make It
- Brush glue along the lower half of each twig.
- Sprinkle glitter evenly over glued sections, tapping off excess.
- Let dry 10 minutes on wax paper.
- Use hot glue to attach twigs vertically around the jar, spacing evenly.
- Set tealight inside the jar before lighting.
7. Button Snowman Garden Stake
Moderate
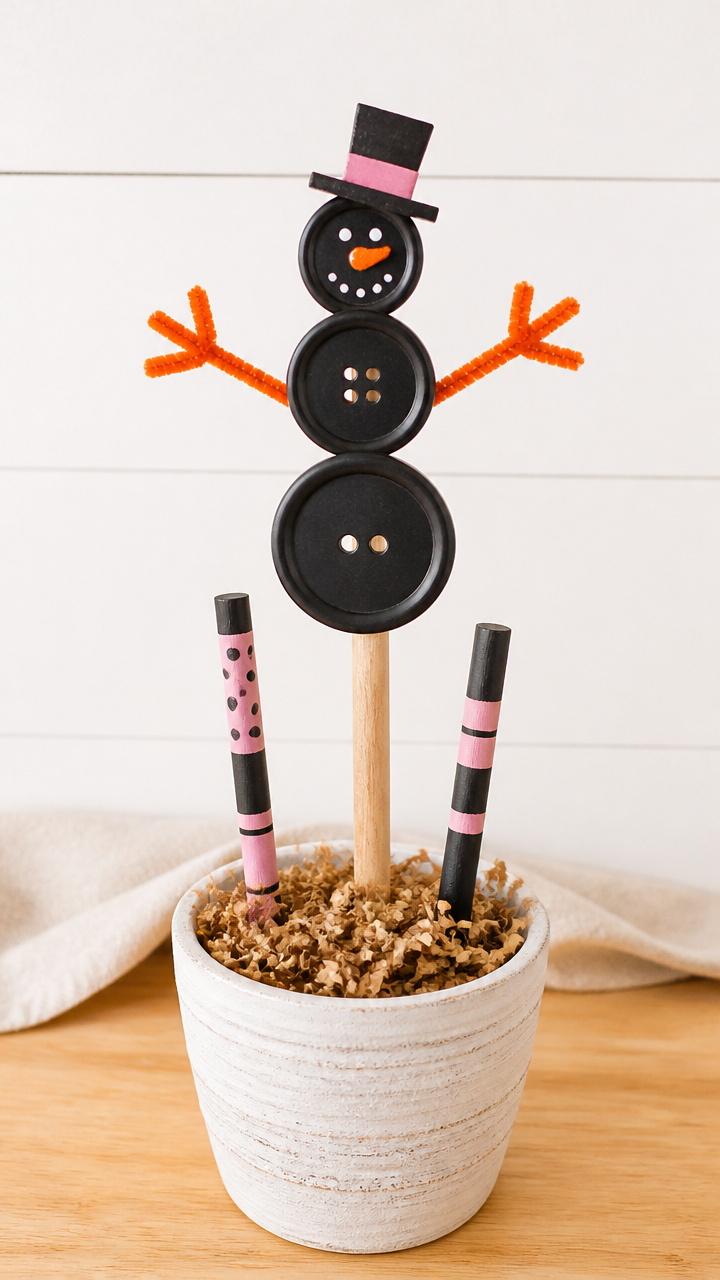
Mismatched buttons stacked into a smiling snowman ride a wooden dowel that stands proudly in a snowy yard.
Materials Needed
- 3 wooden dowels: one 18 inch, two 6 inch
- Drill with 1/4 inch bit
- 7 large black buttons, 1 inch diameter
- 3 orange pipe cleaners
- Wood glue, 2 oz
- Acrylic paint: black, pink, 1 oz each
- Paintbrush
- Small foam brush
How to Make It
- Drill a 1/4 inch hole 1 inch deep into one end of the 18 inch dowel.
- Glue the 6 inch dowels crosswise into the sides of the long dowel to form arms.
- Paint the top third of the long dowel pink for a hat brim and the tip black for a top hat.
- Stack three black buttons on the lower section for body, gluing each in place.
- Twist orange pipe cleaners into carrot nose and mouth shapes, pressing into the wood above buttons.
8. Fabric Scrap Lantern Jars
Easy
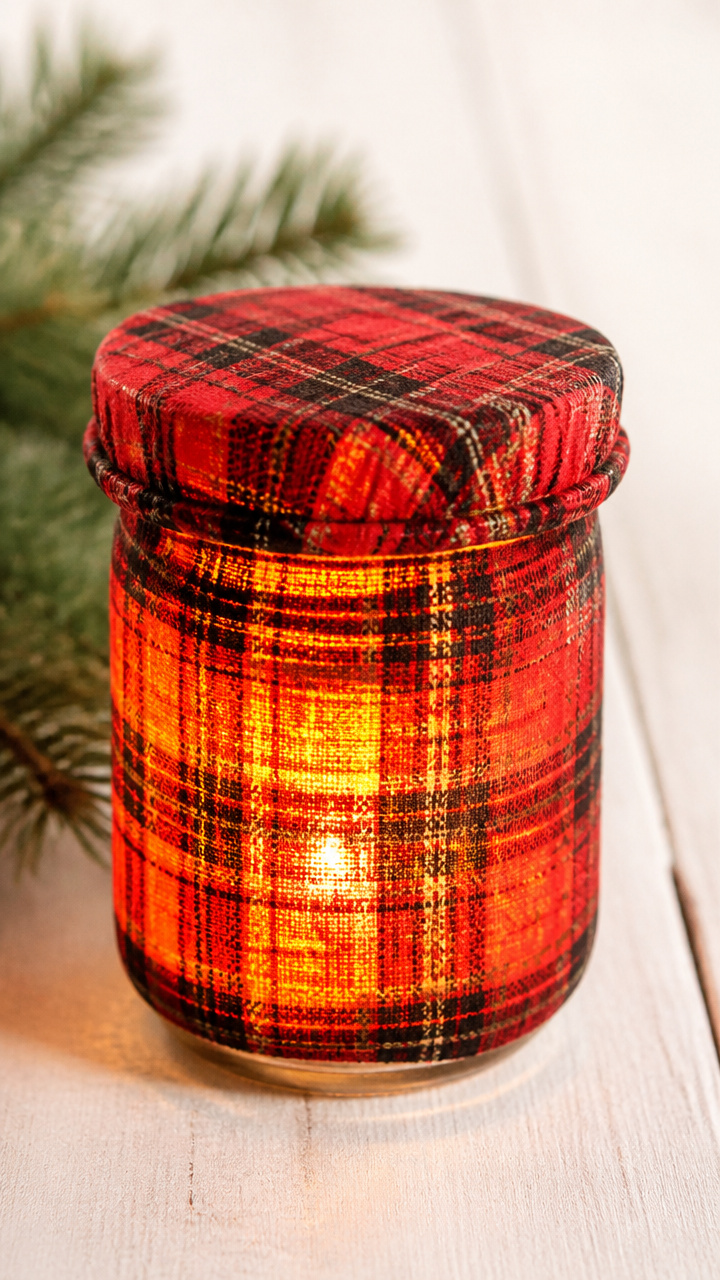
Swatches of plaid and flannel stretched over jar lids glow softly when lit from within, like cozy cabin windows.
Materials Needed
- 1 clean 12 oz mason jar
- 1 scrap of red plaid cotton fabric, 6×6 inches
- Rubber band
- Tealight candle
- Scissors
How to Make It
- Center fabric over the open jar mouth and pull taut.
- Secure fabric in place with a rubber band stretched around the rim.
- Trim excess fabric to 1 inch beyond the band using scissors.
- Place tealight inside and light carefully.
9. Maple Syrup Bird Feeder Logs
Easy
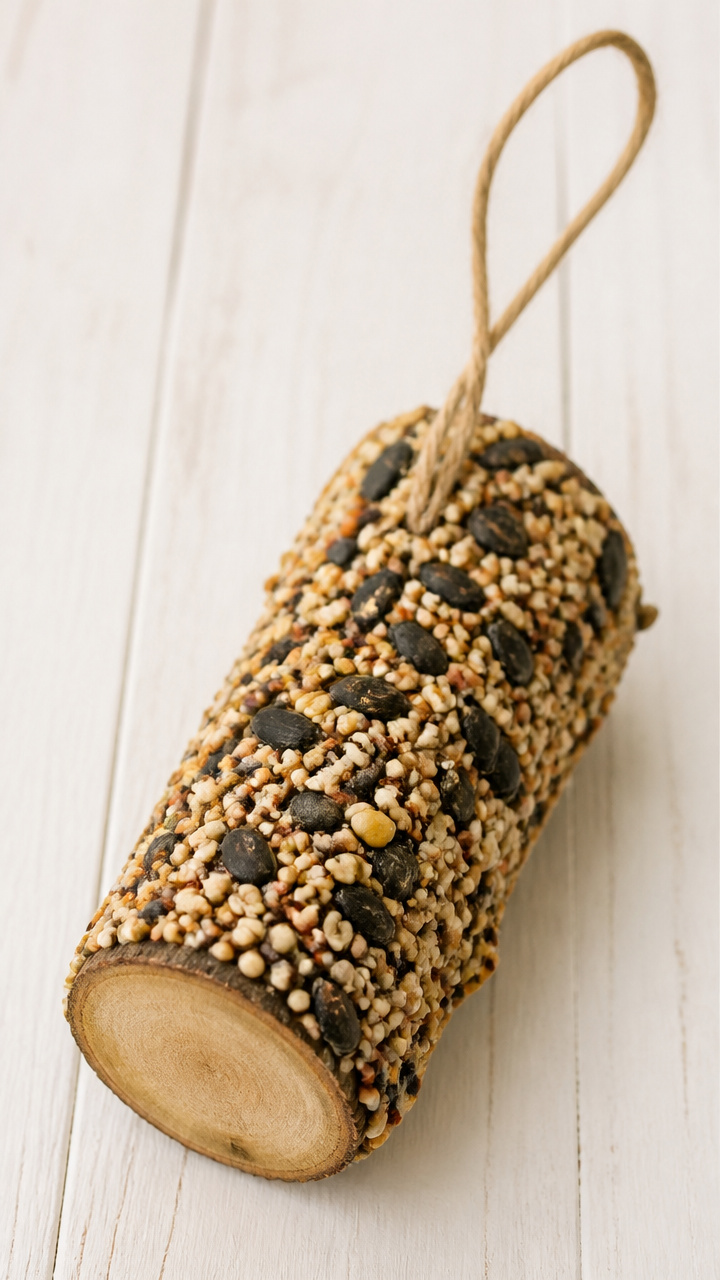
Small birch rounds soaked in syrup and rolled in seeds become rustic outdoor treats that draw in chickadees and nuthatches.
Materials Needed
- 3 birch wood rounds, 4 inches diameter, 1 inch thick
- 1/2 cup pure maple syrup
- 1 cup mixed birdseed
- Parchment paper
- Baking sheet
- Twine, 12 inch lengths (3 pieces)
How to Make It
- Lay birch rounds on parchment-covered baking sheet.
- Brush maple syrup evenly over the top surface of each round.
- Press birdseed into the syruped side, covering completely.
- Let dry 2 hours at room temperature.
- Tie twine around the edge of each log for hanging.
10. Wax Paper Snowflake Windows
Easy
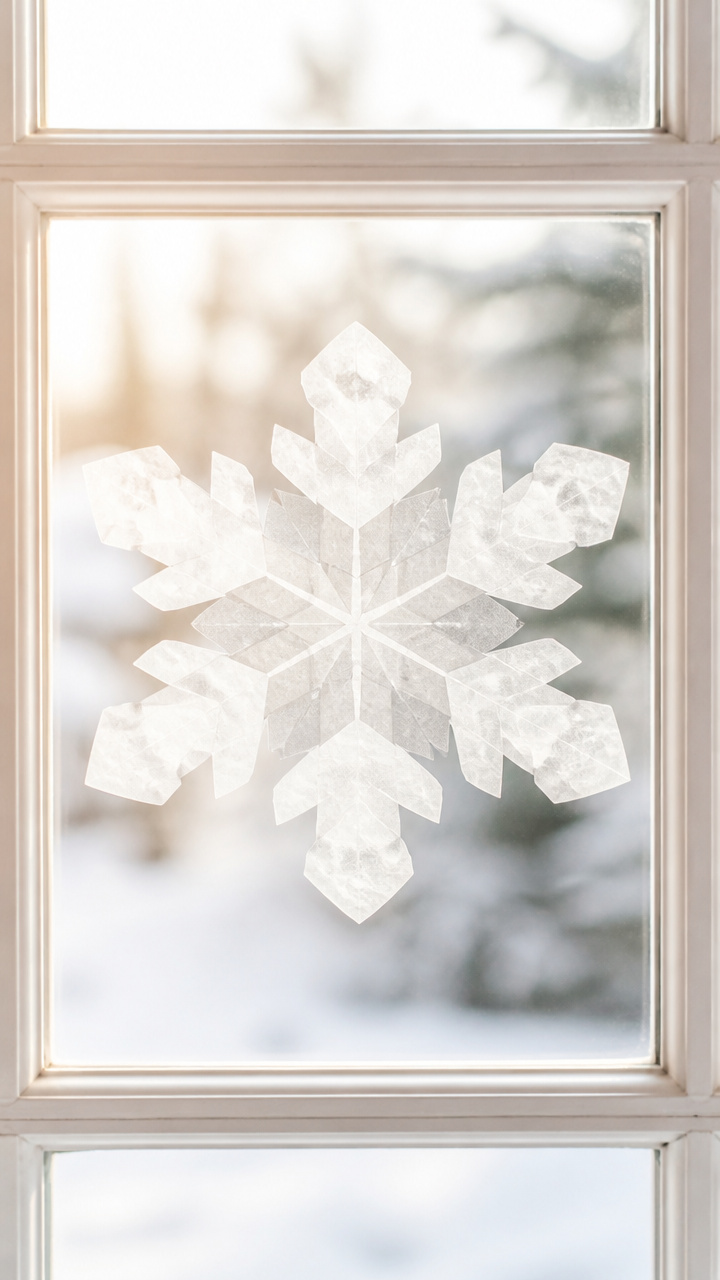
Ironed tissue paper snowflakes sealed between wax paper shine like real frost when backlit by daylight.
Materials Needed
- 2 sheets 8.5×11 inch wax paper
- 3 colors of tissue paper, 6×6 inches each
- Scissors
- Iron
- Parchment paper
- Roller or flat book
How to Make It
- Cut tissue paper into tiny squares and layer randomly between wax paper sheets.
- Cover sandwich with parchment paper and press iron on low heat for 10 seconds.
- Lift parchment and check adhesion, repress if needed.
- Once cool, place under a heavy book for 5 minutes to flatten.
- Hang in window with tape or clips.
11. Scented Oatmeal Soap Balls
Moderate
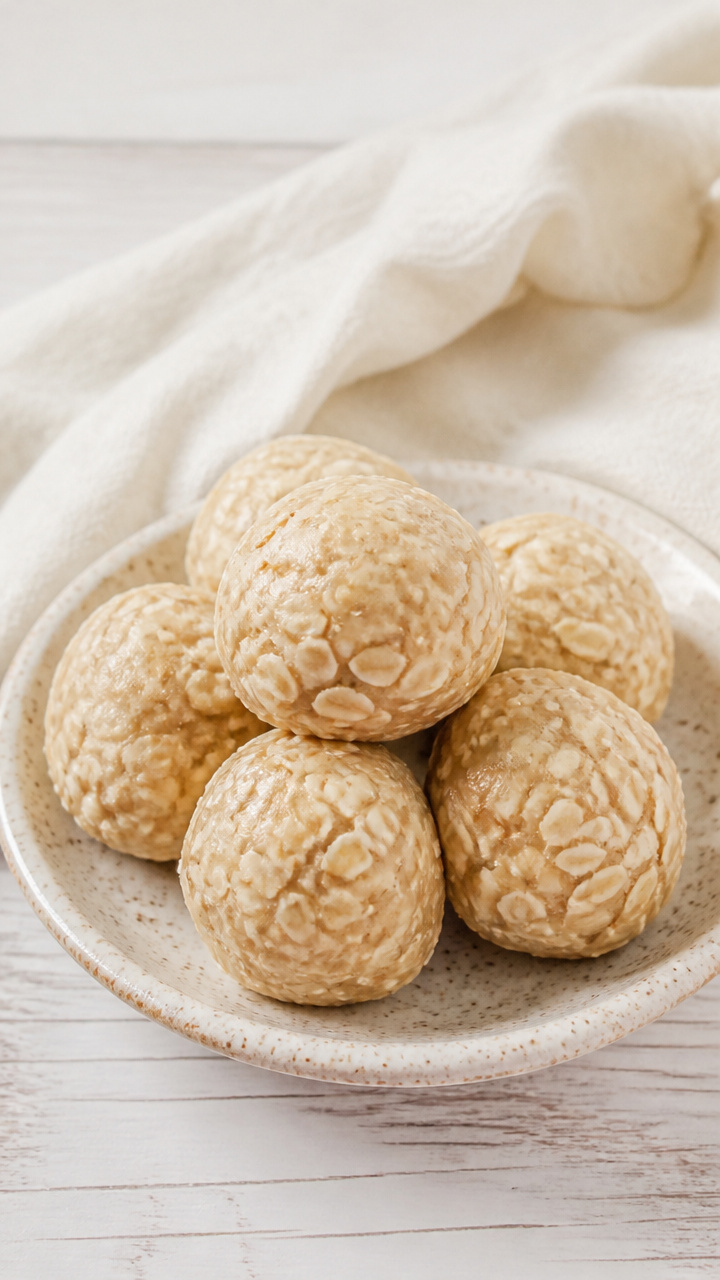
Rolled oats and glycerin soap chips form bumpy, fragrant spheres that lather gently and remind you of kitchen comfort.
Materials Needed
- 1 cup glycerin soap base chips
- 1/2 cup old-fashioned oats
- 10 drops lavender essential oil
- Microwave-safe bowl
- Spoon
- Gloves
- Wax paper
How to Make It
- Microwave soap chips in bowl for 30 seconds, stir, then heat 15 more seconds until melted.
- Stir in oats and essential oil until fully combined.
- Wearing gloves, roll mixture into 1 inch balls and place on wax paper.
- Let harden 1 hour at room temperature.
12. Candle-Filled Berry Jar
Advanced
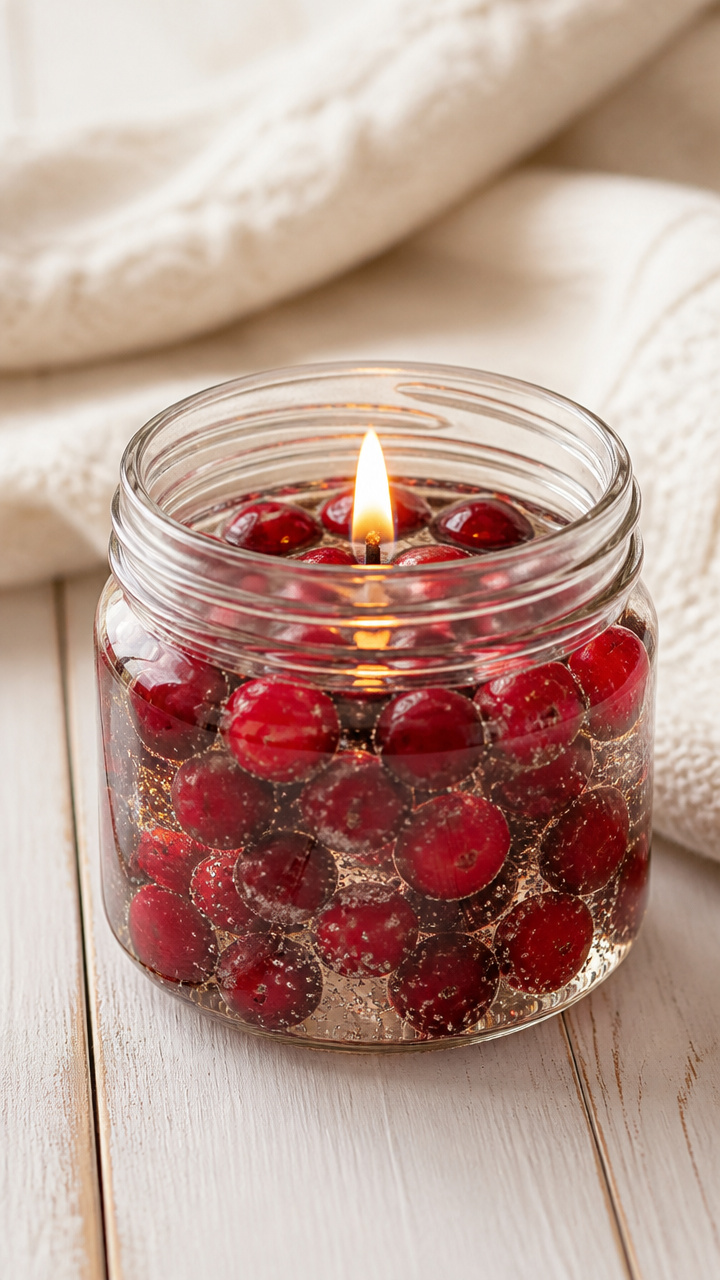
Frozen cranberries suspended in clear gel wax look like winter jewels and scent the room with slow-burning spice.
Materials Needed
- 1 clean 16 oz mason jar
- 8 oz clear gel wax
- 1/2 cup fresh cranberries
- Wick holder or chopstick
- Pre-waxed wick, 6 inches
- Double boiler setup
- Candy thermometer
- 5 drops cinnamon essential oil
How to Make It
- Place cranberries in jar and set aside.
- Melt gel wax in double boiler, monitoring with thermometer until it reaches 180°F.
- Remove from heat, stir in essential oil, then pour slowly over cranberries.
- Center wick in jar and use chopstick across the top to hold it straight.
- Let cure 24 hours at room temperature before trimming wick and lighting.
13. Cloth Napkin Tree Decorations
Easy
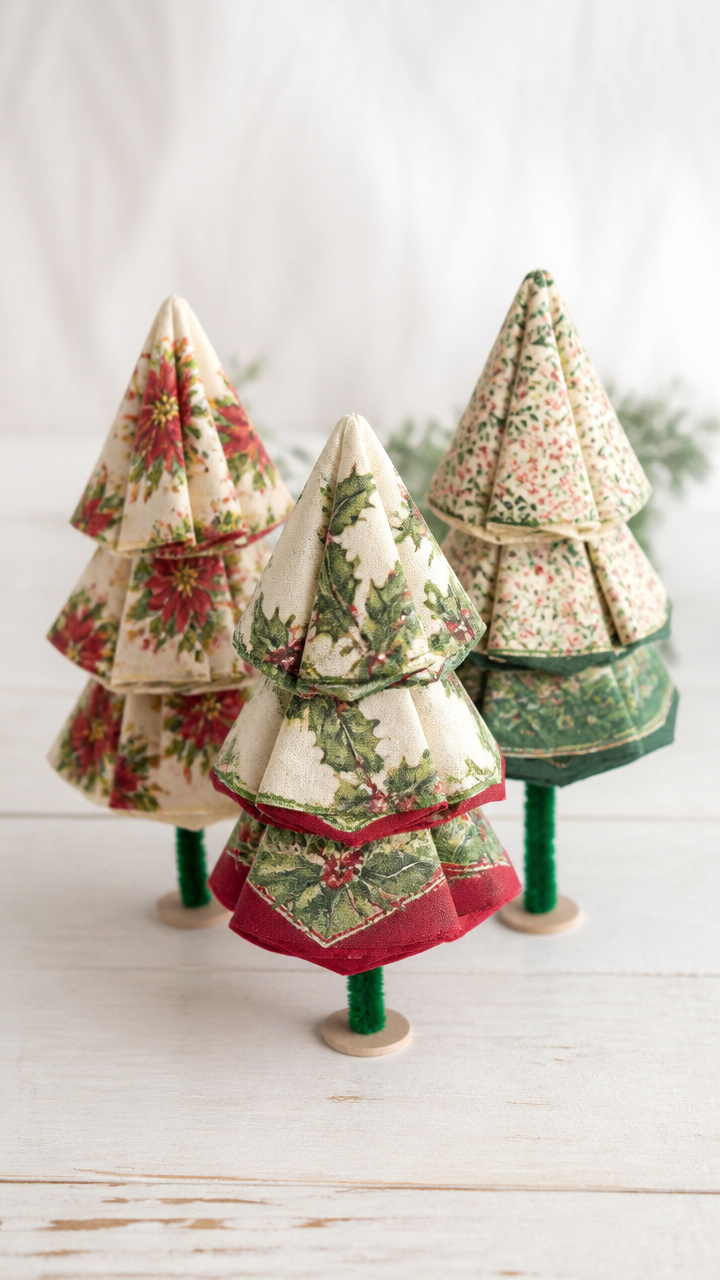
Triangular scraps of vintage-style napkins folded into cones make cheerful mini trees that stand in clusters on shelves.
Materials Needed
- 3 cloth napkins with holiday print, 12×12 inches each
- Scissors
- 12 inch green pipe cleaner
- Glue dot, 1/4 inch
How to Make It
- Cut each napkin into four 6×6 inch squares.
- Roll each square diagonally into a cone shape and secure with a glue dot at the base.
- Bend pipe cleaner into a small tree stand and slip into the bottom of each cone.
- Arrange three cones together to form a small forest group.
14. Peppermint Rock Candy Jars
Easy
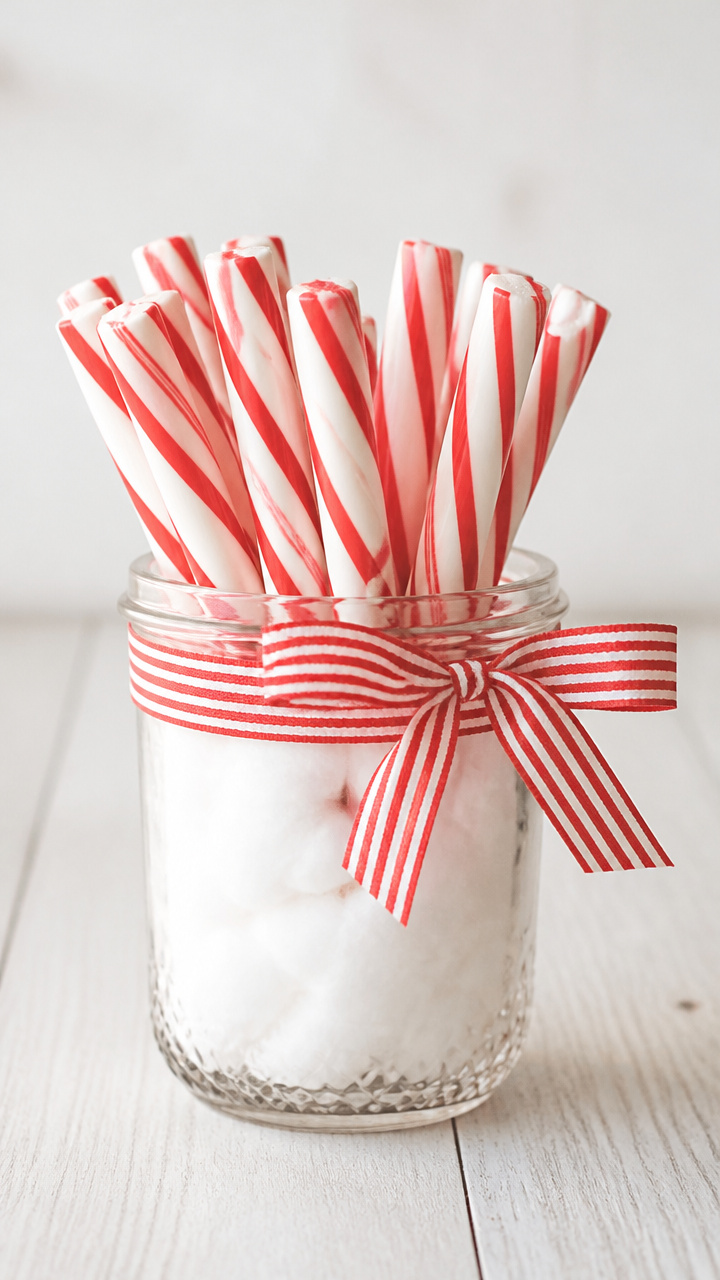
Red-and-white striped candies stand upright in a jar like cheerful sentinels, doubling as gifts or festive decor.
Materials Needed
- 1 clean 8 oz jelly jar
- 6 peppermint rock candy sticks, 5 inches tall
- Cotton ball
- Ribbon, 10 inch length
How to Make It
- Place cotton ball in the bottom of the jar to cushion the candies.
- Stand rock candy sticks upright in the jar, pressing tips into the cotton.
- Tie ribbon around the jar neck in a bow.
15. Pine Needle Potpourri Pouches
Easy
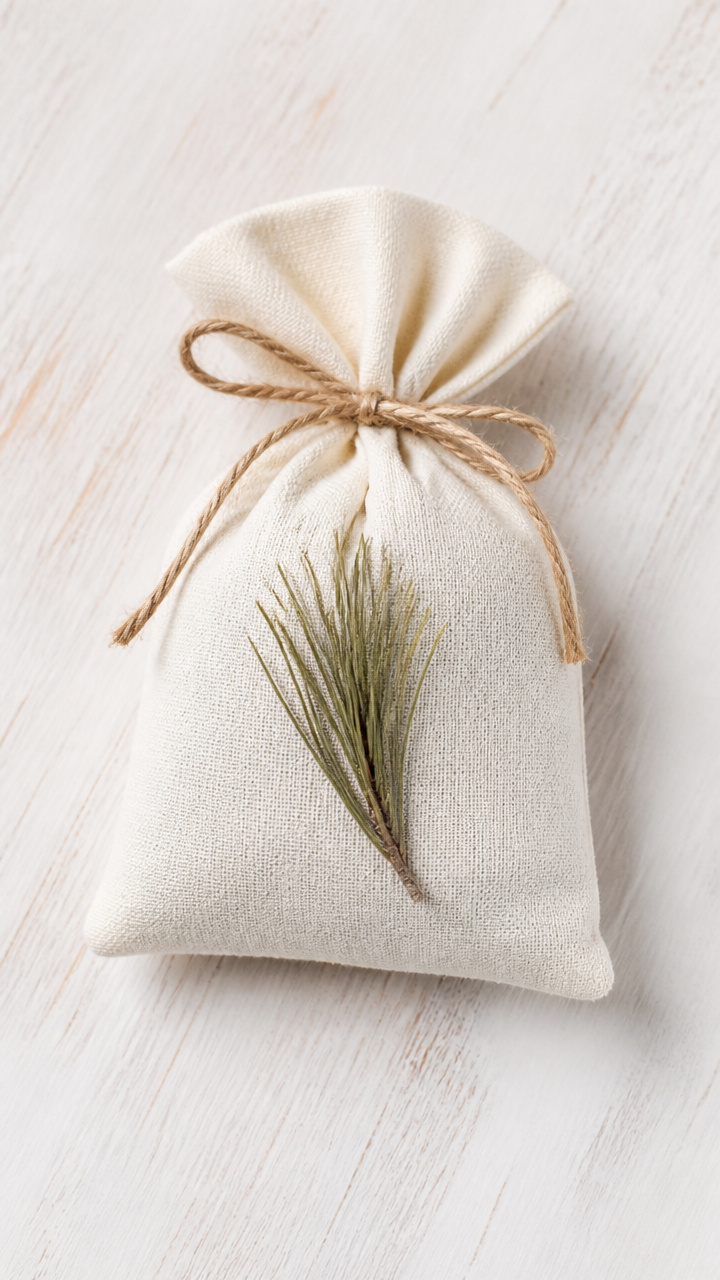
Crushed pine needles and cloves tucked into muslin bags release a crisp evergreen scent when placed in drawers or bowls.
Materials Needed
- 1/4 cup dried pine needles
- 1 tablespoon whole cloves
- 3 muslin drawstring bags, 3×4 inches
- Mortar and pestle
- Small funnel
How to Make It
- Grind pine needles and cloves together in mortar and pestle until coarsely broken.
- Use funnel to divide mixture evenly among the three muslin bags.
- Pull drawstrings tight to close.
16. Glittered Clothespin Birds
Moderate
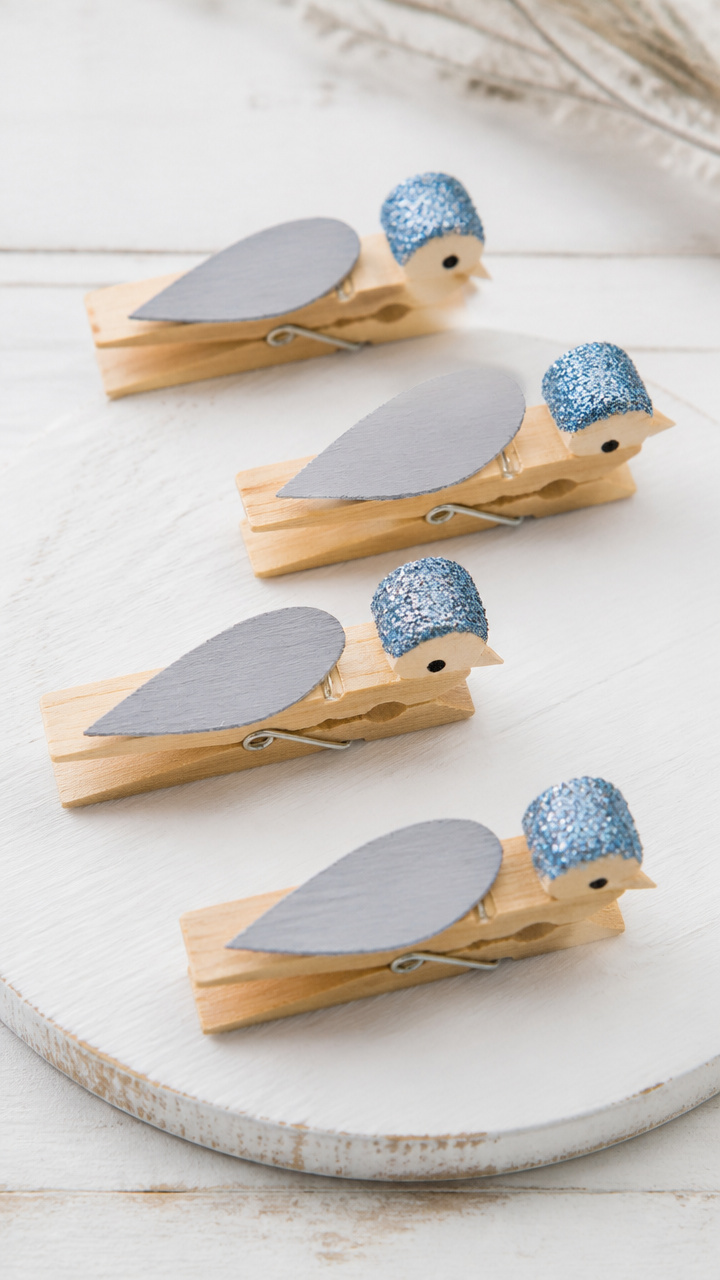
Mini wooden clothespins become perching birds with painted wings and glittered heads, ready to clip onto garlands or cards.
Materials Needed
- 6 unpainted wooden clothespins, mini size
- Acrylic paint: gray, 1 oz
- Paintbrush
- Fine blue glitter, 1 oz
- Tacky glue, 2 oz
- Black fine-tip marker
How to Make It
- Paint the rounded end of each clothespin gray and let dry 10 minutes.
- Brush a thin coat of tacky glue over the painted head.
- Sprinkle blue glitter over glue, tap off excess, and let dry 15 minutes.
- Use marker to draw two eyes and a small beak on each head.
17. Ice Lantern with Berries
Advanced
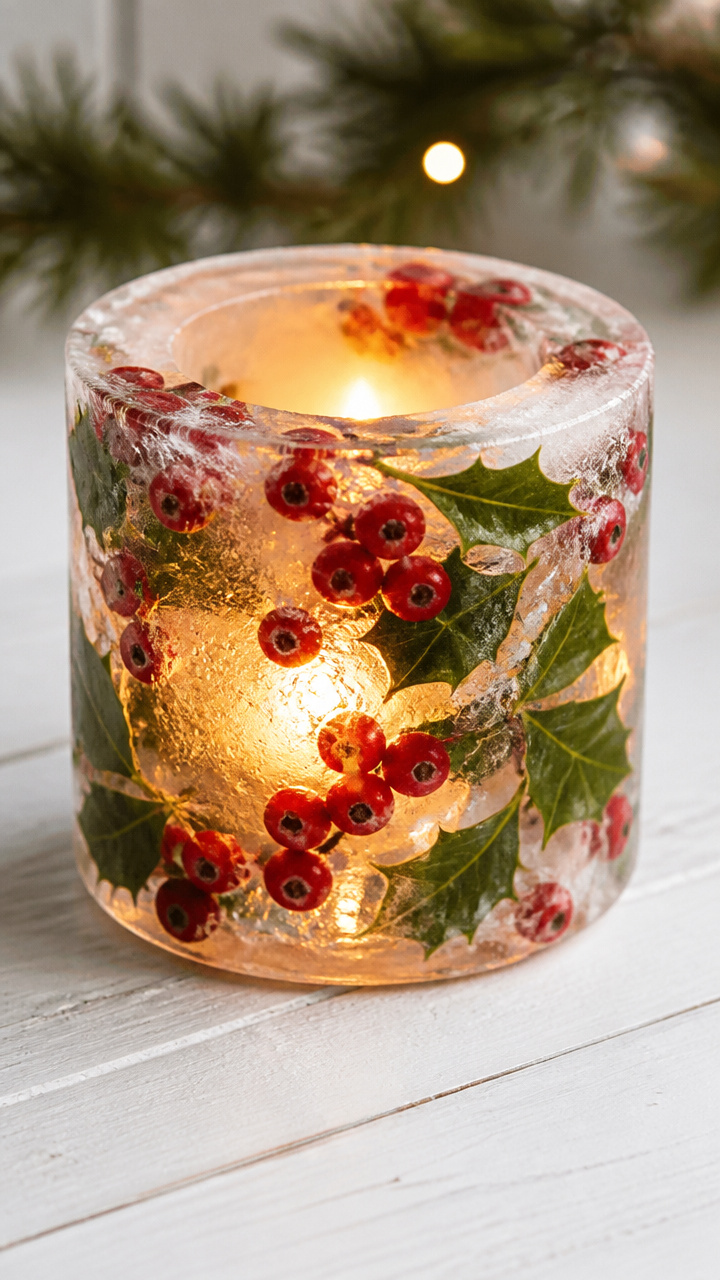
Frozen water layered with rosehips and holly leaves forms a glowing outdoor lantern when lit from within.
Materials Needed
- 1 gallon-sized zip-top freezer bag
- 12 oz plastic drinking cup
- 1 cup rosehips
- 6 small holly leaves
- Water
- Outdoor-safe LED tealight
How to Make It
- Place cup upside down in the center of the zip-top bag.
- Arrange rosehips and holly leaves around the cup inside the bag.
- Slowly add water until the bag is full, leaving space to seal.
- Seal the bag and lay flat in the freezer for 12 hours.
- Remove cup and bag, then place LED tealight in the center hole.
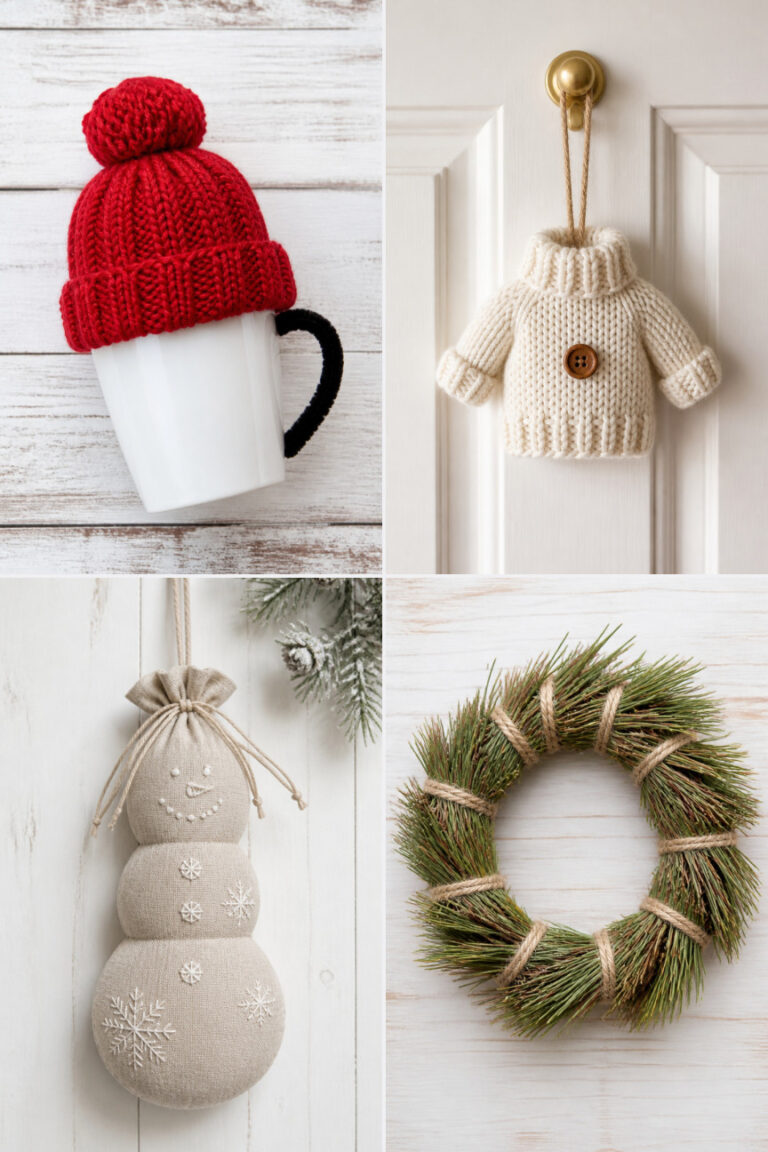
18. Knit Hat Mug Cozies
Advanced
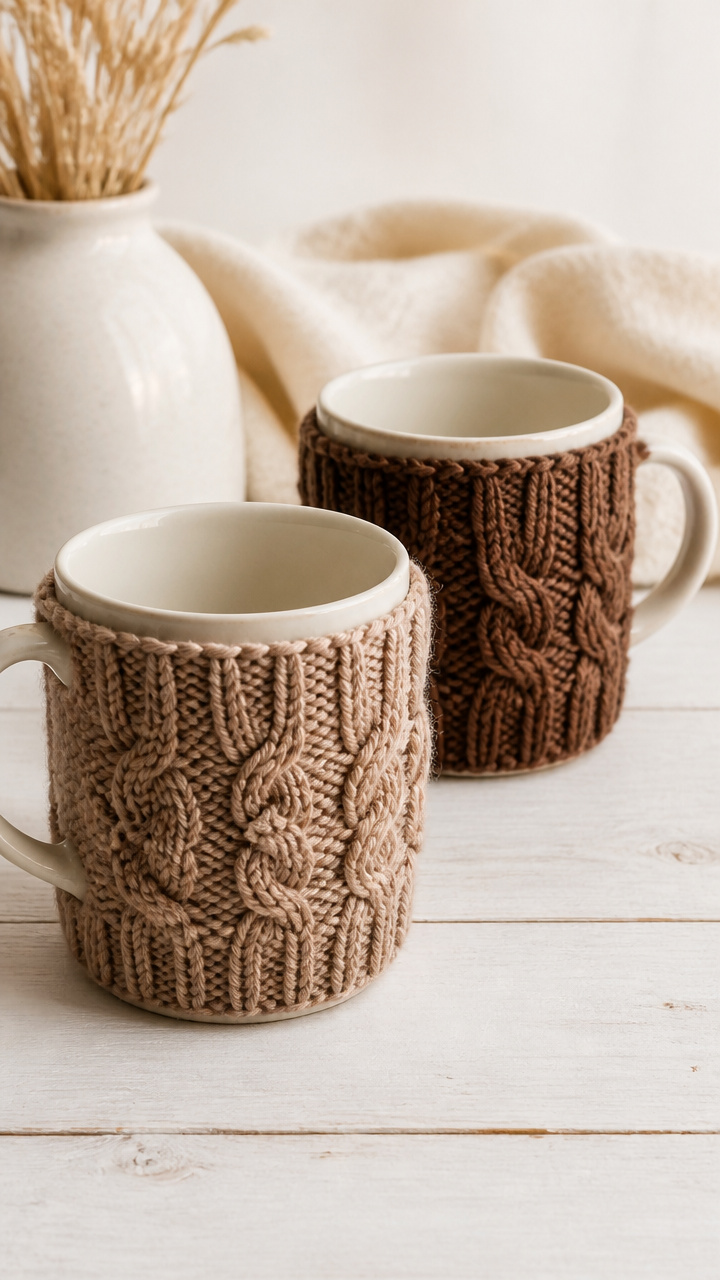
Tiny hand-knit wool sleeves hug mugs warmly, making cocoa time feel extra special on cold mornings.
Materials Needed
- 100% merino wool yarn, 25 yards
- Pair of US size 6 knitting needles
- Tapestry needle
- Scissors
- Standard ceramic mug, 12 oz
How to Make It
- Cast on 24 stitches loosely using the long-tail method.
- Knit every row for 6 inches, creating garter stitch fabric.
- Bind off all stitches loosely and cut yarn, leaving a 6 inch tail.
- Use tapestry needle to sew the short ends together into a tube.
- Slide cozy over mug handle-side first.
Each of these crafts holds the chance to share a calm moment, spark a memory, or simply enjoy making something beautiful together. Pick one that calls to you and gather your supplies with kindness in mind.