15 Winter After School Activities and Crafts Kids Love

Snowflakes tap against the windowpane, mittens dry by the radiator, and the after school hours stretch warm and golden. This is the time for glue, glitter, and projects that turn quiet afternoons into bursts of creativity.
Each of these crafts meets kids where they are: curious, full of energy, and eager to make something real. These are not just distractions — they're small acts of joy that leave behind handmade treasures.
1. Felt Mitten Ornaments
Easy
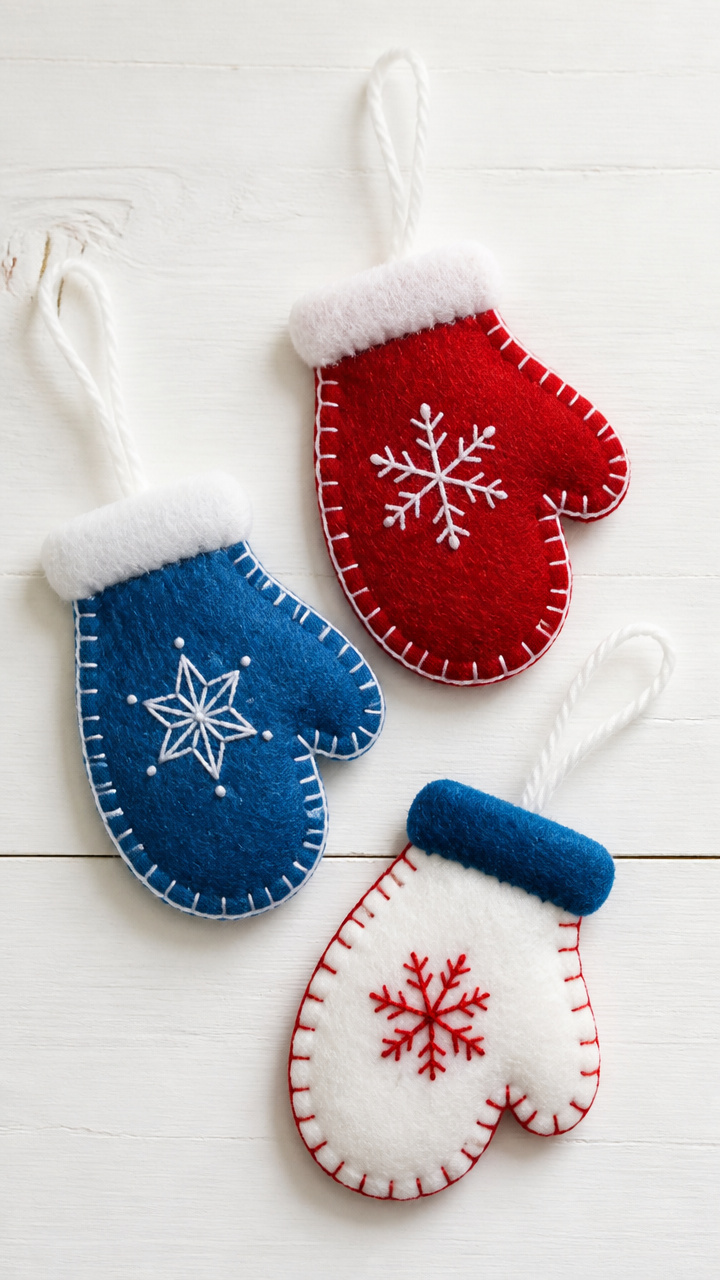
Soft, colorful mittens dangle from ribbons, each one unique and cozy like a winter hug. These tiny keepsakes make perfect gifts or tree decorations.
Materials Needed
- 2 sheets red felt (9×12 inches)
- 1 sheet blue felt (9×12 inches)
- 1 sheet white felt (9×12 inches)
- Fabric scissors
- Fabric glue
- 36 inches of white yarn
- Plastic needle
- Pencil
- Mitten template (2.5 inches tall)
How to Make It
- Trace the mitten template onto each felt sheet twice, then cut out eight mittens total — two of each color.
- Pair two mittens of the same color together and squeeze a thin line of fabric glue along the outer edge, leaving the top open.
- Thread the plastic needle with 18 inches of yarn and tie a knot at the end. Push the needle through the top center of one mitten pair, pull through, and tie another knot to form a loop for hanging.
- Let the glue dry flat for 20 minutes before displaying.
2. Salt Dough Handprint Reindeer
Moderate
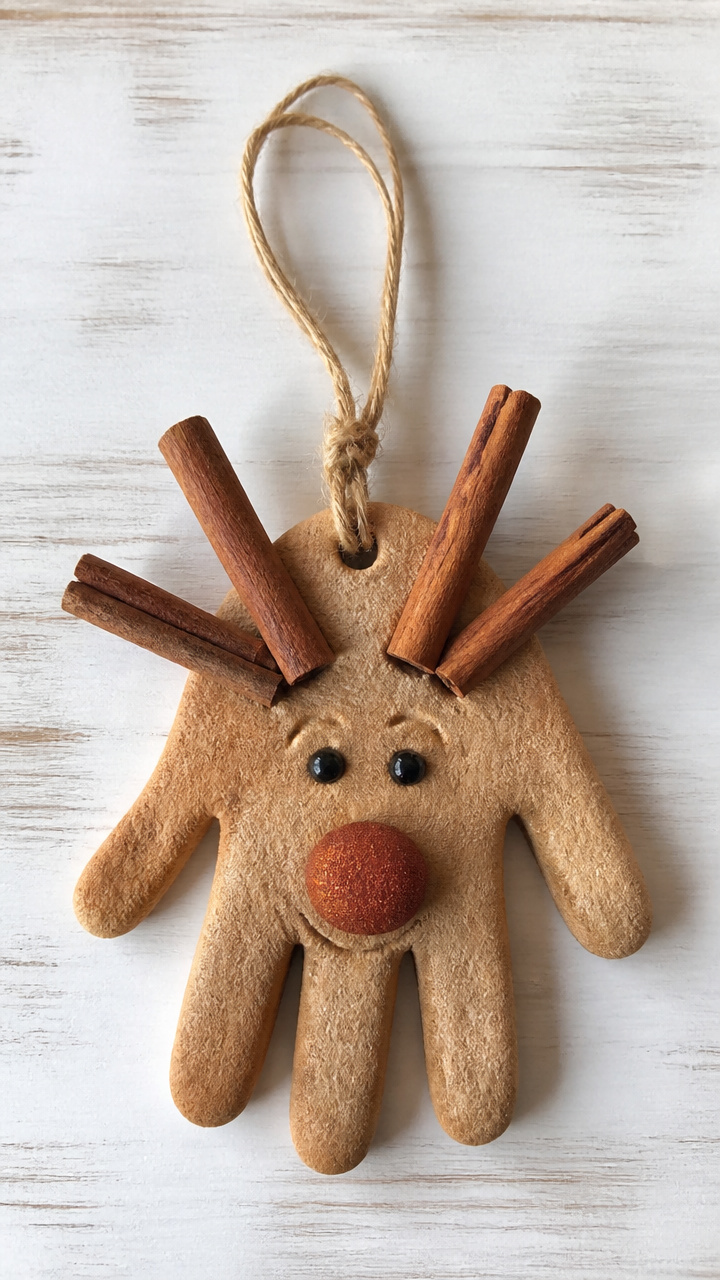
A child's handprint becomes the face of a cheerful reindeer, complete with cinnamon-scented antlers. This keepsake bakes firm and lasts for years.
Materials Needed
- 2 cups all-purpose flour
- 1 cup table salt
- 3/4 cup warm water
- Mixing bowl
- Rolling pin
- Parchment paper
- Oven
- Baking sheet
- Black acrylic paint
- Red pom-pom (10mm)
- Googly eyes (12mm, 2 per reindeer)
- Cinnamon sticks (2 per reindeer)
- Hot glue gun
- Paintbrush
How to Make It
- Mix flour, salt, and warm water in a bowl until a smooth dough forms, kneading by hand for 3 minutes until pliable.
- Roll the dough to 1/4 inch thickness on parchment paper and press one hand firmly into the center to make a print.
- Use a butter knife to cut around the handprint into a cloud shape, then poke two small holes at the top for hanging with ribbon later.
- Bake at 200°F for 3 hours, turning once halfway through, until completely dry and hard.
- Paint two eyes with black acrylic paint using a small brush, then glue on googly eyes and a red pom-pom nose with hot glue.
- Glue two cinnamon sticks behind the handprint as antlers and let dry 10 minutes.
3. Cotton Ball Snowmen
Easy
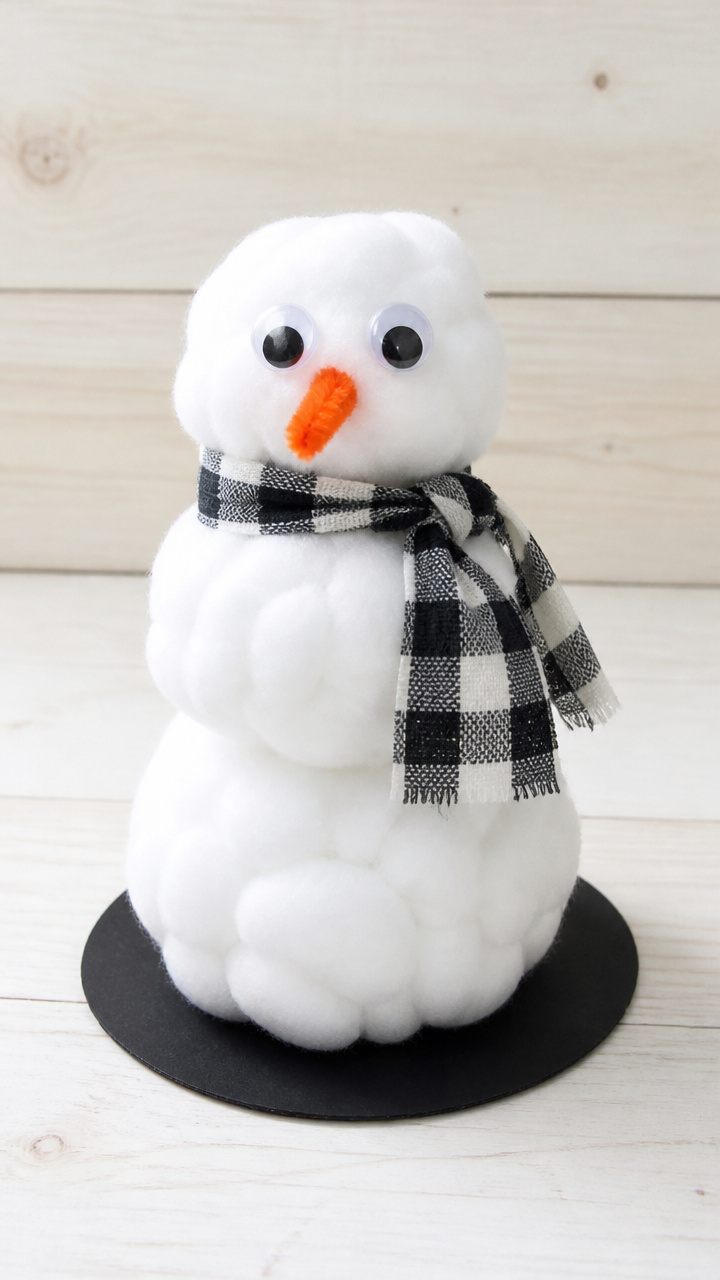
Fluffy cotton balls stack into jolly snowmen with carrot noses and scarf details. These soft sculptures stand proudly on shelves or desks.
Materials Needed
- 9 cotton balls per snowman
- Black construction paper (8.5×11 inches)
- Orange pipe cleaner (6 inches)
- Fabric scrap (2×6 inches)
- White school glue
- Googly eyes (8mm, 2 per snowman)
- Pencil
- Scissors
How to Make It
- Glue three cotton balls in a vertical line down the center of the paper to form the snowman's body.
- Cut the orange pipe cleaner to 1.5 inches and glue it diagonally into the middle cotton ball as a nose.
- Glue two googly eyes onto the top cotton ball.
- Cut a 2×0.5 inch strip from the fabric scrap and glue it around the middle cotton ball as a scarf.
4. Pinecone Bird Feeders
Easy
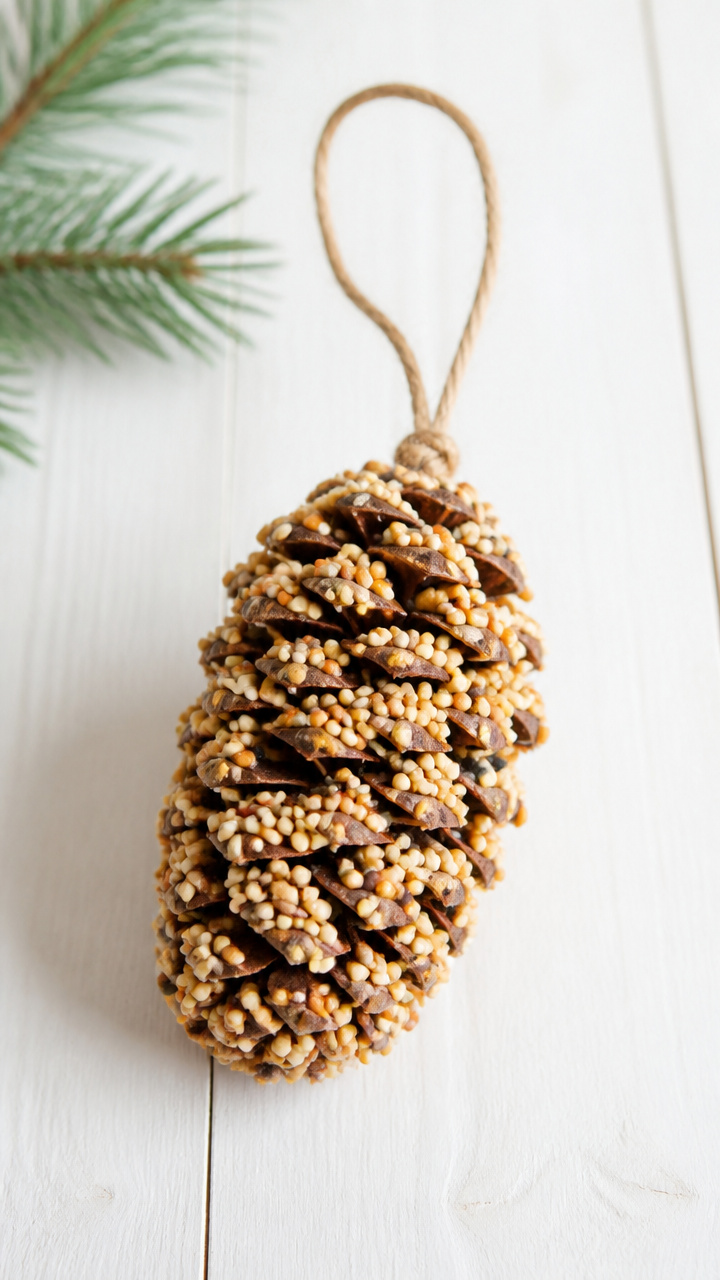
Pinecones coated in peanut butter and seeds dangle from trees, drawing in chickadees and nuthatches. This craft feeds both birds and curiosity.
Materials Needed
- 1 large pinecone per child
- 1/2 cup creamy peanut butter
- 1 cup birdseed
- 12 inches of yarn per pinecone
- Butter knife
- Shallow bowl
- Plate
How to Make It
- Tie one end of the yarn around the pinecone's top loop, leaving a 6-inch tail for hanging.
- Spread peanut butter onto the pinecone using the butter knife, pushing it into the crevices.
- Pour birdseed into the shallow bowl and roll the peanut butter-covered pinecone in it until fully coated.
- Place on a plate and let dry for 30 minutes before hanging outside.
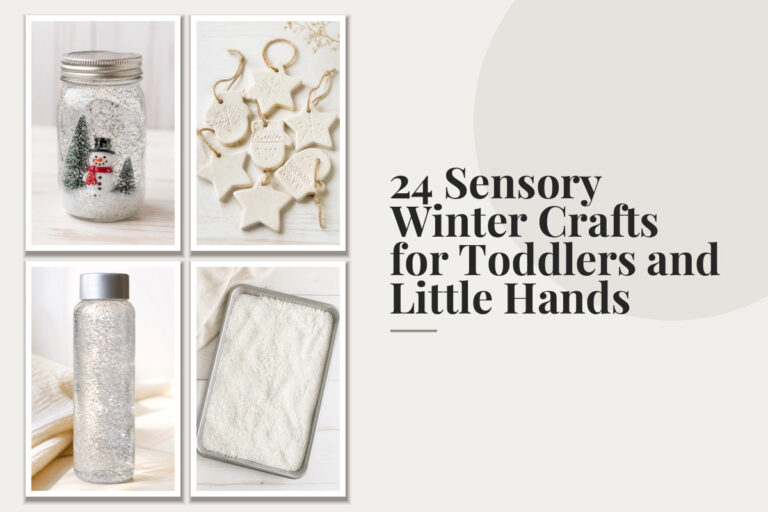
5. Glitter Jar Snow Globes
Moderate
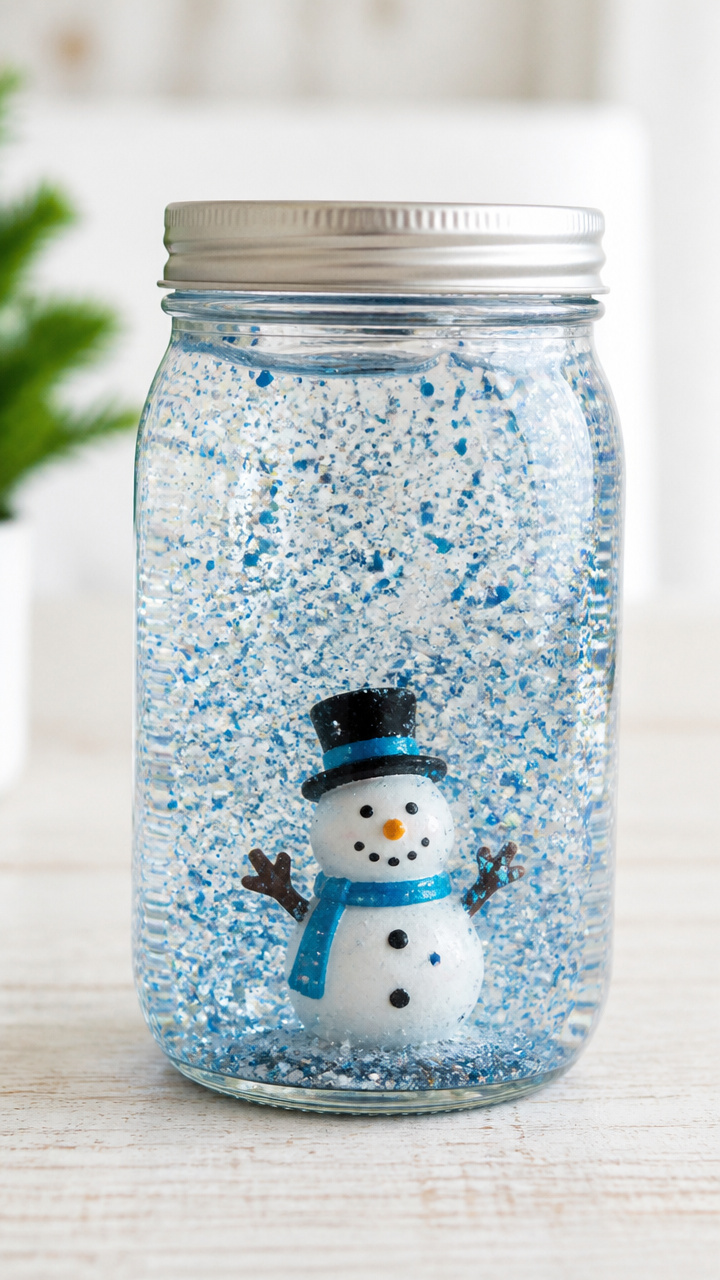
A swirling storm of glitter dances inside a sealed jar, calming and mesmerizing. Shake it to watch the winter storm come alive.
Materials Needed
- 1 empty 8 oz glass mason jar with lid
- 1 plastic figurine (1.5 inches, snowman or penguin)
- 1 tablespoon clear school glue
- 1 teaspoon glitter (blue or silver)
- 1 drop dish soap
- Distilled water
- Hot glue gun
How to Make It
- Glue the figurine to the inside center of the jar lid using hot glue, letting it cool for 5 minutes.
- Fill the jar to 1 inch below the rim with distilled water.
- Add glue, glitter, and dish soap to the jar, then screw the lid on tightly.
- Seal the lid shut with hot glue around the inner edge to prevent leaks, letting it cure for 1 hour before shaking.
6. Yarn-Wrapped Ice Cream Cones
Moderate
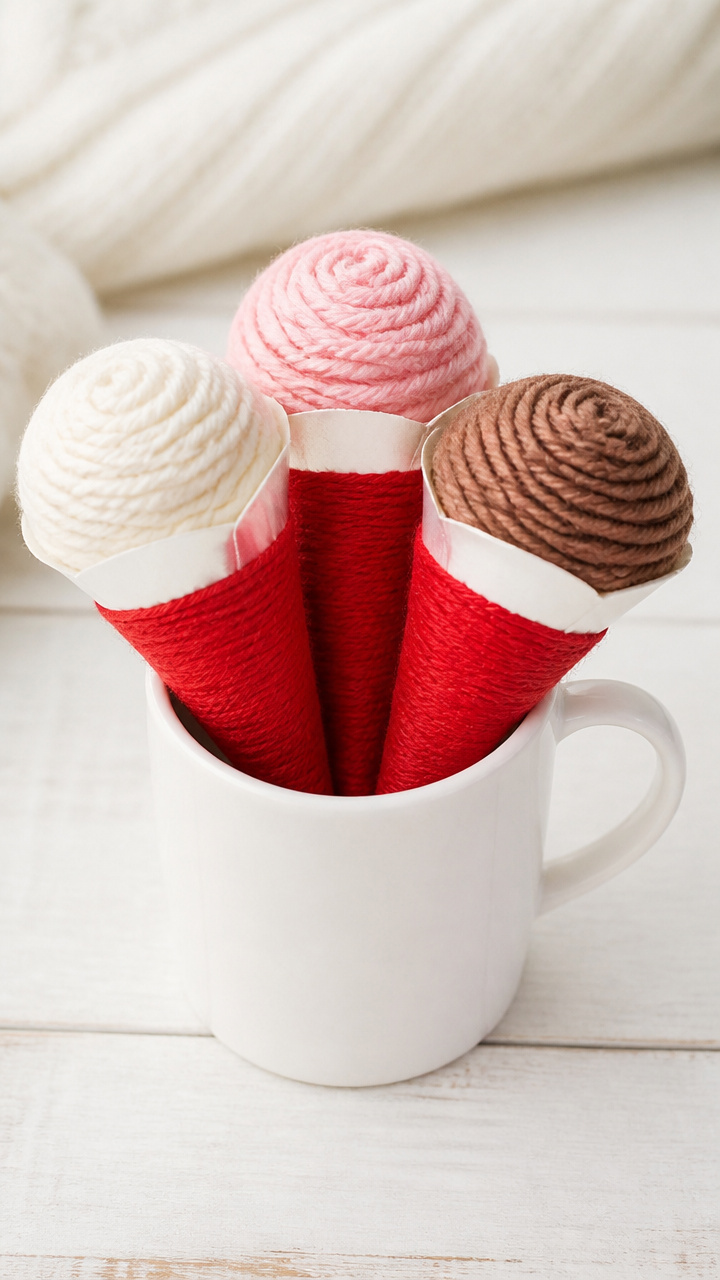
Bright yarn spirals up cardboard cones, mimicking scoops of winter-colored ice cream. These cheerful decorations stand upright in a mug.
Materials Needed
- Cardboard ice cream cone template (3 inches tall)
- White cardstock
- Scissors
- Pencil
- Glue stick
- Red yarn (size 4)
- Blue yarn (size 4)
- White yarn (size 4)
- 12 inch wire (20 gauge)
How to Make It
- Trace the cone template onto cardstock and cut it out, then roll it into a cone shape and glue the edge.
- Cut a 24 inch length of red yarn and glue one end to the inside bottom of the cone.
- Wrap the red yarn tightly in a spiral from bottom to top, gluing the end inside the rim.
- Repeat with blue and white yarn on separate cones.
- Thread the wire through the tip of each cone and twist to form a stand, letting kids arrange them in a mug.
7. Paper Plate Snowflakes
Easy
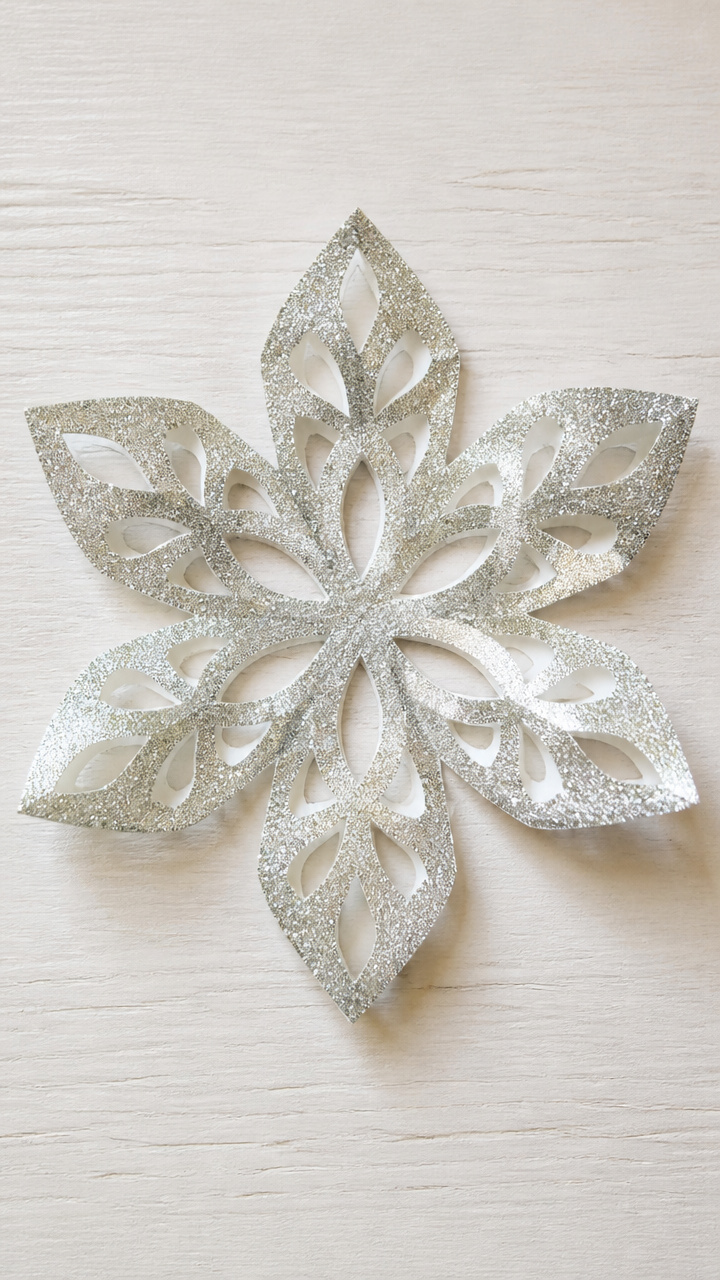
Six-pointed snowflakes bloom from paper plates with cut-out patterns and silver glitter. Hang them in windows to catch the winter light.
Materials Needed
- 1 white paper plate per snowflake
- Scissors
- Ruler
- Pencil
- White glue
- Silver glitter
- Ribbon (12 inches, white)
How to Make It
- Use scissors to cut out the center circle of the plate, leaving the outer rim and spokes.
- Fold the rim into six equal sections using the ruler and pencil to mark creases every 60 degrees.
- Cut small shapes like triangles or half-circles along the folded edges, then unfold to reveal the snowflake.
- Paint glue on one side and sprinkle glitter evenly, letting it dry for 15 minutes.
- Tie ribbon to one point for hanging.
8. Button Snowmen
Moderate
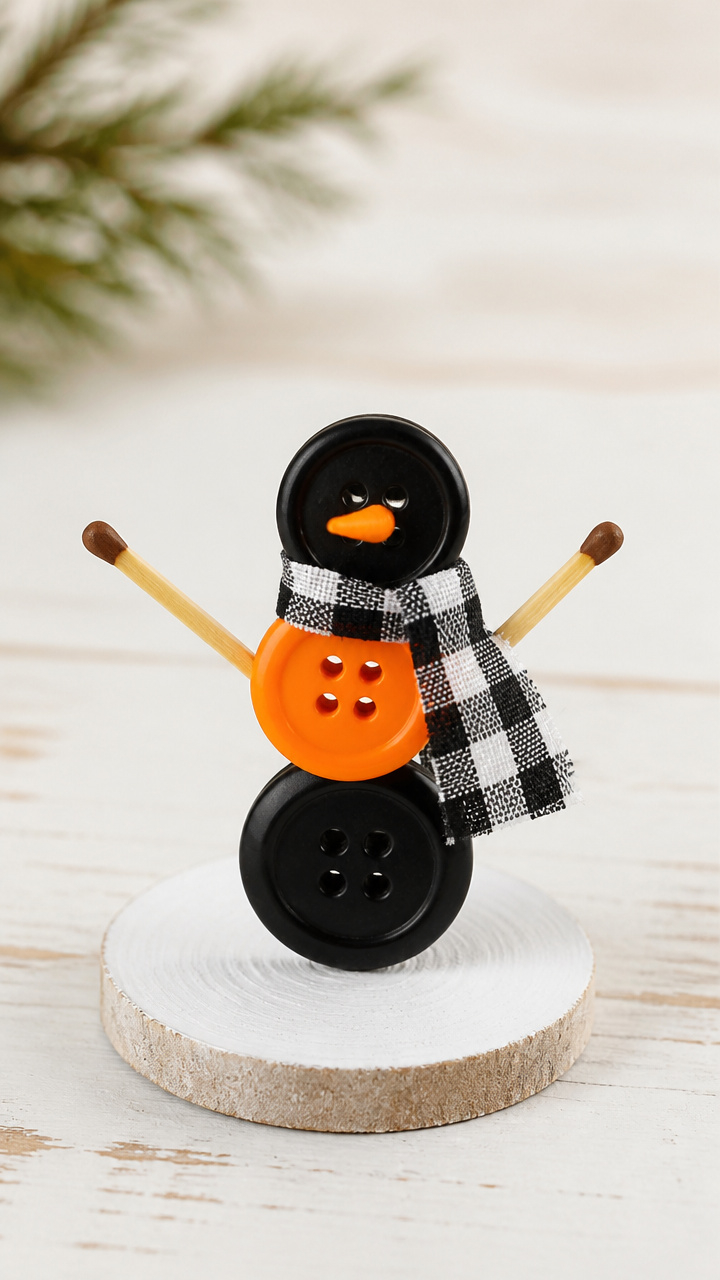
Mismatched buttons stack into smiling snowmen with matchstick arms and fabric scarves. These tiny friends stand on a painted base.
Materials Needed
- 1 large black button (25mm)
- 1 medium orange button (20mm)
- 1 small black button (10mm)
- 2 matchsticks
- Fabric scrap (1×3 inches)
- Hot glue gun
- Wooden disc (1.5 inch diameter)
- White acrylic paint
- Paintbrush
How to Make It
- Paint the wooden disc white and let dry for 20 minutes.
- Glue the large black button to the center of the disc.
- Stack the orange and small black buttons vertically on top using hot glue.
- Glue two matchsticks to the sides of the orange button as arms.
- Cut the fabric scrap into a 1×0.5 inch strip and loop it around the orange button as a scarf, gluing in place.
9. Tissue Paper Lanterns
Moderate
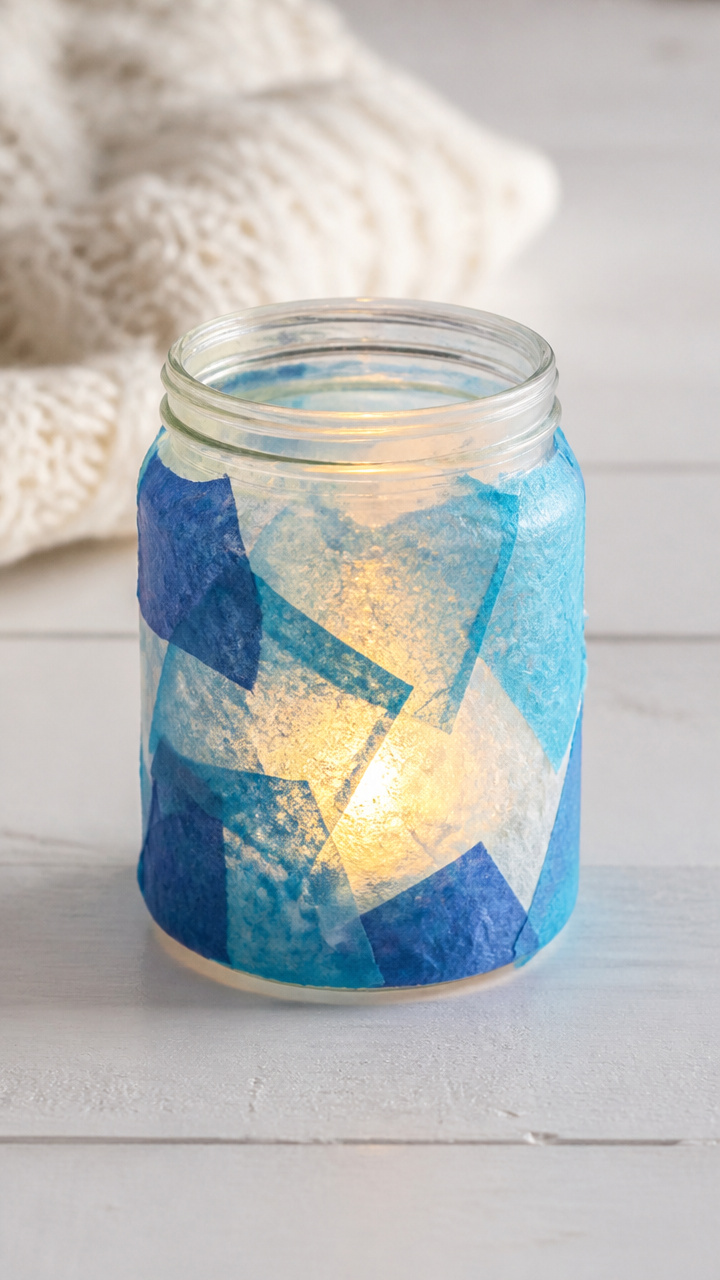
Layers of blue and white tissue paper glow like icy lanterns when lit from within. These soft lights cast gentle patterns on the walls.
Materials Needed
- 1 glass jar (6 oz)
- Scissors
- White school glue
- Blue tissue paper (one full sheet)
- White tissue paper (one full sheet)
- Paintbrush
- LED tea light
How to Make It
- Cut both tissue paper sheets into 2×2 inch squares.
- Brush a thin layer of glue onto the outside of the jar.
- Press tissue paper squares onto the jar, overlapping blue and white randomly until fully covered.
- Let dry for 30 minutes, then place an LED tea light inside and turn off the lights to see the glow.
10. Popsicle Stick Toboggans
Easy
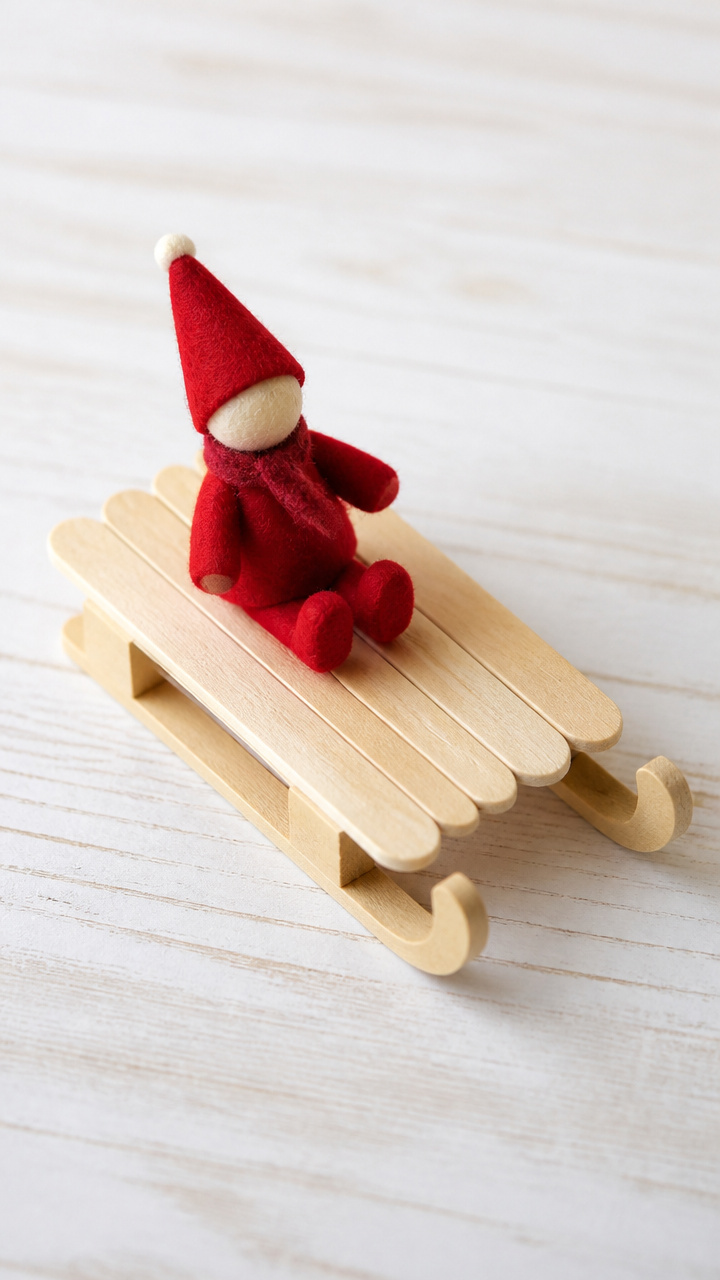
Mini wooden sleds built from popsicle sticks race across rugs and coffee tables. Add a felt rider for extra fun.
Materials Needed
- 5 flat popsicle sticks per toboggan
- White glue
- Craft knife
- Ruler
- Pencil
- Red felt (2×2 inches)
- Scissors
- Black marker
How to Make It
- Lay three popsicle sticks side by side to form the base.
- Glue two sticks perpendicularly across the top and bottom of the base to form rails.
- Let dry for 20 minutes.
- Cut a 1×1 inch piece of red felt and draw a face on it with the black marker to make a rider.
- Place the rider on the sled and send it sliding.
11. Crayon Snowflake Melts
Advanced
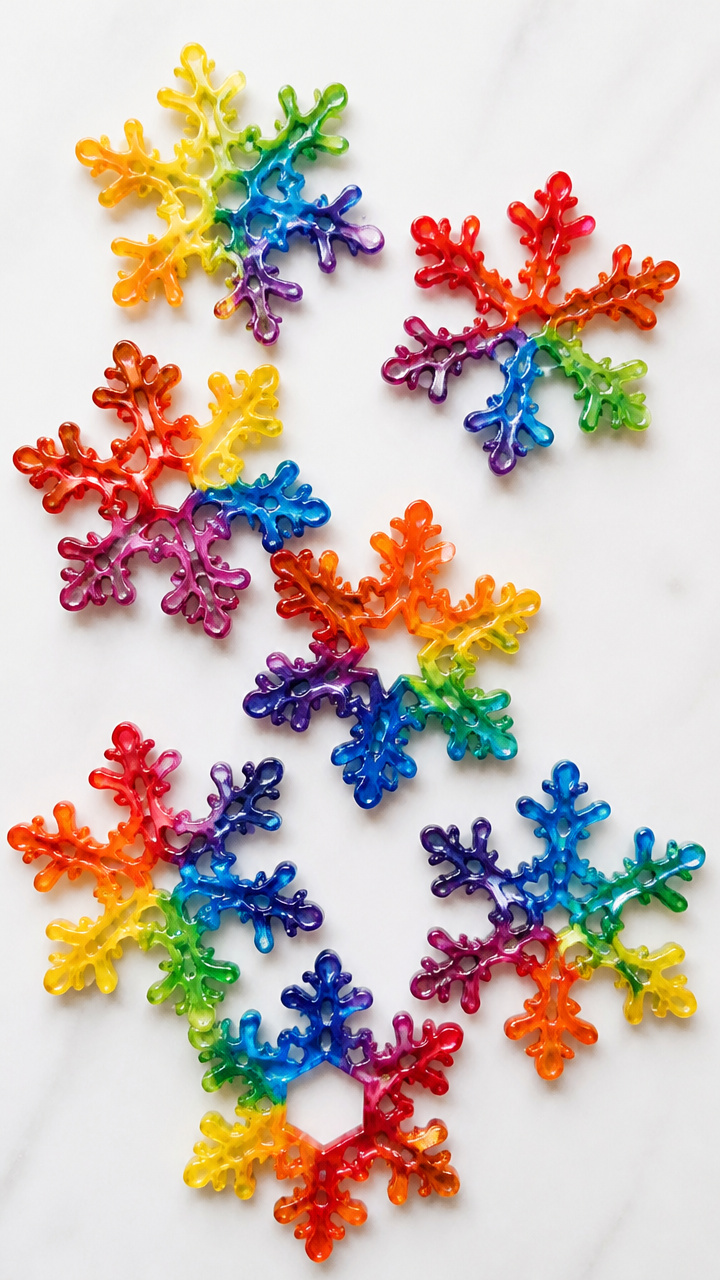
Broken crayons melt into snowflake-shaped molds, creating colorful drawing tools with a winter twist. These are perfect for using up stubs.
Materials Needed
- Silicone snowflake mold (6 cavities)
- 20 broken crayons (peel paper off)
- Oven
- Muffin tin
- Oven mitts
How to Make It
- Preheat oven to 250°F.
- Sort crayon pieces by color and place 3–4 pieces into each snowflake cavity.
- Set the mold in a muffin tin for stability and bake for 15 minutes, or until fully melted.
- Remove with oven mitts and let cool completely for 2 hours before popping out the crayons.
12. Fingerprint Evergreen Trees
Easy
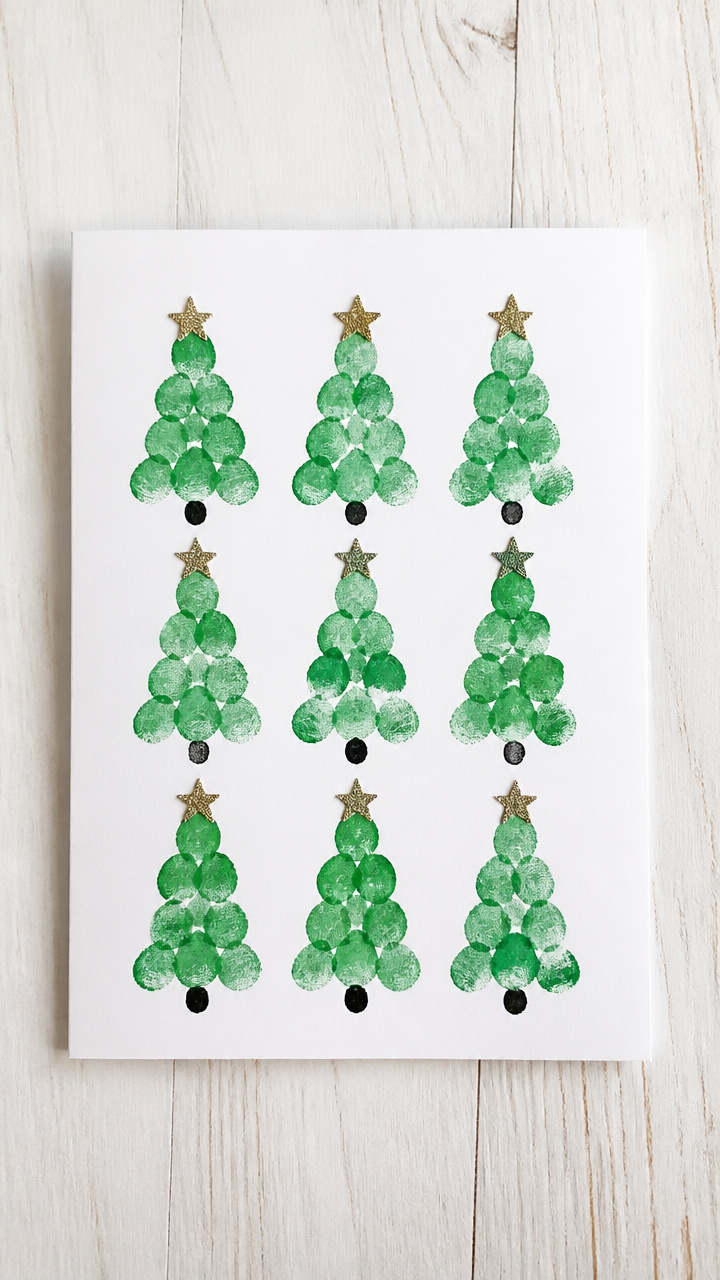
Green fingerprints fan out into tiny forests on cardstock, each tree topped with a star. These simple prints make a heartfelt card.
Materials Needed
- Green washable ink pad
- White A4 cardstock
- Gold glitter pen
- Black marker
How to Make It
- Press one fingertip into the green ink pad and stamp it at the bottom of the cardstock, slightly overlapping for fullness.
- Repeat with two or three more fingerprints above, each smaller, to form a tree shape.
- Draw a short brown trunk with the black marker.
- Use the gold glitter pen to draw a star at the top of each tree.
13. Washi Tape Gift Boxes
Easy
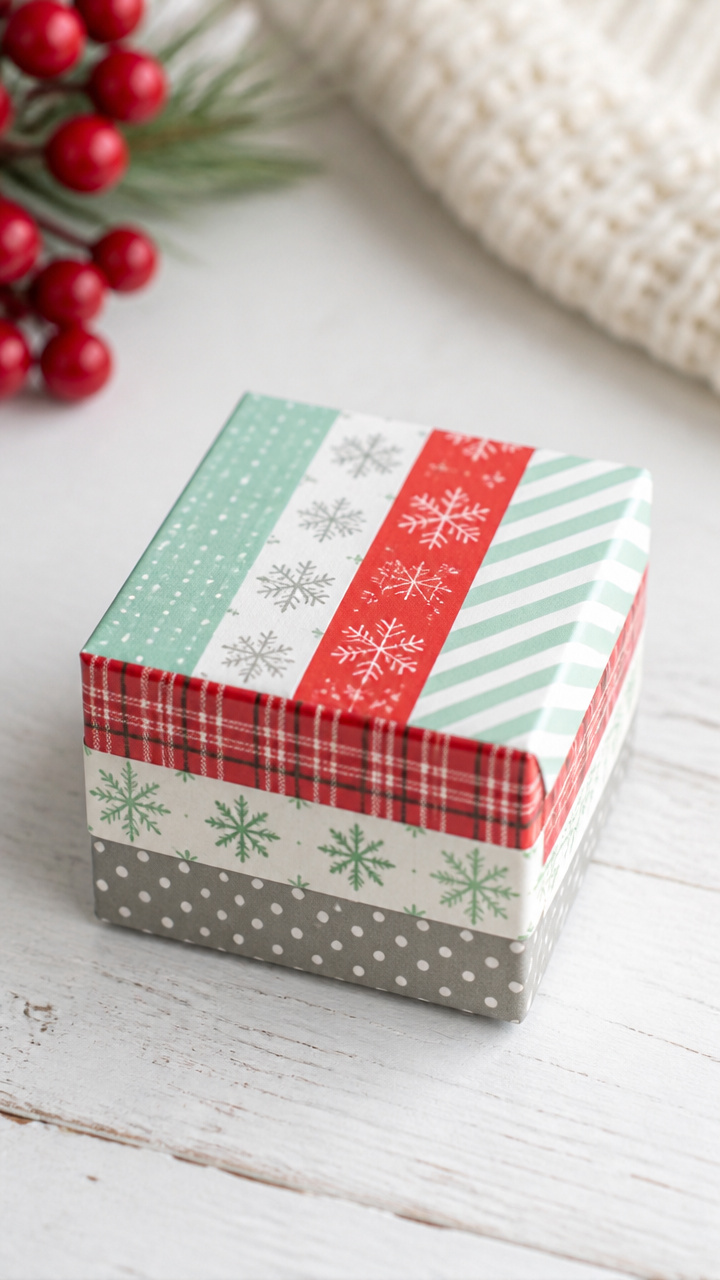
Plain cardboard boxes transform with strips of patterned tape, becoming cheerful containers for small winter gifts.
Materials Needed
- Small cardboard gift box (3x3x2 inches)
- 3 rolls washi tape (1/2 inch wide, assorted winter patterns)
- Scissors
- Ruler
How to Make It
- Cut 4 strips of washi tape, each 3 inches long, and apply them vertically on one side of the box, edge to edge.
- Repeat on the opposite side.
- Cut 2 strips 2 inches long for the short sides and apply vertically.
- Cut a 3 inch strip for the lid top and center it, pressing firmly to adhere.
14. Knit Hat Pom-Poms
Moderate
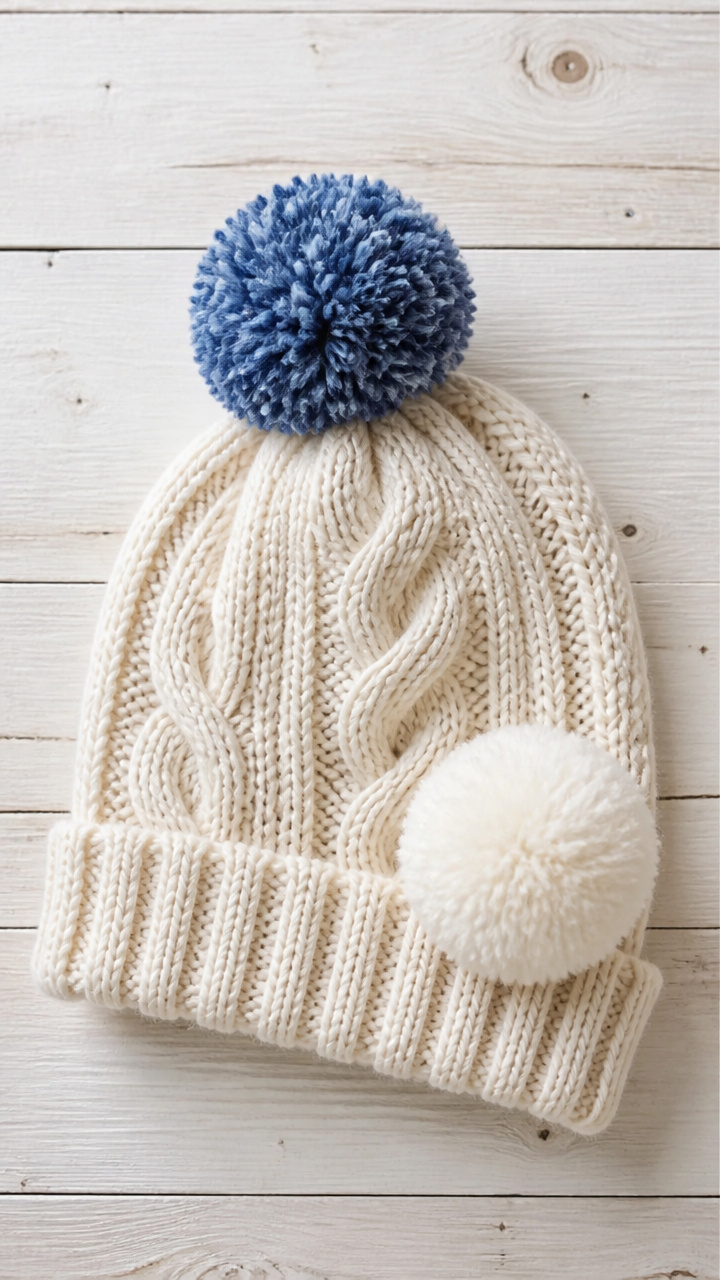
Colorful yarn wraps around cardboard rings to form fluffy pom-poms, perfect for topping handmade hats or backpacks.
Materials Needed
- Cardboard (4×4 inches)
- Scissors
- Pencil
- Ruler
- Blue yarn (size 4, 50 yards)
- White yarn (size 4, 50 yards)
- Silver yarn (size 4, 50 yards)
- Sharp scissors
- Fabric glue
How to Make It
- Draw two concentric circles on cardboard: outer 2 inches, inner 0.5 inch. Cut out the ring.
- Wrap yarn around the ring tightly for 100 wraps, varying colors as desired.
- Slide scissors between the loops on the outer edge and cut all strands.
- Tie a 6 inch piece of yarn tightly around the center and knot securely.
- Fluff the pom-pom and trim uneven strands. Glue to a hat or use as a decoration.
15. Ice Painted Windows
Easy
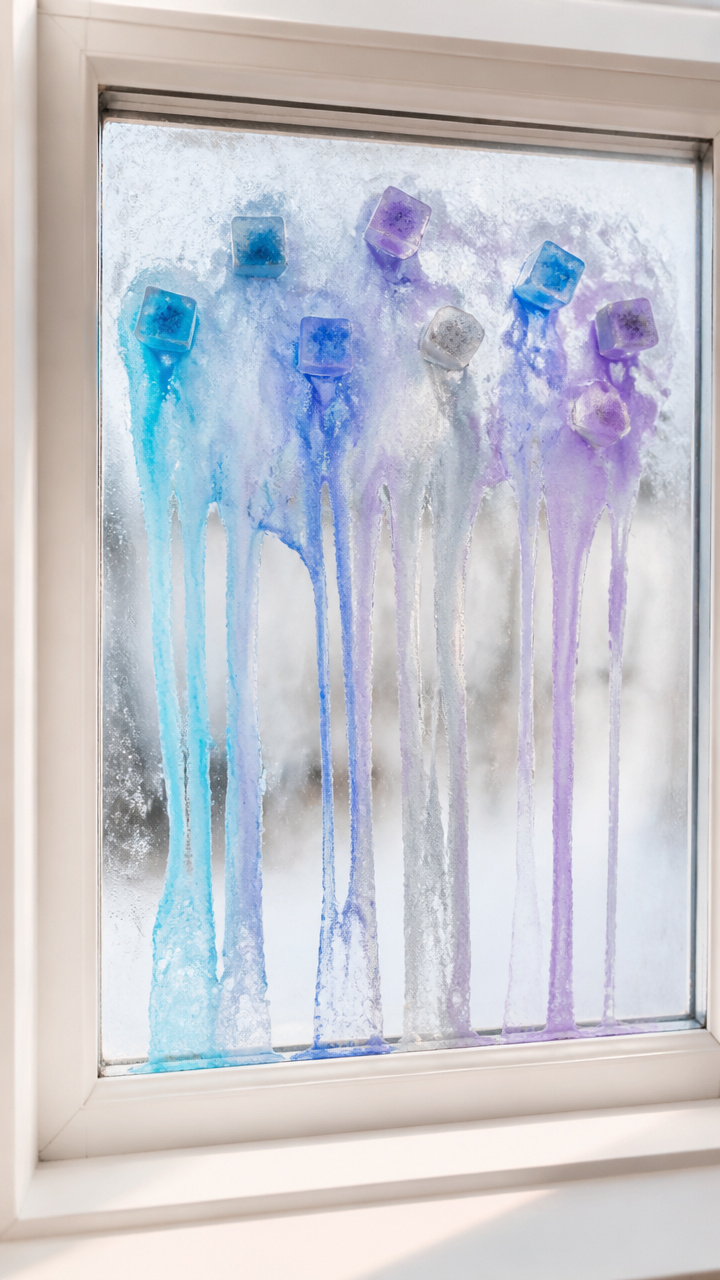
Frozen paint cubes melt slowly on cold glass, leaving behind streaks of winter color. This outdoor art uses the season itself.
Materials Needed
- Silicone ice cube tray (12 cavity)
- 1/2 cup water
- Food coloring (blue, purple, silver)
- Dropper
- Paper towels
- Cold windowpane
How to Make It
- Pour water into the ice cube tray and add 3 drops of food coloring to each section using the dropper.
- Freeze for at least 4 hours until solid.
- Take one cube outside and rub it gently on a cold window, letting it melt and streak.
- Wipe clean with paper towels when done.
Grab a pair of scissors, open that glue bottle, and let the quiet winter hours fill with making. You've got everything you need to start right now.