20 Winter Crafts for Kids That Are Perfect for Snow Days

Snow piles high outside, the air hums with quiet, and the house feels cozy under a soft blanket of stillness. These are the days made for crafting, when mittens dry by the radiator and imagination takes center stage.
With simple supplies and joyful focus, you can turn slow hours into keepsakes that sparkle like frost on glass. Each of these projects invites little hands to create something real, tangible, and full of winter magic.
1. Salt Dough Ornaments
Easy
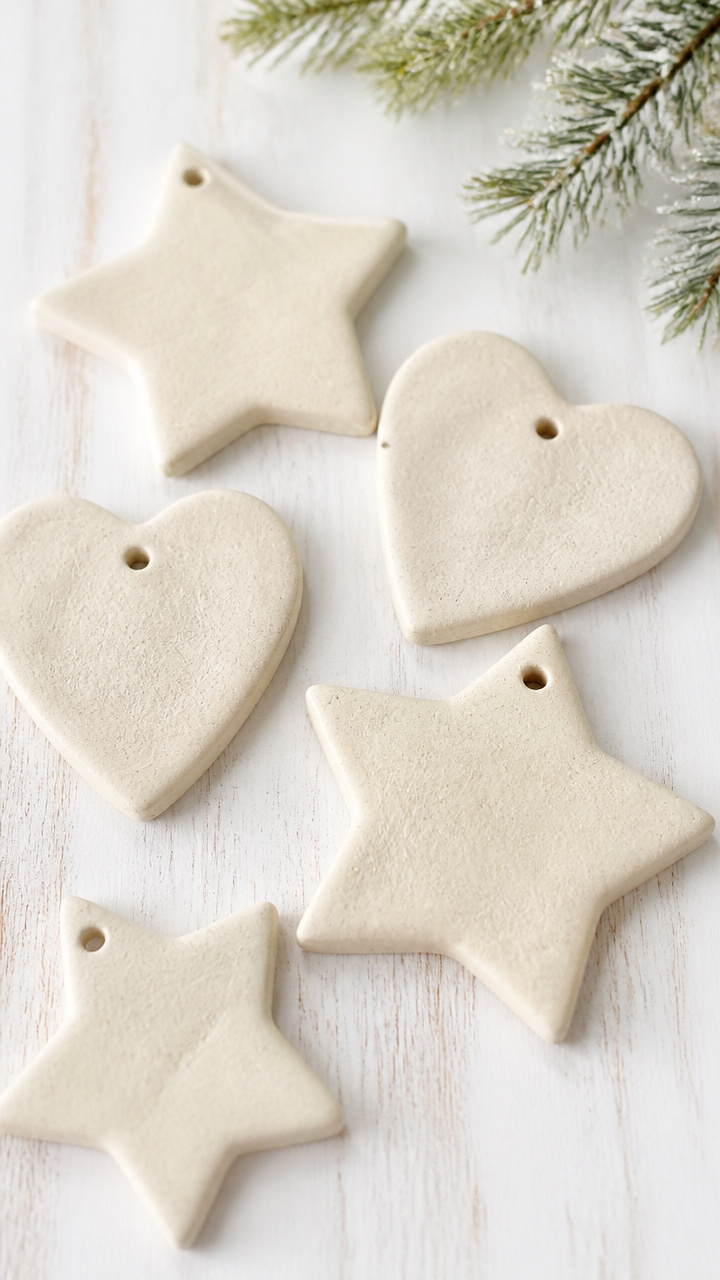
Hand-shaped keepsakes that harden into lasting mementos of snowy afternoons spent creating together.
Materials Needed
- 2 cups all-purpose flour
- 1 cup table salt
- 1 cup warm water
- Pencil or straw
- Baking sheet
- Parchment paper
- Acrylic paint (red, green, gold)
- Paintbrush set
- Ribbon (gold, 1/8 inch wide, 5 feet)
How to Make It
- Mix flour, salt, and warm water in a bowl until a smooth dough forms, kneading with your hands for 3 minutes.
- Roll the dough to 1/4-inch thickness on a floured surface, then cut shapes using cookie cutters.
- Use a pencil or straw to poke a hole near the top edge of each ornament for hanging.
- Place ornaments on a parchment-lined baking sheet and bake at 250°F for 2 hours, turning once halfway through.
- Let cool completely, then paint with acrylics and let dry for 1 hour.
- Thread ribbon through each hole and tie into a loop for hanging.
2. Cotton Ball Snowmen
Easy
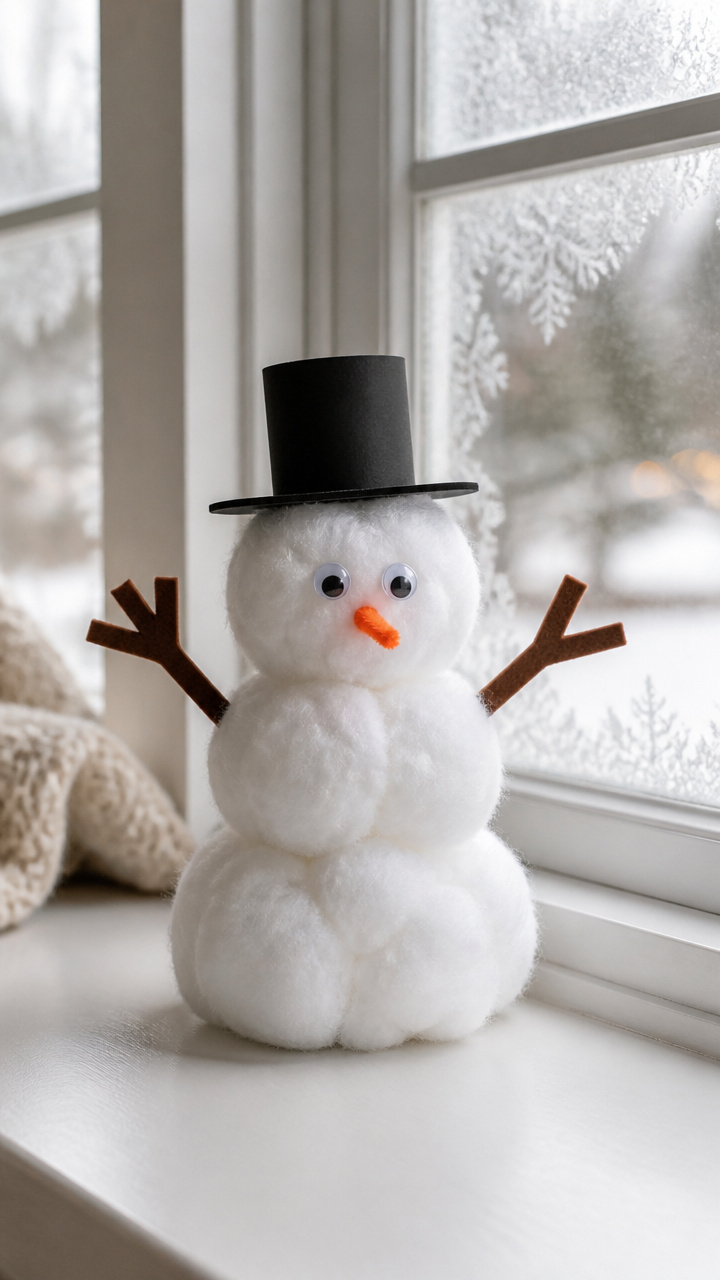
Fluffy three-dimensional snowmen built from layered cotton balls, perfect for tiny fingers and frosty window displays.
Materials Needed
- 9 jumbo cotton balls per snowman
- Glue stick
- Black construction paper (8.5 x 11 inches)
- Orange pipe cleaner (6 inches long)
- Googly eyes (10mm, 2 per snowman)
- Brown craft foam sheet
- Scissors
- Cardboard base (4 x 4 inches)
How to Make It
- Glue three cotton balls in a triangle shape onto the cardboard base to form the snowman's body.
- Stack three more cotton balls on top for the midsection, pressing gently into glue.
- Place three more on top for the head, securing each layer with glue from the glue stick.
- Cut two small arms from the brown craft foam and glue them to the sides of the midsection.
- Snip the orange pipe cleaner to 1 inch and glue it as a carrot nose.
- Glue on googly eyes and cut tiny hat shapes from black paper to complete the face.
3. Felt Mitten Puppets
Moderate
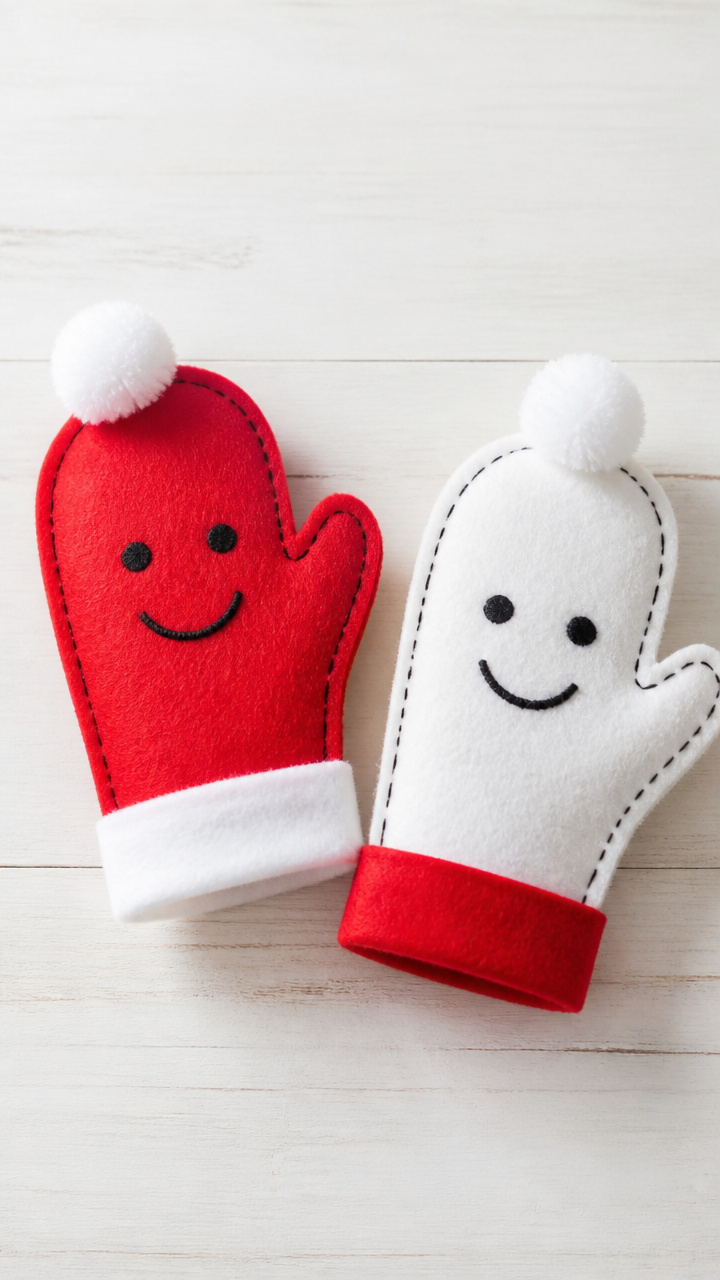
Soft puppets shaped like mittens, ready for storytelling adventures beside the heater.
Materials Needed
- Red felt sheet (9 x 12 inches)
- White felt sheet (9 x 12 inches)
- Fabric scissors
- Embroidery floss (black, 6-yard strand)
- Needle (size 7)
- Pom-poms (white, 12mm, 2 per puppet)
- Fabric glue
- Craft stick (4.5 inches long)
How to Make It
- Draw a mitten outline 6 inches tall on the red felt and cut two identical pieces.
- Cut a 3-inch strip of white felt for the cuff and glue it along the bottom edge of one red piece.
- Layer the second red piece on top, aligning edges, and sew around the perimeter with a backstitch using black floss.
- Leave the wrist opening free and stop sewing 1 inch from the top curve to create a mouth space.
- Glue a pom-pom to each side for ears and attach a craft stick inside the wrist area with fabric glue.
- Let dry for 2 hours before using as a hand puppet.
4. Pipe Cleaner Snowflakes
Easy
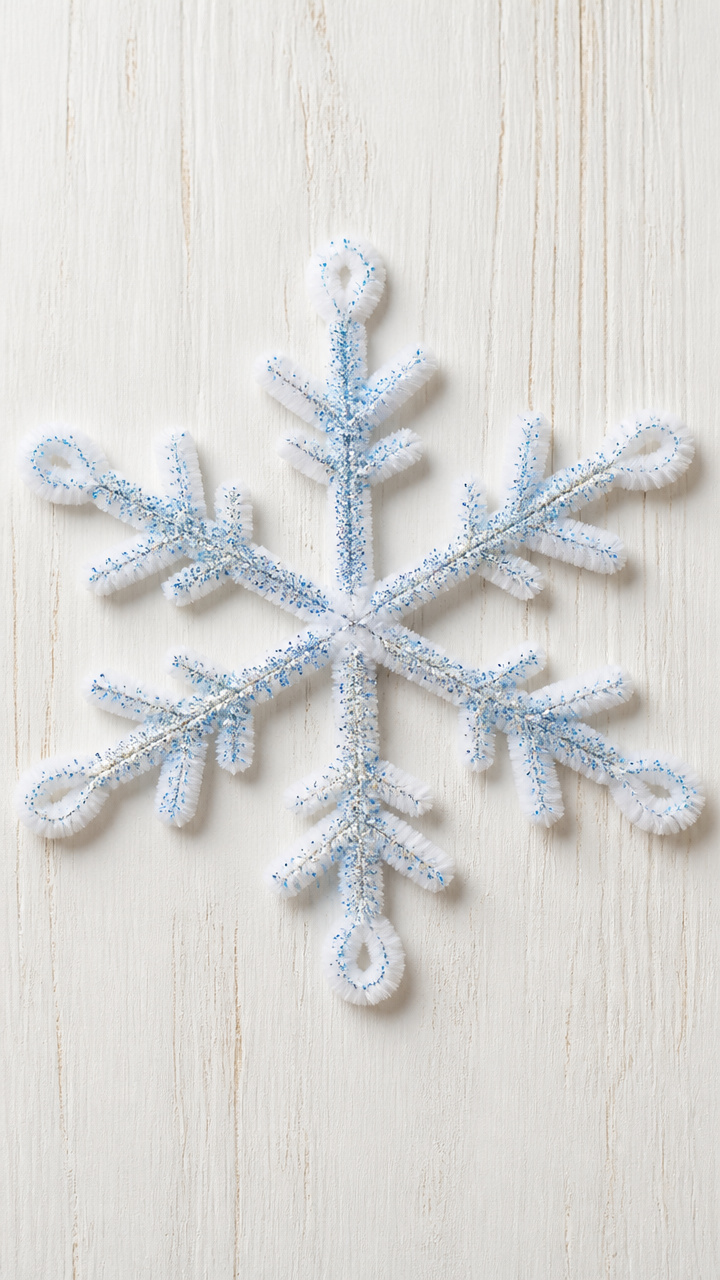
Delicate wire designs twisted into icy patterns, catching light like real crystals.
Materials Needed
- White pipe cleaners (12-inch, 6 per snowflake)
- Glitter (blue, fine, 1 tablespoon)
- Glue (clear school glue, 2 tablespoons)
- Tweezers
- Pencil
- Ruler
How to Make It
- Lay one pipe cleaner flat and use the pencil to mark the center point.
- Cross five additional pipe cleaners over the center at equal 60-degree angles to form a starburst.
- Twist all six wires tightly together at the center with your fingers to secure.
- Bend each outer arm into a zigzag or L-shape using your fingers for a snowflake pattern.
- Brush glue lightly over each arm and sprinkle blue glitter evenly using tweezers.
- Let dry flat on wax paper for 1 hour before hanging in a sunny window.
5. Paper Bag Penguins
Easy
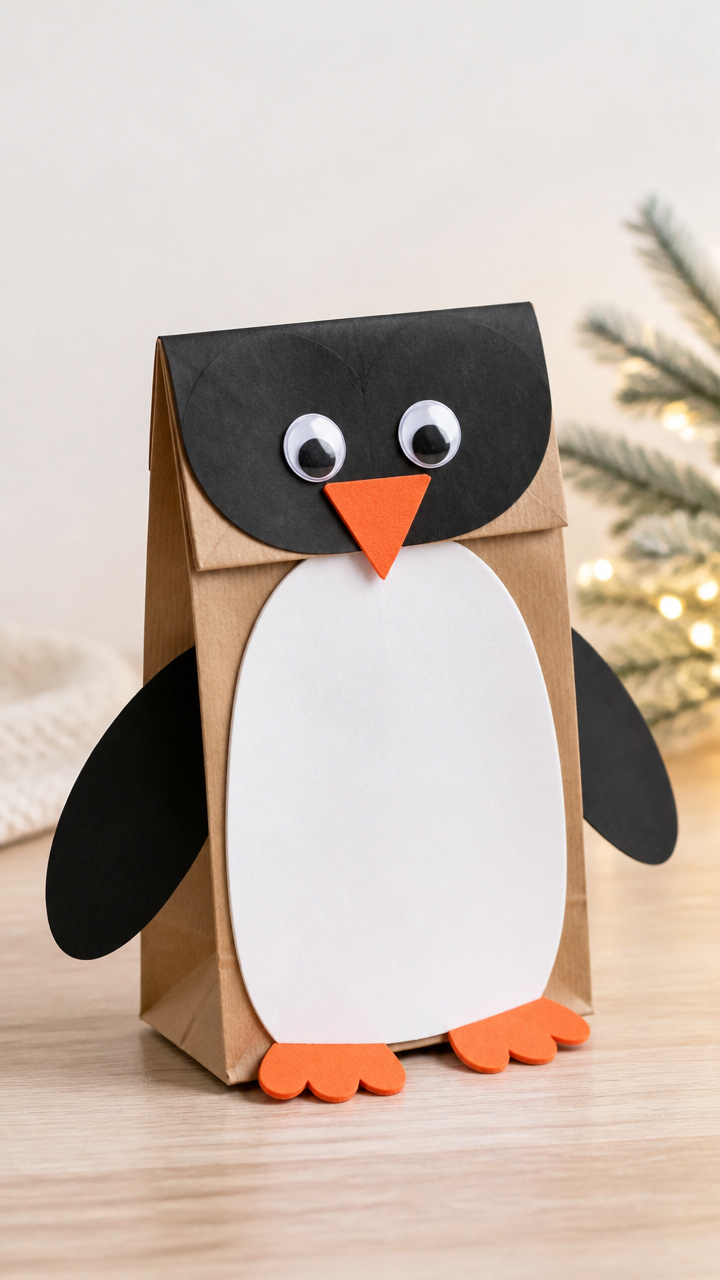
Sturdy penguins crafted from lunch bags, waddling proudly across tabletops.
Materials Needed
- Brown paper lunch bag (standard size)
- Black construction paper (8.5 x 11 inches)
- White craft foam sheet
- Orange craft foam sheet
- Glue stick
- Scissors
- Wiggly eyes (15mm, 2 per penguin)
- Pencil
How to Make It
- Cut wings from black construction paper using a penguin wing template drawn with pencil.
- Cut a teardrop-shaped belly from white craft foam and a small triangle beak from orange foam.
- Open the paper bag and lay it flat, then glue the white belly onto the front panel.
- Attach the black wings to each side so they overlap the belly slightly.
- Glue the orange beak just below the folded edge of the bag, which becomes the penguin’s head.
- Add wiggly eyes above the beak and press the bag closed to stand upright.
6. Popsicle Stick Sleds
Moderate
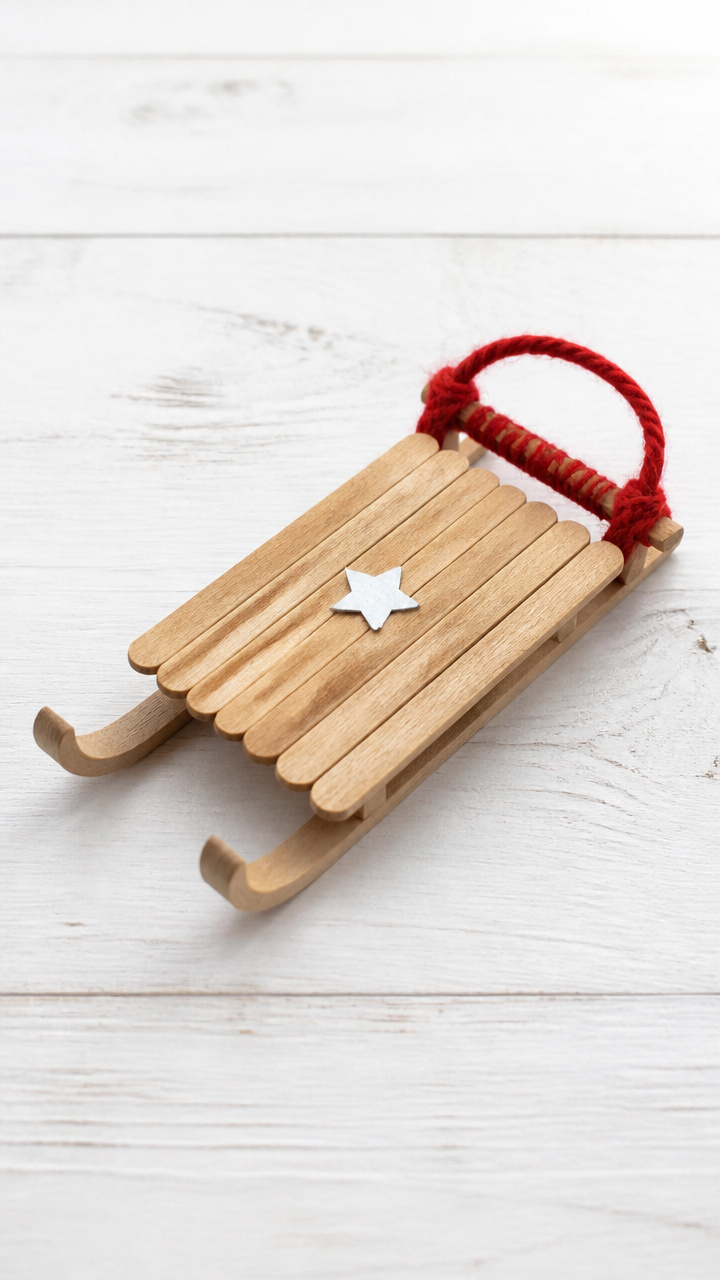
Mini wooden sleds assembled from sticks and string, ideal for pretend play after story time.
Materials Needed
- 8 flat popsicle sticks per sled
- Wood glue
- Clothespin (standard size)
- Emory board or fine sandpaper
- Red yarn (12 inches)
- Small star sticker (1 per sled)
- Paintbrush
How to Make It
- Sand the edges of all popsicle sticks lightly with the emory board to smooth any splinters.
- Lay two sticks parallel and glue two more perpendicularly across the ends to form a rectangle base.
- Let dry for 15 minutes, then glue a third stick lengthwise down the center for support.
- Glue the clothespin vertically to the center stick as the sled driver seat.
- Wrap red yarn around both front ends and tie securely to mimic reins.
- Press a star sticker onto the clothespin and let the entire sled dry for 2 hours.
7. Shaving Cream Snow Paint
Easy
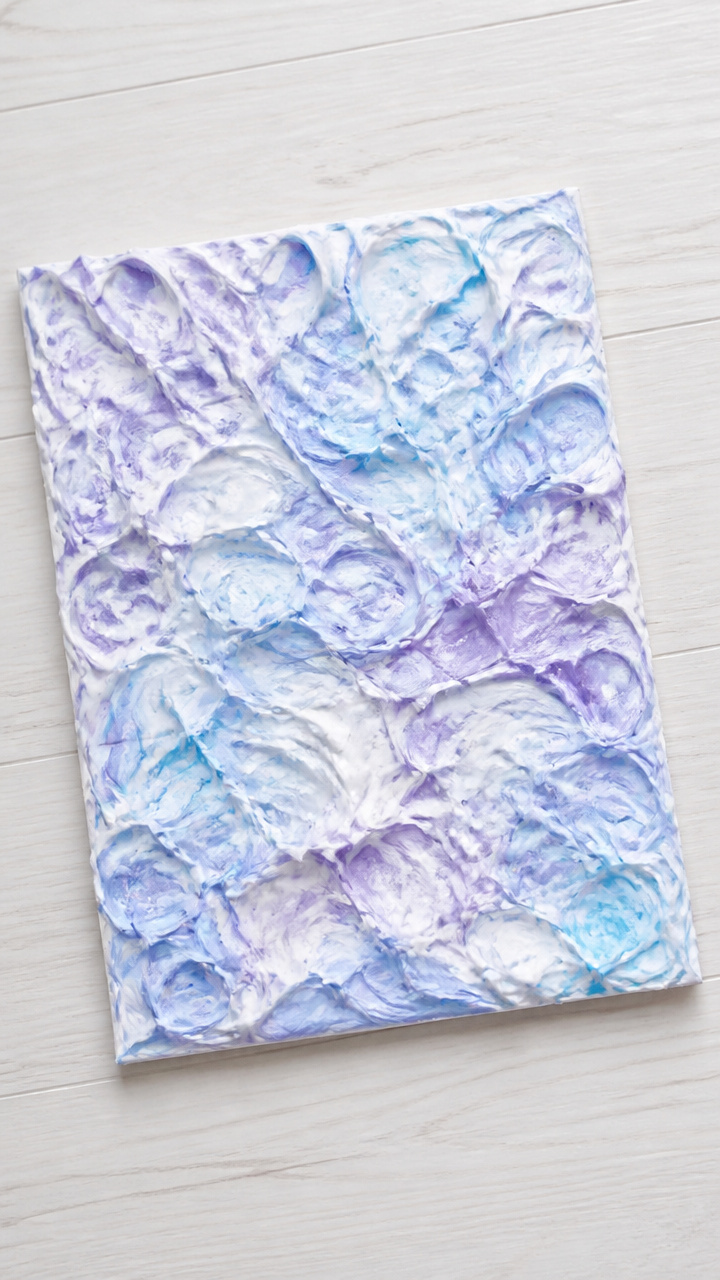
A sensory-rich painting mix that spreads like fresh powder and dries with a frosted finish.
Materials Needed
- White shaving cream (8 oz can)
- School glue (4 oz bottle)
- Plastic mixing bowl
- Spoon
- Food coloring (blue, purple, 3 drops each)
- Cardboard sheets (6 x 6 inches)
- Paintbrushes (assorted sizes)
How to Make It
- Scoop 1/2 cup shaving cream into the bowl and add 1/4 cup school glue.
- Stir gently with the spoon until fully blended into a fluffy paste.
- Divide mixture into two portions and add 3 drops of blue food coloring to one, purple to the other.
- Swirl each color lightly without fully mixing to create a marbled effect.
- Use paintbrushes to spread the paint onto cardboard in swirling patterns.
- Let artwork dry flat overnight until raised texture turns crisp and matte.
8. Yarn-Wrapped Ice Skates
Moderate
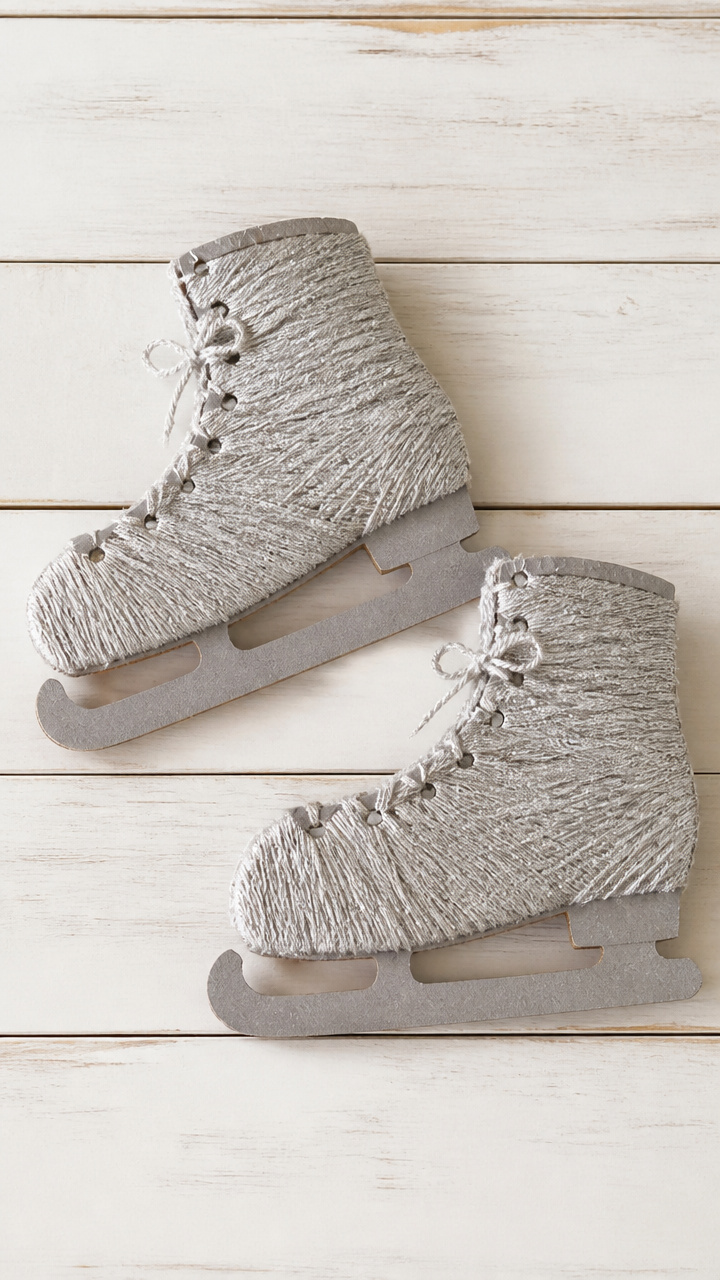
Cardboard skates wrapped tightly in shimmering yarn, capturing the glide of winter sport.
Materials Needed
- Gray cardboard (8.5 x 11 inches)
- Silver metallic yarn (size 4, 50 yards)
- White glue
- Scissors
- Pencil
- Ruler
- Craft knife (use with adult help)
How to Make It
- Draw a 5-inch ice skate shape on gray cardboard and cut two identical pieces with scissors.
- Use the craft knife with adult help to slice a 1/2-inch slit near the toe of each skate.
- Thread one end of silver yarn through the slit and secure with a dab of white glue.
- Wrap the yarn tightly around the skate, covering the surface completely, overlapping slightly.
- When reaching the top, glue the end in place and trim excess with scissors.
- Let dry for 30 minutes and display side by side on a shelf.
9. Button Snow Globes
Advanced
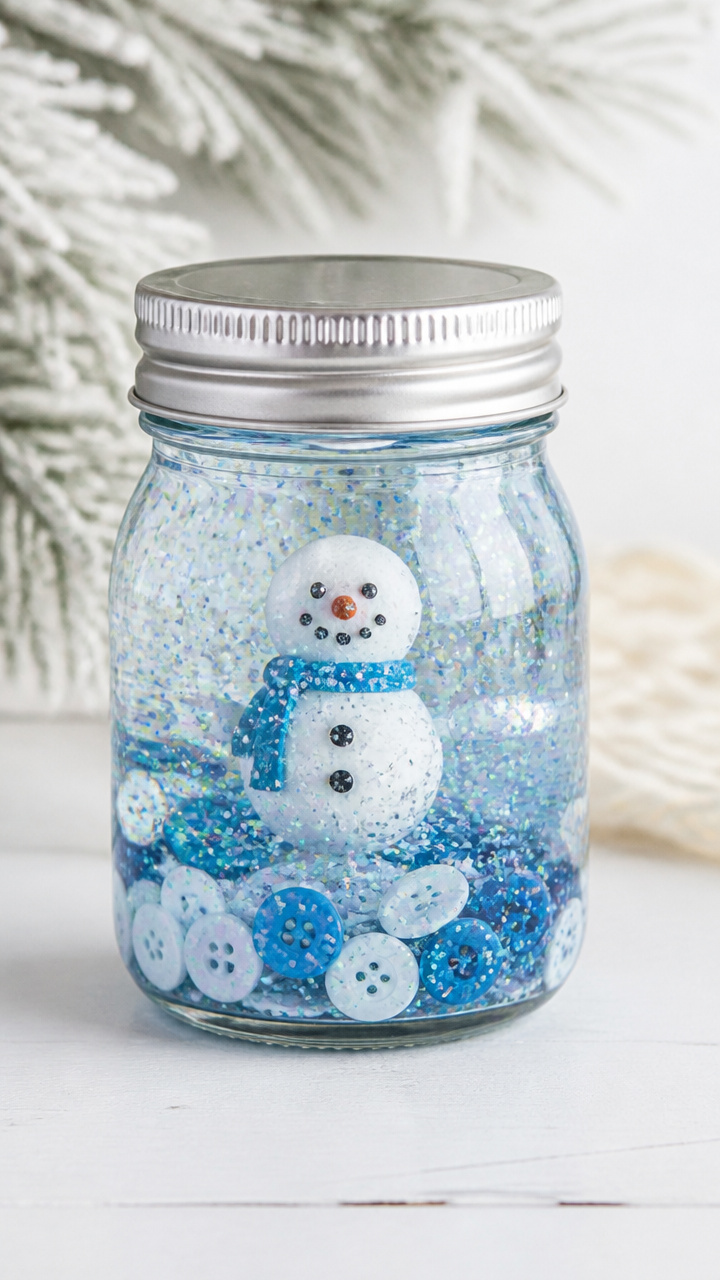
Tiny sealed jars filled with floating buttons and glitter, swirling like a personal blizzard.
Materials Needed
- Clear glass jar with lid (2 oz, 2-inch diameter)
- Waterproof craft glue
- Plastic snowman button (15mm)
- Assorted white and blue buttons (10 total)
- Distilled water (to fill)
- Glycerin (1 teaspoon)
- Glitter (white, fine, 1/2 teaspoon)
- Hot glue gun and glue sticks (adult use only)
How to Make It
- Glue the snowman button to the inside of the jar lid using waterproof craft glue and let dry for 1 hour.
- Arrange the assorted buttons around the snowman and glue each in place.
- Fill the jar to the brim with distilled water, then add glycerin and glitter.
- Screw the lid on tightly, then seal the seam with hot glue applied by an adult.
- Let the glue cure for 2 hours before turning upside down and shaking gently.
10. Construction Paper Igloos
Moderate
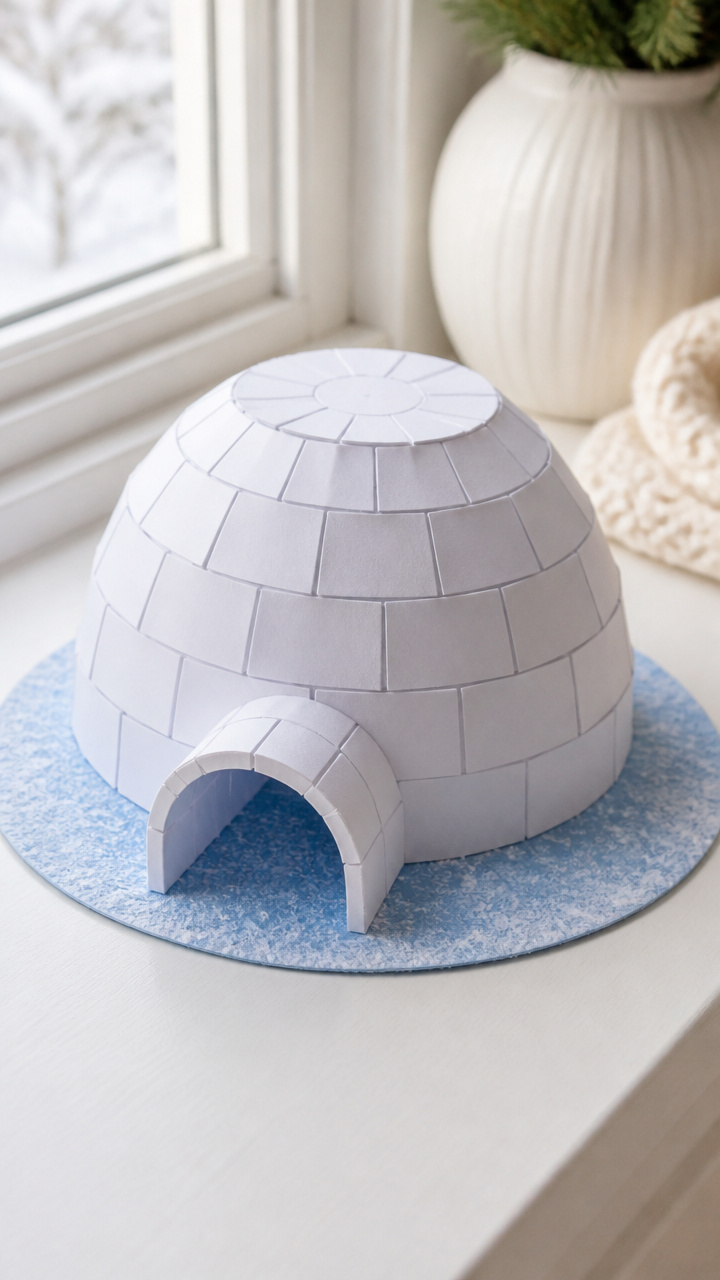
Dome-shaped shelters built from arched paper bricks, standing strong on a windowsill.
Materials Needed
- White construction paper (8.5 x 11 inches)
- Blue construction paper (8.5 x 11 inches)
- Glue stick
- Scissors
- Pencil
- Ruler
- Circular lid (3-inch diameter) for tracing
How to Make It
- Trace the lid onto white paper 12 times and cut out each circle.
- Cut each circle in half to make 24 semicircular 'bricks'.
- Glue the first row of 8 bricks flat onto blue paper, curved edges up.
- Stagger the second row of 7 bricks so they sit across the seams of the first row.
- Continue gluing rows upward, reducing brick count per row, until the dome closes.
- Let dry for 1 hour and display on a flat surface as a winter scene centerpiece.
11. Pinecone Owls
Easy
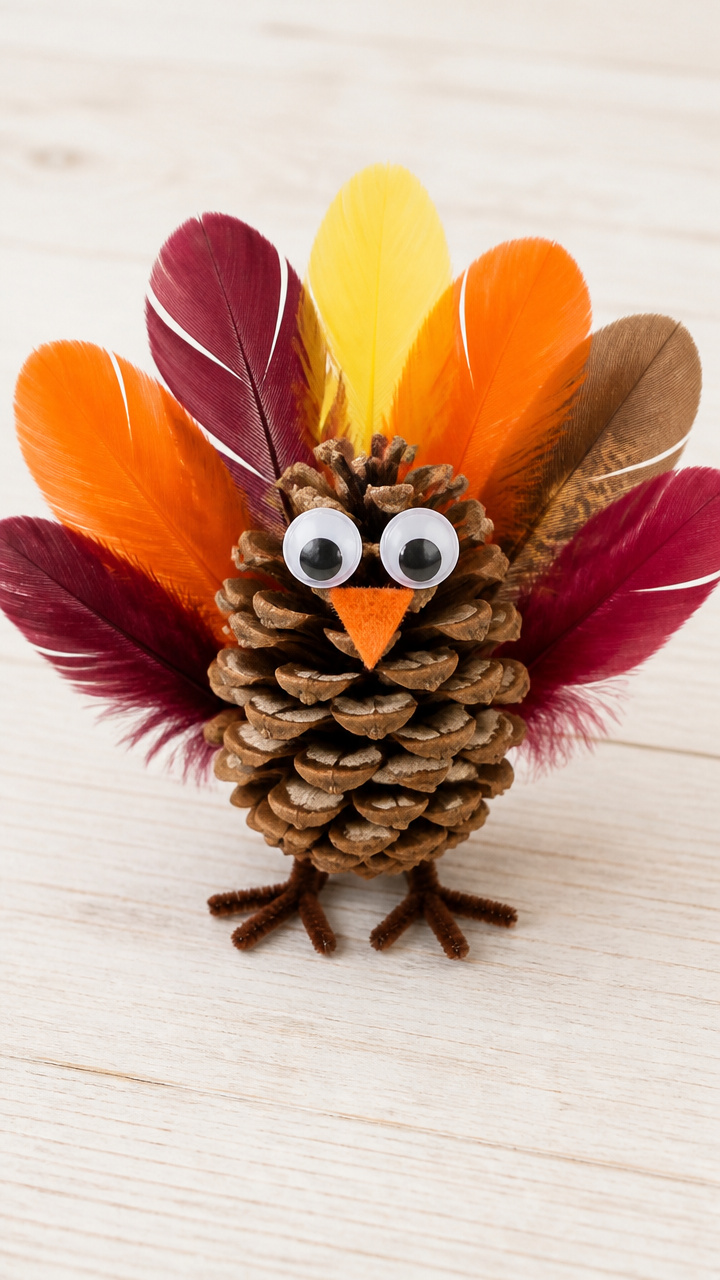
Nature-inspired birds brought to life with colorful feathers and bright eyes.
Materials Needed
- Pinecone (medium, 4 inches tall)
- Orange craft foam sheet
- Feathers (assorted colors, 6 per owl)
- Googly eyes (12mm, 2 per owl)
- Glue gun and glue sticks (adult use only)
- Brown pipe cleaner (6 inches)
How to Make It
- Use the glue gun with adult help to attach two googly eyes near the top of the pinecone.
- Cut a small triangle beak from orange foam and glue it between the eyes.
- Twist the brown pipe cleaner into a V-shape and glue at the base for feet.
- Glue three feathers vertically behind the pinecone for tail feathers.
- Attach two smaller feathers to each side of the head for ear tufts.
- Let all glue set for 30 minutes before moving.
12. Tissue Paper Windows
Easy
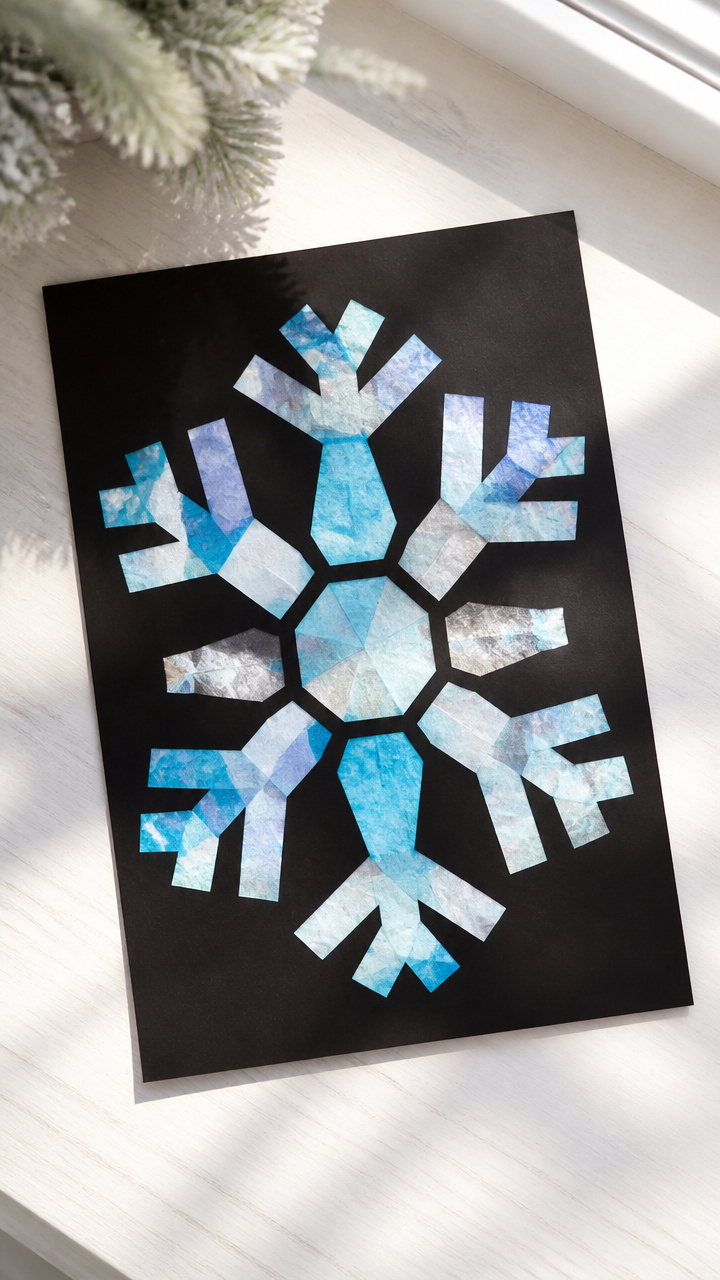
Translucent squares layered like stained glass, glowing when held to the light.
Materials Needed
- Black construction paper (8.5 x 11 inches)
- Blue, white, and silver tissue paper (6 x 6 inches each)
- Glue stick
- Scissors
- Clipboard
How to Make It
- Cut a 4-inch square from the center of the black construction paper using scissors.
- Cut tissue paper into 1-inch squares in assorted winter colors.
- Layer the colored tissue pieces inside the open square, overlapping slightly.
- Glue each piece flat using the glue stick, working from center outward.
- Clip the paper to a clipboard to hold steady while gluing the final sections.
- Let dry for 20 minutes and hang in a sunny window to catch the light.
13. Puffy Paint Snow Scenes
Easy
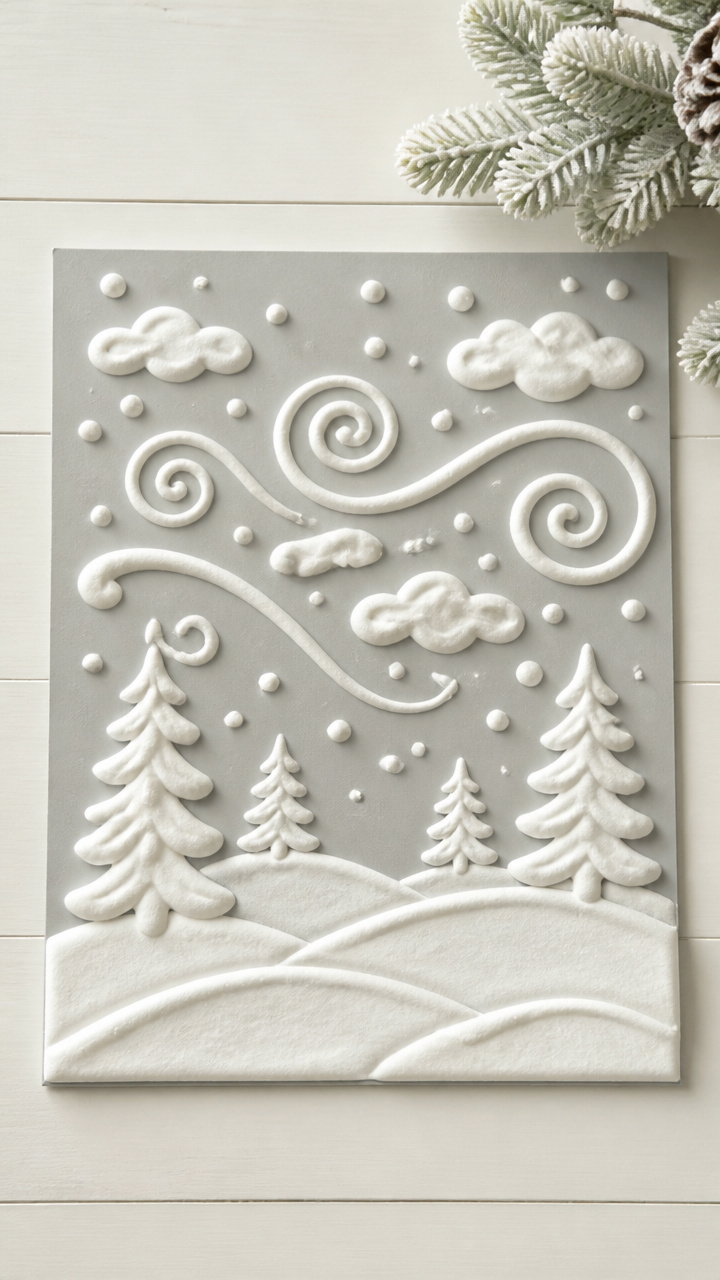
Raised designs made with homemade puffy paint that rise slightly when dried.
Materials Needed
- White school glue (4 oz)
- Shaving cream (1 cup)
- Mixing bowl
- Spoon
- Cardboard (6 x 6 inches)
- Toothpick
- Blue acrylic paint (2 tablespoons)
- Paintbrush
How to Make It
- Pour glue and shaving cream into the bowl and stir with the spoon until fluffy.
- Spread a thin layer of blue acrylic paint across the bottom third of the cardboard with the brush.
- Dollop puffy mixture onto the painted area and use the toothpick to draw trees, hills, or houses.
- Smooth peaks with the toothpick tip to create dimension.
- Let the artwork dry undisturbed for 6 hours until puffy areas harden slightly.
- Display flat or prop upright on a shelf.
14. Cardboard Tube Reindeer
Moderate
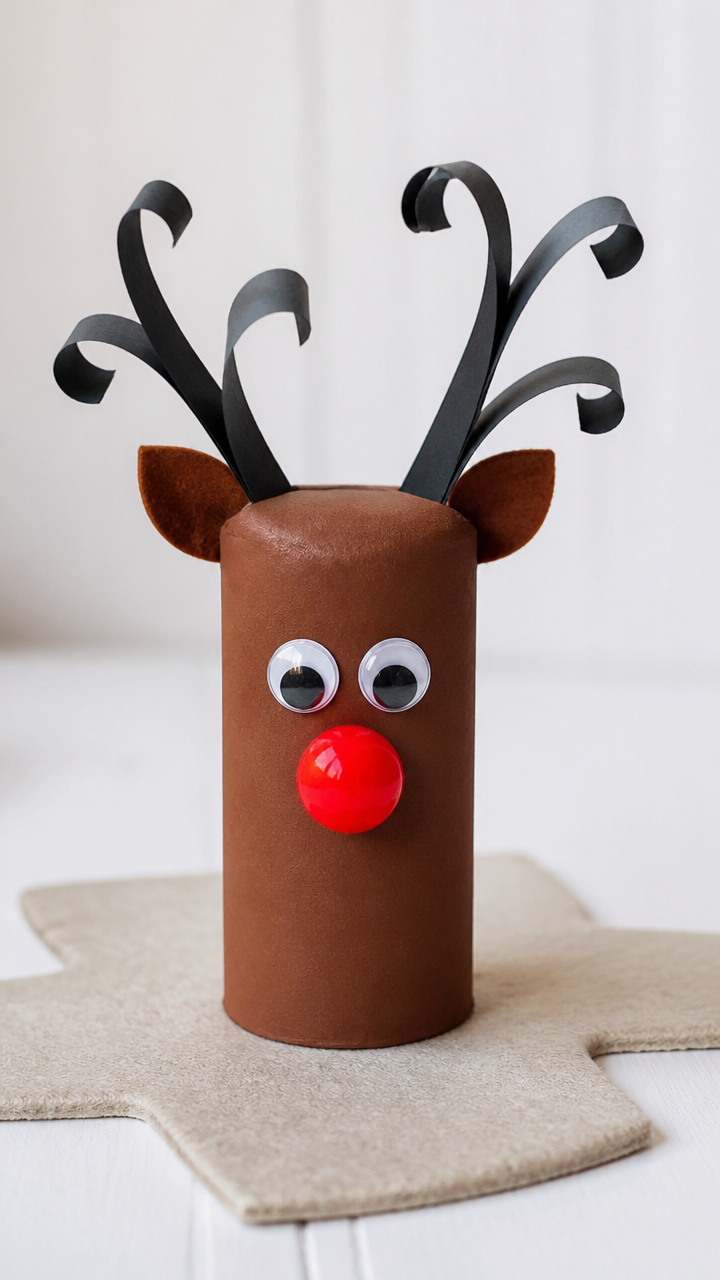
Toilet paper rolls transformed into cheerful reindeer with curled-paper antlers.
Materials Needed
- Toilet paper roll (1 per reindeer)
- Brown paint (acrylic, 2 tablespoons)
- Paintbrush
- Red pom-pom (10mm, 1 per reindeer)
- Googly eyes (10mm, 2 per reindeer)
- Brown craft foam sheet
- Scissors
- Glue stick
- Pencil
How to Make It
- Paint the entire toilet paper roll brown and let dry for 30 minutes on a flat surface.
- Cut antler shapes from brown craft foam: two long branches curling upward.
- Roll each antler tightly from base to tip using a pencil and hold for 10 seconds.
- Unroll slightly and glue the base to the top of the roll on opposite sides.
- Glue googly eyes just below the antlers and the red pom-pom centered beneath for the nose.
- Let all glue dry for 1 hour before placing on a mantel.
15. Glitter Mason Jar Candles
Moderate
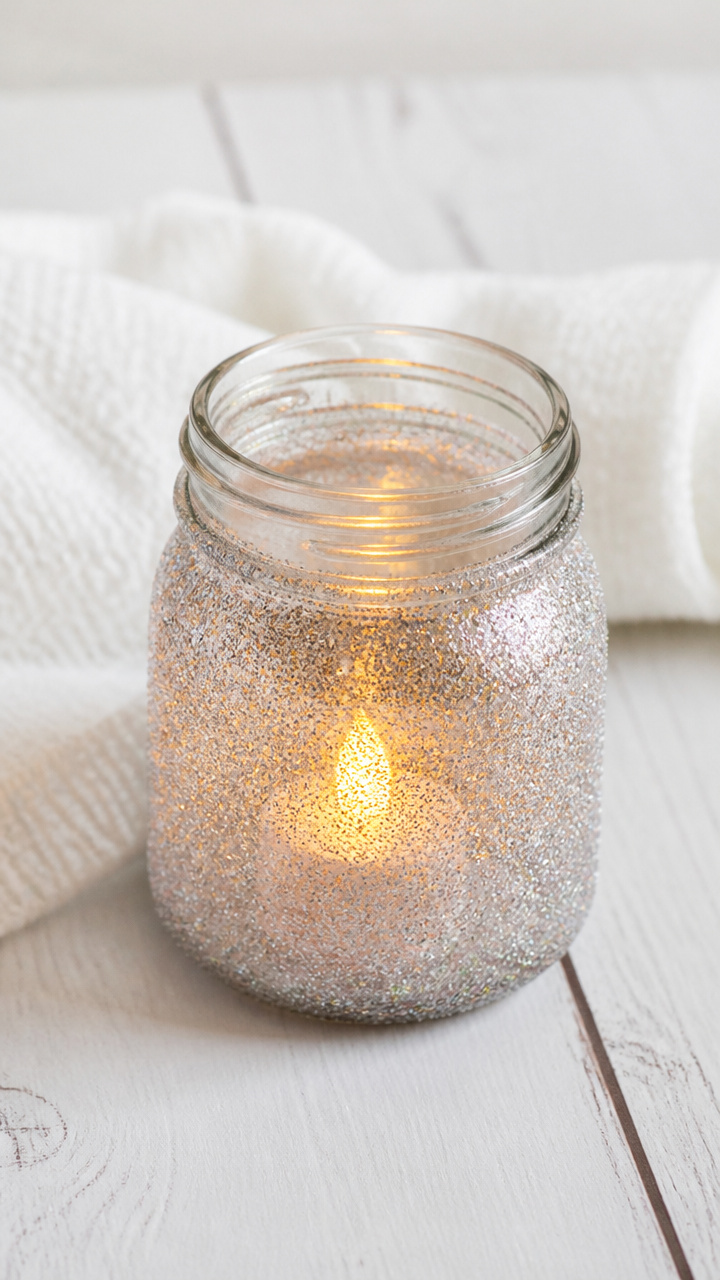
Repurposed jars coated in sparkly glitter, casting a warm, wintry glow.
Materials Needed
- Empty mason jar (4 oz)
- White glue (3 tablespoons)
- Fine silver glitter (2 tablespoons)
- Foam brush
- Tea light candle (battery-operated)
- Paper plate
- Towel
How to Make It
- Wipe the mason jar clean with a towel and let dry completely.
- Pour glue onto the paper plate and dip the foam brush into it.
- Coat the outside of the jar evenly with glue using downward strokes.
- Sprinkle silver glitter over the glued surface, rotating the jar to cover all sides.
- Let dry for 1 hour, then tap off excess glitter over the plate.
- Place the battery-operated tea light inside and turn on for a safe nightlight effect.
16. Felt Snowflake Coasters
Advanced
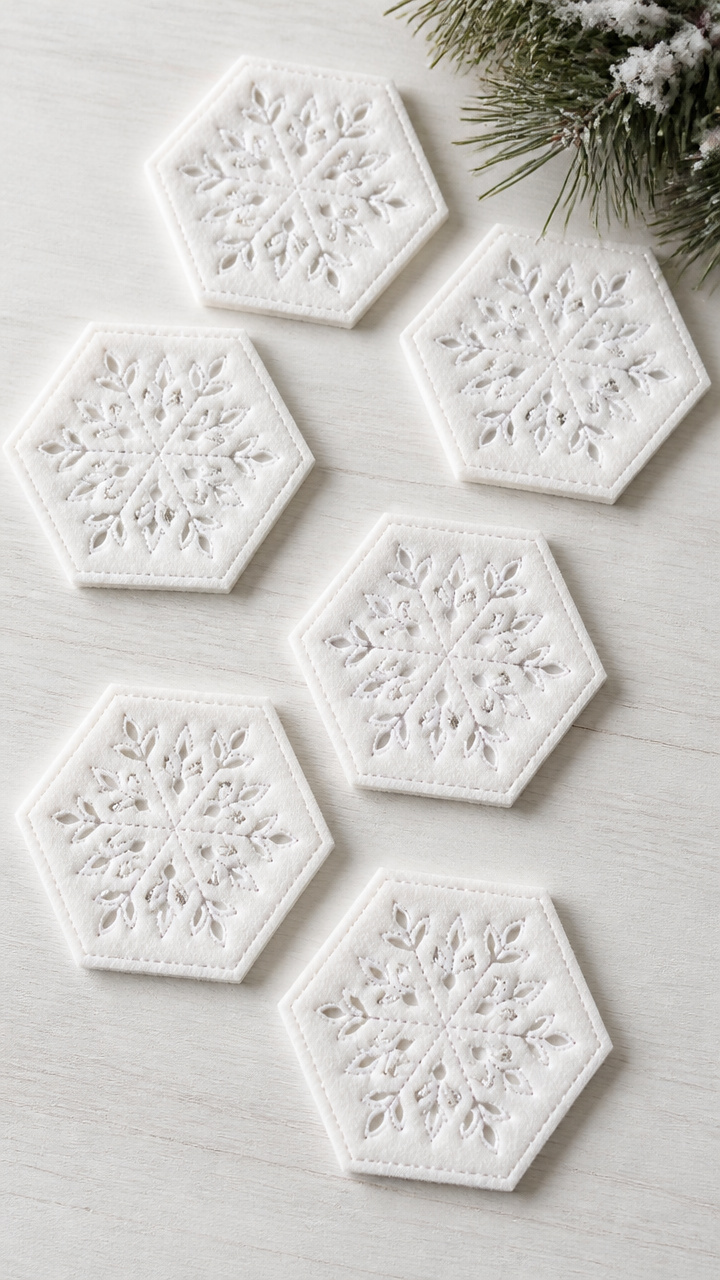
Soft coasters cut and stitched into symmetrical flakes, protecting tables in style.
Materials Needed
- White felt sheet (9 x 12 inches)
- Fabric scissors
- Embroidery needle (size 5)
- White embroidery floss (2-yard strand)
- Hexagon template (4 inches across)
- Pencil
- Straight pins
How to Make It
- Trace the hexagon template onto the felt and cut out six identical shapes.
- Fold each hexagon into sixths to find the center point and mark lightly with pencil.
- Use straight pins to secure layers if stacking, then stitch petal shapes from center outward.
- Create identical cuts between stitches to form open spaces like real snowflakes.
- Trim excess thread and remove pins carefully after completing each coaster.
- Make six total and group together for a winter tablescape.
17. Crayon Melts
Advanced
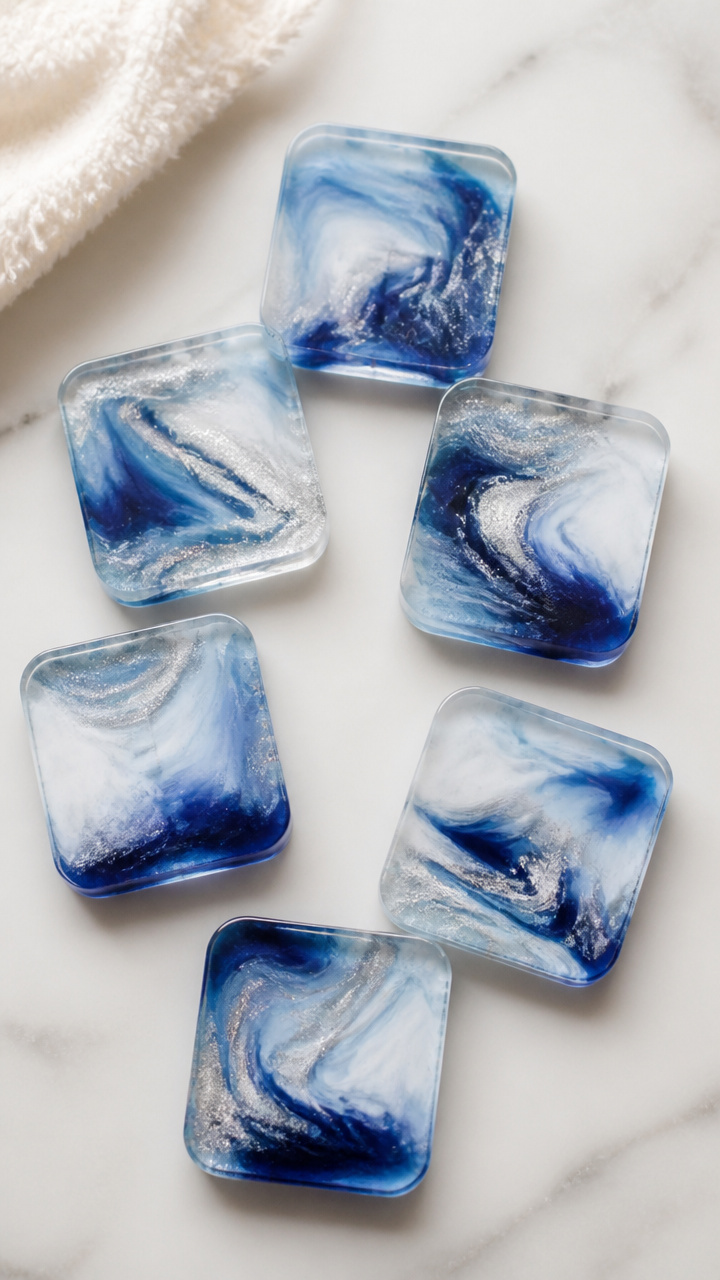
Broken crayon bits melted into icy abstract tiles, capturing color like frozen rain.
Materials Needed
- Old crayons (blue, white, silver, 10 total)
- Muffin tin (silicone, 6-cup)
- Peeler
- Oven
- Baking sheet
- Pot holder
- Pliers (adult use only)
How to Make It
- Preheat oven to 275°F and place silicone muffin tin on a baking sheet.
- Peel paper off crayons and use the peeler to shave thin curls into a bowl.
- Sort curls by color and layer them into each muffin cup, alternating shades.
- Bake for 12 minutes until fully melted and flat on top.
- Let cool for 30 minutes, then pop out tiles using pliers with adult help.
- Display on shelves or use as trivets under mugs.
18. Popsicle Stick Snowshoes
Moderate
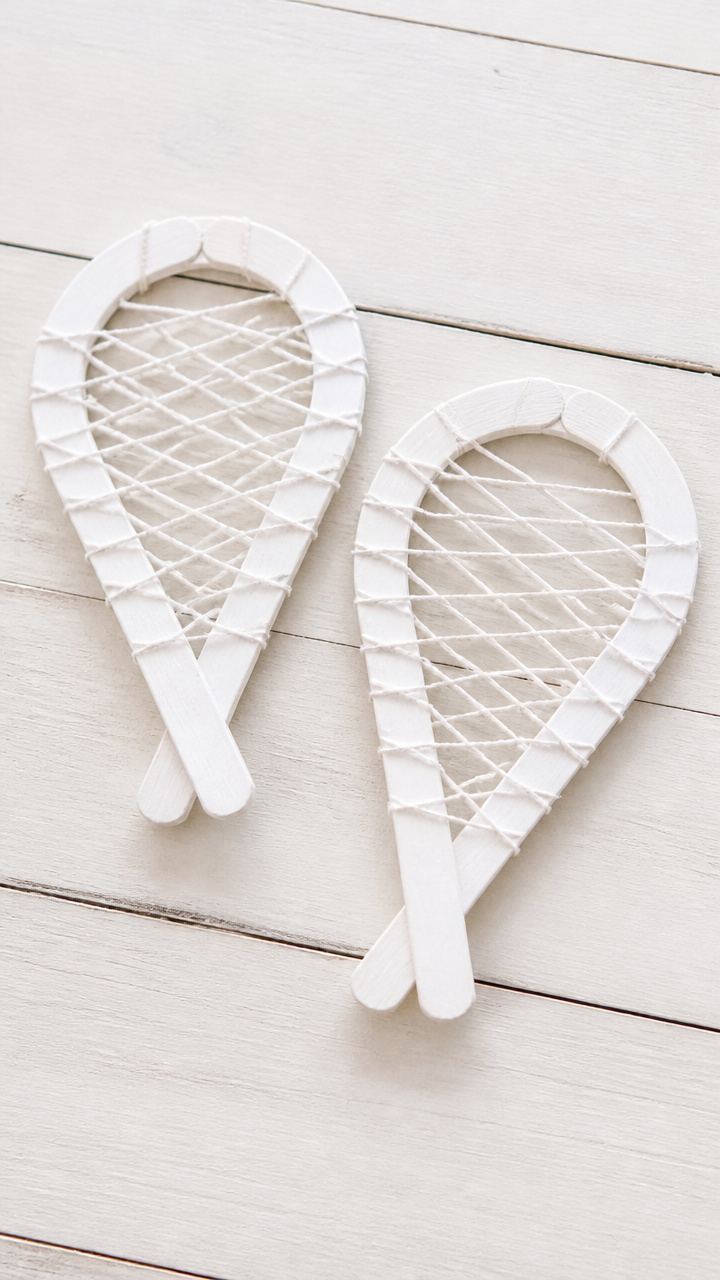
Miniature woven footwear that mirrors real snowshoe lacing, great for dioramas.
Materials Needed
- 4 flat popsicle sticks per snowshoe
- White embroidery floss (1 yard)
- Scissors
- Glue (wood glue)
- Ruler
- Pencil
How to Make It
- Lay two popsicle sticks parallel and glue the ends of two more perpendicularly to form a rectangle.
- Let the frame dry for 20 minutes on a flat surface.
- Cut notches 1/4 inch apart along the inside edges of the long sticks using scissors.
- Tie one end of floss to a corner notch and weave diagonally across to the opposite side.
- Continue weaving back and forth until the frame is fully laced.
- Knot the end securely and trim excess floss with scissors.
19. Edible Glitter Cookies
Advanced
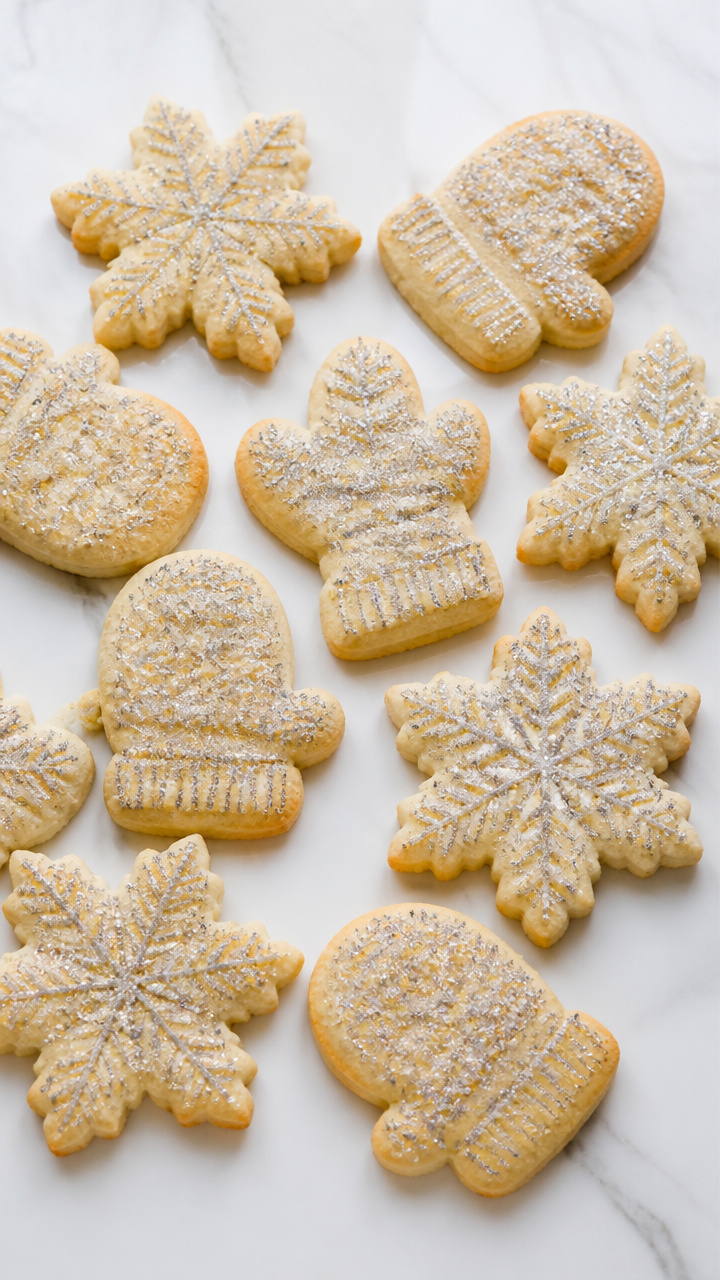
Buttery sugar cookies pressed with sparkly edible dust, safe for little bakers to taste.
Materials Needed
- Sugar cookie dough (homemade or store-bought, 1 cup)
- Cookie cutters (snowflake and mitten shapes)
- Baking sheet
- Parchment paper
- Edible silver glitter (1/2 teaspoon)
- Pastry brush
- Vanilla icing (store-bought, 2 tablespoons)
How to Make It
- Roll dough to 1/4-inch thickness and cut shapes with cookie cutters.
- Place cookies on a parchment-lined baking sheet and bake according to recipe instructions.
- Let cool completely for 1 hour on a wire rack.
- Brush vanilla icing lightly over the top of each cookie.
- Sprinkle edible glitter evenly over the icing using fingertips.
- Let set for 30 minutes before serving or displaying in a jar.
20. Cardstock Polar Bears
Easy
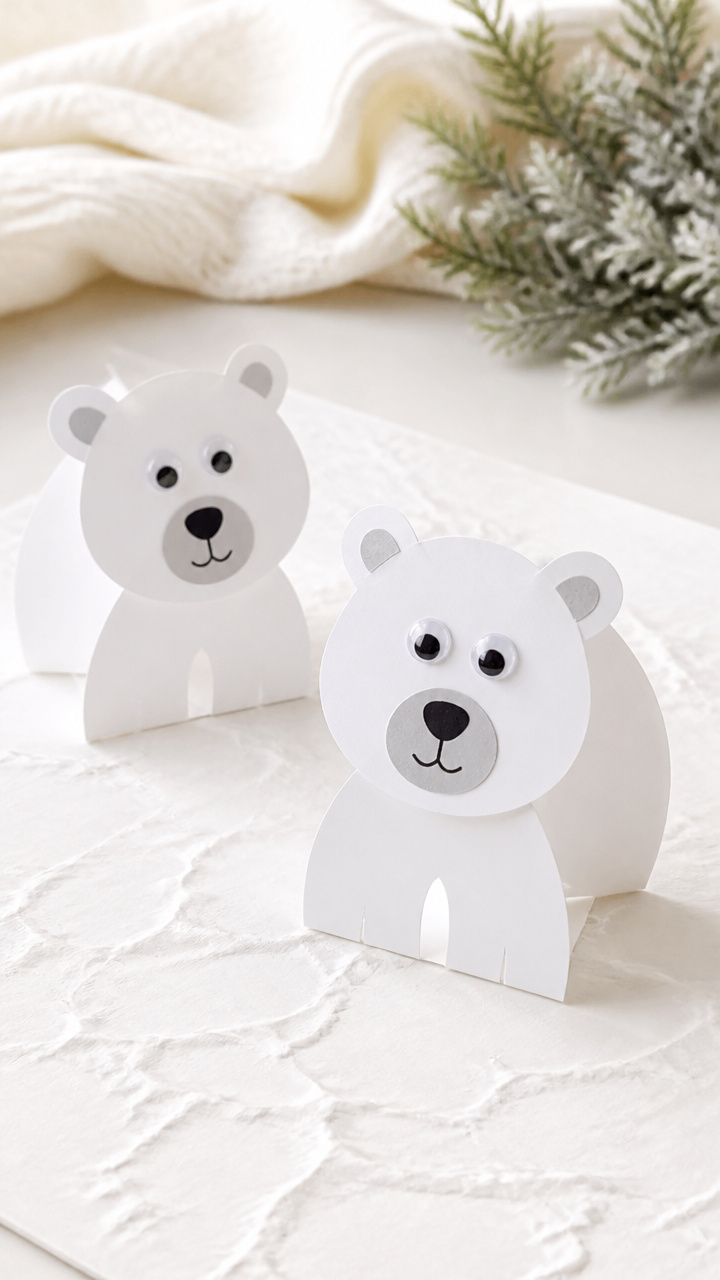
Layered paper bears with dimensional bodies, standing alert against snowy backdrops.
Materials Needed
- White cardstock (8.5 x 11 inches)
- Gray marker (fine tip)
- Scissors
- Glue stick
- Pencil
- Black wiggly eyes (10mm, 2 per bear)
- Cloud stencil (4 inches wide)
How to Make It
- Draw a polar bear silhouette 5 inches tall on white cardstock and cut it out.
- Cut a second identical shape and use the gray marker to shade the nose and eyes lightly.
- Glue the shaded piece directly behind the first, offset slightly to show depth.
- Attach black wiggly eyes to the front layer’s face area.
- Trace the cloud stencil twice below the bear’s feet and cut out for snowy ground.
- Glue the clouds beneath the bear and let dry for 15 minutes before display.
Grab a few supplies and start with the one that makes your child's eyes light up. The best craft is the one that begins with joy and ends with pride.