16 Relaxing Winter Crafts for Adults to Do by the Fire

The soft crackle of flames, a warm blanket, and a mug of tea close at hand—this is the perfect moment to let your hands create something quiet and beautiful. Winter invites slowness, and these crafts meet that stillness with purpose and calm.
Each one fits easily into an evening by the hearth, asking only your attention and returning peace in return. No pressure, no rush, just small acts of making that feel like coming home.
1. Knit a Chunky Infinity Scarf
Easy
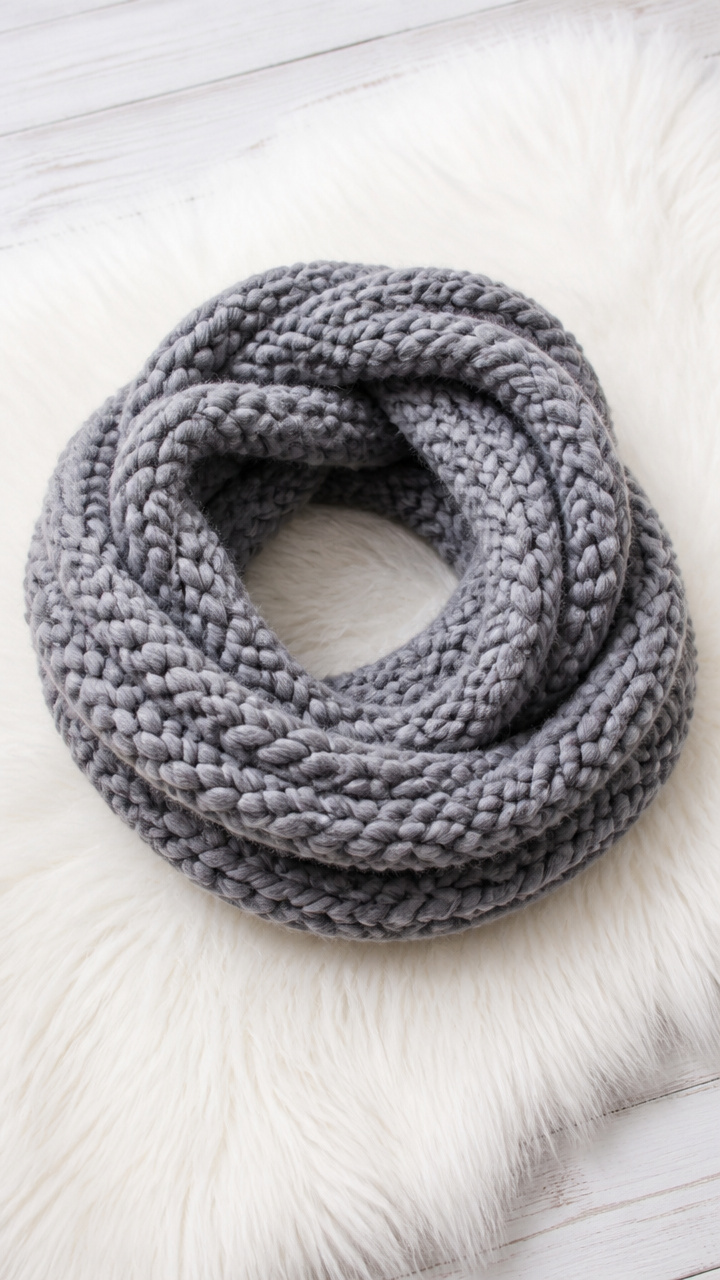
Soft loops of thick yarn wrap twice around the neck, creating a cozy, weighty warmth that feels like a hug. This project moves quickly and rewards every stitch with visible progress.
Materials Needed
- 200 yards bulky merino wool yarn in heather gray
- US size 15 (10 mm) circular knitting needles, 24-inch length
How to Make It
- Cast on 80 stitches loosely onto the circular needles.
- Join in the round, being careful not to twist the stitches, and place a stitch marker.
- Knit every stitch in the round for 60 rows, or until the piece measures 10 inches tall.
- Bind off all stitches loosely, then thread the tail through the last loop and pull tight.
- Sew the two cast-on edges together using the yarn tail and a tapestry needle to form a loop.
2. Press Dried Flower Bookmarks
Moderate
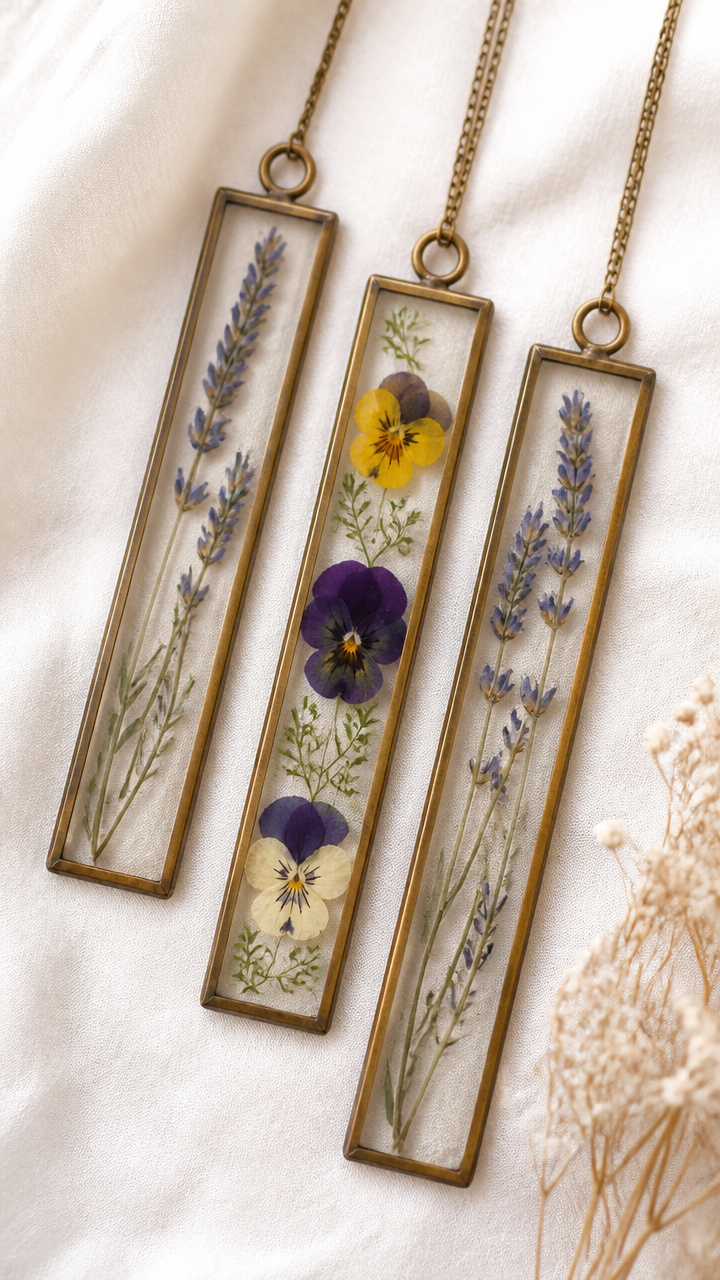
Delicate blooms flattened between glass and sealed in brass frames slide gently between pages, marking your place with quiet elegance. These make thoughtful gifts or personal keepsakes.
Materials Needed
- 10 dried lavender sprigs and pressed pansies
- 6 antique-style brass bookmark frames with glass inserts
- small tweezers
- acid-free glue pen
How to Make It
- Open each brass frame by gently prying apart the metal tabs.
- Use tweezers to position one lavender sprig and one pansy inside the frame over the glass.
- Apply one tiny dot of acid-free glue to the stem base to secure it without shifting the flower.
- Close the frame carefully, pressing the tabs back into place to seal.
- Let sit flat for 30 minutes before use.
3. Carve a Beeswax Candle
Moderate
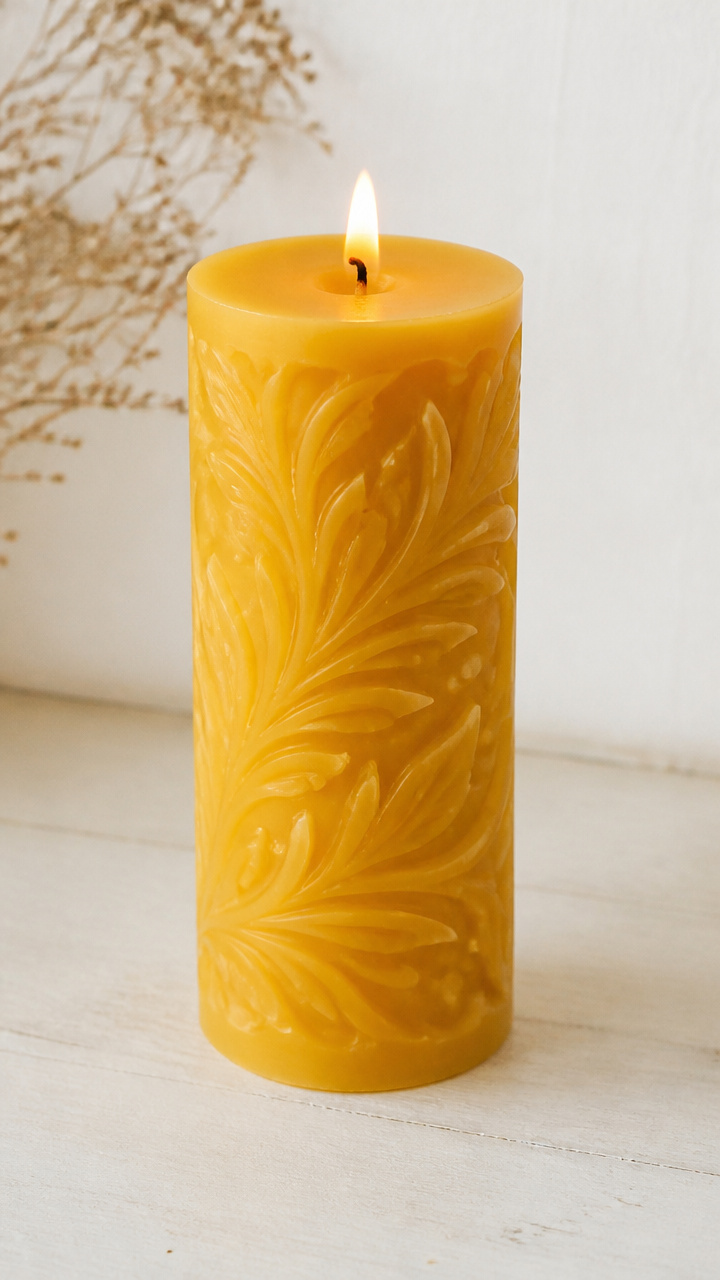
A smooth yellow block of pure beeswax becomes a softly glowing pillar candle with gentle carvings that catch the flame's flicker. The honeyed scent rises as it burns.
Materials Needed
- 1-pound block of natural beeswax
- cotton wick, 6 inches long
- small awl
- paring knife
- metal ruler
- double boiler setup
How to Make It
- Melt 2 tablespoons of beeswax shavings in the double boiler and pour into the center of the block to anchor the wick.
- Push the wick straight down into the melted spot so it stands upright and let it set for 5 minutes.
- Use the ruler to mark a spiral groove starting from the top edge and circling down to the base.
- Carefully carve the groove with the paring knife, removing thin curls of wax as you follow the line.
- Smooth any rough edges with light fingertip pressure while the wax is cool but pliable.
4. Weave a Mini Landscape Wall Hanging
Moderate
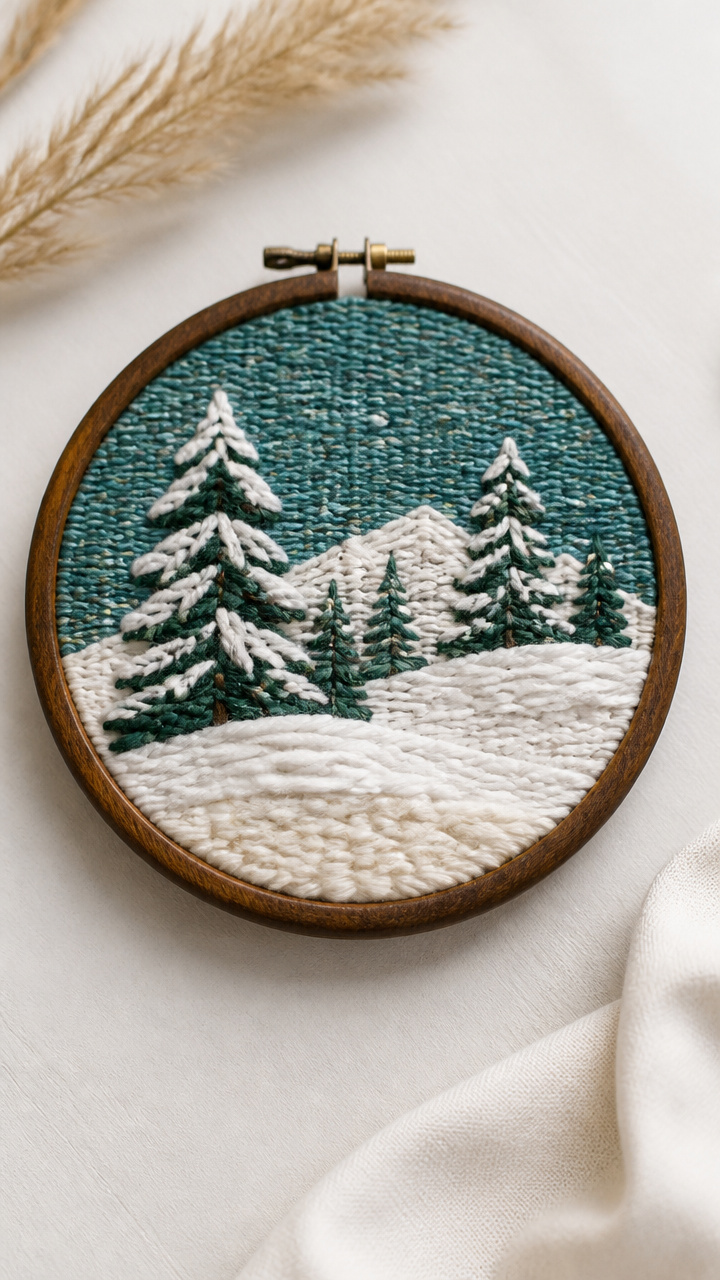
A tiny scene of snowy pines and icy sky emerges on a 6-inch wooden loom using wool and cotton threads. It captures winter light in fiber.
Materials Needed
- 6-inch round walnut loom with pre-wound warp threads
- natural undyed wool roving
- teal cotton embroidery floss
- white wool yarn
- tapestry needle
- small scissors
How to Make It
- Thread the tapestry needle with white wool yarn and weave horizontal rows across the top third of the loom for the sky.
- Switch to teal floss and weave a band of three tight rows below the sky for a distant ridge.
- Pull small tufts of wool roving and felt them into place vertically below the ridge for pine trees.
- Leave the bottom third open-warp to create wispy snowfall strands.
- Cut the backing strings, remove the weaving, and knot the top into a loop for hanging.
5. Paint a Snowy Windowpane Scene
Easy
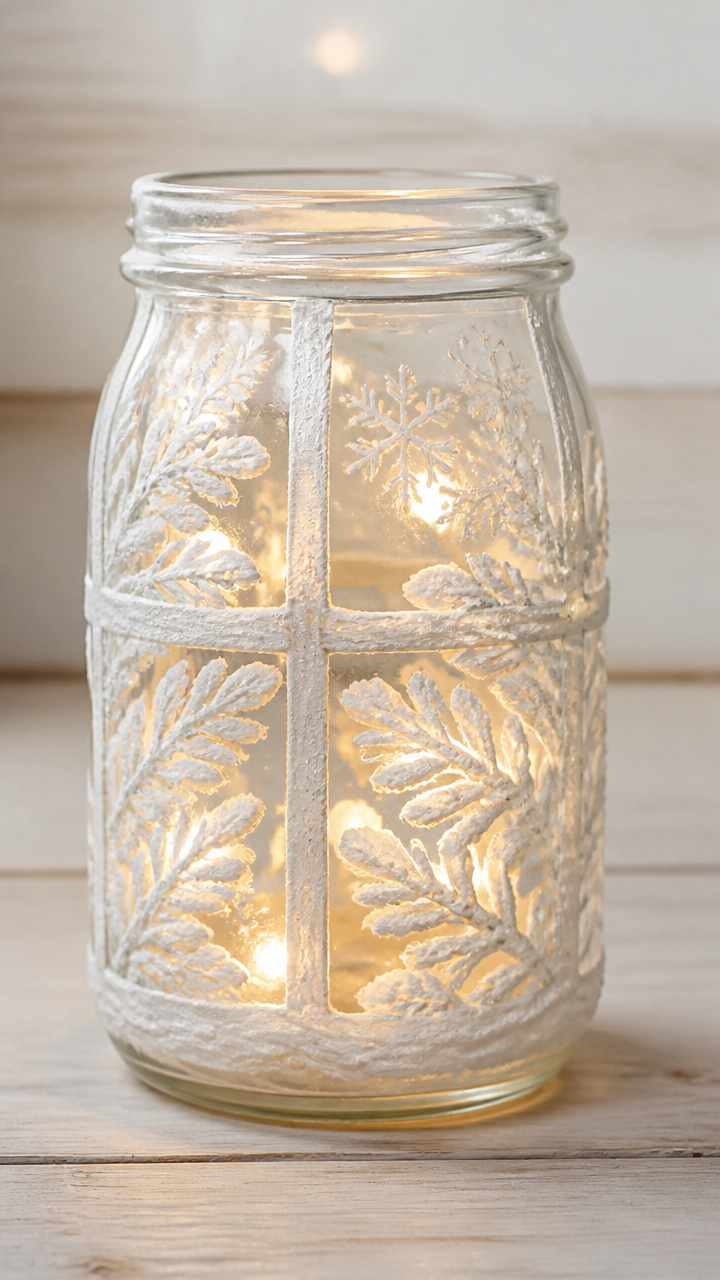
Frosted branches and falling flakes appear on glass using opaque white paint, turning any jar into a miniature winter night. Light shines warmly through from within.
Materials Needed
- 1 clean pint mason jar
- white acrylic enamel paint
- size 2 round paintbrush
- paper towel
- cotton swab
How to Make It
- Wipe the outside of the jar with a dry paper towel to remove oils.
- Dip the brush in white enamel and paint a curved branch along the lower left side of the jar.
- Add short offshoots upward to suggest smaller limbs weighed with snow.
- Use the tip of the brush to dot tiny flecks around the jar for falling snowflakes.
- Let dry completely for 2 hours before placing a tea light inside.
6. Fold Origami Paper Stars
Easy

Five-pointed stars made from stiff metallic paper catch firelight and dangle from twine in a delicate cluster. Each one takes under five minutes.
Materials Needed
- 30 sheets 3×3 inch gold foil origami paper
- clear craft glue
- fine-tip brush
- 1-yard linen twine
How to Make It
- Fold one square in half diagonally to form a triangle, then unfold.
- Fold both bottom corners up to meet at the top point, forming a kite shape.
- Tuck the right flap behind the left along the center crease and press flat.
- Repeat folding and tucking until the strip forms a pentagon shape with a tail.
- Glue the tail end down with a dab of glue applied with the brush, then let dry before stringing on twine.
7. Embroider a Felt Mug Cozy
Moderate

A snug sleeve of slate-blue wool felt wraps around your favorite mug, stitched with a single curling snowflake in silver thread. It stays warm to the touch.
Materials Needed
- 8×4 inch rectangle wool felt in slate blue
- embroidery hoop, 6 inches
- silver metallic embroidery floss
- size 7 embroidery needle
- fabric glue
- ruler
- chalk marking pencil
How to Make It
- Place the felt in the embroidery hoop and tighten the screw to stretch it taut.
- Use the chalk pencil to draw a six-pointed snowflake lightly in the center.
- Thread the needle with 18 inches of silver floss and tie a knot at the end.
- Stitch the design using lazy daisy and straight stitches, following the chalk lines.
- Remove from the hoop, fold in half widthwise, and glue the short edges together with fabric glue, leaving the top open.
8. Layer a Birch Bark Journal
Advanced
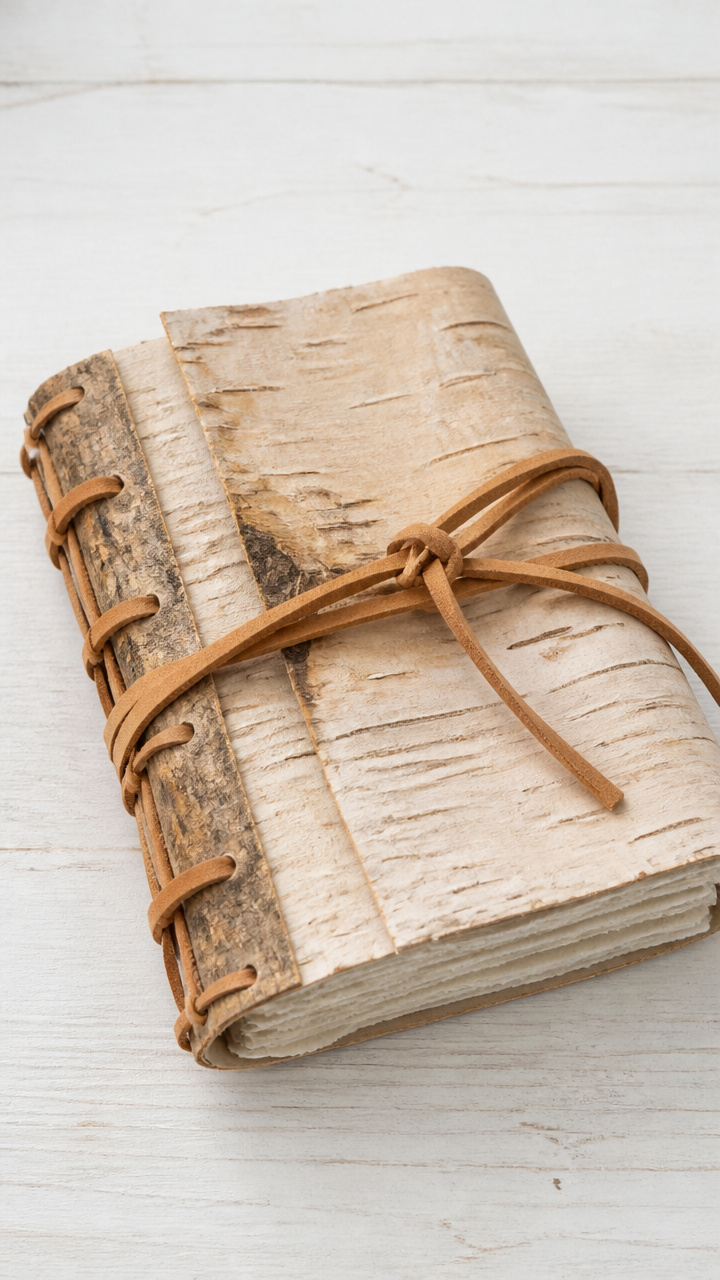
Peeling strips of real birch bark bind around handmade paper pages with leather thong, creating a journal that smells of forest and holds quiet thoughts.
Materials Needed
- 4 sheets A5 handmade cream paper
- birch bark sheet, 8×6 inches
- vegetable-tanned leather lace, 36 inches long
- hole punch
- awl
- bone folder
How to Make It
- Stack the paper sheets and fold in half to form a booklet, creasing sharply with the bone folder.
- Punch two holes through the fold using the hole punch, spaced 1 inch from top and bottom.
- Trace the folded booklet onto the birch bark and cut out the cover with scissors.
- Use the awl to pierce matching holes through the bark cover at the same positions.
- Thread the leather lace through the holes and tie a square knot at the front to bind.
9. Make Salt Dough Ornaments
Easy
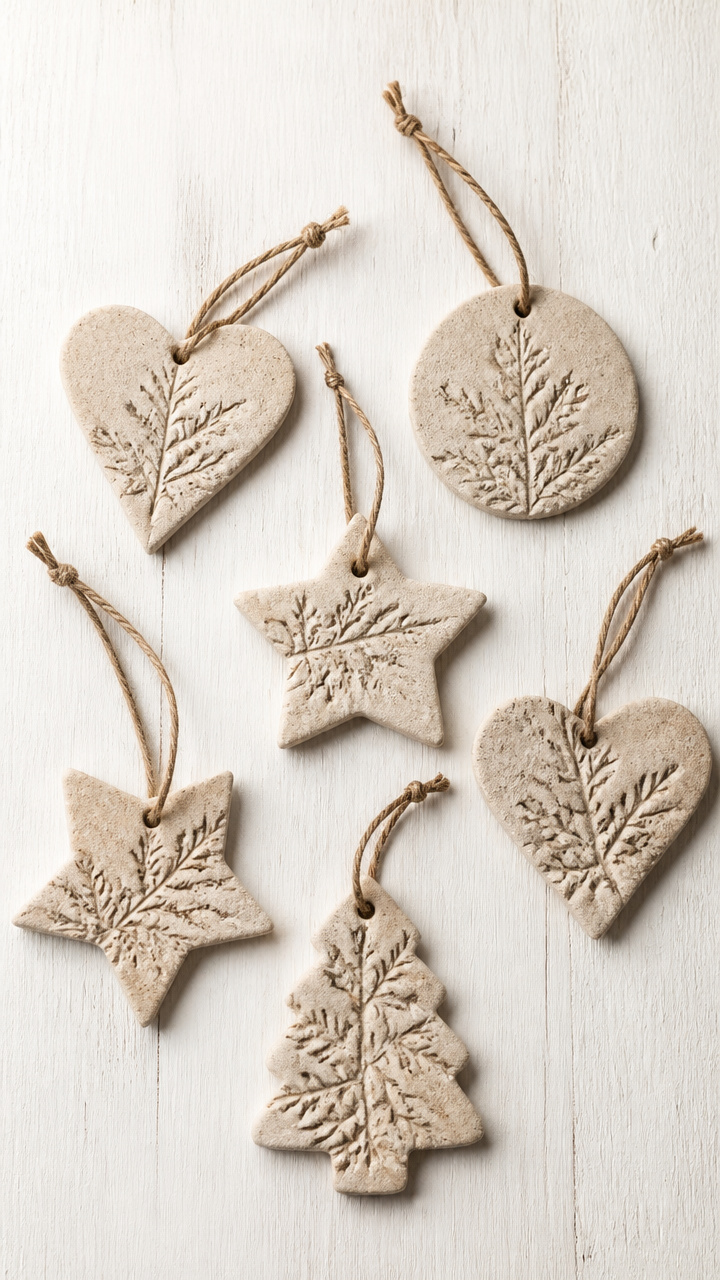
Simple shapes rolled flat and baked until hard become rustic decorations stamped with evergreen sprigs and tied with twine. They smell faintly of the oven when fresh.
Materials Needed
- 1 cup all-purpose flour
- 1/2 cup table salt
- 1/2 cup water
- evergreen sprig
- rolling pin
- straw
- baking sheet
- parchment paper
- red cotton cord, 12 inches per ornament
How to Make It
- Mix flour, salt, and water in a bowl until a smooth dough forms, kneading briefly on a floured surface.
- Roll the dough to 1/4 inch thickness using the rolling pin.
- Press the evergreen sprig into the dough and lift to leave an imprint.
- Cut around the shape with a knife and poke a hole at the top with the straw.
- Bake on the parchment-lined sheet at 200°F for 3 hours, then thread cord through the hole.
10. Quilt a Lap Blanket Square
Moderate
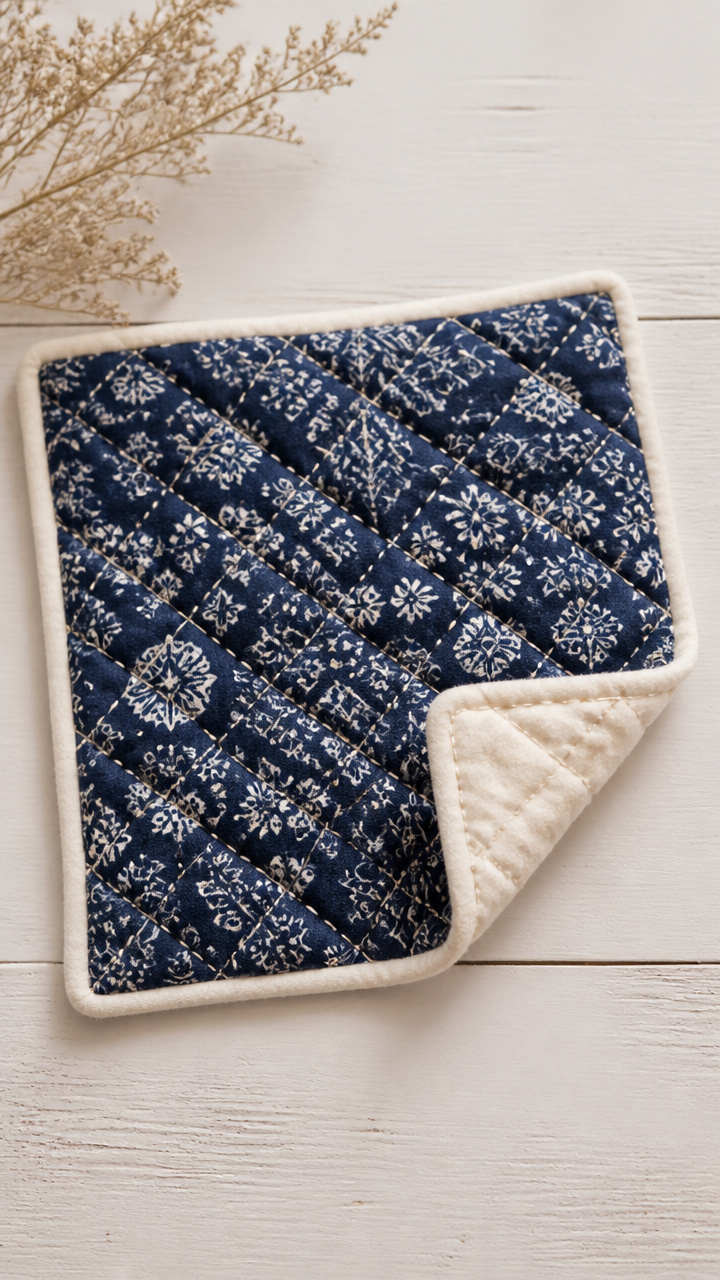
One richly patterned patch of navy cotton and ivory flannel joins future squares into a larger throw. Sewing by hand makes the rhythm soothing.
Materials Needed
- 10×10 inch navy cotton print fabric
- 10×10 inch ivory flannel backing
- quilting thread in cream
- sharps needle size 8
- quilting hoop, 10 inches
- tracing paper
- water-soluble fabric marker
How to Make It
- Place the tracing paper between the cotton and flannel layers and secure in the quilting hoop.
- Use the fabric marker to draw concentric diamond rings from the center outward.
- Thread the needle with 18 inches of cream thread and knot the end.
- Begin at the center and follow the lines with small running stitches, keeping tension even.
- Complete one square per session, removing from the hoop and storing flat when done.
11. Build a Pinecone Bird Feeder
Easy
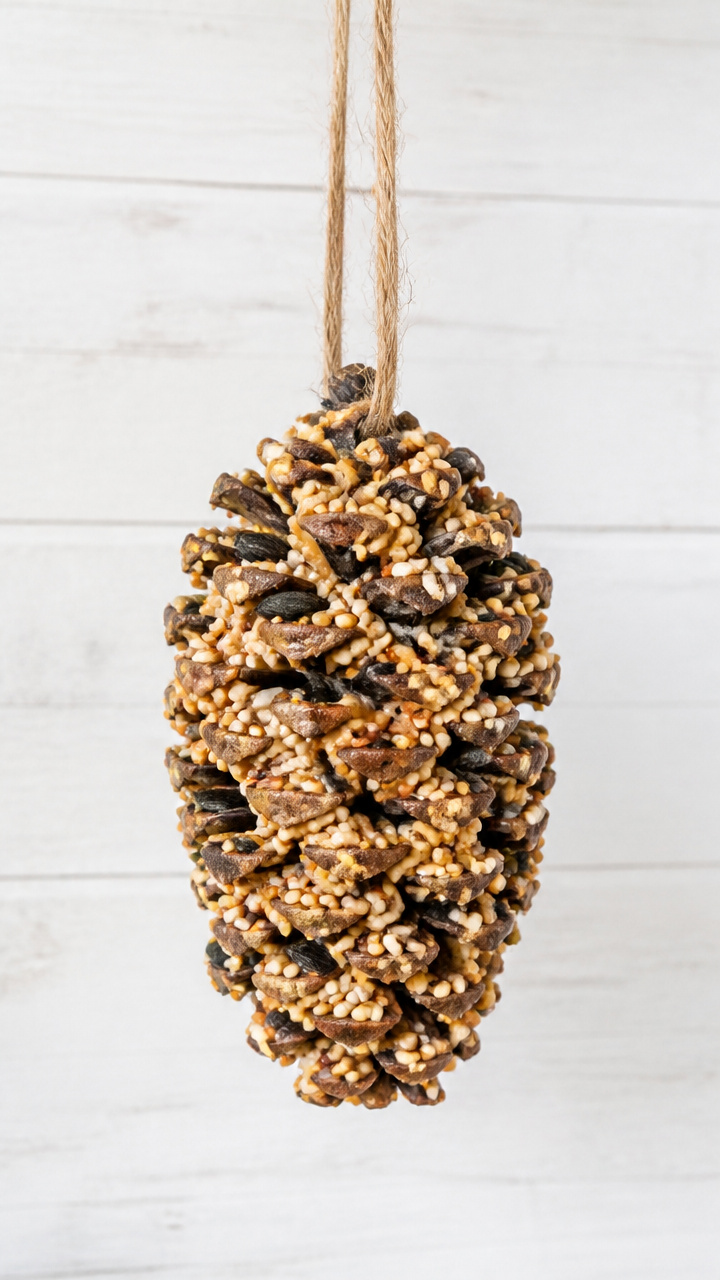
A full pinecone packed with peanut butter and seeds hangs from a porch rafter, bringing movement and song to the quiet winter yard. Watching it fills slow mornings.
Materials Needed
- 1 large closed pinecone
- 1/2 cup creamy peanut butter
- 1 cup mixed birdseed
- 12-inch hemp twine
- butter knife
- shallow bowl
How to Make It
- Tie the hemp twine securely around the pinecone's top scales to form a hanger.
- Spread peanut butter into the crevices using the butter knife, covering all surfaces.
- Pour birdseed into the bowl and roll the coated pinecone until fully covered.
- Place outside in a shaded spot to set for 1 hour before hanging.
- Hang from a tree branch where birds visit regularly.
12. Cast Soy Wax Tea Lights
Moderate
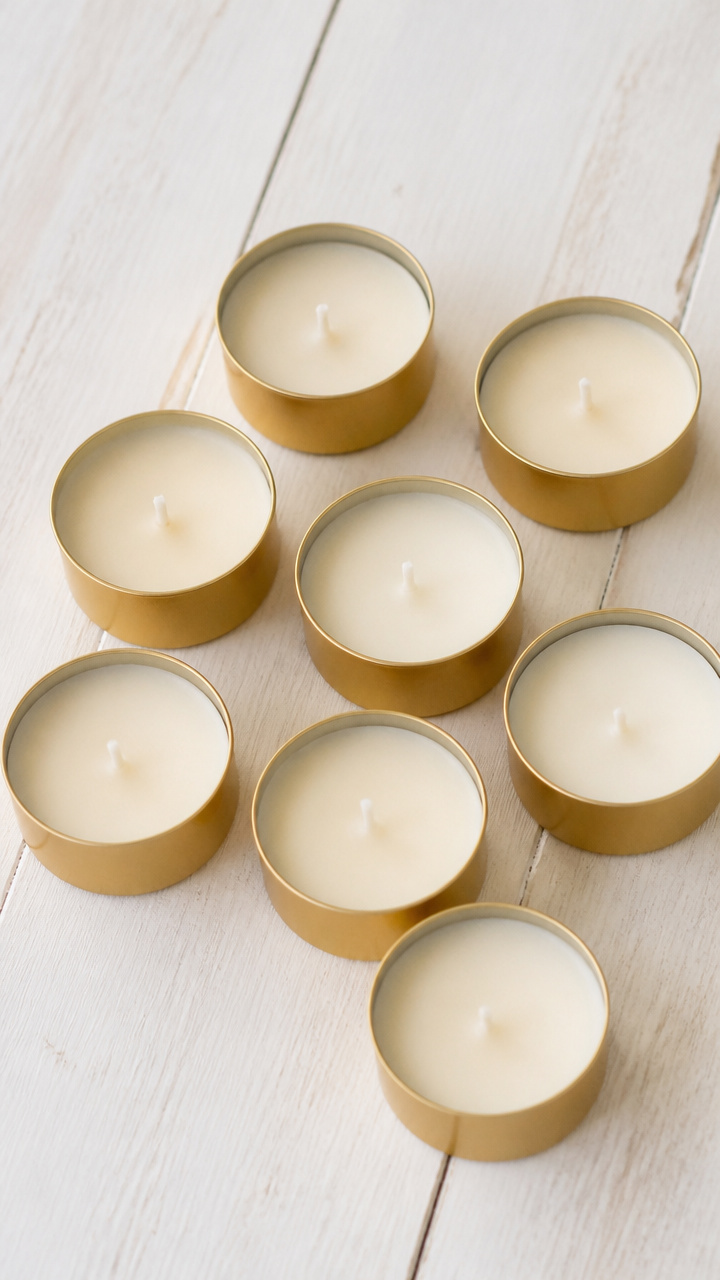
Small golden cups of soy wax burn evenly and cleanly, their glow steady and kind. Pouring them is meditative, one at a time.
Materials Needed
- 8 aluminum tea light cups
- 10 ounces soy wax flakes
- 8 pre-wicked tea light bases
- double boiler
- digital thermometer
- dropper
How to Make It
- Melt the soy wax in the double boiler, stirring gently until fully liquid.
- Monitor the temperature with the thermometer and remove from heat at 170°F.
- Place the wicks in the center of each tea light cup.
- Use the dropper to fill each cup slowly with wax, stopping 1/8 inch from the top.
- Let cool undisturbed for 4 hours until solid and opaque.
13. Stitch a Linen Potholder
Moderate
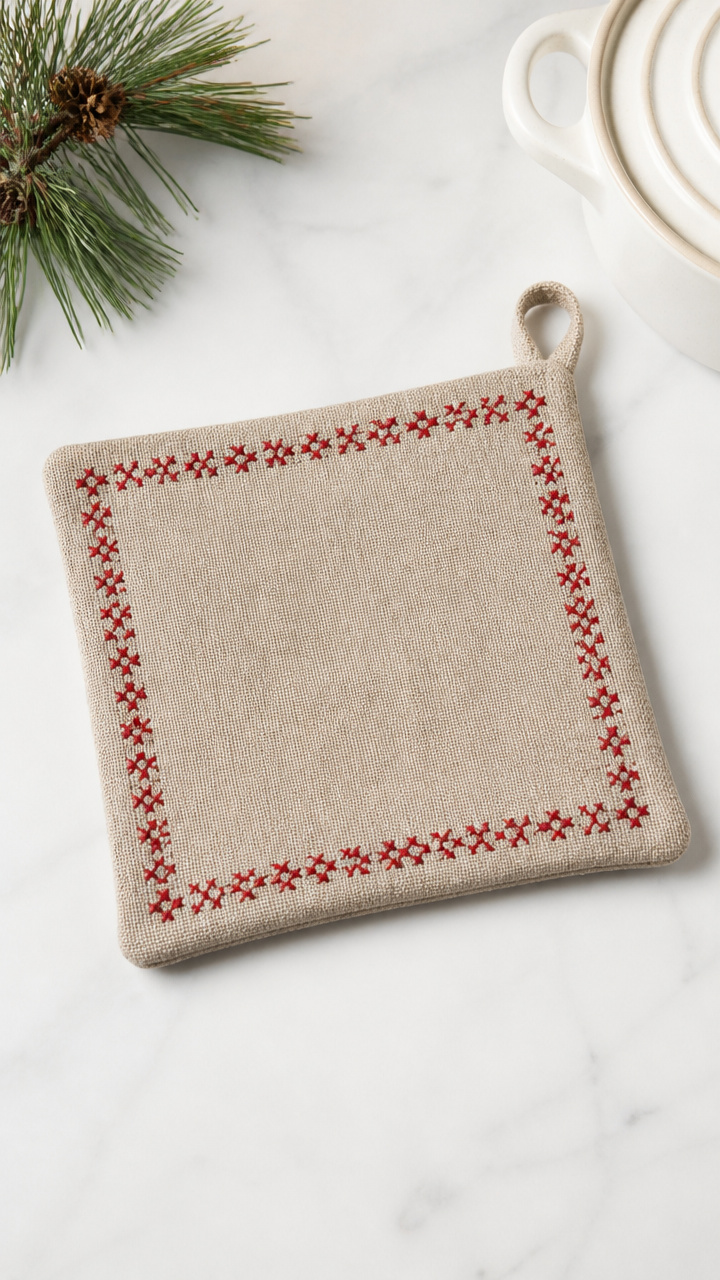
Two layers of heavy linen sandwich insulated batting, edged with red cross-stitch that withstands oven heat. Useful and handmade, it rests neatly on the counter.
Materials Needed
- two 7×7 inch squares natural linen fabric
- one 7×7 inch square insulating batting
- red embroidery floss
- sharp sewing needle
- all-purpose thread
- sewing machine
How to Make It
- Layer the batting between the two linen squares and pin around the edges.
- Sew around the perimeter using the sewing machine with a 1/2 inch seam allowance.
- Turn the potholder right side out through a 2-inch gap left on one side.
- Press flat with an iron, then fold the raw edges inward and pin closed.
- Hand-stitch red cross-stitches in a grid pattern across the front using embroidery floss.
14. Create a Resin Snow Globe Pendant
Advanced
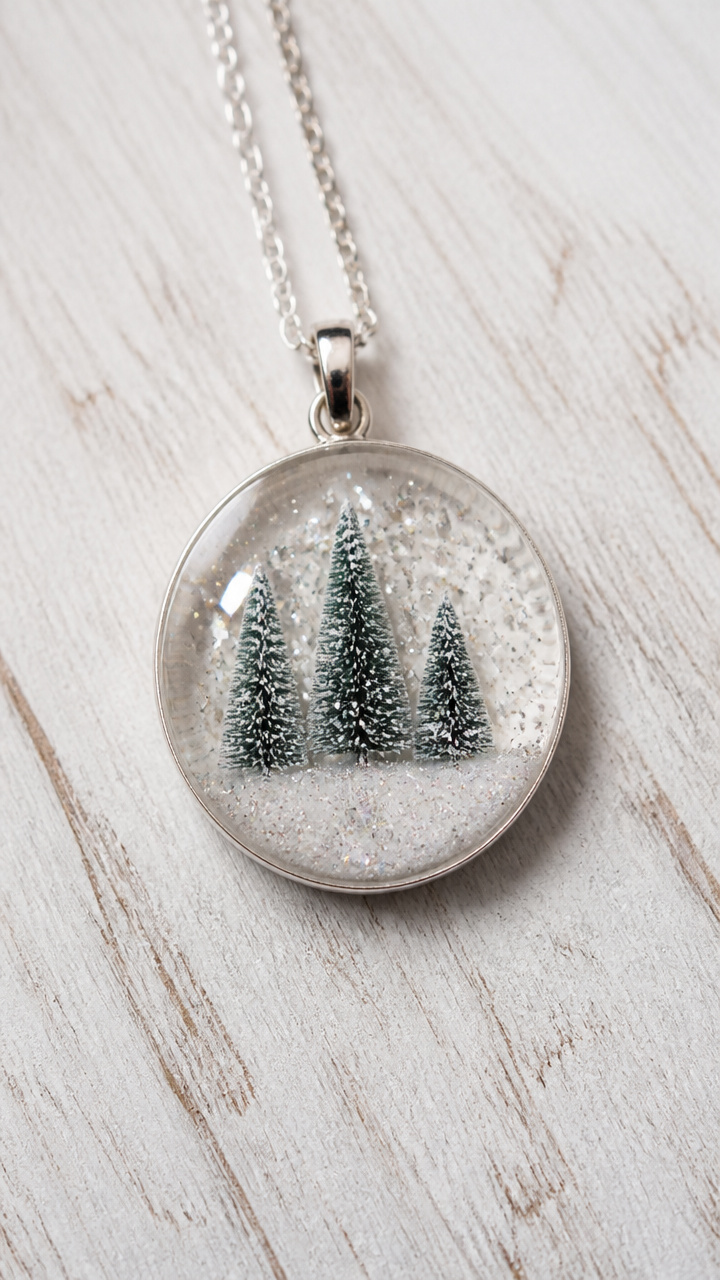
A tiny world of glitter and micro pine trees floats inside a glass cabochon, worn close to the heart. Tilting it sends a soft sparkle swirling.
Materials Needed
- glass dome cabochon, 18mm
- clear epoxy resin kit
- fine silver glitter
- 3 miniature evergreen trees, 3mm tall
- jewelry glue
- tweezers
- mixing cups
- disposable gloves
How to Make It
- Put on gloves and mix resin according to package directions in a small cup.
- Place the trees inside the cabochon dome using tweezers, arranging in a small cluster.
- Sprinkle a pinch of silver glitter over the base to look like snow.
- Slowly pour resin into the dome, filling it completely without bubbles.
- Let cure face-up for 12 hours, then glue a bail to the back with jewelry glue.
15. Crochet a Wool Hat Brim
Moderate
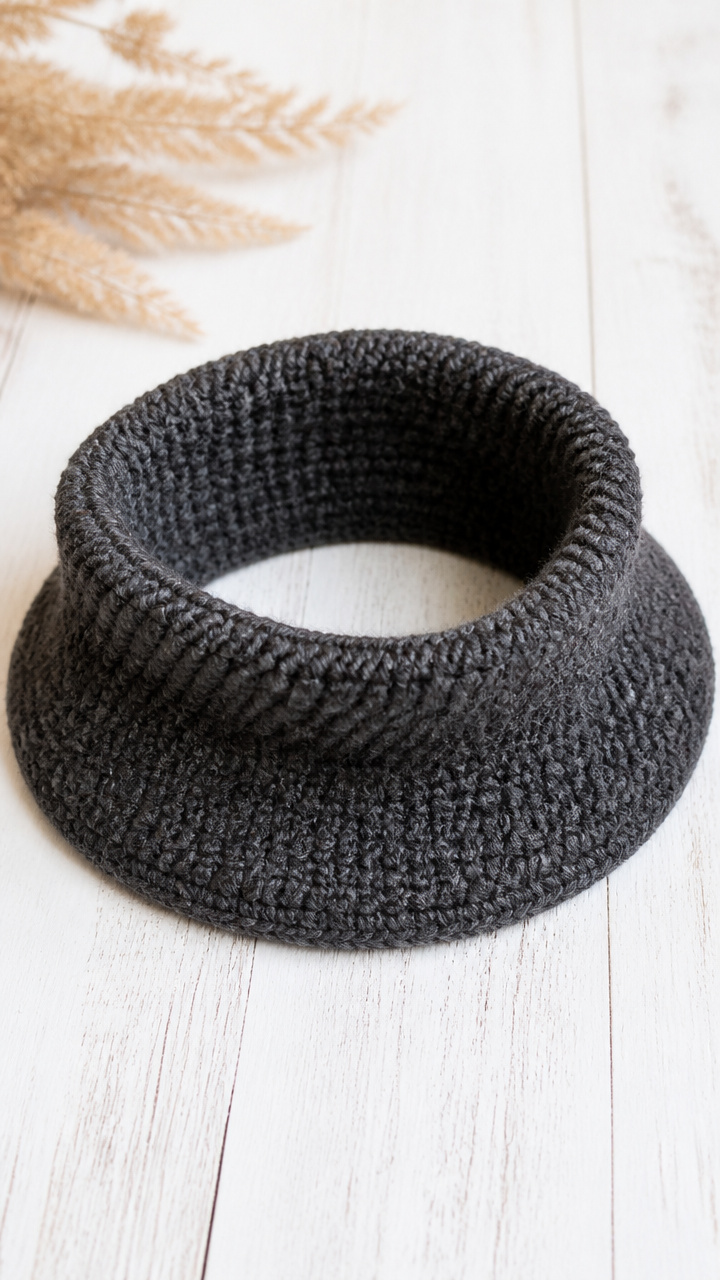
A wide, foldable brim in charcoal gray wool adds drama to any winter hat. The rhythmic single crochet soothes busy thoughts.
Materials Needed
- 100 yards worsted weight wool yarn in charcoal gray
- 5.5 mm crochet hook
- stitch marker
How to Make It
- Chain 70 stitches loosely with the wool yarn.
- Join with a slip stitch to form a ring, placing the stitch marker to mark the start.
- Work one single crochet in each chain around for 20 rounds.
- Move the marker up each round to track progress.
- Fasten off and weave in the tail with the hook.
16. Assemble a Scented Wood Slice Display
Easy
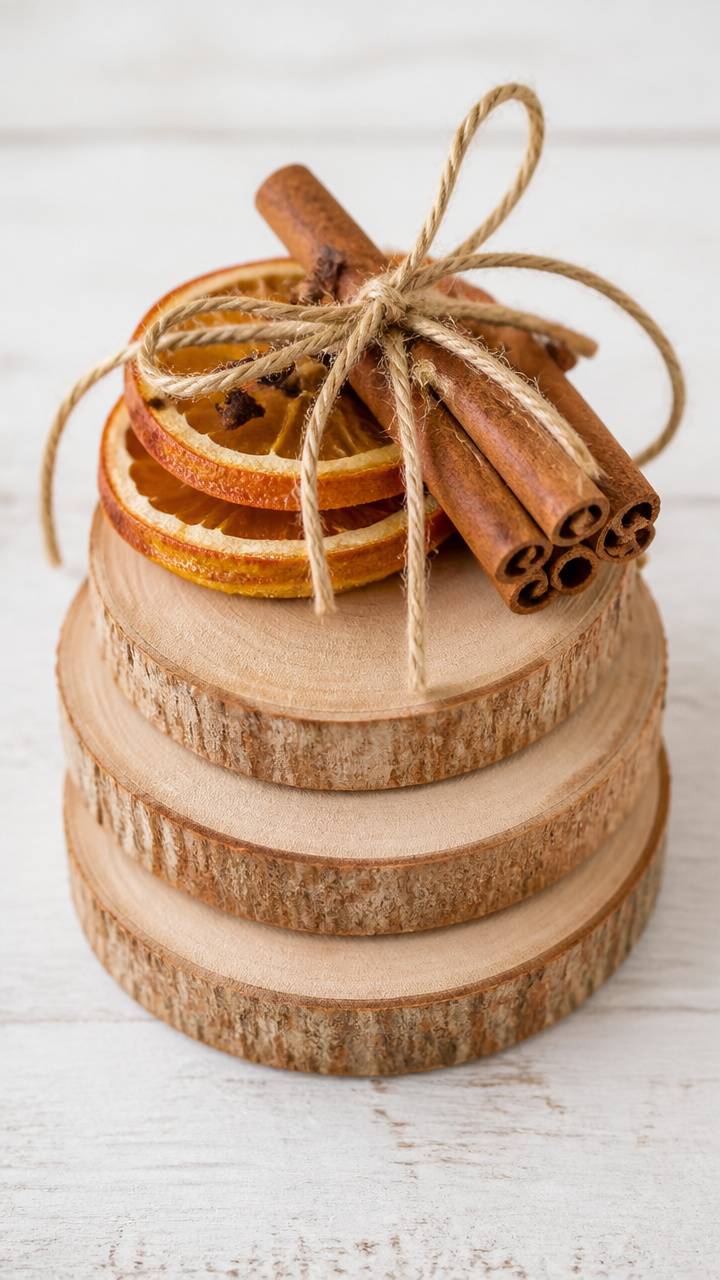
Three sanded maple slices stacked with cinnamon sticks and clove pomanders bring spice and grainy texture to a coffee table. Turn them to refresh the scent.
Materials Needed
- 3 maple wood slices, 4 inches diameter, 1/2 inch thick
- 6 cinnamon sticks, 3 inches long
- 6 whole cloves
- 1 orange, thinly sliced and dried overnight
- natural twine, 18 inches
How to Make It
- Lay the largest slice on a flat surface and arrange three cinnamon sticks evenly across the top.
- Place the second slice on top, then add three more cinnamon sticks rotated 60 degrees.
- Press cloves into the edges of the middle slice to help hold layers in place.
- Set the smallest slice on top and tuck dried orange slices beneath its rim.
- Wrap twine once around the stack and tie in a loose knot at the front.
Let the fire guide your pace and your hands find their own rhythm. One simple craft at a time, you're weaving warmth into the season.