15 Budget-Friendly Garden Crafts Using Items From Your Recycling Bin

Every gardener knows the satisfying feeling of finding a clever use for household items that would otherwise end up in the trash. Your recycling bin holds a surprising collection of practical gardening supplies, from seed starters to durable pest barriers.
Setting up a thriving green space does not require buying expensive plastic gadgets from big-box stores. With basic tools from around the house, you can turn everyday discarded containers and paper goods into sturdy, hard-working garden tools that save money and reduce waste.
1. Soda Can Embossed Plant Markers
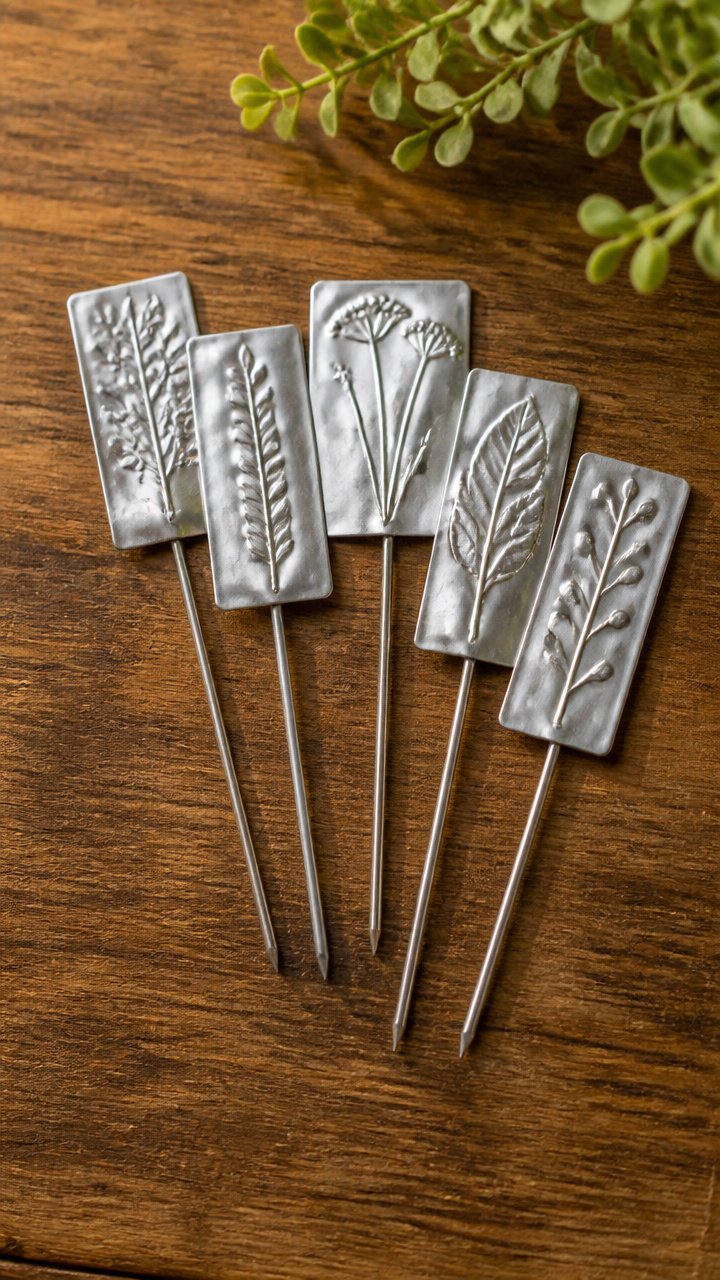
Shiny aluminum from empty beverage cans creates weatherproof, permanent plant markers that never fade in the sun. You will get shiny labels that hold plant names clearly through rain, wind, and frost.
Materials Needed
- 3 clean aluminum soda cans
- 1 pair of heavy-duty kitchen shears
- 1 standard ballpoint pen
- 1 wooden ruler
- 1 roll of 16-gauge copper craft wire
How to Make It
- Cut the top and bottom rims off each clean soda can using heavy-duty kitchen shears to create a flat metal rectangle.
- Trim the metal sheet into strips measuring one inch wide by six inches long with your shears.
- Place a metal strip on top of a soft surface like a notebook, then press firmly with a ballpoint pen to write the plant name into the metal.
- Punch a small hole at the top of the strip with a nail, thread six inches of copper wire through, and secure it around your plant stake.


2. Two-Liter Bottle Self-Watering Planters
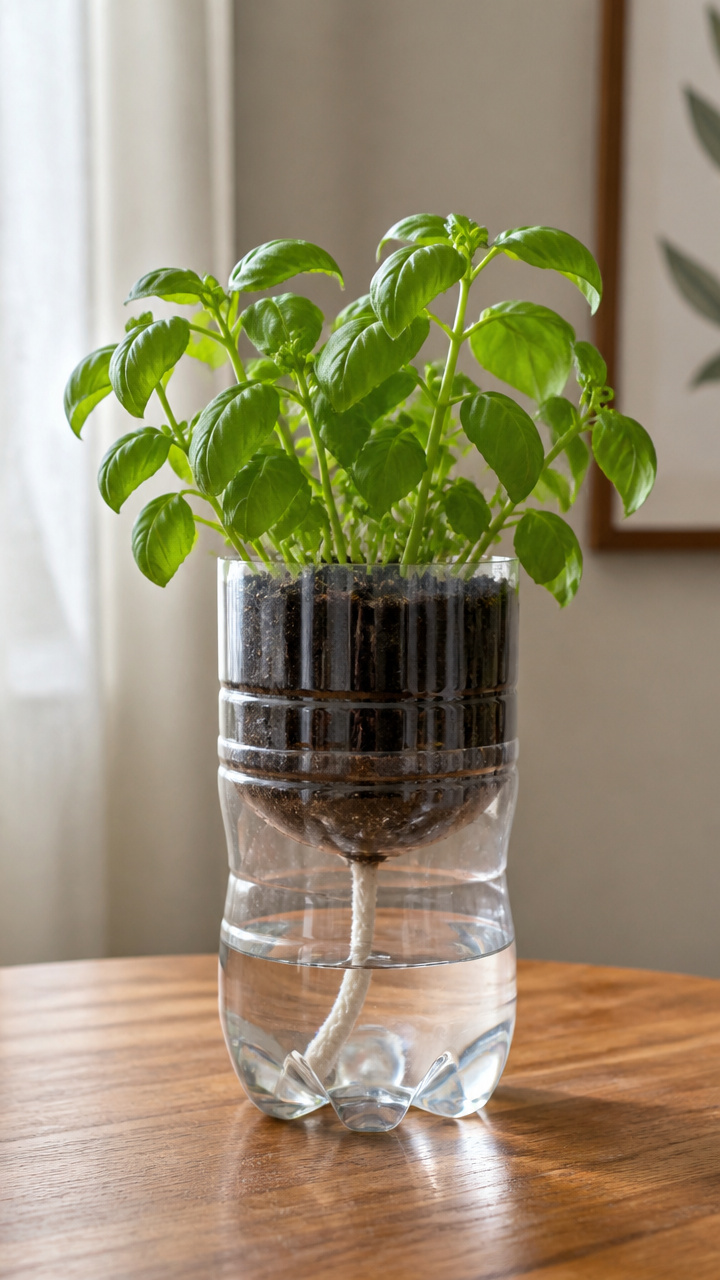
Clear plastic soda bottles provide constant bottom-wicking moisture for thirsty indoor herbs and tender seedlings. This design gives your plants steady hydration without risk of root rot or underwatering.
Materials Needed
- 2 clean 2-liter clear plastic soda bottles
- 1 utility knife
- 1 piece of 100 percent cotton yarn measuring 12 inches
- 2 cups of lightweight potting soil
- 1 small square of scrap cotton fabric measuring 2 by 2 inches
How to Make It
- Slice around the center of the clean plastic bottle with a utility knife, separating the bottle into a top funnel section and a bottom reservoir base.
- Poke a quarter-inch hole directly through the center of the bottle cap using a hammer and nail, then screw the cap back onto the funnel section.
- Thread the twelve-inch cotton yarn through the cap hole so six inches hang down and the rest rests inside the funnel, covered by the cotton fabric square.
- Invert the funnel section upside down inside the base, fill the top with potting soil, and fill the lower base with water until the yarn is submerged.


3. Wine Cork Seed Spacing Ruler
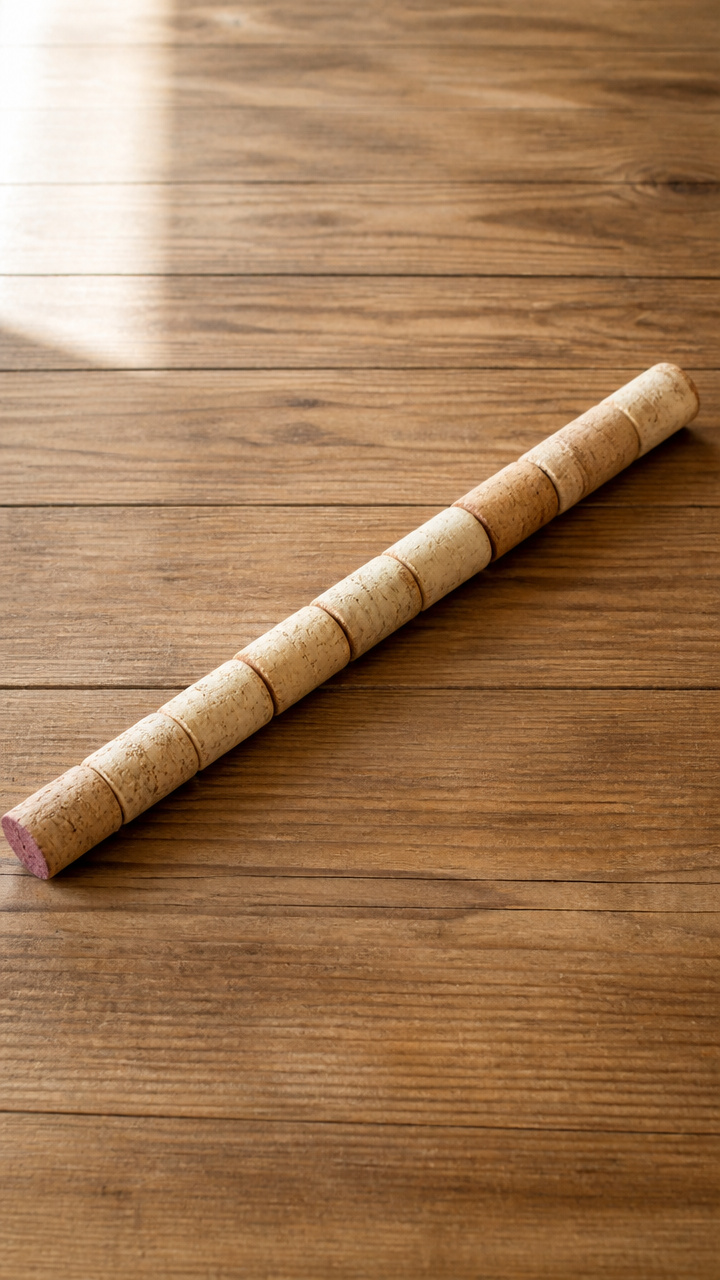
Natural corks attached to a simple wooden strip create an accurate dibber tool for planting perfectly spaced vegetable seeds. You will save hours of thinning out crowded seedlings later in the growing season.
Materials Needed
- 6 natural whole wine corks
- 1 wooden yardstick measuring 24 inches
- 1 tube of waterproof construction adhesive
- 1 fine-tip black permanent marker
- 1 measuring tape
How to Make It
- Mark intervals at two inches, four inches, and six inches along the flat edge of your wooden yardstick using a measuring tape and permanent marker.
- Apply a dime-sized dab of waterproof construction adhesive to the flat end of each wine cork.
- Press the corks firmly onto the marked measurements on your wood strip and hold them in place for sixty seconds.
- Allow the adhesive to cure completely for 24 hours before pressing the cork ends into prepared garden soil to create neat seed holes.
4. Egg Carton Succulent Propagator
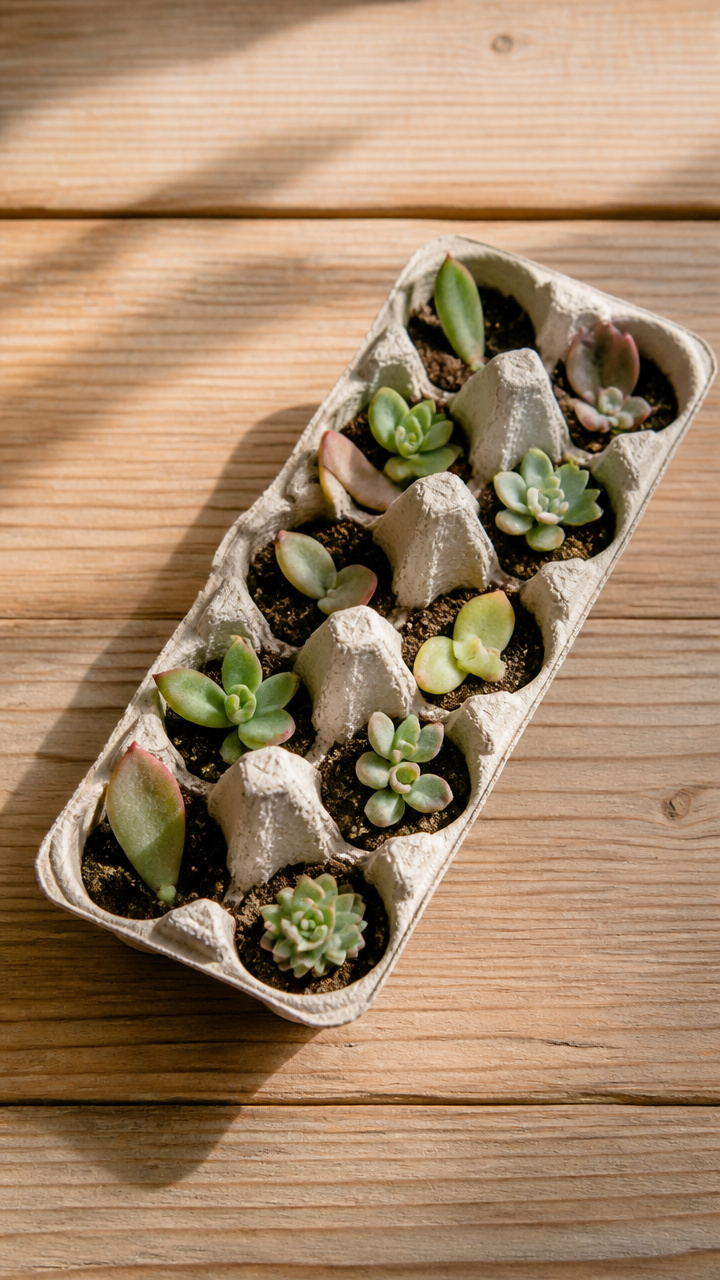
Molded paper pulp cartons absorb excess moisture and provide individual shallow cells for rooting succulent leaf cuttings. You will establish dozens of healthy baby succulents without dealing with stagnant water or stem rot.
Materials Needed
- 2 clean cardboard 12-count egg cartons
- 3 cups of gritty cactus and perlite potting mix
- 24 healthy succulent leaf cuttings
- 1 hand-held spray mister bottle filled with water
How to Make It
- Cut the hinged lid off the egg carton and nest the cup section directly inside the lid to create a sturdy double-layer base.
- Fill each individual egg pocket with the gritty cactus and perlite mix until level with the top rim.
- Lay one succulent leaf flat on top of the soil in each cell, ensuring the calloused stem end touches the potting mix lightly.
- Mist the soil surface with water once per week using your spray bottle, placing the carton in bright indirect sunlight until roots appear.


5. Glass Jam Jar Hanging Lanterns
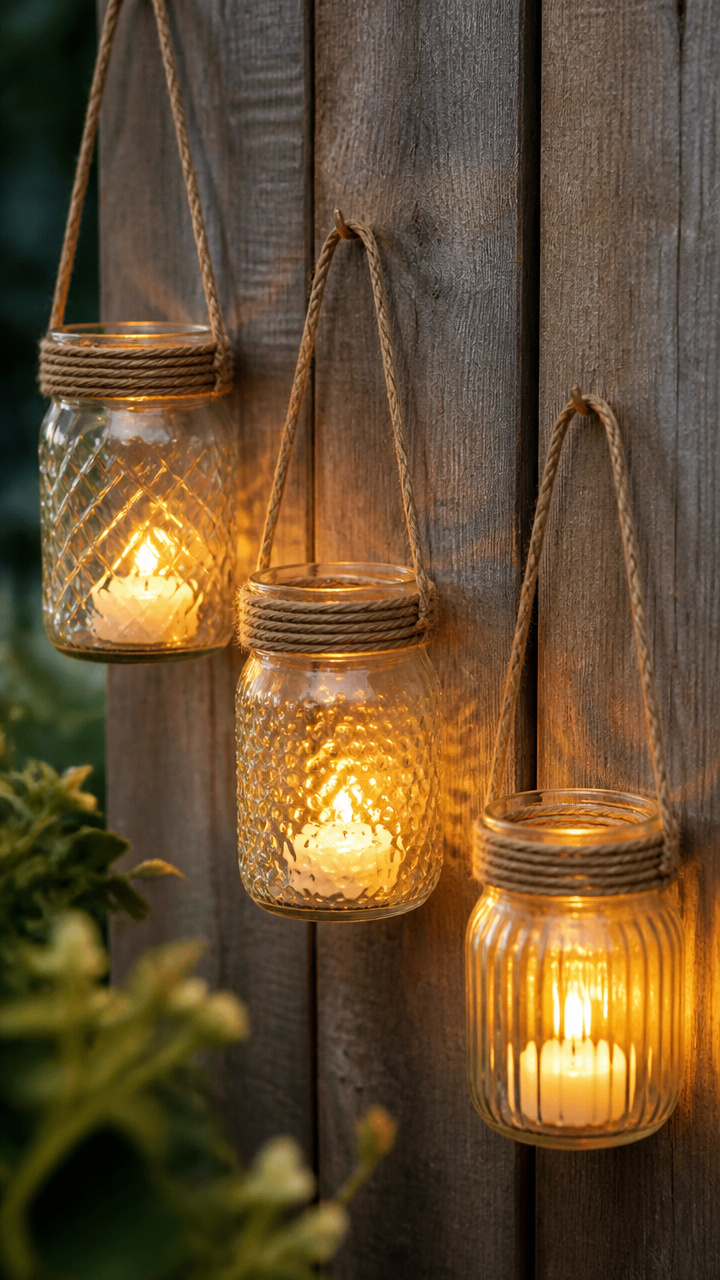
Heavy glass food jars shield small candles from evening breezes to cast a warm glow across your patio and garden borders. You get charming, wind-resistant lighting using simple wire and pantry leftovers.
Materials Needed
- 3 clean 16-ounce glass jam or pickle jars
- 6 feet of 18-gauge galvanized steel craft wire
- 1 pair of wire-cutting needle-nose pliers
- 3 unscented votive candles
- 1 cup of dry play sand
How to Make It
- Wrap galvanized wire tightly around the threaded glass neck of each jar twice, twisting the ends together firmly with needle-nose pliers to form a secure collar.
- Cut a twelve-inch piece of wire, hook each end under opposite sides of the neck collar, and crimp the ends shut with pliers to create a sturdy hanging handle.
- Pour a half-inch layer of dry play sand into the bottom of each jar to stabilize the candle base and absorb heat.
- Place a votive candle in the center of the sand layer and hang the jar from a garden shepherd hook or low tree branch.
6. Milk Jug Winter Sowing Greenhouses
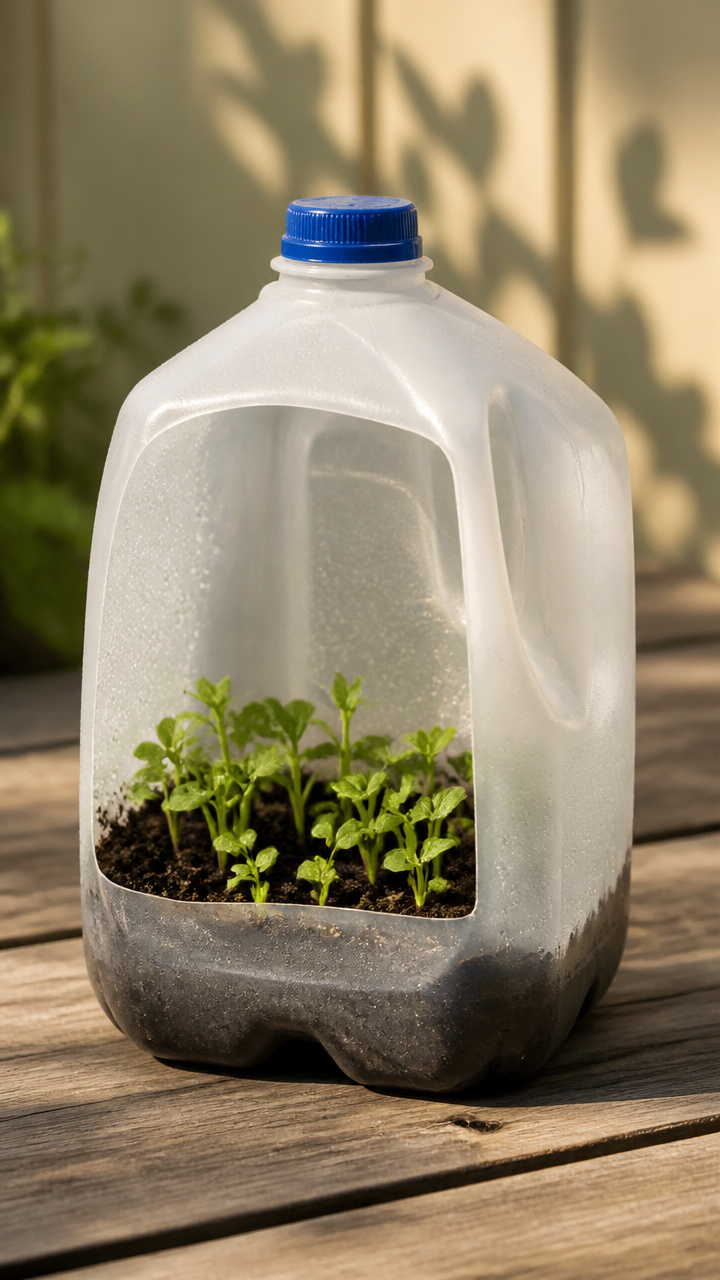
Translucent plastic milk containers shield seeds through harsh freezing weather while allowing natural seasonal temperature shifts to trigger spring germination. You can start hardy perennials and cold-tolerant vegetables outdoors months before the final spring frost.
Materials Needed
- 4 clean 1-gallon translucent plastic milk jugs with caps removed
- 1 roll of heavy-duty duct tape
- 1 utility knife
- 8 cups of pre-moistened potting soil
- 1 waterproof garden marker
How to Make It
- Poke four half-inch drainage holes in the bottom of each milk jug using the tip of your utility knife.
- Cut horizontally around the middle of the jug, stopping one inch before the handle so the top section acts as a hinged lid.
- Fill the bottom half with three to four inches of moist potting soil, plant your seeds at the packet depth, and water gently until liquid drains out.
- Close the lid, wrap duct tape completely around the cut seam to seal it, and place the un-capped jug outside in a sunny, snow-exposed spot.
7. Newspaper Biodegradable Seed Starting Pots
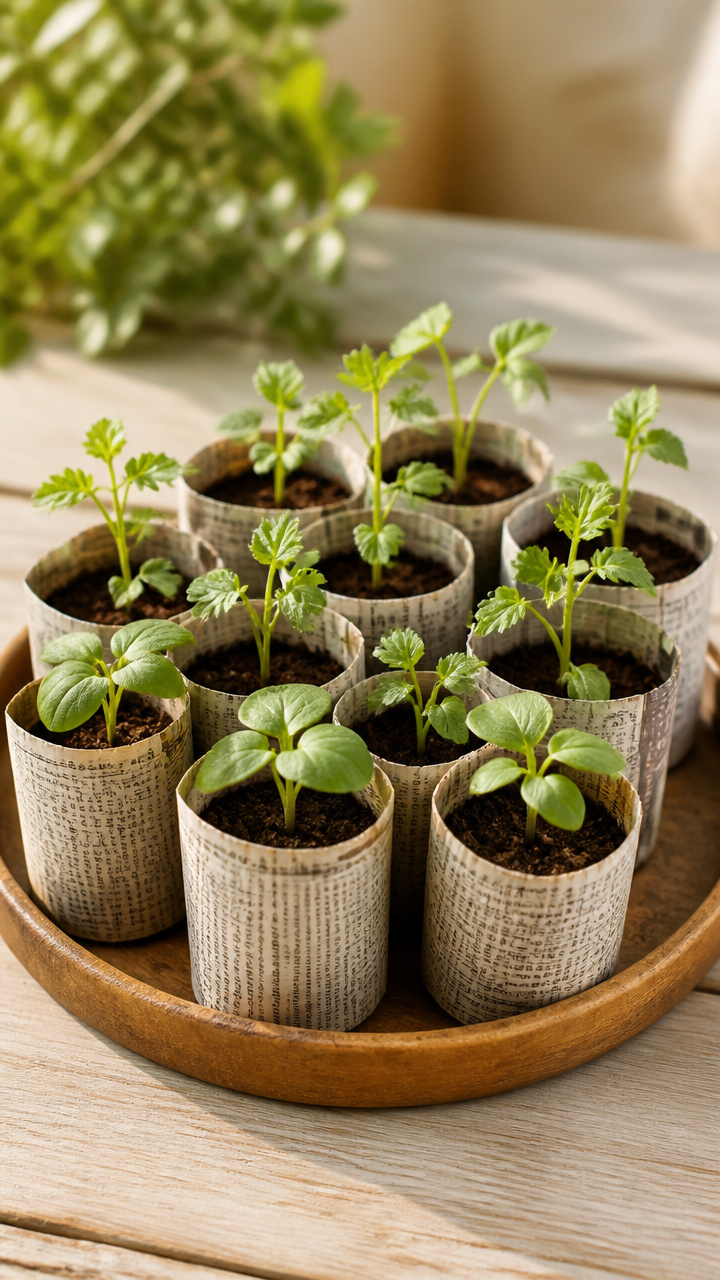
Black-and-white newsprint rolls into sturdy biodegradable cups that go directly into the ground on planting day. Your young seedlings develop strong root networks without suffering transplant shock when moved outside.
Materials Needed
- 6 full broadsheet sheets of black-and-white newspaper
- 1 small glass beverage bottle with smooth sides
- 1 shallow plastic cafeteria tray
- 4 cups of seed starting potting mix
How to Make It
- Fold a sheet of newspaper in half lengthwise, then place your glass bottle across the strip with two inches of paper extending past the bottom of the bottle.
- Roll the newspaper tightly around the bottle cylinder until the entire paper strip wraps around the glass.
- Fold the bottom two inches of paper tightly into the base of the bottle to form a flat, sturdy bottom, then press firmly against a table.
- Slide the bottle out of the paper tube, fill the paper pot with seed starting mix, and pack the pots closely together on a tray to keep them upright.

8. Cardboard Tube Deep Root Starters
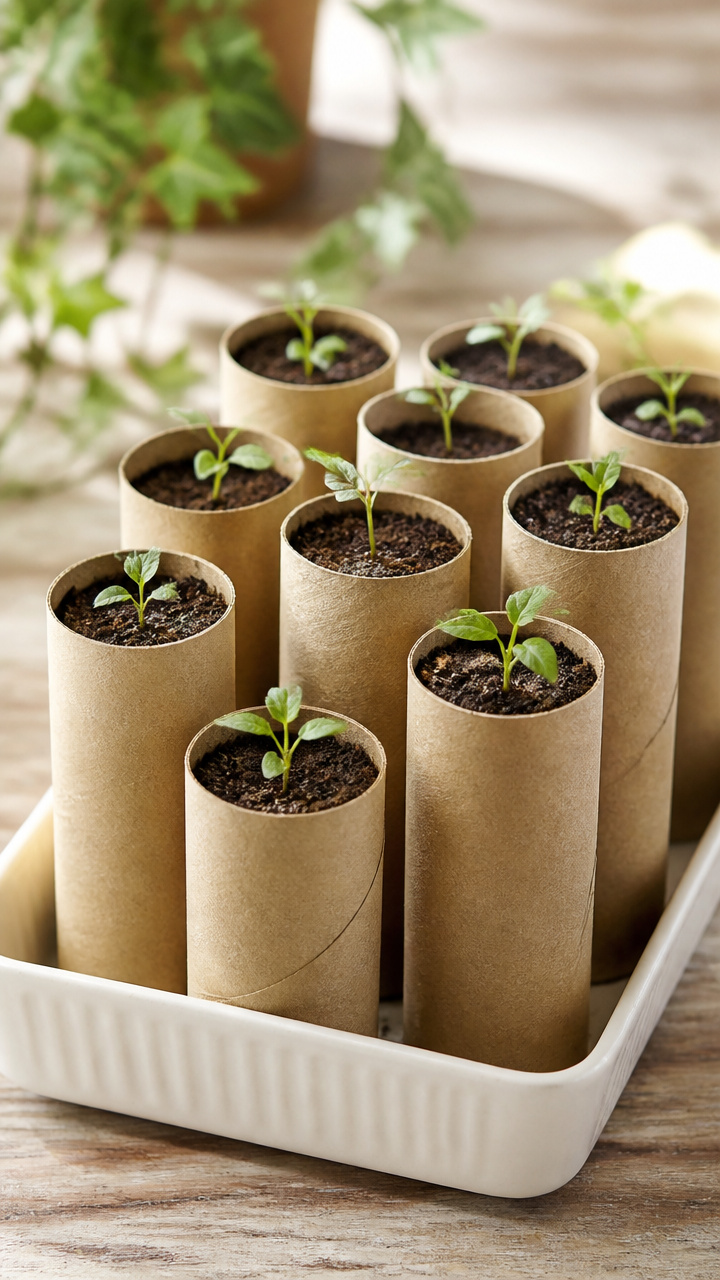
Cardboard toilet paper tubes provide deep vertical space for vegetables like beans, peas, and corn that dislike shallow pots. You will give taproot vegetables the depth they need to build thick, straight roots before planting out.
Materials Needed
- 12 cardboard toilet paper tubes
- 1 shallow plastic storage tray
- 4 cups of organic seed starting compost
- 1 pair of household scissors
How to Make It
- Make four half-inch vertical cuts evenly spaced around one end of each cardboard tube using household scissors.
- Fold the four cut flaps inward over each other like a box bottom to close the lower end of the tube.
- Stand the tubes upright side by side in your shallow plastic tray so they support each other snugly.
- Fill each tube with seed starting compost, tap the tray gently to settle the soil, and plant two seeds per tube at the recommended depth.
9. Rotisserie Container Cuttings Propagator
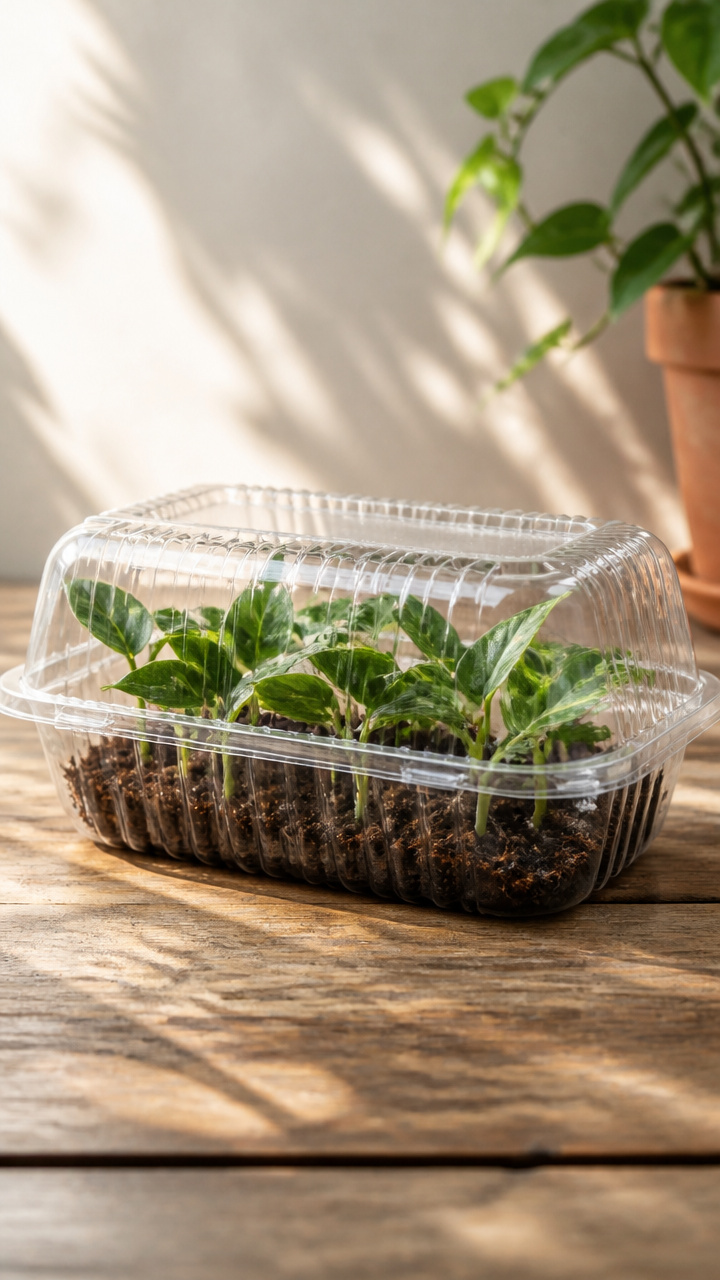
Domed plastic rotisserie chicken containers trap humidity and warmth around delicate stem cuttings. You will root soft herb cuttings and tender garden perennials quickly with almost zero water loss.
Materials Needed
- 1 clean plastic rotisserie chicken container with clear lid
- 1 utility knife
- 2 cups of coarse perlite
- 1 cup of potting soil
- 1 spray bottle with water
How to Make It
- Cut four small half-inch slits in the black base of the clean container with a utility knife to allow excess water to drain out.
- Mix equal parts potting soil and perlite together, then spread the mixture two inches deep across the base of the container.
- Insert your fresh four-inch plant cuttings into the soil mix, keeping the foliage clear of the soil surface.
- Mist the cuttings thoroughly with water, snap the clear dome lid shut over the base, and place the unit in warm, indirect sunlight.

10. Plastic Bottle Cap Stepping Stone
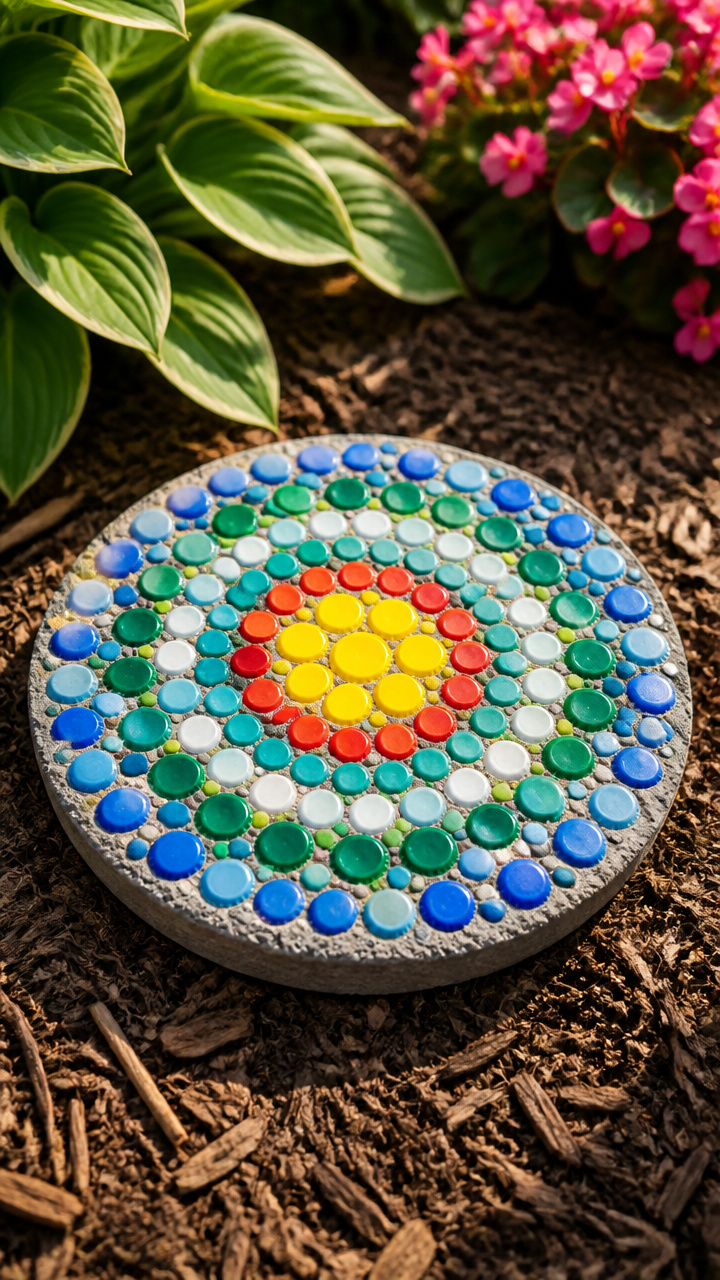
Bright plastic bottle caps set into wet concrete create a colorful mosaic stepping stone for garden pathways. You gain a durable decorative path accent while keeping hard-to-recycle plastic caps out of the landfill.
Materials Needed
- 60 clean plastic bottle caps in various colors
- 1 disposable 9-inch round aluminum pie pan
- 1 five-pound bag of quick-setting concrete mix
- 1 plastic mixing bucket and trowel
- 1 pair of heavy rubber work gloves
How to Make It
- Mix the quick-setting concrete with water in your bucket according to package directions until it reaches a thick paste consistency.
- Pour the wet concrete into the aluminum pie pan until it reaches half an inch from the top rim, then tap the pan to release air bubbles.
- Press the plastic bottle caps flat-side up into the concrete surface in your chosen pattern, pushing them in until they sit level with the surface.
- Let the concrete cure undisturbed for 48 hours in a dry spot before peeling away the aluminum pan and placing the stone in your garden.


11. Corrugated Cardboard Sheet Mulch Layer
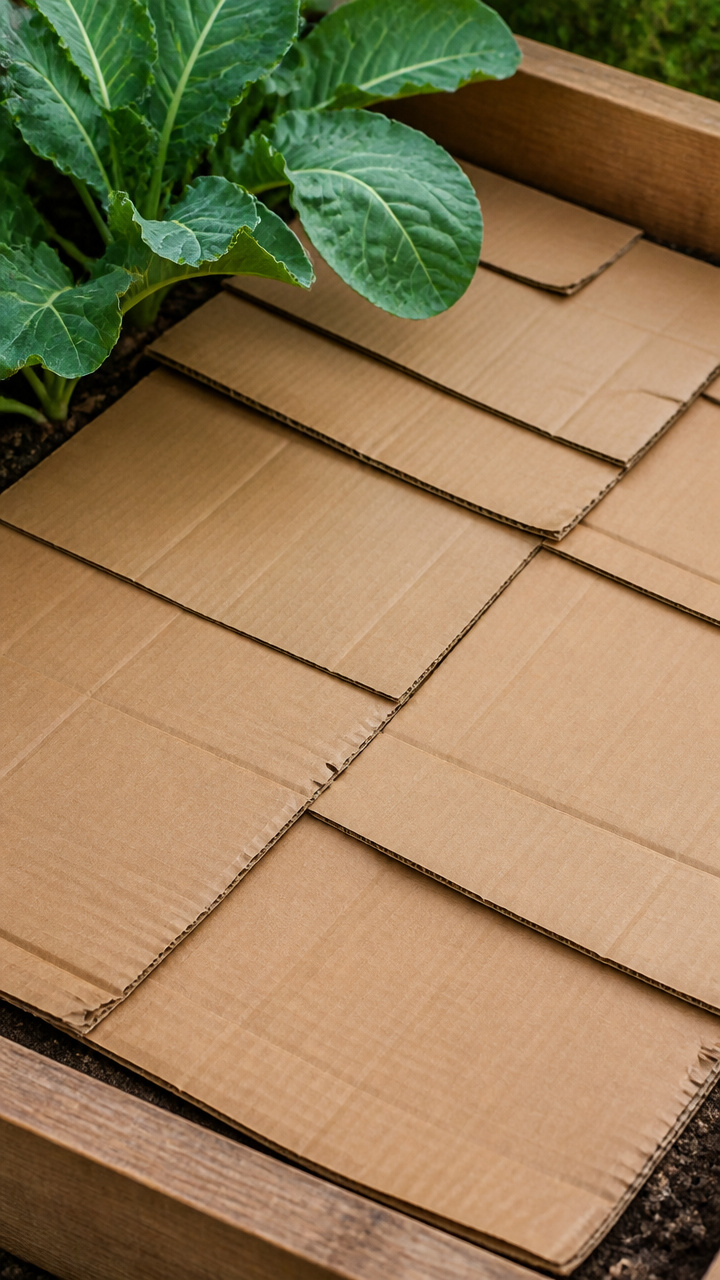
Plain brown shipping boxes block weeds and break down into rich organic matter beneath your garden mulch. You can suppress invasive grasses and nourish soil organisms without buying costly chemical weed barriers.
Materials Needed
- 8 large plain brown corrugated cardboard boxes
- 1 utility knife
- 1 garden hose with spray nozzle
- 3 bags of shredded wood bark mulch
How to Make It
- Remove all plastic packing tape, staples, and shipping labels from the cardboard boxes using your utility knife.
- Flatten the boxes and lay them across your garden bed, overlapping all edges by at least six inches to prevent weeds from finding gaps.
- Soak the cardboard thoroughly with a garden hose until the material is completely saturated and sits flat against the ground.
- Spread a three-inch layer of shredded bark mulch directly over the wet cardboard to hold it in place and retain soil moisture.
12. Mesh Produce Bag Fruit Guards
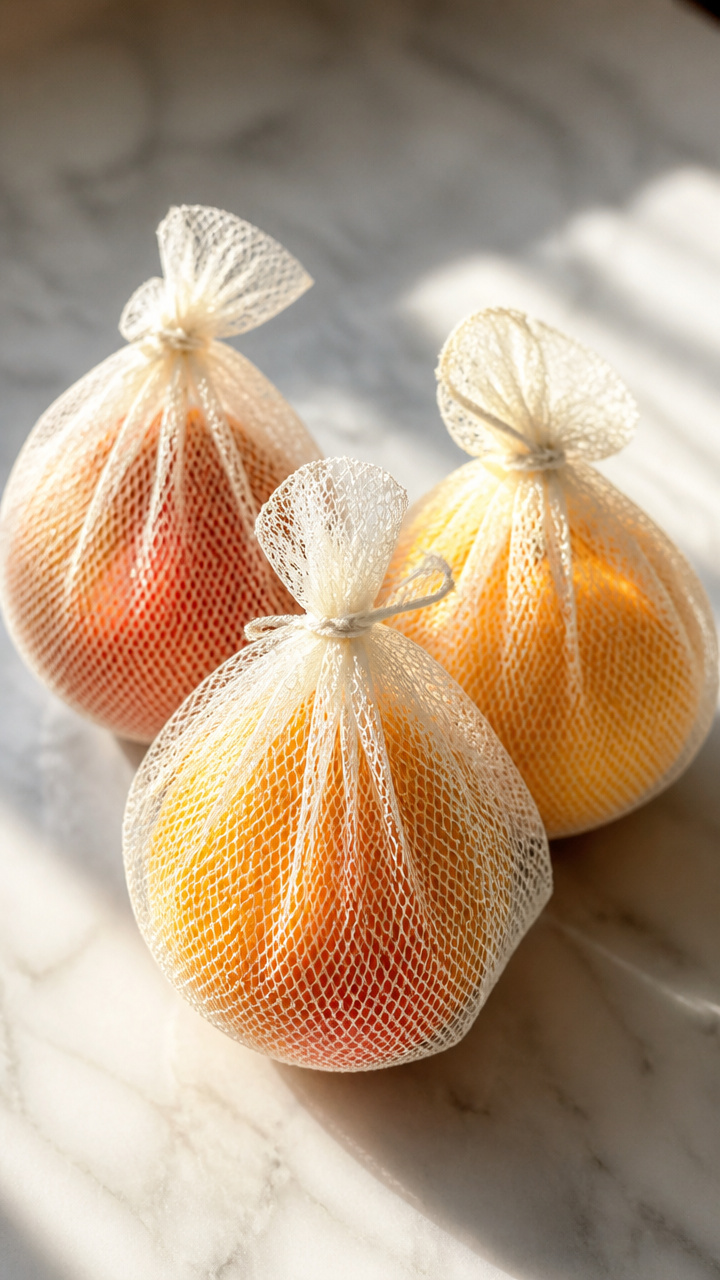
Nylon citrus and onion bags shield ripening tomatoes, figs, and grapes from hungry birds and squirrels. You protect your harvest while allowing sunlight, air, and rain to reach the growing fruit.
Materials Needed
- 6 clean plastic mesh produce bags from onions or citrus
- 1 spool of natural jute twine
- 1 pair of kitchen scissors
How to Make It
- Cut the mesh produce bags into six-by-six-inch squares, or keep them whole depending on the size of your fruit cluster.
- Slip the open end of a mesh bag gently over the developing fruit cluster while it hangs on the vine or branch.
- Gather the open mesh around the plant stem above the fruit, being careful not to pinch or bend the vine.
- Tie the mesh opening securely around the stem with a ten-inch piece of jute twine using a snug bow knot for easy harvest removal.
13. Chipped Ceramic Mug Toad Habitat
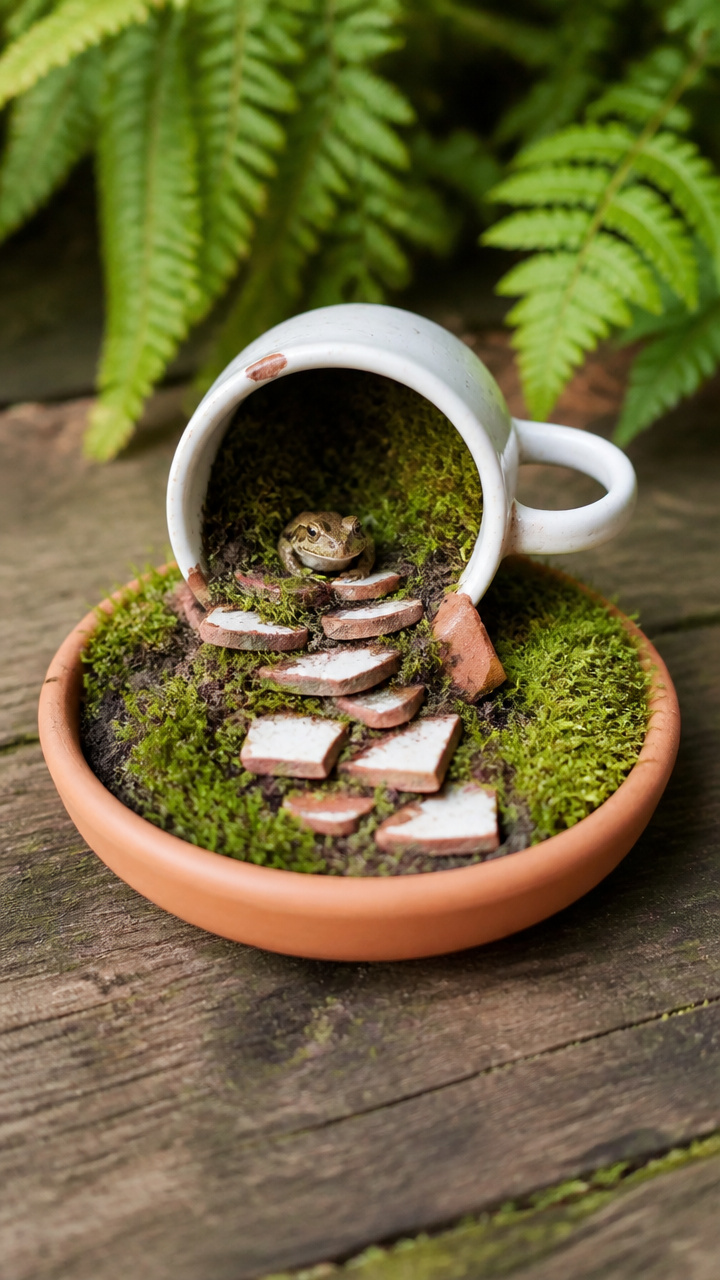
Chipped or cracked ceramic coffee mugs provide cool, damp daytime shelters for beneficial garden toads that eat slugs and insect pests. You will invite natural pest control into your garden beds with zero chemical sprays.
Materials Needed
- 1 cracked or chipped ceramic coffee mug
- 5 flat river stones or slate pieces
- 1 trowel
- 1 handful of dried leaves or moss
How to Make It
- Dig a shallow hollow two inches deep in a shaded garden bed near leafy perennials using your trowel.
- Place the ceramic mug horizontally on its side in the depression with the open mouth facing north or east away from direct afternoon sun.
- Stack flat river stones over the top and sides of the mug to insulate the shelter and keep the interior dark and cool.
- Tuck a handful of damp leaves or moss loosely inside the back of the mug to create a soft, moist resting spot for visiting toads.
14. Berry Clamshell Microgreen Growing Tray
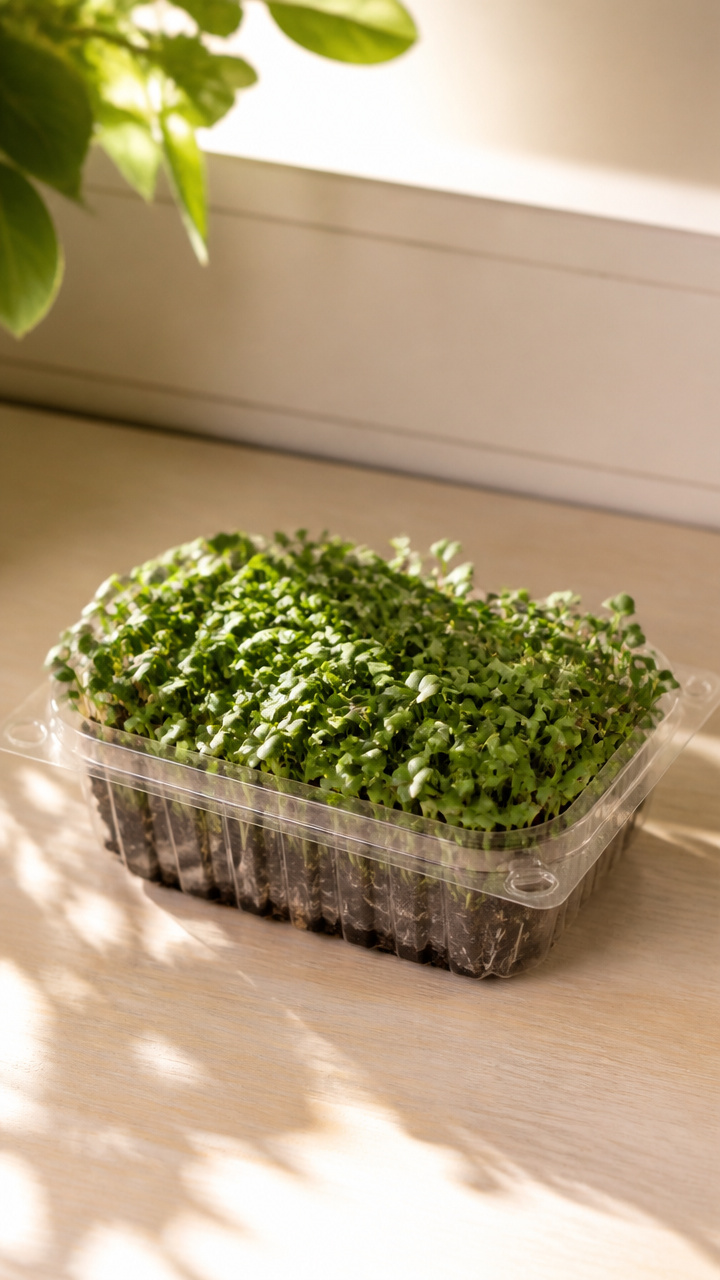
Clear plastic strawberry containers feature built-in drainage holes and matching clear dome lids that create ideal microclimates for fast-growing greens. You can harvest fresh salad microgreens right on your windowsill in as little as ten days.
Materials Needed
- 2 clean 1-pound clear plastic strawberry clamshell containers
- 2 cups of organic seed starting potting mix
- 2 tablespoons of sunflower or radish microgreen seeds
- 1 hand mister bottle filled with water
How to Make It
- Line the bottom of the ventilated clamshell container with one layer of moist paper towel to prevent potting soil from washing out through the bottom slits.
- Fill the container with one and a half inches of fine seed starting mix and press the surface flat with the back of a spoon.
- Scatter the microgreen seeds thickly across the soil surface and mist heavily with water until the entire top layer is damp.
- Close the hinged plastic lid to lock in humidity, then open the lid permanently once seeds germinate and reach the top of the box.
15. Tin Can Mason Bee House
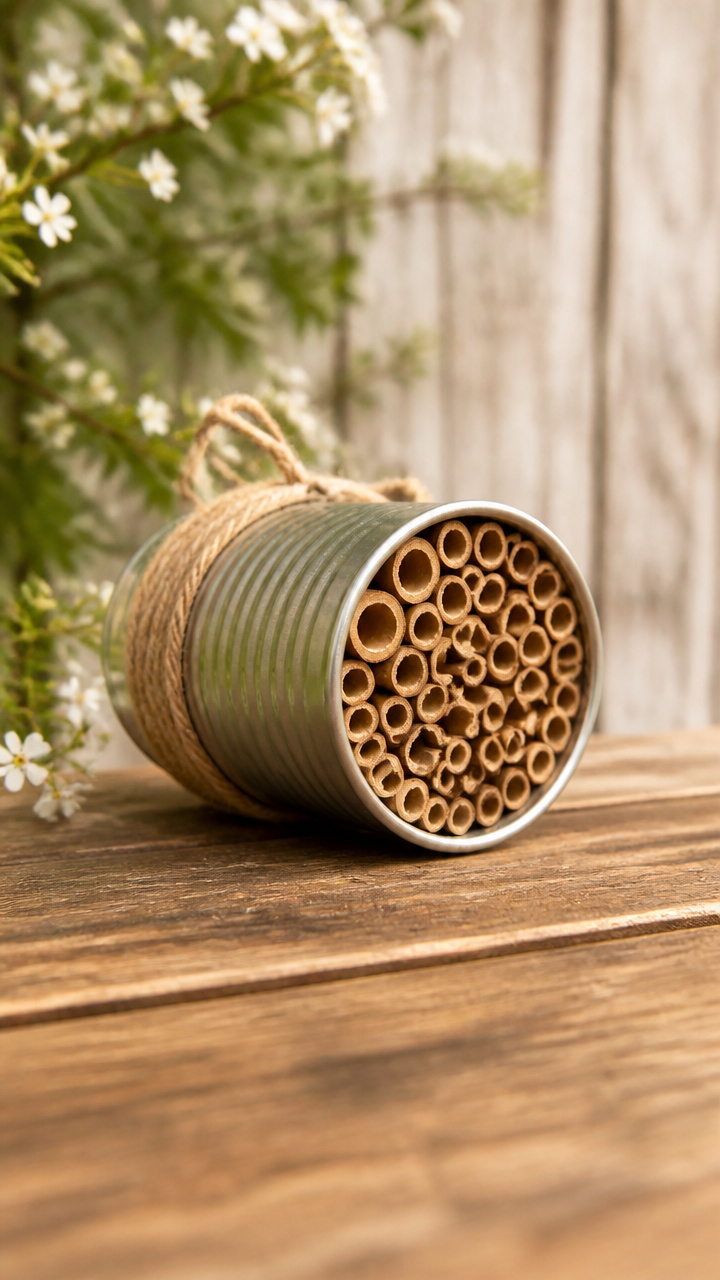
Clean steel soup cans filled with paper tubes provide secure nesting tunnels for native solitary bees that pollinate your fruit trees and flowers. You will attract non-aggressive native pollinators directly to your vegetable patch.
Materials Needed
- 1 clean 15-ounce steel food can with label removed
- 30 hollow paper drinking straws cut to 5 inches long
- 1 roll of outdoor jute twine
- 1 bottle of non-toxic craft glue
How to Make It
- Clean the interior of the steel can thoroughly and check the rim to make sure there are no sharp edges or burrs.
- Apply a thin layer of non-toxic glue to the inside base of the can to help anchor the nesting tubes.
- Pack the paper straws tightly inside the can until they fit snugly and will not slip out when the can is turned upside down.
- Wrap jute twine around the center of the can three times, tie a sturdy knot, and hang the can horizontally under a porch eave facing morning sun.
Rethinking your household discards gives you a free supply of versatile, durable materials for every corner of your garden. Gather a few containers and paper goods from your bin this weekend to start crafting practical tools that keep your plants thriving all season long.