18 Easy Winter Home Decor Crafts for Adults on a Budget

Soft light glows through frosted glass, pine boughs scent the air, and handmade touches warm every corner. Winter invites cozy moments, and a few simple crafts can make your space feel like a quiet retreat.
You don’t need fancy supplies or hours of time. With materials you might already have, or can pick up for under $10, you can create pieces that feel personal and intentional. These crafts blend warmth, charm, and just the right winter magic.
1. Frosted Mason Jar Lamps
Easy
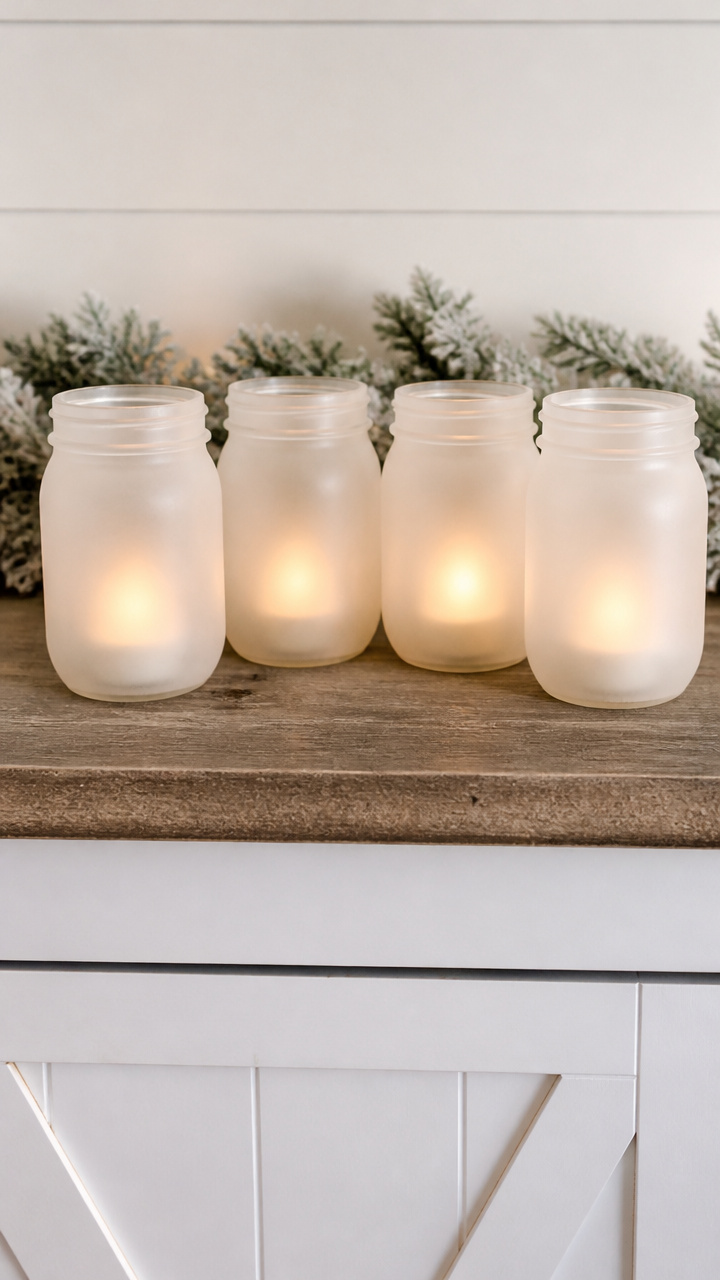
Glowing jars with a soft icy finish bring candlelit charm to tables and shelves. This version uses real glass jars and a quick spray technique for instant winter ambiance.
Materials Needed
- 4 clear quart-sized mason jars
- 1 can matte white glass spray paint
- 4 flameless LED pillar candles
- paper plate
- newspaper or drop cloth
How to Make It
- Lay down newspaper or a drop cloth in a well-ventilated area and place the paper plate on top.
- Hold the spray paint 10 inches from the jar and apply a light, even coat of white glass paint, rotating the jar slowly.
- Let the first coat dry for 15 minutes, then apply a second coat for full opacity.
- Wait 2 hours for the paint to fully cure, then place an LED candle inside each jar.


2. Knit Cable Throw Pillow Cover
Moderate
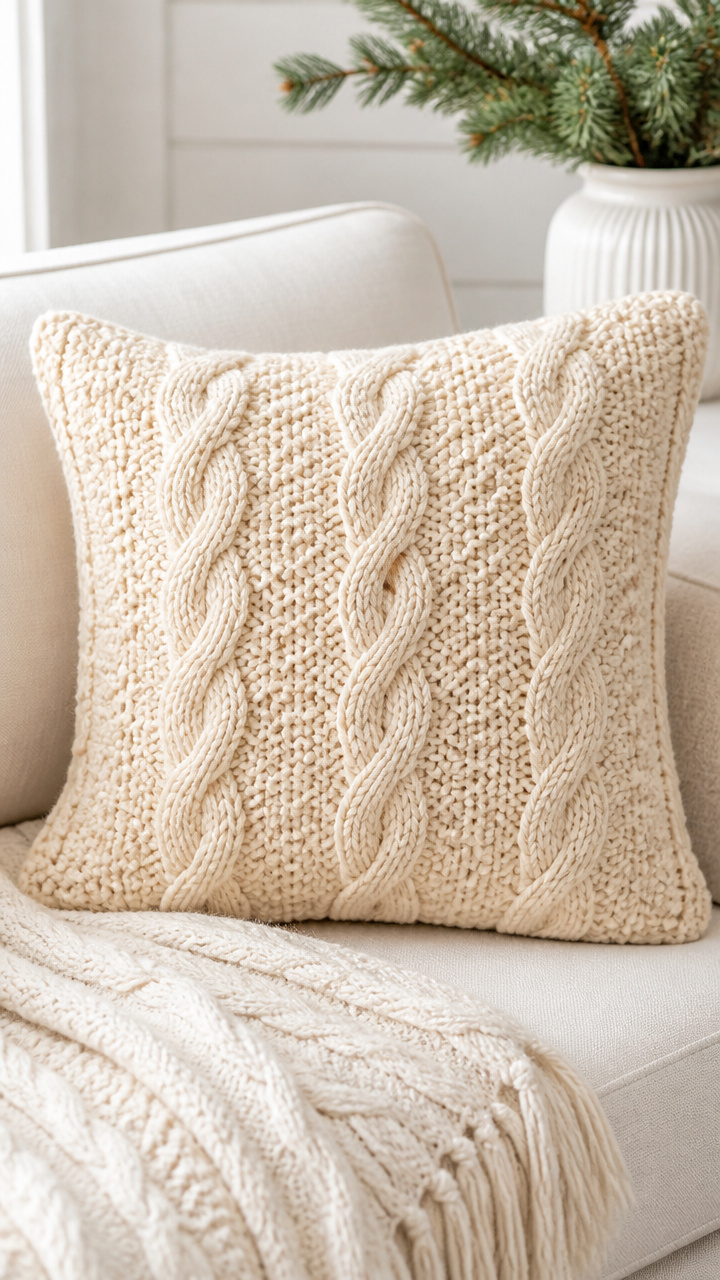
A chunky knit pillow cover adds texture and warmth to your couch. This one uses a simple cable pattern that looks intricate but only needs basic crochet skills.
Materials Needed
- 1 skein bulky cream-colored acrylic yarn (150 yards)
- 6.5 mm crochet hook
- yarn needle
- 18-inch square pillow insert
- scissors
How to Make It
- Chain 32 stitches using the bulky yarn and the 6.5 mm hook.
- Work in rows of front post double crochet and back post double crochet to create a cable pattern across 28 rows.
- Fasten off and weave in the ends with the yarn needle.
- Fold the rectangle in half and slip stitch the sides closed, leaving the top open.
- Insert the pillow form and leave the top open for easy removal.


3. Pinecone Wreath with Burlap Bow
Easy

A full, natural wreath made from gathered pinecones and tied with a homespun bow. It hangs beautifully on doors or walls with rustic winter character.
Materials Needed
- 18 medium-sized pinecones
- 12-inch wire wreath frame
- hot glue gun
- hot glue sticks
- 18-inch length of 3-inch-wide burlap ribbon
- wire cutters
How to Make It
- Use the wire cutters to separate the outer and inner rings of the wreath frame.
- Apply hot glue to the base of each pinecone and press it point-side out onto the frame.
- Work in a circle, overlapping pinecones slightly until the entire frame is covered.
- Tie the burlap ribbon into a bow and glue it to the bottom of the wreath.


4. Snowy Branch Centerpiece
Easy
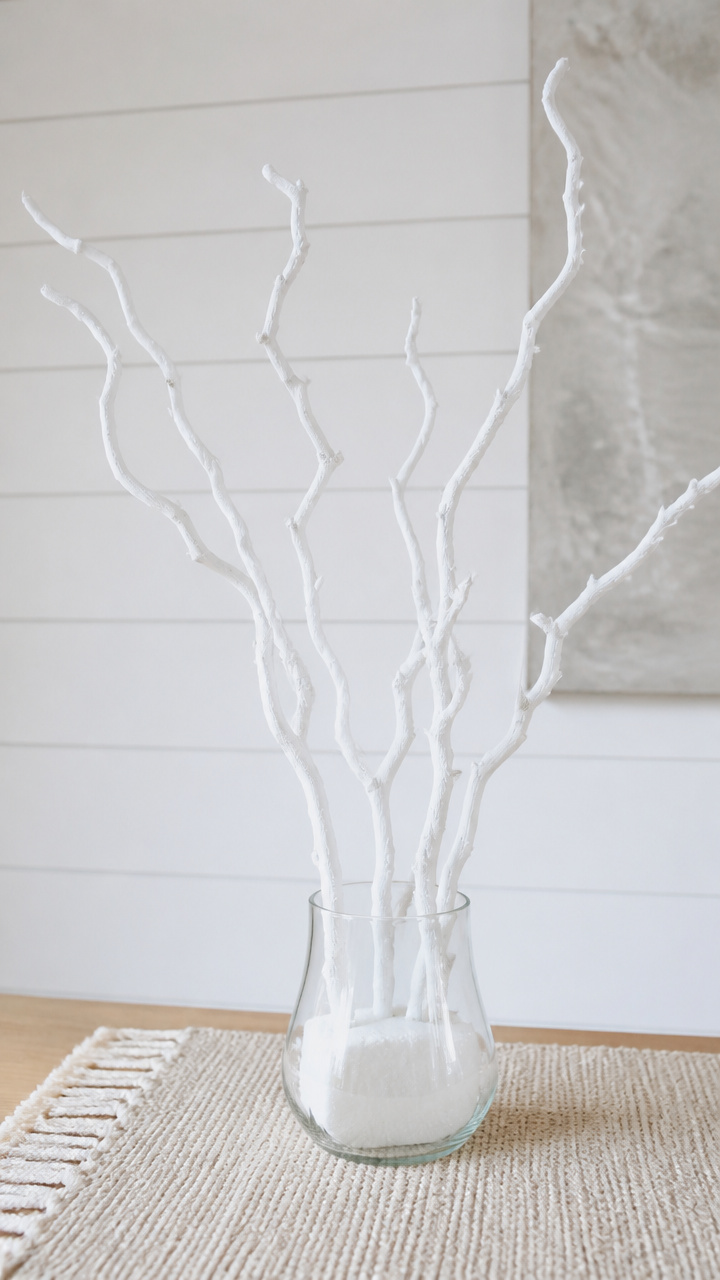
Bare winter branches dusted with faux snow create an elegant table display. This centerpiece uses preserved twigs and a simple base for a minimalist look.
Materials Needed
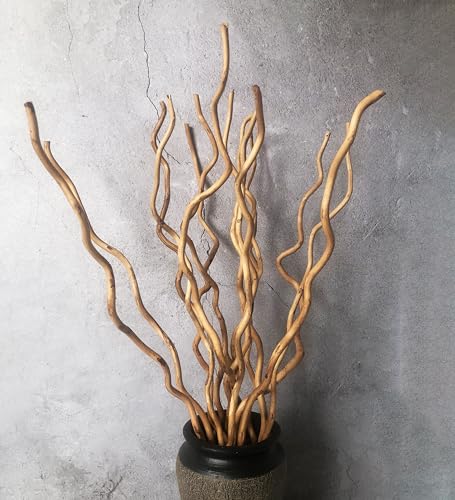
- 5 preserved curly willow branches (12–16 inches long)
- 1 small clear glass vase (4 inches wide)
- white acrylic paint
- 1 foam floral block (2-inch cube)
- water spray bottle
How to Make It
- Cut the floral block to fit snugly inside the vase using your hands.
- Spray the block lightly with water and press it into the vase to hold in place.
- Dip the tips of each branch into white paint, then flick a little extra paint on with a brush for a snow-sprayed effect.
- Let the paint dry for 10 minutes, then insert the branches into the floral block at varying heights.

5. Flannel Plaid Coasters
Easy
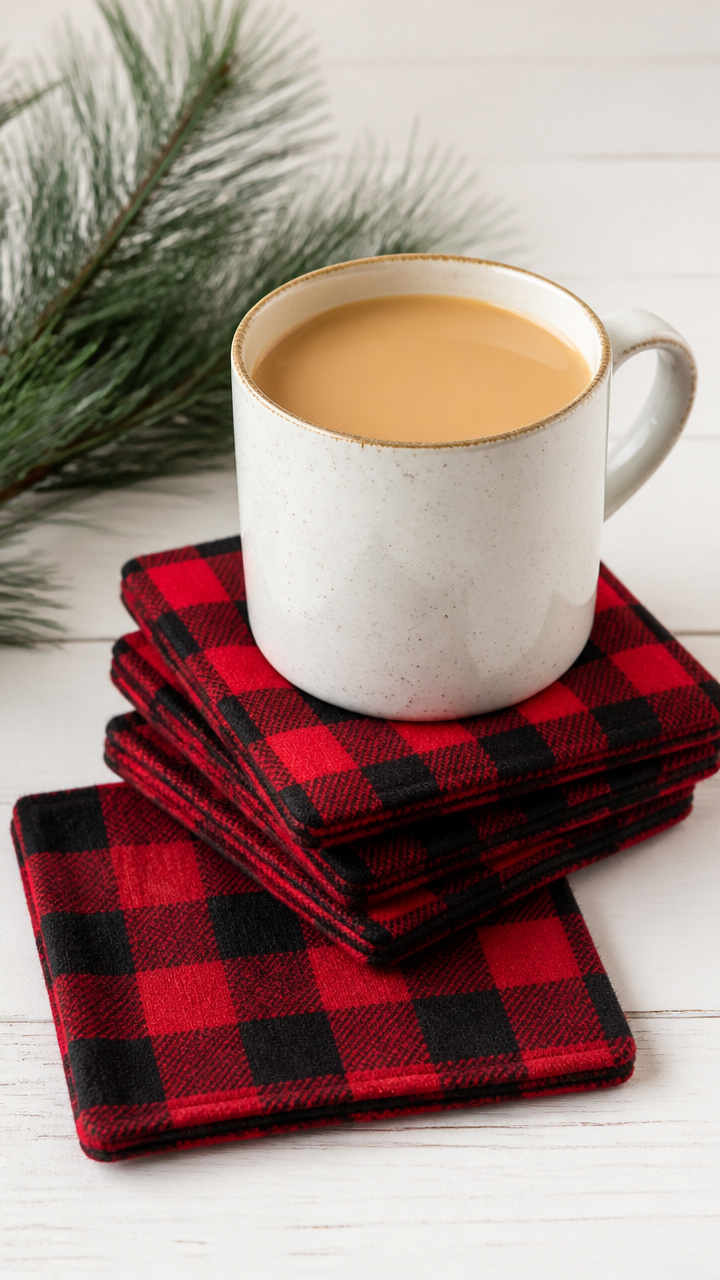
Soft fabric coasters in winter plaids protect surfaces while adding cozy color. These are made from scrap flannel and fused with interfacing for durability.
Materials Needed
- 1/4 yard red-and-black flannel fabric
- 1/4 yard fusible fleece interfacing
- rotary cutter
- cutting mat
- acrylic ruler
- iron
How to Make It
- Cut the flannel into four 4.5-inch squares using the rotary cutter, ruler, and mat.
- Cut the fusible fleece into four 4-inch squares.
- Place one fleece square on the wrong side of each flannel square and iron on medium heat to fuse.
- Trim any uneven edges, and the coasters are ready to use.


6. Cinnamon Stick Bundles with Twine
Easy
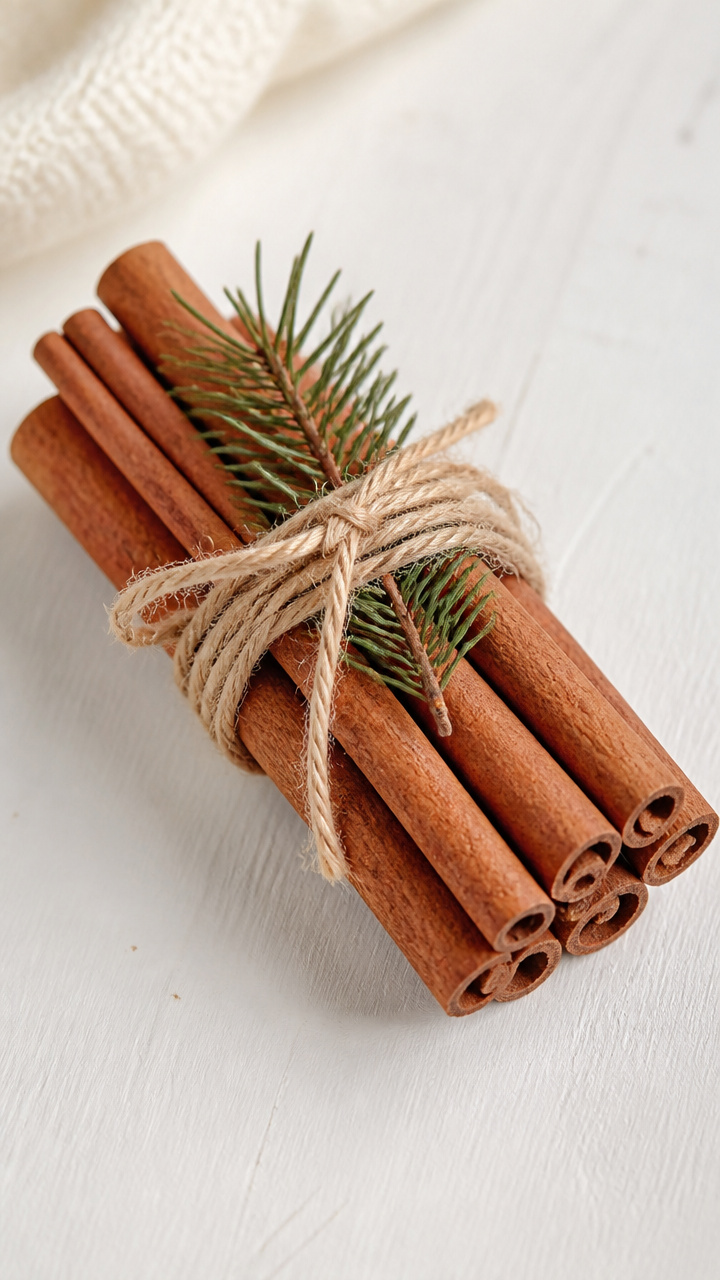
Tight bundles of cinnamon sticks tied with twine release a warm spice scent. These make simple accents for mantels, gift toppers, or napkin holders.
Materials Needed
- 20 cinnamon sticks (6 inches long)
- jute twine
- scissors
- hot glue gun
- small pine sprig (optional)
How to Make It
- Group five cinnamon sticks together and wrap twine around one end, tying a secure knot.
- Wrap the twine down the length of the bundle and tie another knot at the bottom.
- Repeat to make four bundles.
- For extra detail, glue a small pine sprig to the top knot of each bundle.



7. Glitter-Dipped Pine Cones
Easy
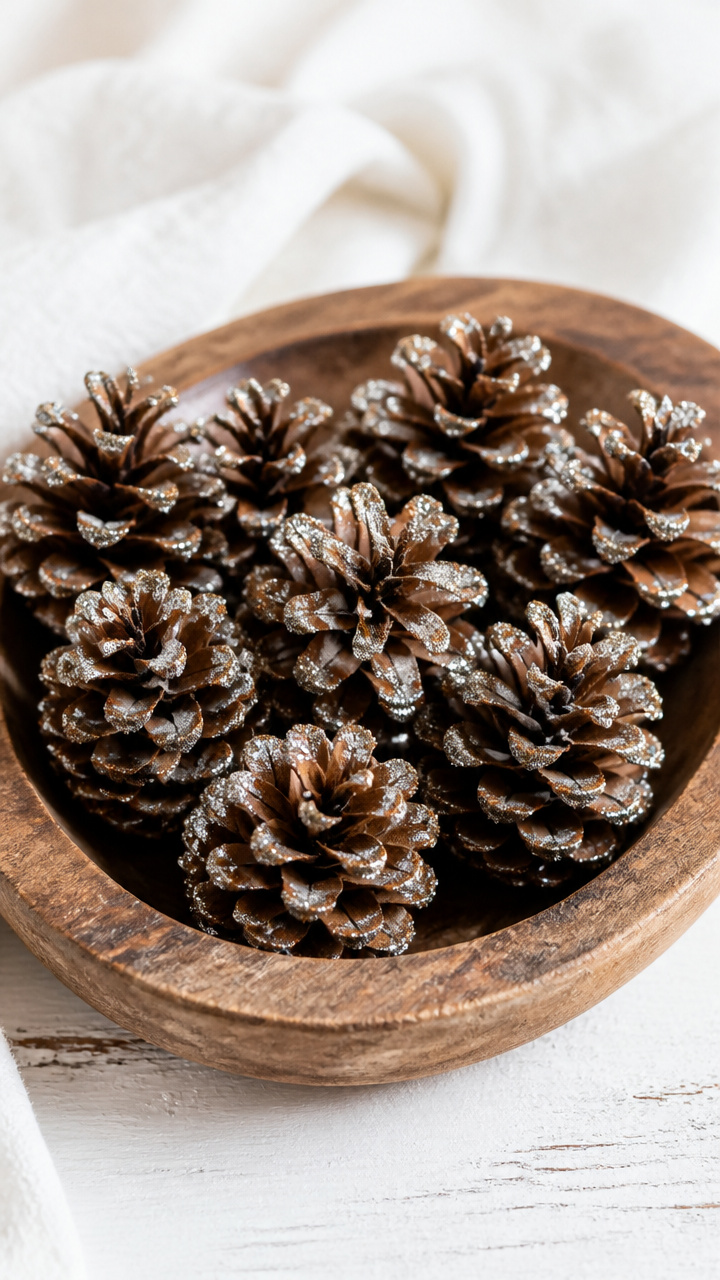
Pine cones with glitter-dipped tips catch the light like frost. These are perfect for filling bowls or adding sparkle to a wreath.
Materials Needed
- 12 small pine cones
- white craft glue
- fine silver glitter
- shallow dish
- paintbrush
- wax paper
How to Make It
- Lay wax paper on your work surface and place the pine cones on top.
- Pour glitter into the shallow dish.
- Use the paintbrush to coat the tips of each pine cone with glue.
- Dip the glued tips into the glitter and let dry for 20 minutes on the wax paper.


8. Felted Wool Ball Garland
Moderate
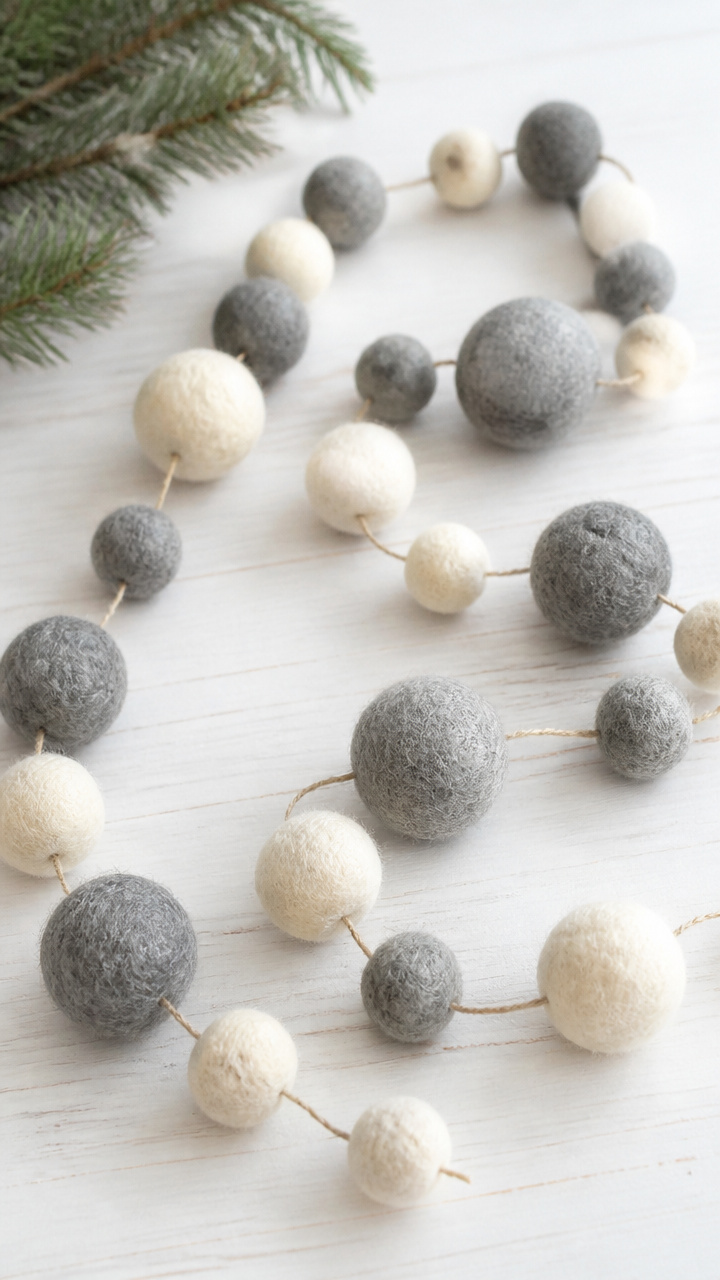
Hand-felted wool balls strung on twine create a soft, bouncy garland. This one uses raw roving and hot water for quick fulling.
Materials Needed
- 1/2 ounce unspun merino wool roving (gray and cream)
- large bowl of hot soapy water
- rubber gloves
- 12-foot length of cotton twine
- needle and thread
How to Make It
- Pull off small pieces of roving and roll them into loose balls, about 1 inch in diameter.
- Wearing gloves, submerge each ball in hot soapy water and roll firmly between your palms for 1 minute until it firms up.
- Rinse in cold water and lay flat to dry completely.
- Thread each dried ball onto the twine using a needle and tie knots between them to space evenly.


9. Chalkboard Paint Fireplace Sign
Easy
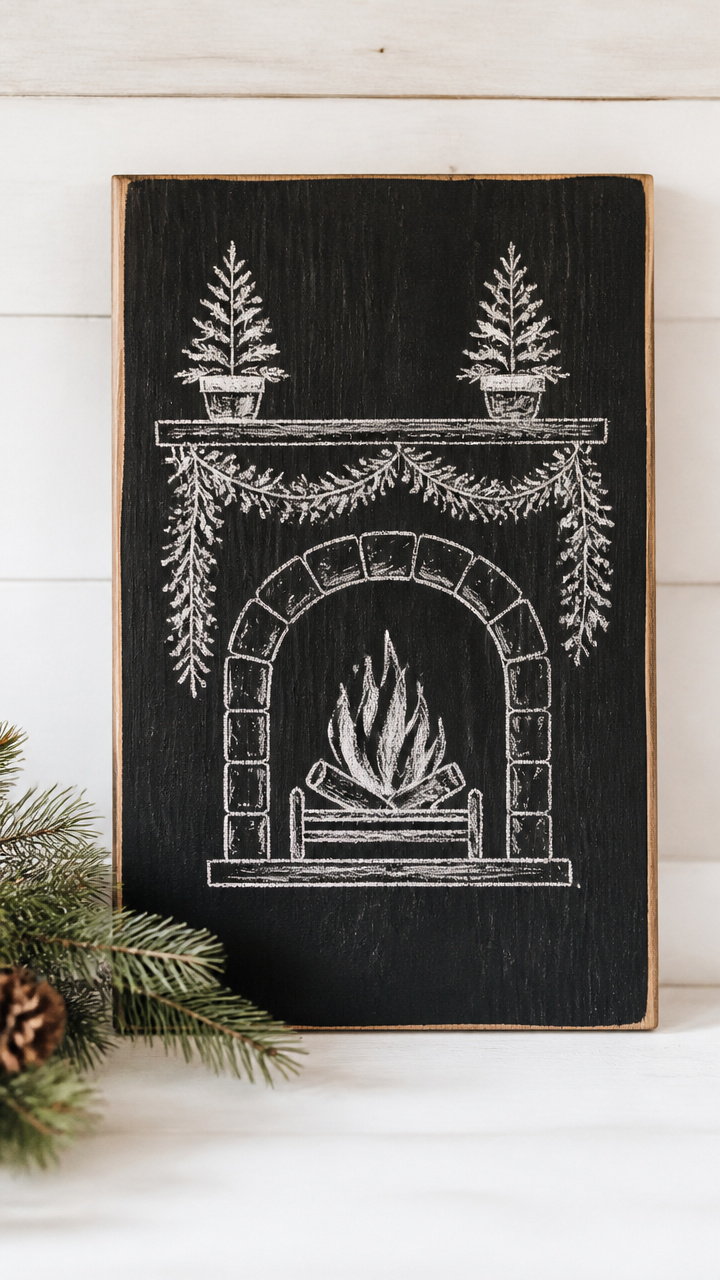
A painted wood sign above the mantel welcomes guests with seasonal messages. This version uses chalkboard paint for easy updates.
Materials Needed
- 1 unfinished pine board (8×10 inches)
- 1 small can black chalkboard paint
- 1 foam brush (2 inches wide)
- chalk
- paper towel
How to Make It
- Stir the chalkboard paint and apply one even coat to the pine board with the foam brush.
- Let dry for 2 hours, then apply a second coat.
- Wait 24 hours for full cure, then rub a piece of chalk over the surface and wipe with a paper towel to season.
- Write a winter message like 'Stay Cozy' with white chalk.
10. Crocheted Snowflake Wall Hangings
Moderate
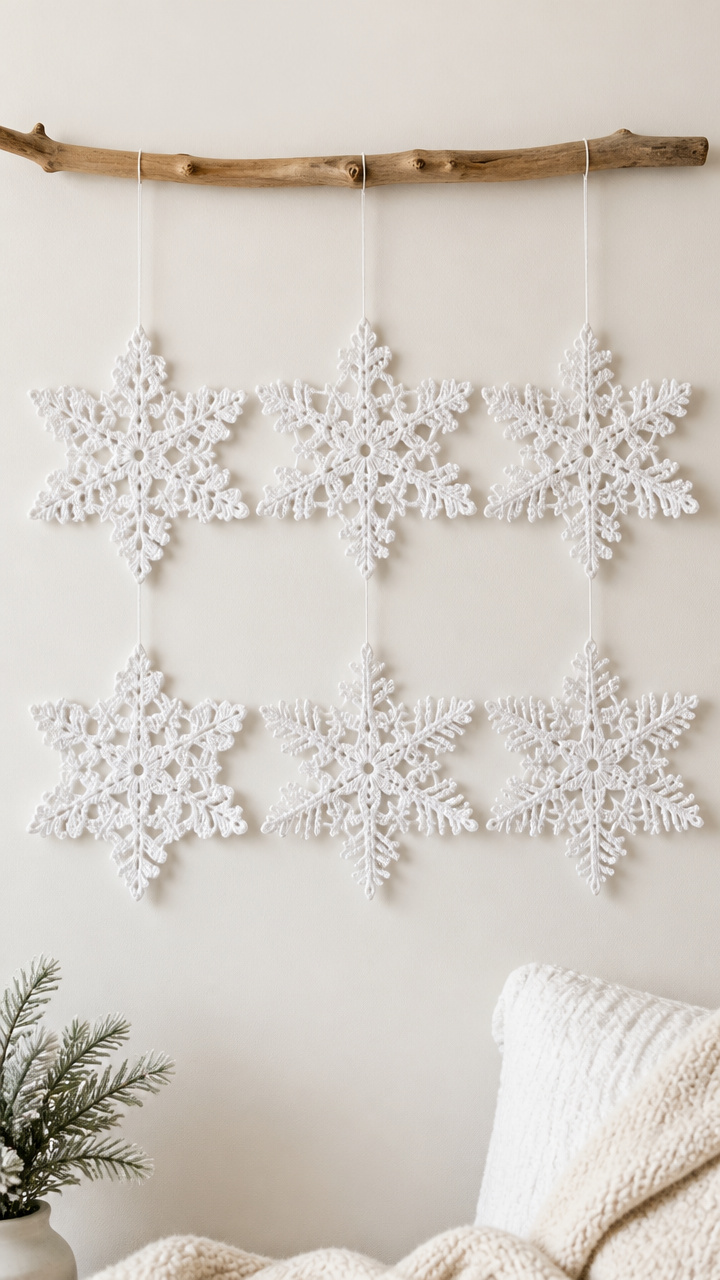
Delicate snowflakes made from cotton thread hang like frost on the wall. These use a basic six-point pattern and stiffener for structure.
Materials Needed
- size 10 white crochet cotton thread
- 1.75 mm steel crochet hook
- liquid fabric stiffener
- plastic bowl
- clear push pin
How to Make It
- Crochet a six-point snowflake using double crochet and chain spaces, following a simple round pattern.
- Mix fabric stiffener with water in the bowl as directed on the bottle.
- Dip the finished snowflake into the solution, press out excess, and lay flat to dry on wax paper.
- Once dry, use a push pin to hang it on the wall.



11. Maple Seed Ornament String
Easy
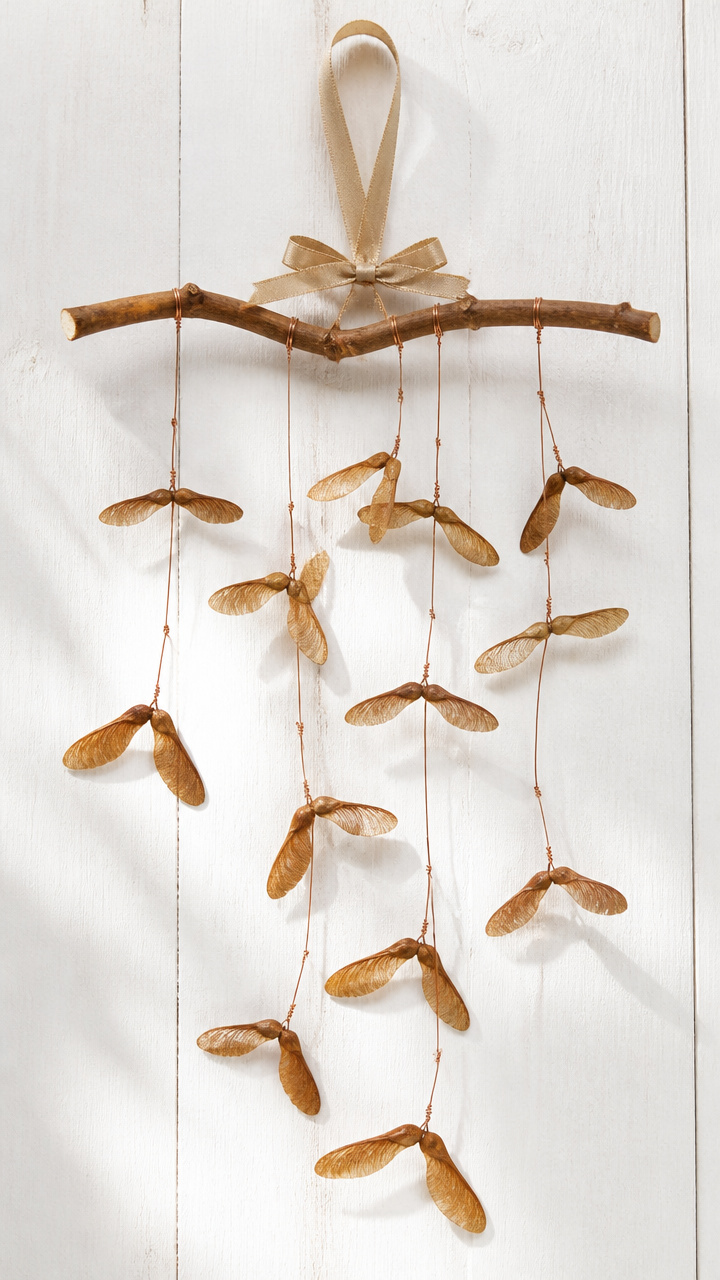
Dried maple seeds wired into tiny ornaments dangle like nature’s mobile. These are collected, sealed, and hung with thin copper wire.
Materials Needed
- 15 dried maple seeds (helicopters)
- clear craft sealant spray
- 10-foot spool of 20-gauge copper wire
- wire cutters
- small loop of ribbon
How to Make It
- Lay the maple seeds on newspaper and spray both sides with sealant, letting them dry for 30 minutes.
- Cut 15 pieces of copper wire, each 8 inches long.
- Wrap one end of each wire around the base of a seed and twist to secure.
- String the wired seeds onto a longer piece of wire, spacing them evenly, and tie the ends to a ribbon loop for hanging.


12. Denim Pocket Wall Organizer
Moderate
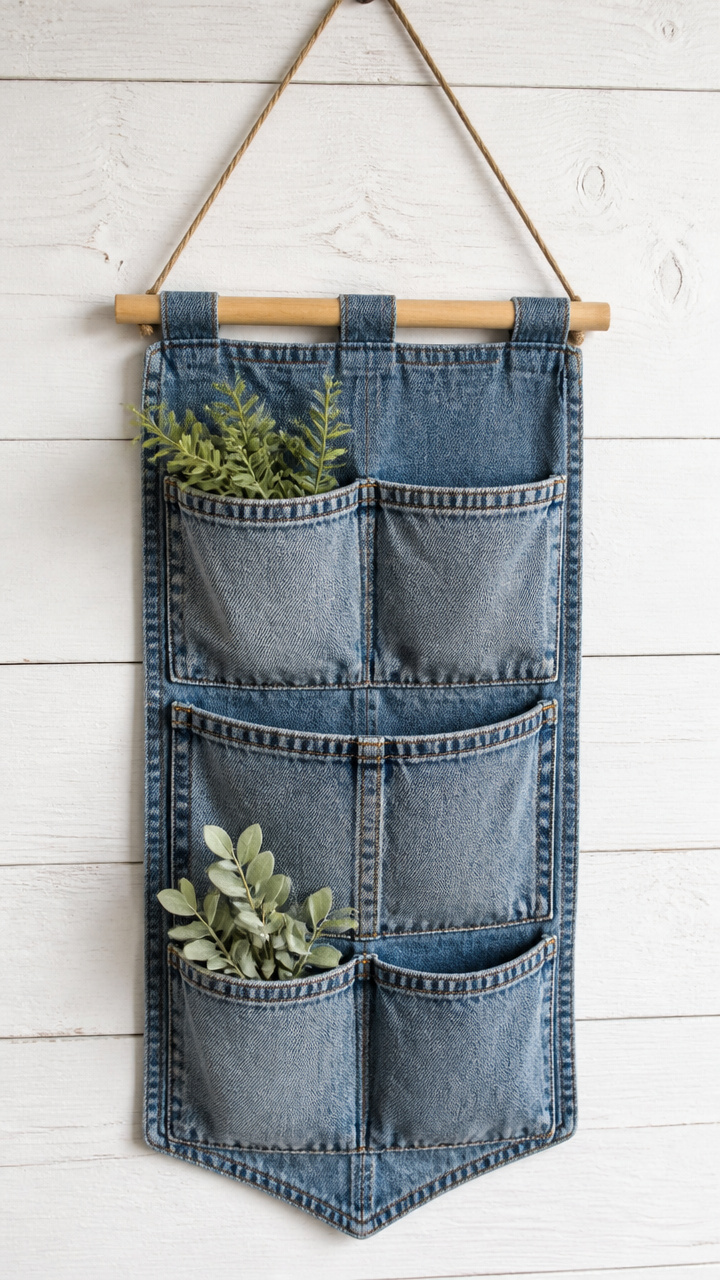
An old pair of jeans becomes a rustic wall pocket for cards or notes. This upcycled piece uses real denim and visible stitching.
Materials Needed
- 1 pair old blue jeans
- fabric scissors
- sewing machine
- navy thread
- 1 wooden dowel (12 inches long)
- twine
How to Make It
- Cut out two back pockets with 2 inches of fabric around each.
- Place the pockets right sides together and sew around the edges with a 1/4-inch seam, leaving the top open.
- Turn right side out and press flat.
- Sew the bottom edge of each pocket to the front of a larger denim rectangle, spacing them apart.
- Attach twine to each end of the dowel and hang from the wall.


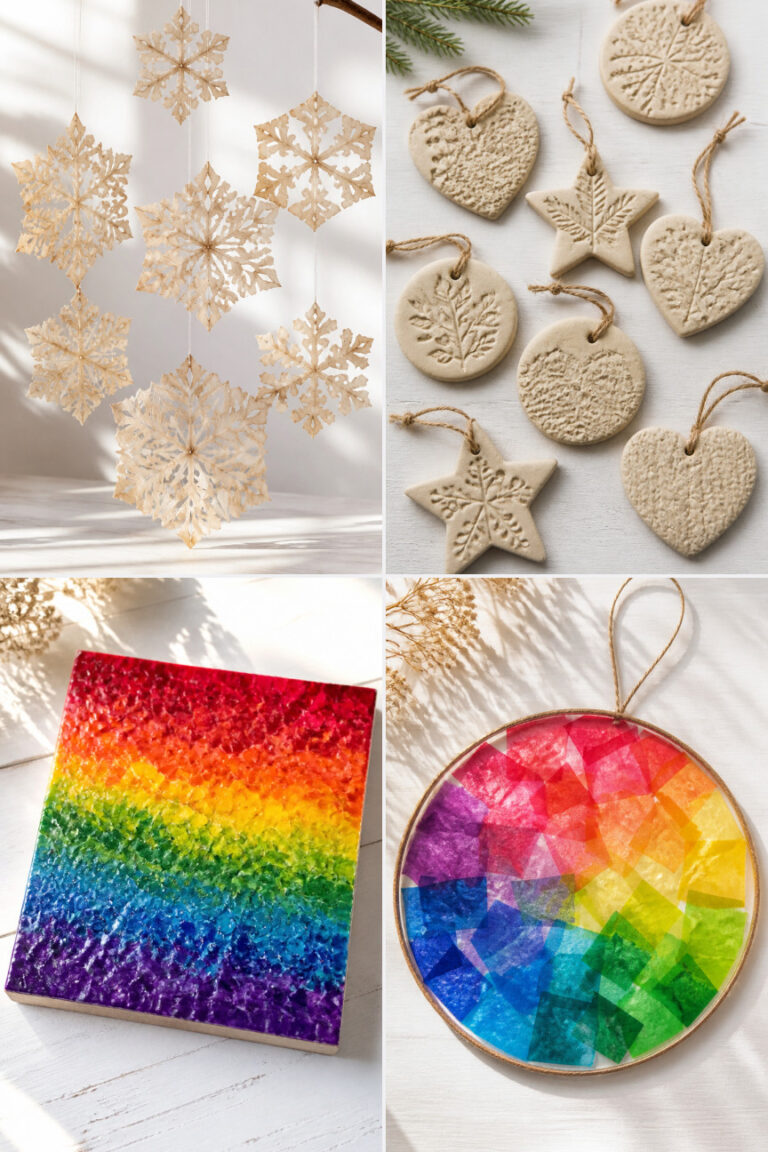
13. Salt Dough Ornaments
Easy
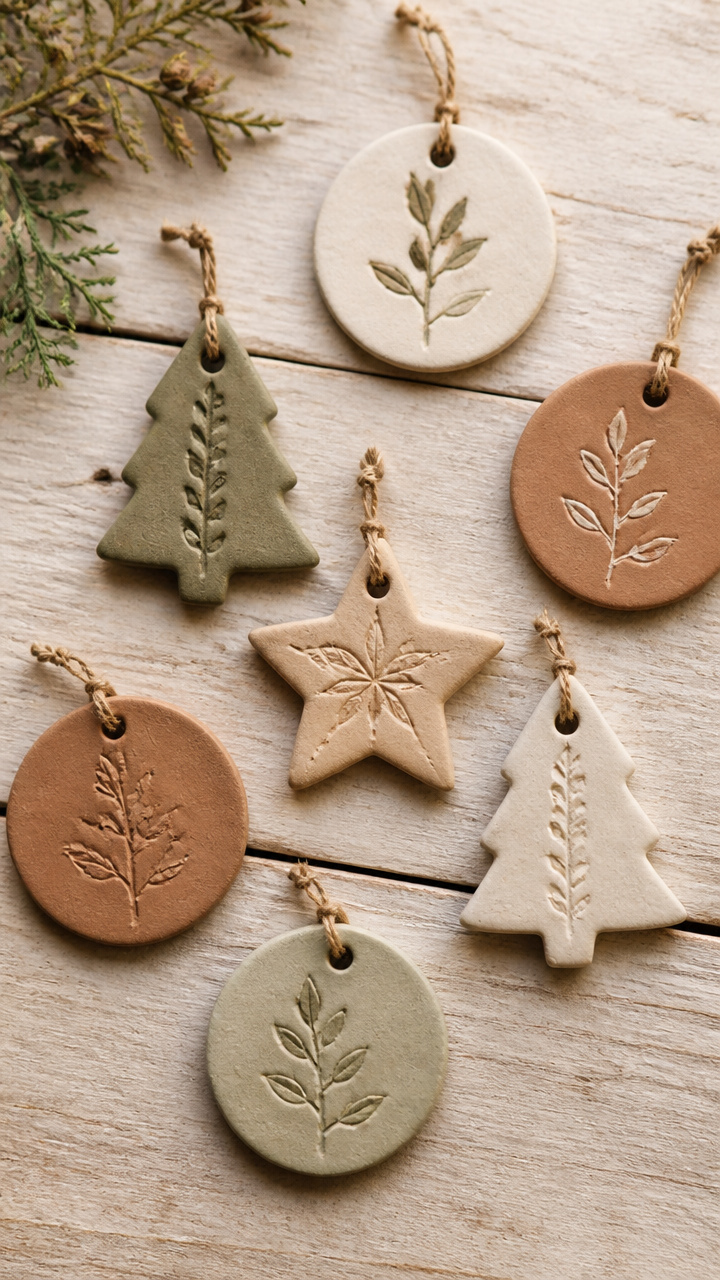
Simple salt dough shapes baked and painted become keepsake tree decorations. These use a basic rolling and cutting method with natural dyes.
Materials Needed
- 1 cup all-purpose flour
- 1/2 cup table salt
- 1/2 cup water
- cookie cutters (star, tree, circle)
- baking sheet
- parchment paper
- acrylic paint (red, green, gold)
How to Make It
- Mix flour, salt, and water in a bowl until a smooth dough forms.
- Roll the dough to 1/4-inch thickness on a floured surface and cut shapes with cookie cutters.
- Poke a hole near the top of each with a toothpick.
- Place on a parchment-lined baking sheet and bake at 200°F for 3 hours until hard.
- Paint the cooled ornaments with acrylics and let dry overnight.


14. Ladder Shelf Snow Scene
Easy
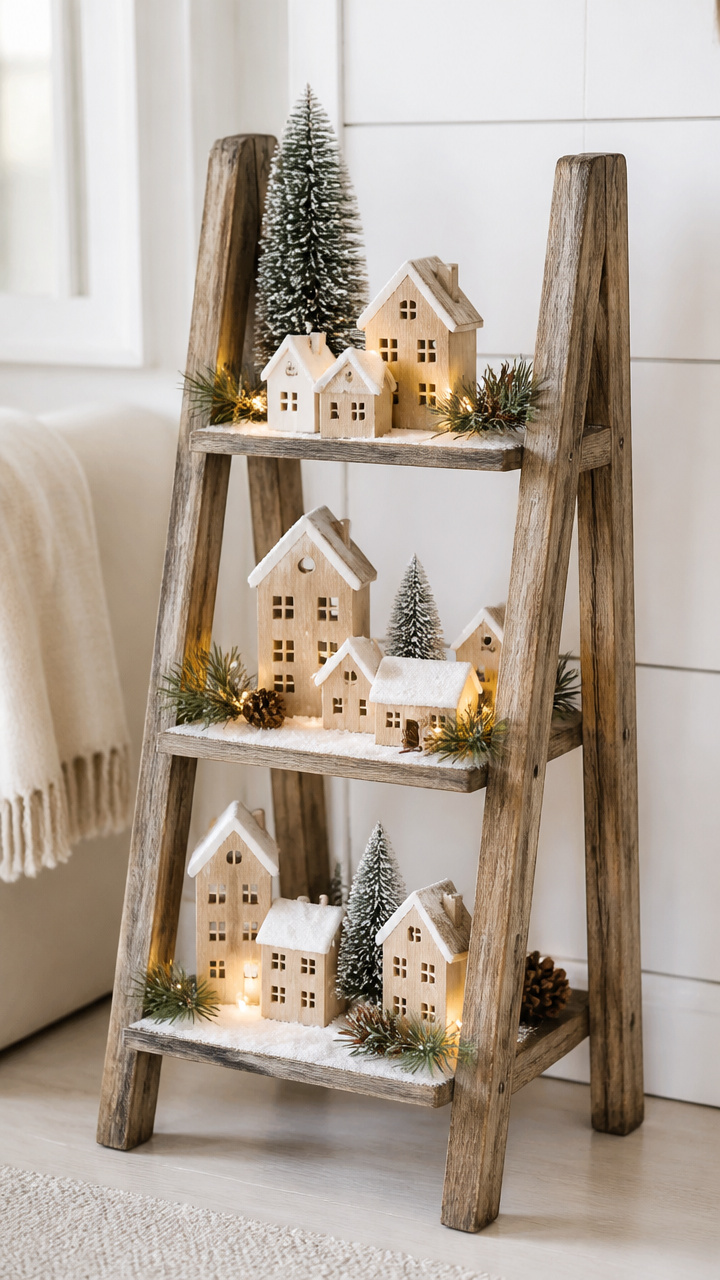
A mini winter village staged on a leaning ladder shelf creates a 3D display. This uses small figurines, faux snow, and pine sprigs.
Materials Needed
- 3-tier wooden ladder shelf
- artificial pine sprigs (6 inches long)
- white faux snow spray
- 3 miniature wooden houses
- tweezers
- LED micro string lights (10 bulbs)
How to Make It
- Place the ladder shelf against the wall and arrange the houses on different tiers.
- Tuck pine sprigs around the base of each house using tweezers for placement.
- Spray a light dusting of faux snow on the roofs and ground areas.
- Drape the string lights around the scene and plug in.

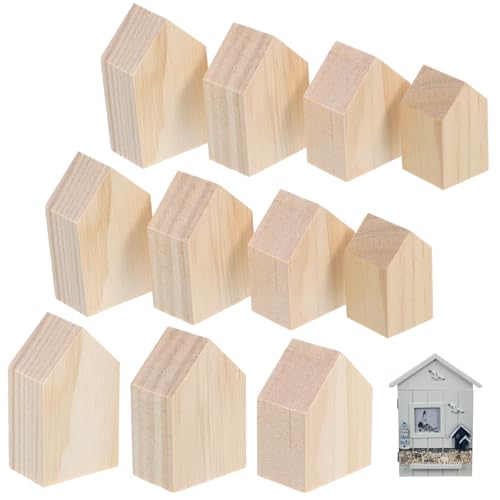

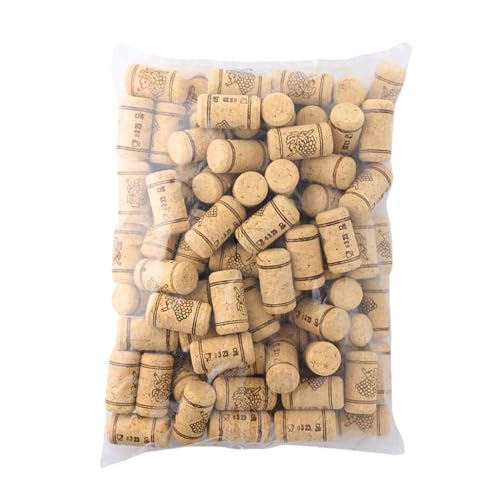
15. Wine Cork Snowmen
Easy

Stacked corks with painted faces and fabric scarves become tiny snowmen. These sit on shelves or windowsills with handmade cheer.
Materials Needed
- 9 wine corks
- black and orange acrylic paint
- paintbrush
- hot glue gun
- 3 small fabric scraps (red, plaid, striped)
- scissors
How to Make It
- Glue three corks together vertically to form each snowman body.
- Paint two black dots for eyes and an orange triangle for a nose on the top cork.
- Cut 1-inch strips from each fabric scrap and wrap around the middle cork like a scarf, securing with a dot of glue.
- Repeat to make three snowmen.


16. Yarn-Wrapped Twig Candle Holders
Easy
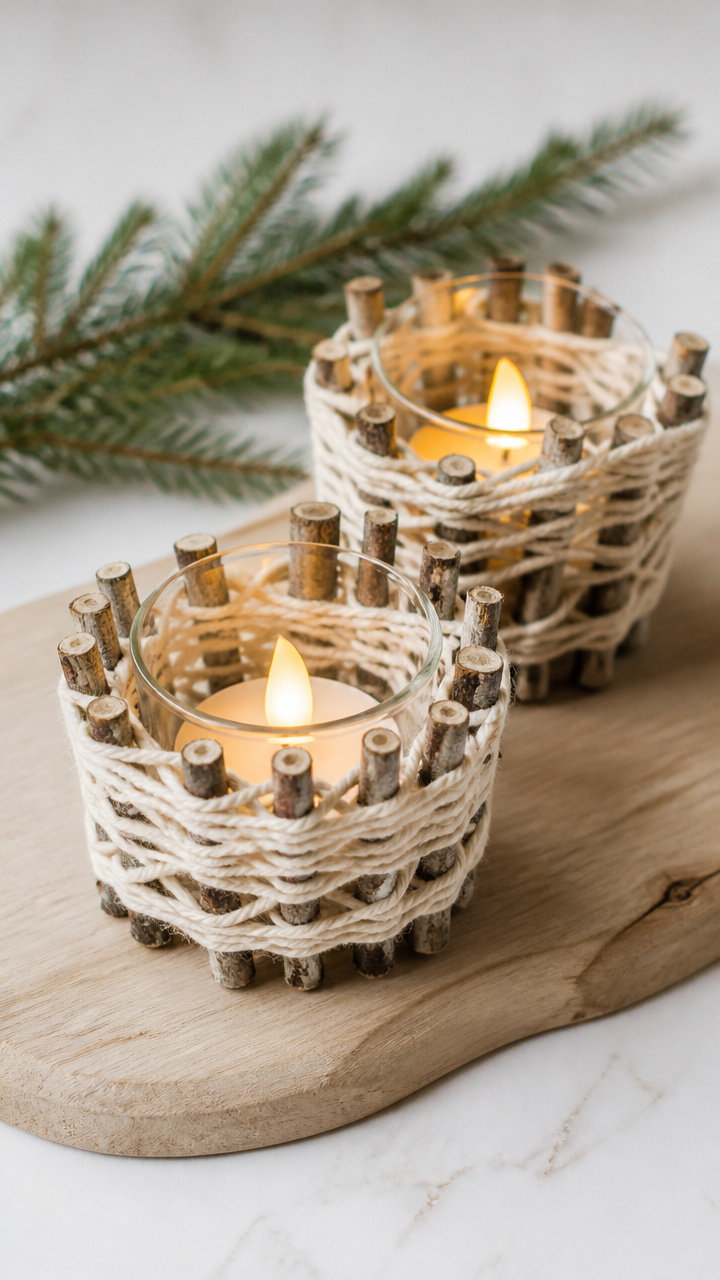
Thin branches wrapped in cream yarn cradle tea lights with woodland charm. These use natural twigs and a basic wrap technique.
Materials Needed
- 6 straight twigs (8 inches long, 1/2 inch thick)
- cream-colored cotton yarn
- hot glue gun
- 4-ounce clear glass votive holders
- flameless tea lights
How to Make It
- Apply a small dot of hot glue to one end of a twig and attach the yarn end.
- Wrap the yarn tightly around the twig, overlapping slightly, and glue the end when finished.
- Repeat for all six twigs.
- Glue three twigs evenly around the outside of each votive holder.
- Place a tea light inside.


17. Pressed Eucalyptus Wall Frame
Moderate
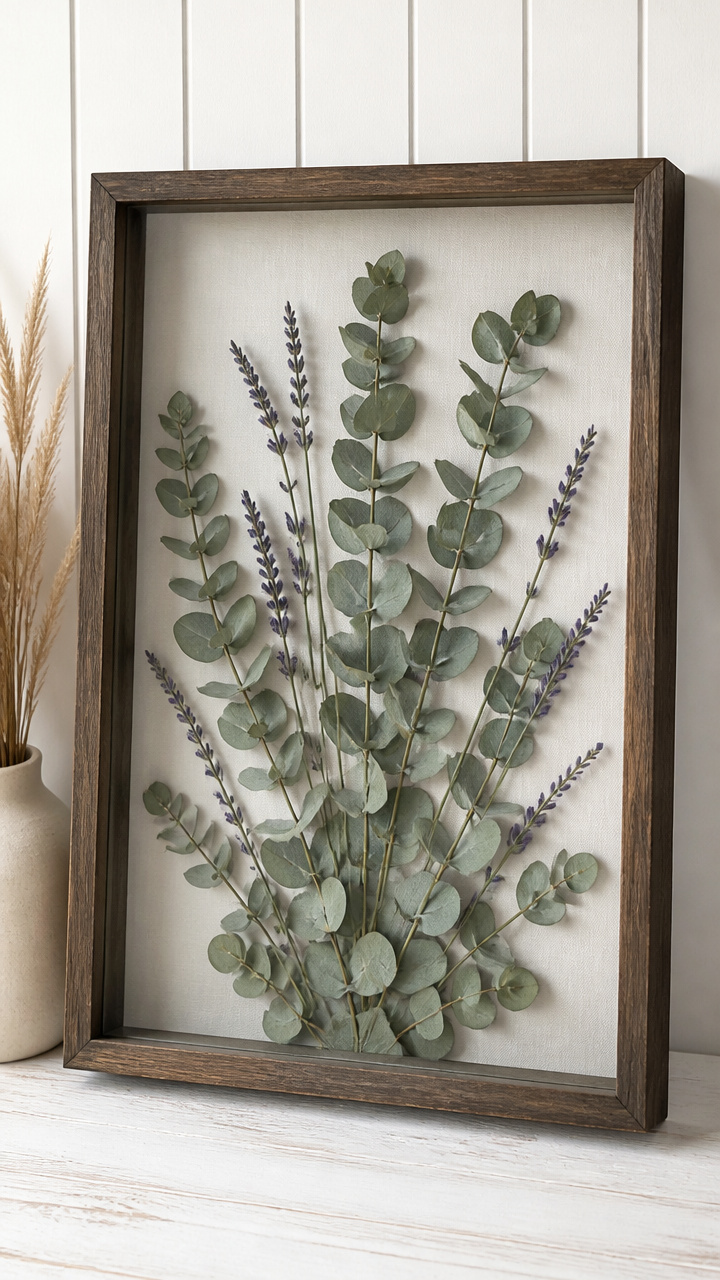
Silvery eucalyptus leaves pressed and framed add quiet elegance. This version uses a deep shadow box and simple arrangement.
Materials Needed
- 5 fresh eucalyptus sprigs
- heavy book
- 9×12-inch deep shadow box frame
- pinch of dried lavender buds (optional)
- tweezers
How to Make It
- Place eucalyptus sprigs between two sheets of parchment paper and set inside a heavy book.
- Leave for 5 days until fully flattened and dry.
- Open the shadow box and arrange the pressed sprigs in a loose cascade from one corner.
- Use tweezers to place a few lavender buds among the leaves if desired.
- Close and hang the frame.


18. Recycled Sweater Doormat
Moderate
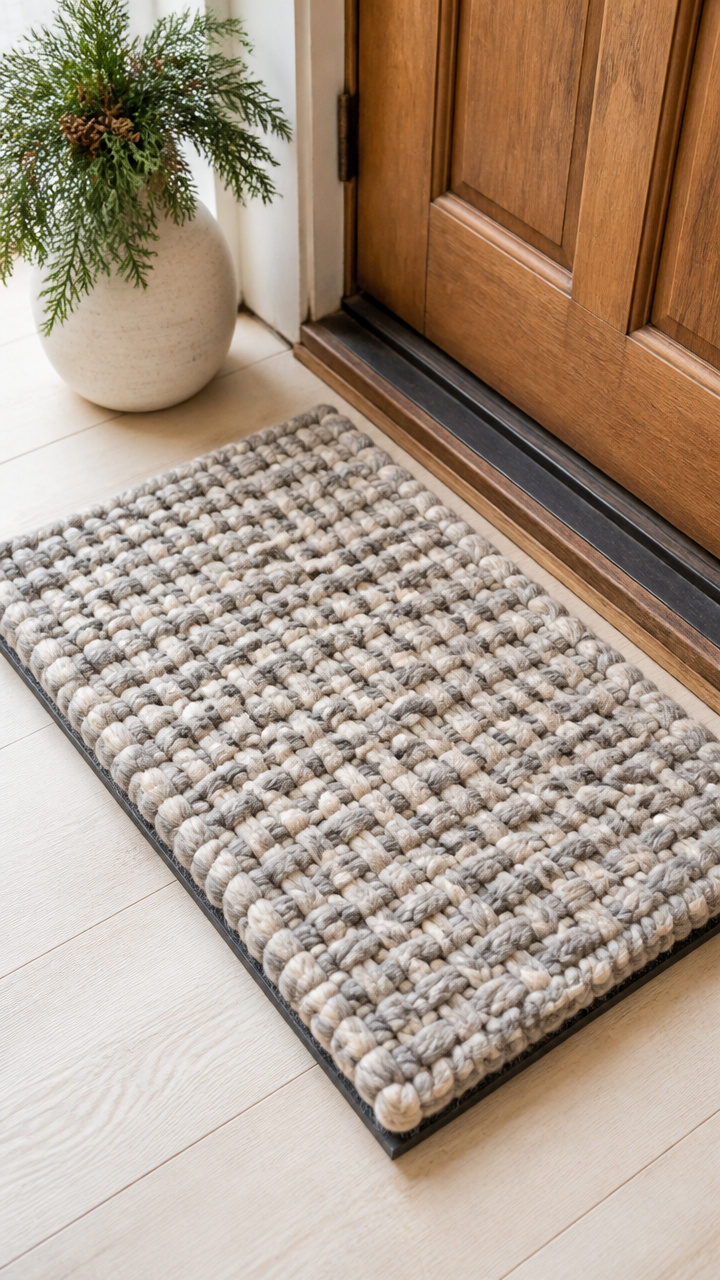
Strips of old wool sweater woven through a rubber mat make a warm, textured entryway pad. This uses no sewing and holds up to foot traffic.
Materials Needed
- 1 plain rubber doormat (18×30 inches)
- 1 old wool sweater (gray or cream)
- scissors
- yardstick
- ruler
How to Make It
- Cut the sweater into 1-inch-wide strips, removing seams and hems.
- Cut 20 strips, each 12 inches long.
- Weave each strip through the rubber mat grid, pulling tight and knotting the ends on the underside.
- Alternate knot directions for a staggered texture until the entire mat is filled.
Each of these crafts brings a little more warmth and personality to your home. Pick one that speaks to you and start creating tonight.