15 January Craft Ideas You Can Make with Items from Home

The quiet days after the new year begin invite slow moments, a chance to create with what you already have. With scissors, paper, glue, and a little imagination, your kitchen table can become a studio.
These handmade projects use everyday supplies to bring texture, color, and warmth into your space. No special trips to the store required — just simple materials and clear steps to help you make something satisfying.
1. Tissue Paper Window Display
Easy
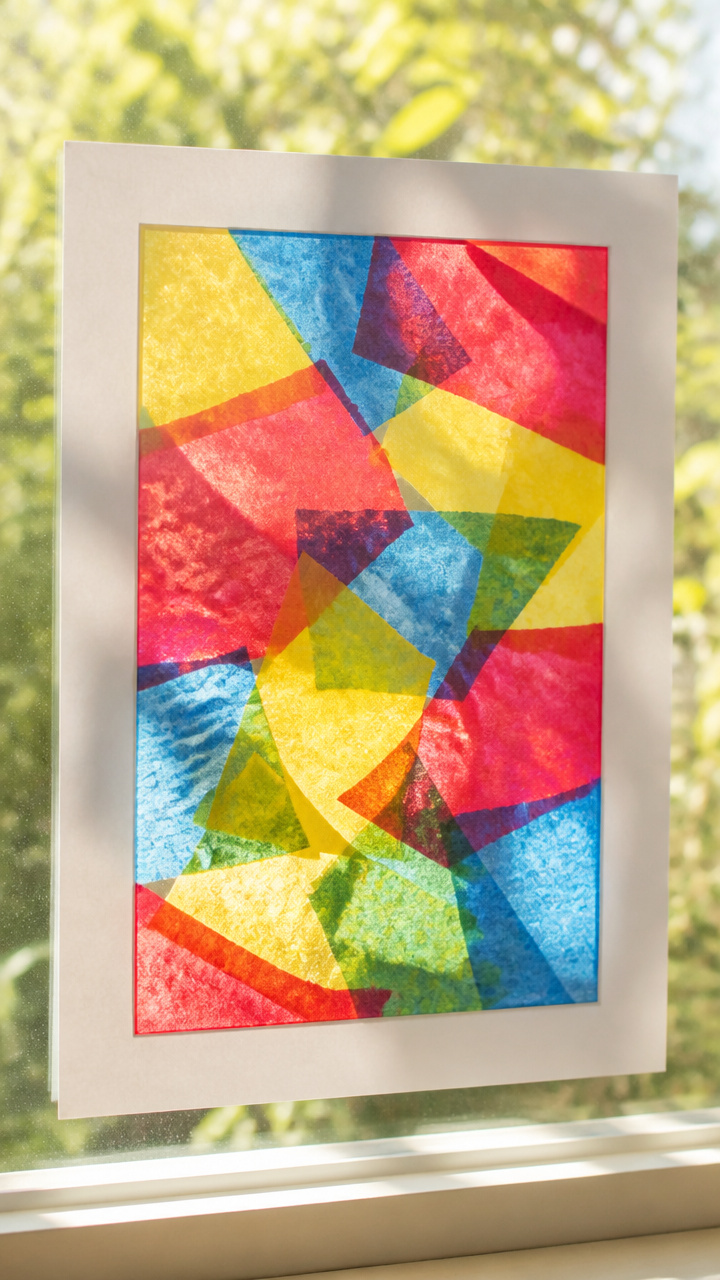
Bright overlapping layers catch sunlight and cast soft colored shadows across your room. This delicate decoration turns any window into a glowing art piece.
Materials Needed
- 6 sheets red tissue paper
- 6 sheets yellow tissue paper
- 6 sheets blue tissue paper
- Scotch tape
- Scissors
- A4 white printer paper
How to Make It
- Cut each sheet of tissue paper into 6 equal rectangles, yielding 36 pieces per color.
- Draw a simple flame shape on the A4 paper and cut it out to use as a template.
- Layer one red, one yellow, and one blue rectangle, aligning corners, then tape them together at the top edge.
- Repeat for 12 layered flames, varying the order of colors for depth.
- Tape the flames side by side along the top edge onto a clean window, slightly overlapping each one.


2. Twine-Wrapped Jar Vase
Easy
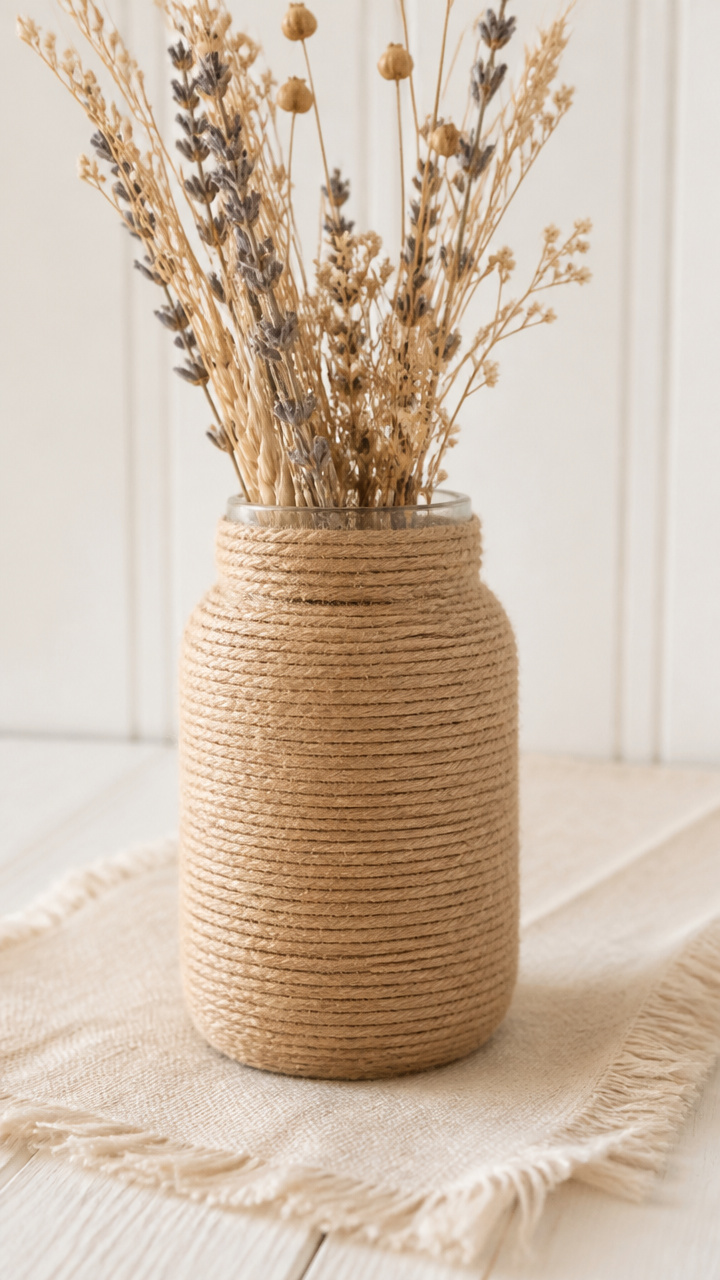
Sturdy glass jars gain warm texture and rustic charm when wrapped tightly in natural twine. Fill with dried stems or use as a candle holder.
Materials Needed
- 1 empty 16 oz mason jar
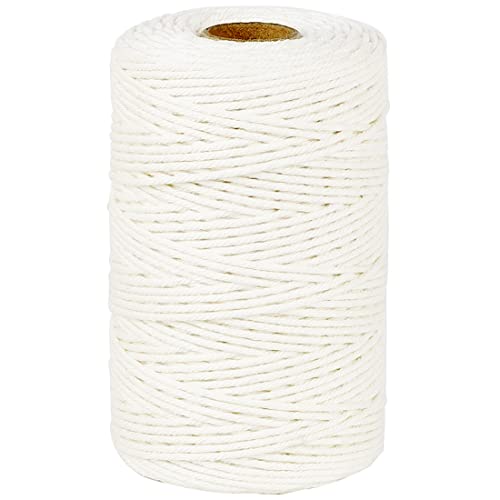
- 30 feet natural cotton twine
- Hot glue gun
- Hot glue sticks
- Scissors
How to Make It
- Wipe the jar clean and dry it completely before starting.
- Apply a small dot of hot glue near the base of the jar and press the end of the twine into it.
- Wrap the twine snugly around the jar, adding a dot of glue every inch to secure the strand.
- Continue wrapping until the entire body is covered, then glue the end and trim excess.


3. Salt Dough Ornaments
Moderate
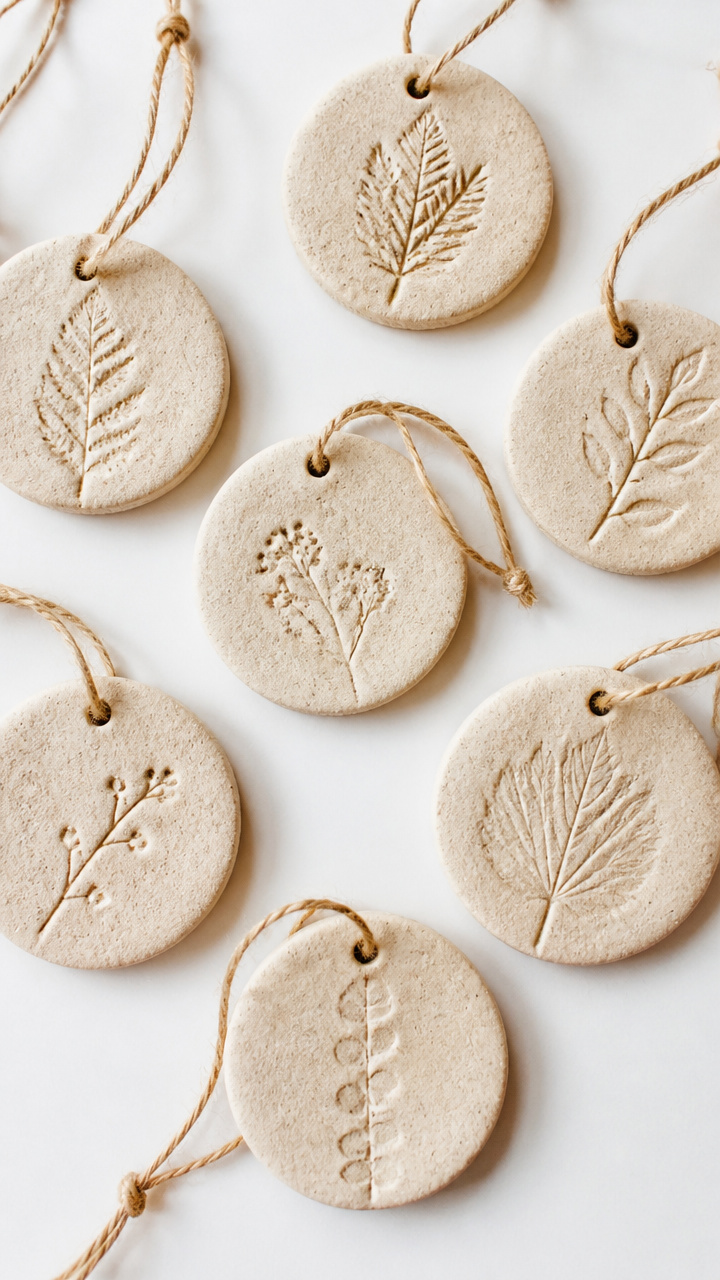
Soft, moldable dough shaped by hand bakes into keepsake decorations that hold fine details. Press fingerprints, leaves, or letters into each one.
Materials Needed
- 1 cup all-purpose flour
- 1/2 cup table salt
- 1/2 cup warm water
- Rolling pin
- Straw
- Baking sheet
- Parchment paper
- Acrylic paint (green, white, brown)
- Paintbrush
- Red embroidery floss, 12 inches
How to Make It
- Mix flour, salt, and warm water in a bowl until a smooth dough forms, kneading for 2 minutes.
- Roll the dough to 1/4 inch thickness and cut into tree shapes using a knife or cookie cutter.
- Use a straw to poke a hole near the top edge of each ornament.
- Place ornaments on a parchment-lined baking sheet and bake at 200°F for 3 hours until hard.
- Let cool, then paint with acrylics and thread floss through the hole for hanging.


4. Cardboard Tube Binoculars
Easy
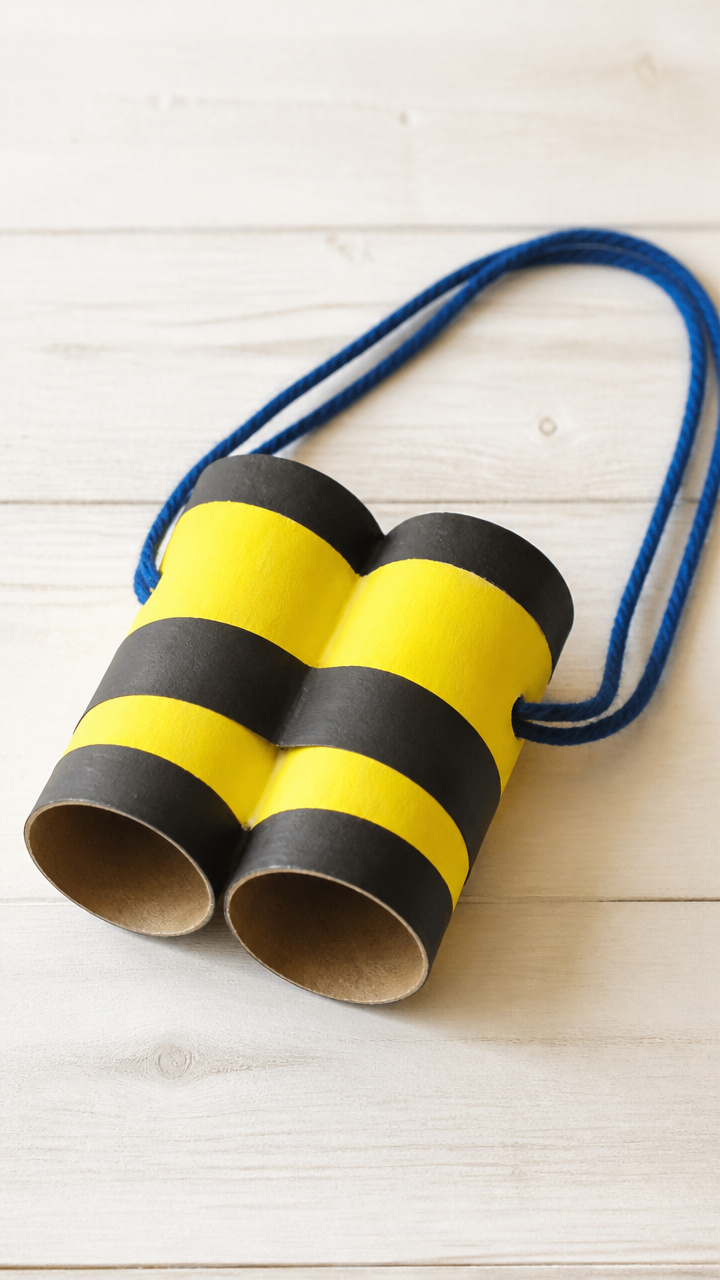
Two toilet paper tubes taped side by side spark imaginative backyard adventures. Paint them wild colors for extra fun.
Materials Needed
- 2 empty toilet paper tubes
- Duct tape, 12 inches
- White glue
- Hole punch
- 18 inches blue yarn
- Acrylic paint (yellow and black)
- Paintbrush
- Paper plate
How to Make It
- Lay the tubes side by side and tape them together along both long edges with duct tape.
- Mix a puddle of white glue on the paper plate and brush it over both tubes.
- Sprinkle black paint specks over the wet glue using the bristles of a dry brush for a starry effect.
- Once dry, punch one hole on each side of the center seam and thread yarn through to make a strap.


5. Fabric Scrap Garland
Easy
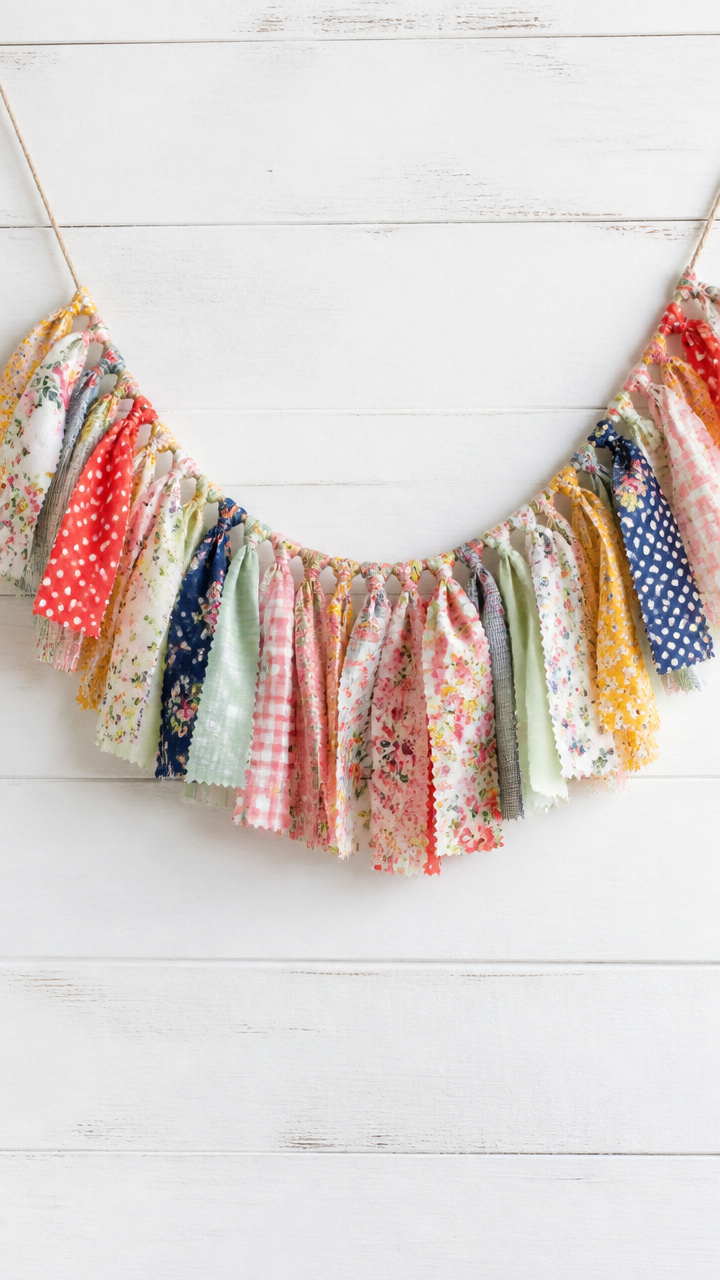
Leftover fabric bits from old clothes form a cozy chain perfect for mantels or shelves. The mix of patterns adds cheerful movement.
Materials Needed
- 10 fabric scraps, each 3×6 inches
- Scissors
- Ruler
- Clothesline cord, 36 inches
- Needle
- White thread
How to Make It
- Fold each fabric scrap in half widthwise, wrong sides together, to form a 3×3 inch square.
- Thread the needle and knot the end of the thread.
- Sew through the open edge of each folded square, attaching it directly to the cord as you go.
- Space each square 2 inches apart and tie off the thread at the end.


6. Coffee Filter Butterflies
Easy
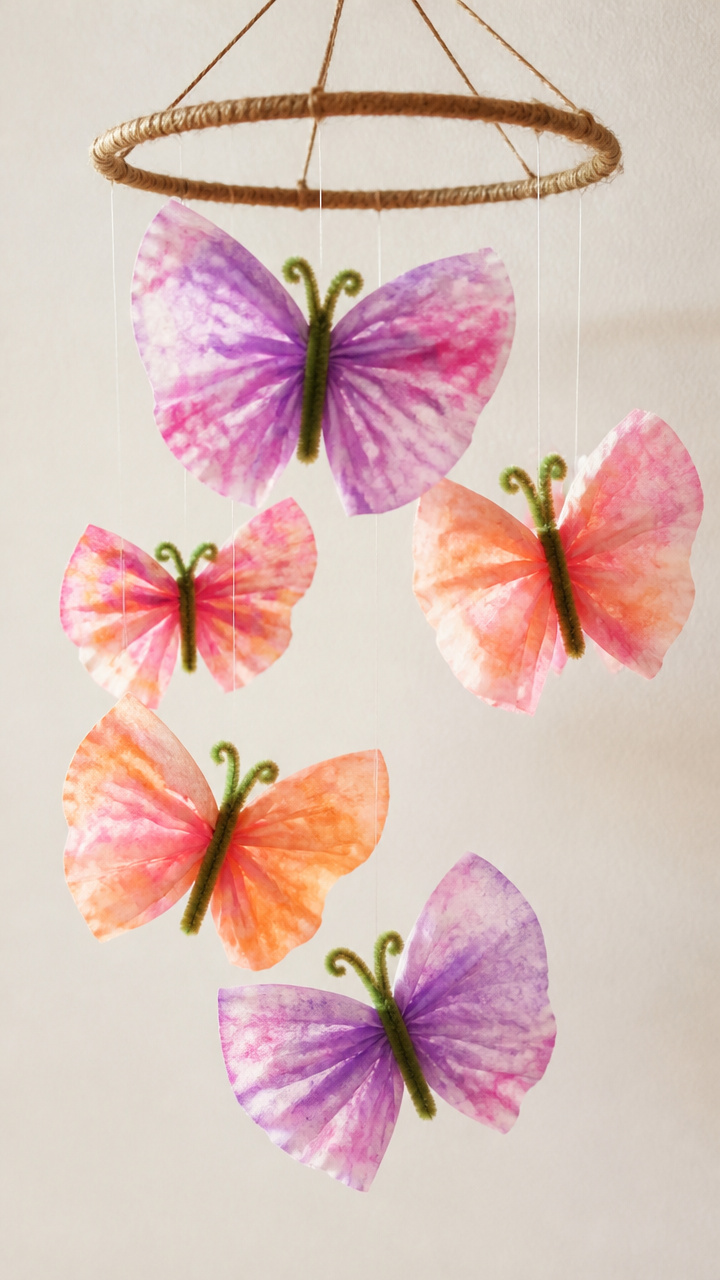
Delicate filters tinted with marker bleed into soft wings that flutter on a thread. Hang them near a breeze for gentle motion.
Materials Needed
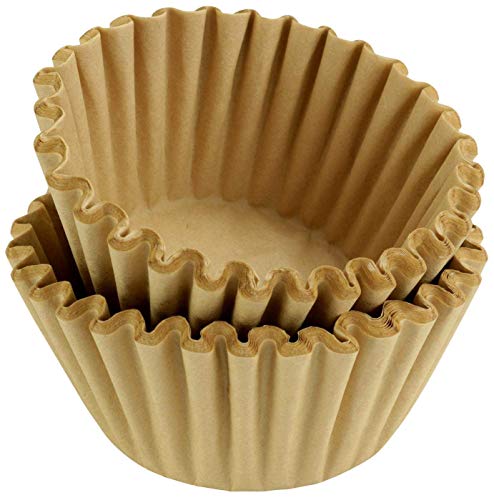
- 6 white coffee filters
- Crayola washable markers (purple, pink, orange)
- Small spray bottle with water
- Clothespin
- Pipe cleaner, green, 6 inches
- Tweezers
- Hole punch
How to Make It
- Lay a coffee filter flat and color one half with markers, using swirling strokes.
- Spray lightly with water so colors bleed across the surface, then let dry completely.
- Fold the filter in half and use tweezers to pinch the center, twisting a pipe cleaner around it to form the body.
- Punch a hole at the top of the body and hang with thread.


7. Button Picture Frame
Moderate
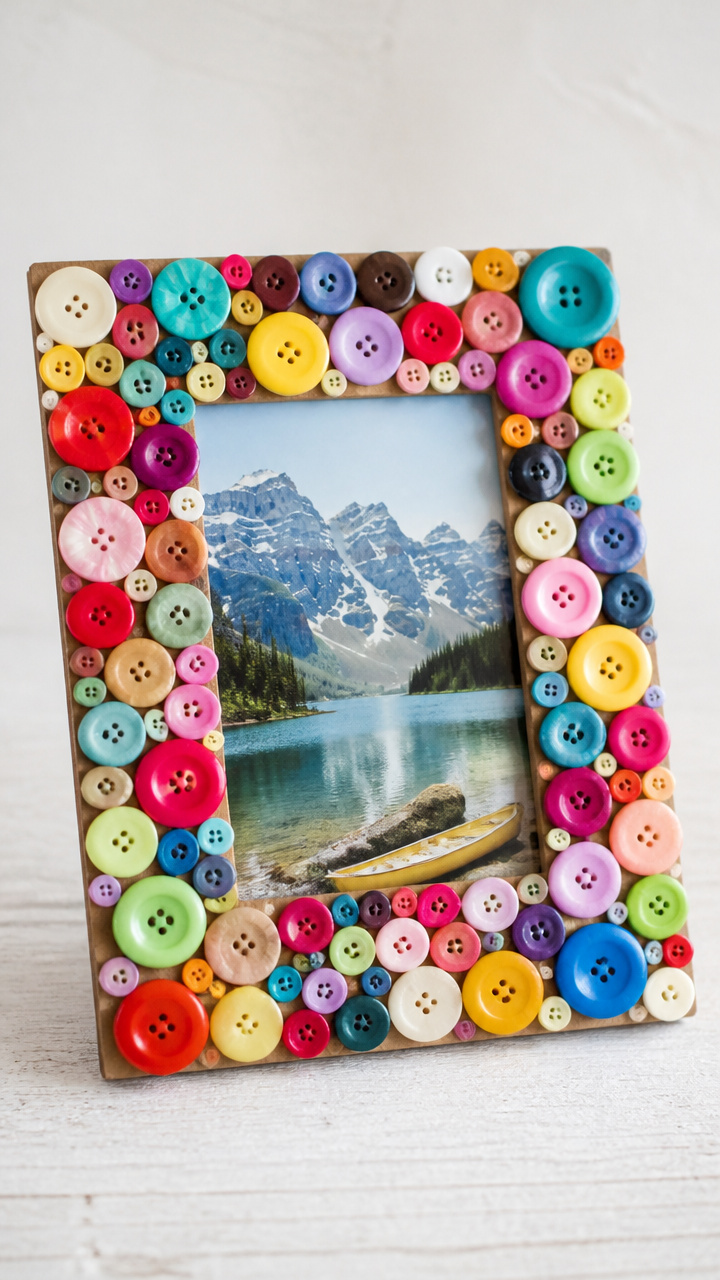
An old cardboard frame becomes bold and tactile with a mosaic of mismatched buttons. It holds a favorite photo behind the pattern.
Materials Needed
- 1 plain cardboard picture frame, 5×7 inches
- 50 assorted buttons (various sizes, colors, and textures)
- Hot glue gun
- Hot glue sticks
- Tweezers
- Scissors
- Family photo, 4×6 inches
How to Make It
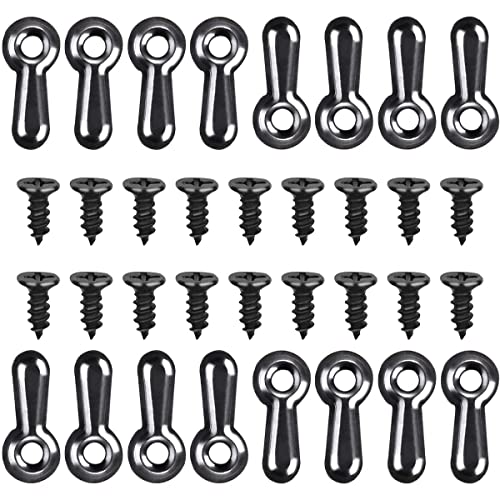
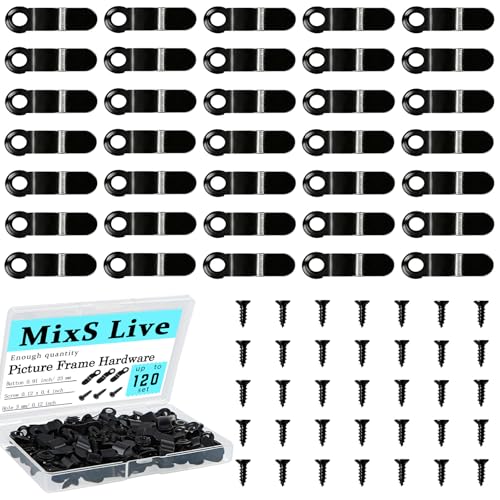
- Remove the glass and backing from the frame and set aside.
- Arrange buttons on the front of the frame without gluing first, filling the outer border completely.
- Use tweezers to pick up each button and glue it in place with a dab of hot glue.
- Let dry 10 minutes, then reassemble the frame with the photo inside.

8. Yarn-Wrapped Pencil Toppers
Easy
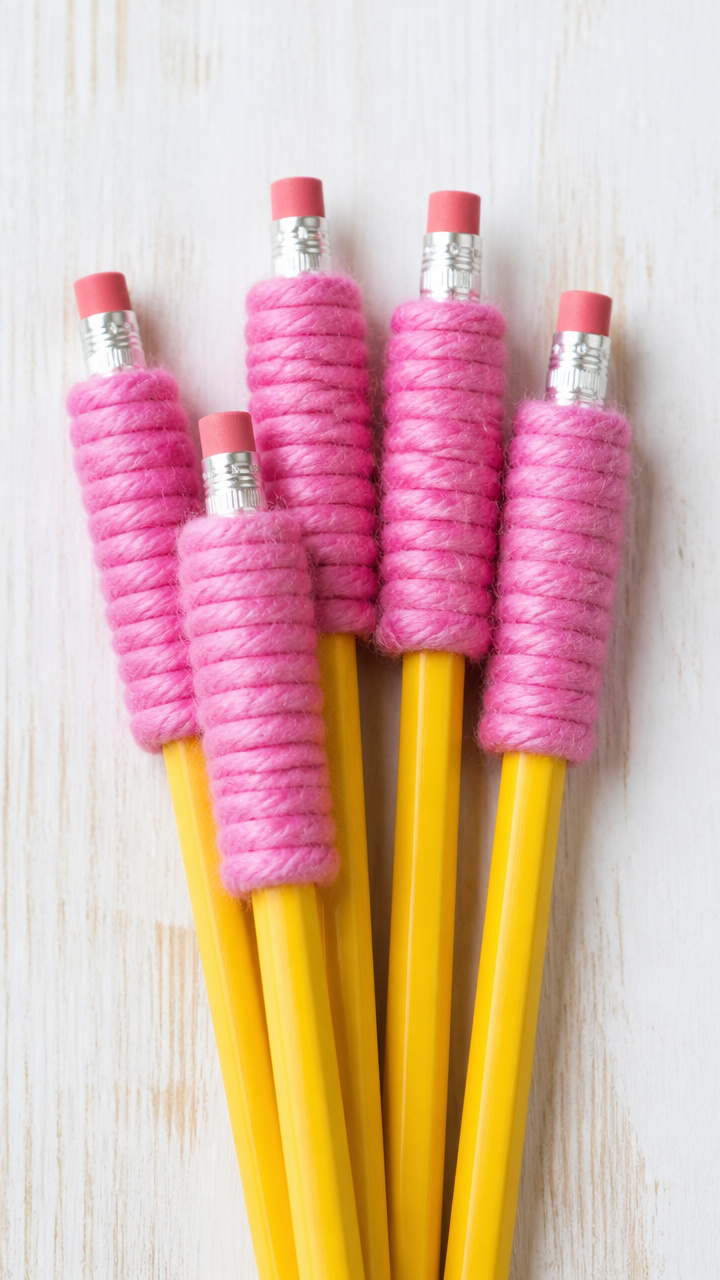
Plain pencils get a grippy, colorful upgrade with tight coils of soft yarn. These are great for gifting or brightening your desk.
Materials Needed
- 4 unused #2 pencils
- Fuzzy pink yarn, 20 inches per pencil
- White school glue
- Small brush
How to Make It
- Brush a thin layer of glue along the top 3 inches of each pencil.
- Press the end of the yarn into the glue and begin wrapping tightly downward in even coils.
- Overlap each wrap slightly and continue until 1/2 inch from the eraser.
- Glue the end down and let dry for 20 minutes.

9. Paper Quilled Snowflakes
Moderate
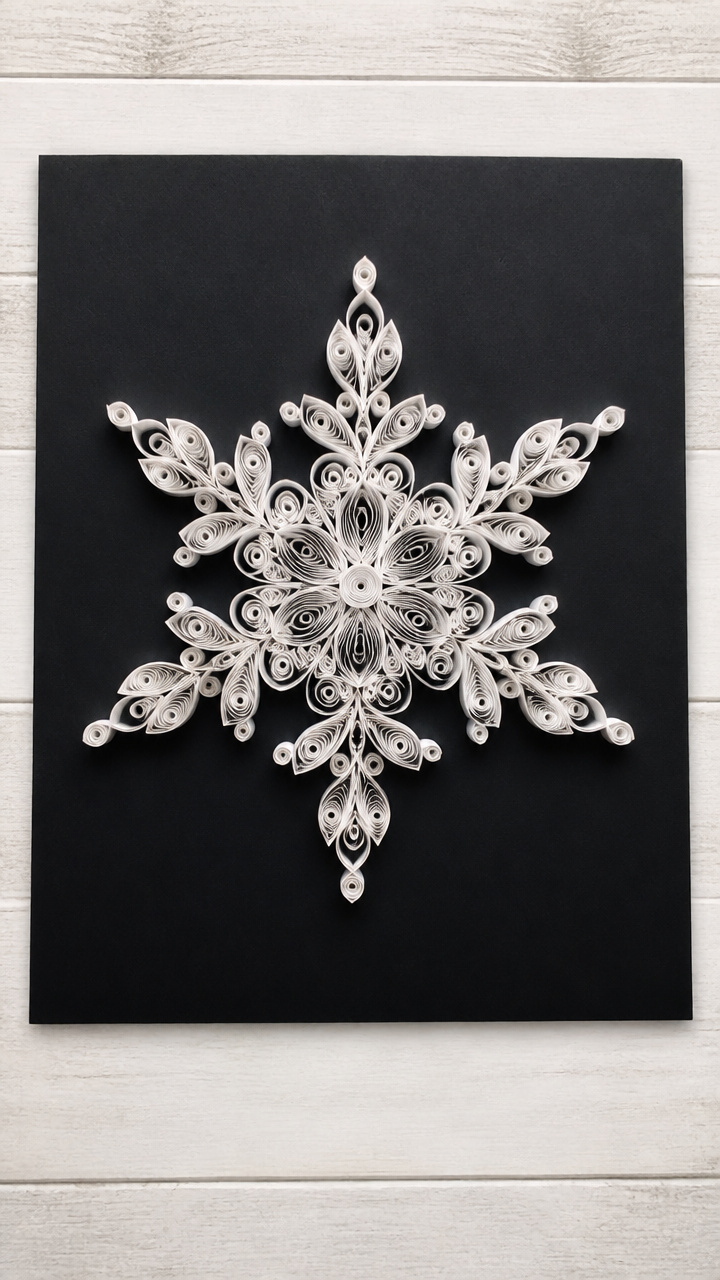
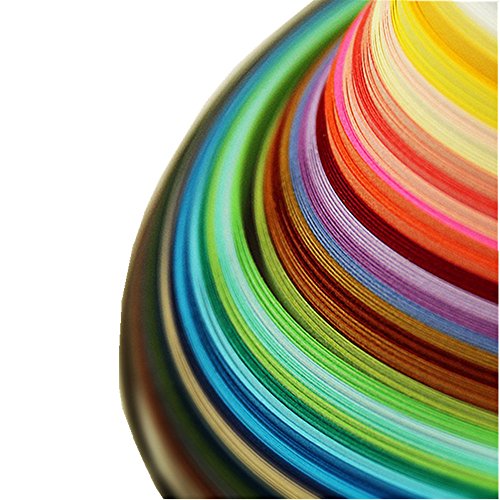
Thin strips of paper rolled and shaped form intricate snowflake designs. Mount them on dark paper for contrast.
Materials Needed
- 12 white paper strips, each 1/4 inch x 12 inches
- Quilling tool or toothpick
- White school glue
- Black construction paper, 8.5×11 inches
- Tweezers
- Ruler
How to Make It
- Wrap one paper strip around the quilling tool and slide it off, pinching one end to form a teardrop shape.
- Glue the tail end down and repeat to make six identical shapes.
- Arrange the shapes in a circle, points facing outward, and glue them together at the bases.
- Glue the snowflake centered on the black paper and let dry flat for 30 minutes.


10. Egg Carton Seed Starters
Easy
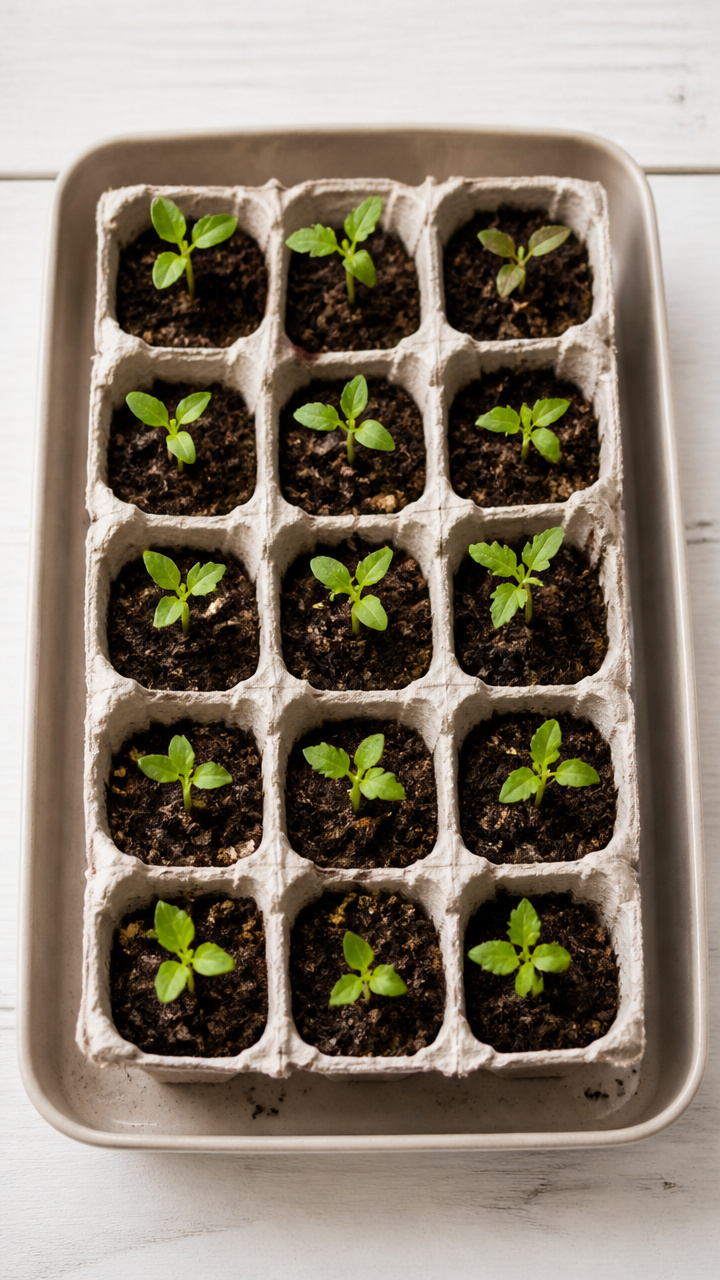
Individual cups from an egg carton hold soil and sprouting seeds. Once roots grow, plant the whole cup in dirt.
Materials Needed
- 1 cardboard egg carton, 12-cup
- Potting soil, 4 cups
- Small trowel
- Pumpkin seeds, 12
- Spray bottle with water
- Shallow tray
How to Make It
- Fill each egg cup with potting soil using the trowel, leaving 1/2 inch at the top.
- Press one pumpkin seed into the center of each cup, about 1/2 inch deep.
- Mist the surface with water and place the carton in a tray to catch drips.
- Set in a sunny spot and mist daily until sprouts appear in 5–7 days.


11. Cereal Box Bookmarks
Easy
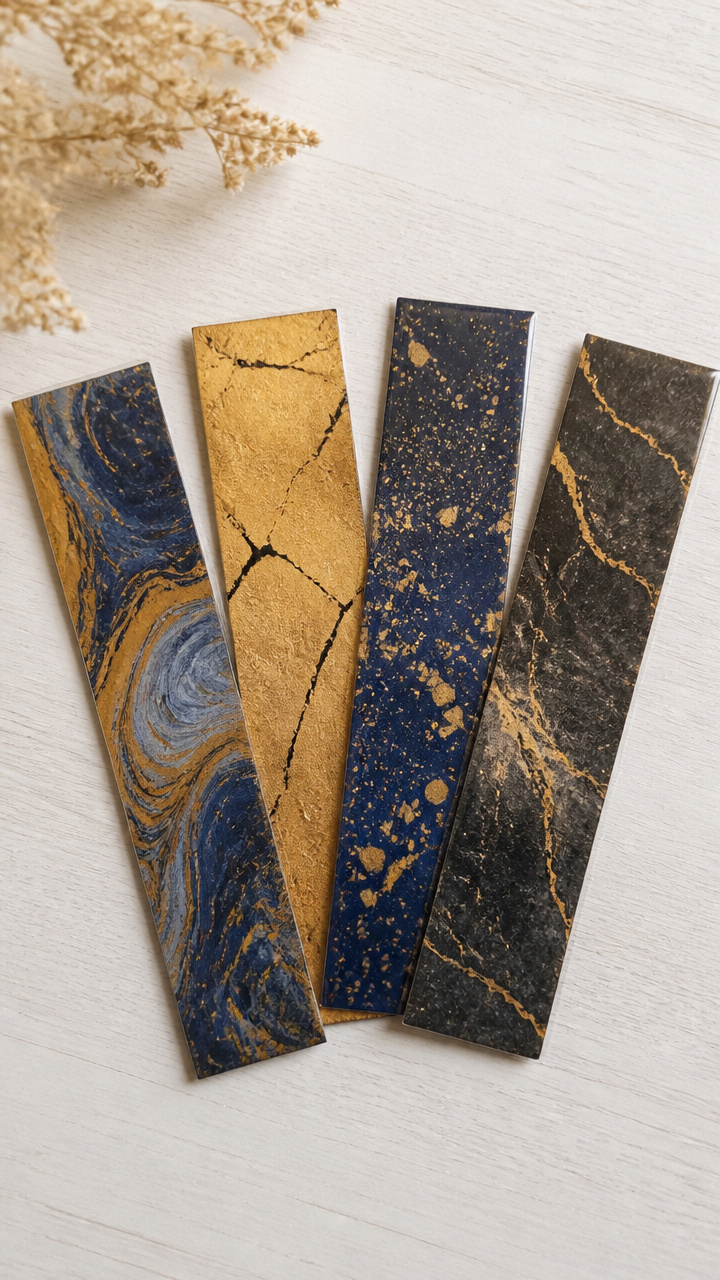
Stiff cardboard from a cereal box becomes durable bookmarks you can decorate boldly. Laminate with tape for longer life.
Materials Needed
- Empty cereal box
- Scissors
- Ruler
- Pencil
- Clear packing tape, 18 inches
- Markers (blue, gold, black)
How to Make It
- Cut the cereal box into four 2×6 inch rectangles using the ruler and scissors.
- Draw a sun design on one bookmark with markers, filling the surface.
- Lay the bookmark on a flat surface and cover front and back with overlapping strips of packing tape.
- Trim excess tape and round the corners slightly with scissors.


12. Straw Wind Spinners
Moderate
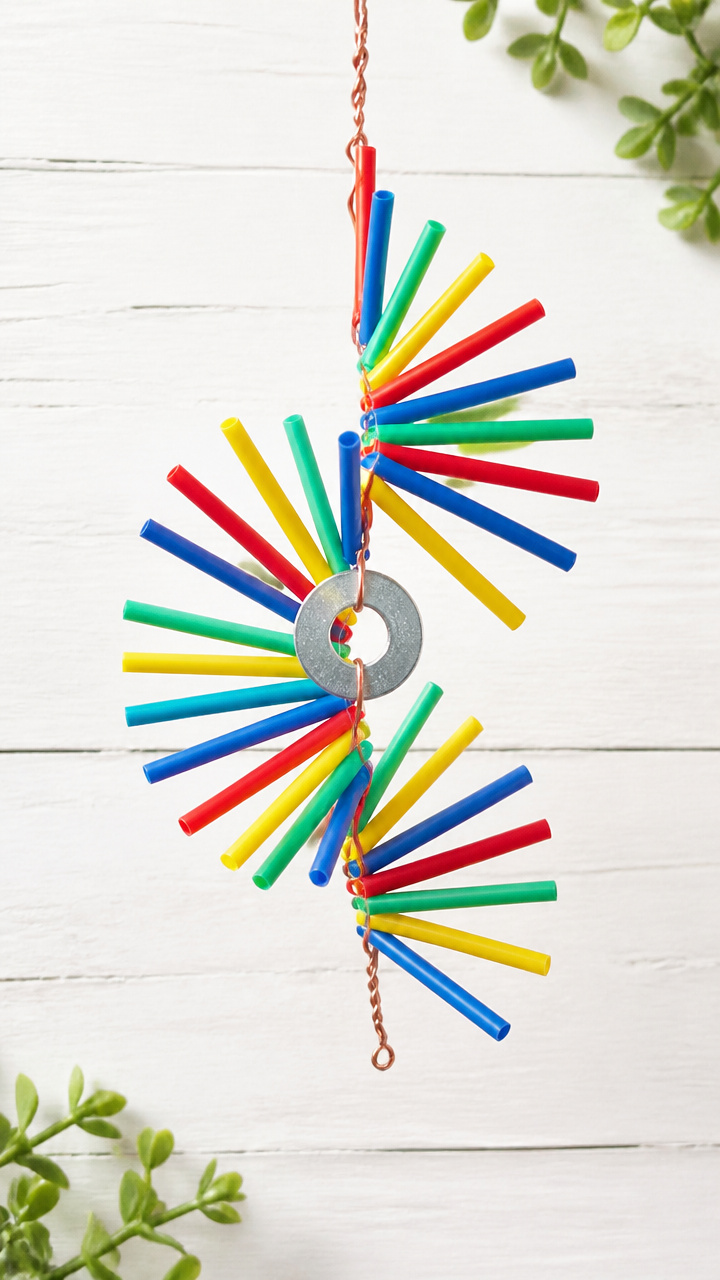
Bright plastic straws threaded onto wire twist in the wind like kinetic sculptures. Hang from a porch or tree branch.
Materials Needed
- 8 flexible plastic straws (red, yellow, blue, green)
- 12 inches copper wire, 20-gauge
- Pliers
- Scissors
- Metal washer, 1 inch diameter
How to Make It
- Cut each straw just below the bend to separate the straight and angled parts.
- Slide the straight sections onto the wire, alternating colors, leaving 2 inches free at the bottom.
- Bend the top 1 inch of wire into a small loop using pliers to prevent straws from slipping off.
- Attach the washer to the bottom end to add weight and balance the spinner.


13. Laundry Bag from Old T-Shirt
Easy
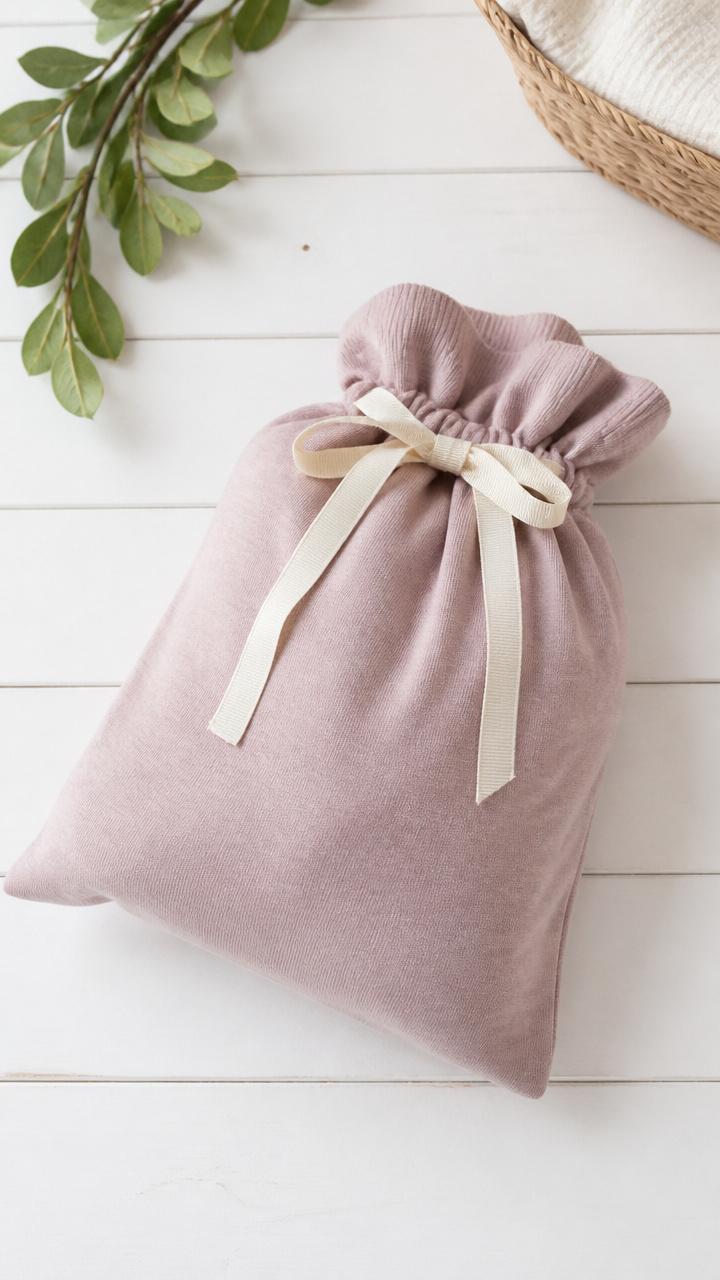
Stretchy cotton shirts turn into breathable drawstring bags perfect for delicates or travel socks. No sewing needed.
Materials Needed
- 1 large cotton t-shirt
- Scissors
- Ruler
- 18 inches grosgrain ribbon
How to Make It
- Lay the t-shirt flat and cut off both sleeves and the neckline to create a large tube of fabric.
- Cut a 14×16 inch rectangle from the lower portion, using the side seams as finished edges.
- Fold the top edge down 1 inch and cut two 1-inch slits on each side, 2 inches from the corners.
- Thread the ribbon through the folded hem, exiting through the slits to form a drawstring.


14. Milk Jug Bird Feeder
Moderate
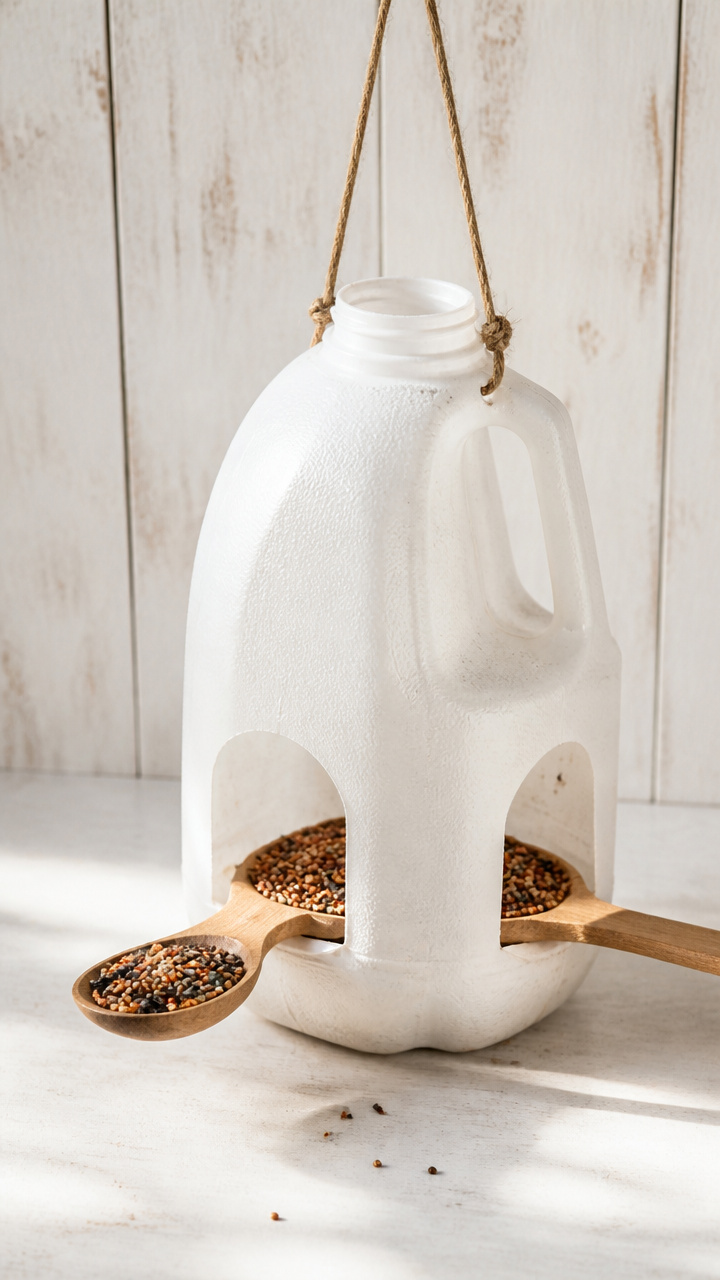
A clean plastic jug becomes a weatherproof home for birdseed with perches cut into the sides. Watch birds visit daily.
Materials Needed
- 1 gallon plastic milk jug
- Scissors
- Wooden spoons, 2
- Permanent marker
- String, 24 inches
- Birdseed, 2 cups
How to Make It
- Wash and dry the jug completely, removing the label.
- Use the marker to trace a coin-sized hole 4 inches from the bottom on two opposite sides.
- Cut the holes and push a wooden spoon through each, handle side out, to act as perches.
- Tie string around the neck and fill with birdseed before hanging from a tree.


15. Newspaper Wall Art
Advanced
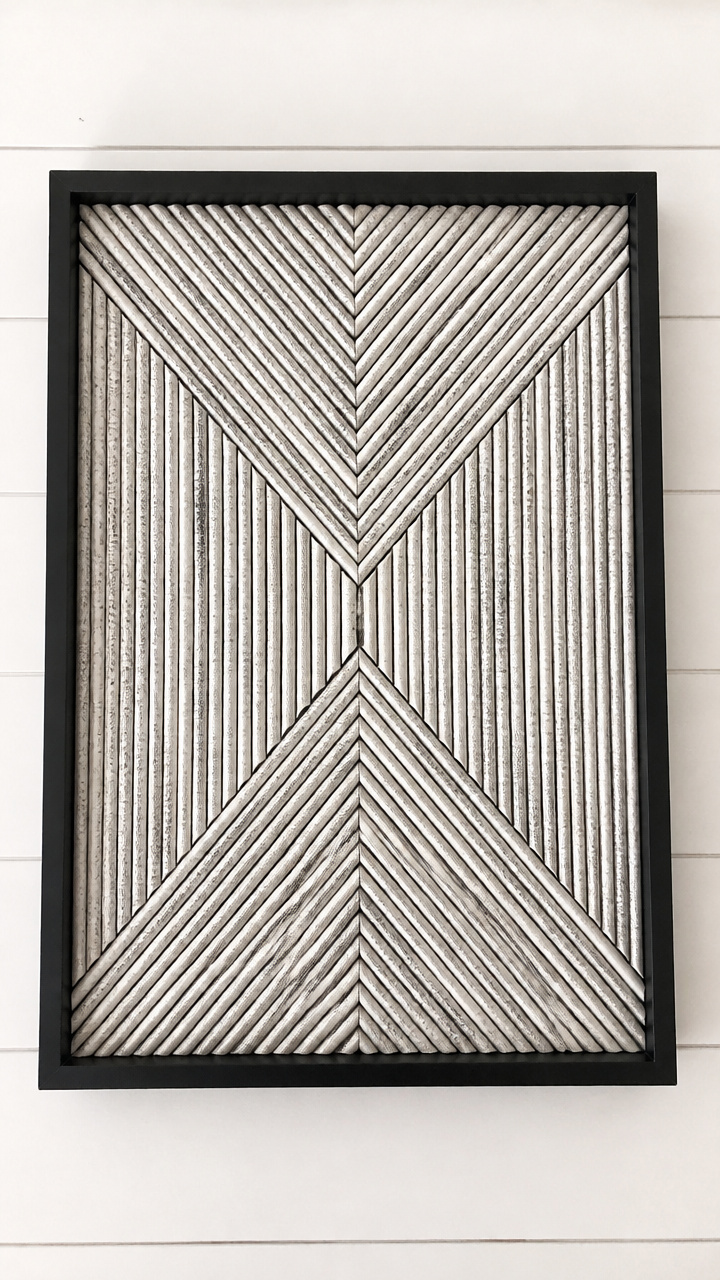
Black text on white paper twisted into tight scrolls forms a monochrome geometric panel. Frame it for modern wall decor.
Materials Needed
- 10 pages black-and-white newspaper
- Scissors
- Pencil
- White school glue
- 8.5×11 inch foam board
- Toothpicks
- Ruler
How to Make It
- Cut each page into 1-inch wide strips, then cut each strip in half lengthwise.
- Roll a strip tightly around a toothpick, apply glue to the end, and let dry for 1 minute before sliding off.
- Create 60 rolls and arrange them in concentric squares on the foam board, gluing each in place.
- Leave a 1/2 inch border and let the full piece dry flat overnight.
Each of these crafts begins with something ordinary and ends with a small joy. Grab what’s nearby and start making today.