15 Creative New Year Crafts for Adults

The quiet hush of a fresh start wrapped in handmade charm. You don’t need fireworks to mark the moment when one year gives way to the next, just your hands and a little inspiration.
These crafts invite you to slow down and make something real. Each one is designed to bring warmth, intention, and a personal touch to your celebration or space.
1. Glittered Citrus Slice Ornaments
Easy
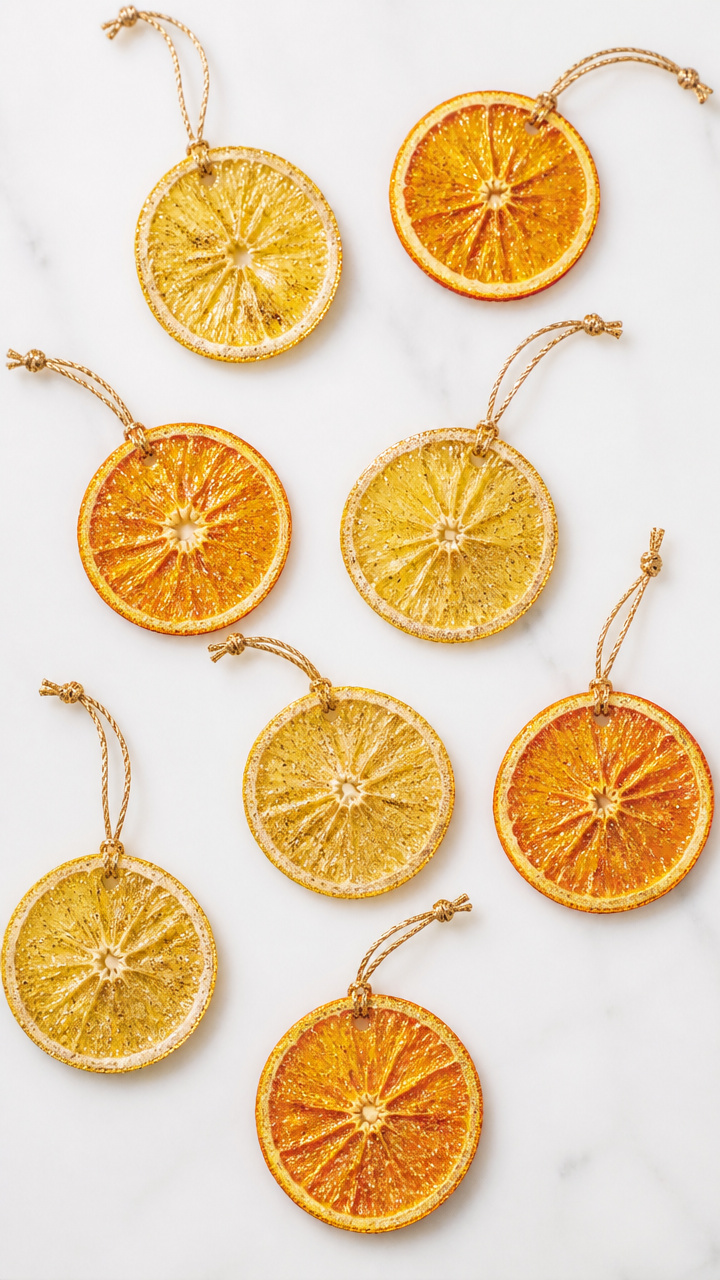
Bright slices of dried lemon and orange dipped in gold glitter become shimmering window decorations that catch winter light beautifully. They smell faintly citrusy and look like tiny suns captured in glass.
Materials Needed
- 3 lemons, thinly sliced
- 3 oranges, thinly sliced
- Baking sheet
- Parchment paper
- Fine gold glitter (non-toxic)
- White craft glue
- Small paintbrush
- Hole punch
- Gold embroidery floss (60 cm per ornament)
How to Make It
- Preheat oven to 200°F (95°C). Line a baking sheet with parchment paper.
- Arrange citrus slices in a single layer on the sheet. Bake for 2 hours, flipping halfway, until fully dried and slightly curled.
- Mix equal parts glue and glitter in a small bowl to create a thick paste.
- Use the paintbrush to coat one side of each slice with the glitter mixture. Let dry flat for 2 hours.
- Flip and repeat on the other side. Allow to dry completely overnight.
- Punch a small hole near the edge of each slice. Thread 30 cm of floss through and knot to create a hanger.


2. Marbled Clay Ring Dishes
Moderate
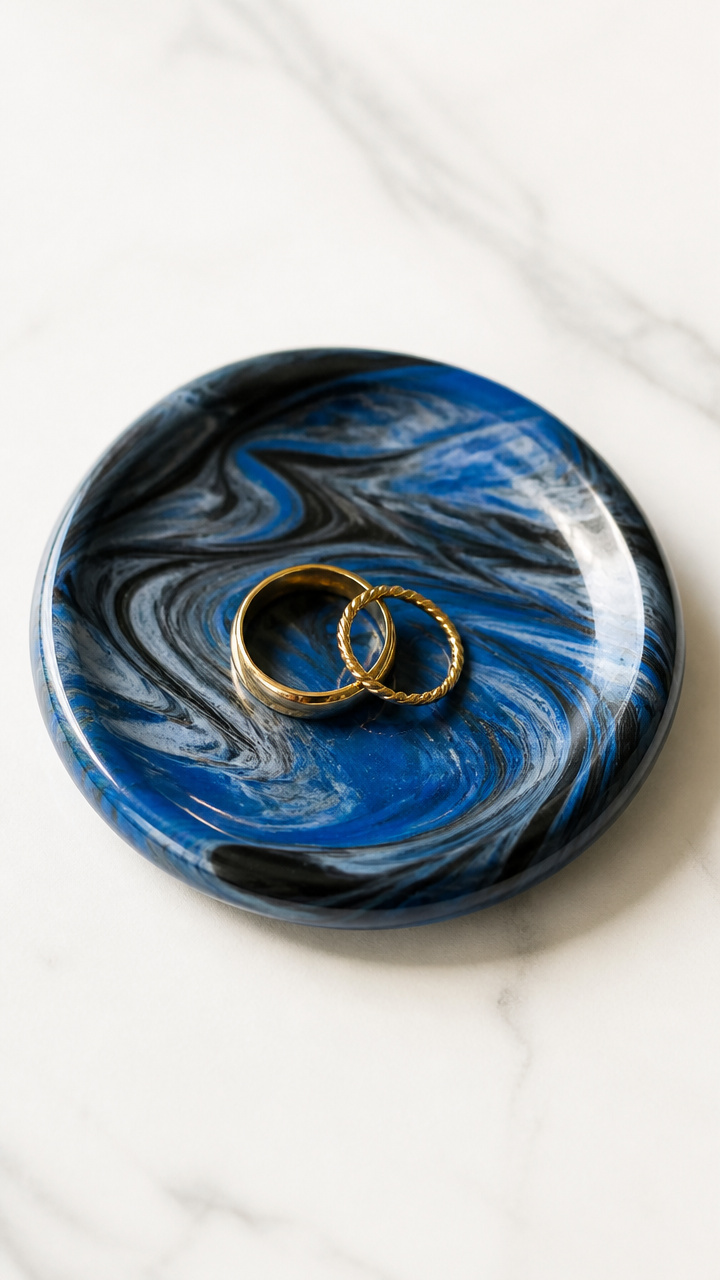
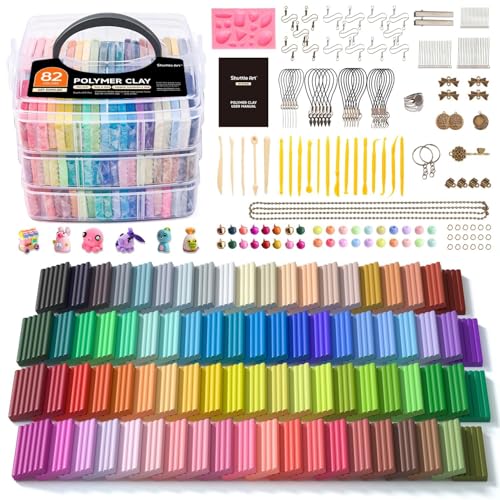
Smooth swirls of deep blue and charcoal polymer clay form shallow dishes perfect for holding earrings or keys by the entryway. The marbling technique gives each one a unique stone-like surface.
Materials Needed
- Black polymer clay (Fimo Professional, 57 g block)
- Sapphire blue polymer clay (57 g block)
- Clay roller tool or acrylic rolling pin
- Craft blade
- Cornstarch (1 tablespoon)
- Aluminum foil
- Oven-safe ceramic tile
- Soft cloth
How to Make It
- Preheat oven to 230°F (110°C). Cover your work surface with parchment paper.
- Dust hands and roller lightly with cornstarch to prevent sticking.
- Condition each clay block by kneading for 2 minutes until soft and pliable.
- Stack small pieces of black and blue clay, then fold and press them together 10 times to create a marbled effect.
- Roll the marbled clay into a flat sheet about 3 mm thick using the roller.
- Cut out three circles using an upside-down cup as a guide. Press gently into foil-lined molds to shape into shallow bowls.
- Place on the ceramic tile and bake for 30 minutes. Let cool completely.
- Buff the surface with a soft cloth to enhance shine.


3. Hand-Stamped Metal Bottle Openers
Moderate
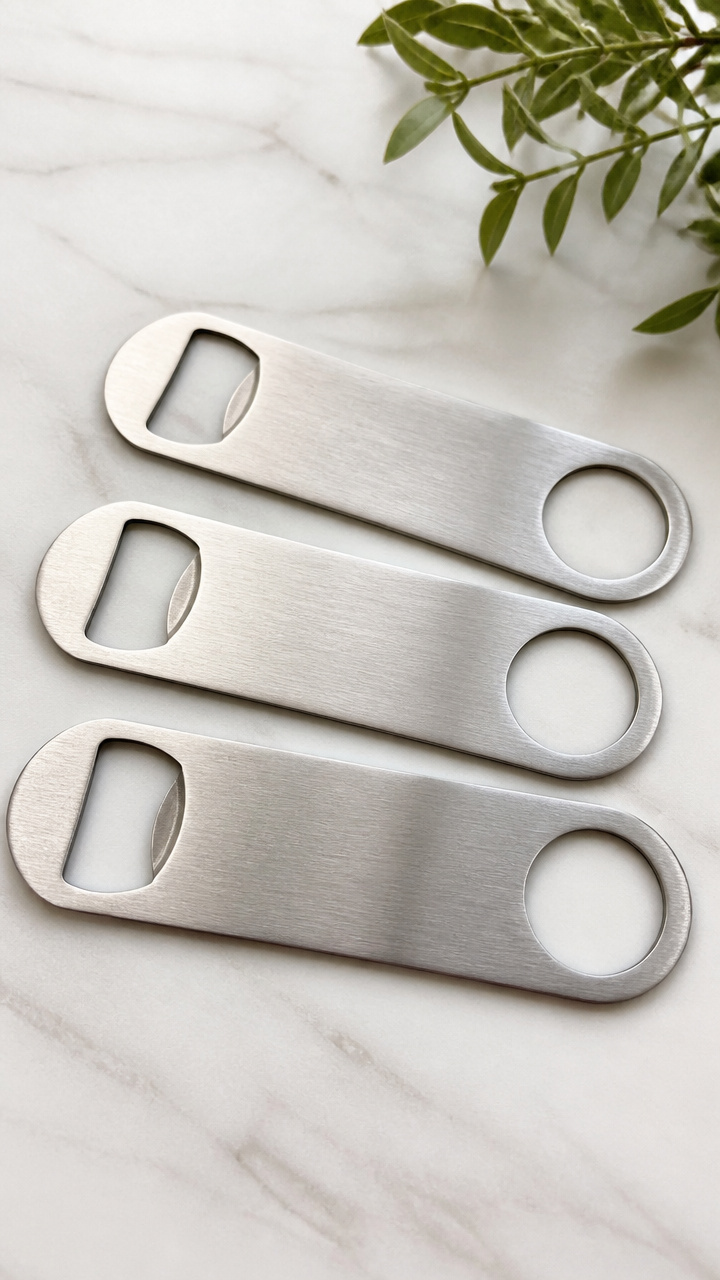
A brushed stainless steel bottle opener stamped with a single word like 'Breathe' or 'Begin' becomes a meaningful keepsake. The crisp lettering stands out in a minimalist, modern way.
Materials Needed
- Blank stainless steel bottle opener (3 pcs)
- Steel stamp set with uppercase letters
- Rubber mallet
- Self-healing cutting mat
- Painter's tape
- Isopropyl alcohol (30 ml)
- Lint-free cloth
How to Make It
- Clean the metal opener with isopropyl alcohol and a lint-free cloth. Let dry.
- Tape the opener firmly to the cutting mat to prevent slipping.
- Choose a word up to six letters long. Position the first stamp at the center.
- Hold the stamp vertically and strike once firmly with the rubber mallet.
- Repeat for each letter, aligning carefully. Do not restamp any letter.
- Remove tape and wipe again with alcohol to remove residue.


4. Twine-Wrapped Memory Jars
Easy
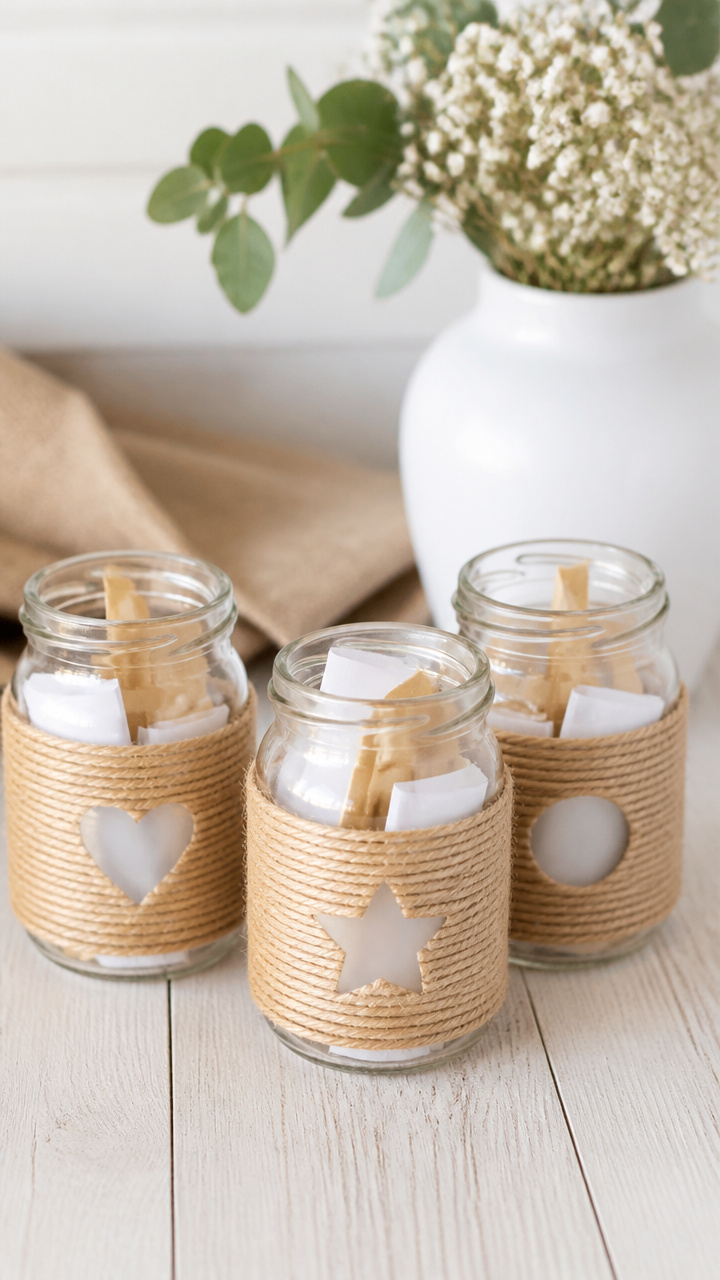
Clear glass jars layered with handwritten notes from the past year feel intimate and grounding. Wrapping them in natural jute twine adds texture and turns them into display-worthy vessels.
Materials Needed
- 3 clear glass mason jars with lids (8 oz)
- Jute twine (3 meters)
- Mod Podge Matte (60 ml)
- Foam brush (1 inch wide)
- Scissors
- Small blank cards (20 pcs)
- Fine-tip black pen
How to Make It
- Write one memory per card in short phrases like 'First coffee with Maya' or 'Saw three deer at dawn'.
- Roll each card tightly and secure with a small rubber band.
- Place all rolls inside one jar. Seal with lid.
- Apply a thin line of Mod Podge along the lower third of the jar.
- Press twine end into the glue and wrap tightly around the jar, overlapping slightly.
- After two full layers, cut twine and secure the end with another dab of Mod Podge. Let dry 1 hour.


5. Resin Constellation Coasters
Advanced
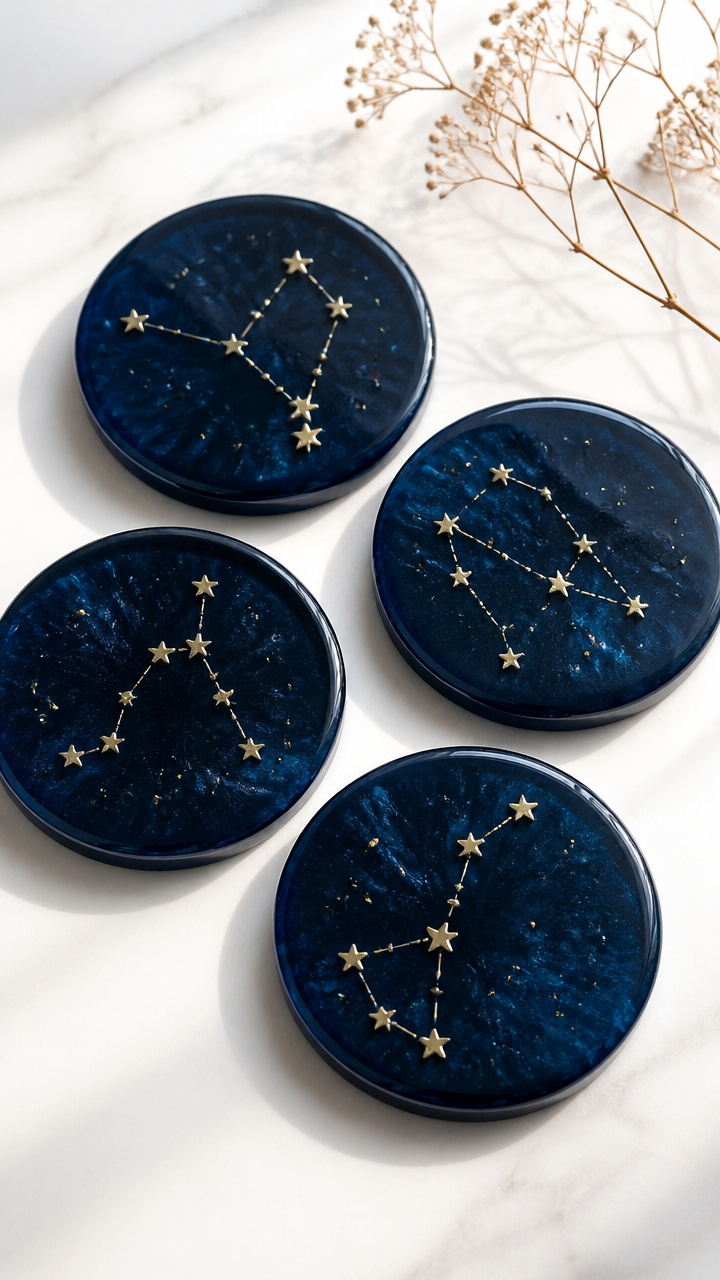
Deep navy resin poured into silicone molds captures tiny brass stars in precise celestial patterns. These coasters feel luxurious and personal, especially if you choose your zodiac constellation.
Materials Needed
- Clear epoxy resin kit (300 ml total volume)
- Alcohol ink in navy blue (5 drops)
- Silicone coaster mold (set of 4)
- Brass star confetti (1 tsp)
- Disposable plastic cups (3 oz, 2 pcs)
- Stir sticks (2 pcs)
- Latex gloves
- Toothpick
- Heat gun
How to Make It
- Wear gloves and work in a well-ventilated area. Mix resin according to package instructions in a plastic cup.
- Add 5 drops of navy alcohol ink to the resin and stir slowly for 2 minutes to avoid bubbles.
- Pour resin into each mold cavity until nearly full. Tap mold gently on table to release air pockets.
- Sprinkle brass stars onto the surface, arranging them into Orion or Cassiopeia using the toothpick.
- Pass the heat gun slowly over the surface to pop any remaining bubbles.
- Let cure undisturbed for 24 hours. Demold gently by flexing the silicone.


6. Pressed Flower Candle Rings
Advanced
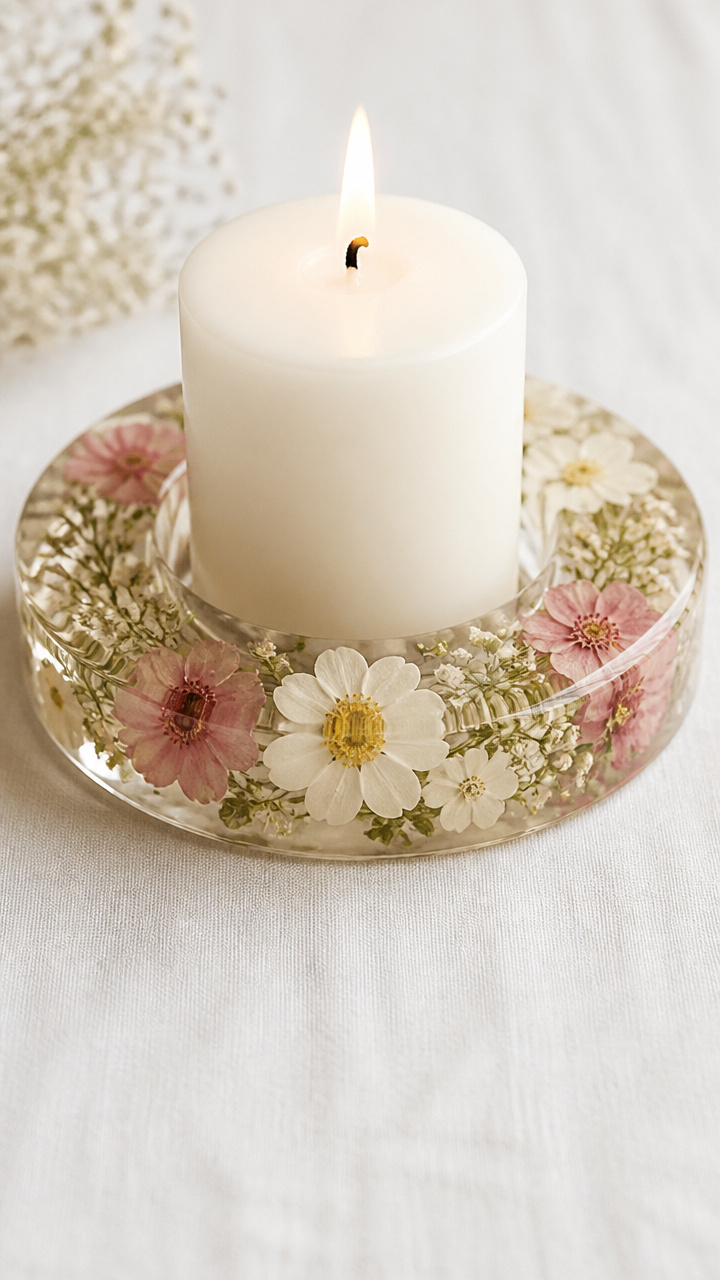
Delicate Queen Anne’s lace and crimson clover encircle white pillar candles in a transparent resin ring. The flowers stay suspended like frozen moments from summer.
Materials Needed
- UV-curing resin (100 ml)
- Circular silicone mold (inner diameter 8 cm, outer 10 cm)
- LED UV lamp (6-watt)
- Pressed flowers (Queen Anne’s lace, clover, baby’s breath, 15 pcs total)
- Tweezers
- Disposable pipette
- Isopropyl alcohol (30 ml)
- Lint-free cloth
How to Make It
- Clean the mold thoroughly with isopropyl alcohol and let dry.
- Arrange pressed flowers face-up in the mold using tweezers, creating a balanced design.
- Fill the mold halfway with UV resin using the pipette. Cure under the lamp for 2 minutes.
- Check placement. Add more flowers if needed, pressing gently into the semi-set layer.
- Top off with another layer of resin. Cure for 5 minutes.
- Demold by gently peeling back the silicone. Wipe clean with a dry cloth.


7. Calligraphy Resolution Cards
Moderate
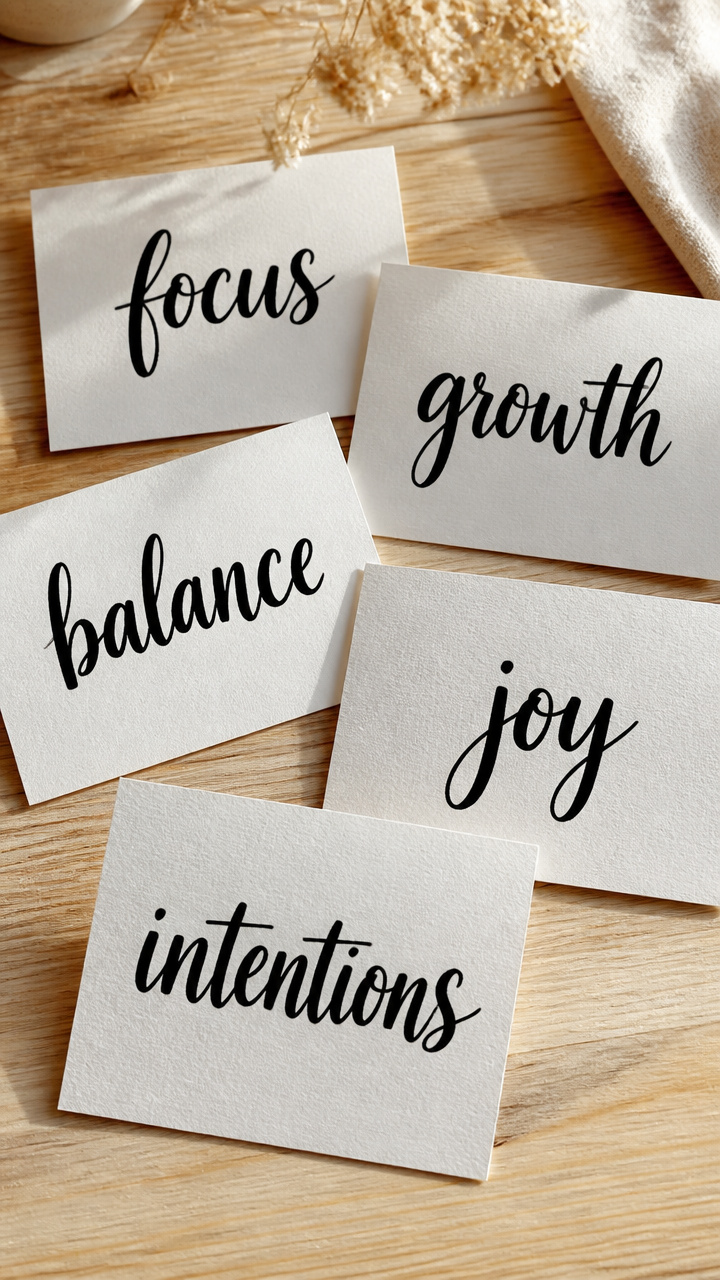
Heavy cotton paper with a single hand-lettered word like 'Listen' or 'Move' stands upright on a desk as a daily nudge. The thick black strokes command attention without shouting.
Materials Needed
- Cotton watercolor paper (A6 size, 300 gsm, 5 sheets)
- Broad-edge calligraphy pen (Pilot Parallel Pen, 3.8 mm tip)
- Black calligraphy ink (30 ml)
- Ruler
- Pencil
- Eraser
- Bone folder
How to Make It
- Cut paper to 10.5 x 14.8 cm using ruler and craft blade. Score a vertical line at 7.4 cm with bone folder.
- Fold along the score to make a tent-style card. Crease sharply.
- Lightly draw guidelines every 1.5 cm using pencil and ruler.
- Load the calligraphy pen with ink according to manufacturer instructions.
- Write one word in bold capitals, applying pressure on downstrokes. Practice on scrap first.
- Let dry 10 minutes. Erase guidelines gently with eraser.


8. Burnt Wood Gratitude Boards
Advanced
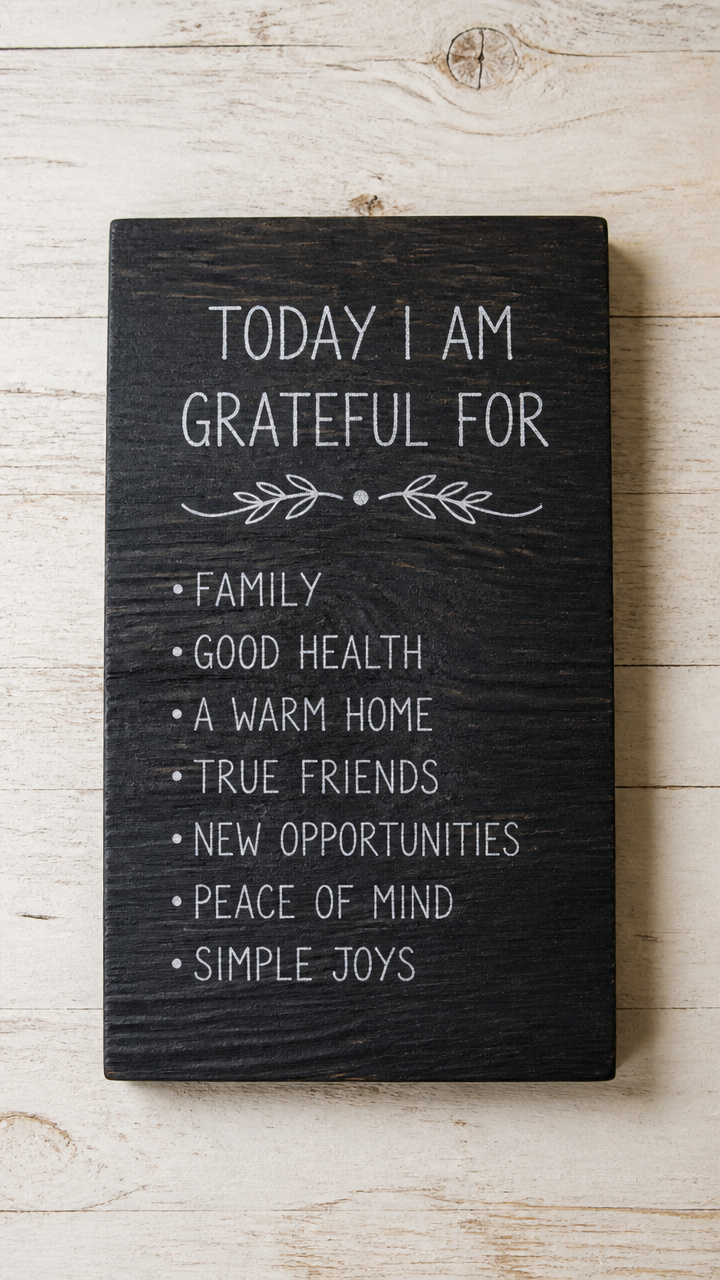
A charred oak board with a cleanly routed edge holds chalk-written messages that change daily. The contrast between black wood and bright white text feels both rustic and intentional.
Materials Needed
- Oak plank (15 x 20 x 1.5 cm)
- Propane torch
- Wire brush (stiff bristles)
- Mineral oil (50 ml)
- Lint-free cloth
- White chalk
- Router with round-over bit
- Clamps
How to Make It
- Secure the plank with clamps. Use the router with round-over bit to soften all edges. Wipe away dust.
- Pass the propane torch evenly over the surface until uniformly blackened. Work in sweeping motions.
- Let cool 10 minutes. Scrub with wire brush to remove loose carbon and reveal grain.
- Wipe clean with cloth. Apply mineral oil in circular motions. Let soak 20 minutes.
- Buff off excess oil. Write your first message with white chalk.
9. Embroidered Hoop Word Art
Moderate
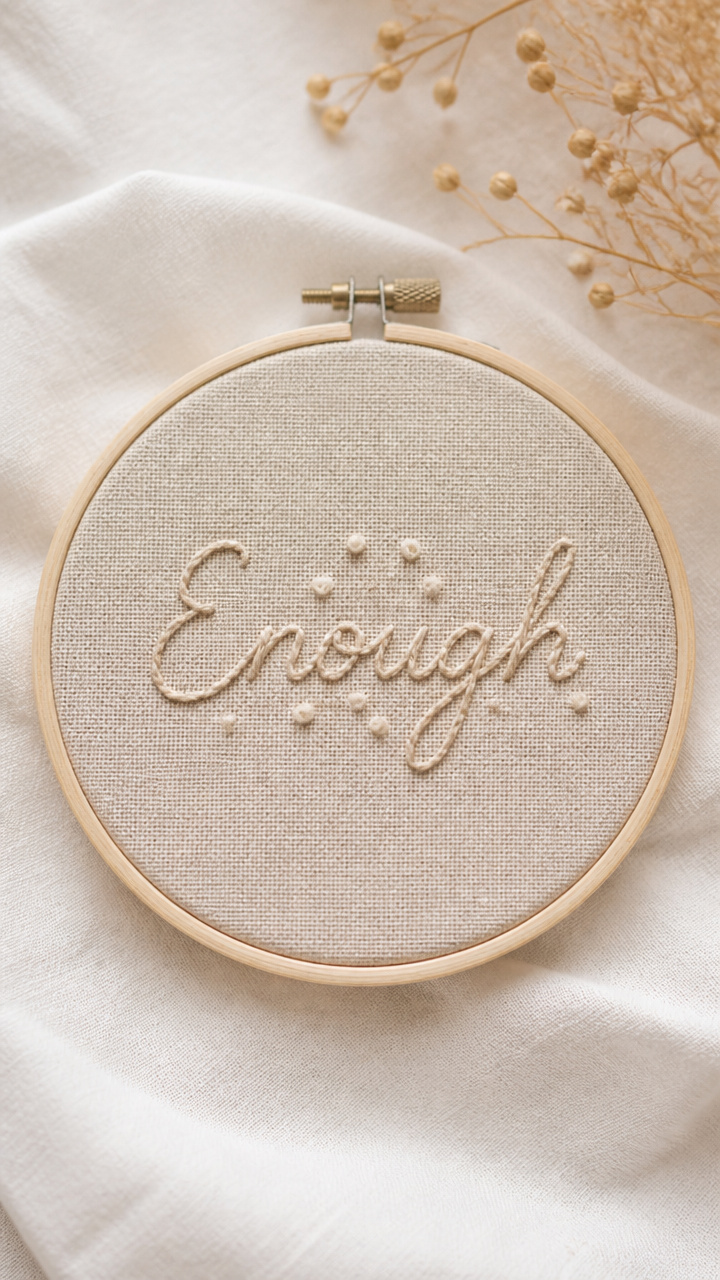
A tight circle of linen stitched with 'Enough' in backstitch and French knots radiates calm certainty. The wooden hoop hangs solo on a wall as a quiet declaration.
Materials Needed
- Embroidery hoop (15 cm diameter)
- Natural linen fabric (20 x 20 cm)
- Size 5 pearl cotton thread in oatmeal (1 skein)
- Embroidery needle
- Water-soluble fabric marker
- Scissors
How to Make It
- Stretch linen in the hoop and tighten the screw. Smooth out wrinkles.
- Use the fabric marker to write 'ENOUGH' in block letters at the center.
- Thread the needle with 45 cm of cotton. Knot the end.
- Outline each letter using backstitch, keeping stitches even at 3 mm long.
- Fill select letters with small French knots for texture. Cut thread and knot underneath.
- Remove marker lines with a damp cloth. Trim excess fabric to 1 cm beyond hoop.


10. Concrete Succulent Planters
Moderate
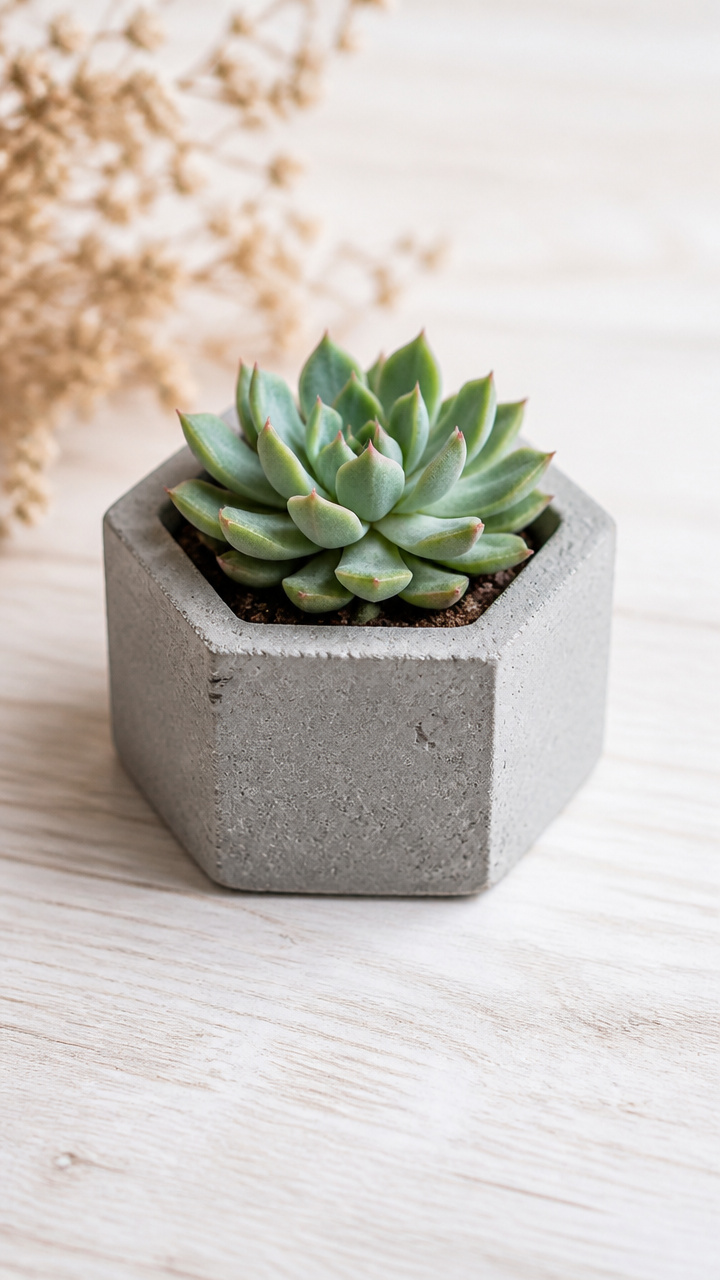
Geometric molds yield low, wide planters with a raw, modern edge. Their weight keeps them steady, and the porous surface suits succulents perfectly.
Materials Needed
- Quick-setting concrete mix (400 g)
- Water (160 ml)
- Silicone geometric mold (hexagonal, 10 cm wide)
- Plastic mixing container
- Stir stick
- Cooking spray
- Sandpaper (220 grit)
How to Make It
- Lightly coat the inside of the mold with cooking spray.
- Mix concrete and water in the container until smooth like pancake batter.
- Pour into the mold, tapping sides to release air bubbles. Fill to the top.
- Let set 20 minutes, then cover with plastic and wait 24 hours.
- Demold gently. Sand sharp edges with sandpaper in circular motions.
- Drill a 6 mm drainage hole with a masonry bit if desired.


11. Felt Lunar Phase Wall Hangings
Easy
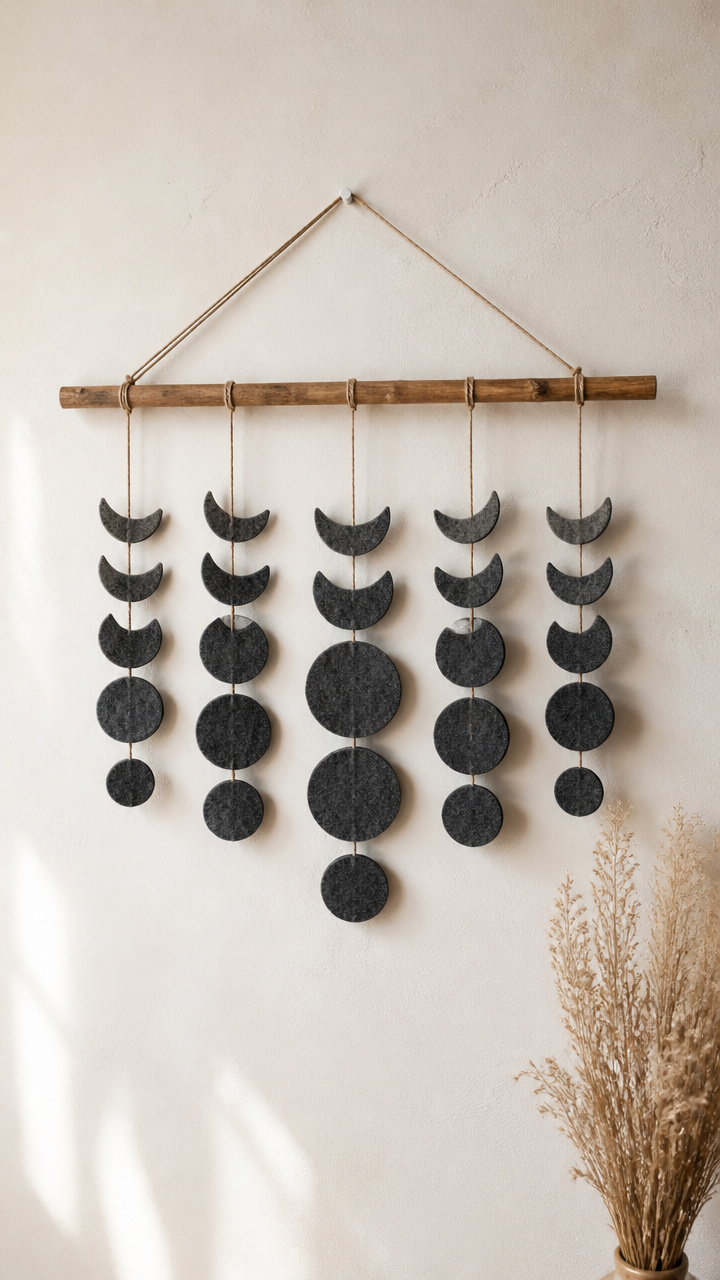
Soft discs of charcoal gray wool blend felt overlap to show the moon’s journey from dark to full. Hung in a row, they cast gentle shadows on the wall.
Materials Needed
- Charcoal wool blend felt sheet (30 x 30 cm)
- Felt circle punch set (5 sizes: 3–7 cm)
- White chalk-based marking pencil
- Scissors
- Needle
- Black thread
- Wooden dowel (30 cm long, 0.5 cm thick)
- Twine (60 cm)
How to Make It
- Use the largest punch to cut one full circle. Set aside.
- Punch a second full circle. Use scissors to trim a curved section from one side to represent waning gibbous.
- Repeat, trimming more for last quarter, crescent, and new moon stages using smaller punches as guides.
- Mark stitching points where each disc will hang on the dowel.
- Thread needle and attach each shape with a small running stitch through the top edge.
- Tie twine to each end of the dowel for hanging.


12. Ink-Resist Window Murals
Easy
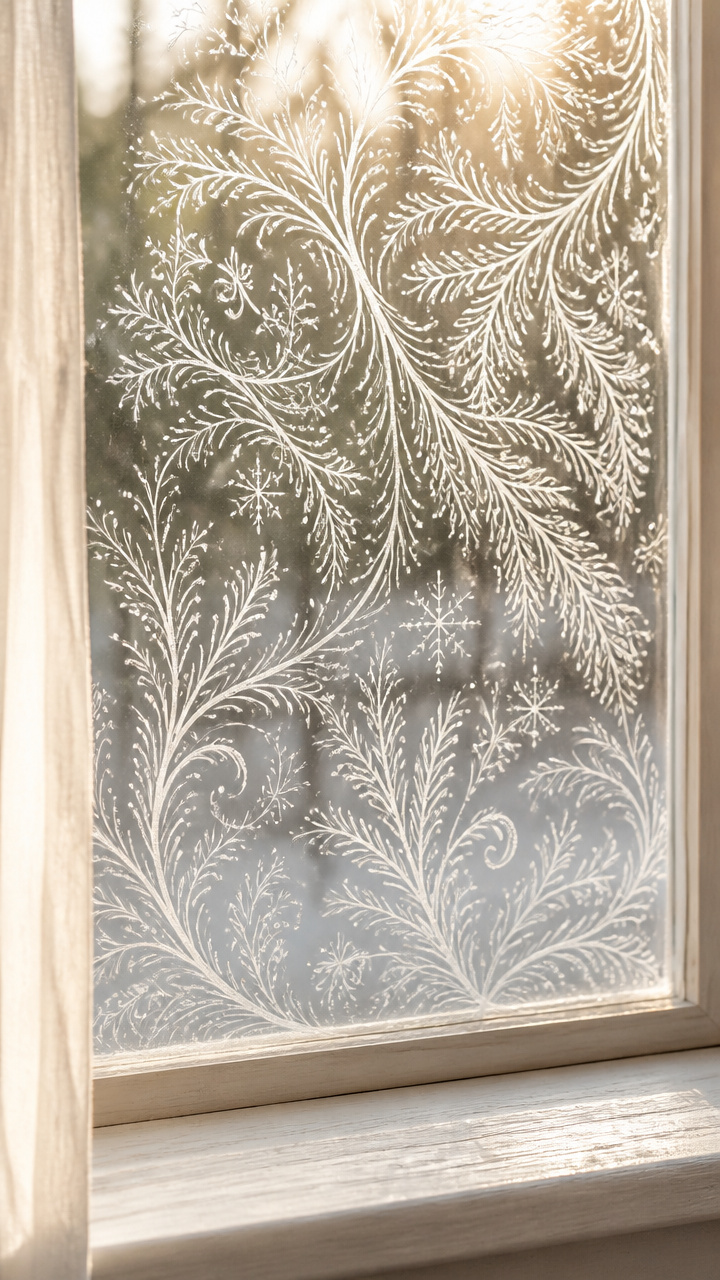
White gel pens draw frost-like patterns on glass that glow when backlit by morning sun. The effect looks intricate but takes only minutes to apply.
Materials Needed
- White gel pen (Uniball Signo UM-151)
- Isopropyl alcohol (30 ml)
- Lint-free cloth
- Ruler
- Painter's tape (1 cm wide, 1 meter)
How to Make It
- Clean the window thoroughly with isopropyl alcohol and lint-free cloth. Let dry.
- Apply painter's tape in straight lines to create a grid or frame, leaving open spaces.
- Draw swirling frost patterns in the open areas using the gel pen. Keep lines close but not touching.
- Extend tendrils outward from corners or edges for movement.
- Wait 5 minutes. Carefully peel off tape to reveal crisp borders.
- Let ink dry 15 minutes before touching.


13. Wool Dryer Ball Garlands
Easy
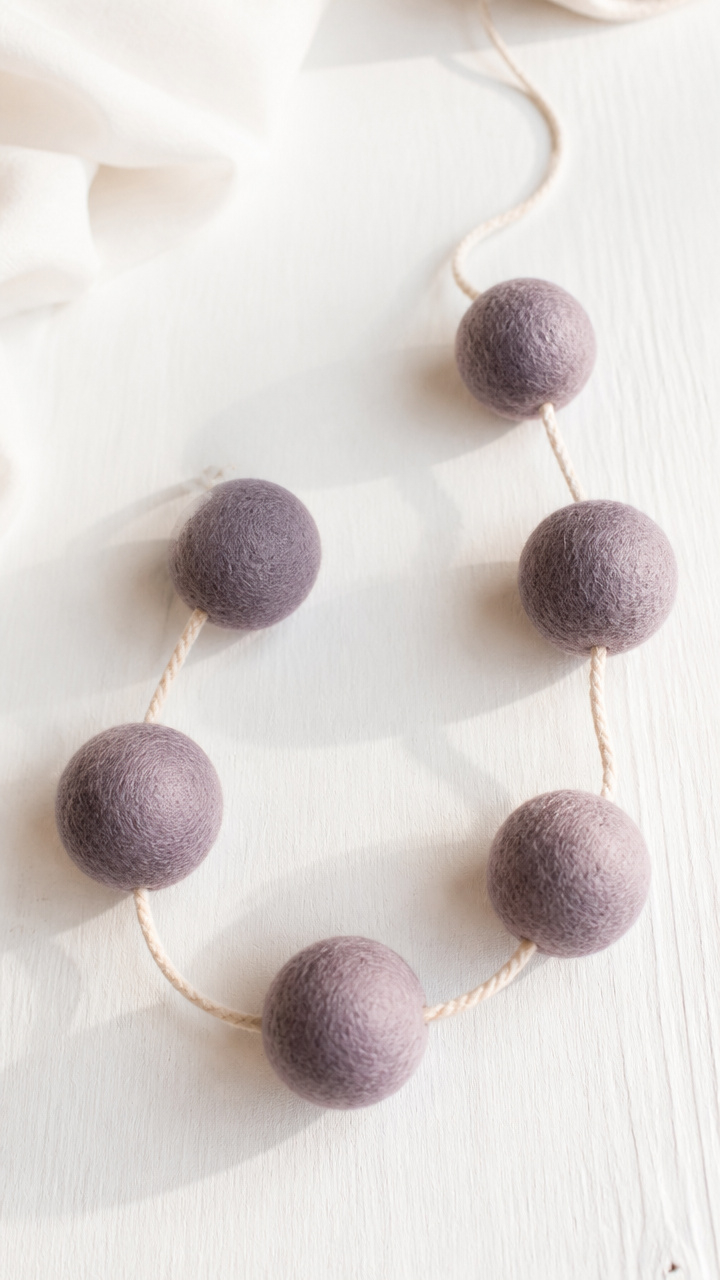
Scented lavender-dyed dryer balls linked with cotton cord drape softly over a mantel. They smell herbal and look like a string of oversized pearls.
Materials Needed
- 6 wool dryer balls
- Food-grade lavender essential oil (10 drops)
- Glass bowl
- Cotton cord (3 mm thick, 2 meters)
- Needle (large eye)
- Scissors
How to Make It
- Place dryer balls in the glass bowl. Add 10 drops of lavender oil.
- Toss gently to distribute oil. Let sit 1 hour to absorb.
- Thread the needle with 1 meter of cord. Knot the end.
- String one ball by pushing the needle through the center. Pull cord through halfway.
- Space each ball 10 cm apart. Tie a secure knot after each.
- Trim ends at an angle with scissors.


14. Layered Paper Shadow Box
Advanced
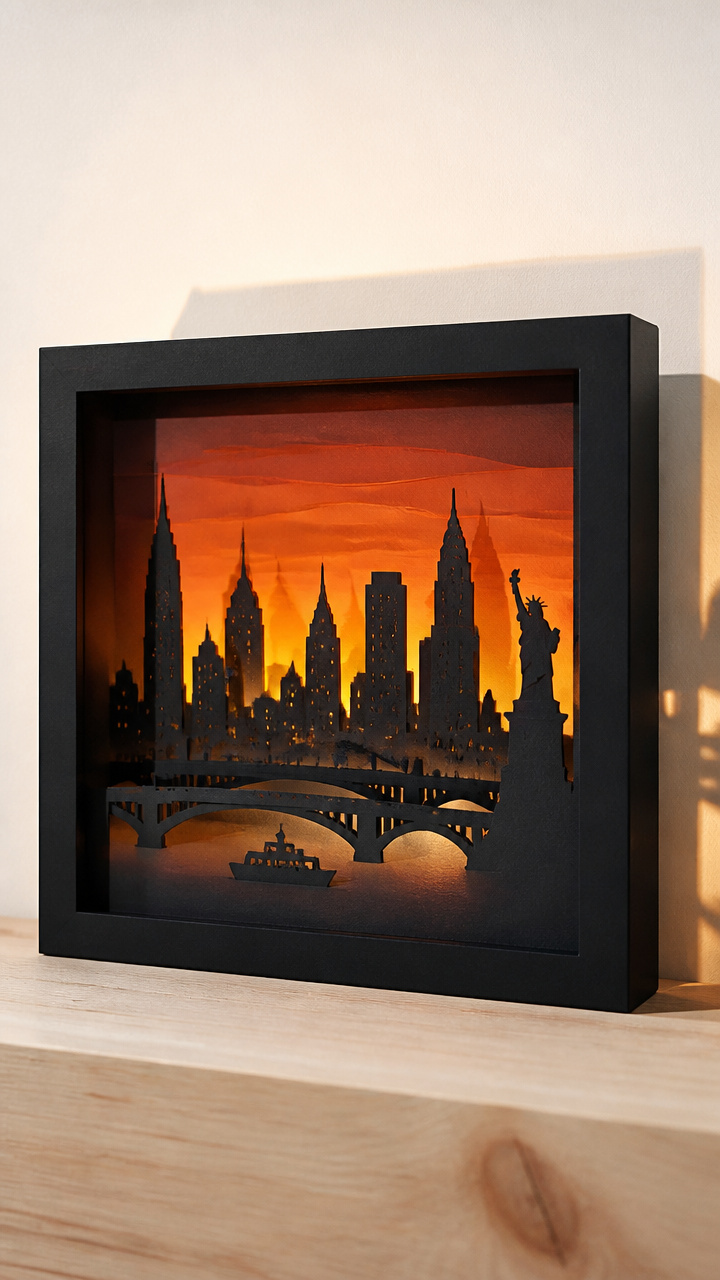
Three laser-cut paper panels float in depth inside a deep frame, showing a skyline at dusk. Light behind it casts dramatic silhouettes on the wall.
Materials Needed
- Deep shadow box frame (20 x 25 cm, 4 cm deep)
- Black cardstock (21 x 26 cm, 3 sheets)
- Laser cutter access or pre-cut skyline templates
- Double-sided foam squares (1 cm, 12 pcs)
- LED strip light (battery-powered, 20 cm)
- Scissors
- Ruler
How to Make It
- Use the laser cutter to etch a city skyline into each cardstock sheet, varying building density per layer.
- Cut each sheet to fit the frame backing exactly.
- Attach four foam squares to the back of the first sheet, placing one near each corner.
- Press the second sheet onto the raised squares to create a gap. Repeat with third sheet.
- Place the layered stack into the frame. Insert LED strip along the inner top edge.
- Close the frame. Turn on lights to see the layered shadow effect on the wall.


15. Salt Dough Keepsake Bowls
Easy
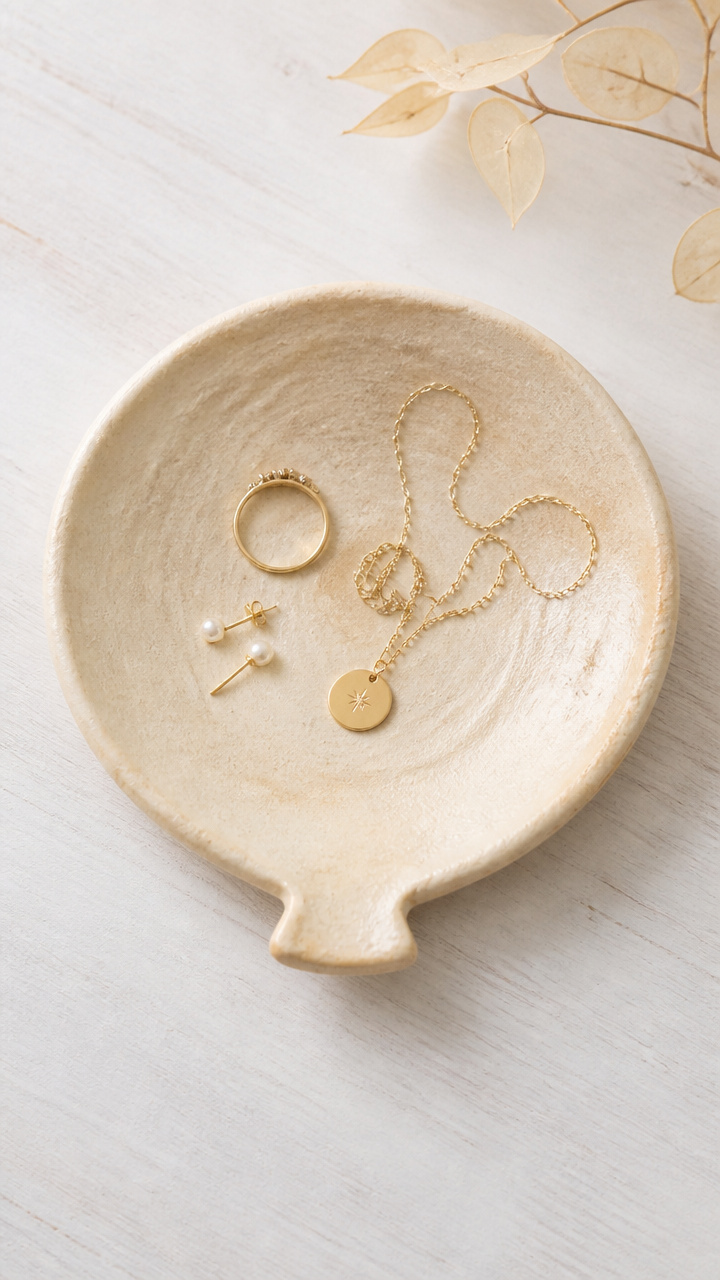
Simple dough shaped by hand bakes into a pale, grainy bowl that holds trinkets with sentimental value. Its imperfections make it feel honest and enduring.
Materials Needed
- All-purpose flour (1 cup)
- Table salt (1/2 cup)
- Water (1/2 cup)
- Mixing bowl
- Spoon
- Balloon (medium size)
- Vegetable oil (1 tsp)
- Paintbrush
- Acrylic sealer spray (matte finish)
How to Make It
- Mix flour, salt, and water in the bowl until a stiff dough forms. Knead 3 minutes.
- Coat the balloon lightly with oil using the brush.
- Roll dough to 6 mm thickness. Drape over the balloon to form a bowl shape.
- Pinch seams gently. Smooth inside with fingertips.
- Bake at 200°F (95°C) for 3 hours. Let cool completely before popping balloon.
- Spray inside and outside with sealer. Let dry 1 hour.


Pick one idea that calls to you and gather the supplies tonight. Your hands know how to begin.