15 Last-Minute New Year Crafts

Glitter spills across the table, scissors snip through crisp paper, and a burst of color lands just in time to welcome something fresh. These moments—close to midnight or early in the morning—are when simple handmade touches mean the most.
You don’t need days to prepare. With common supplies and clear steps, you can create joyful pieces that celebrate new beginnings. Each one is designed to be finished quickly, look intentional, and bring a spark without stress.
1. Glittered Wine Cork Toppers
Easy
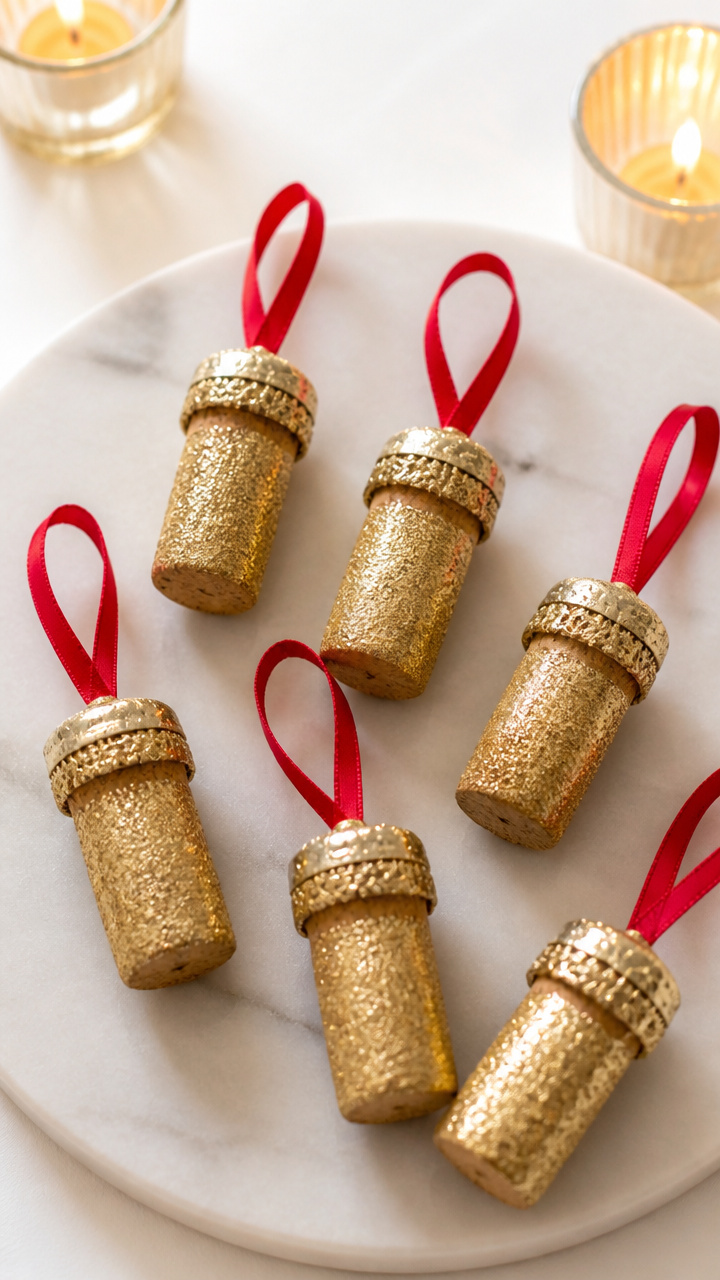
Tiny golden caps perch on wine corks, turning bottles into festive centerpieces for celebration glasses. They catch candlelight and add a touch of sparkle with almost no effort.
Materials Needed
- 6 wine corks
- Gold glitter craft paint
- Small foam brush
- Toothpick
- Red ribbon, 1/8 inch wide, 3 feet
How to Make It
- Dip the flat end of each wine cork into the gold glitter paint, covering just the top 1/4 inch.
- Use the toothpick to pop any air bubbles in the paint and set the cork upright to dry for 20 minutes.
- Cut the ribbon into six 6-inch lengths and tie one around the base of each dried cork.


2. Confetti-Filled Plastic Spoon Stirrers
Easy
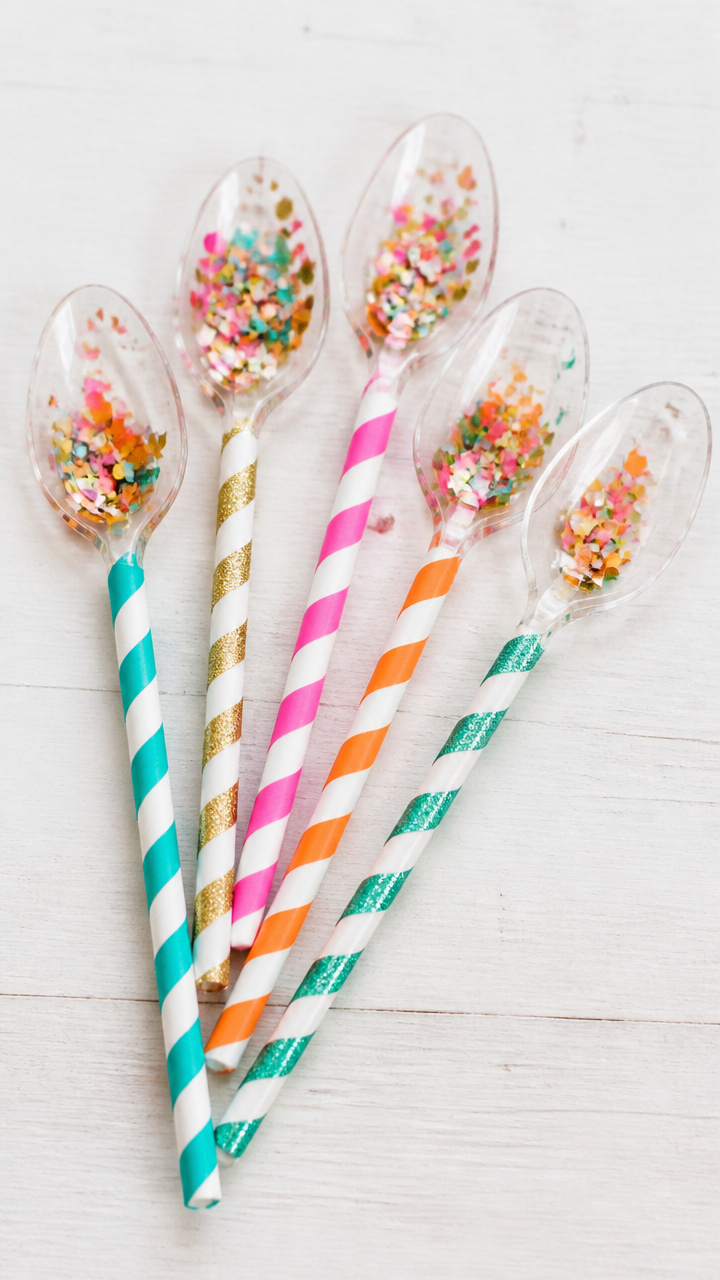
Bright bursts of confetti spin inside spoons as they swirl drinks, delighting guests with motion and color. These are playful, disposable stirrers made in minutes.
Materials Needed
- 12 clear plastic spoons
- Assorted tissue paper confetti, 1/2 cup
- Low-temperature hot glue gun
- Glue sticks, 2
How to Make It
- Place a small dot of hot glue around the outer rim of the spoon bowl, avoiding the center.
- Sprinkle a pinch of confetti into the spoon bowl.
- Press another spoon upside down onto the first, aligning the edges, and hold for 10 seconds until sealed.


3. Foil-Stamped Napkin Rings
Moderate
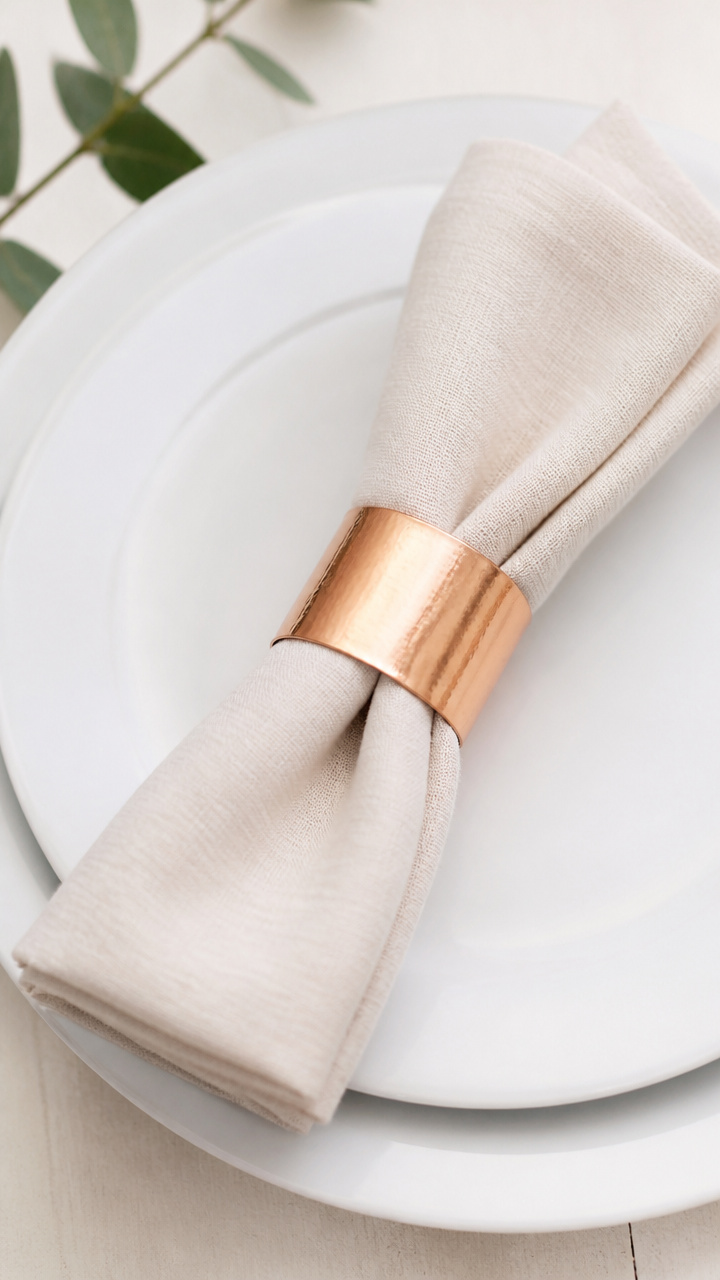
Shiny metallic letters wrap around folded linen napkins, spelling out 'Cheers' or names for place settings. The foil stamping looks custom but takes under ten minutes per ring.
Materials Needed
- 6 linen napkins
- Copper foil transfer sheets
- Wooden letter stamps: C H E E R S
- Rubber mallet
- Cardboard tube, 1 inch diameter
- Double-sided tape, 1/4 inch wide
How to Make It
- Roll each napkin tightly and slide it over the cardboard tube to shape a cylinder.
- Wrap double-sided tape around the outside of the napkin roll at the midpoint.
- Lay a foil sheet over the tape, press a letter stamp firmly on top, and tap once with the mallet. Peel away foil carefully.


4. Tissue Paper Pom-Poms
Easy
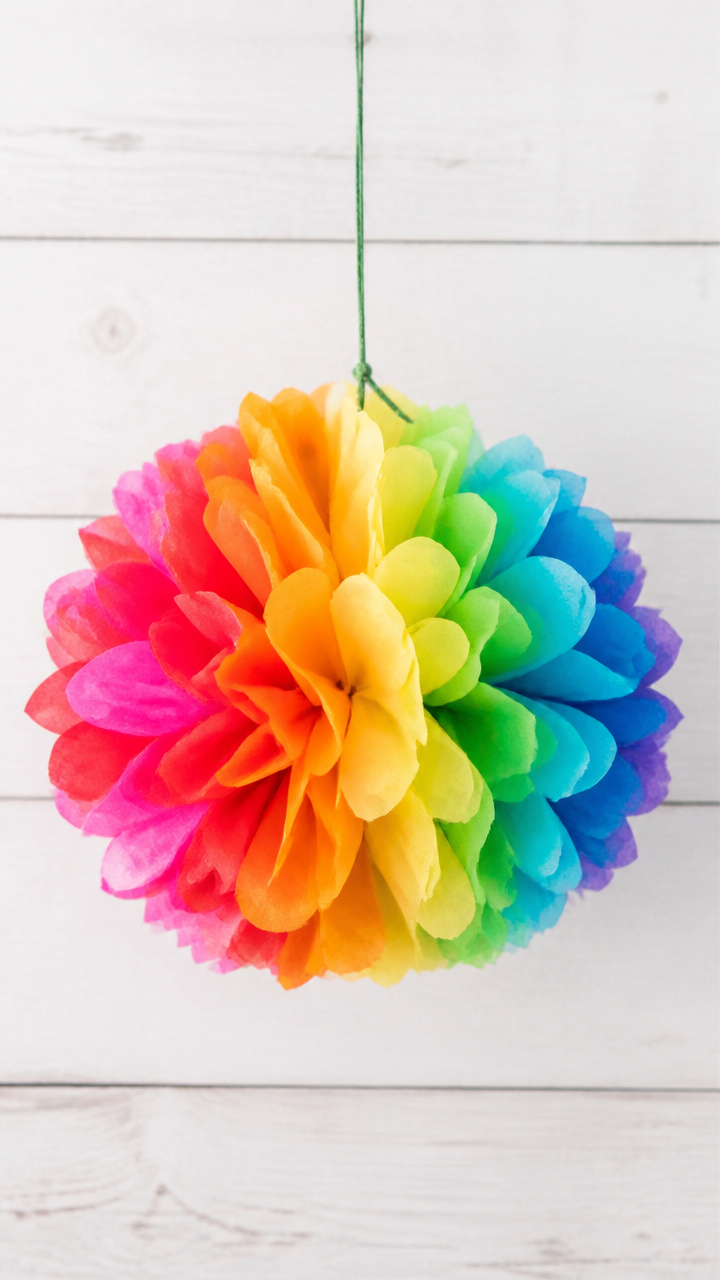
Fluffy spheres of rainbow tissue hang from ceilings or doors, swaying gently with every breeze. They’re light, joyful, and come together fast with layered folding.
Materials Needed
- 12 sheets rainbow tissue paper
- Green floral wire, 20 gauge, 1 foot
- Scissors
How to Make It
- Stack all tissue sheets and fold them accordion-style, making 1.5-inch pleats across the 10-inch width.
- Wrap the floral wire around the center of the folded stack and twist tightly to secure.
- Fan open the ends and gently pull each layer apart from the center outward to form a full pom-pom.


5. Painted Mason Jar Lanterns
Moderate
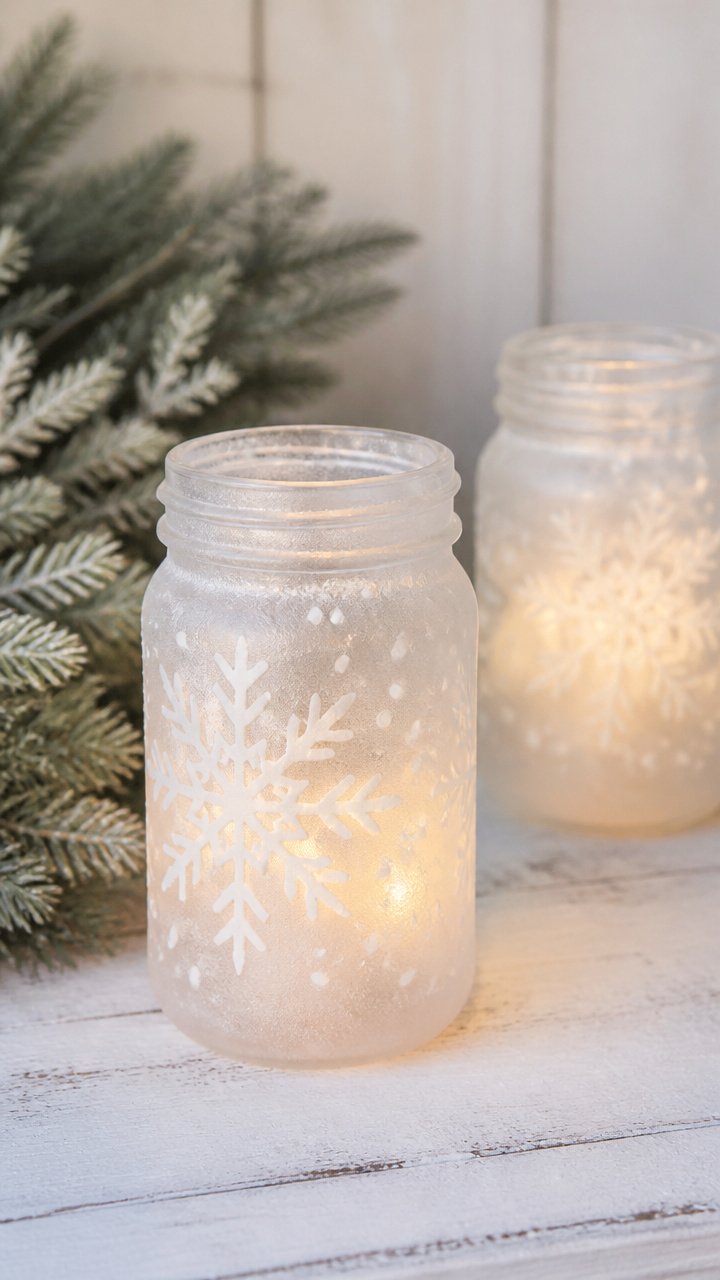
Soft white light glows through hand-painted snowflake patterns on jars, creating cozy ambiance on tables or porches. The paint blocks light selectively for a wintry effect.
Materials Needed
- 4 mason jars, 16 oz
- Frosted glass spray paint
- Painter’s tape, 1/2 inch
- Snowflake stencils, 3-inch size, 4 designs
- Plastic drop cloth
How to Make It
- Place each jar on the drop cloth and wipe clean with a dry cloth.
- Position a stencil on the jar and secure with small pieces of painter’s tape at corners.
- Spray an even coat of frosted paint from 10 inches away, wait 15 minutes, then remove stencil and let dry fully.


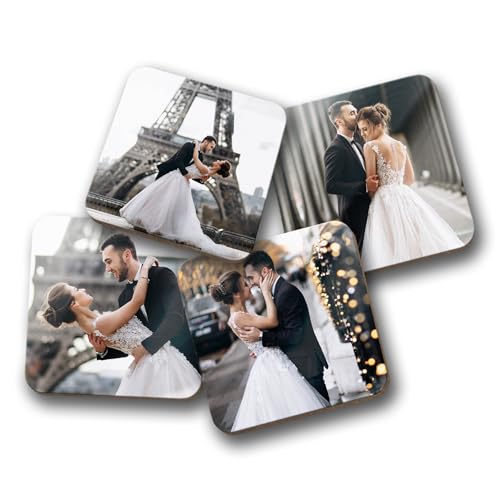
6. Personalized Countdown Coasters
Easy
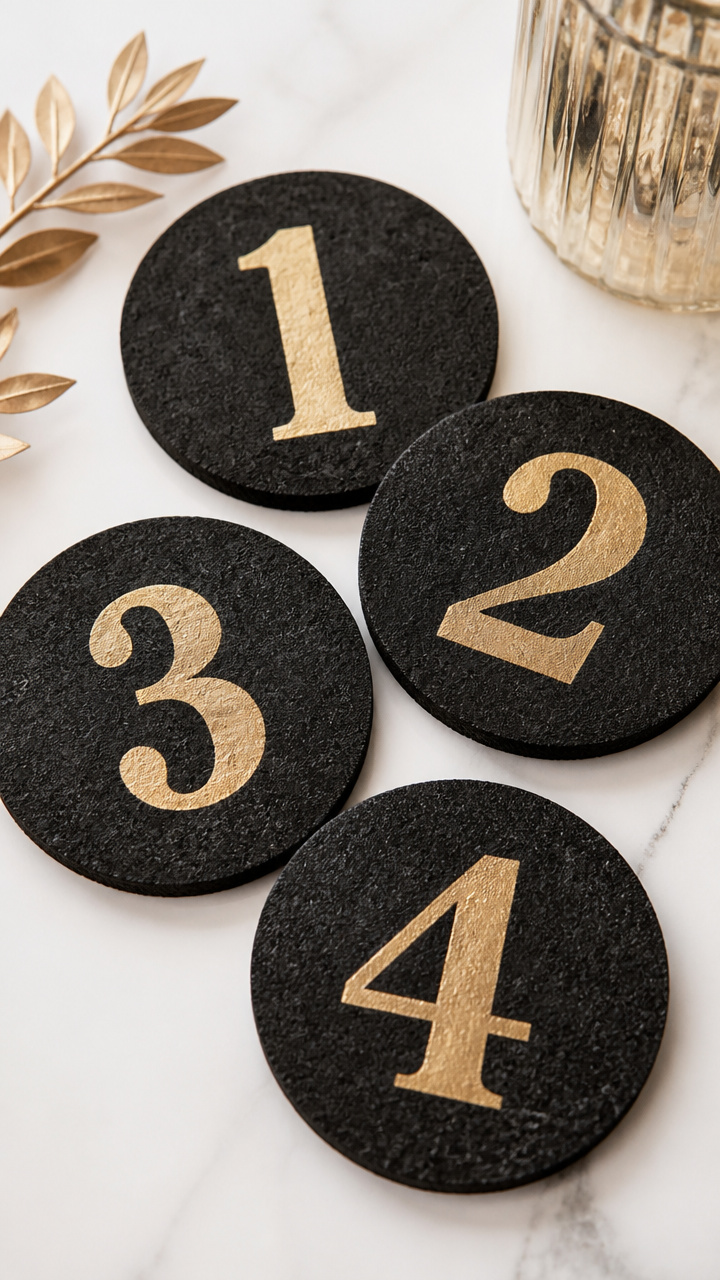
A set of four cork coasters marks the final hours with numbers painted in bold metallic ink. They protect surfaces while counting down to midnight.
Materials Needed
- 4 round cork coasters, 4 inches
- Black acrylic paint
- Small flat brush
- Gold paint pen, extra fine tip
- Painter’s tape, 3/4 inch
How to Make It
- Paint a solid black border around the edge of each coaster using the flat brush and let dry for 15 minutes.
- Use painter’s tape to mask off a straight line across the center of one coaster.
- Write '10', '9', '8', '7' below the masked line with the gold paint pen, remove tape after 2 minutes.


7. Yarn-Wrapped Firework Ornaments
Easy
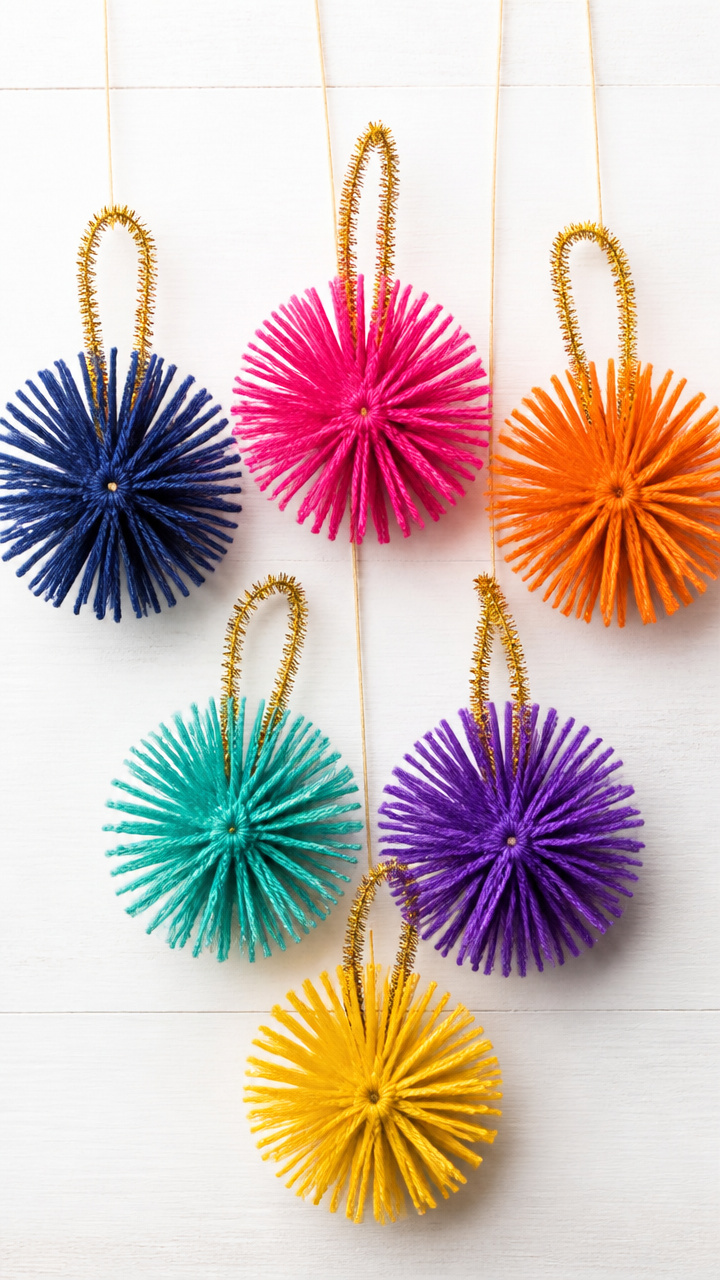
Spiky bursts of colored yarn mimic fireworks on string hangers, dangling from mantels or trees. Each one radiates energy with simple wrapping and glue.
Materials Needed
- White embroidery floss, 3 skeins
- Cardboard, 4×4 inch squares, 6
- Scissors
- School glue
- Gold chenille stems, 6
How to Make It
- Cut each cardboard square into a 3-inch circle using scissors.
- Wrap floss tightly around the circle 50 times, then slide it off the cardboard.
- Tie a chenille stem around the center bundle, knot tightly, cut the loops at both ends, and trim ends evenly.


8. Edible Confetti Popcorn Bags
Easy
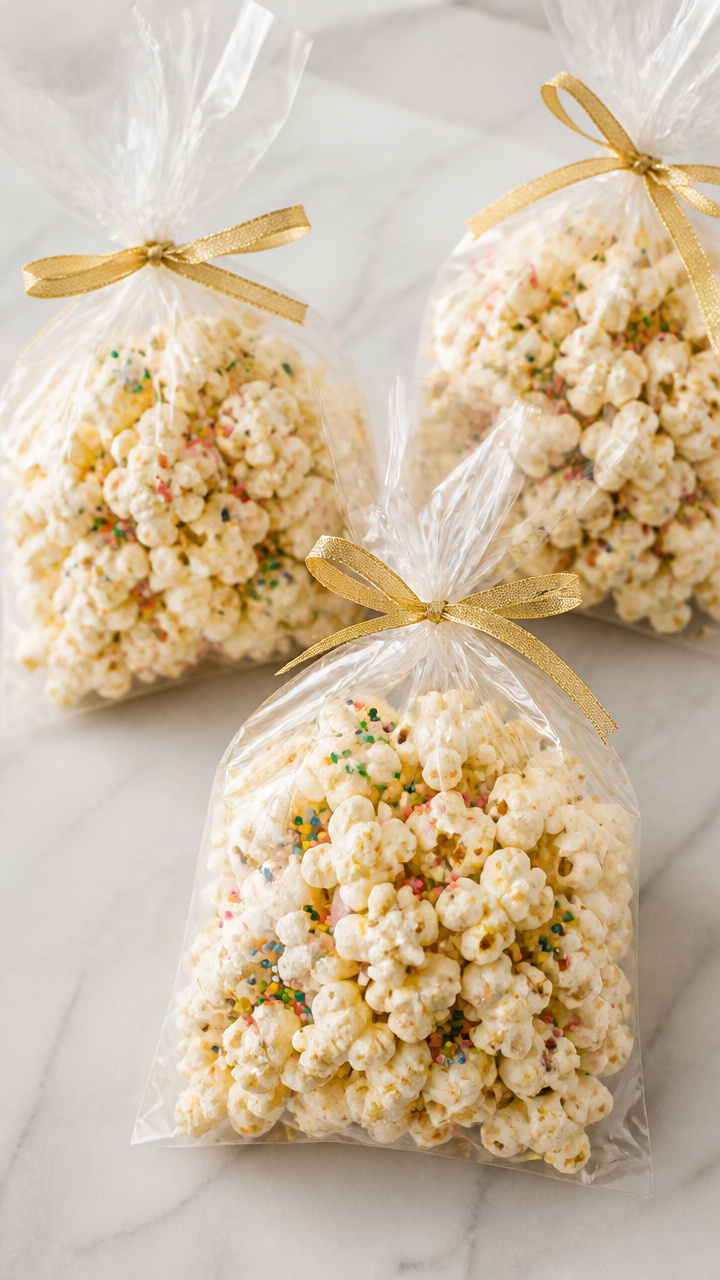
Clear cellophane bags brim with buttery popcorn tossed with edible glitter and sprinkles. They’re sweet, crunchy favors ready in 20 minutes.
Materials Needed
- Popcorn kernels, 1/2 cup
- Coconut oil, 2 tablespoons
- Edible silver stars, 2 tablespoons
- Rainbow nonpareils, 2 tablespoons
- Cellophane treat bags, 4×6 inch, 8
How to Make It
- Pop kernels in coconut oil over medium heat until popping slows, then cool for 5 minutes.
- Pour popcorn into a bowl, sprinkle in edible stars and nonpareils, and toss gently.
- Scoop equal portions into each cellophane bag and twist the top closed.


9. Calligraphy-Inspired Banner Letters
Moderate
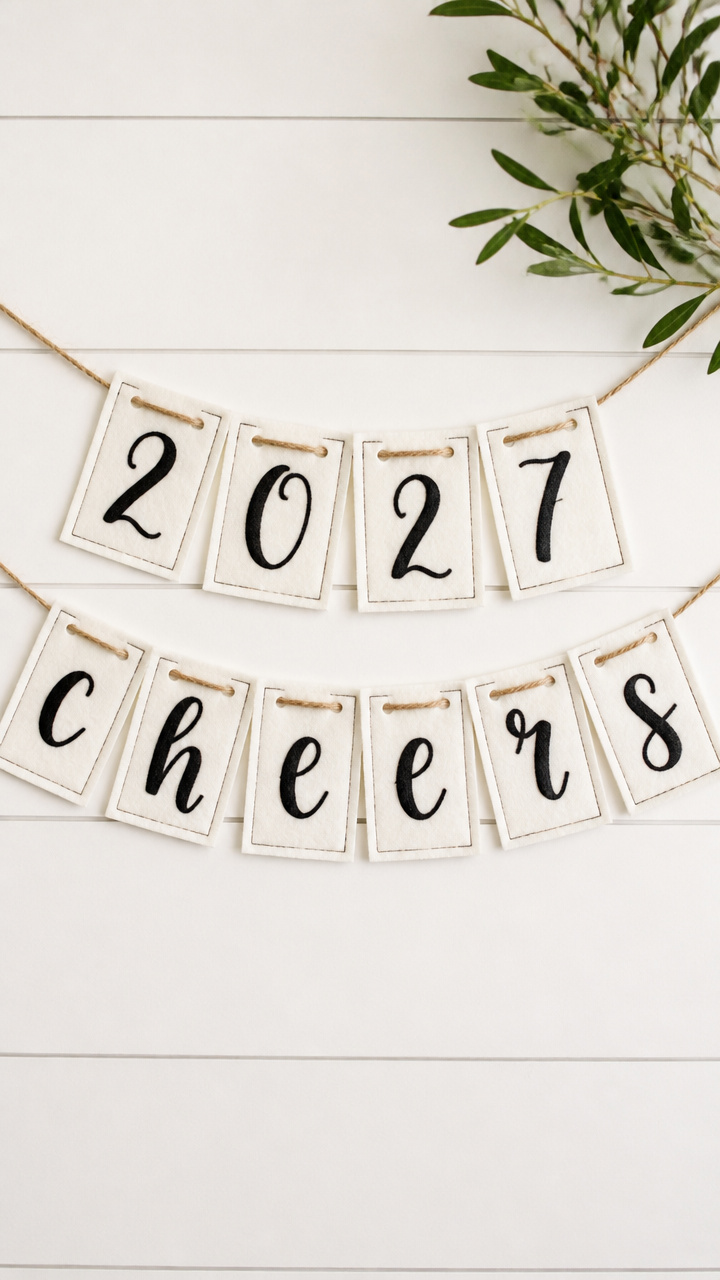
Bold black letters on white felt flutter from twine, spelling out wishes like 'Joy' or 'Now'. The faux calligraphy gives depth with simple offset lines.
Materials Needed
- White felt sheet, 9×12 inches
- Black fabric marker
- Ruler
- Scissors
- Jute twine, 5 feet
- Hole punch
How to Make It
- Draw each letter freehand on the felt using the ruler to keep height consistent at 3 inches.
- Trace a second parallel line 1/4 inch inside the right and bottom edges of each stroke to mimic thick calligraphy.
- Cut out letters, punch two holes at the top corners of each, and thread jute twine through alternating sides.


10. Marbled Nail Polish Coasters
Advanced
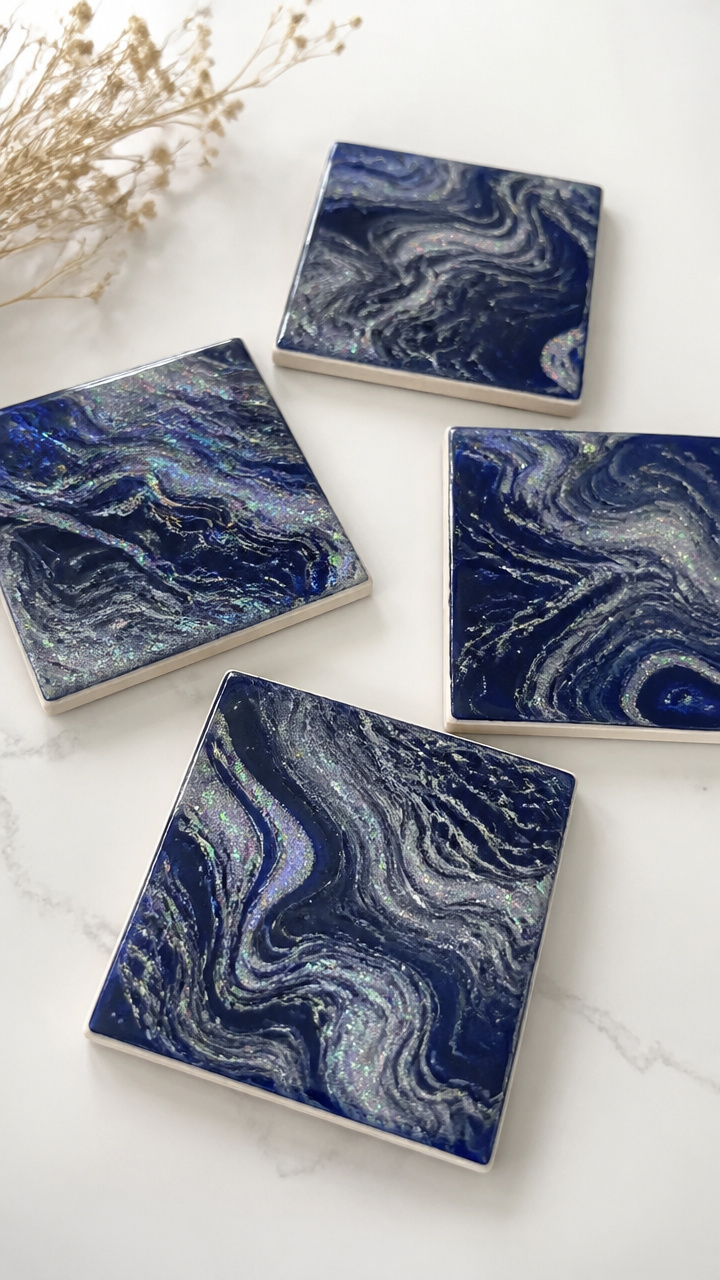
Swirls of deep blue and silver float on resin-like surfaces, turning plain tiles into art. The nail polish technique creates instant marbling with water.
Materials Needed
- 4 ceramic tiles, 4×4 inches
- Mod Podge Dishwasher Safe Sealer
- Blue nail polish
- Silver holographic nail polish
- Shallow tray, larger than tile
- Water, 4 cups
- Toothpicks
How to Make It
- Fill the tray with water and pour 3 drops of blue polish onto the surface, then 2 drops of silver polish.
- Drag a toothpick through the drops in zigzag motions to create marble patterns.
- Slowly lower one tile face-down into the water, let sit 10 seconds, then lift and place on paper to dry for 1 hour. Seal with Mod Podge after 24 hours.


11. Pencil-Paper Spiral Noisemakers
Easy
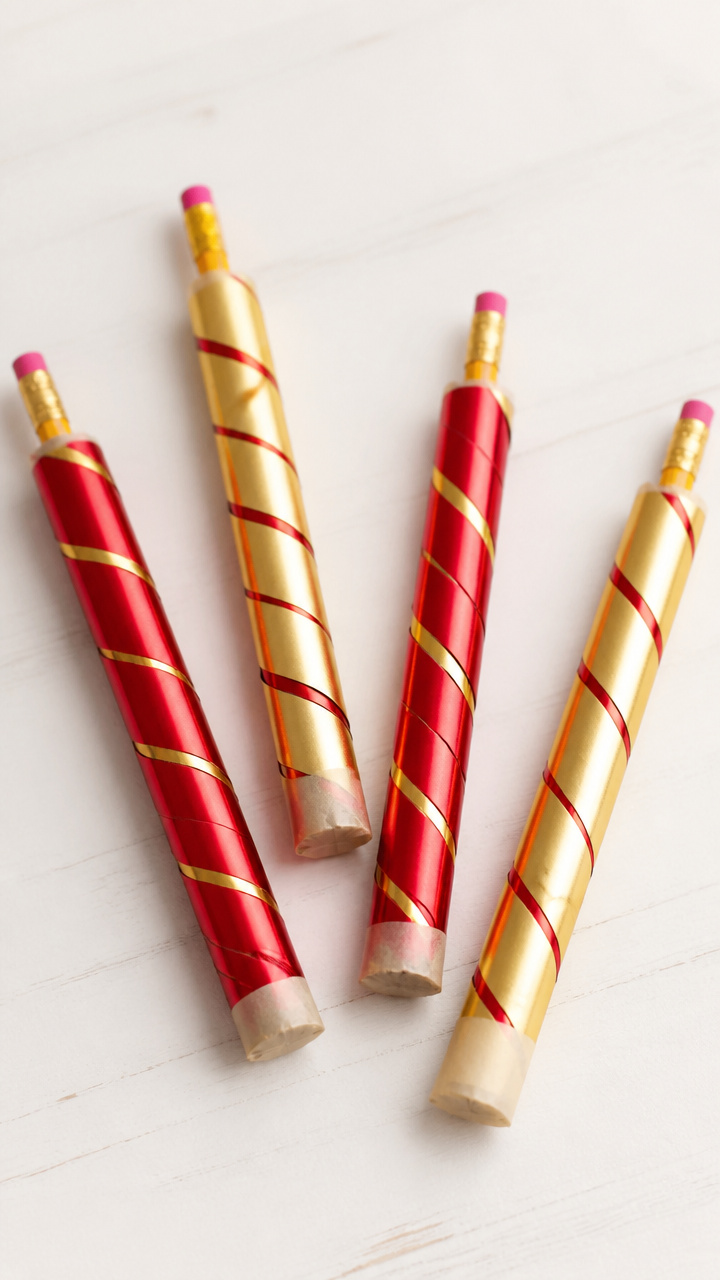
Twisting paper tubes crackle when shaken, mimicking old-fashioned party noise. Kids love making these and waving them at the stroke of twelve.
Materials Needed
- Construction paper, red and gold, 8.5×11 inches, 6 sheets
- Pencil
- Tape
- Rice, 1/4 cup
How to Make It
- Roll one sheet of paper tightly around a pencil to form a tube and tape the seam.
- Pour a teaspoon of rice into the tube and seal one end with tape.
- Remove the pencil and twist the open end shut by rotating your fingers, securing with a small piece of tape.


12. Photo Frame Sparkle Edges
Moderate
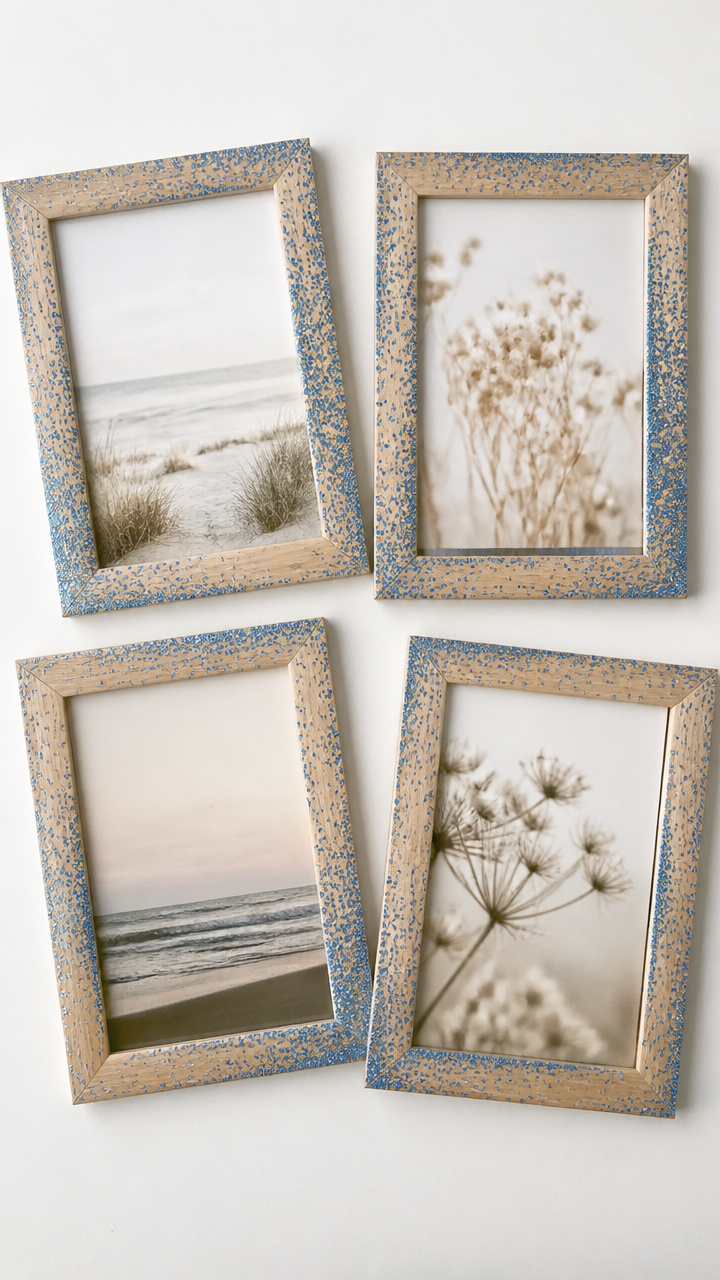
Plain wooden frames glow with pinpoint dots of glitter along their borders, framing memories of the year gone. The precision dots give control without mess.
Materials Needed
- 4 unfinished wood photo frames, 5×7 inches
- White craft glue
- Fine-tip glue applicator bottle
- Blue ultra-fine glitter
- Toothpick
How to Make It
- Load the glue into the applicator bottle and gently squeeze tiny dots every 1/4 inch along the outer edge of the frame front.
- Immediately sprinkle glitter over the wet dots, covering completely.
- Tap off excess glitter after 2 minutes and use the toothpick to reposition any stray dots before drying for 30 minutes.


13. Chalkboard Paint Countdown Jars
Moderate
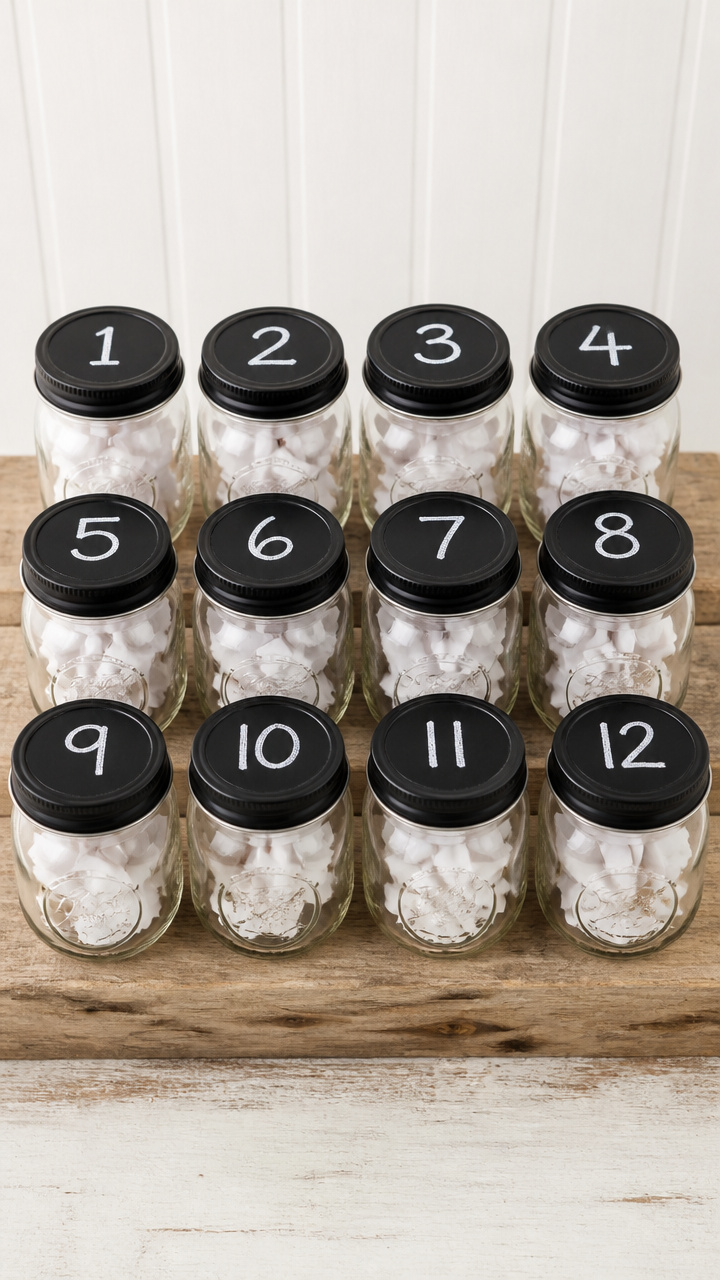
Mini mason jars hold daily notes, their lids labeled in chalk marker for a visual countdown. Each day, someone pulls a slip and reads a wish or joke.
Materials Needed
- 12 mini mason jars, 4 oz
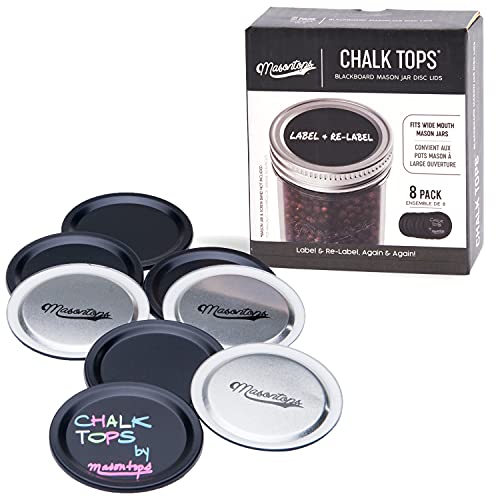
- Black chalkboard paint
- Foam brush, 1 inch
- Chalk marker, white
- Small paper slips, 2×3 inches, 12
- Pen
How to Make It
- Paint the lid of each jar with chalkboard paint using the foam brush and let dry for 20 minutes.
- Write numbers 1 through 12 on each lid with the chalk marker.
- Write a short message on each paper slip, fold, and place one inside each jar.


14. Felt Star Garlands
Moderate
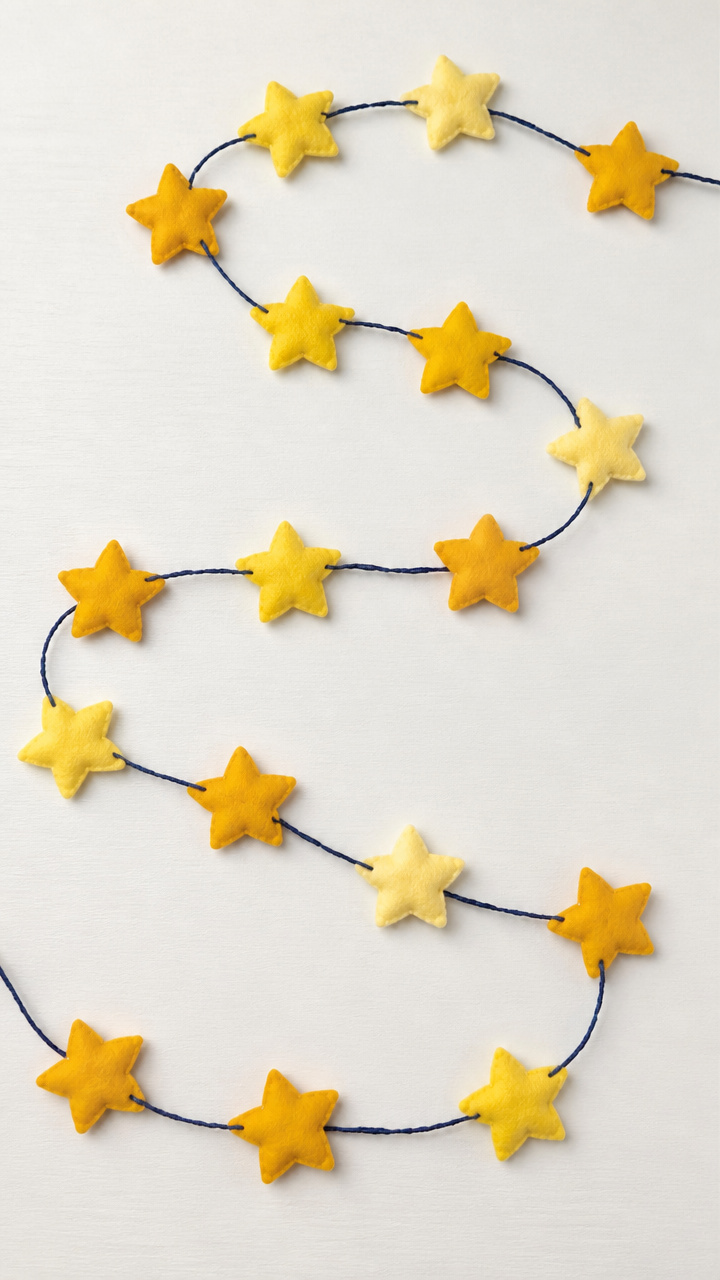
Sharp-pointed stars in gradient yellow shades drape across walls, catching eyes with their soft glow and symmetry. Cutting templates ensures perfect shapes every time.
Materials Needed
- Yellow felt sheets: light, medium, dark, 9×12 inches each
- Star template, 3-inch five-pointed
- Pencil
- Scissors
- Navy embroidery floss, 3 yards
- Needle
How to Make It
- Trace the star template onto each felt sheet, rotating direction to fit 4 stars per sheet, and cut out all 12.
- Thread the needle with 18 inches of floss and knot the end.
- String stars onto the floss by piercing near the top point, spacing each 3 inches apart, and tie off at both ends.

15. Salt Dough Handprint Ornaments
Advanced
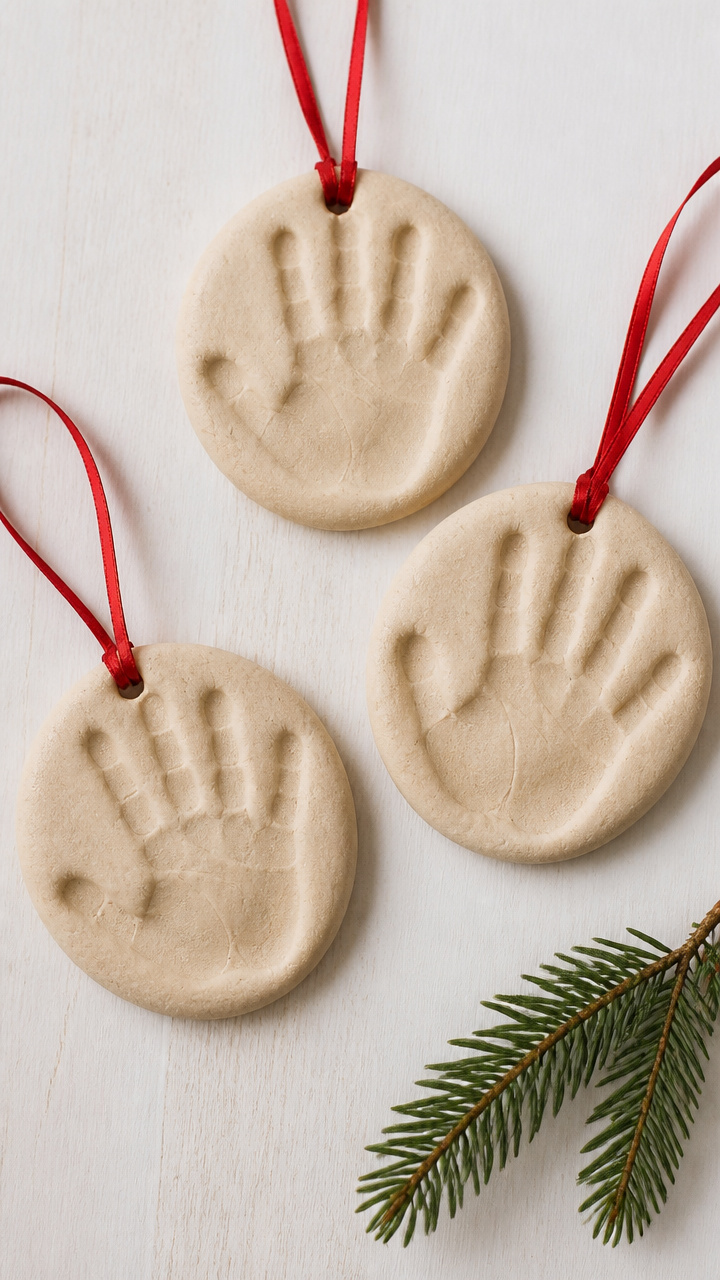
Delicate handprints pressed into pale dough become keepsakes stamped with the year. Baking hardens them into lasting mementos.
Materials Needed
- All-purpose flour, 1 cup
- Table salt, 1/2 cup
- Water, 1/2 cup
- Mixing bowl
- Rolling pin
- Straw
- Baking sheet
- Parchment paper
- Ribbon, 1/8 inch, 3 feet
How to Make It
- Mix flour, salt, and water in the bowl until a smooth dough forms, kneading briefly on a floured surface.
- Roll dough to 1/4 inch thick and press a hand firmly into it, then carefully lift to reveal the print.
- Use the straw to poke a hole near the top edge, place on parchment-lined baking sheet, and bake at 200°F for 3 hours until hard. Thread ribbon through the hole after cooling.


Grab what you have and start with one. Each piece adds meaning, whether it's hung, held, or gifted.