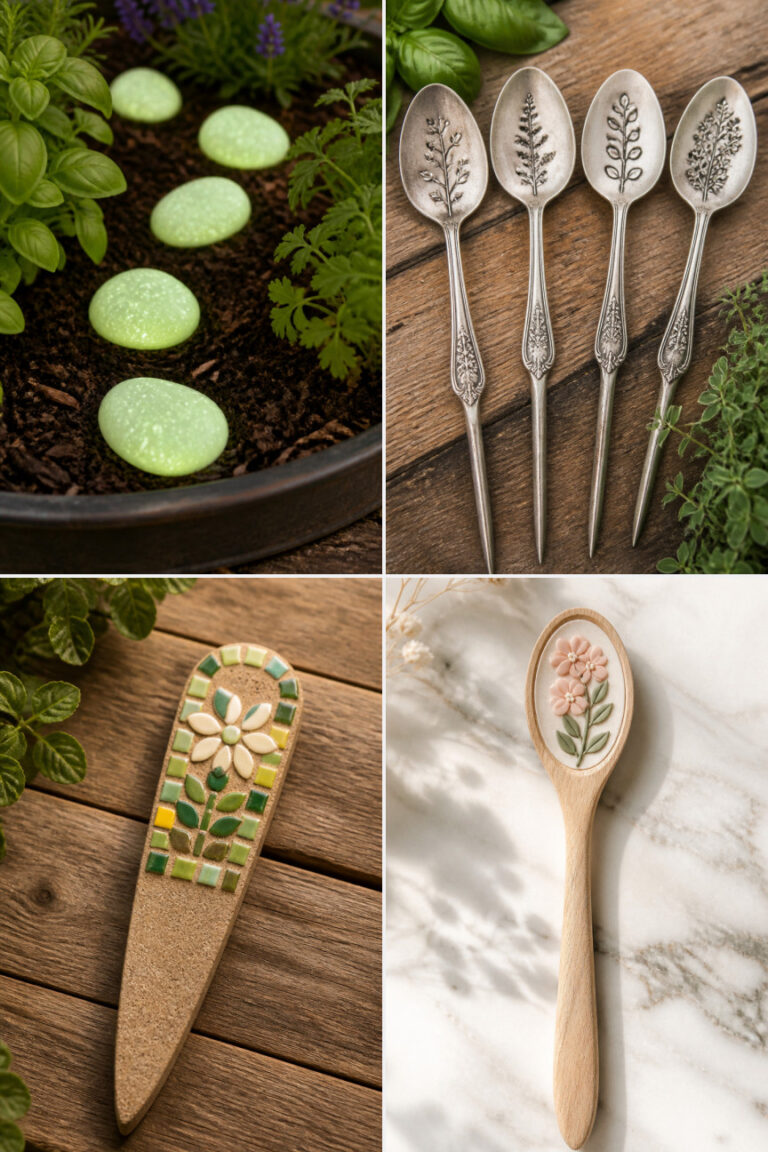
15 Whimsical Fairy Garden Craft Ideas for Small Backyard Spaces

Small backyards hold immense potential for magical storytelling when you tuck tiny details between your plants. Even a shallow planter bowl, a hollow tree stump, or a quiet patio corner can become a bustling woodland village with a few handmade accents.
Crafting your own miniature accessories lets you customize every bridge, cottage, and fixture to fit the exact scale of your greenery. Gather your everyday supplies and build a pocket-sized wonderland with these fifteen practical, delightful projects.
1. Acorn Cap Toadstool Clusters
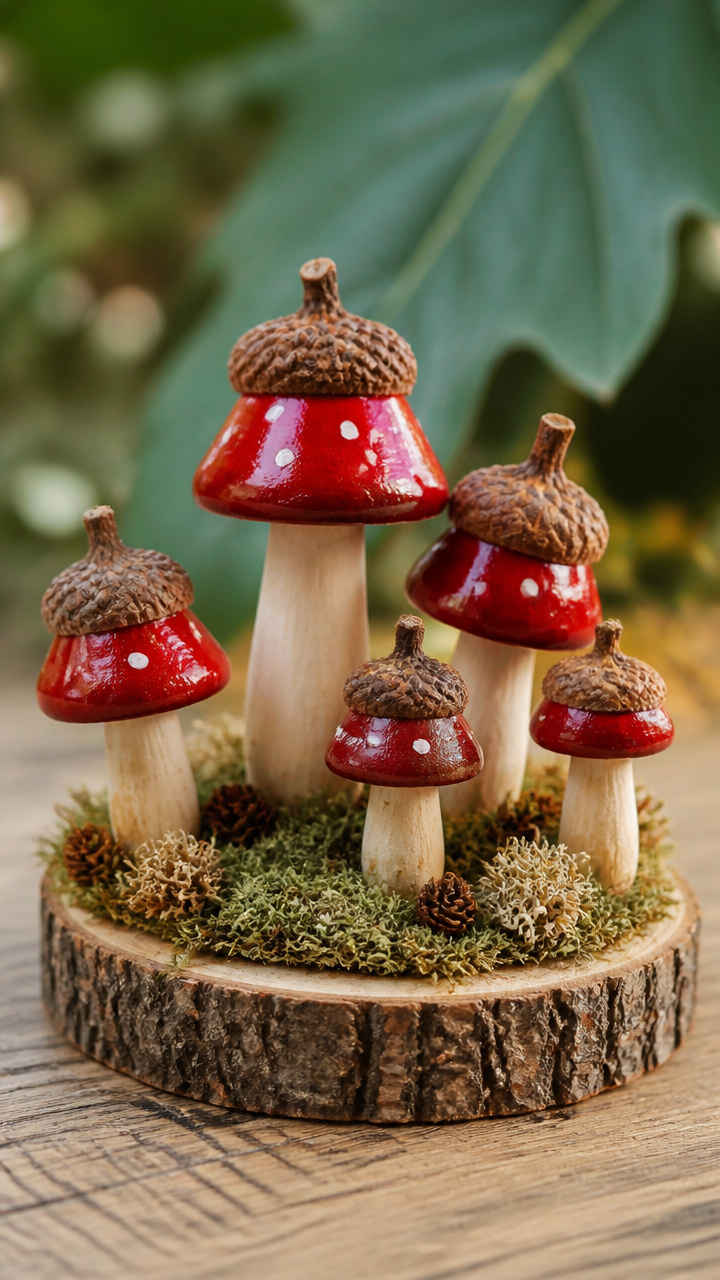
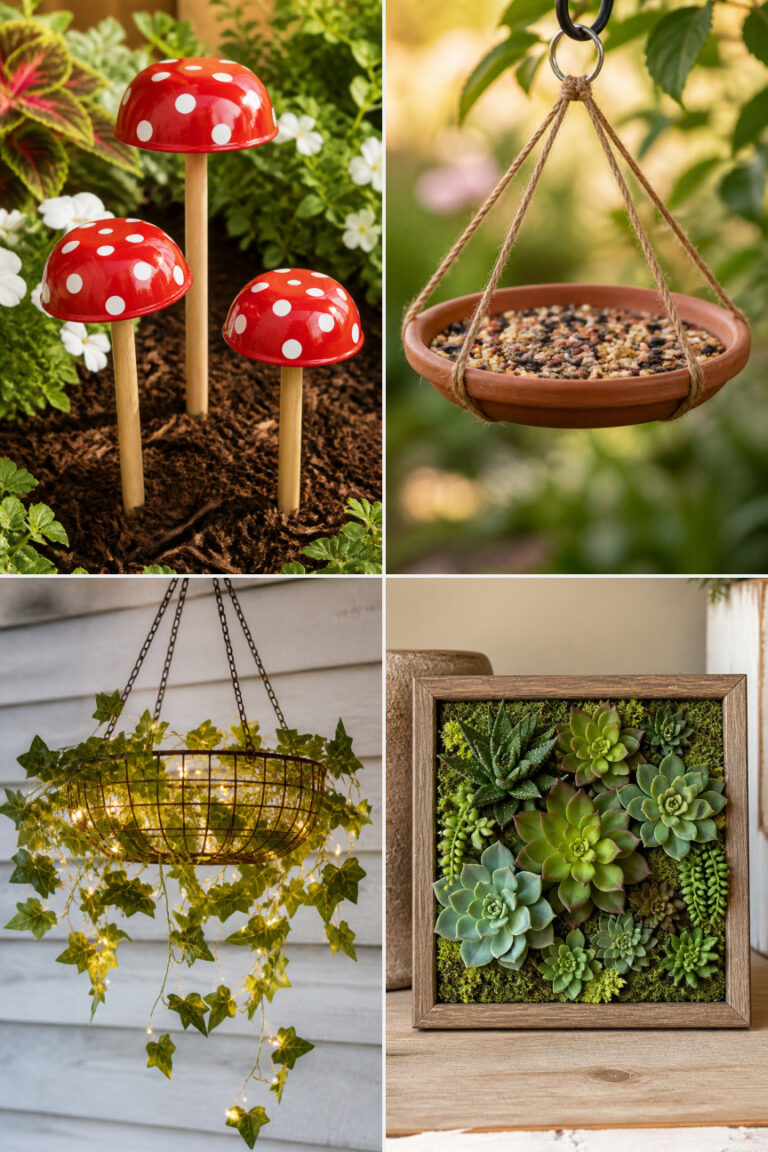
Glossy red woodland mushrooms bring instant folklore charm to mossy roots and compact planter beds. You will create durable, weather-resistant toadstools using fallen acorn caps and oven-bake clay.
Materials Needed
- 6 natural acorn caps, cleaned and dried
- 2 oz white polymer clay
- 1 bottle bright red acrylic paint
- 1 bottle white acrylic paint
- 6 pieces of 18-gauge floral wire cut to 3-inch lengths
- 1 bottle exterior matte varnish
- 1 small detail paintbrush
How to Make It
- Condition the white polymer clay by kneading it in your hands until soft, then roll it into six tapered mushroom stems about one inch tall.
- Press the thick top end of each clay stem firmly into the underside of an acorn cap, securing the bond.
- Push a 3-inch piece of floral wire up through the bottom of each clay stem so one inch stays inside the clay and two inches stick out the bottom for planting.
- Bake the assemblies on a foil-lined baking sheet at 275 degrees Fahrenheit for 15 minutes, then allow them to cool completely.
- Paint the outer acorn caps with two coats of bright red acrylic paint, letting the paint dry between layers.
- Dip the tip of your detail brush into white acrylic paint to dab tiny dots across the red caps, then seal the entire toadstool with exterior matte varnish.
2. Broken Terracotta Pot Layered Castle
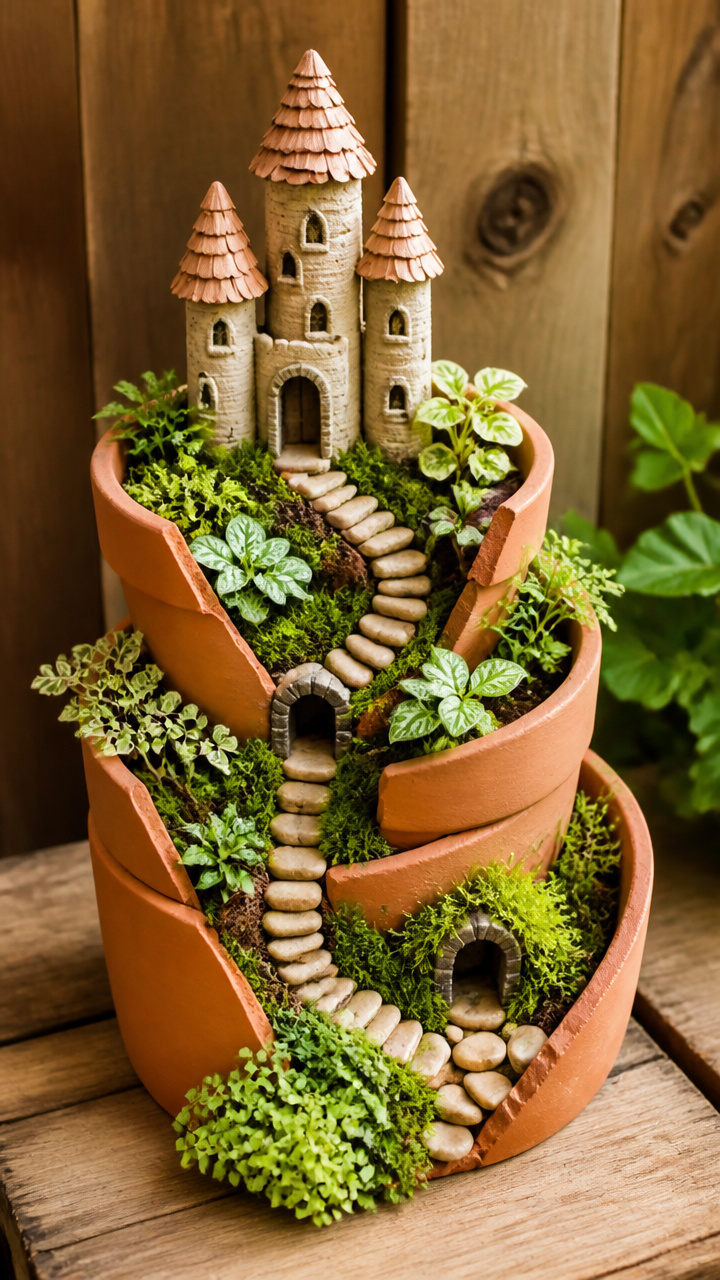
Cracked pottery finds new life as a multi-level fortress filled with tiny succulents and winding stone pathways. You can arrange the jagged shards into terraced retaining walls inside an upright planter base.
Materials Needed
- 1 cracked or chipped 10-inch terracotta pot
- 1 hammer
- 1 bag cactus and succulent potting mix
- 20 miniature pea gravel stones
- 4 small succulent cuttings like sedum or baby tears
- 1 tube clear exterior silicone adhesive
How to Make It
- Wrap the broken side of the terracotta pot in a towel and tap gently with a hammer to create three distinct curved shards of varying sizes.
- Fill the bottom of the pot with potting mix up to the lower edge of the front break.
- Stand the largest terracotta shard vertically in the soil to form a back retaining wall, then backfill soil behind it to create an elevated upper tier.
- Nest the remaining smaller shards into the lower slope to create step-like terraces, securing any wobbly contact points with a dab of silicone adhesive.
- Press flat pea gravel stones into the soil in an upward winding line to build a miniature staircase between the levels.
- Plant the tiny succulent cuttings into each soil pocket to complete your living miniature hillside.
3. Popsicle Stick Cobblestone Fairy Door
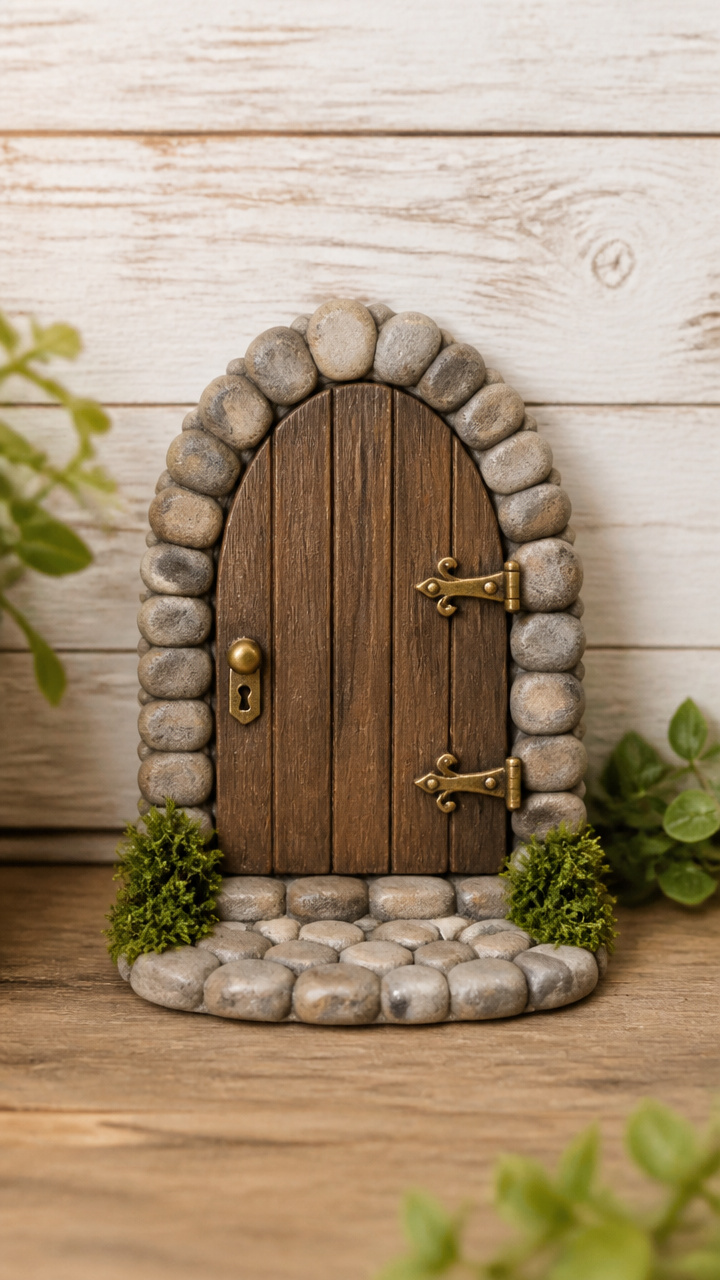
Rustic entryways tucked against tree trunks invite imagination and anchor your garden layout. Building an arched wooden door gives you full control over color, grain texture, and hardware details.
Materials Needed
- 8 wooden craft popsicle sticks
- 1 pair craft shears
- 1 bottle exterior wood glue
- 1 small bottle walnut wood stain
- 1 foam brush
- 1 brass jump ring
- 1 small metal brad
- 1 bottle clear satin polyurethane
How to Make It
- Line up six craft sticks side by side on your work surface to form the door panel.
- Trim two additional craft sticks to fit horizontally across the back of the panel, then glue them down with exterior wood glue to brace the structure.
- Cut the top of the door assembly into a rounded arch using sturdy craft shears once the glue dries.
- Score vertical grain lines along each stick with the tip of your scissors to create a weathered wood effect.
- Apply walnut wood stain across the front using a foam brush, wipe away excess stain with a rag, and let it dry for one hour.
- Push a metal brad through a brass jump ring and press it into the right side of the door to form the handle, then coat the door with satin polyurethane.
4. Pebble Mosaic Stepping Stones
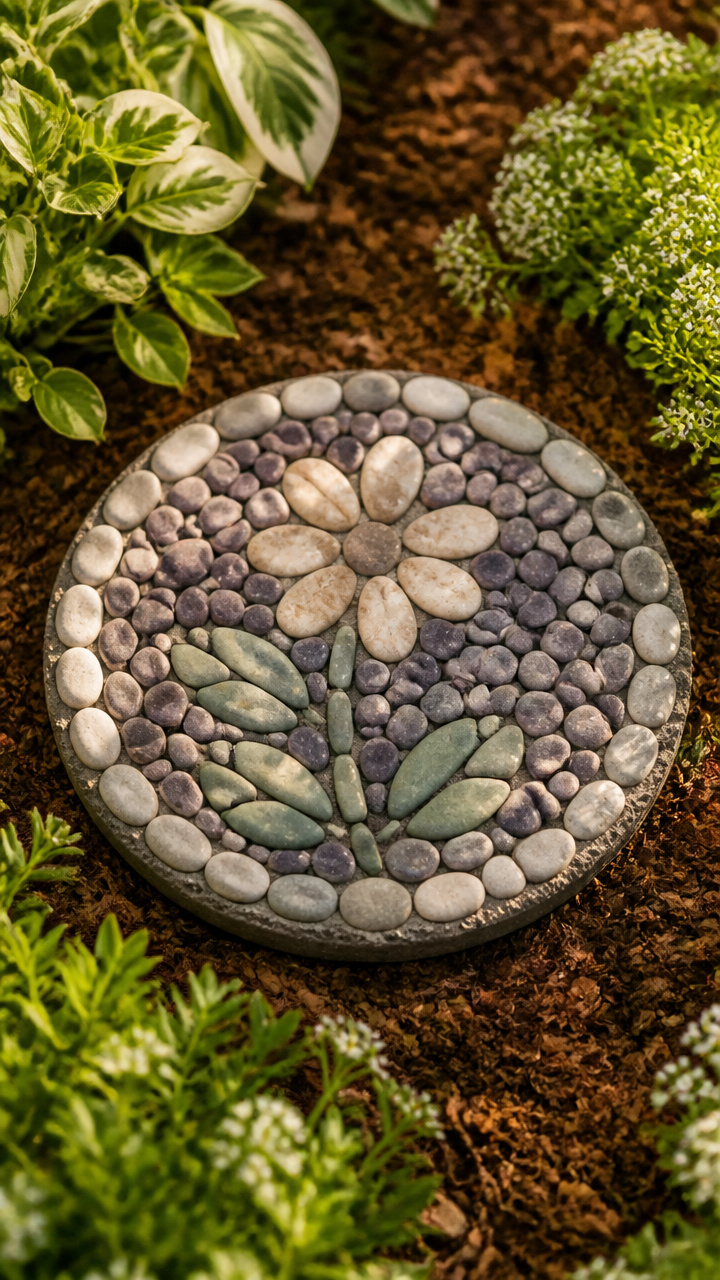
Smooth river rocks embedded in concrete disks create walkable paths that lead visitors through tiny garden beds. These miniature stones prevent soil erosion around your miniature plants while defining clean travel routes.
Materials Needed
- 1 silicone muffin pan
- 1 cup rapid-setting concrete mix
- 1/3 cup clean water
- 40 flat micro-pebbles or tumbled stones (under 1/2 inch size)
- 1 plastic mixing cup and craft stick
- 1 sheet 120-grit sandpaper
How to Make It
- Mix the rapid-setting concrete with water in your plastic cup until it reaches the consistency of thick pancake batter.
- Spoon the wet concrete into four cavities of the silicone muffin pan, filling each cavity to roughly 1/2 inch depth.
- Tap the pan firmly on your table surface to release trapped air bubbles and level the concrete tops.
- Press micro-pebbles into the surface of each wet disk in spiral or checkerboard patterns, sinking them halfway into the mix.
- Let the concrete cure undisturbed for two hours before gently flexing the silicone mold to pop out the disks.
- Sand any rough bottom edges lightly with 120-grit sandpaper before placing the stepping stones along your garden path.
5. Wine Cork Bistro Set
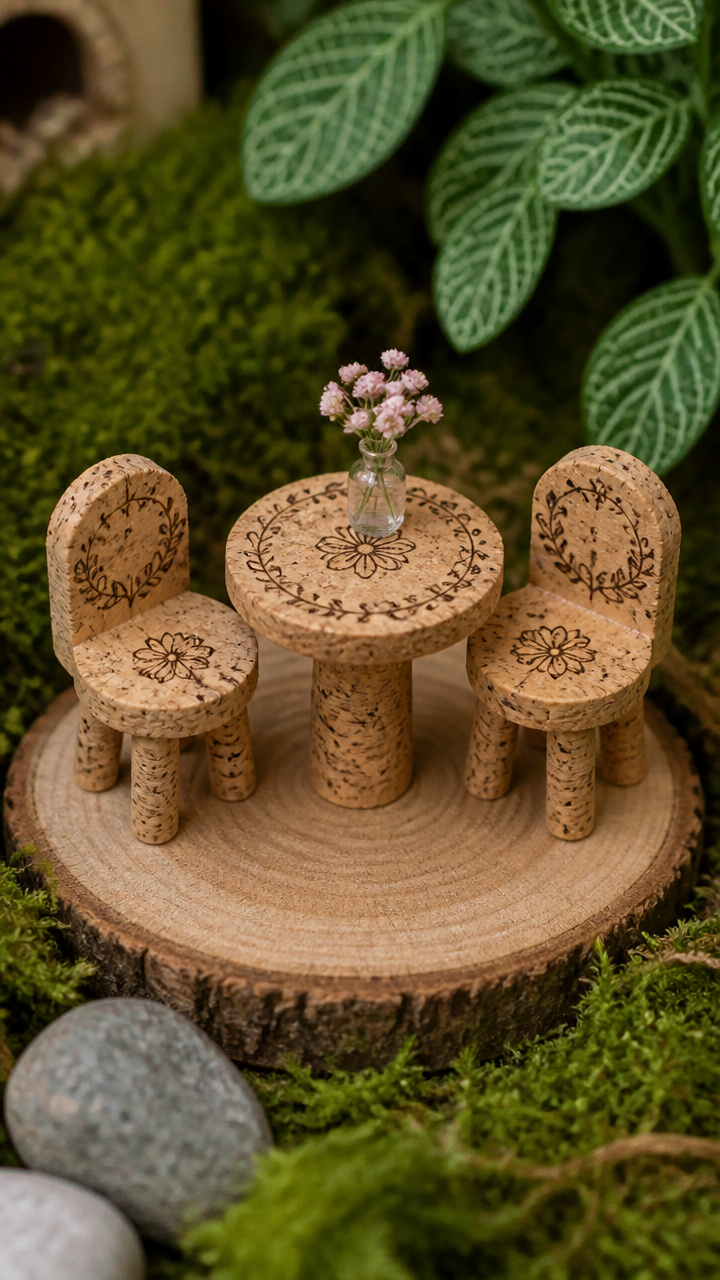
Twisted wire cages and natural cork combine to form sturdy outdoor patio furniture scaled perfectly for tiny courtyards. This set provides a cozy resting area beside mini potted flowering herbs.
Materials Needed
- 2 wire cages from sparkling wine bottles
- 2 natural wine corks
- 1 craft knife
- 1 pair needle-nose pliers
- 1 small square of cotton floral fabric (2×2 inches)
- 1 tube waterproof craft glue
How to Make It
- Untwist the bottom loop of each wire cage using needle-nose pliers, straightening the four wire legs evenly.
- Bend the top loop of one wire cage upright at a 90-degree angle to serve as the backrest for a bistro chair.
- Slice a 1/4-inch thick disk from a natural wine cork using a craft knife to serve as the chair seat cushion.
- Wrap the cork disk in cotton fabric, glue the edges underneath, and press it firmly into the metal wire chair frame.
- Slice the second cork in half horizontally and glue the flat, broad base directly to the flat top of the remaining wire cage to build the matching table.
- Adjust the four wire legs on both pieces with your pliers so they sit level on flat ground.
6. Thimble Hanging Flower Planters
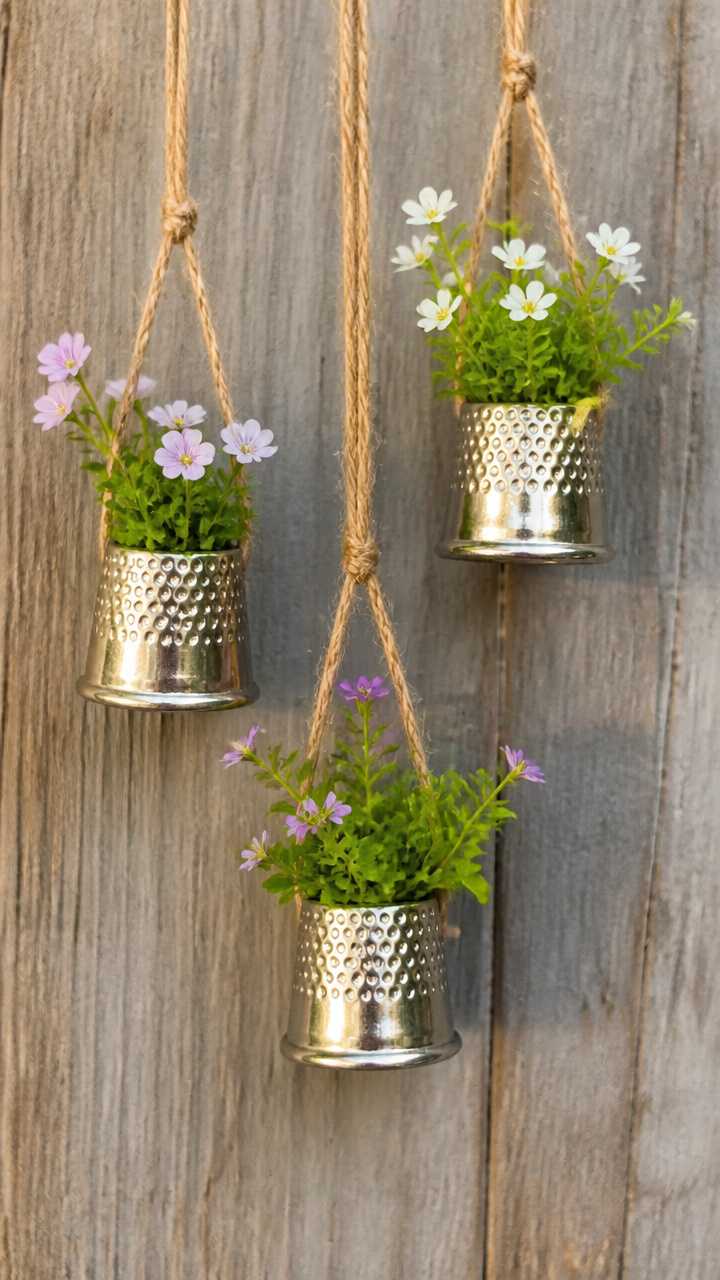
Vintage metal thimbles convert easily into hanging baskets that drape gracefully from miniature shepherds hooks. They allow you to add vertical green accents without taking up precious ground area.
Materials Needed
- 3 metal sewing thimbles
- 1 power drill with a 1/16-inch drill bit
- 18 inches of 24-gauge brass wire
- 1 pair wire cutters
- 1 pinch of dried sphagnum moss
- 3 tiny cuttings of string-of-pearls or miniature moss
How to Make It
- Drill two small opposing holes through the top rim of each metal thimble using a 1/16-inch drill bit.
- Cut a 6-inch strand of brass wire, thread each end through the rim holes, and twist the ends to form an arched hanging handle.
- Drill a tiny drainage hole through the center of each thimble base to prevent root rot.
- Tuck a small pinch of damp sphagnum moss into the bottom of each thimble to hold moisture.
- Insert a miniature cutting into the moss, pressing the roots gently in place with the back of a pencil.
- Hang the thimble pots from twig branches or wire stakes positioned throughout your miniature scene.
7. Twig and Twine Suspension Bridge

Fallen birch twigs and natural jute form an authentic swinging bridge that spans soil gaps or dry riverbeds. It creates movement and dimension across uneven outdoor planting containers.
Materials Needed
- 15 straight twigs of equal thickness (about 1/4 inch diameter)
- 1 pair garden pruning shears
- 6 feet thin natural jute twine
- 4 wooden toothpicks
- 1 tube waterproof super glue
How to Make It
- Cut twelve twigs to exactly two inches in length using your garden pruning shears to create the bridge walkway slats.
- Cut two long strands of jute twine, measuring three feet each, and lay them parallel on your table two inches apart.
- Tie each twig slat along the twine using simple overhand knots, leaving a 1/8-inch gap between each wooden piece.
- Anchor both ends of the bridge by tying the twine tails around two vertical twig posts pressed deep into your garden soil.
- Cut four toothpick lengths to create diagonal bridge stay-cables, securing their contact points with tiny drops of waterproof super glue.
- Drape the bridge across a shallow depression or stream bed so it sways naturally in the breeze.


8. Sea Glass Garden Birdbath
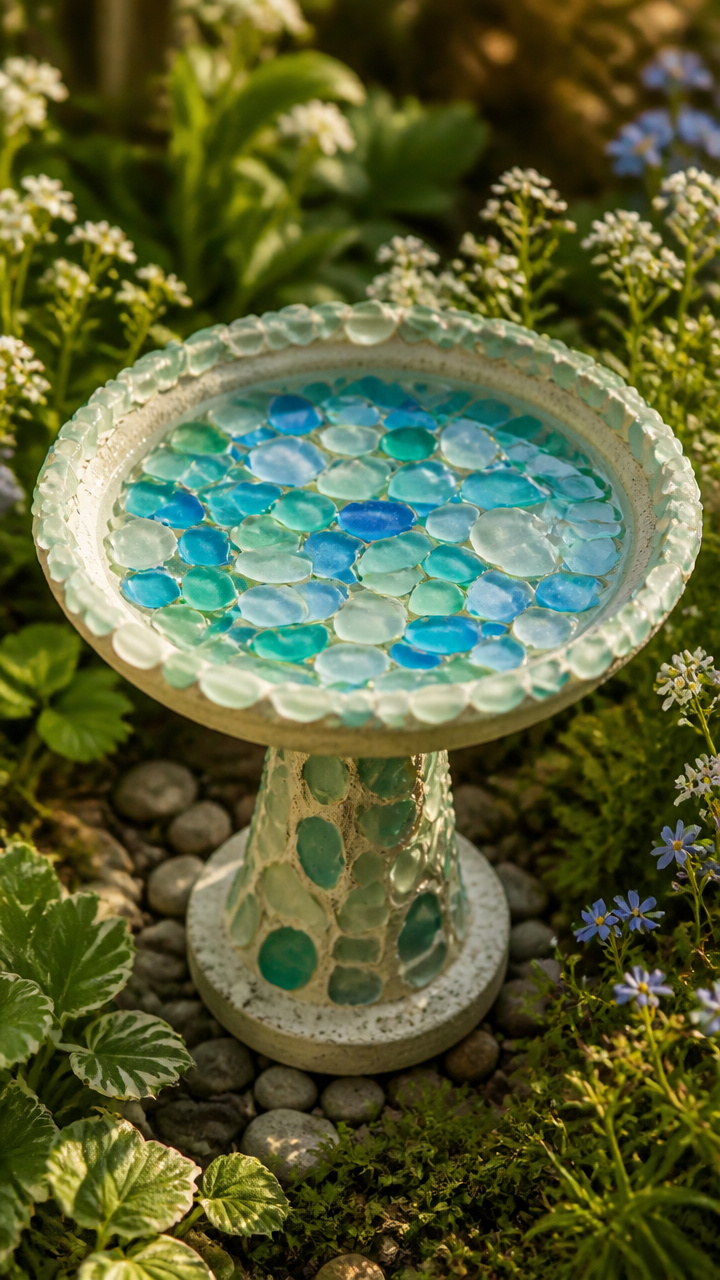
Polished frosted sea glass reflects sunlight and provides a glistening shallow water basin for passing insects. You can assemble this focal point in minutes using simple stackable glass elements.
Materials Needed
- 1 small glass candlestick holder (about 3 inches tall)
- 1 clear glass furniture coaster or shallow 3-inch glass dish
- 8 pieces of frosted sea glass
- 1 tube clear waterproof silicone sealant
- 1 cotton swab
How to Make It
- Clean both the glass coaster and candlestick holder with rubbing alcohol to remove grease and dust.
- Apply a bead of clear waterproof silicone sealant to the top rim of the candlestick holder.
- Center the shallow glass coaster on top of the candlestick and press down firmly to join them.
- Run a thin ring of silicone around the interior base of the shallow coaster with a cotton swab.
- Press the pieces of frosted sea glass into the silicone along the inside basin rim to create a textured perimeter.
- Allow the silicone to cure for 24 hours before filling the shallow dish with clean water and setting it into your garden.
9. Miniature Copper Wire Gazebo
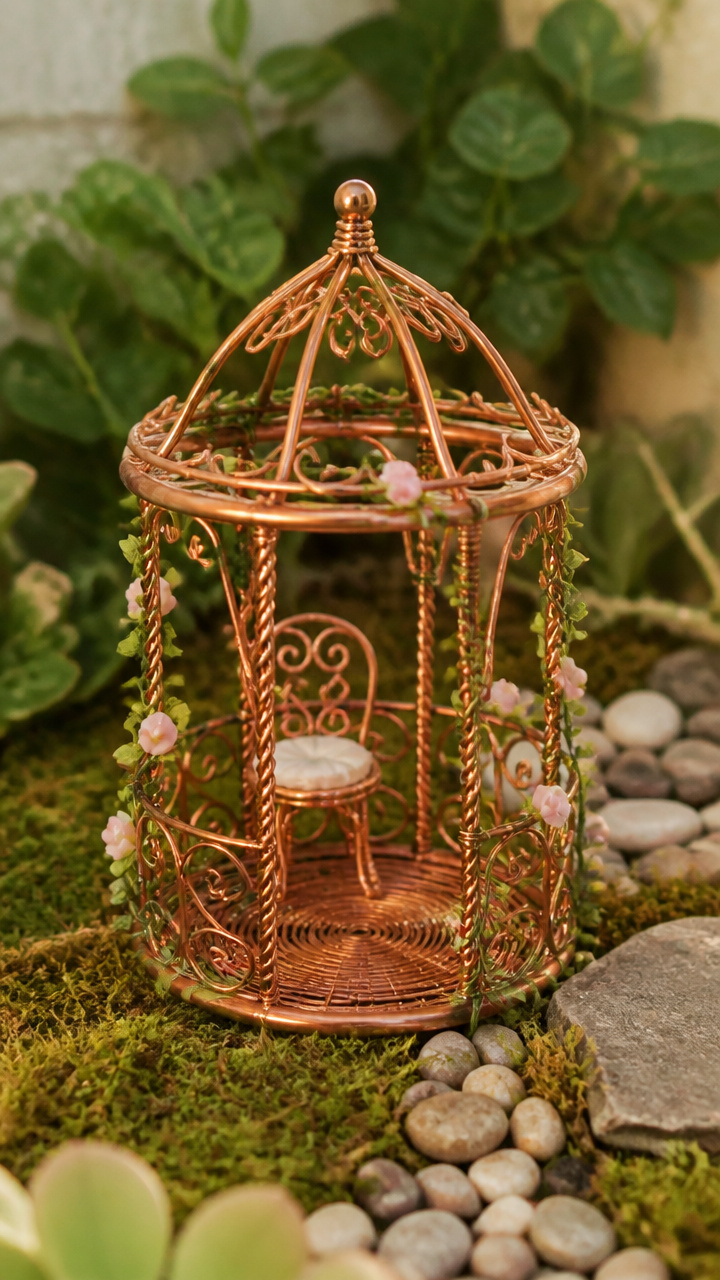
Pliable copper wire twists easily into an airy, ornate garden pavilion that supports climbing micro-vines. This open structure provides vertical height without blocking the view of background plants.
Materials Needed
- 15 feet of 18-gauge bare copper craft wire
- 1 pair round-nose pliers
- 1 pair wire cutters
- 1 small glass bead (6mm)
- 1 ruler
How to Make It
- Cut six 10-inch pieces of copper wire to serve as the structural rib posts of the gazebo.
- Thread all six wire strands through the central glass bead, aligning the bead at the center point of the wires.
- Bend the wires downward from the bead like an umbrella frame, spacing the six legs out evenly in a circle.
- Use round-nose pliers to twist decorative spiral scrollwork along the bottom two inches of each vertical leg.
- Cut three 8-inch strands of wire and weave them horizontally around the vertical ribs to form stabilizing circular support rings.
- Push the bottom two inches of each copper leg securely into your potting soil to anchor the gazebo over a patch of creeping thyme.
10. Felt Leaf Nap Hammock
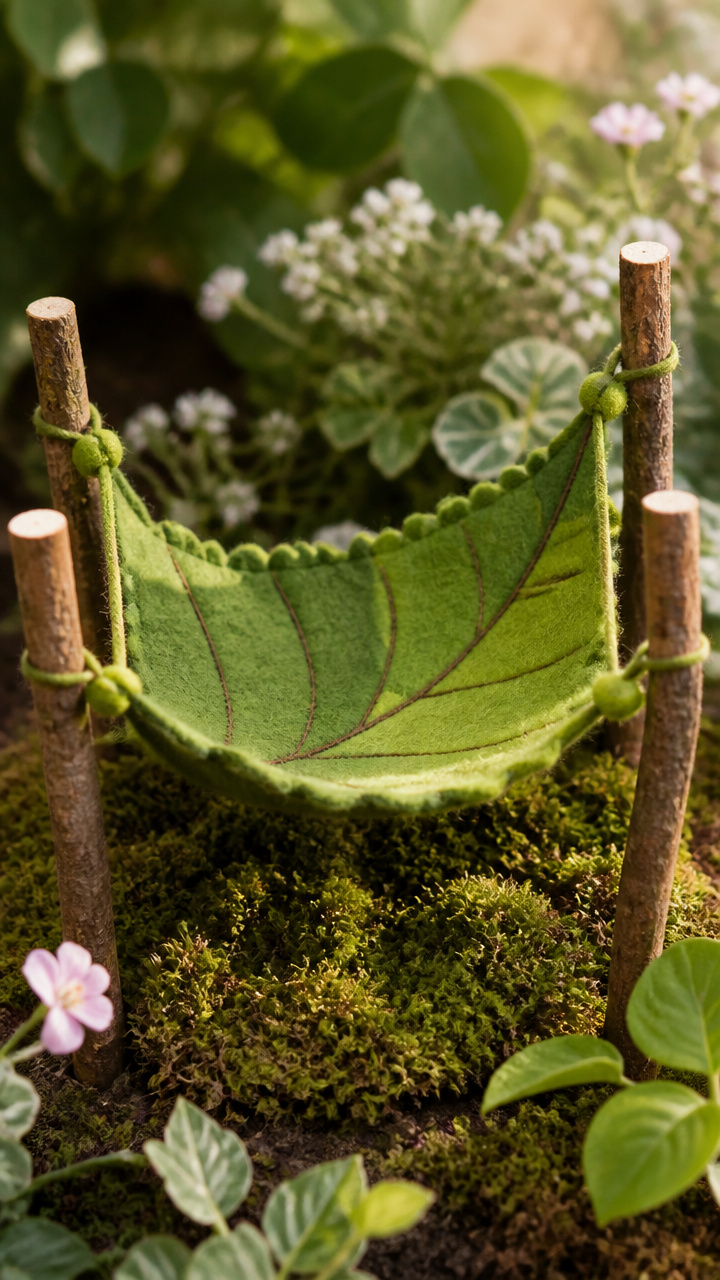
Soft green wool felt suspended between two miniature branches offers a gentle resting spot for magical garden wanderers. It softens the hard lines of pottery and stone with warm textile textures.
Materials Needed
- 1 sheet olive green wool felt
- 1 spool dark green embroidery floss
- 1 embroidery needle
- 2 forked garden branches (about 4 inches long)
- 1 pair fabric scissors
- 1 tube fabric fray check glue
How to Make It
- Cut an elongated leaf shape measuring 3.5 inches long and 1.5 inches wide from the olive green wool felt.
- Stitch decorative leaf veins down the center of the felt piece using dark green embroidery floss and a simple backstitch.
- Gather the tapered ends of the felt leaf tightly and wrap them with embroidery floss, leaving a 3-inch tail on each end.
- Apply a drop of fray check glue over the thread wraps to prevent slipping, then let it dry for ten minutes.
- Push the two forked branches into the soil roughly three inches apart so they stand upright like natural posts.
- Tie the thread tails securely around the branch forks so the leaf hammock hangs in a gentle curved cradle.


11. Solar-Lit Mason Jar Fairy Cottage
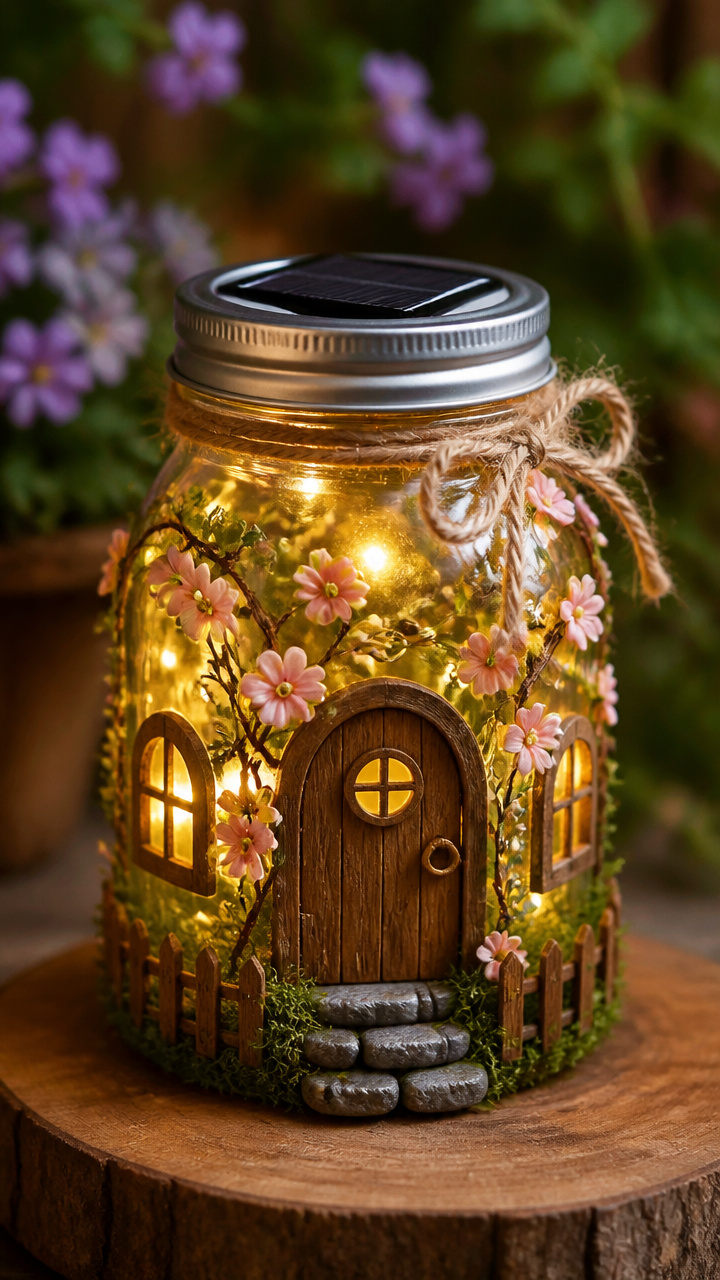
Illuminated glass jars tucked beneath leafy ferns bring your miniature setup to life after the sun sets. A simple frosted coating diffuses the solar light to create a soft, welcoming glow inside your garden bed.
Materials Needed
- 1 small 4 oz wide-mouth mason jar with band
- 1 solar-powered jar insert lid with warm LED string
- 1 can frosted glass spray paint
- 1 sheet adhesive vinyl or painter tape
- 1 small clump preserved reindeer moss
- 1 tube outdoor craft glue
How to Make It
- Cut small window and door shapes from painter tape and press them firmly against the outside of the clean glass jar.
- Spray two light coats of frosted glass paint over the exterior of the jar, waiting five minutes between applications.
- Peel the tape shapes away carefully while the paint is slightly tacky to reveal clear glass window panes.
- Insert the solar LED string into the jar, screwing the solar lid tightly into the metal band ring.
- Glue small tufts of preserved reindeer moss around the metal lid rim to disguise the plastic hardware.
- Place the jar in a sunny spot in your garden bed so the lid can charge during daylight hours.
12. Walnut Shell Canopy Bed
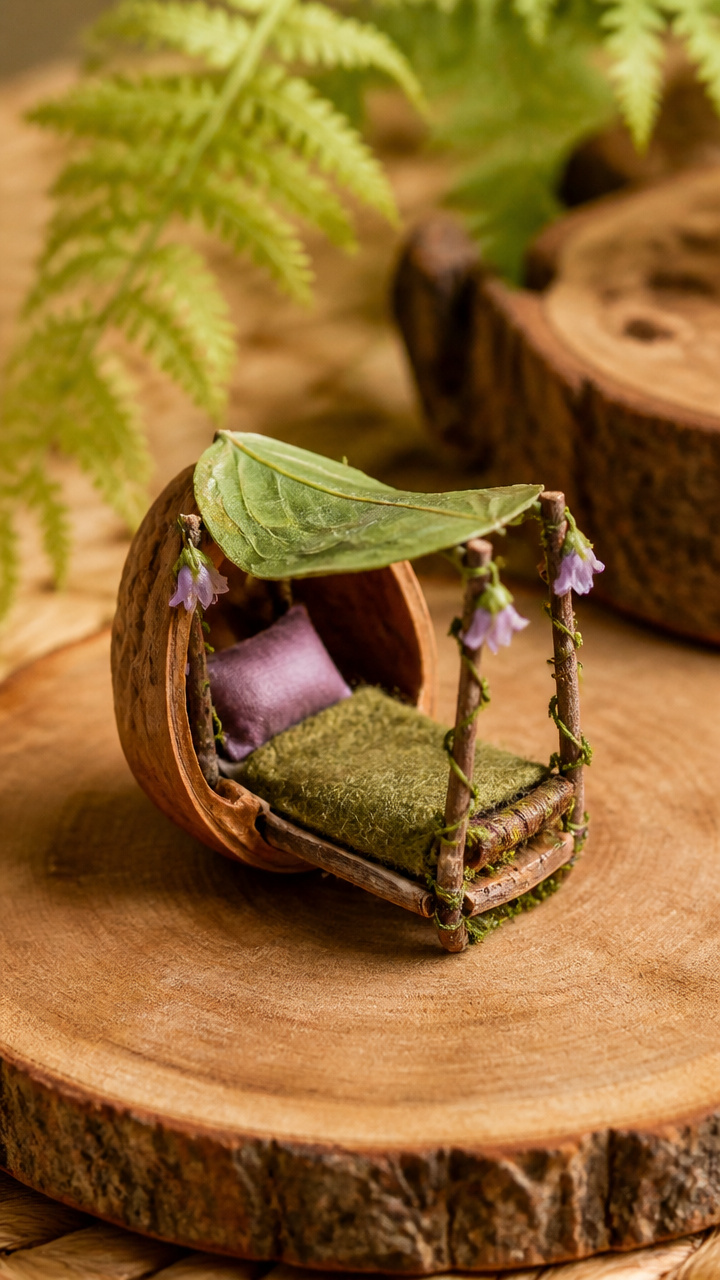
Halved walnut shells provide natural wooden headboards and sturdy frames for tiny woodland bedrooms. You can tailor this tiny piece with dried botanicals and soft cotton scraps.
Materials Needed
- 1 clean English walnut shell half
- 1 cotton makeup removal round
- 1 scrap floral calico fabric (2×2 inches)
- 1 pinch dried lavender buds
- 1 hot glue gun with glue sticks
- 4 dried whole clove stems
How to Make It
- Trim the cotton makeup round to fit snugly inside the bottom cavity of the walnut shell half.
- Sprinkle a small pinch of dried lavender buds into the shell cavity for fragrance and padding.
- Wrap the cotton pad in the floral calico fabric, securing the fabric folded underneath with hot glue to form a mini mattress.
- Glue the covered mattress into the walnut shell hollow, pressing down gently until the glue cools.
- Hot glue four dried clove stems to the outer bottom of the walnut shell to serve as sturdy wooden bed legs.
- Position the finished bed inside an overturned terracotta saucer or a protected hollow under a shrub.


13. Wooden Coffee Stirrer Wishing Well
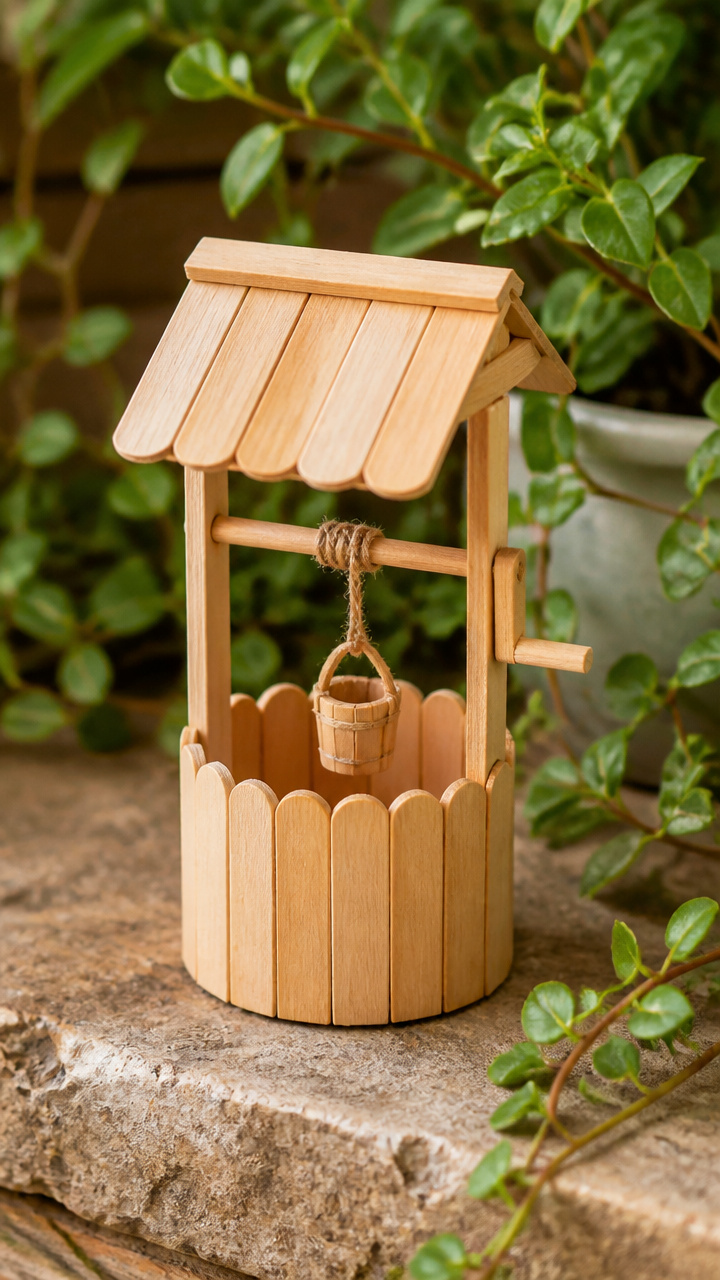
Slender wooden stirrers cut down into mini timber planks make a charming stone-lined well for gathering garden dew. This piece adds classic rustic architecture to central courtyard arrangements.
Materials Needed
- 1 empty metal ribbon spool or plastic bottle cap (2-inch diameter)
- 12 wooden coffee stirrers
- 1 pair craft scissors
- 1 bottle waterproof wood glue
- 6 inches baker twine
- 1 wooden barrel bead (1/2 inch)
- 1 small piece 20-gauge floral wire
How to Make It
- Cut the wooden coffee stirrers into 1.5-inch lengths using your craft scissors.
- Glue the wooden planks vertically around the outside of the bottle cap base with waterproof wood glue until completely covered.
- Glue two full-length stirrers upright on opposite interior sides of the well to act as roof support beams.
- Cut four 2-inch stirrer pieces and glue them into a peaked A-frame roof across the top of the two support posts.
- Bend a small piece of floral wire through the wooden barrel bead to create a bucket handle, then tie it to the baker twine.
- Tie the other end of the twine around the roof crossbar so the tiny wooden bucket dangles inside the well opening.
14. Pinecone Scale Cottage Roof
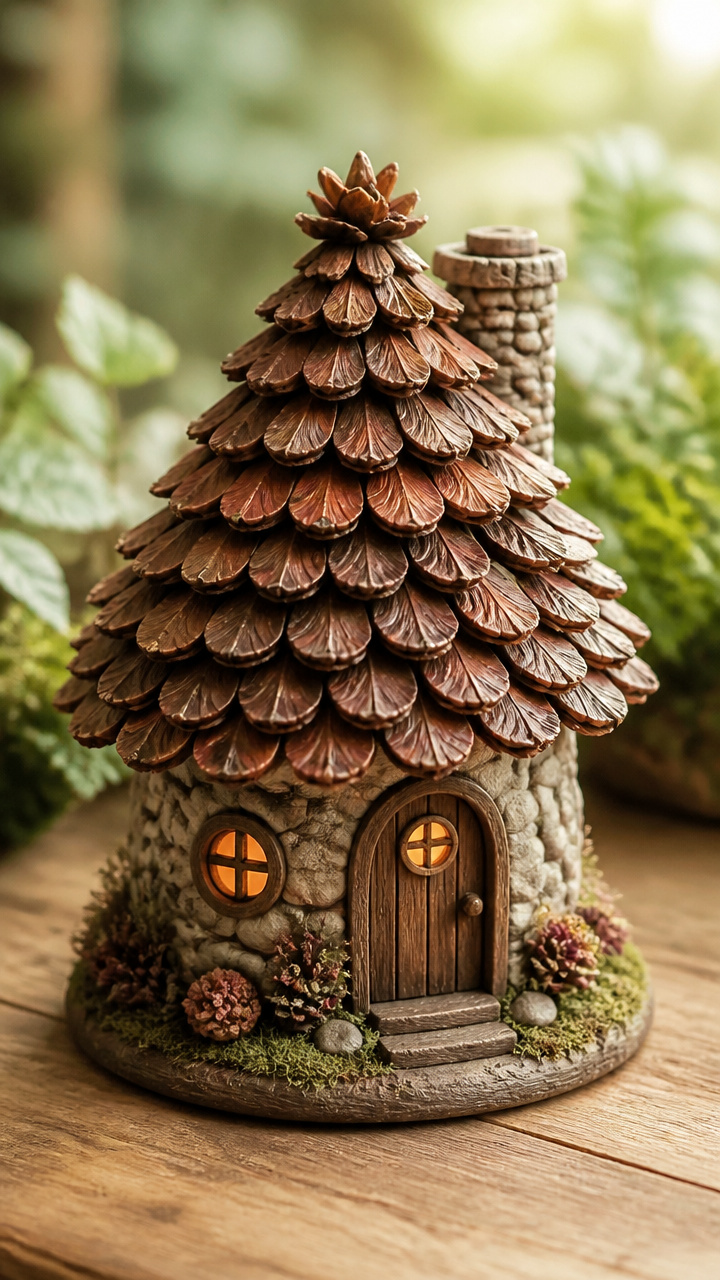
Layered pinecone scales create an authentic cedar-shake roof texture for tiny garden structures. Building over a simple wooden block protects the shelter from wet soil and wind.
Materials Needed
- 1 small wooden craft block or jewelry box (3×3 inches)
- 3 large open pinecones
- 1 pair heavy-duty hand pruners
- 1 hot glue gun with weather-resistant glue sticks
- 1 bottle exterior matte clear sealer
How to Make It
- Snip off individual scales from the pinecones using your hand pruners, collecting roughly 50 flat, uniform pieces.
- Cut a simple folded cardboard pitch or angled wood block to form the angled roof peak on your craft box.
- Glue the first row of pinecone scales horizontally along the bottom roof edge, slightly overlapping their sides.
- Apply the next row of scales 1/4 inch higher, overlapping the lower row like traditional house shingles.
- Work your way up both sides of the roof to the center peak, trimming any wide scales to fit the ridge line.
- Spray the finished roof with two coats of exterior matte clear sealer to protect the pinecone material from outdoor dampness.
15. Resin Pebble Pond with Floating Lilies
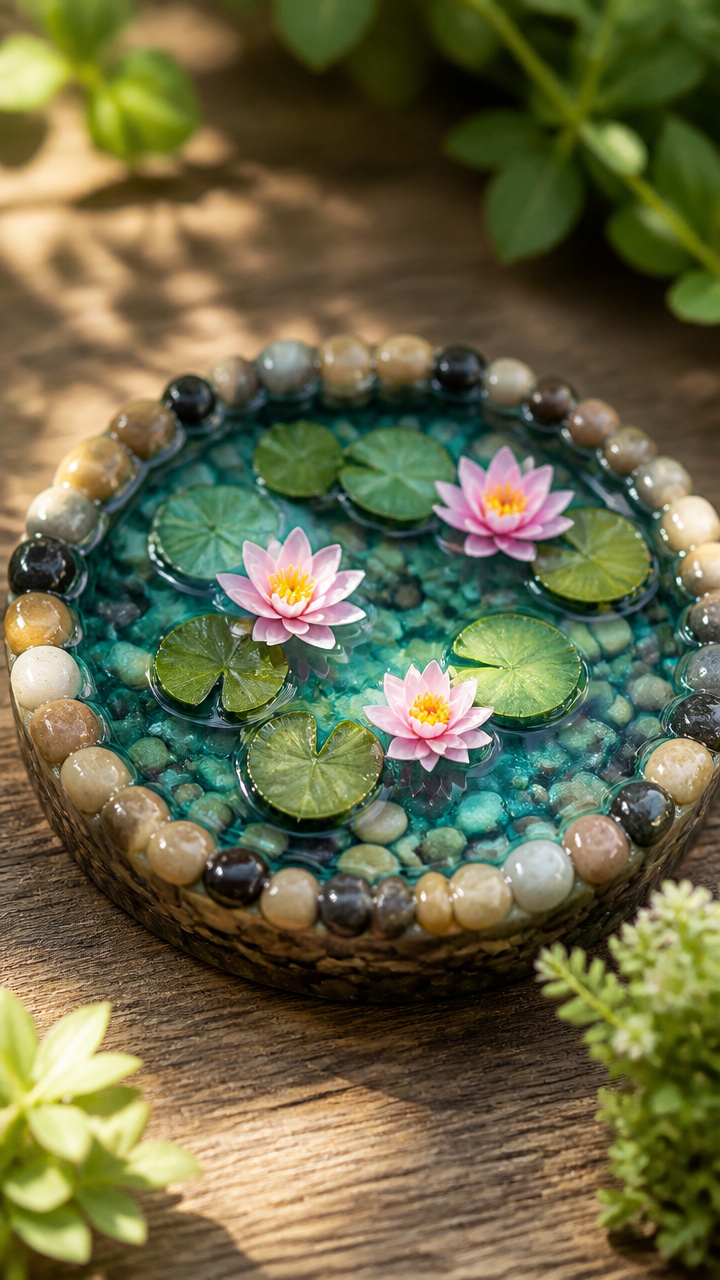
Clear epoxy resin poured over colorful sand creates the realistic illusion of deep, glassy water in a miniature landscape. You can embed tiny green pads and smooth gravel to mimic a natural garden reflection pool.
Materials Needed
- 1 shallow terracotta saucer (4-inch diameter)
- 2 oz two-part clear epoxy resin kit
- 2 tablespoons fine river sand
- 12 miniature tumbled stones
- 1 scrap green plastic sheet (like a recycled milk jug)
- 1 pair precision scissors
How to Make It
- Coat the inner bottom of the terracotta saucer with a thin layer of exterior craft glue, then sprinkle fine river sand across it.
- Glue smooth tumbled stones in an irregular ring around the inside wall of the saucer to form a natural shoreline.
- Cut three tiny 1/4-inch circular lily pads from your green plastic sheet, snipping a tiny triangular wedge out of each one.
- Mix 1 oz of resin Part A with 1 oz of resin Part B in a disposable cup, stirring slowly for three minutes to avoid bubbles.
- Pour the clear resin mixture into the saucer to a depth of 1/4 inch, fully submerging the sandy bottom.
- Float your green plastic lily pads onto the surface of the wet resin, then let the pond cure undisturbed for 24 hours.
Building these handmade pieces gives your outdoor area personality and encourages you to enjoy your garden from a whole new perspective. Pick two or three projects that match your favorite materials, gather your tools, and start building your own miniature haven today.