15 Vintage Doily Pumpkin Craft Ideas for a Farmhouse Halloween

There’s something timeless about the soft lace of vintage doilies paired with the warm glow of autumn. When you bring them together with pumpkins, you create cozy farmhouse charm that feels both nostalgic and fresh.
These handmade pieces add delicate texture to your fall decor without overpowering it. Each idea uses real techniques and exact supplies so you can start crafting right away.
1. Lace-Pressed Clay Pumpkins
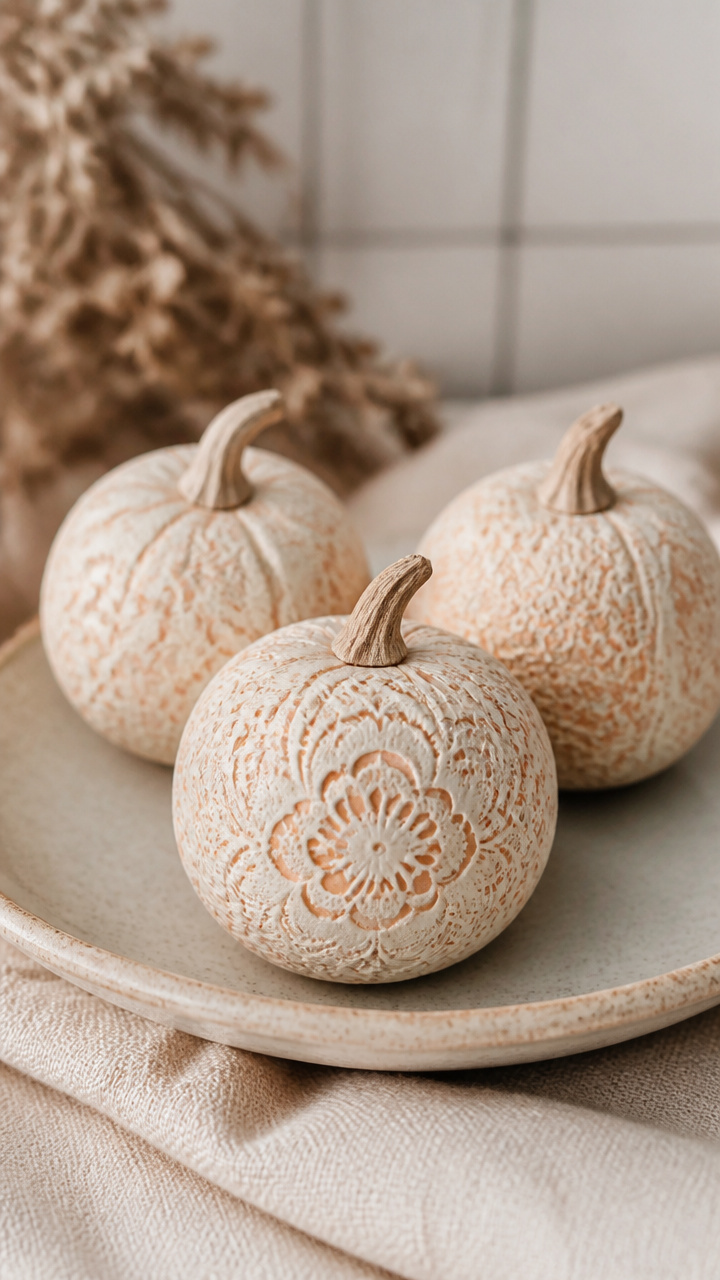
Textured air-dry clay spheres hold the fine pattern of antique lace. These mini pumpkins look like heirloom treasures after a single afternoon of work.
Materials Needed
- Air-dry clay, 500 grams
- Vintage paper doily, 4 inch diameter, 3 count
- Round glass bowl, 3 inch wide
- Acrylic paint, burnt orange, 2 oz
- Foam brush, 1 inch wide
- Clear matte varnish, 4 oz
- Paint palette or wax paper
How to Make It
- Roll the clay into three 2-inch balls and press each gently onto the inside curve of the glass bowl to shape into pumpkin rounds.
- Place one doily flat over each clay sphere and use your fingertips to press the lace firmly into the surface, capturing every thread detail.
- Let the clay dry completely for 24 hours on a flat surface, then carefully peel off the doilies.
- Paint each pumpkin with two thin layers of burnt orange acrylic, letting dry 20 minutes between coats.
- Seal with one coat of matte varnish using the foam brush and let cure for 6 hours before display.


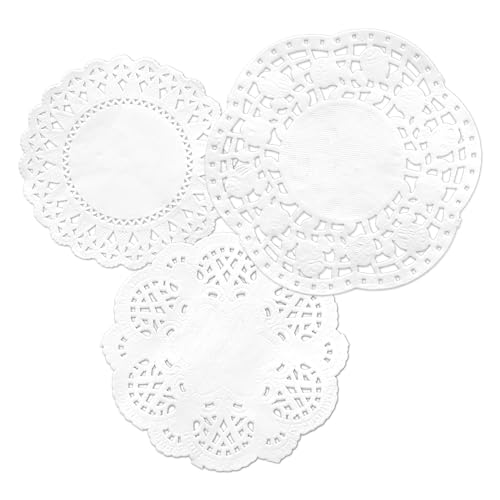
2. Glue-Dipped Doily Lanterns
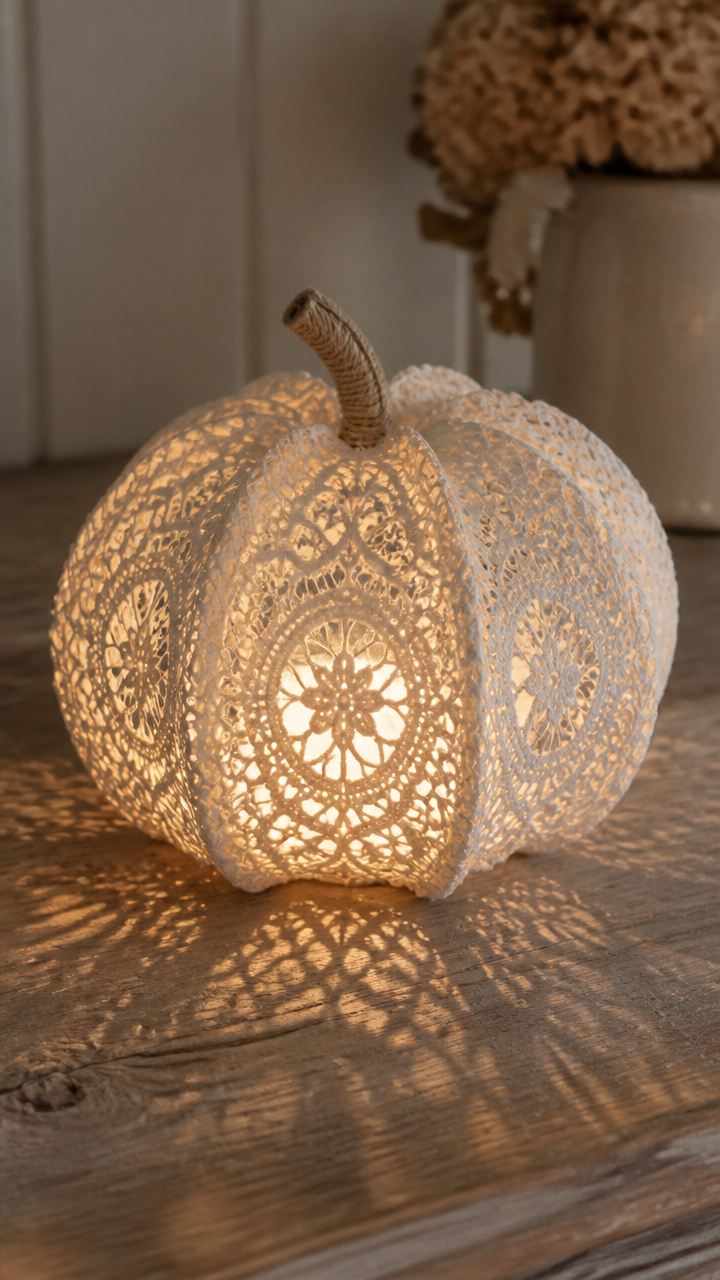
Stiffened doilies form glowing pumpkin shells around battery tea lights. The lace casts intricate shadows that dance like candlelight.
Materials Needed
- White paper doily, 7 inch diameter, 4 count
- White school glue, 8 oz
- Water, 1/4 cup
- Plastic spoon
- Balloon, 9 inch round
- Battery-powered tea light, warm white, 4 count
- Craft knife
How to Make It
- Pop the balloon and stretch it slightly so it fits snugly but not tightly inside a glass jar opening.
- Mix equal parts glue and water in a bowl using the plastic spoon until smooth.
- Dip each doily into the glue mixture, let excess drip for 10 seconds, then lay it over the balloon dome.
- Overlap two doilies per balloon to create dense coverage and let dry upright for 12 hours.
- Once fully stiff, pop and remove the balloon, then trim a small hole at the base with the craft knife to insert the tea light.

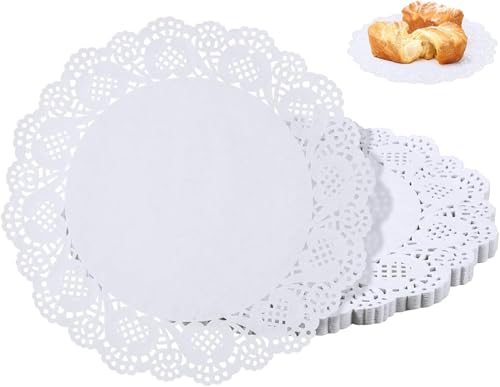

3. Doily-Stenciled Burlap Bags
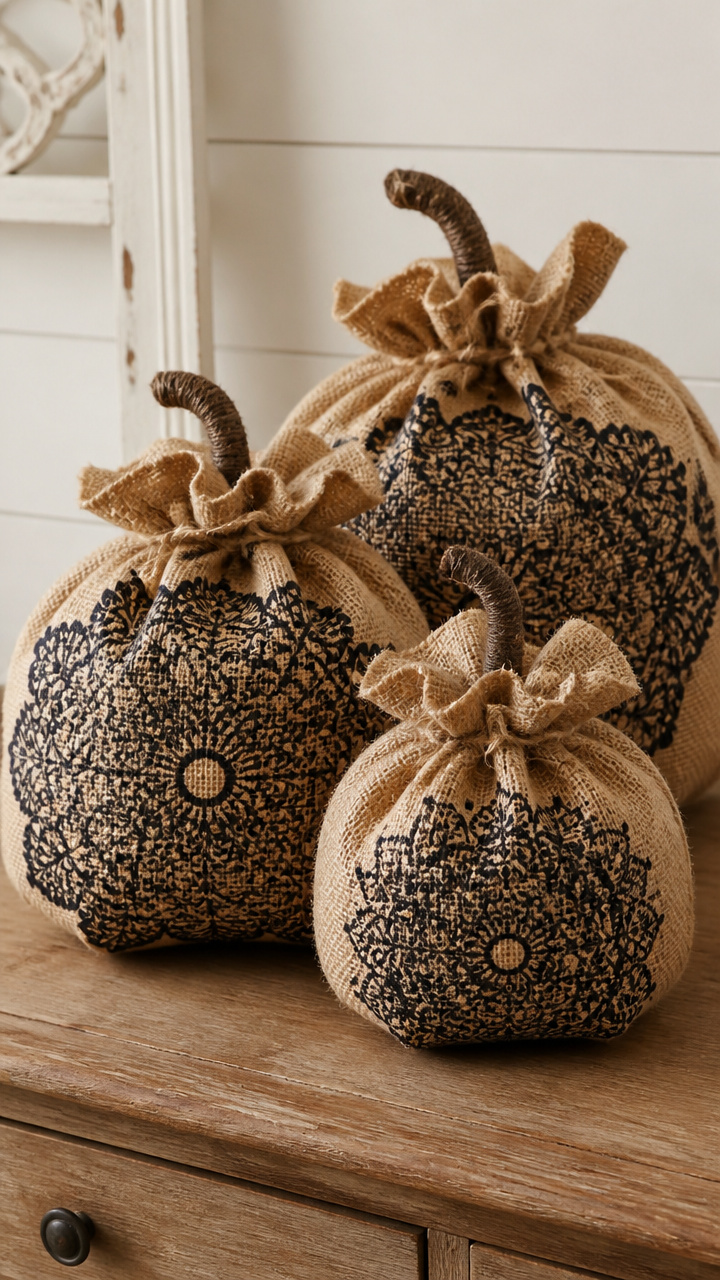
Burlap sacks gain elegance with lace-patterned paint marks. Use them to hold treats or as rustic table accents.
Materials Needed
- Natural burlap gift bag, 6 x 8 inches, 3 count
- Vintage-style paper doily, 5 inch, 3 count
- Fabric paint, black, 2 oz
- Stencil sponge brush, 1.5 inch
- Clothespins, 6 count
- Cardboard sheet, cut to 5 x 7 inches
How to Make It
- Slide the cardboard inside each bag to prevent paint bleed-through and clip the top open with clothespins.
- Center one doily flat on the front panel of the bag and press down gently at edges to keep it from shifting.
- Dab the stencil brush lightly into the fabric paint, then tap off excess on scrap paper before stippling over the doily.
- Lift the doily straight up after painting and let the design dry for 1 hour before repeating on other bags.
- Allow final pieces to cure 24 hours before folding or storing.
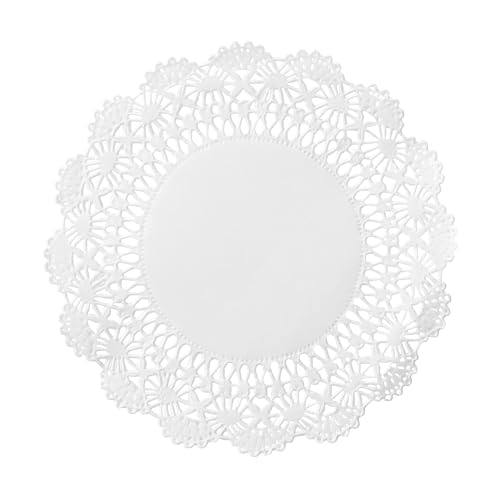

4. Wire-Wrapped Doily Orbs
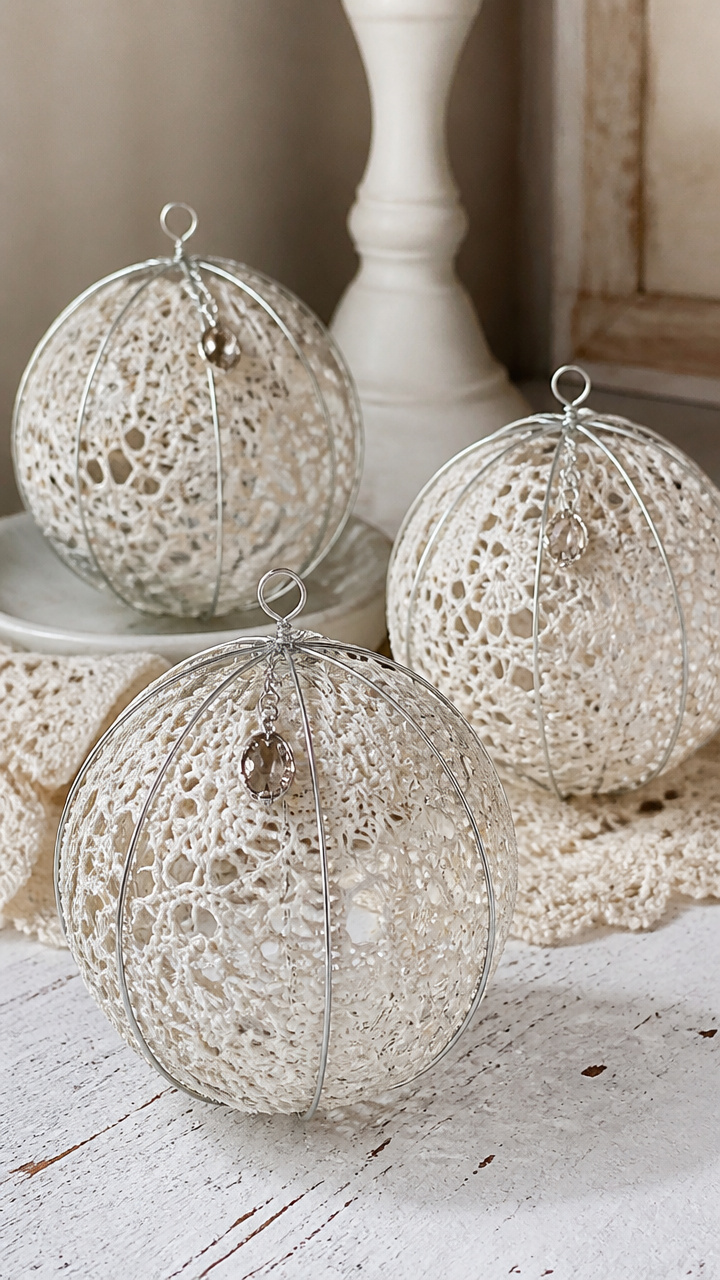
Delicate wire frames encase folded doilies like glass domes. These sit quietly on shelves or mantels with vintage grace.
Materials Needed
- Floral wire, 22 gauge, silver, 1 spool
- Round pliers
- Wire cutters
- Vintage paper doily, 6 inch, 3 count
- Hot glue gun
- Glue sticks, low-temp, 3 count
How to Make It
- Cut six 12-inch lengths of wire and bend each into a loose circle using round pliers, leaving tails at both ends.
- Form one circle vertically and cross another horizontally at center, twisting the ends together where they meet.
- Add a third wire ring at a diagonal angle and twist all intersections to build a loose spherical frame.
- Crumple one doily gently and place it inside the frame, letting edges peek through the openings.
- Use dots of hot glue at three contact points to secure the doily to the inner frame and let cool 5 minutes.


5. Doily-Print Pillow Covers
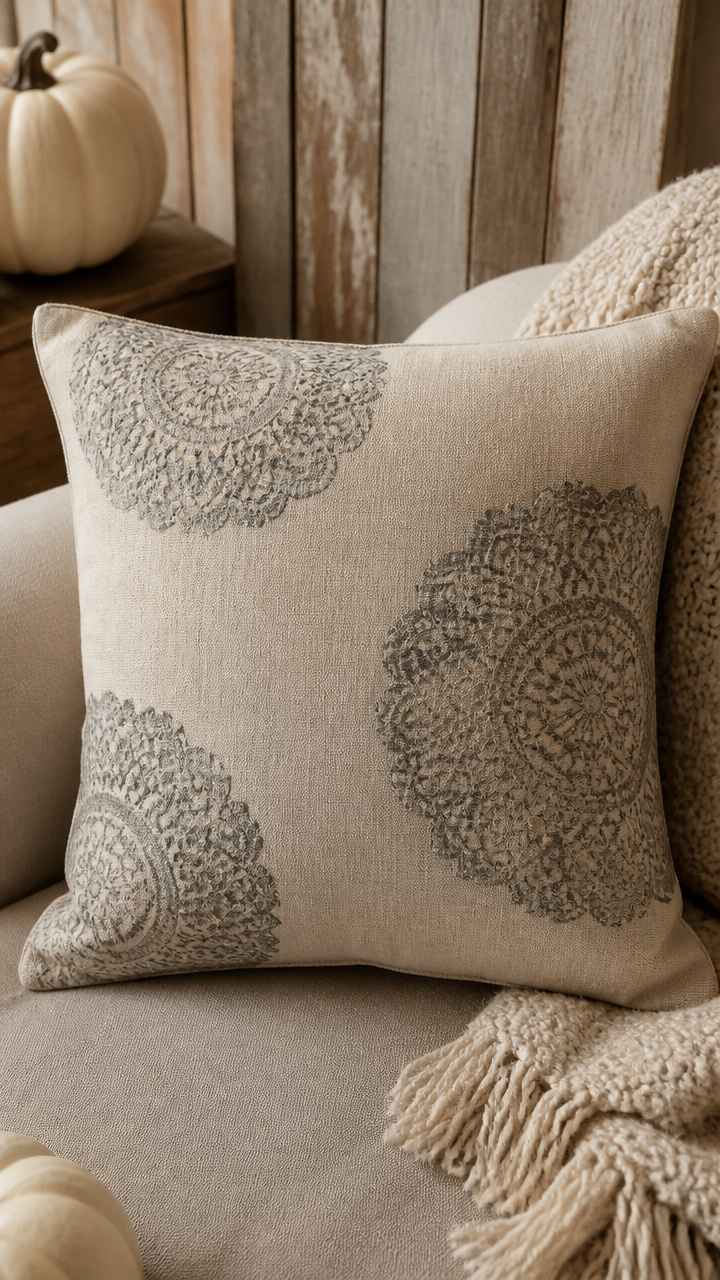
Linen pillow fronts show ghostly lace imprints in soft gray. These invite touch and make couches feel instantly cozier.
Materials Needed
- Natural linen pillow cover, 16 x 16 inches, 2 count
- Large paper doily, 10 inch, 2 count
- Textile medium, 2 oz
- Gray fabric paint, 4 oz
- Foam roller, 4 inch
- Plastic wrap
- Iron
How to Make It
- Mix 1 part fabric paint with 1 part textile medium in a tray and stir gently to avoid bubbles.
- Lay one pillow flat, place a doily centered on top, and cover with plastic wrap to protect the roller.
- Roll one even layer of paint over the doily using light pressure, keeping strokes parallel to avoid smudging.
- Carefully lift the doily straight up and let the print dry for 2 hours before repeating on the second pillow.
- Heat-set the design by ironing the back of the cover for 3 minutes on cotton setting without steam.

6. Hanging Doily Mobile
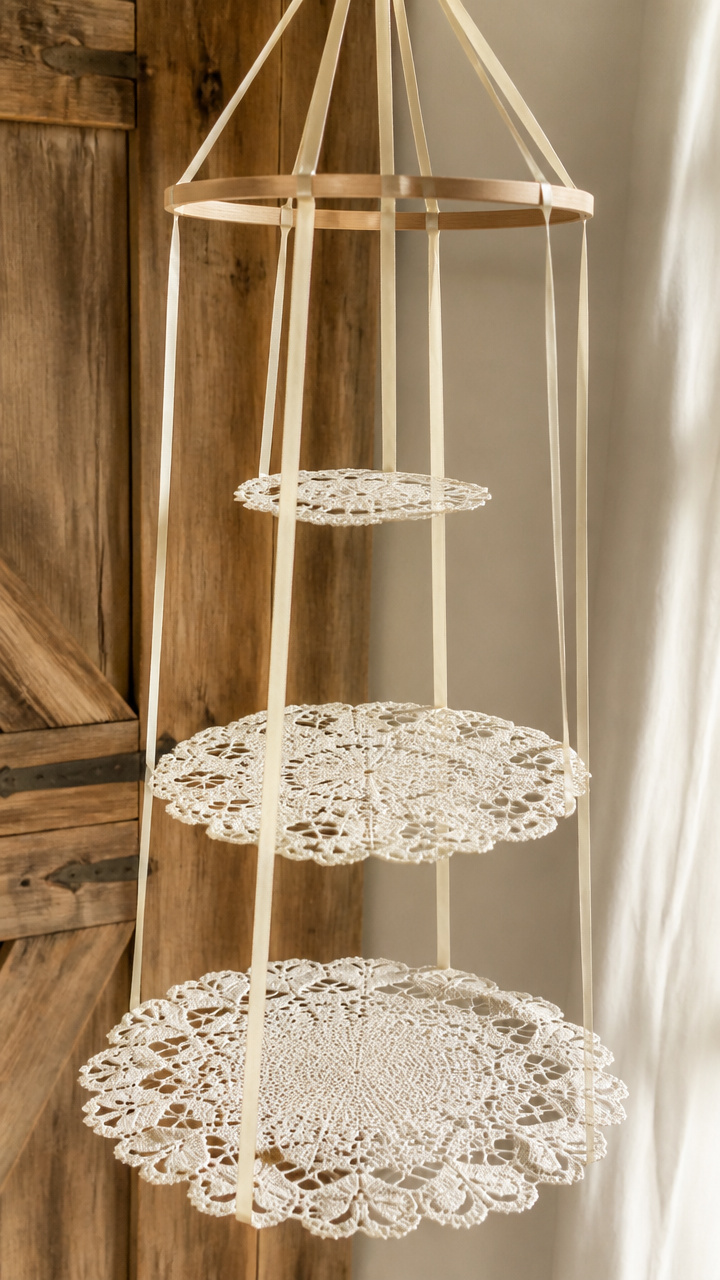
Three tiers of dangling lace circles spin slowly above a doorway. This adds motion and lightness to any corner.
Materials Needed
- Embroidered doily, 5 inch, 3 count (different sizes)
- Embroidery hoop, 6 inch, wooden
- Satin ribbon, 1/4 inch wide, cream, 3 yards
- Scissors
- Glue dots, 10 count
- Needle
- Clear fishing line, 10 lb test, 5 feet
How to Make It
- Cut three pieces of ribbon: 12, 16, and 20 inches long, then tie one end of each to the outer rim of the hoop at even intervals.
- Thread the needle with fishing line and pierce near the edge of the smallest doily, knotting the end to secure.
- Tie the opposite end of that line to the center of the hoop so the doily hangs level.
- Repeat with medium and largest doilies using the ribbons as secondary hangers from the main line.
- Use glue dots to fasten ribbon ends neatly to the back of the hoop and let set 10 minutes.

7. Doily-Covered Candle Jars
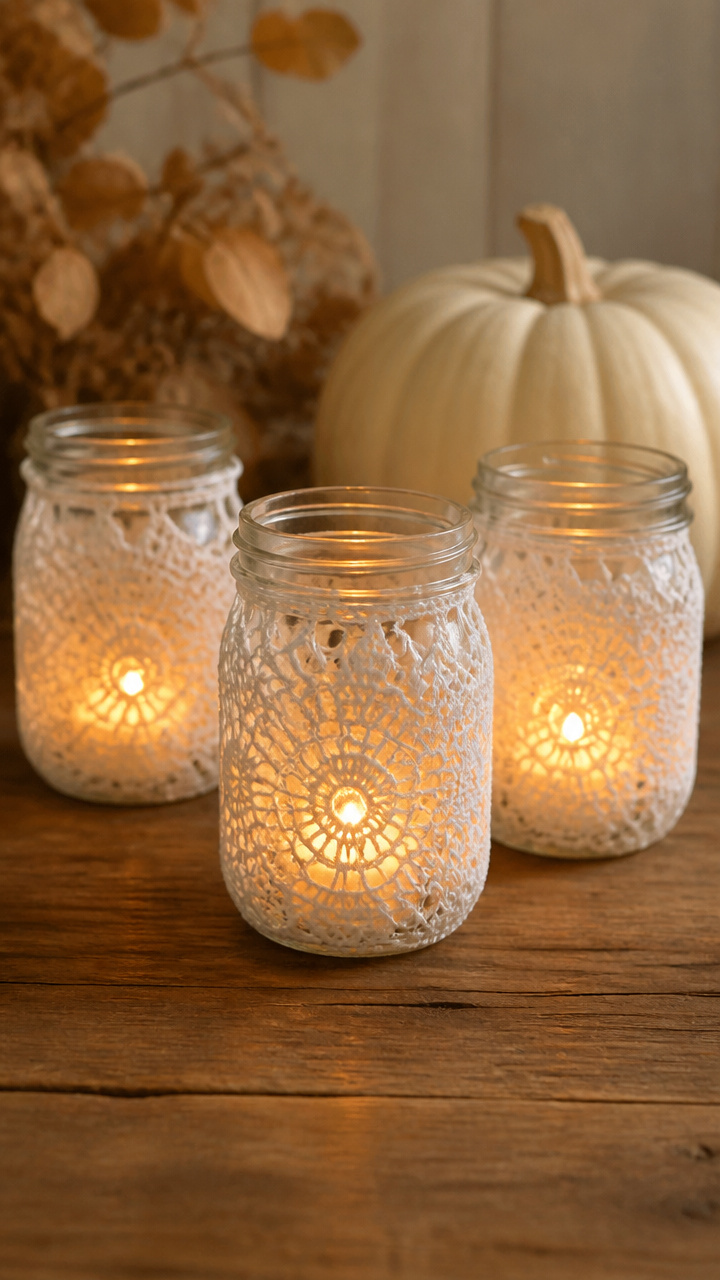
Mason jars wrapped in lace glow warmly when lit. These double as centerpiece accents or porch nightlights.
Materials Needed
- Pint mason jar, 16 oz, 3 count
- Vintage paper doily, 8 inch, 3 count
- Decoupage glue, 4 oz
- Foam brush, 1 inch
- Battery LED pillar candle, 3 inch tall, 3 count
- Ruler
How to Make It
- Measure and cut each doily in half with scissors so the flat edge matches the jar’s shoulder line.
- Brush a thin layer of decoupage glue along the upper half of the jar, starting 1 inch below the rim.
- Press one doily half smoothly onto the glued area, curved side up, and smooth out wrinkles with your palm.
- Seal the entire doily with two more coats of decoupage, waiting 15 minutes between layers.
- Place one LED candle inside each jar and turn on when dark for a soft-lit effect.

8. Chalkboard-Back Doily Signs
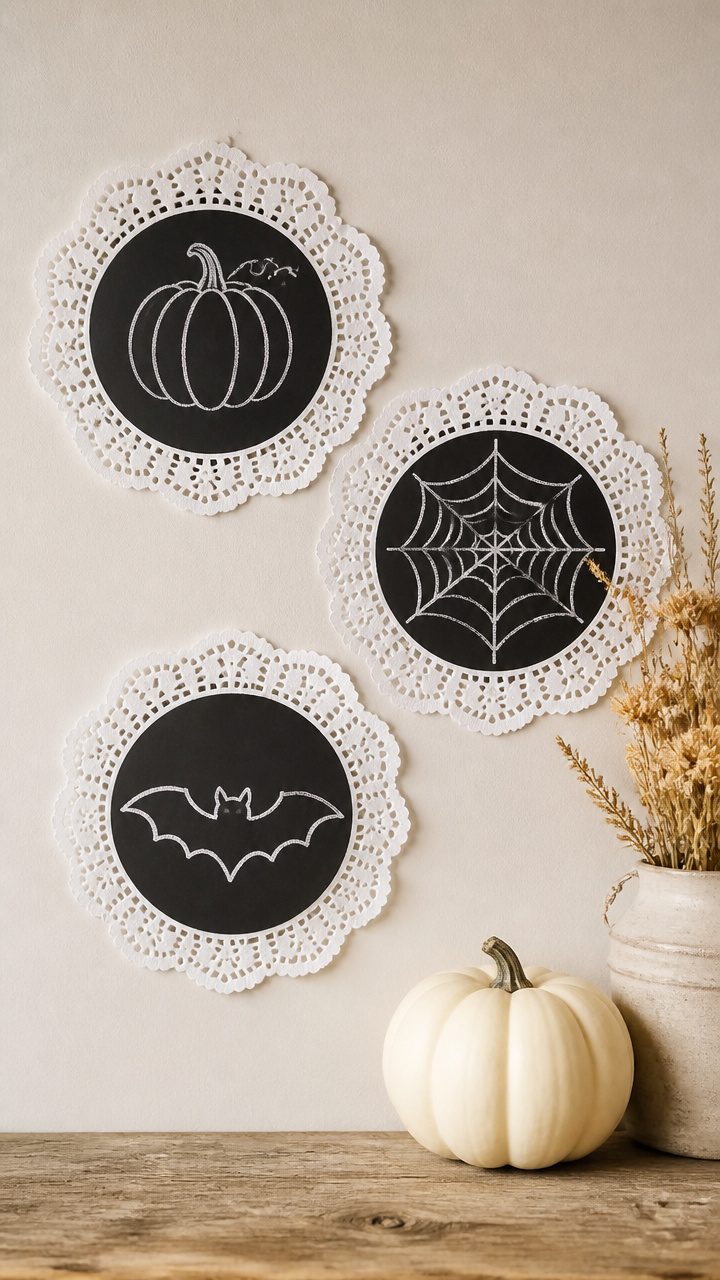
Mini doilies anchor tiny chalk messages on walls. These are perfect for labeling treats or sharing sweet seasonal notes.
Materials Needed
- Small paper doily, 3 inch, 5 count
- Chalkboard sticker sheet, 8.5 x 11 inches
- Scissors
- Black chalk
- Double-sided tape, 1/2 inch squares, 5 count
- Ruler
How to Make It
- Cut five 2.5-inch squares from the chalkboard sticker sheet using scissors and ruler for straight edges.
- Peel the backing and stick one square to the center of each doily, pressing firmly for full adhesion.
- Write one word per sign like “Hello”, “Grace”, or “Joy” using the black chalk and leave strokes slightly uneven for charm.
- Press one tape square to the back of each doily sign and stick to wall at eye level.
- Refresh messages weekly by erasing with a damp fingertip and rewriting.


9. Doily-Embellished Wooden Spoons
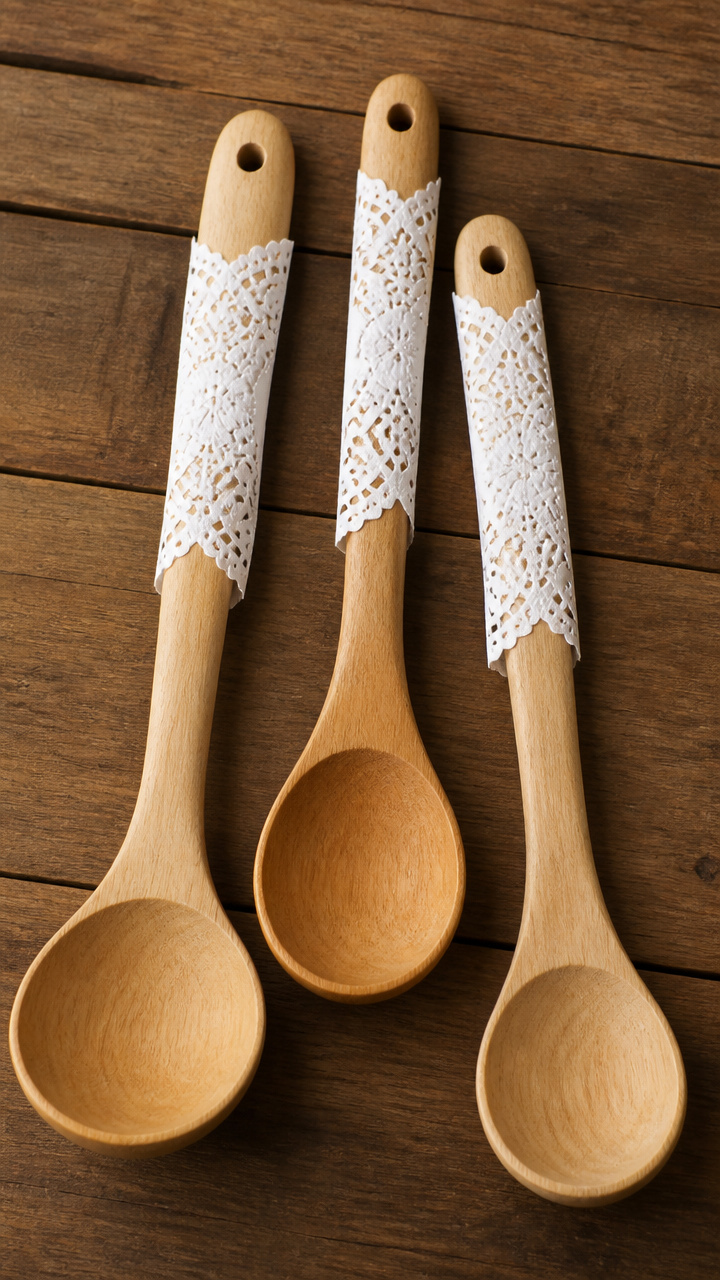
Ladle handles wear tiny lace collars like old-fashioned cuffs. These dress up candy bowls with subtle flair.
Materials Needed
- Unfinished wooden ladle, 10 inch long, 3 count
- Tiny paper doily, 2 inch diameter, 3 count
- Wood glue, 2 oz
- Clamp, spring type
- Fine sandpaper, 220 grit
- Clear sealant spray, matte, 6 oz
How to Make It
- Sand the top 2 inches of each handle lightly to help glue adhere and wipe clean with a dry cloth.
- Apply a thin ring of wood glue just below the ladle bowl on each handle.
- Slide one doily down the handle until it rests against the glue ring and press gently to seat evenly.
- Hold in place for 10 seconds, then use a clamp to secure the doily while drying for 2 hours.
- Spray with one even coat of matte sealant from 10 inches away and let dry 1 hour before unclamping.


10. Layered Doily Wall Art
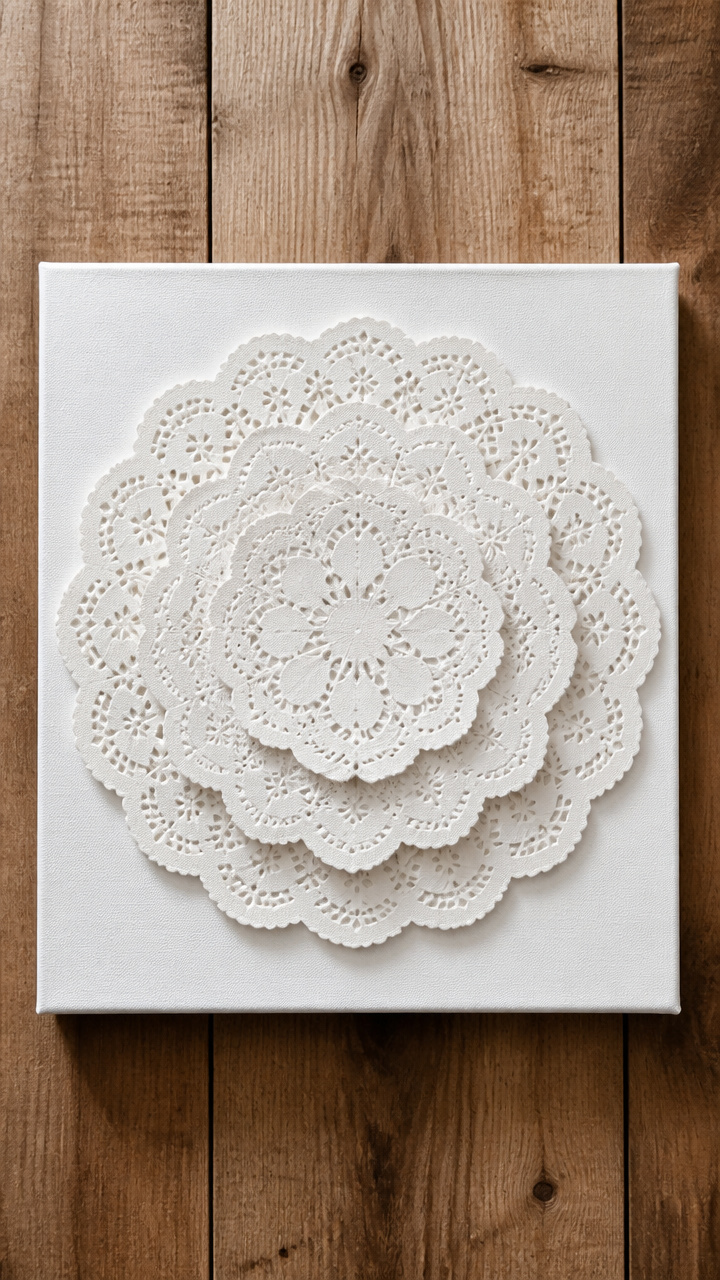
Three overlapping doilies on canvas form a dimensional flower. This piece looks stitched but requires no thread.
Materials Needed
- Stretched canvas, 8 x 10 inches, 1 count
- Paper doily, 7 inch, 1 count
- Paper doily, 5 inch, 1 count
- Paper doily, 3 inch, 1 count
- Craft glue, 3 oz
- Toothpick
- Black fine-tip marker
How to Make It
- Center the largest doily on the canvas and secure with four dabs of craft glue applied with a toothpick at north, south, east, west points.
- Place the medium doily directly on top, rotated 30 degrees, and glue at two opposing points.
- Set the smallest doily in the center, glue only at top and bottom, allowing slight lift for depth.
- Wait 30 minutes for glue to set, then trace the outer edge of the largest doily with the marker to create a bold frame.
- Let dry fully for 3 hours before hanging with adhesive hook.


11. Doily-Trimmed Apothecary Jars
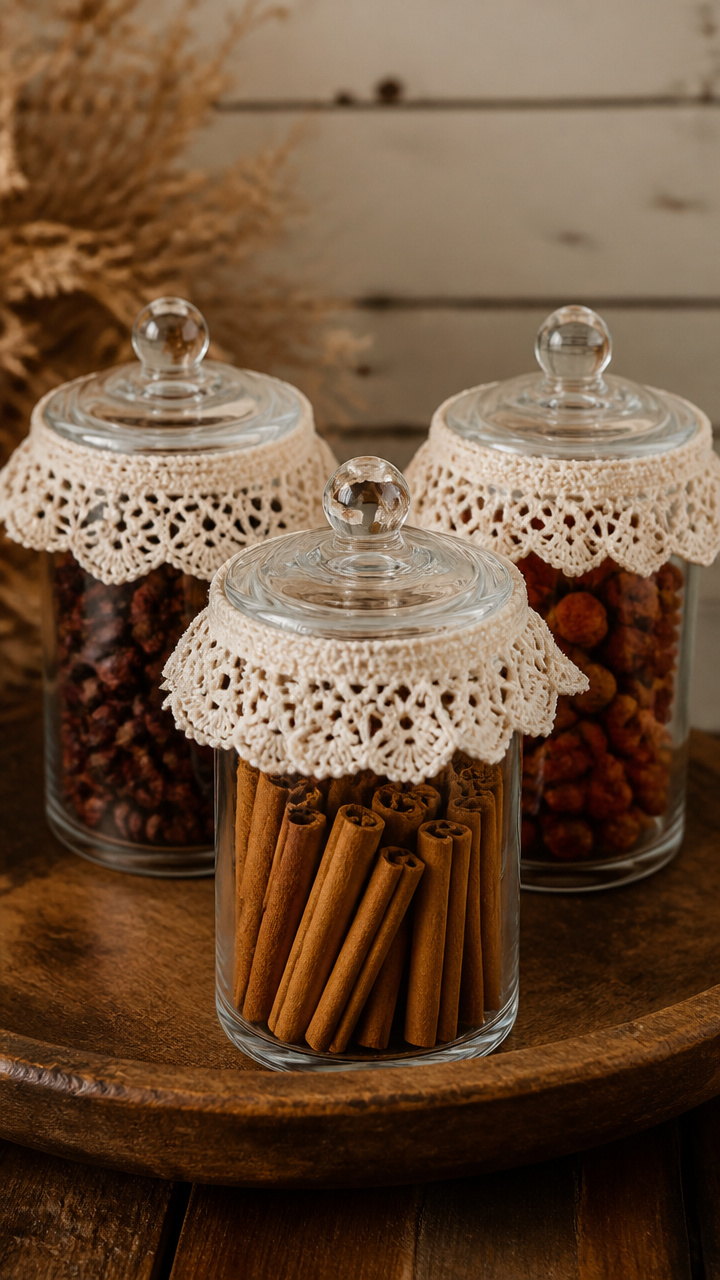
Glass jars wear lace ruffles under their lids. Fill them with cinnamon sticks or dried berries for sensory charm.
Materials Needed
- Apothecary jar with lid, 6 oz, 3 count
- Crocheted-edge doily, 4 inch, 3 count
- Hot glue gun
- Glue sticks, low-temp, 3 count
- Scissors
- Ruler
How to Make It
- Measure 1/2 inch down from the lip of each jar lid and mark with a pencil dot.
- Run a thin bead of hot glue along this line using steady pressure on the glue trigger.
- Press the outer edge of one doily down onto the glue ring, pleating slightly every inch for fullness.
- Hold each section for 5 seconds until set and continue around the full circle.
- Let rest 10 minutes before screwing the lid back on the jar and filling.


12. Doily Shadow Box Display
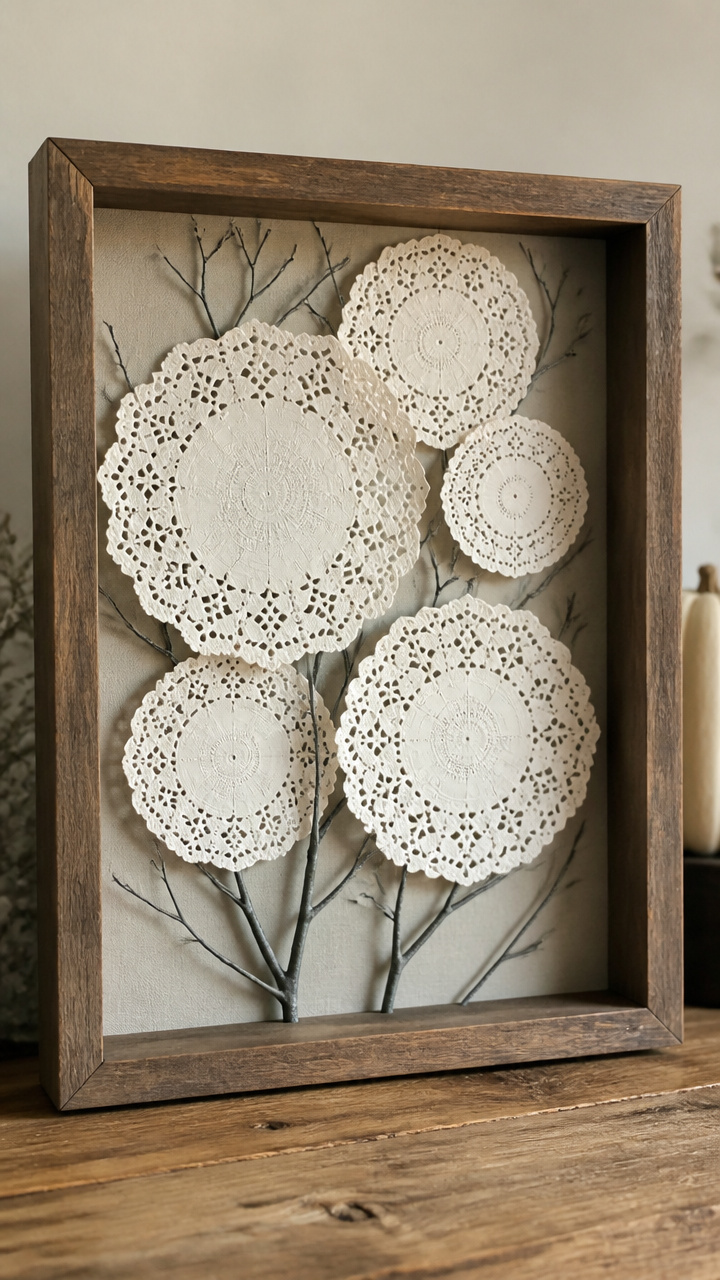
Framed lace floats above painted branches in deep wood. This creates a quiet focal point for hallways or entries.
Materials Needed
- Shadow box frame, 9 x 12 inches, 1 count
- Assorted paper doilies, 3 to 5 inch, 5 count
- Acrylic paint, Payne’s gray, 2 oz
- Small twig, 8 inches long, 1 count
- Hot glue gun
- Craft knife
- Paintbrush, 1/2 inch flat
How to Make It
- Paint the twig with two thin coats of Payne’s gray, letting dry 15 minutes between, and let cure 1 hour.
- Arrange the doilies in a cluster within the shadow box, tallest at back, leaving space around edges.
- Glue the twig diagonally across the lower corner using two pea-sized dabs at ends.
- Attach each doily with one tiny dot of hot glue at the bottom edge only to allow floating appearance.
- Close the frame securely and hang using the built-in wire.


13. Doily-Coasters with Resin
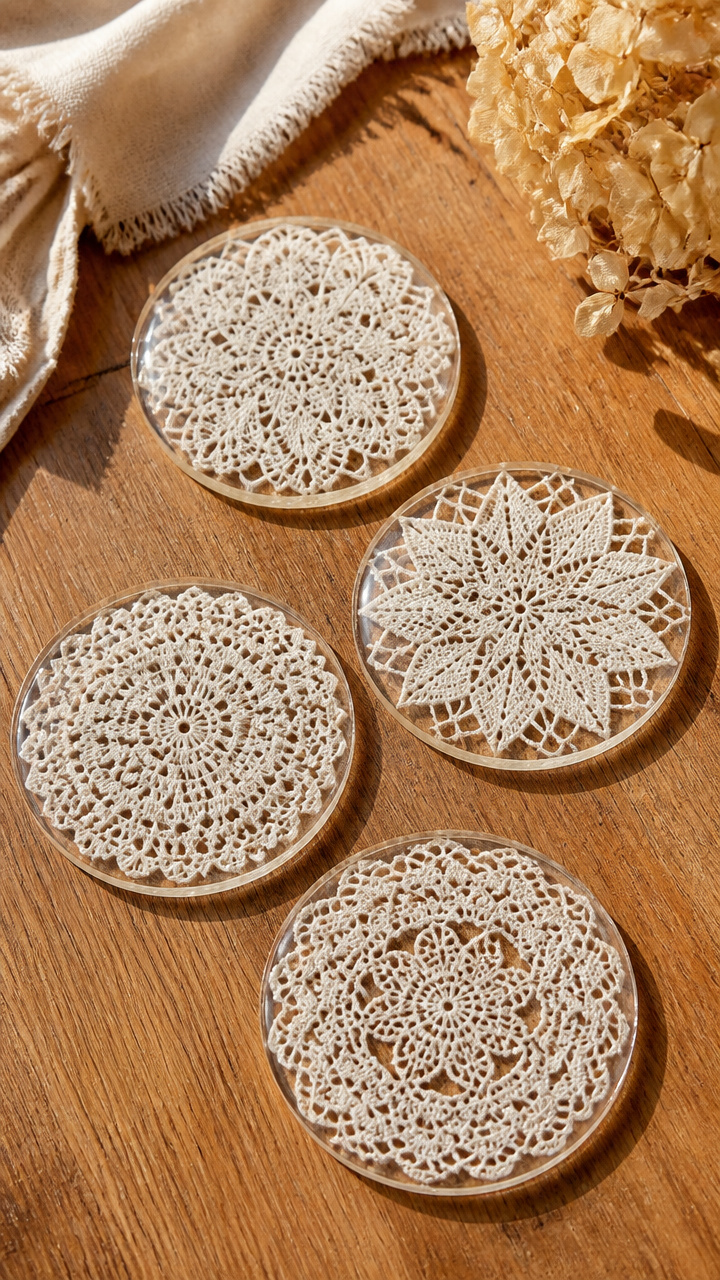
Encased lace circles sit under mugs with glossy protection. These resist moisture and last for years.
Materials Needed
- Silicone coaster mold, 4 inch round, 4 cavities
- Epoxy resin kit, 8 oz total mix
- Paper doily, 3.5 inch, 4 count
- Mixing cups, 3 oz, 2 count
- Stir sticks, 6 count
- Hairdryer
How to Make It
- Cut each doily to fit the mold cavity exactly using scissors and lay one in each well face up.
- Mix resin according to package ratio in a cup, stirring slowly for 2 minutes to avoid bubbles.
- Pour a thin layer of resin into each mold to cover the doily completely, filling halfway.
- Pass a hairdryer on low heat 6 inches above to pop any rising bubbles, then fill molds to the top.
- Let cure undisturbed for 24 hours before flexing the mold to release coasters.


14. Doily Garland with Pegs
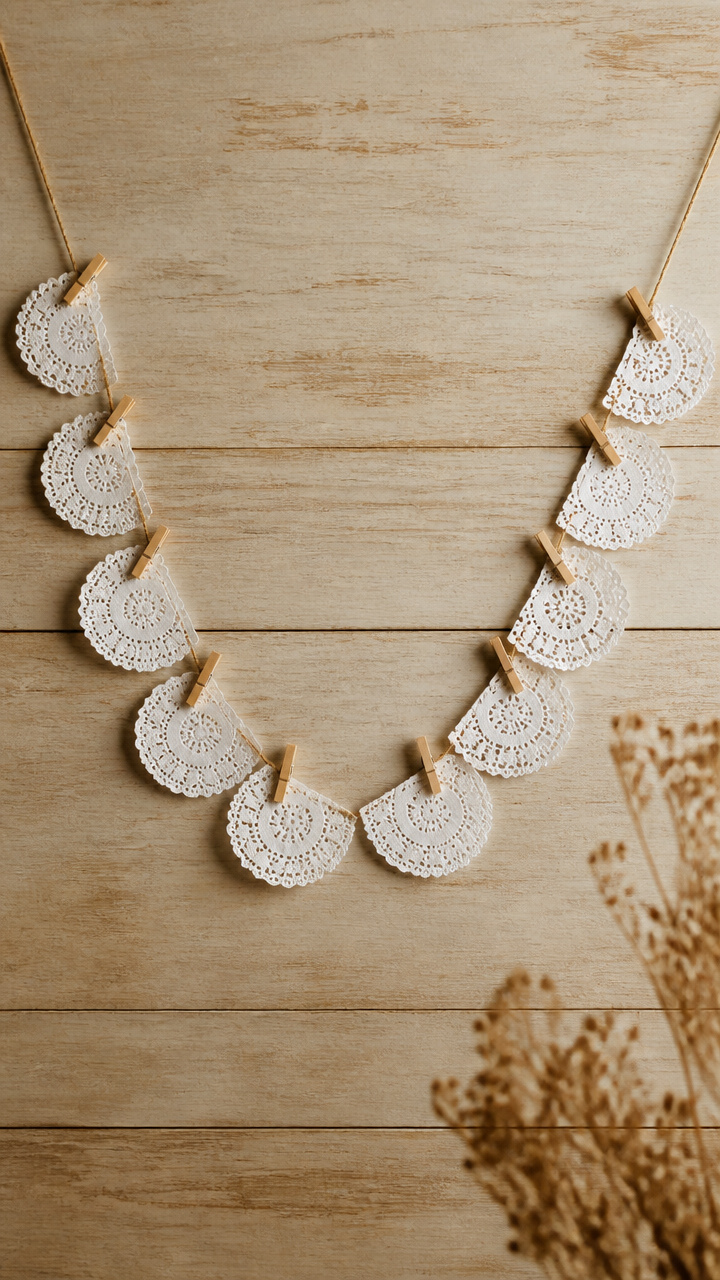
Clothespin clips hold miniature doilies like tiny flags. Drape this across a mirror or mantel for instant warmth.
Materials Needed
- Wooden clothespins, 1.5 inch, 10 count
- String, jute twine, 6 feet
- Mini paper doily, 1.75 inch, 10 count
- Glue dots, 10 count
- Scissors
How to Make It
- Cut the twine to 6 feet and tie a loop at each end for hanging.
- Open each clothespin and press one glue dot inside the upper jaw.
- Center one mini doily over the glue and close the pin gently to secure without crushing.
- Repeat for all 10 pins, spacing them 5 inches apart along the twine.
- Hang the garland taut and adjust doily angles so they face forward.


15. Doily-Painted Terra Cotta Pots
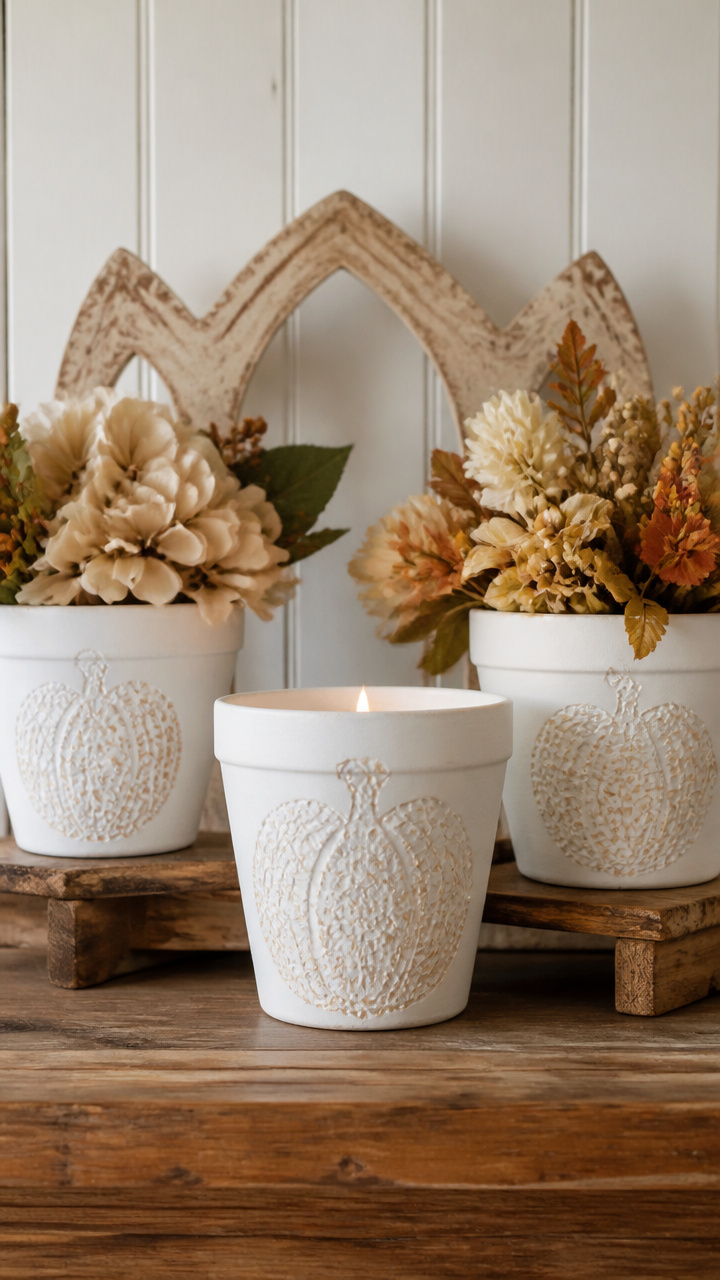
Upside-down pots become pumpkin bases with lace stencils. These cradle faux florals or candles beautifully.
Materials Needed
- Terra cotta pot, 4 inch diameter, 3 count
- White acrylic paint, 2 oz
- Foam stencil brush, 1 inch
- Vintage paper doily, 5 inch, 3 count
- Clothespins, 6 count
- Acrylic sealer spray, satin, 6 oz
How to Make It
- Turn each pot upside down and wipe the base flat with a dry cloth to remove dust.
- Paint the entire flat bottom with white acrylic using circular strokes and let dry 30 minutes.
- Center one doily on the painted surface and clip it in place at two sides with clothespins.
- Dab the brush lightly over the doily to transfer the lace pattern, lifting straight up when done.
- Spray with sealer from 12 inches away and let dry 1 hour before removing clothespins.
You’ve got everything you need to start creating right now. Let these ideas inspire your next cozy afternoon with scissors, glue, and a stack of doilies.