15 Dollar Store Halloween Crafts That Look Expensive

Halloween doesn’t have to cost a fortune to feel magical. With a few clever picks from the dollar store and some simple crafting know-how, you can create decorations that look like they came from a high-end boutique.
These projects use affordable supplies in smart ways, focusing on texture, color, and detail to give each piece a polished finish. You’ll be surprised how little it takes to bring real spooky charm into your home.
1. Matte Black Candle Holders
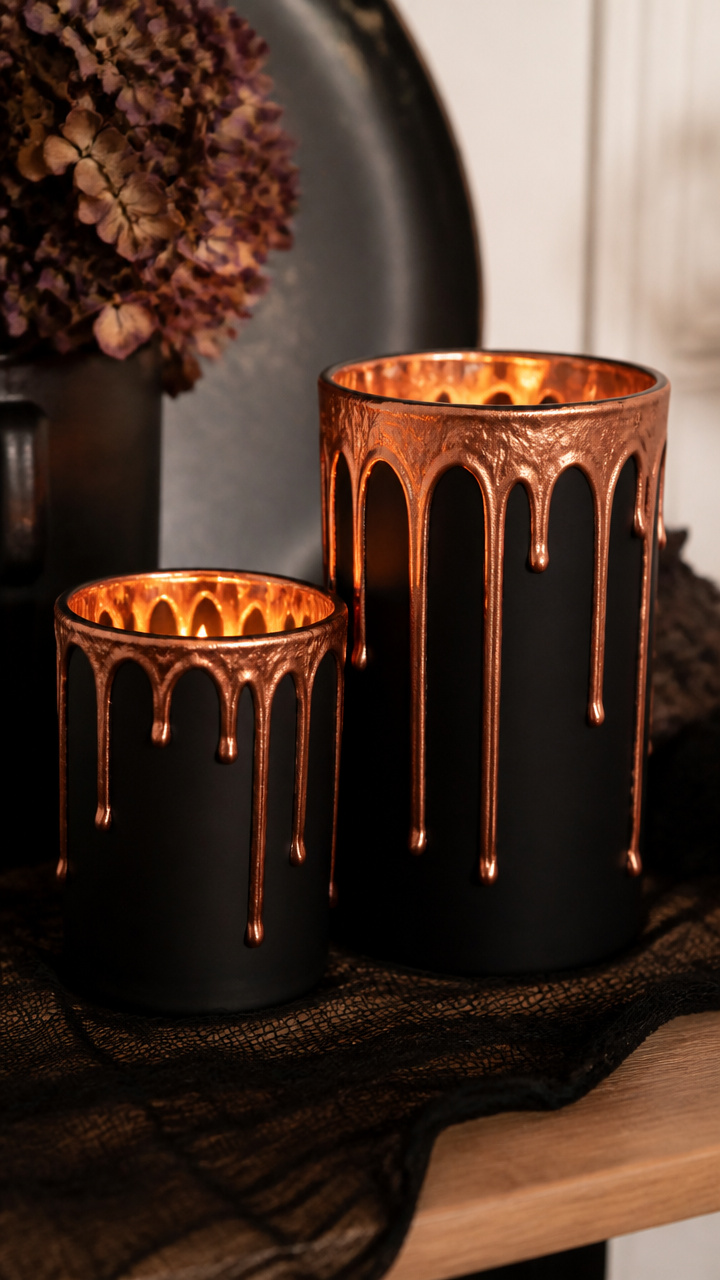
Smooth black glass jars with metallic drips mimic high-end candle displays. The contrast of matte and shine gives them a designer feel.
Materials Needed
- 3 clear glass hurricane jars
- 1 can matte black spray paint
- 1 small bottle copper metallic paint
- 1 fine paintbrush
- 1 sheet fine-grit sandpaper
How to Make It
- Spray the outside of each jar with matte black paint in a well-ventilated area. Apply 2 even coats, waiting 15 minutes between coats.
- Lightly sand the top third of each jar to create a worn texture for the wax effect.
- Dip the copper paintbrush into the metallic paint and drizzle thin lines down the jar from the rim. Let dry for 30 minutes.


2. Felt Bat Garlands
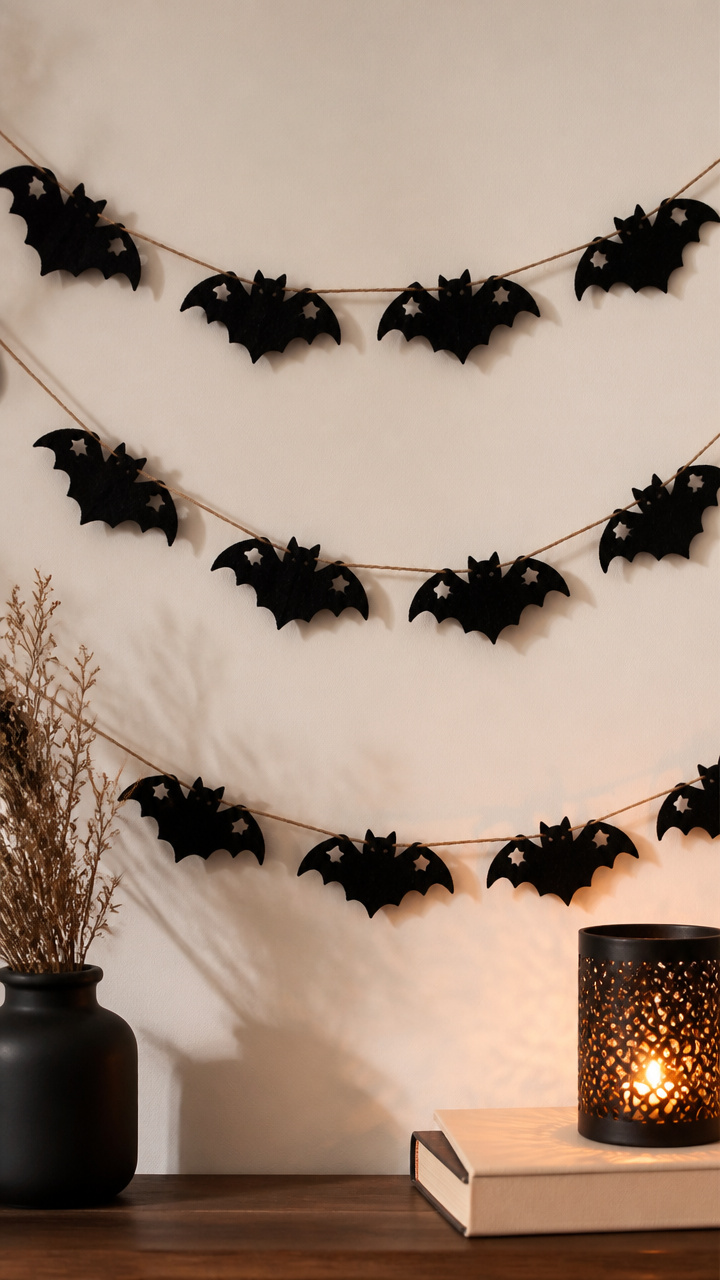
Soft black felt bats hang lightly on twine with a handmade texture. Their subtle shadow play adds depth to any wall.
Materials Needed
- 1 sheet black craft felt
- 10 yards of natural twine
- 1 bat template (4 inches wide)
- 1 pair fabric scissors
- 1 fabric marker
How to Make It
- Trace the bat template onto the felt using the fabric marker. Cut out 12 bats with fabric scissors.
- Space the bats 6 inches apart along the twine. Knot a small loop of thread around each bat’s body and tie it to the twine.
- Hang the garland by tying loops at both ends of the twine to small nails or hooks.


3. Glittered Pumpkin Votives
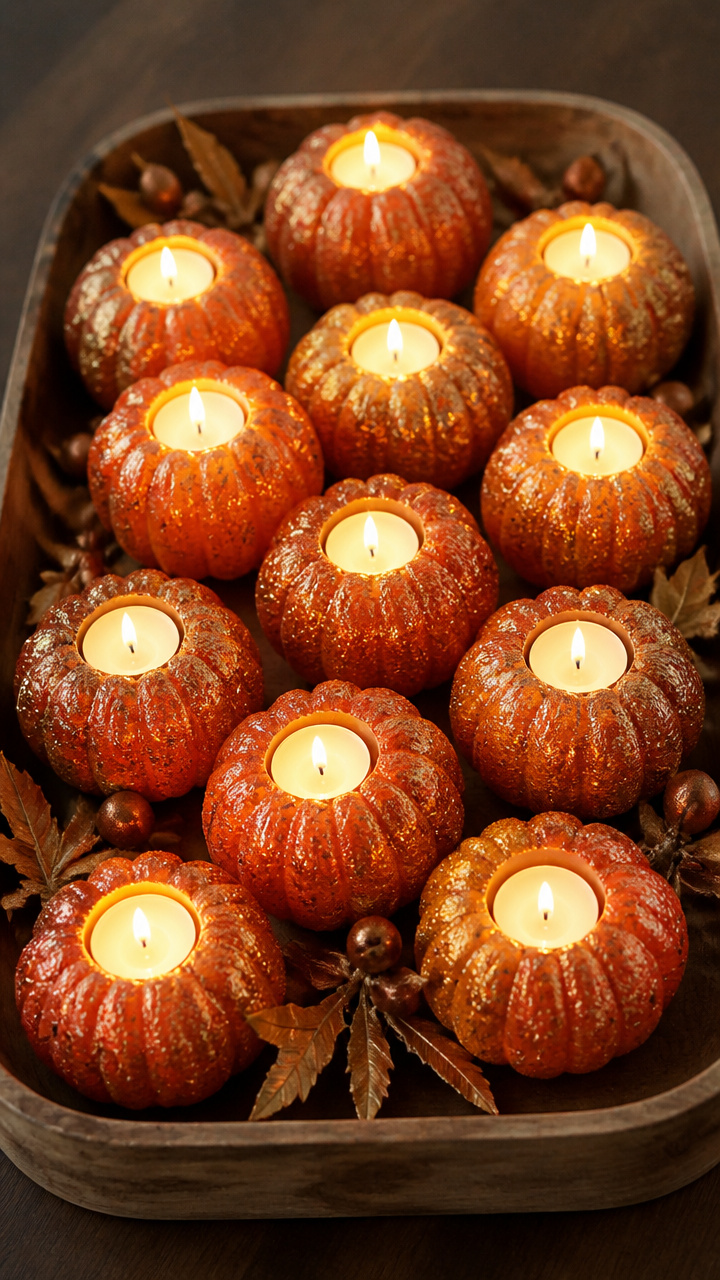
Tiny orange pumpkins sparkle with fine gold glitter. Nestled in a tray, they catch candlelight like boutique centerpieces.
Materials Needed
- 12 mini faux pumpkins (orange)
- 1 bottle gold glitter glue
- 1 roll double-sided tape
- 1 shallow wooden tray
- 6 tea light candles
How to Make It
- Apply double-sided tape in vertical strips on each pumpkin. Press gold glitter glue into the tape, covering the strips completely.
- Let the glue dry for 20 minutes until fully set and no longer tacky.
- Arrange the pumpkins in the tray with tea lights between them. Use flameless candles for safety.


4. Witch Hat Tiered Tray
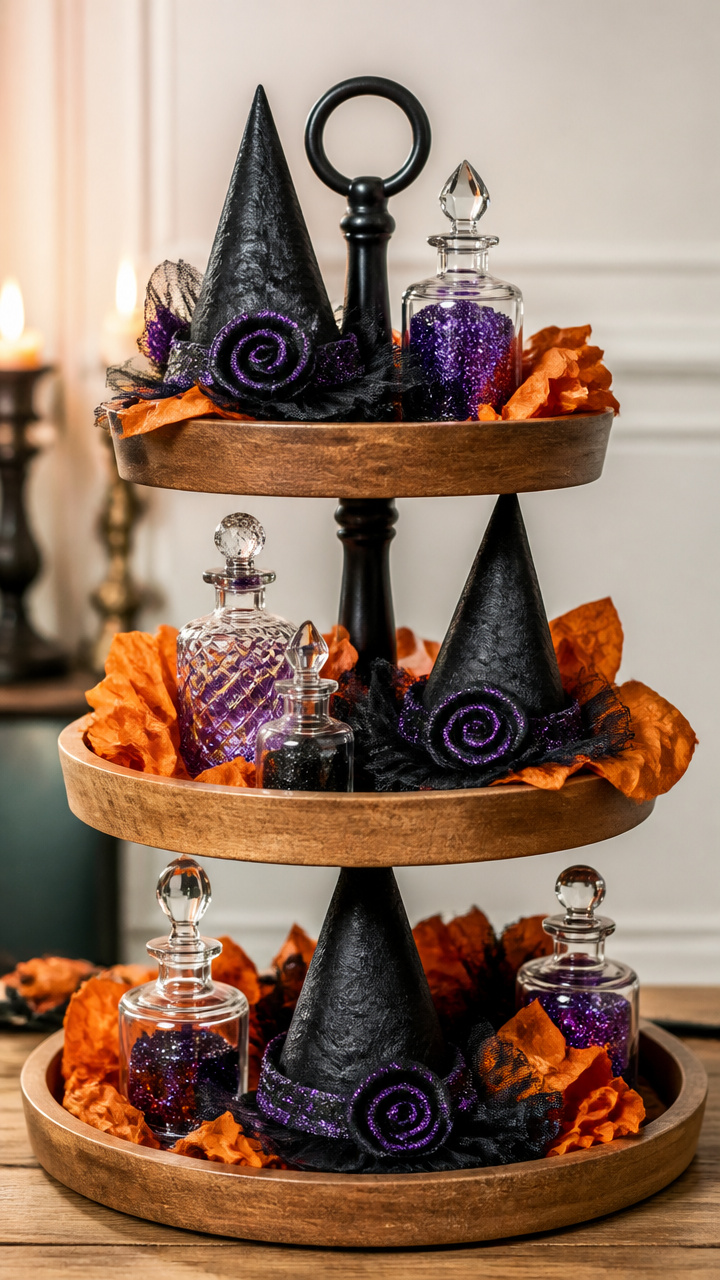
A stacked wooden tray holds mini witch hats and tiny bottles. The arrangement looks styled and intentional, like a curated vignette.
Materials Needed
- 1 three-tier wooden tray
- 6 mini black witch hats
- 1 small bottle purple glitter glue
- 5 mini glass apothecary bottles
- 1 sheet orange tissue paper
How to Make It
- Fluff the tissue paper and place a small crumpled bunch inside each apothecary bottle.
- Drizzle purple glitter glue in zigzags over each witch hat. Let dry flat for 25 minutes.
- Arrange the hats and bottles across the three tiers, alternating heights and colors for balance.


5. Spooky Mason Jar Lanterns
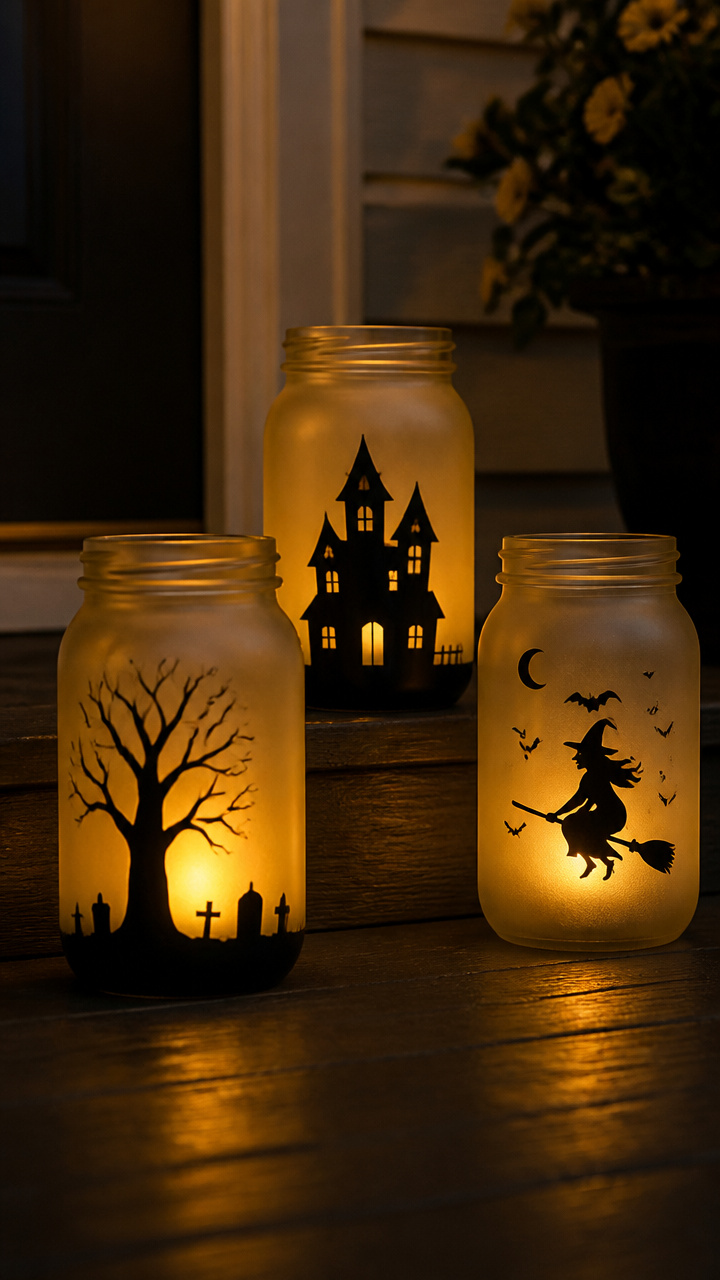
Frosted jars with cut-out silhouettes glow with eerie light. The effect is moody and atmospheric, perfect for a porch.
Materials Needed
- 4 mason jars with lids
- 1 can frosted glass spray
- 1 roll black vinyl sticker paper
- 1 craft knife with fine tip
- 4 flameless LED tea lights
How to Make It
- Spray the outside of each jar with frosted glass spray. Let dry 20 minutes between coats, apply 2 coats total.
- Cut bat and cat silhouettes from the black vinyl paper. Press each firmly onto the jar surface.
- Place a tea light inside each jar and screw on the lid. Turn on at dusk for best effect.


6. Cobweb Doily Frames
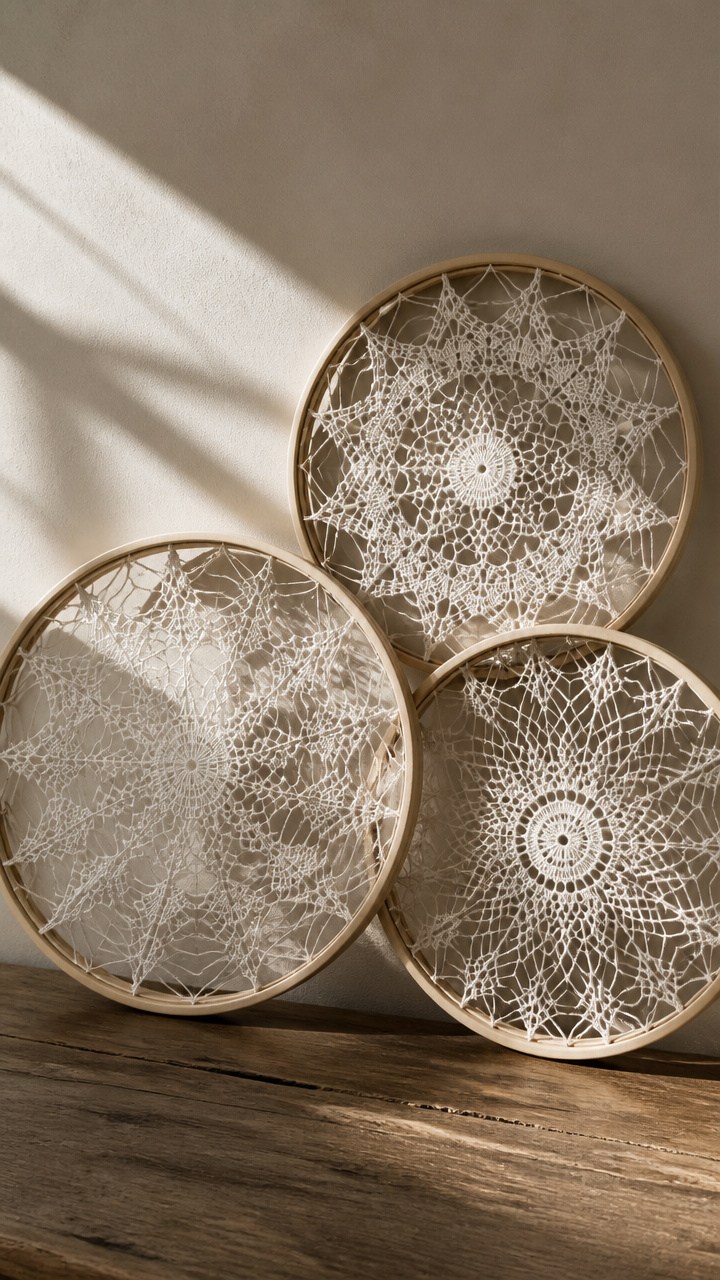
White paper doilies stretched over canvas frames mimic real cobwebs. Backlit, they cast delicate lace shadows.
Materials Needed
- 4 round paper doilies (8 inch)
- 4 plain canvas frames
- 1 bottle clear-drying craft glue
- 1 small foam brush
- 4 push pins
How to Make It
- Lay a doily flat on the canvas surface. Use the foam brush to apply a thin layer of glue over the entire surface.
- Press the doily gently to adhere. Let dry for 30 minutes until stiff and flat.
- Reinsert the canvas into the frame and hang using push pins spaced evenly on the wall.


7. Glowing Potion Bottles
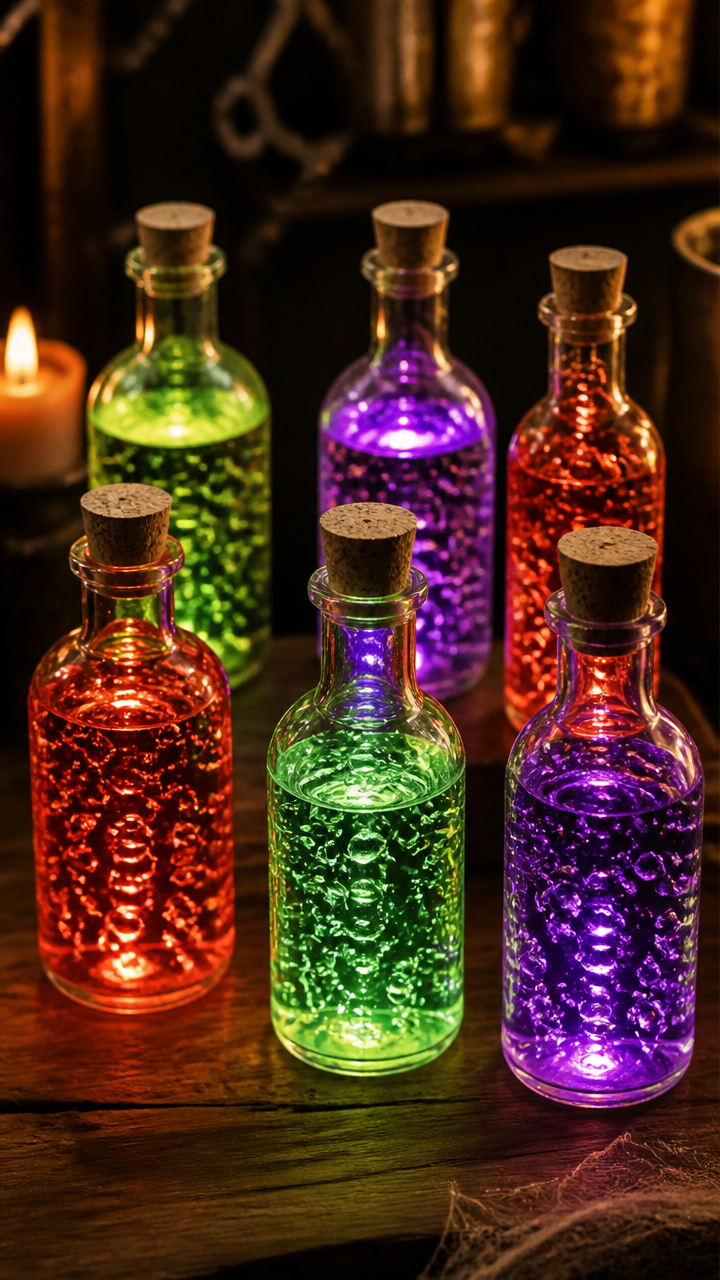
Clear bottles filled with colored water and LED sticks look like bubbling elixirs. The glow adds mystery to any shelf.
Materials Needed
- 6 clear glass bottles with corks
- 3 LED light sticks (orange, green, purple)
- 1 bottle glycerin
- Food coloring (red, green, purple)
- 1 funnel
How to Make It
- Fill each bottle halfway with water. Add 1 tablespoon of glycerin and 5 drops of food coloring. Swirl to mix.
- Snap an LED stick to activate it and drop it into a bottle. Seal with the cork.
- Arrange the bottles on a shelf or tray, grouping by color for maximum impact.


8. Rustic Twig Wreath
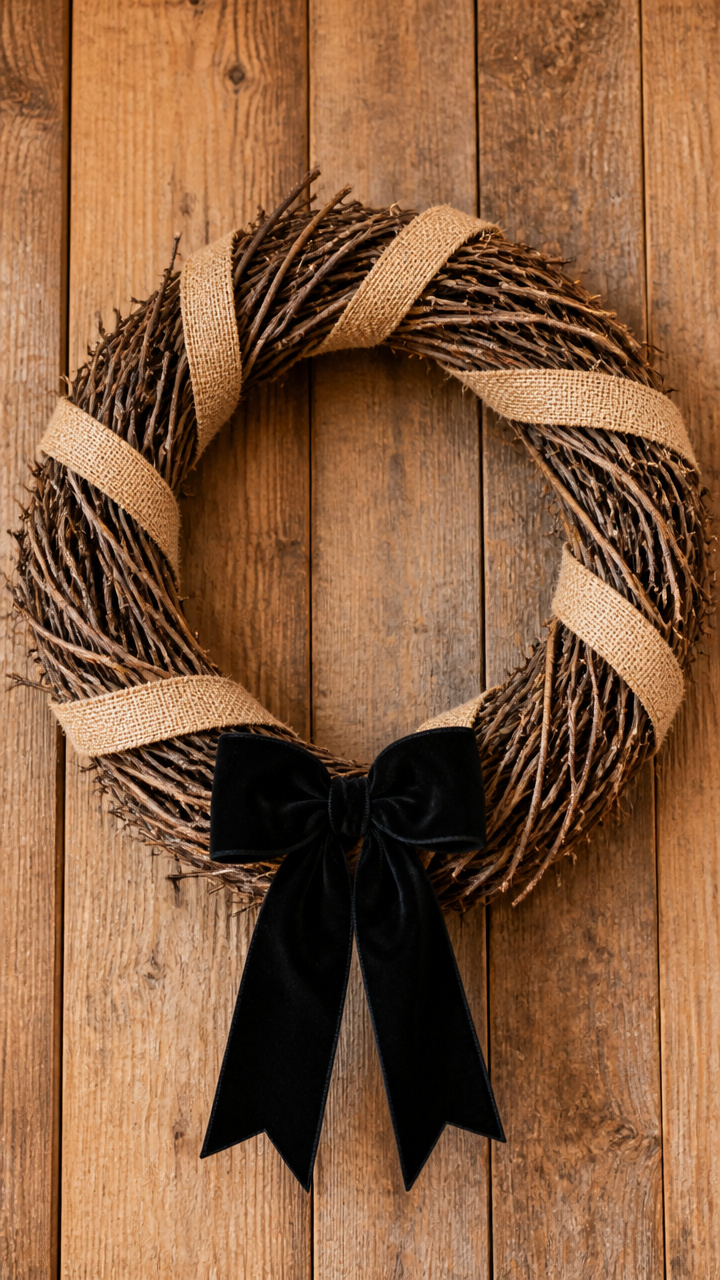
Twigs bundled into a circle create a natural base. Wrapped with burlap and accented with a velvet bow, it feels artisanal.
Materials Needed
- 15 straight twigs (6 inches long)
- 1 wire wreath frame (8 inch)
- 1 roll green floral wire
- 1 yard burlap ribbon (2 inch wide)
- 1 yard black velvet ribbon
How to Make It
- Lay 5 twigs side by side and bind each end with floral wire. Repeat to make 3 bundles.
- Attach each bundle to the wire frame using floral wire, spacing them evenly around the circle.
- Wrap the burlap ribbon around the base, securing with wire at the back. Tie the velvet ribbon into a bow and attach at the bottom.


9. Shadow Box Silhouettes
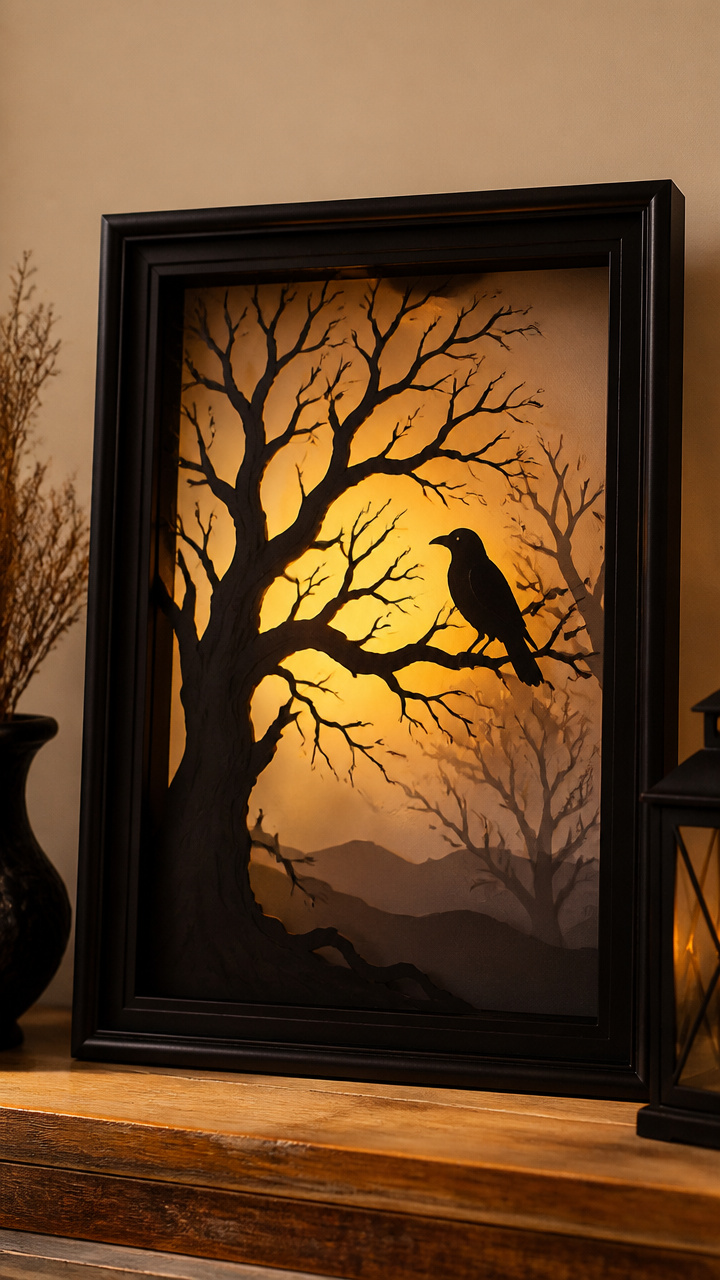
Black paper cutouts of trees and crows stand in a deep frame. Lit from behind, they cast dramatic layered shadows.
Materials Needed
- 1 deep shadow box frame (11×14 inch)
- 1 sheet black cardstock
- 1 tree and crow template
- 1 craft knife
- 1 LED puck light
How to Make It
- Cut the tree and crow shapes from the cardstock using the craft knife on a cutting mat. Use steady, slow strokes.
- Arrange the pieces inside the shadow box, layering some closer to the back for depth.
- Place the LED puck light in the back corner and turn it on before closing the frame.


10. Painted Skull Rocks
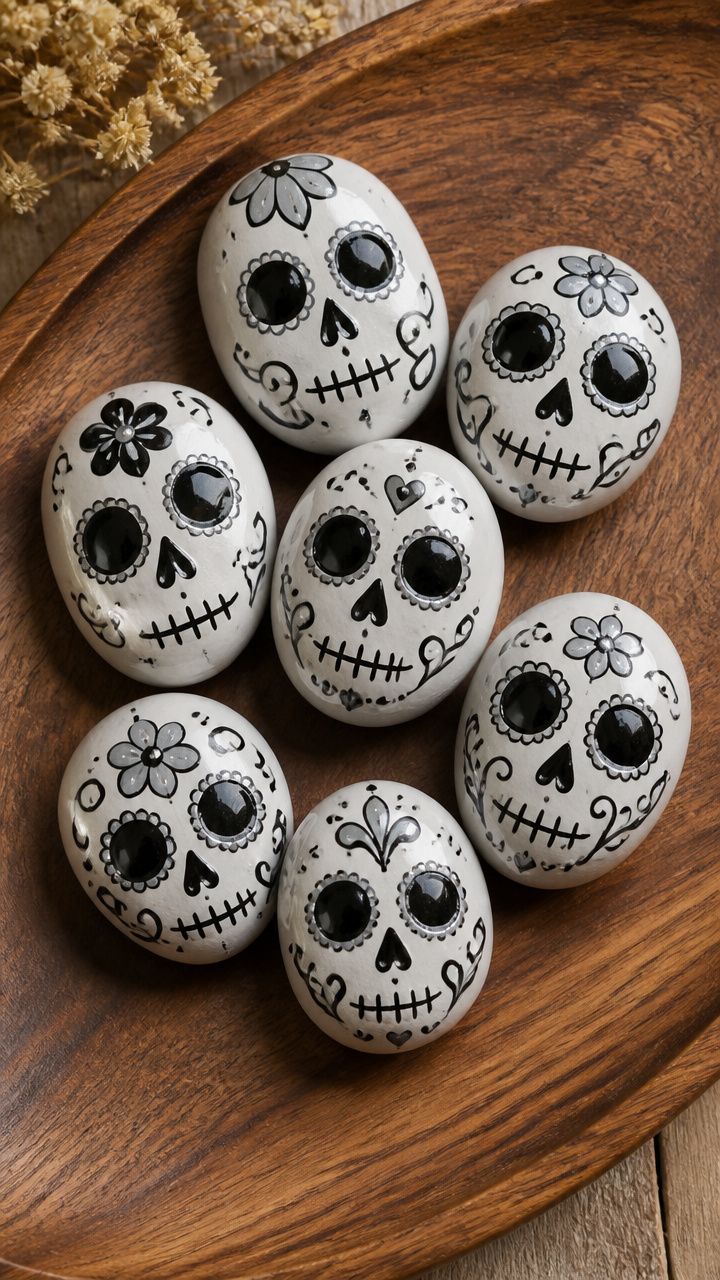
Smooth river rocks become tiny skulls with crisp white paint. Their glossy finish makes them look like collectible art.
Materials Needed
- 12 smooth river rocks (2-3 inch)
- 1 bottle white acrylic paint
- 1 fine-tip paintbrush
- 1 bottle clear glossy sealant
- 1 paper plate
How to Make It
- Paint each rock white using even strokes. Let dry for 20 minutes, then apply a second coat.
- Use the fine brush to paint skull details: two dots for eyes, a small triangle for the nose, and a curved line for the mouth.
- Spray with glossy sealant on a paper plate. Let dry 30 minutes before grouping on a tray or shelf.


11. Lace-Trimmed Napkin Rings
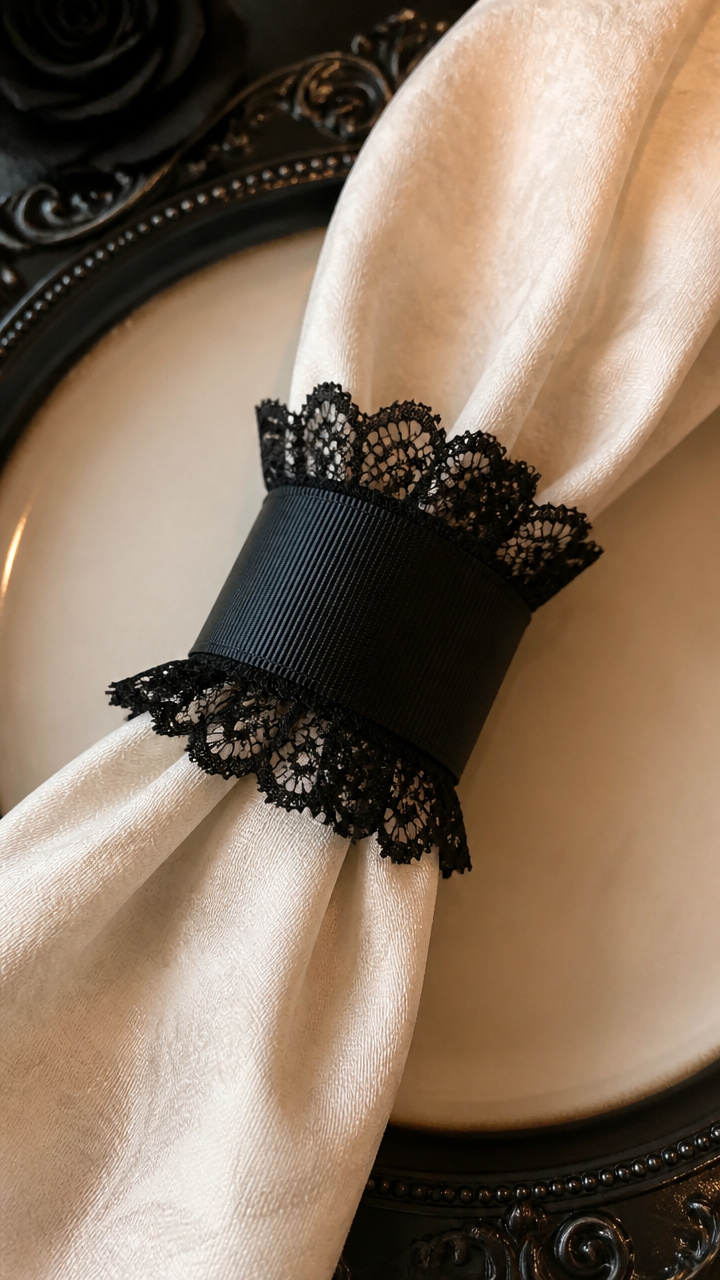
Stiff black ribbon wrapped with lace creates elegant napkin holders. They add a gothic touch to any table.
Materials Needed
- 12 black grosgrain ribbon strips (1 inch x 8 inch)
- 12 pieces lace trim (3 inch)
- 1 small bottle hot glue
- 1 hot glue gun
- 12 black plastic rings (1.5 inch diameter)
How to Make It
- Wrap each ribbon strip around a plastic ring and glue the ends together at the back.
- Glue a piece of lace trim over the seam, covering the joint completely.
- Let the glue cool for 1 minute before sliding a napkin through the ring.


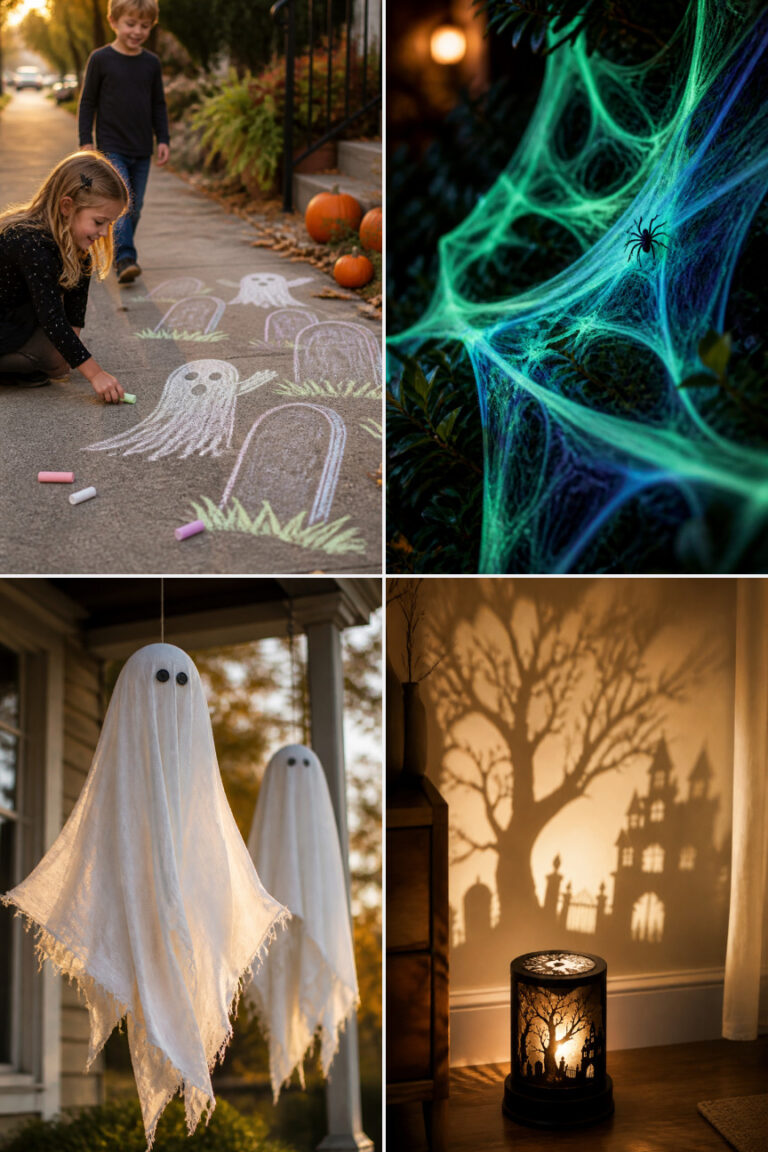
12. Floating Ghost Candles
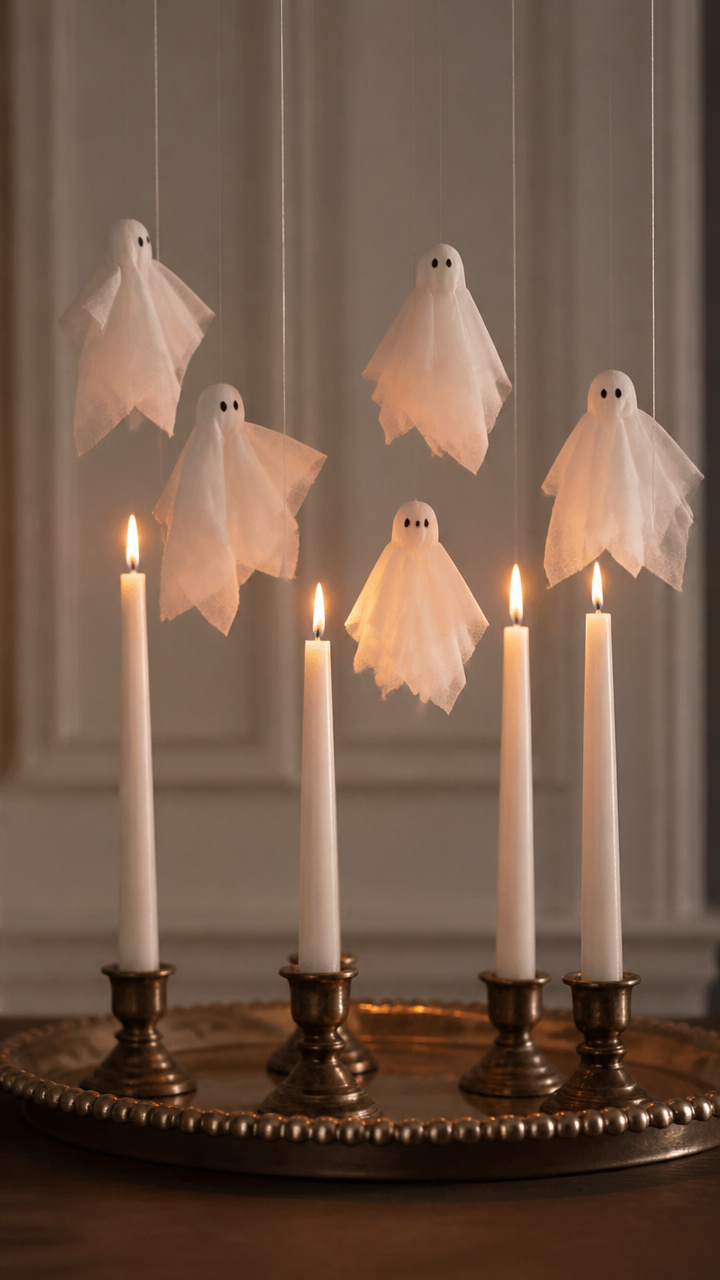
White tissue ghosts hover above flickering candles. The illusion of floating is subtle and enchanting.
Materials Needed
- 6 white taper candles
- 1 roll white fishing line
- 1 sheet white tissue paper
- 1 pair scissors
- 1 small clothespin
How to Make It
- Cut ghost shapes from tissue paper, about 5 inches tall with wispy edges.
- Tie one end of the fishing line to the candle tip and the other to the ghost’s head. Use a tiny dot of glue if needed.
- Clip the clothespin to the fishing line above the candle to adjust height. Light the candle and watch the ghost float.


13. Velvet Spider Orbs
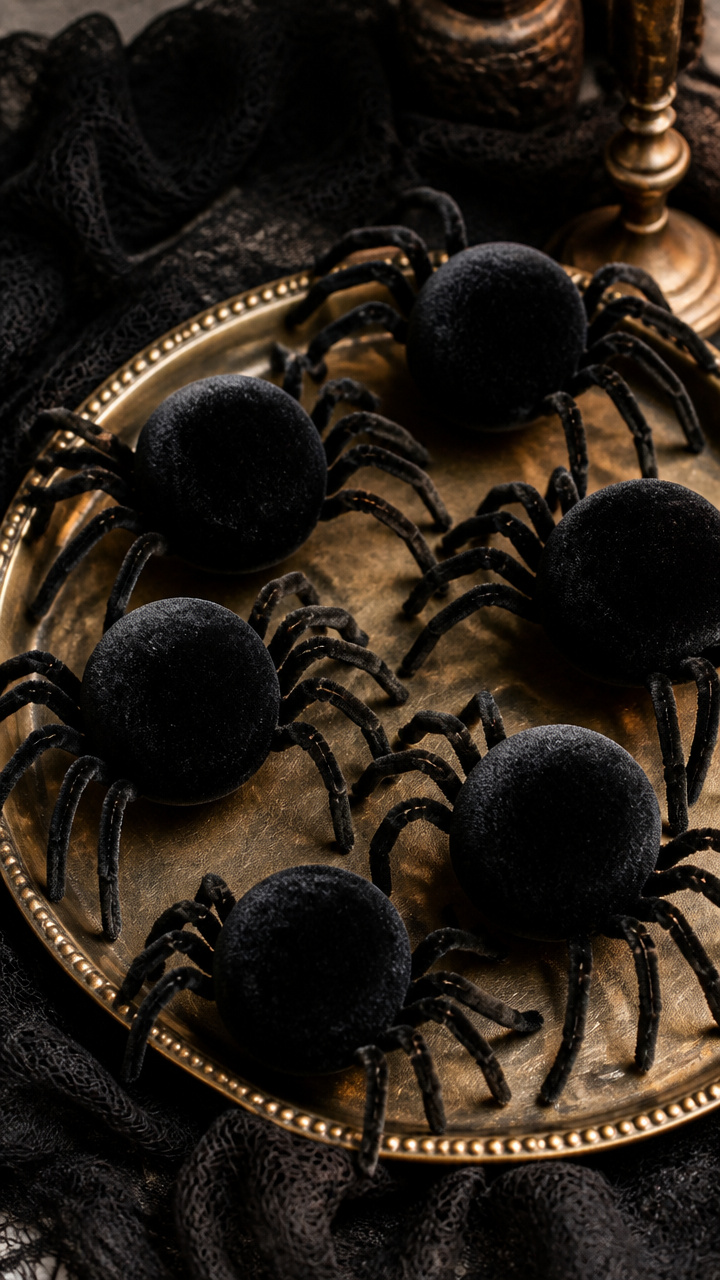
Small foam balls covered in black velvet and wired with legs become perched spiders. Their texture feels rich and lifelike.
Materials Needed
- 8 black velvet fabric scraps (3×3 inch)
- 8 foam balls (1.5 inch)
- 8 pipe cleaners (black)
- 1 hot glue gun
- 1 pair wire cutters
How to Make It
- Cut each pipe cleaner into 4 equal pieces. Twist 4 pieces onto each foam ball to form spider legs.
- Wrap a foam ball in velvet fabric, pulling it snug at the top. Secure with hot glue at the base.
- Arrange the spiders on bookshelves, light fixtures, or window frames where legs peek into view.


14. Chalkboard Potion Labels
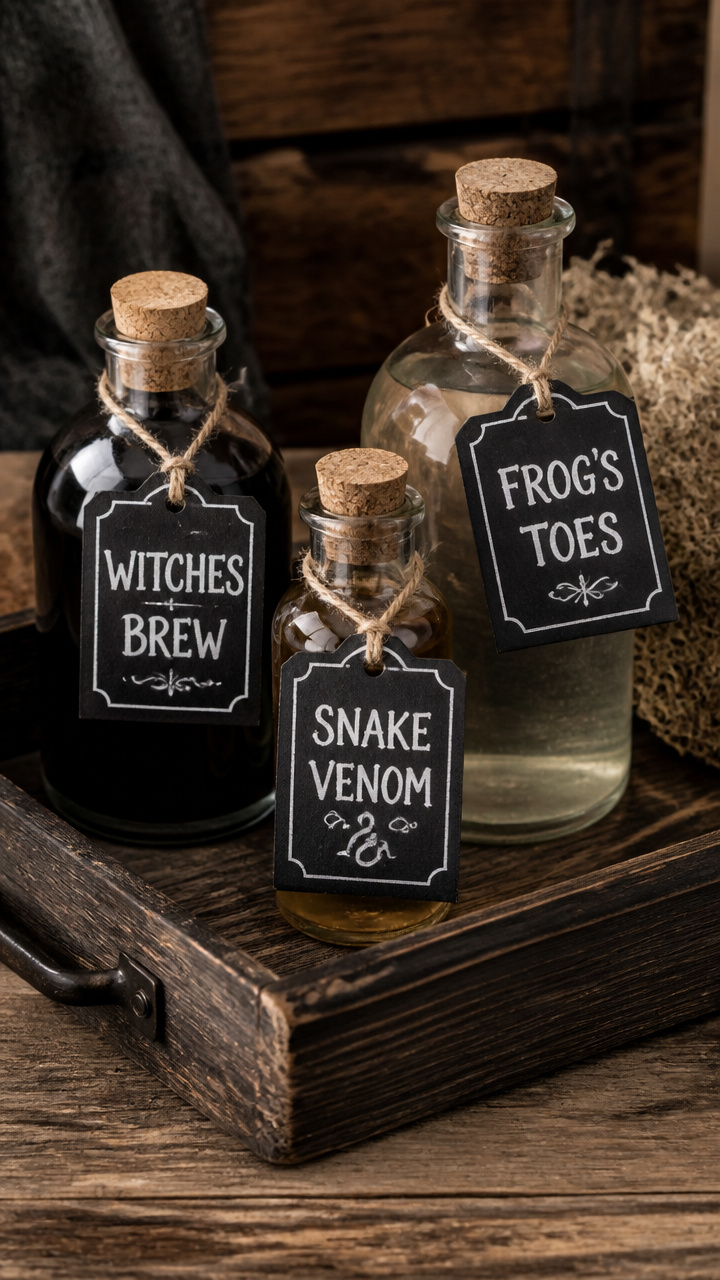
Mini chalkboard tags hang from bottles with hand-written names. The rustic lettering gives each potion a story.
Materials Needed
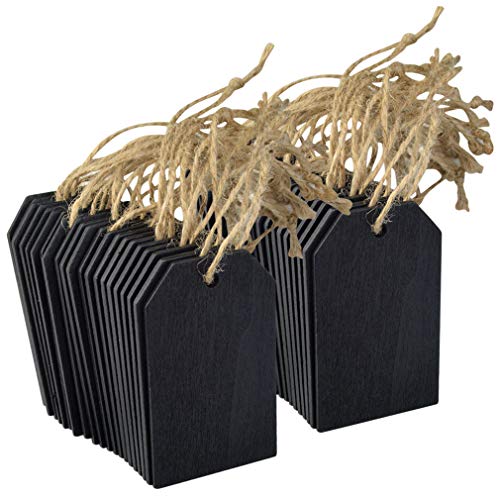
- 10 mini chalkboard tags (2×1 inch)
- 10 pieces twine (6 inch)
- 1 white chalk pencil
- 10 empty glass bottles
- 1 hole punch
How to Make It
- Punch a hole in the top of each chalkboard tag. Thread twine through and knot to make a hanger.
- Write potion names like 'Eye of Newt' or 'Moon Dust' using the chalk pencil. Use clear, even letters.
- Tie each tag to a bottle neck and group the bottles on a dark tray.


15. Tissue Paper Flower Wreath
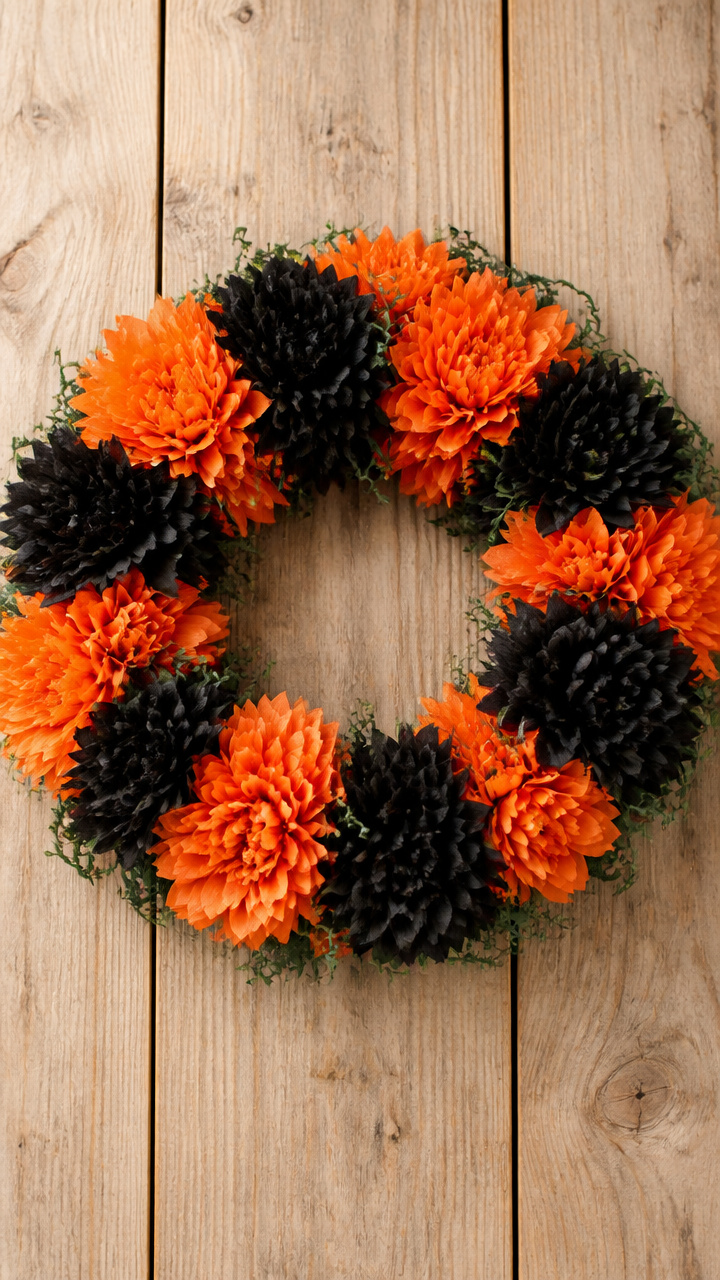
Deep orange and black tissue flowers bloom on a straw wreath. Their soft layers mimic real chrysanthemums.
Materials Needed
- 1 straw wreath base (10 inch)
- 2 packs orange tissue paper (50 sheets)
- 1 pack black tissue paper (20 sheets)
- 1 roll green floral wire
- 1 pair scissors
How to Make It
- Stack 5 sheets of orange tissue paper. Fold in 1 inch accordion pleats across the width. Repeat with black for centers.
- Fan the folds open and pinch the center. Secure with floral wire twisted into a stem.
- Fluff each layer outward to form a full flower. Attach 12 flowers to the wreath base with wire, clustering near the bottom.


You don’t need a big budget to create Halloween magic. With these crafts, your home will feel festive and thoughtfully decorated, not store-bought. Grab your bag and head to the dollar store with a plan—you’ve got everything you need to make it unforgettable.