18 Corn Husk Craft Ideas

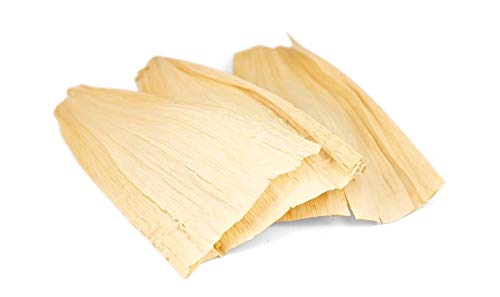
Corn husks carry the quiet charm of harvest time, with their soft tan layers and earthy scent. You can turn these humble leftovers into beautiful handmade pieces that feel both rustic and personal.
Each craft here uses dried corn husks as the main material, paired with simple tools you likely already have. These projects honor tradition while leaving room for your own touch.
1. Mini Corn Husk Dolls
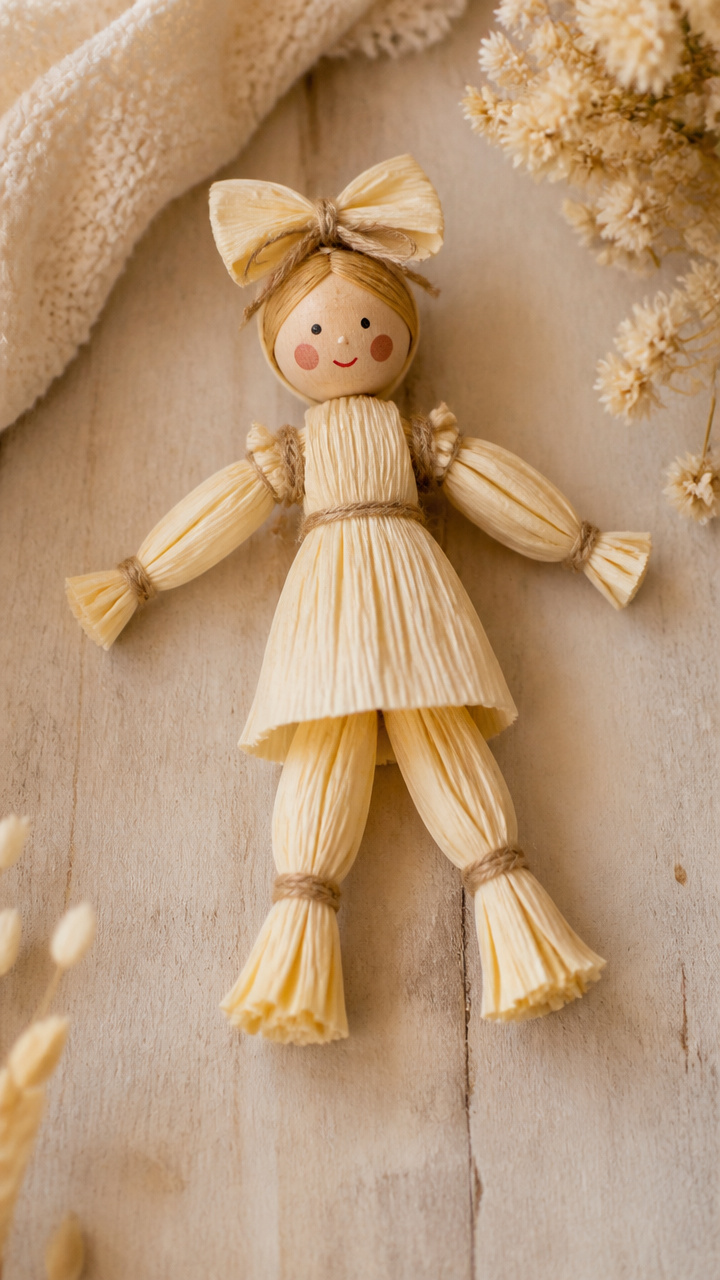
Soft little figures with jointed arms and legs, perfect for shelf displays or gift toppers. Their gentle faces are easy to shape with a toothpick.
Materials Needed
- 6 dried corn husks, about 6 inches long
- 24 inches of natural jute twine
- 1 small wooden bead, 3/8 inch diameter
- acrylic paint in skin tone and red
- toothpick
- white school glue
How to Make It
- Cut one husk in half lengthwise and set aside for arms and legs. Use one full husk for the body by rolling it tightly from bottom to top and tying twine at the top third to form a neck.
- Press the wooden bead into wet glue at the top of the roll for the head, then use the toothpick to dot on eyes and a small mouth with paint.
- Cut two 3-inch strips from the reserved husk halves for arms and tie each across the back with twine, knotting at the shoulder. Repeat below for legs using 4-inch strips.

2. Woven Corn Husk Coasters
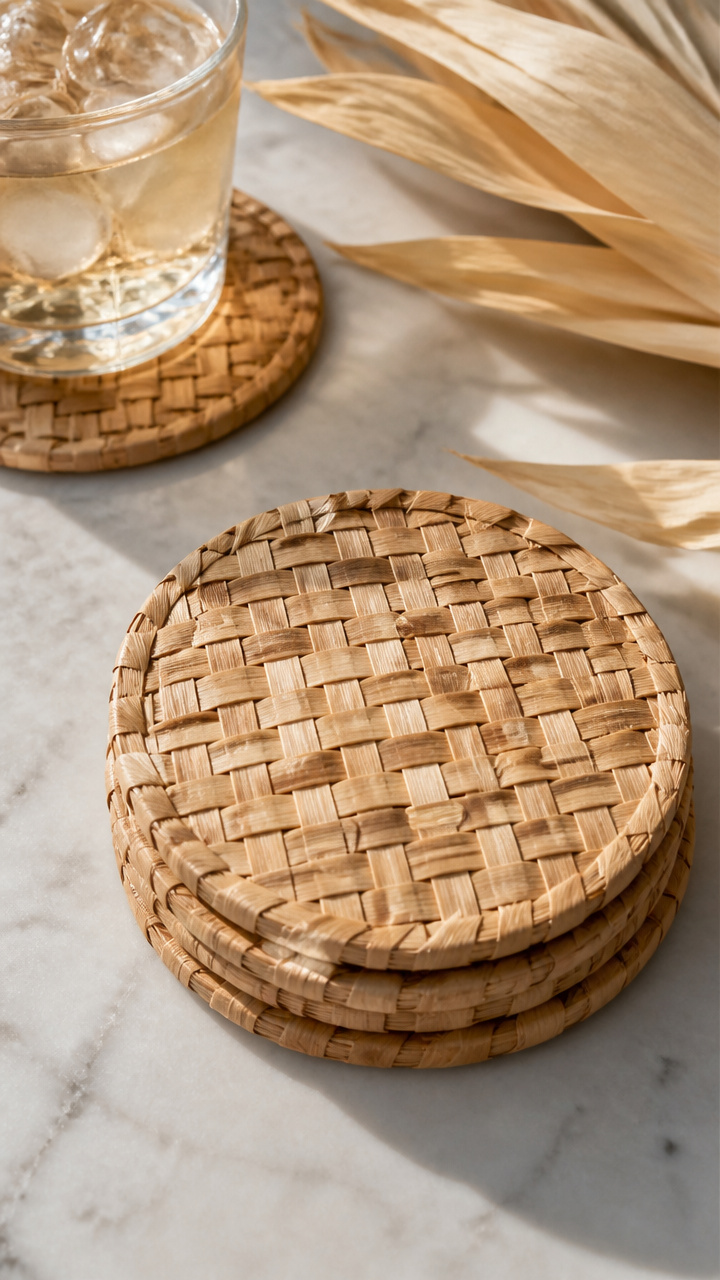
Sturdy round mats with a tight basket weave, ideal for protecting tables from warm mugs. They dry quickly and gain character with use.
Materials Needed
- 8 dried corn husks
- scissors
- ruler
- water spray bottle
- clothespin
How to Make It
- Soak the husks in water for 10 minutes until pliable, then pat dry and cut into 1/2-inch-wide strips about 6 inches long.
- Lay four strips in a star shape, crossing at the center. Weave another strip over and under through one axis, then repeat perpendicularly with a fifth strip.
- Continue weaving outward in spiral fashion, tucking ends underneath, and clamp the coaster with a clothespin while it dries completely, about 2 hours.


3. Husk-Wrapped Candle Holders
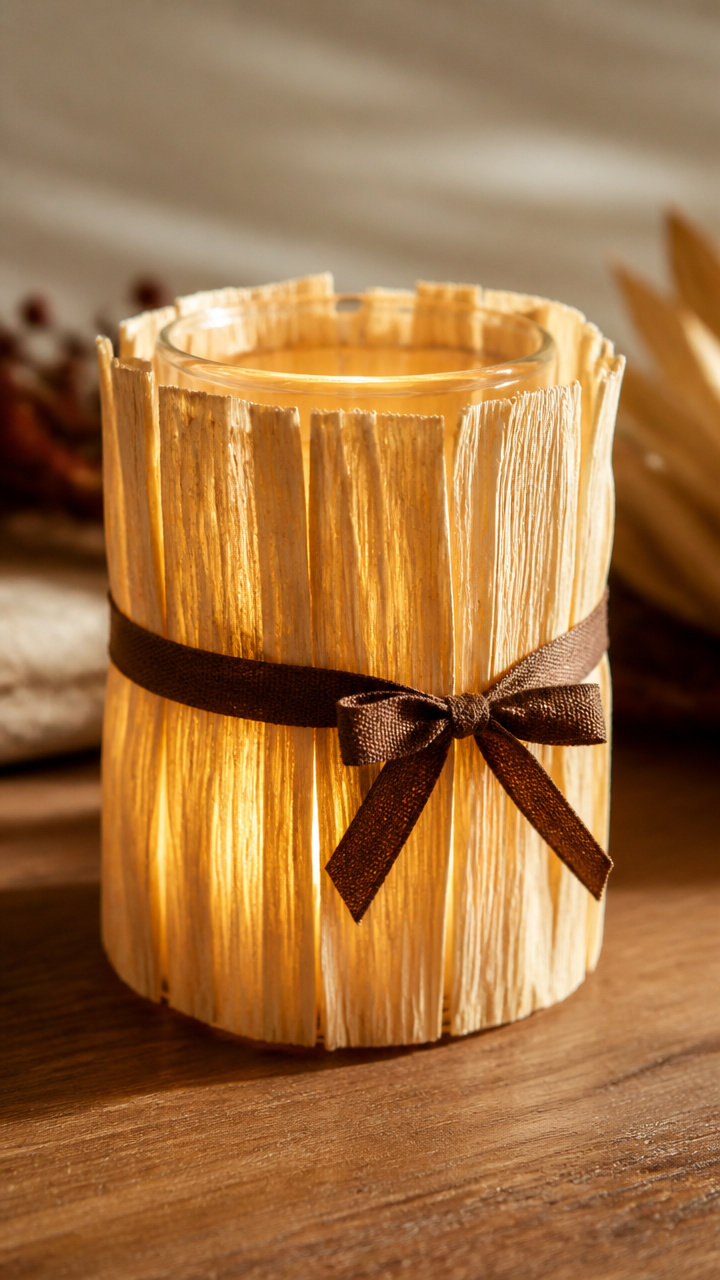
Glass jars dressed in vertical husk panels that cast delicate shadows when lit. The warmth of the flame shows through the thin fibers.
Materials Needed
- 4 dried corn husks
- 1 clean glass jar, 3 inches wide
- 12 inches of brown cotton ribbon
- clear-drying craft glue
- paintbrush
How to Make It
- Flatten each husk and trim to 5 inches tall and 2 inches wide, ensuring they are free of tears.
- Apply a thin line of glue along one edge and wrap each piece vertically around the jar, pressing seams together without overlapping.
- Tie the ribbon snugly around the middle of the jar to secure and hide any gaps, then let the glue cure for 1 hour before placing a tea light inside.
4. Fried Egg Husk Decor
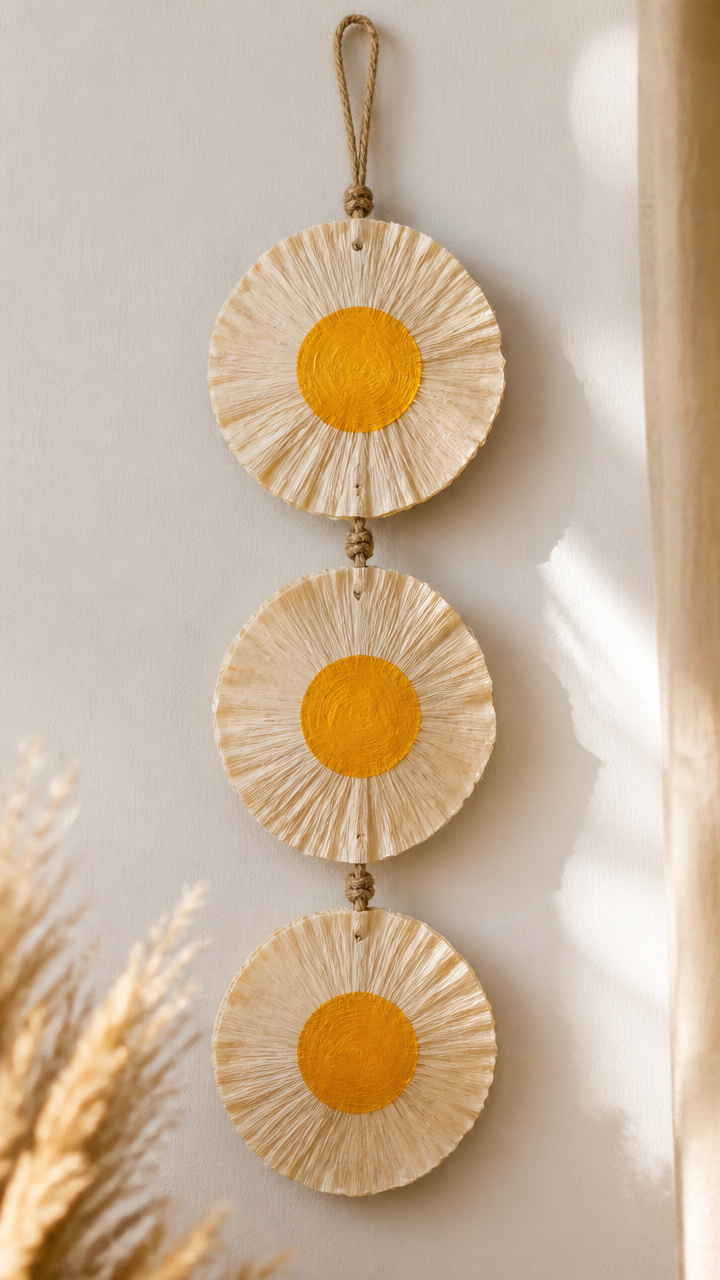
Playful wall hangings shaped like sunny-side-up eggs, using husk layers for white and yolk. Hang them in kitchens for a cheerful accent.
Materials Needed
- 3 dried corn husks
- yellow acrylic paint
- round cookie cutter, 3 inches
- glue stick
- twine, 8 inches
- hole punch
How to Make It
- Trace and cut two circles from the outer husk layers using the cookie cutter for the egg whites, then cut one smaller circle from a pale inner husk for the yolk.
- Paint the small circle yellow and let it dry flat for 15 minutes on wax paper.
- Glue the yolk centered on one white piece, place twine on the back between layers, then press the second white on top and punch a hole at the top edge for hanging.


5. Layered Husk Garland
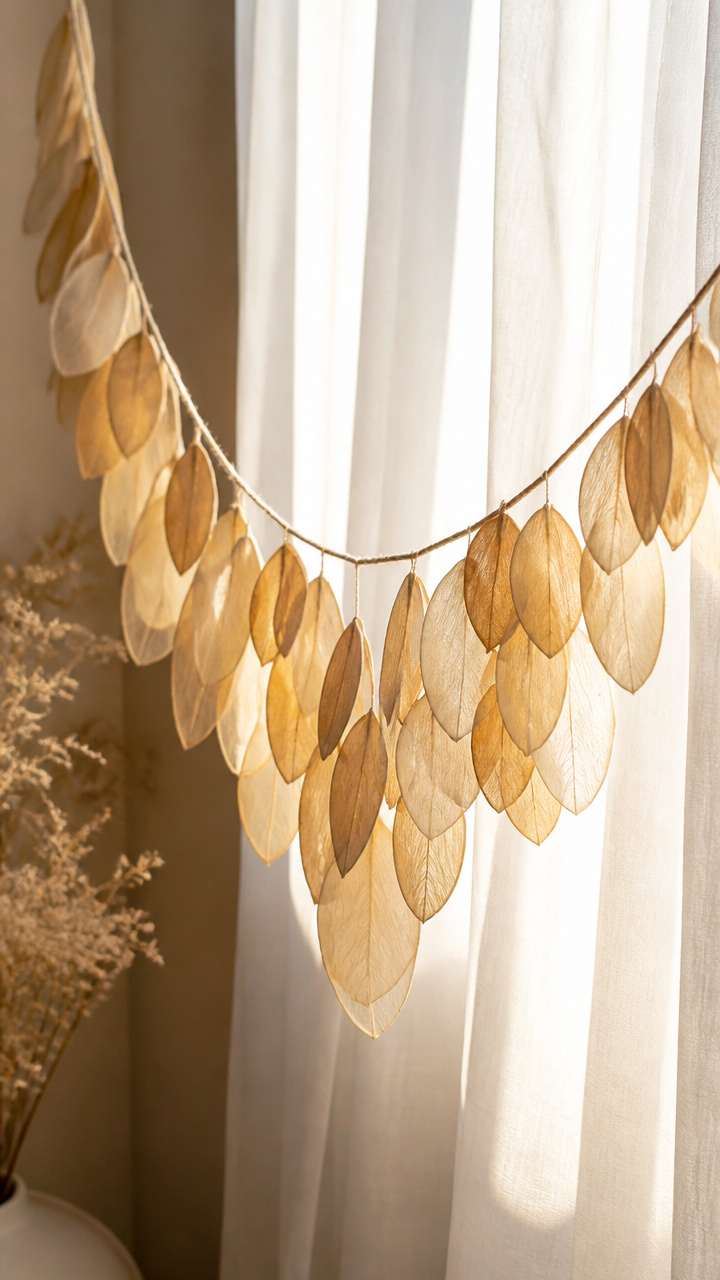
A flowing string of graduated ovals that catch light from both sides. Drape it above a window or mantel for subtle texture.
Materials Needed
- 10 dried corn husks
- embroidery needle
- linen thread, 36 inches
- scissors
- pencil
How to Make It
- Sketch five oval shapes ranging from 2 to 4 inches long on husk backs and cut them out neatly with scissors.
- Use the needle to pierce two small holes at the top of each oval, spaced 1/4 inch apart.
- Thread the linen through the bottom hole up through the top hole of each piece, spacing them 2 inches apart along the strand, and knot the ends securely.
6. Poppies from Husk Petals
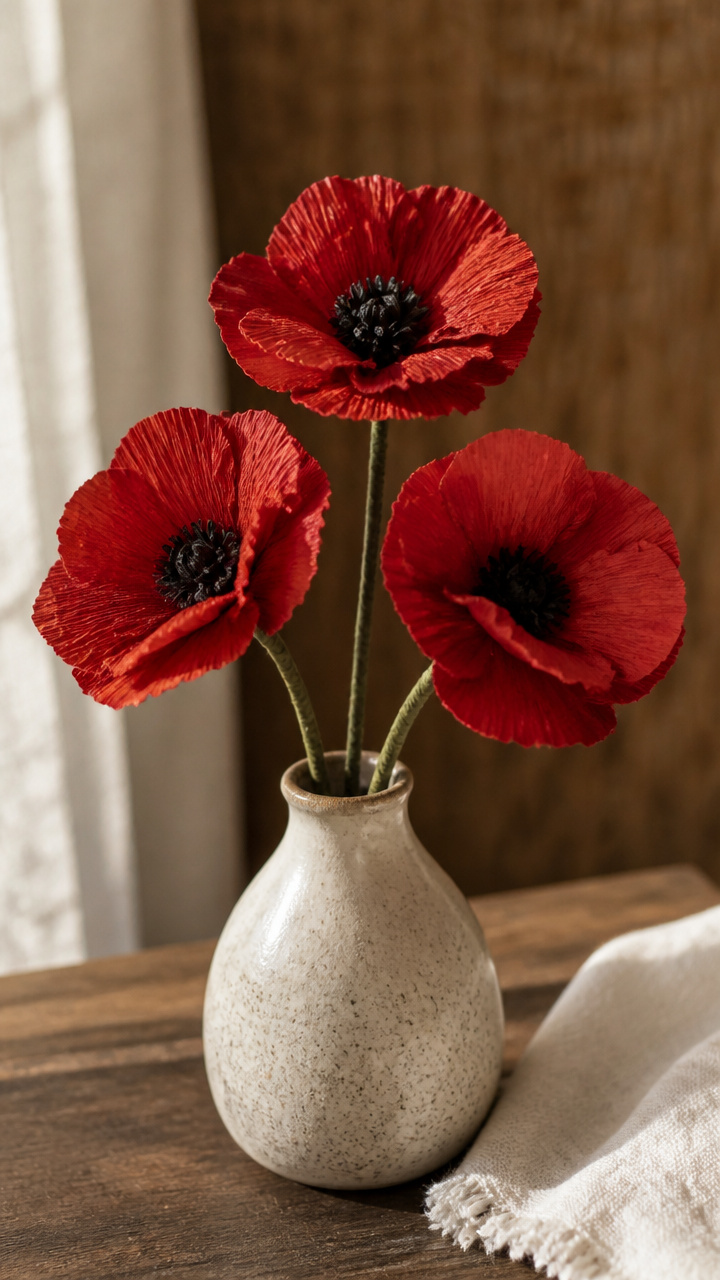
Deep red blossoms with crinkled edges that mimic real poppy petals. Cluster three blooms in a tiny vase for a permanent centerpiece.
Materials Needed
- 9 dried corn husks
- red tissue paper, 6×6 inches
- black acrylic paint
- floral wire, 18-gauge, 6 inches per flower
- hot glue gun and glue sticks
- scissors
How to Make It
- Cut each husk into three teardrop shapes, 2 inches long, and gently curl the edges outward with your fingers.
- Crumple and unfold the tissue paper, then cut into 1-inch squares to use as centers.
- Hot glue three layers of husk petals around one end of the wire, staggering the points, then add a dab of glue and press tissue pieces into place, finishing with a dot of black paint in the middle.


7. Fish-Shaped Husk Ornament
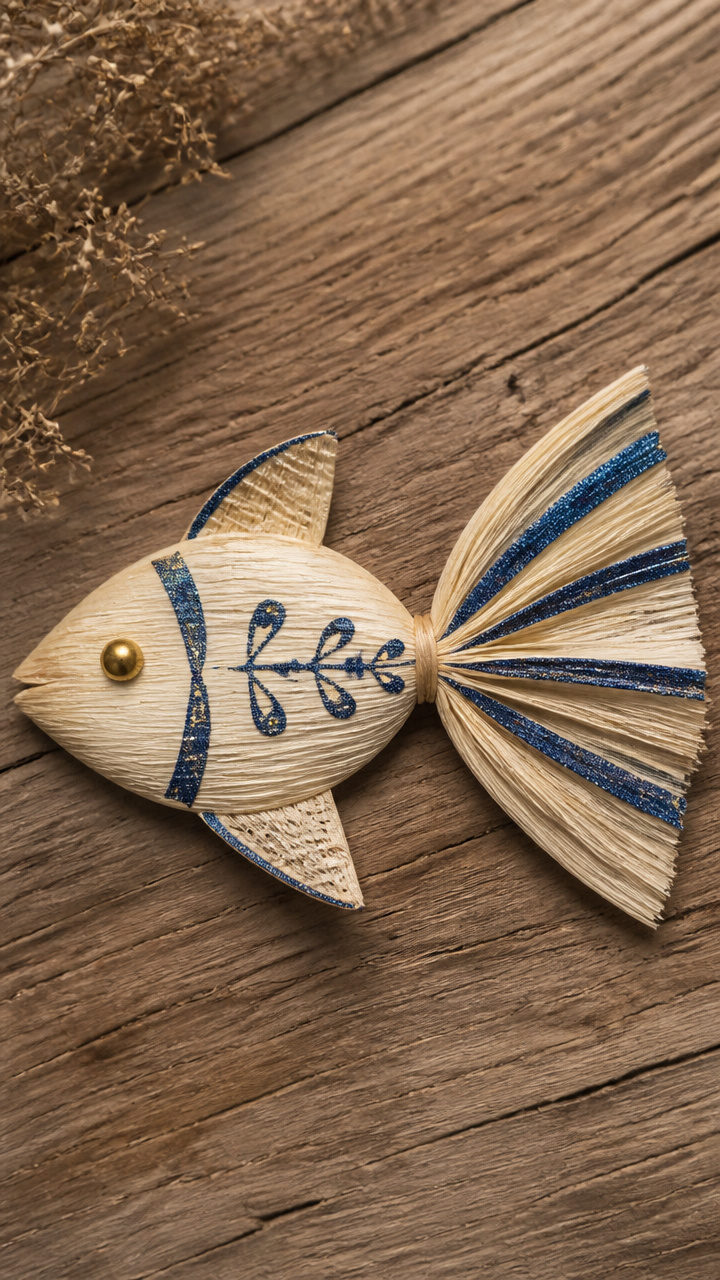
A whimsical silhouette with a fanned tail and shiny eye, inspired by folk art. Hang it near a mirror or window where light can pass through.
Materials Needed
- 2 dried corn husks
- blue glitter glue
- gold brad, 1/4 inch
- template printed: fish shape, 5 inches long
- scissors
- clear tape
How to Make It
- Place the template on a husk and trace with a pencil, then cut out two identical fish shapes.
- Lay one flat, add a line of glitter glue along the tail edge for shimmer, and press the second piece on top, aligning edges.
- Let dry for 20 minutes, then insert the brad through the head area for an eye and tape a loop of thread to the back for hanging.


8. Husk Star Wall Decor
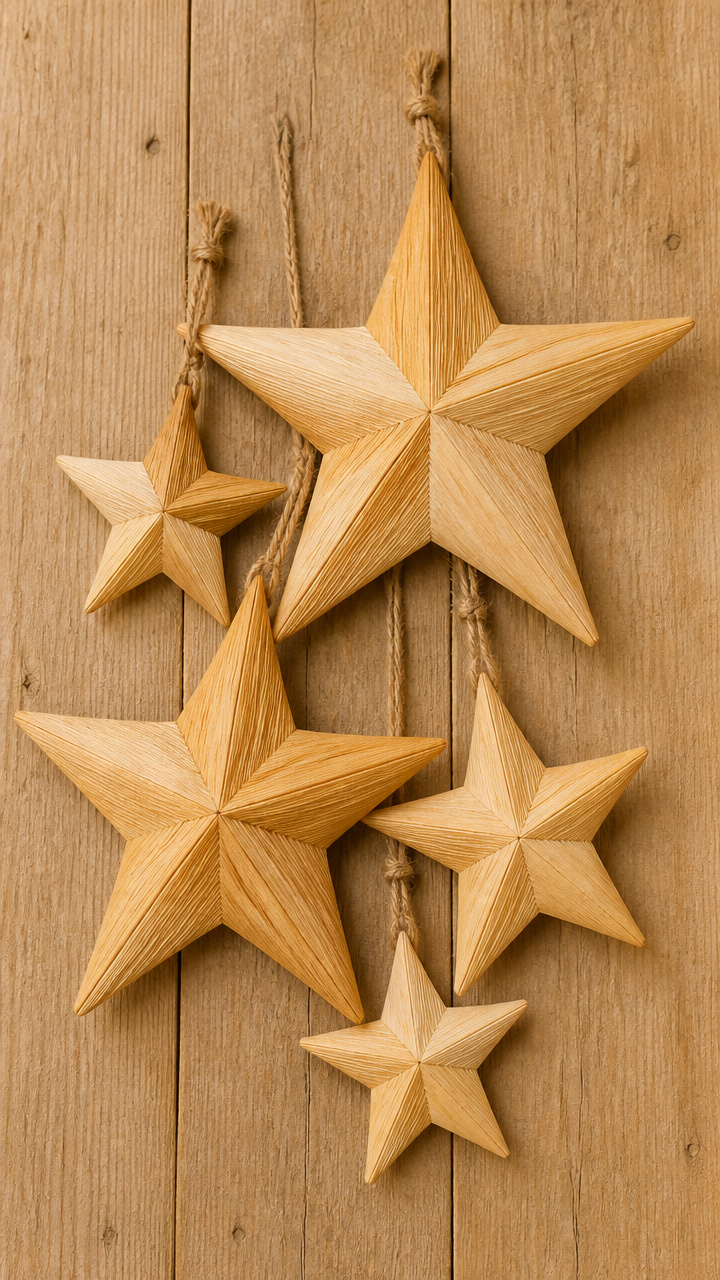
Five-pointed stars with lightly sanded centers for a worn look. Group several at different sizes for a celestial cluster.
Materials Needed
- 5 dried corn husks
- star template, 4 inches wide
- fine-grit sandpaper
- wood glue
- paintbrush
- twine, 6 inches
How to Make It
- Trace and cut five star shapes, stack them, and brush a thin layer of wood glue between each layer, pressing firmly.
- Clamp under a heavy book for 30 minutes until bonded, then smooth only the center with sandpaper to expose fibers.
- Tie twine through a hole punched at the top point and leave unsealed edges to fluff slightly over time.


9. Braided Husk Bookmarks
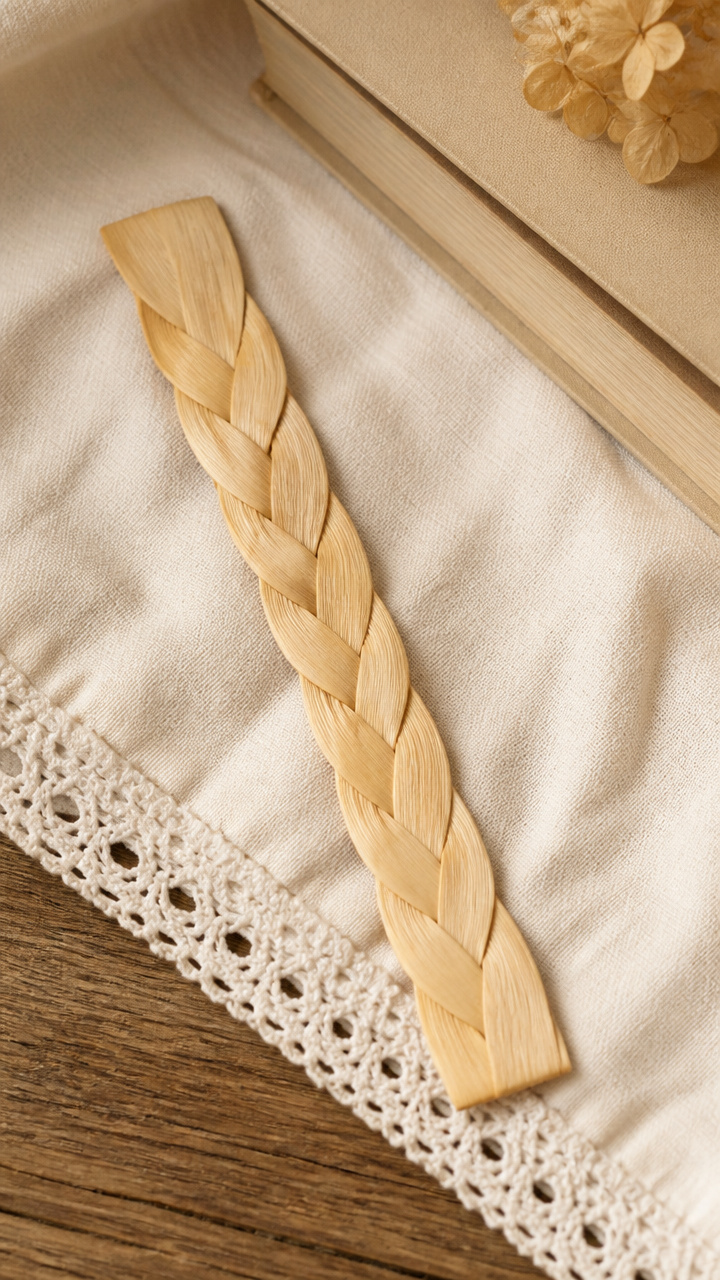
Narrow ribbons of husk woven into a flat braid that won't slip out of pages. The natural color contrasts with printed text beautifully.
Materials Needed
- 3 dried corn husks
- scissors
- ruler
- clear nail polish
How to Make It
- Cut each husk into three 1/2-inch-wide strips, 8 inches long, trimming off thick ribs with scissors.
- Line up three strips and begin a standard three-strand braid, pulling gently to keep even tension, then knot the end.
- Brush a light coat of clear nail polish along the entire length to seal and prevent fraying, letting it dry for 10 minutes.
10. Tealight Husk Shades
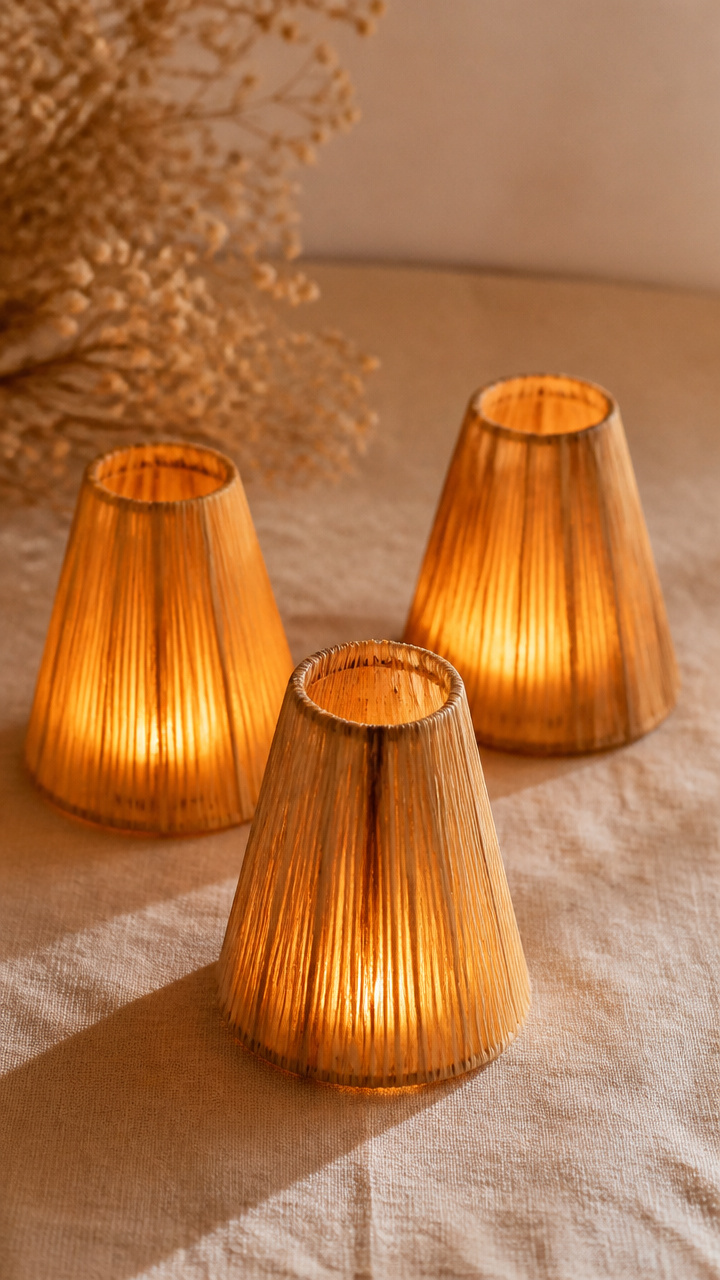
Tiny lanterns made by folding husks into conical covers that diffuse candlelight softly. Set a few on a dinner table for mood lighting.
Materials Needed
- 4 dried corn husks
- craft knife
- ruler
- wood glue
- clothespin
How to Make It
- Cut each husk into a 3-inch square, then make a diagonal cut from one corner to the center.
- Roll into a cone shape starting from the straight edge, applying glue along the overlap and holding with a clothespin for 5 minutes.
- Let dry fully for 30 minutes before placing over a tealight candle, ensuring the base sits flat.
11. Husk Rose Bouquet
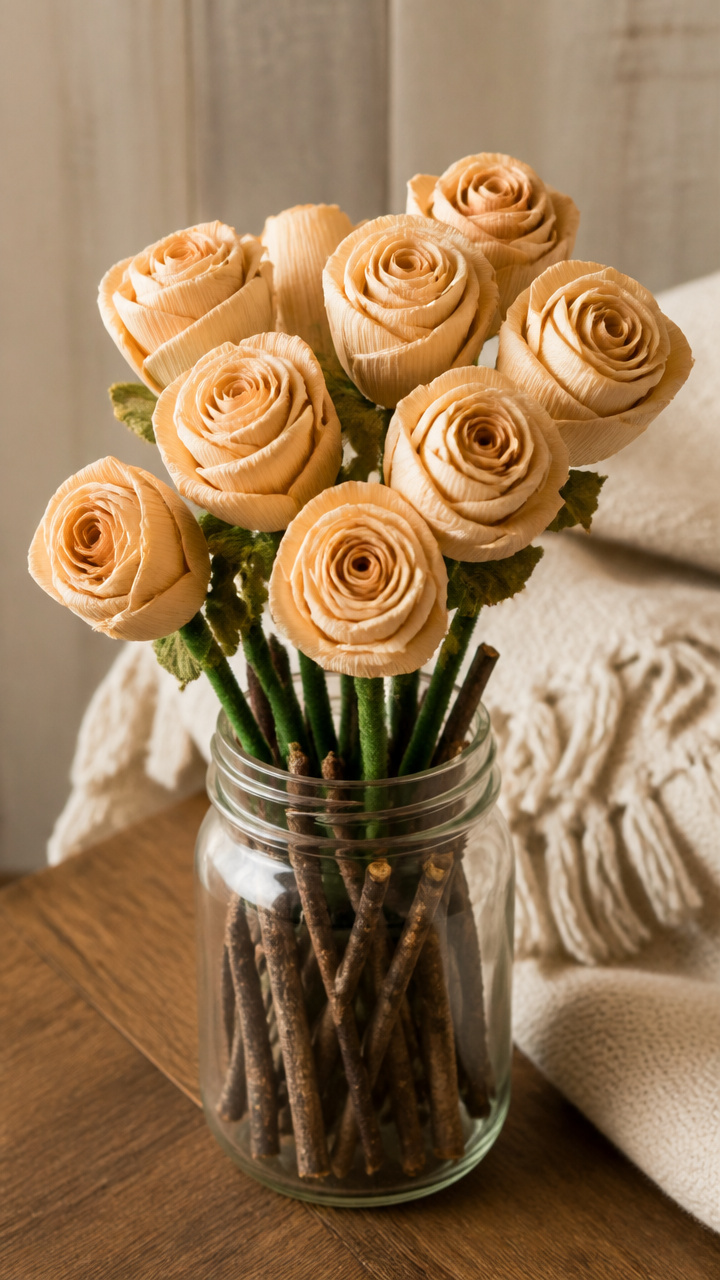
A single bloom with tightly coiled petals and a green stem, lifelike enough to fool a guest. Arrange a bunch in a mason jar.
Materials Needed
- 6 dried corn husks
- green pipe cleaner, 12 inches
- scissors
- hot glue gun
- small twig, 4 inches
How to Make It
- Cut one husk into a spiral starting from the outside edge, 1/2 inch wide, then roll it tightly from the tip to form the center bud.
- Cut remaining husks into petal shapes, largest at the base, and soften edges by rubbing with fingers.
- Unroll the spiral slightly, glue the base, and layer petals around it, securing each with hot glue, then attach to the pipe cleaner wrapped around the twig for the stem.
12. Butterfly Husk Mobile
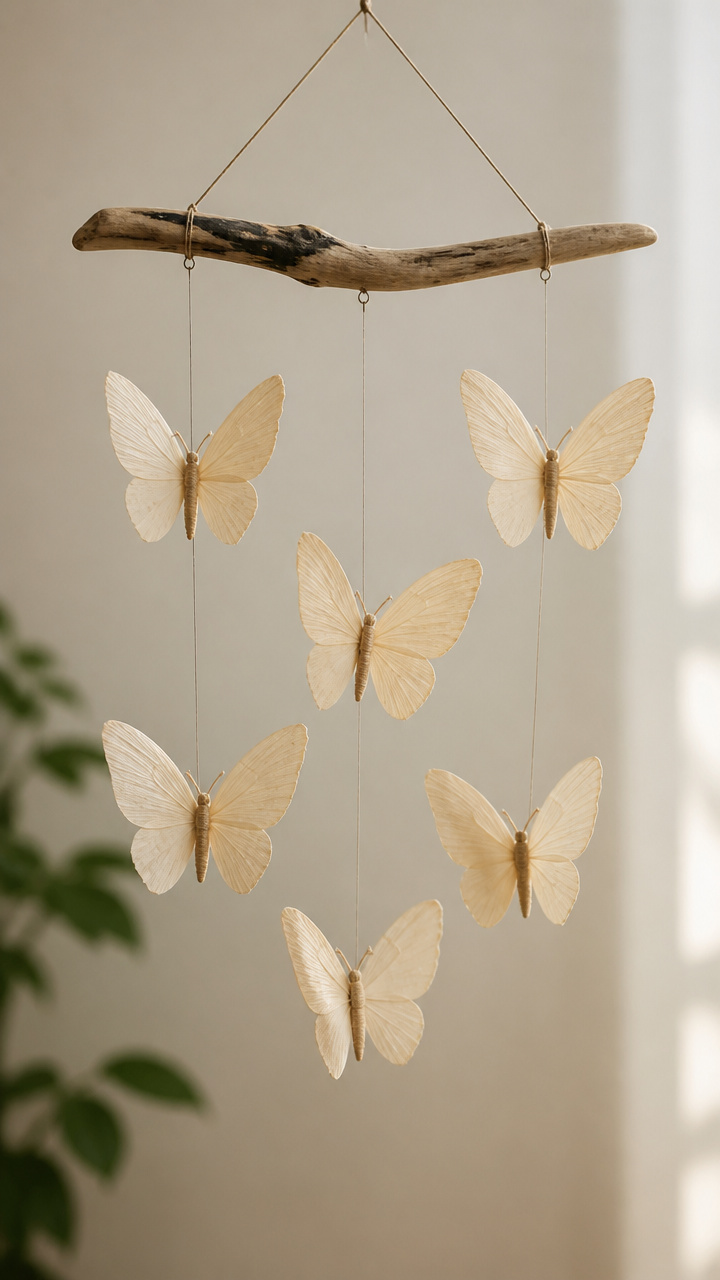
Delicate insects with translucent wings that flutter in the breeze. Suspend them at different levels from a driftwood branch.
Materials Needed
- 6 dried corn husks
- thin florist wire, 24 inches total
- wire cutters
- black marker
- clear glue
- driftwood piece, 8 inches
How to Make It
- Cut two butterfly wing pairs per insect: top wings 2 inches long, bottom 1.5 inches, using symmetrical templates.
- Slide a 4-inch wire piece through the body area between top and bottom wings, bending ends to hold, then twist the excess into antennae.
- Mark veining with the black marker, glue wings at seams, and hang three butterflies from the driftwood with 8-inch threads spaced evenly.
13. Husk Picture Frame Accent
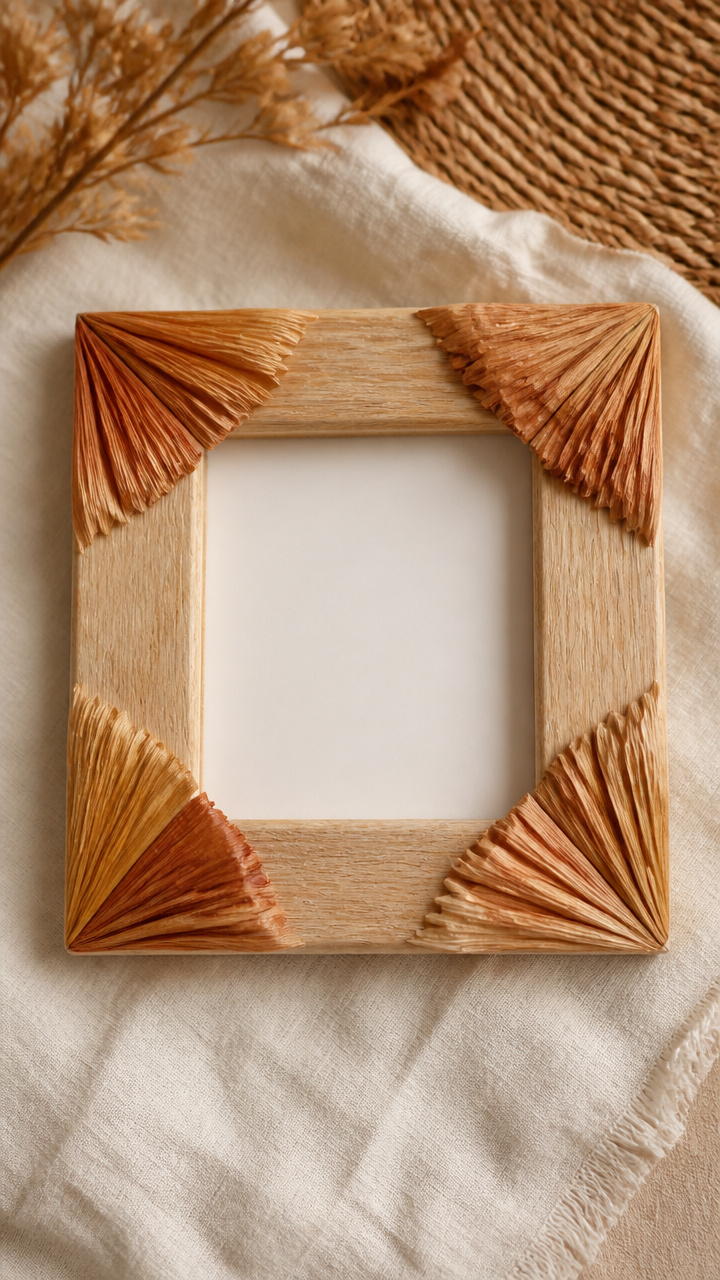
A plain wooden frame dressed with husk corners that echo autumn fields. The natural tones enhance family photos taken outdoors.
Materials Needed
- 4 dried corn husks
- 8-inch square wood frame
- brown tacky glue
- scissors
- clips
How to Make It
- Cut each husk into an L-shape, 2 inches along each side, trimming thicker veins for flat adhesion.
- Apply glue to the back of each corner piece and press onto the frame’s edges, aligning with outer borders.
- Hold each with clips for 10 minutes, then let cure overnight before displaying with a photo.
14. Pinwheel Husk Garden Spinners
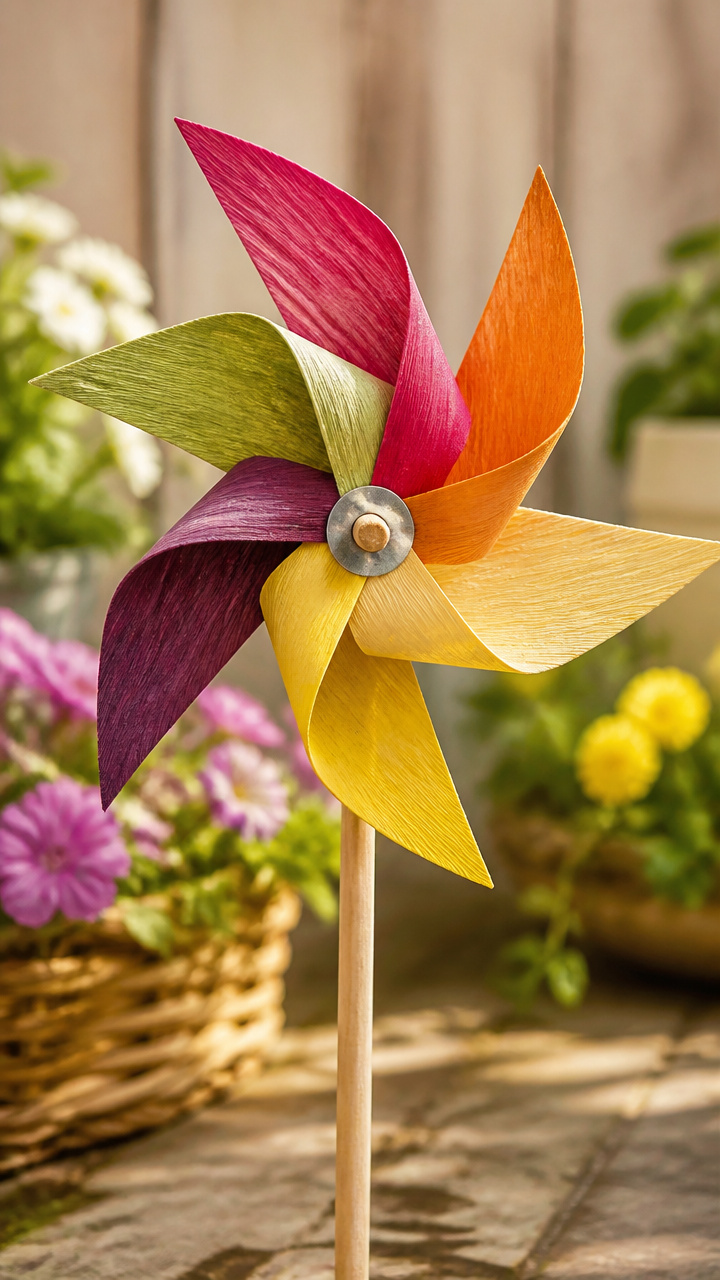
Outdoor spinners with angled blades that turn in the breeze. Mount them on stakes to brighten bare garden corners.
Materials Needed
- 4 dried corn husks
- dowel rod, 1/4 inch diameter, 12 inches
- metal washer, 3/4 inch
- nail
- hammer
- push pin
How to Make It
- Cut each husk into a 3-inch square, then make diagonal cuts from each corner to within 1/2 inch of the center.
- Lift every other tip to the middle and secure all four with a push pin through the washer, creating a blade effect.
- Hammer the nail into the dowel end, then slide the spinner onto the nail so it turns freely, and place in soil.
15. Husk-Wrapped Gift Tags
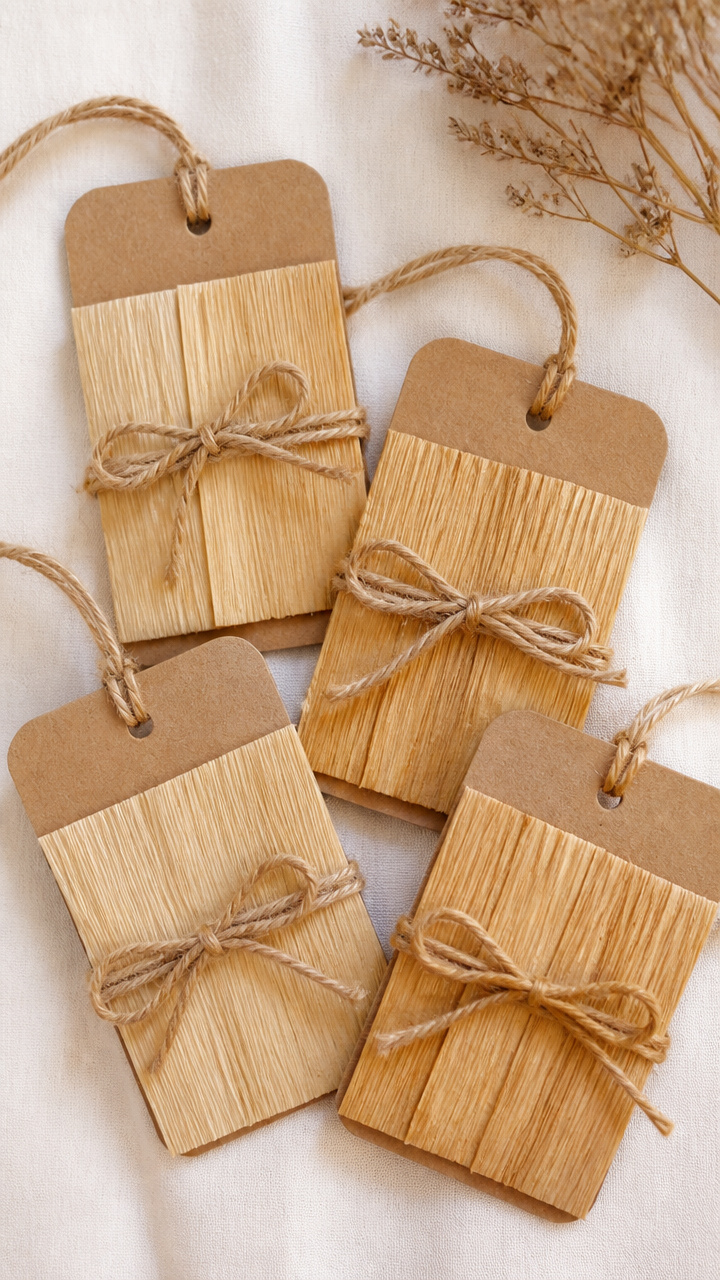
Small rectangles edged with husk strips for a farm-fresh look. Write names directly on the grainy surface with fine pen.
Materials Needed
- 3 dried corn husks
- A6 kraft cardstock, 3 pieces
- glue stick
- scissors
- hole punch
- twine
How to Make It
- Cut husks into 1/4-inch-wide strips, about 4 inches long, using only the thinner inner sections.
- Run a glue line along the short edge of each tag and press a strip over it, wrapping to the back and smoothing flat.
- Repeat for opposite edge, punch a hole at the top, and thread twine through for attaching to packages.
16. Hanging Husk Seed Pouches
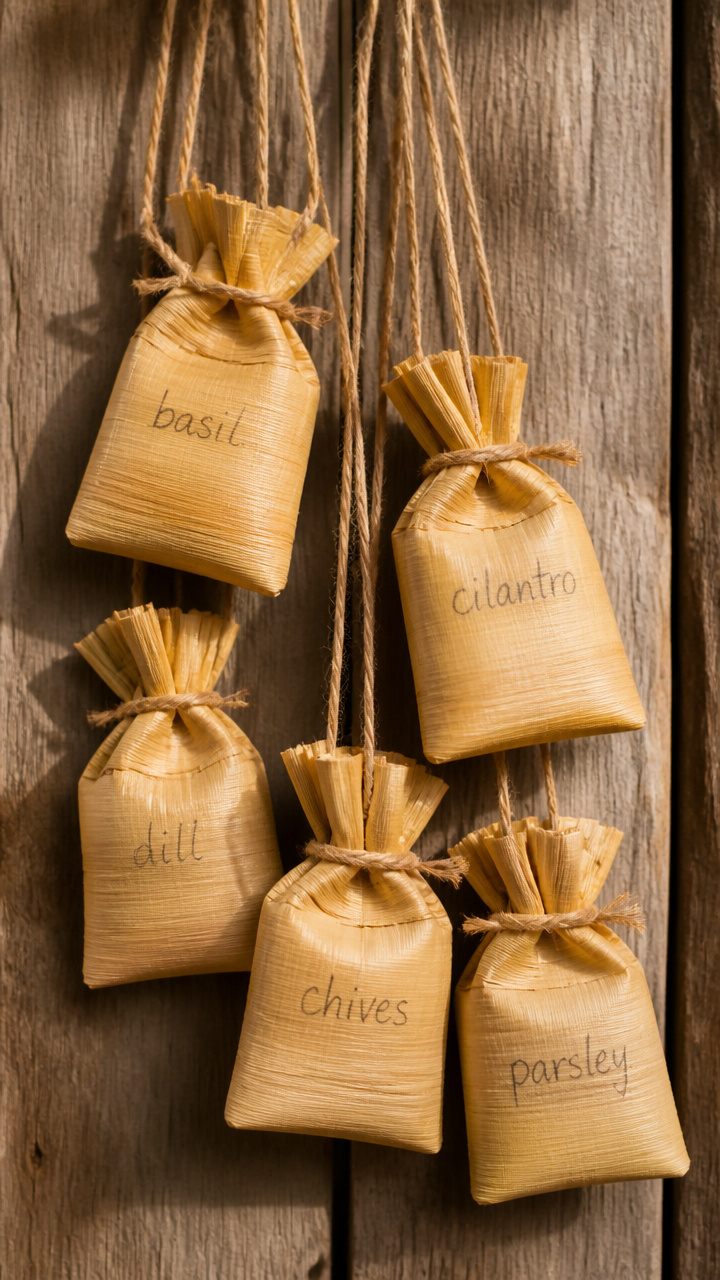
Tiny envelopes with drawstring tops to store seeds or herbs. Label each with the plant name in pencil.
Materials Needed
- 4 dried corn husks
- needle
- waxed linen thread
- ruler
- scissors
How to Make It
- Cut two husks in half crosswise, then sew two pieces together along three edges with a running stitch, leaving the top open.
- Turn the pouch right side out and fold the top edge down 1/2 inch to create a casing.
- Thread a 10-inch strand through the casing using the needle and knot the ends to form a drawstring closure.


17. Husk Lantern Shade
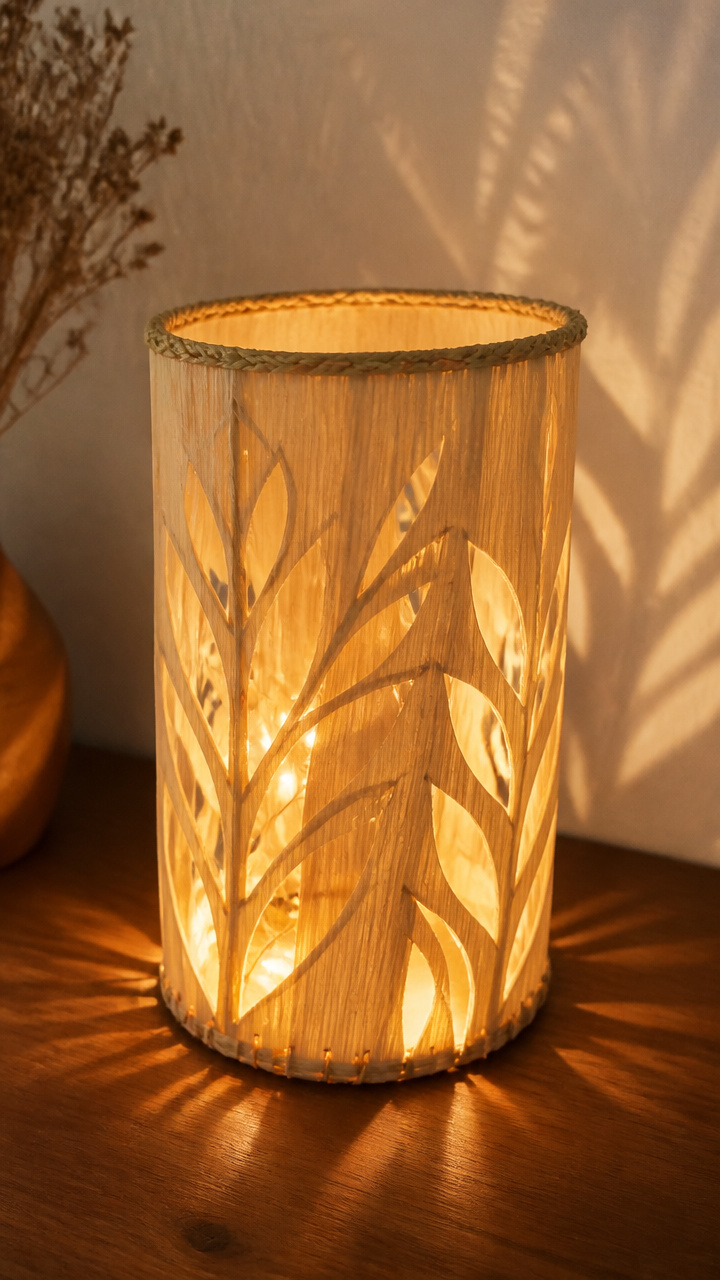
A cylindrical cover for a battery-powered string light, casting leaf-shaped patterns on walls. Perfect for porch evenings.
Materials Needed
- 10 dried corn husks
- glue gun
- cylindrical mold, 3 inches diameter
- battery-powered fairy lights, 20 bulbs
- clips
How to Make It
- Soak husks for 8 minutes, then flatten and trim to 4 inches tall and 10 inches wide.
- Wrap each husk vertically around the mold, overlapping edges slightly, and glue seams with hot glue every 2 inches.
- Secure with clips and let dry 45 minutes, then slide the light strand inside and remove the mold carefully.
18. Corn Husk Napkin Rings
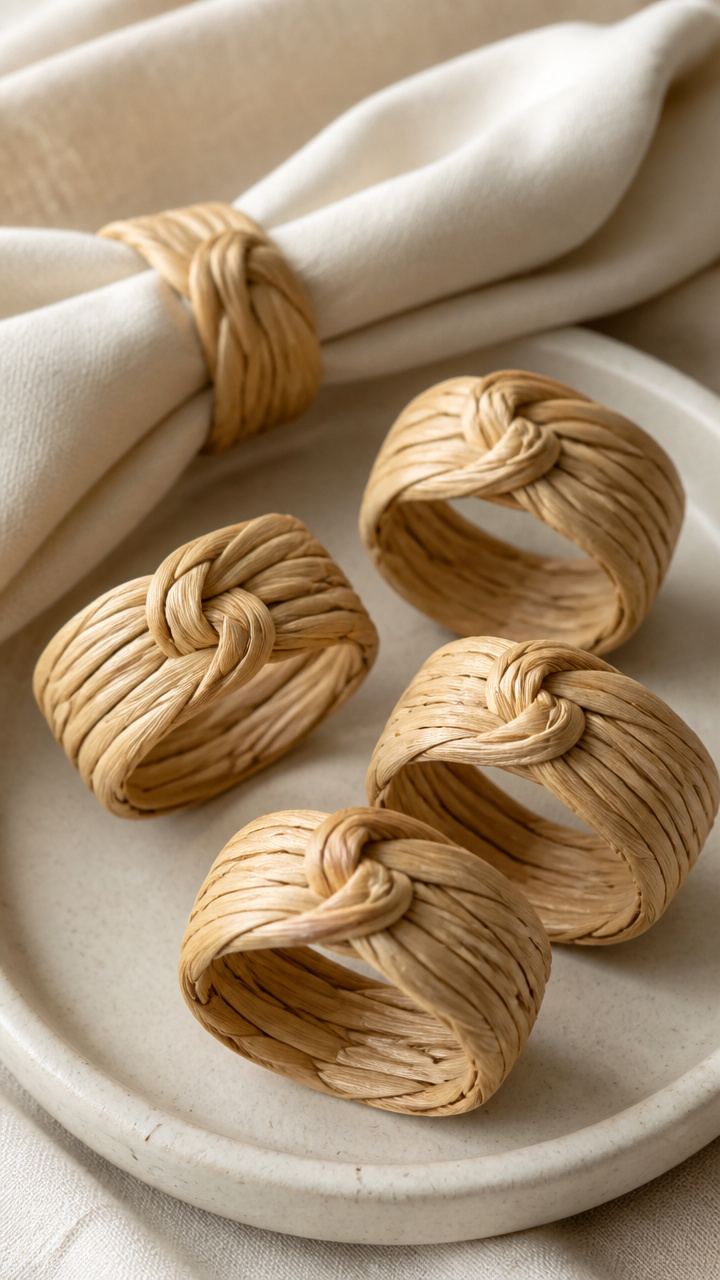
Simple bands with a knotted front detail, adding earthy elegance to dinner settings. They last through many washes if sealed.
Materials Needed
- 6 dried corn husks
- clear Mod Podge
- foam brush
- scissors
- ruler
How to Make It
- Cut each husk into a 7×1 inch strip, removing the central rib for flexibility.
- Join two strips end-to-end with a diagonal overlap, gluing and pressing flat for 2 minutes.
- Form a ring by overlapping the ends, tie a small knot at the front seam, then seal inside and out with two coats of Mod Podge, drying 20 minutes between coats.


You’ve got everything you need to begin right now, even if it’s just one husk and a bit of string. Let your hands move slowly, and let the quiet beauty of these crafts remind you how good it feels to make something real.