15 Beginner-Friendly Summer Friendship Bracelet Ideas for Kids and Tweens
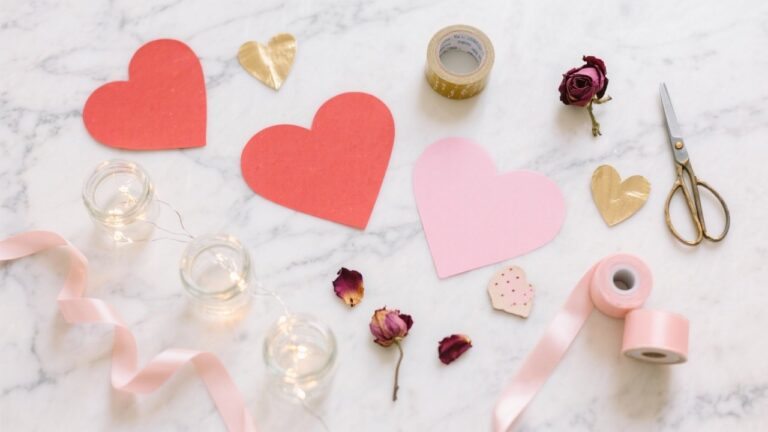
Summer is the perfect time to slow down, gather colorful supplies, and make something meaningful with your hands. Friendship bracelets bring joy to both the maker and the receiver, and these beginner-friendly designs use simple techniques that kids and tweens can master in an afternoon.
Each idea uses different materials and methods so you can explore a variety of styles without repeating yourself. Grab a few spools of thread, some beads, and a sunny spot on the porch — let’s start crafting connections.
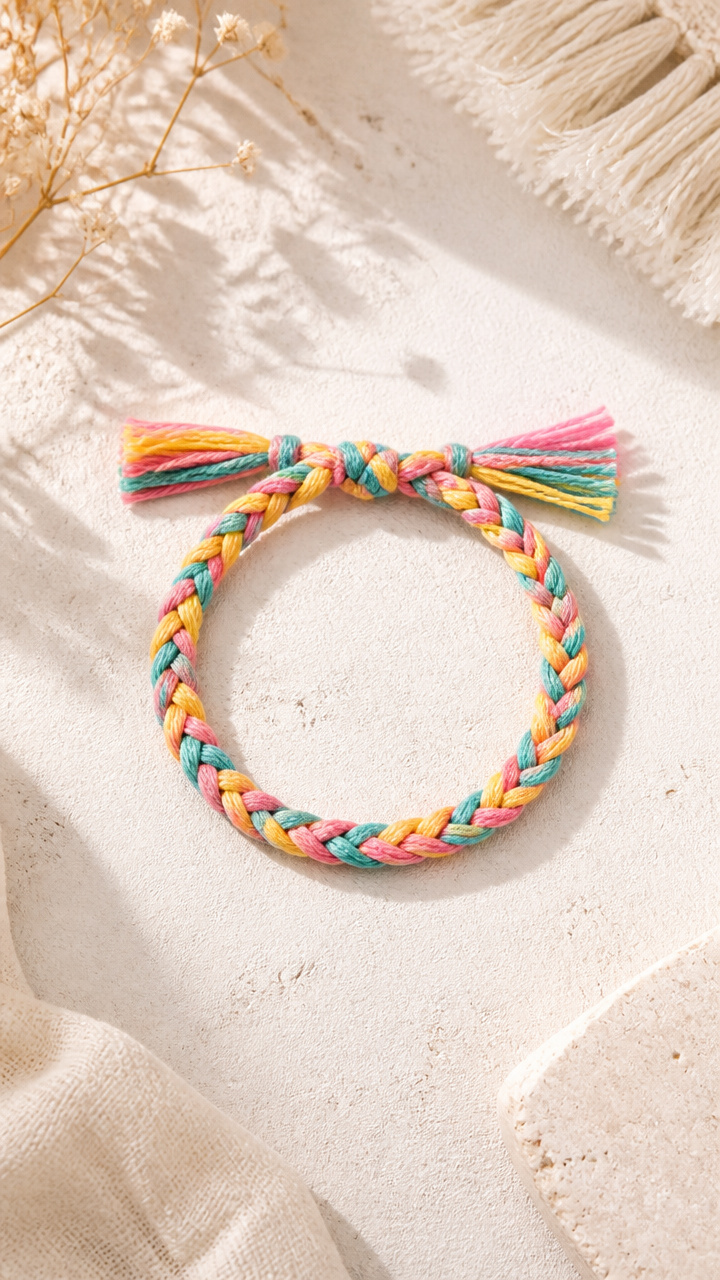
1. Rainbow Chevron Knot Bracelet
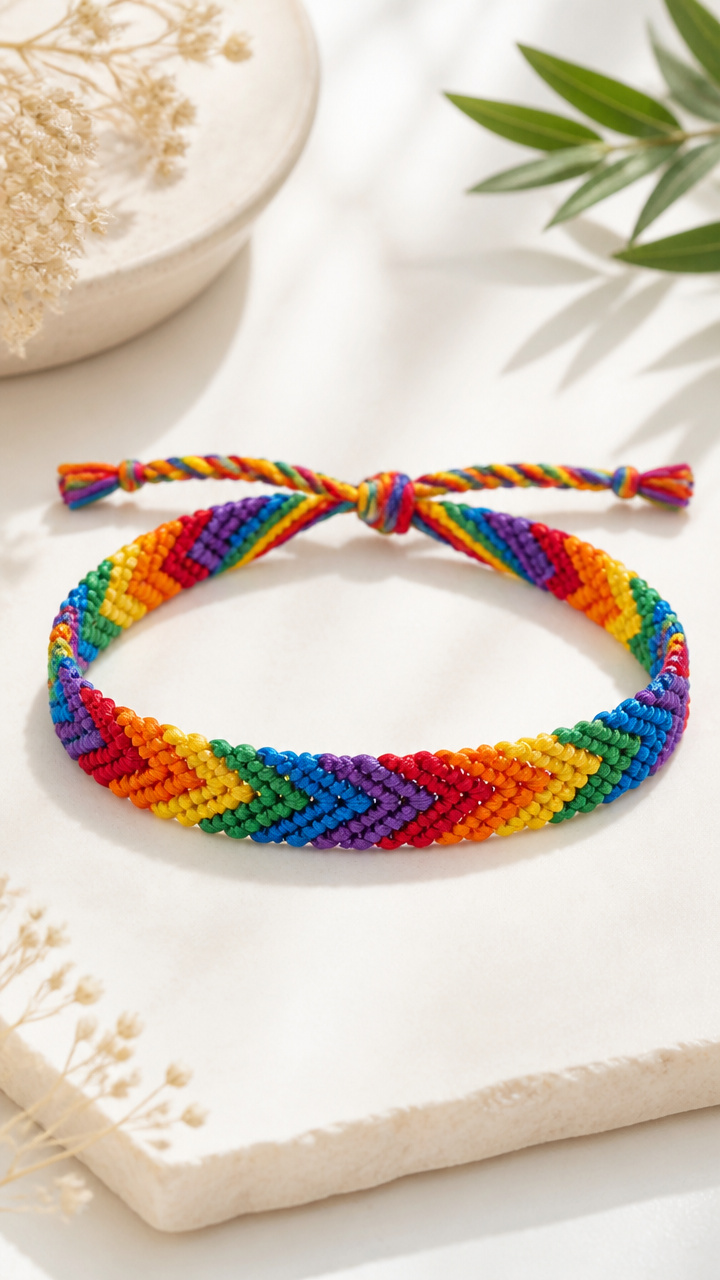
Bold zigzag stripes made with forward backward knots create a vibrant pattern that stands out on any wrist. This design teaches knot consistency while offering instant visual rewards.
Materials Needed
- 6 colors of embroidery floss, 1 skein each (red, orange, yellow, green, blue, purple)
- Scissors
- Clear tape or clipboard
- Ruler
How to Make It
- Cut six strands of floss, each 60 cm long, one in each color. Align them evenly and tie a knot 5 cm from the top to form a loop.
- Tape the knot to your work surface. Arrange the strands in rainbow order: red, orange, yellow, green, blue, purple from left to right.
- Start with the leftmost strand (red). Use it to make a forward knot over orange, then another forward knot over the same strand to secure. Repeat this knotting process with red over yellow, green, blue, and purple.
- Now use the new leftmost strand (orange) and repeat the forward knot sequence across all remaining strands. Continue this pattern until the bracelet reaches 15 cm or fits snugly around the wrist.
- Finish by tying a knot at the end, leaving 5 cm of tail. Thread the tails through the starting loop and pull to close. Trim excess.
2. Beaded Elastic Loop Bracelet
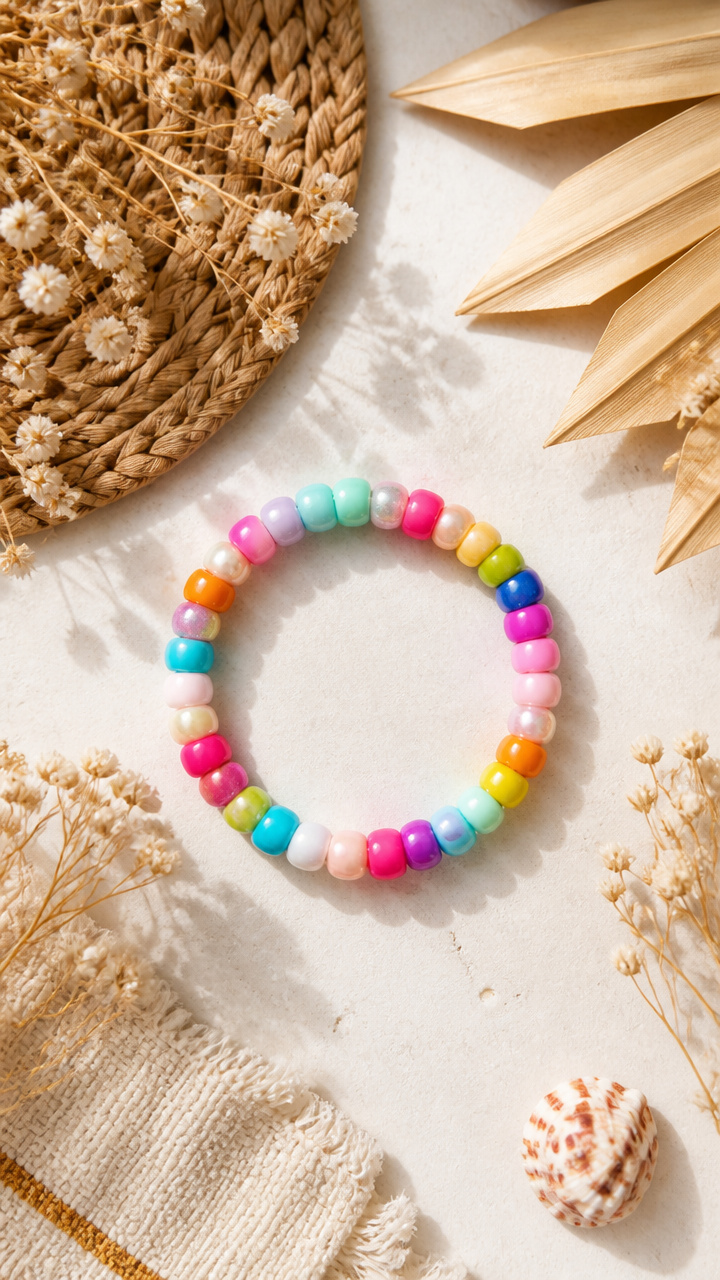
Gleaming pony beads slide onto stretchy cord for a no-knot, quick-wear design that’s ideal for younger crafters. The elastic makes it easy to slip on and off.
Materials Needed
- 1 meter of 1 mm clear elastic cord
- 30 assorted pony beads (mix colors and shapes)
- Scissors
- Lighter or fray check
How to Make It
- Measure and cut a 20 cm piece of elastic cord. Double-check that it stretches comfortably over the hand.
- Thread beads onto the cord in your chosen pattern, leaving 3 cm of empty cord at each end.
- Once all beads are threaded, tie the ends together with a surgeon's knot: cross the ends, make a double overhand knot, then add a second identical knot on top.
- Pull the knot tight slowly, ensuring the beads sit snugly together. Trim the ends to 5 mm and melt lightly with a lighter to prevent fraying.
3. Three-Strand Braid with Tassels
Soft cotton cords braid into a thick, textured bracelet that ends in playful tassels. This project builds fine motor skills with zero complexity.
Materials Needed
- 3 strands of 4-ply cotton cord, each 70 cm long (in pink, turquoise, and yellow)
- Scissors
- Ruler
- Clip or safety pin
How to Make It
- Line up the three cords evenly and tie a knot 5 cm from the top. Clip the knot to your work surface using a binder clip or pin to a cushion.
- Begin braiding tightly: cross the left cord over the center, then the right over the new center. Repeat until the braid measures 14 cm.
- Tie another knot at the end to secure. Trim the ends to 3 cm to form tassels.
- To wear, wrap the bracelet around the wrist once and tie the starting and ending knots together securely.
4. Alphabet Letter Bead Bracelet
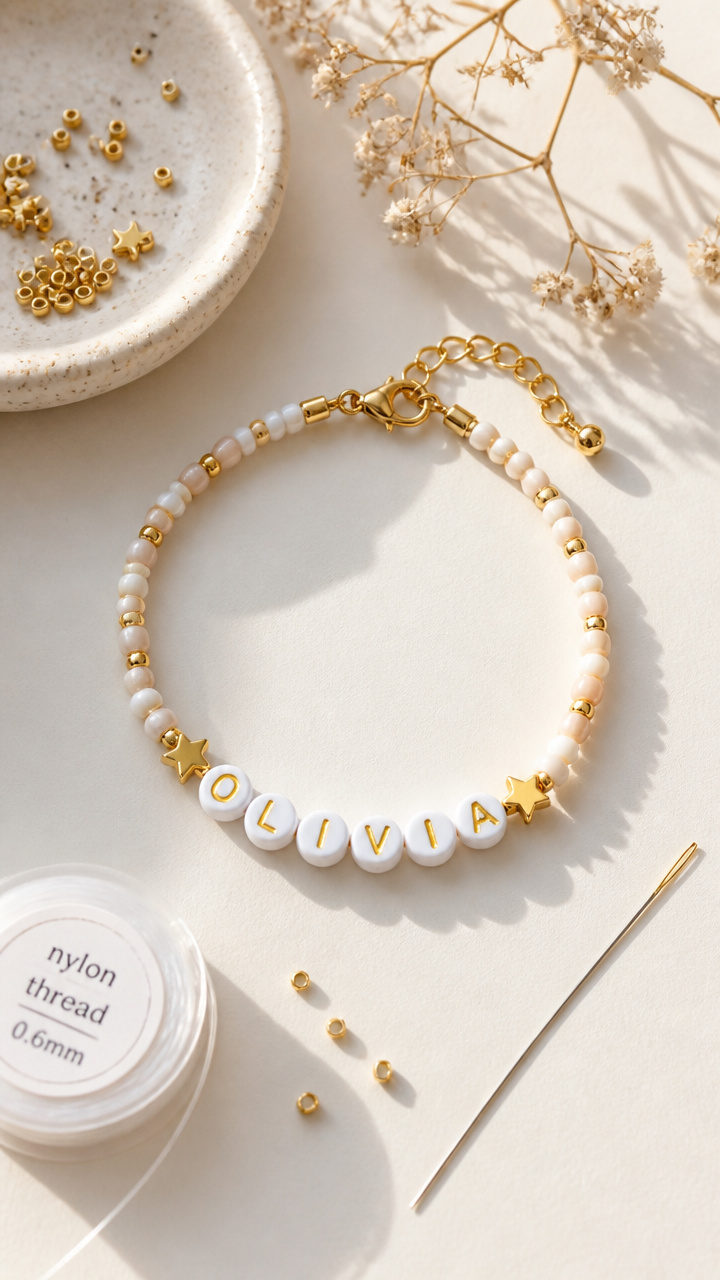
Personalized name bracelets use letter beads to spell out names or favorite words. Each bead clicks into place like a tiny puzzle piece.
Materials Needed
- 1 meter of 0.8 mm nylon beading thread
- Beading needle (size 10)
- 12 letter beads spelling a name or word
- 8 spacer beads (gold star shaped)
- Scissors
- Clasp and 2 crimp beads
How to Make It
- Cut a 40 cm length of beading thread. Thread the needle and string one crimp bead, then pass the thread through one side of the clasp. Loop the thread back through the crimp bead and pull tight.
- Slide on the letter beads in your desired order, alternating with spacer beads every two letters.
- After the last bead, add another crimp bead and pass the thread through the other half of the clasp. Run the thread back through the crimp bead and pull taut.
- Use pliers to flatten each crimp bead, securing the clasp. Trim any excess thread with scissors.
5. Frosted Glass Charm Bracelet
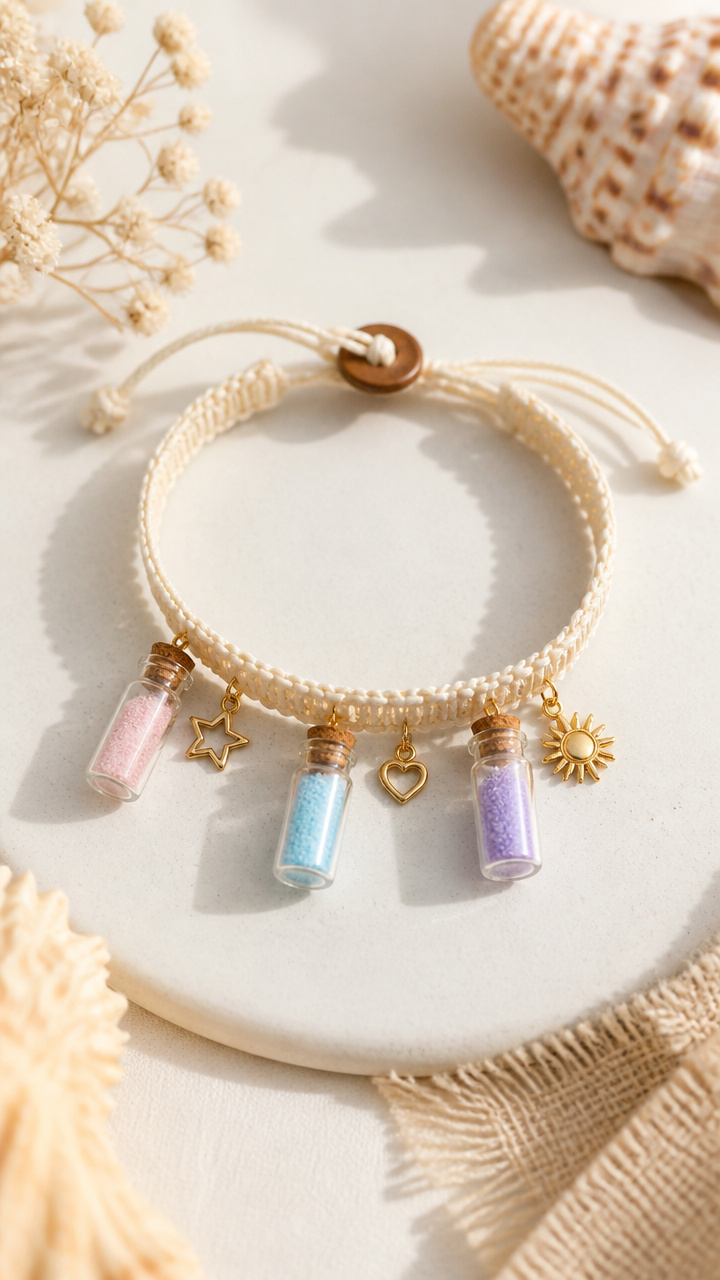
Mini glass bottles filled with colored sand and tiny charms dangle from a cotton band. These delicate pendants catch light and imagination.
Materials Needed
- 1 flat cotton webbing band with button closure (adjustable, 18 cm long)
- 3 mini glass vials with cork tops (2 cm tall)
- Colored sand (pink, blue, yellow), 1 tsp each
- Tiny charms (star, heart, sun), 1 each
- Craft glue (E6000)
How to Make It
- Fill each vial halfway with one color of sand. Add one charm per vial, then seal the cork with a drop of craft glue.
- Let the glue dry completely for 20 minutes. Ensure corks are airtight.
- Glue the loop on top of each vial to the front of the band, spacing them evenly across the center third.
- Press firmly and allow 30 minutes to dry before wearing. The bracelet slips on and buttons at the back.
6. Flip-Flop Pattern Knot Bracelet
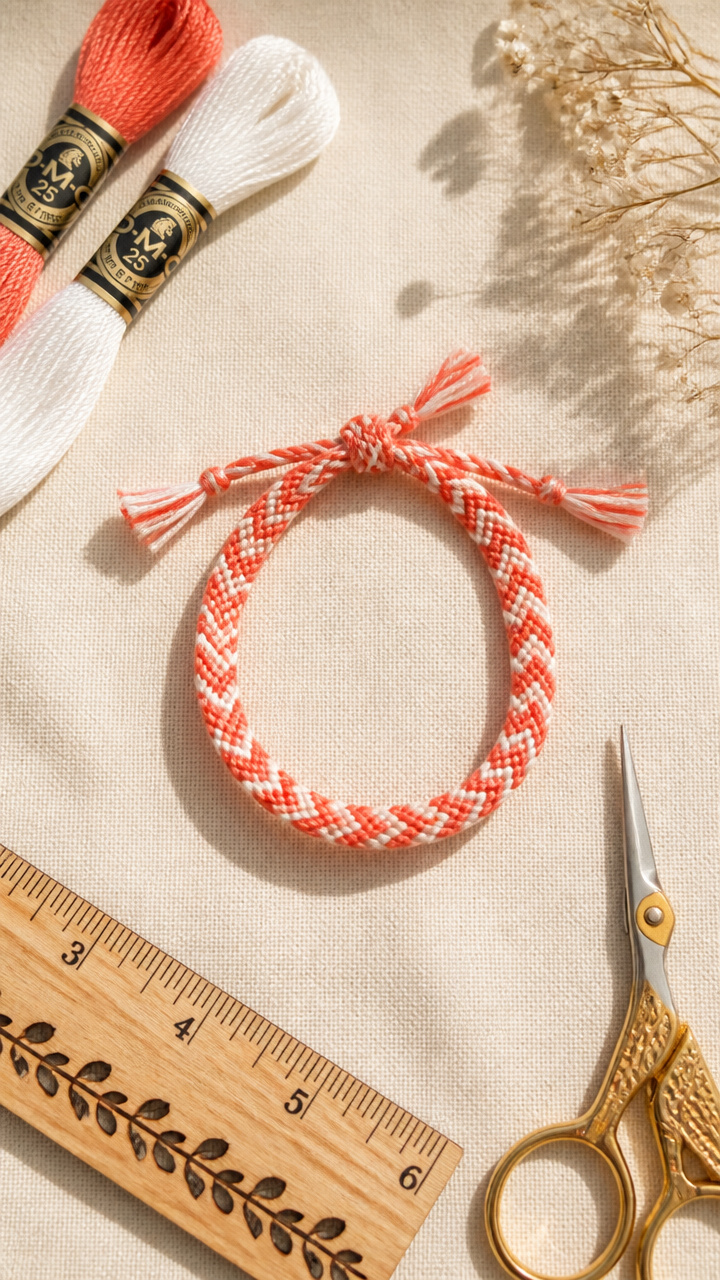
A playful row of tiny flip-flops appears through alternating knot rows, using just two colors and basic forward knots. It’s a summer-themed twist on classic patterns.
Materials Needed
- 2 colors of embroidery floss: coral and white, 1 skein each
- Scissors
- Ruler
- Tape
How to Make It
- Cut four strands: two coral and two white, each 60 cm long. Tie a knot at the top and tape it down.
- Arrange strands in order: coral, white, white, coral. Use the left coral to make forward knots over both white strands.
- Repeat with the right coral, making backward knots over the same white strands to form a mirrored 'flip-flop' shape.
- Continue this pattern, adding one knot pair per row, until the bracelet reaches 15 cm. Finish with a knot and loop closure as in item 1.
7. Sunshine Pompom Accent Bracelet
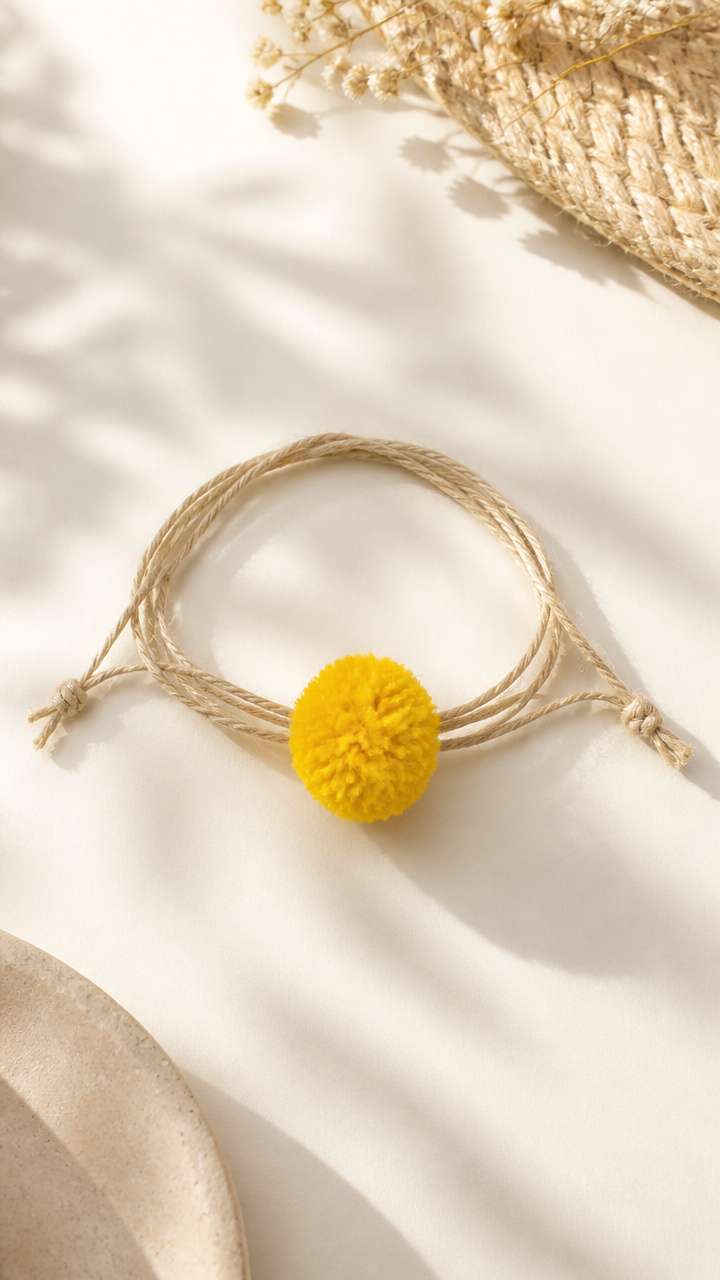
A fluffy yellow pompom sits at the center of a braided hemp band, radiating cheerful energy. The contrast of textures makes it stand out.
Materials Needed
- 3 strands of natural hemp cord, each 80 cm long
- 1 yellow pompom (2 cm diameter)
- Craft glue (fabric-safe)
- Scissors
- Clip
How to Make It
- Align the hemp cords and tie a knot 5 cm from the top. Clip it to your workspace.
- Braid the three cords tightly for 12 cm, keeping even tension throughout.
- Stop braiding, then glue the pompom to the center strand, 1 cm below the end of the braid. Hold in place for 30 seconds.
- Braid another 2 cm below the pompom, then tie a finishing knot. Wrap the ends around the starting knot and secure with a drop of glue.
8. Seashell Slide Bracelet
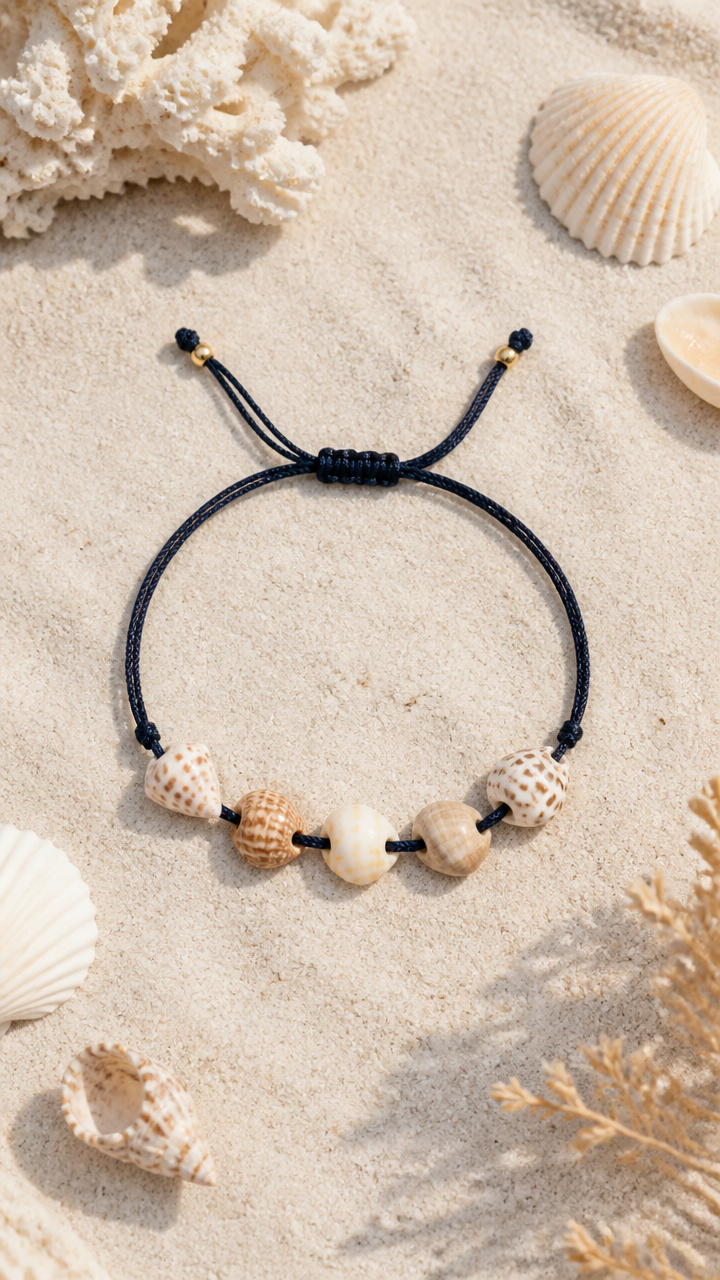
Real miniature seashells glide along a waxed cotton cord, making soft clicking sounds with movement. This open-style bracelet adjusts to any wrist.
Materials Needed
- 1 meter of 1 mm waxed cotton cord (navy blue)
- 5 small drilled seashells (with holes large enough for cord)
- Scissors
- Lighter
How to Make It
- Cut the cord to 50 cm. Thread all five shells onto the center of the cord.
- Tie a simple knot at each end, about 8 cm from the shell cluster, to prevent sliding off.
- Melt the tips of each knot lightly with a lighter to seal. Wipe away any smoke residue with a cloth.
- To wear, wrap the cord around the wrist and tie a reef knot to secure. Shells move freely between the knots.
9. Striped Lanyard Weave Band
Flat nylon lanyard strips interlace into a dense, colorful band using a ladder stitch. The plastic material slides easily and holds sharp lines.
Materials Needed
- 4 lanyard strips: red, yellow, blue, green (each 90 cm long)
- Scissors
- Safety pin or clip
- Hard surface
How to Make It
- Stack the four strips and fold them in half. Clip the folded end to your work surface.
- Take the leftmost strip (red) and cross it over the second (yellow), forming a number 4 shape. Bring it under the third (blue) and over the fourth (green).
- Repeat this same motion with each strip in order from left to right, creating a continuous ladder pattern.
- Weave until the band is 16 cm long. Tie a square knot at the end and trim tails to 1 cm.
10. Glitter Resin Charm Loop
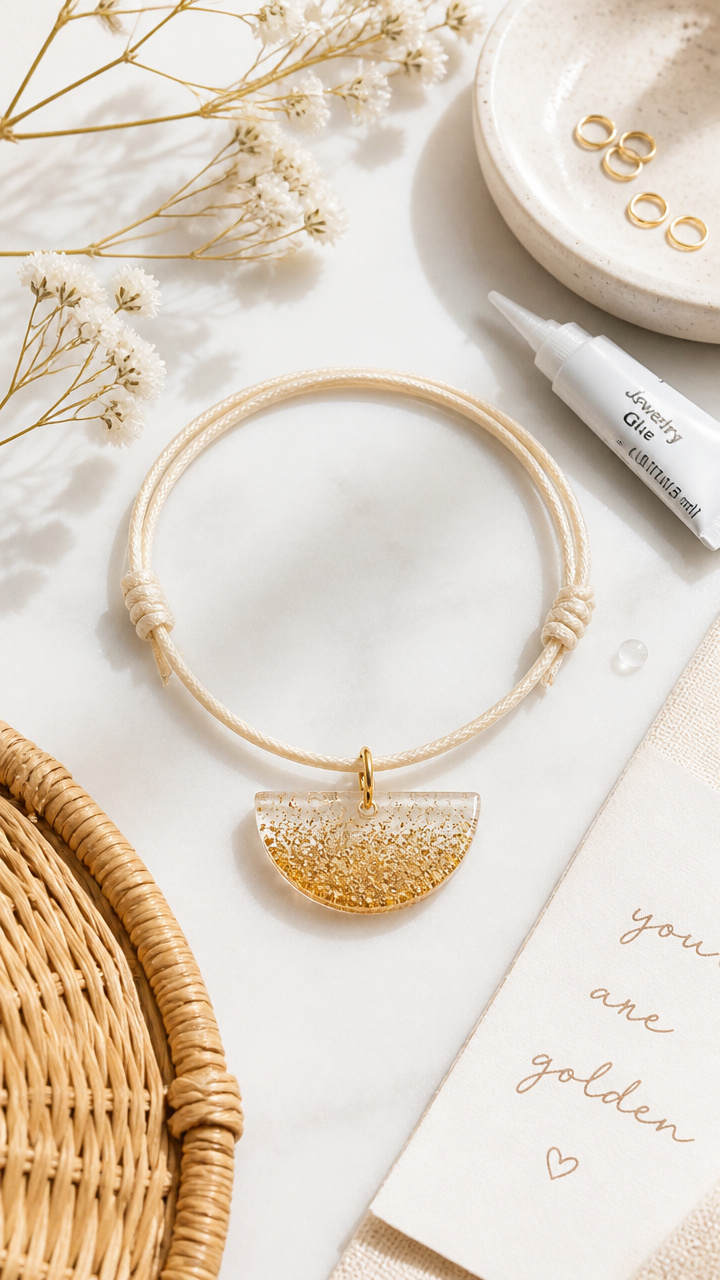
Tiny domes of sparkly resin cure on a silicone mat before attaching to a woven cotton band. These shimmering caps become wearable art pieces.
Materials Needed
- Clear epoxy resin (10 ml kit)
- Fine glitter (gold, 1 tsp)
- Silicone mold (6 half-circle cavities)
- Toothpick
- Cotton band with loop closure (18 cm)
- Jump ring and glue
How to Make It
- Mix resin according to package instructions. Stir in gold glitter until fully suspended.
- Pour the mixture into three half-circle mold cavities, filling to the top. Pop air bubbles with a toothpick.
- Let cure for 24 hours. Remove domes carefully from the mold.
- Glue each resin charm to a jump ring, then attach the ring to the front of the cotton band. Allow 1 hour to set before wearing.
11. Button Chain Link Bracelet
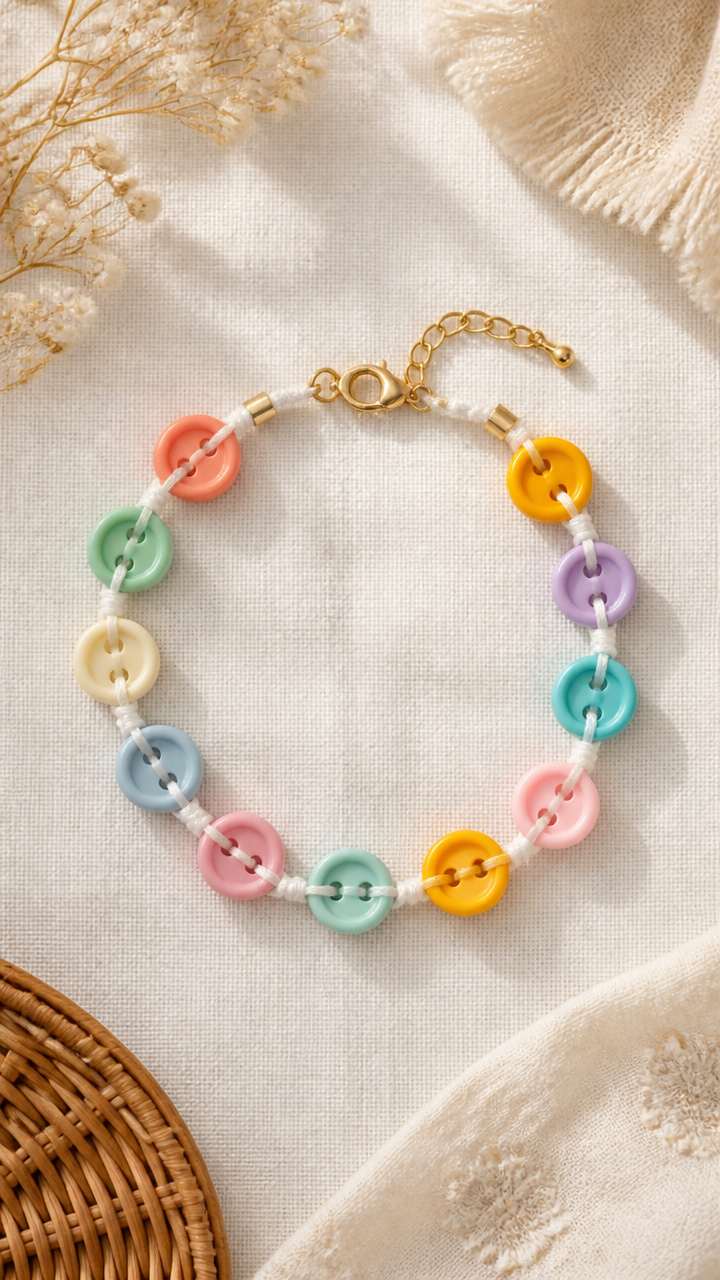
Vintage-style buttons connect with short thread links to form a flexible chain that drapes softly on the wrist. Each button adds character and color.
Materials Needed
- 6 assorted buttons (1 cm diameter, with 2 or 4 holes)
- White polyester thread (1 spool)
- Needle (sharps size 7)
- Scissors
How to Make It
- Thread the needle and tie a double knot at the end. Pass through the top hole of the first button and knot on the backside.
- Cut a 10 cm thread piece. Thread it through the next button, tying secure knots on the back. Leave a 1 cm thread tail.
- Link this button to the first by threading the tail through its adjacent hole and knotting again. Trim excess.
- Repeat until all six buttons are linked. Tie the ends into loops for closing, or attach to a ribbon strap.
12. Watercolor Bead Gradient Band
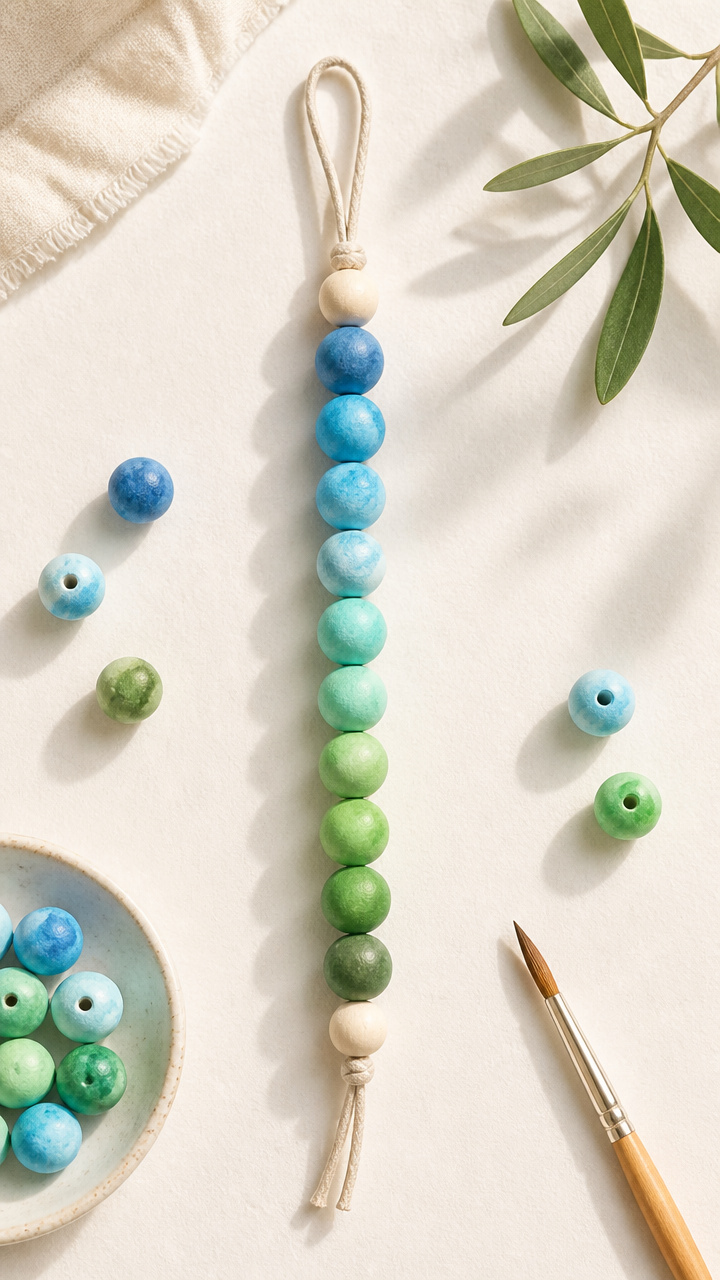
Hand-painted wooden beads fade from blue to green like ocean waves, strung on linen thread. The soft ombre effect looks store-bought but is fully custom.
Materials Needed
- 12 unfinished wooden beads (8 mm)
- Blue and green watercolor paints
- Small paintbrush (round size 2)
- Paper plate
- Linen cord (1 meter, 1 mm)
- Scissors
How to Make It
- Place beads on a paper plate. Paint four beads solid blue, four solid green, and four with a blended mix of both.
- Let beads dry completely for 1 hour. Turn occasionally for even drying.
- Cut linen cord to 40 cm. String beads in gradient order: blue, mixed, green. Space evenly along the cord.
- Tie the ends together with a double knot. Wear by wrapping twice and tying at the wrist.
13. Pony Bead Zigzag Pattern
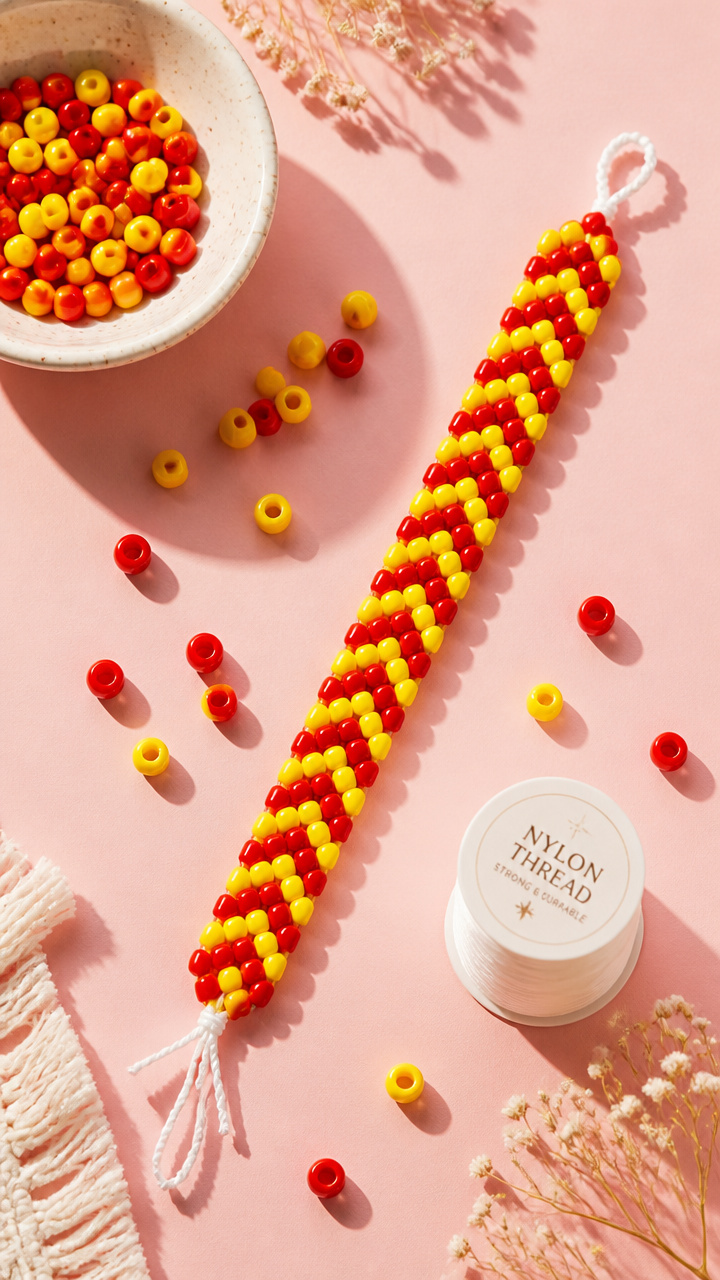
Stiff thread weaves through pony beads in a sharp chevron that holds its shape without sagging. The rigid structure makes it durable and bold.
Materials Needed
- 36 pony beads (18 red, 18 yellow)
- Beading thread (nylon, 1 meter)
- Beading needle
- Scissors
How to Make It
- Thread the needle and string one red bead. Pass the thread back through to lock it in place near the end.
- String one yellow, then one red. Pass the needle back through the yellow only, pulling to form a V shape.
- Add another yellow, then go through the next red in line. Continue this zigzag path across 18 beads.
- Reverse direction by going back through the last row, completing the pattern. Tie off both ends securely and trim.
14. Fabric Scraps Wrap Bracelet
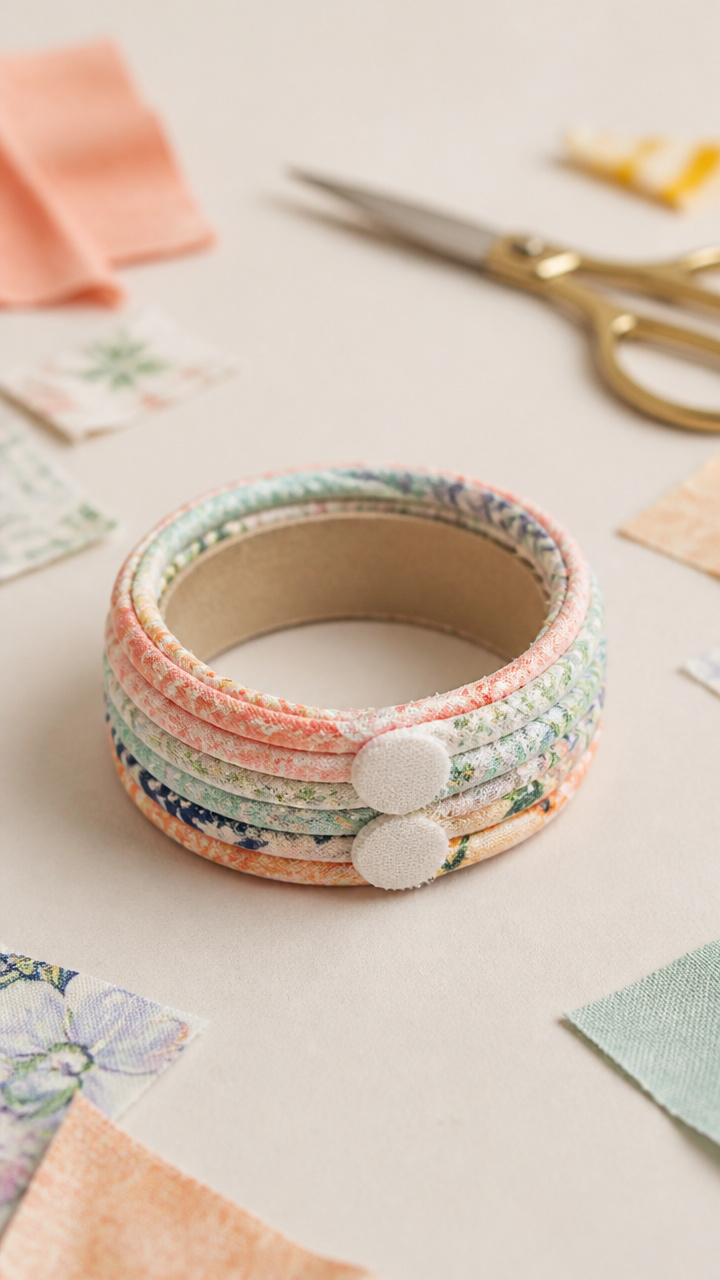
Narrow strips of colorful cotton fabric spiral around a cardboard core, creating a thick, padded cuff. This upcycled design feels cozy and unique.
Materials Needed
- Cardboard tube (1 cm diameter, 15 cm long)
- Fabric scraps (cotton, 1 cm wide, total 2 meters)
- Fabric glue
- Scissors
- Velcro dot pair
How to Make It
- Cut fabric into 15 cm strips. Begin gluing one end to the cardboard tube.
- Wrap the strip tightly around the tube, applying a dab of glue every 2 cm to secure. Overlap slightly.
- Continue until the tube is fully covered. Trim the final end and press to bond.
- Glue one Velcro dot to each end of the tube. Let dry 30 minutes. Wrap around wrist and fasten.
15. Chenille Stem Twist Rope
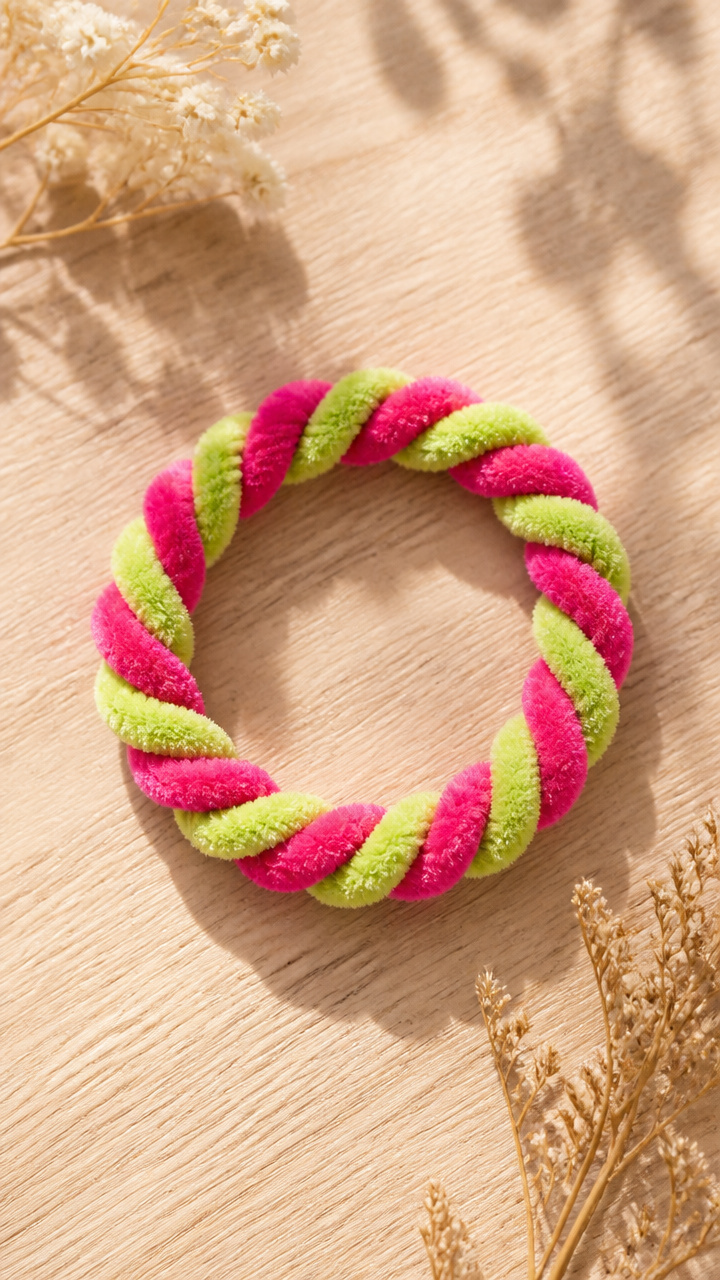
Two pipe cleaners coil around each other to form a springy, bendable bracelet that holds fun shapes. It’s instant, mess-free, and endlessly adjustable.
Materials Needed
- 2 chenille stems (pipe cleaners): lime green and hot pink
- Scissors
How to Make It
- Hold both stems side by side and twist them together tightly from one end, using your fingers to spiral every 1 cm.
- Continue twisting until 2 cm remains at the other end. Bend the loose ends into small loops to prevent snagging.
- Wrap the twisted stem twice around the wrist. Overlap the loops and hook them together to close.
- Adjust the fit by gently stretching or compressing the coils. No tools required.
You’ve got everything you need to start making memories, one bracelet at a time. Pick your favorite idea, gather your supplies, and share the joy with someone special.