15 Valentine’s Day Farmhouse Decor Crafts

Rustic charm meets sweet romance when you bring handmade love into your home. Imagine wooden hearts on a mantel, soft red linens draped over a dining table, and mason jars glowing with candlelight — each piece crafted by you.
These projects blend vintage farmhouse warmth with the cozy spirit of Valentine's day. No cookie-cutter kits here — just real materials, clear steps, and decor that feels personal and lived-in.
1. Distressed Wooden Heart Sign
Easy
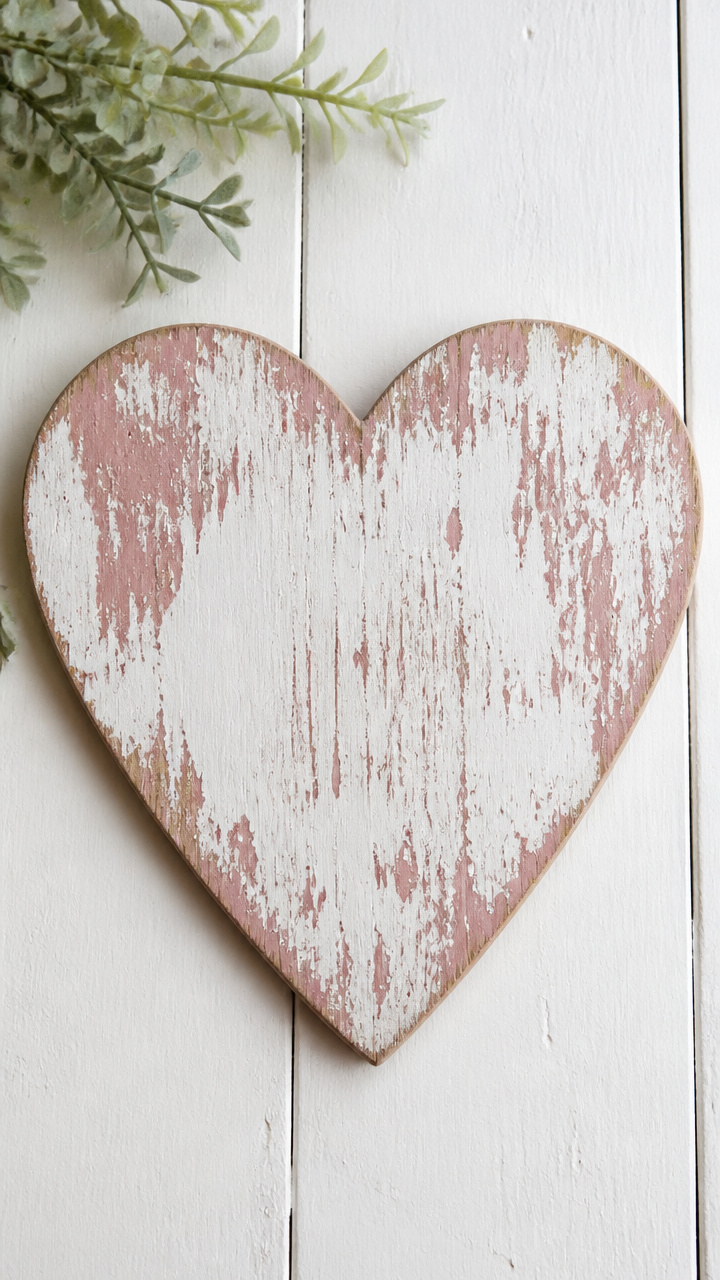
A hand-painted heart cut from pine board adds rustic love to any wall or shelf. The chippy paint finish gives it instant heirloom character.
Materials Needed
- 1 – 8 inch pine wood heart cutout
- 2 oz white chalk paint
- 1 oz dusty rose acrylic paint
- Small foam brush
- Fine grit sandpaper (220)
- Clear matte sealant spray
How to Make It
- Pour a small amount of white chalk paint onto the wood heart and spread it evenly with the foam brush. Let dry for 15 minutes.
- Dip the brush lightly in dusty rose paint and drag it across the top and edges of the heart, leaving streaks and patches. Let dry 10 minutes.
- Use sandpaper to gently rub edges and high spots until paint looks worn. Wipe away dust with a dry cloth.
- Hold sealant spray 10 inches from surface and apply one even coat. Let dry 20 minutes before displaying.


2. Linen Napkin Ring Set
Easy
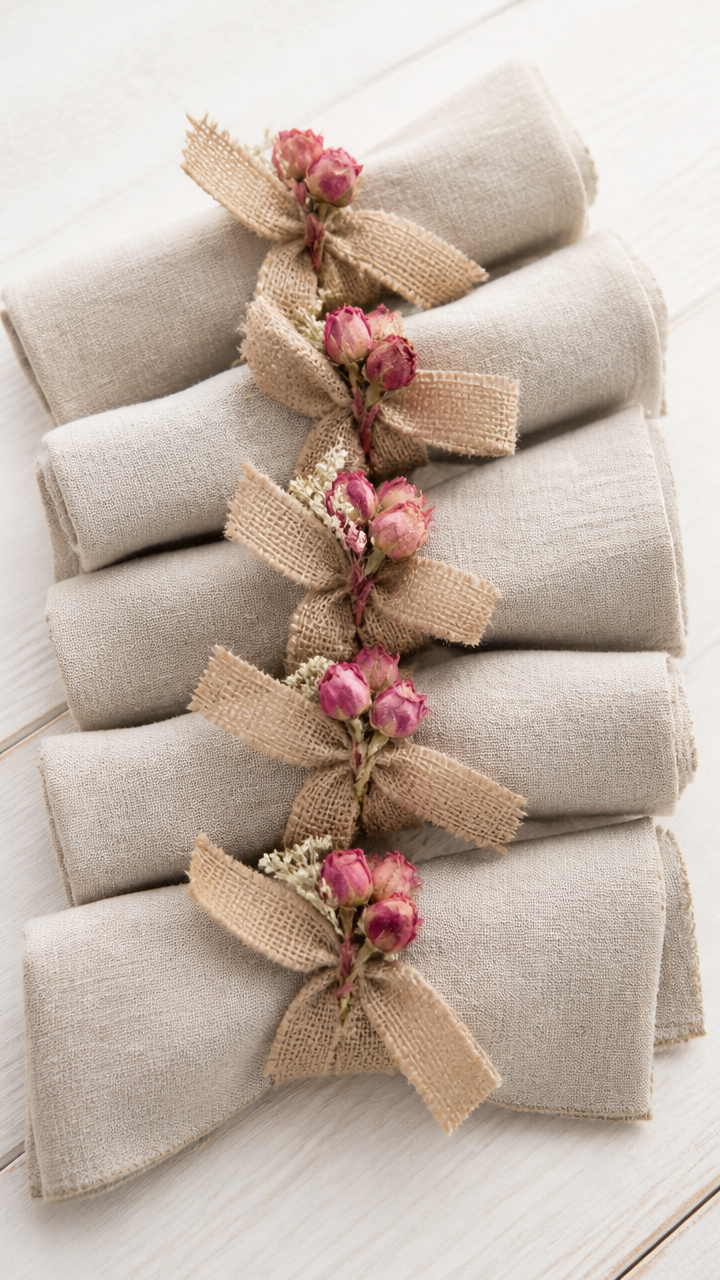
Soft taupe linen strips tied with burlap ribbon make elegant napkin rings for a farmhouse dinner table. Each one holds a tiny pressed rose at the knot.
Materials Needed
- 1 yard unbleached linen fabric (54 inch width)
- 1 roll narrow burlap ribbon (1/4 inch wide)
- 6 dried miniature pink roses
- Fabric scissors
- Hot glue gun with low-temp glue sticks
How to Make It
- Cut the linen into six 18 inch long strips using fabric scissors. Each strip should be 1.5 inches wide.
- Wrap one linen strip around a folded dinner napkin and tie a loose knot in front.
- Cut a 6 inch piece of burlap ribbon. Wrap it once around the knot and secure the ends at the back with a dot of hot glue.
- Glue one dried rose to the center front of each burlap wrap. Let glue set 30 seconds before moving.


3. Mason Jar Candle Holders
Easy
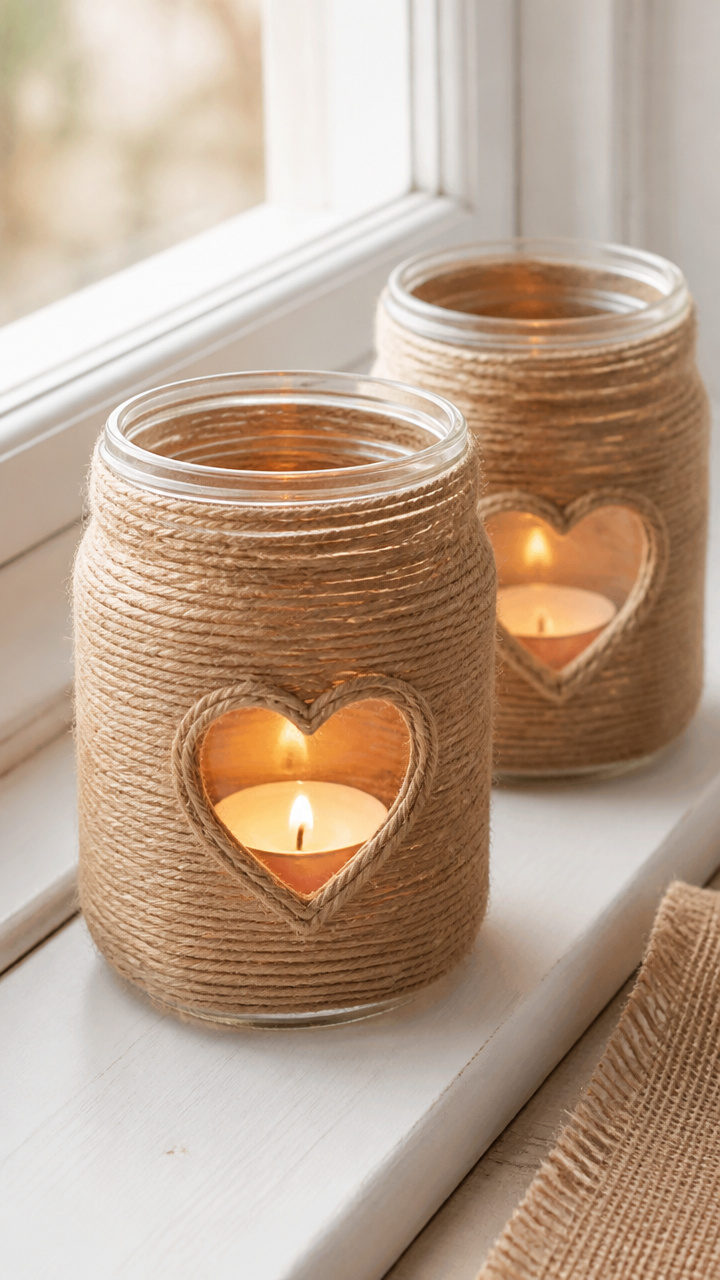
Twine-wrapped mason jars hold tea lights and glow warmly on a windowsill or dining centerpiece. The jute adds texture and softness.
Materials Needed
- 6 – 8 oz clear mason jars
- 1 spool natural jute twine (size 3)
- Hot glue gun with low-temp glue sticks
- 6 battery-powered tea light candles
How to Make It
- Apply a small dot of hot glue to the bottom edge of a mason jar. Press the end of the jute twine into the glue and hold 10 seconds.
- Wrap the twine tightly around the jar, adding a dot of glue every inch to secure. Keep wraps close together with no gaps.
- When you reach the top, add a final glue dot and press the twine end down. Trim excess with scissors.
- Place one tea light inside each jar. Turn on and arrange in a cluster.


4. Chalkboard Love Board
Moderate
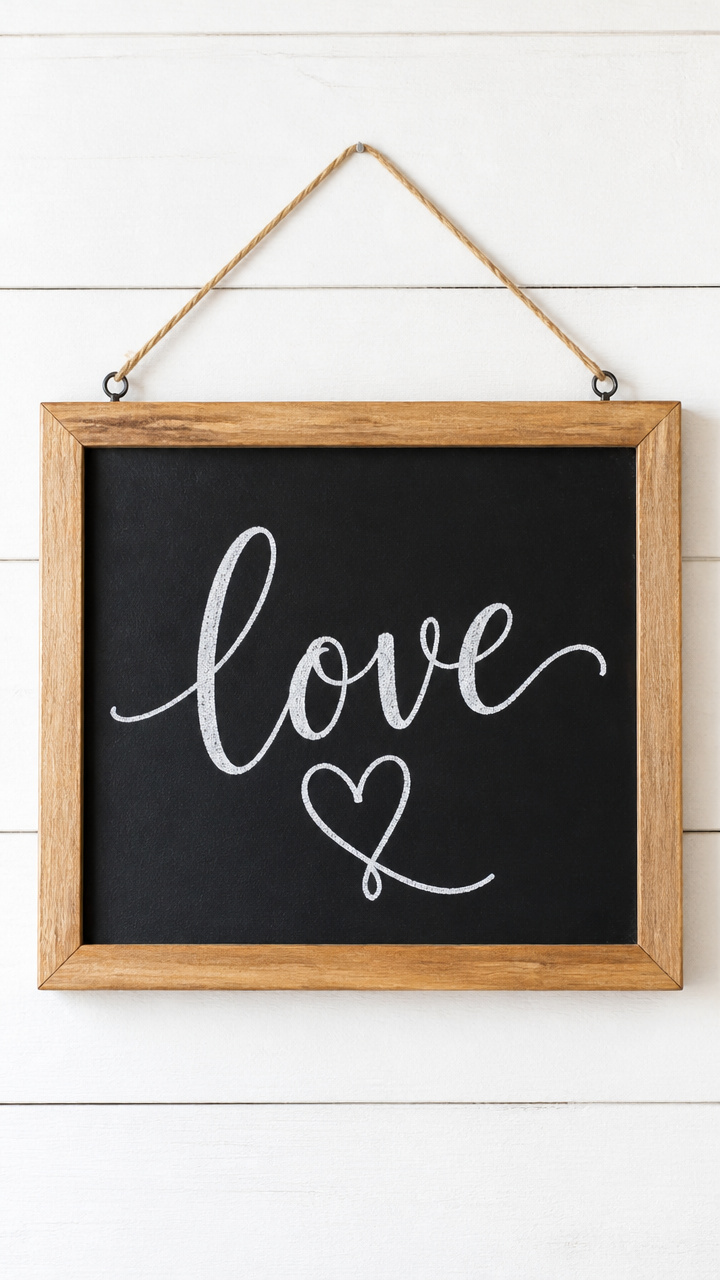
A framed chalkboard lets you write daily love notes or sweet messages in cursive chalk. It hangs near the kitchen with twine and a clip.
Materials Needed
- 1 – 8×10 inch pre-primed MDF board
- 8 oz black chalkboard paint
- Foam paint roller with handle
- White liquid chalk marker
- 2 – 6 inch wood sawtooth hangers
- Twine (12 inch length)
- Small metal binder clip
How to Make It
- Stir chalkboard paint and pour a small amount onto the MDF board. Roll it evenly across the surface with the foam roller. Let dry 2 hours.
- Apply a second coat of paint and let dry overnight. Lightly sand with fine paper if needed.
- Attach one sawtooth hanger to the top back edge with screws. Attach the second to the bottom corner opposite for balance.
- Tie twine between the two hangers and clip the binder clip to the front. Use the chalk marker to write a message.


5. Embroidered Flour Sack Towel
Moderate
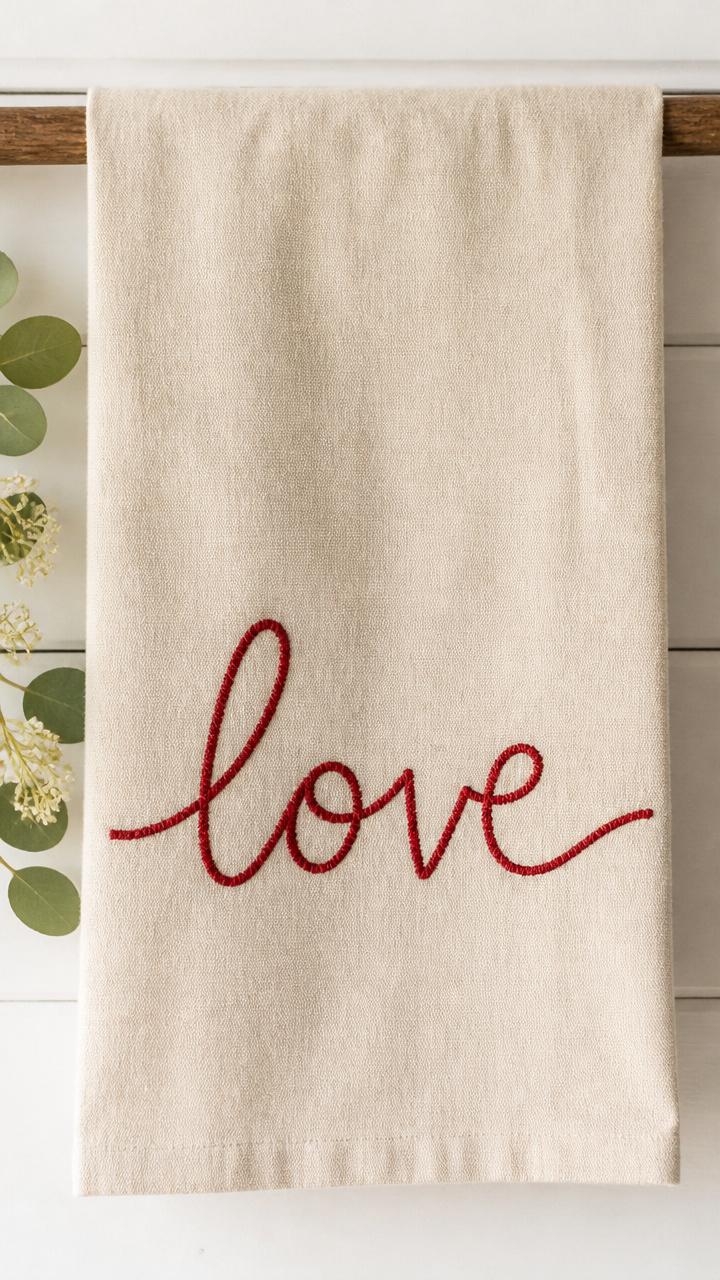
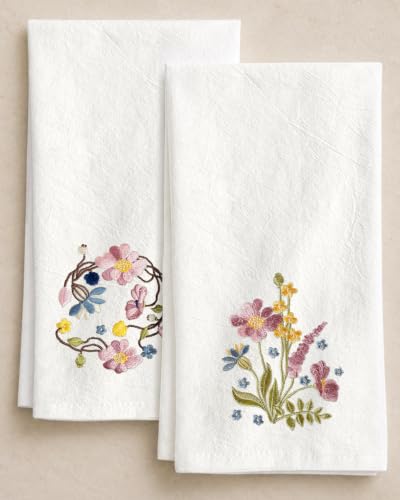
A plain cotton flour sack towel becomes special with red embroidery thread spelling 'love' in looping script. It hangs neatly on a hook.
Materials Needed
- 1 unbleached cotton flour sack towel (28×29 inches)
- Red embroidery floss (6 strand, size 8)
- Size 7 embroidery needle
- Water-soluble fabric marker
- Embroidery hoop (6 inch)
How to Make It
- Place the towel in the embroidery hoop and tighten so the fabric is taut. Use the fabric marker to draw 'love' in cursive near one corner.
- Separate 3 strands from the red floss and thread the needle. Tie a knot at the end.
- Use backstitch to trace over the marked letters. Pull thread gently through each time to keep stitches even.
- Remove the hoop and rinse the towel under cold water to remove any remaining marks. Air dry flat.

6. Vintage Spoon Wreath
Moderate
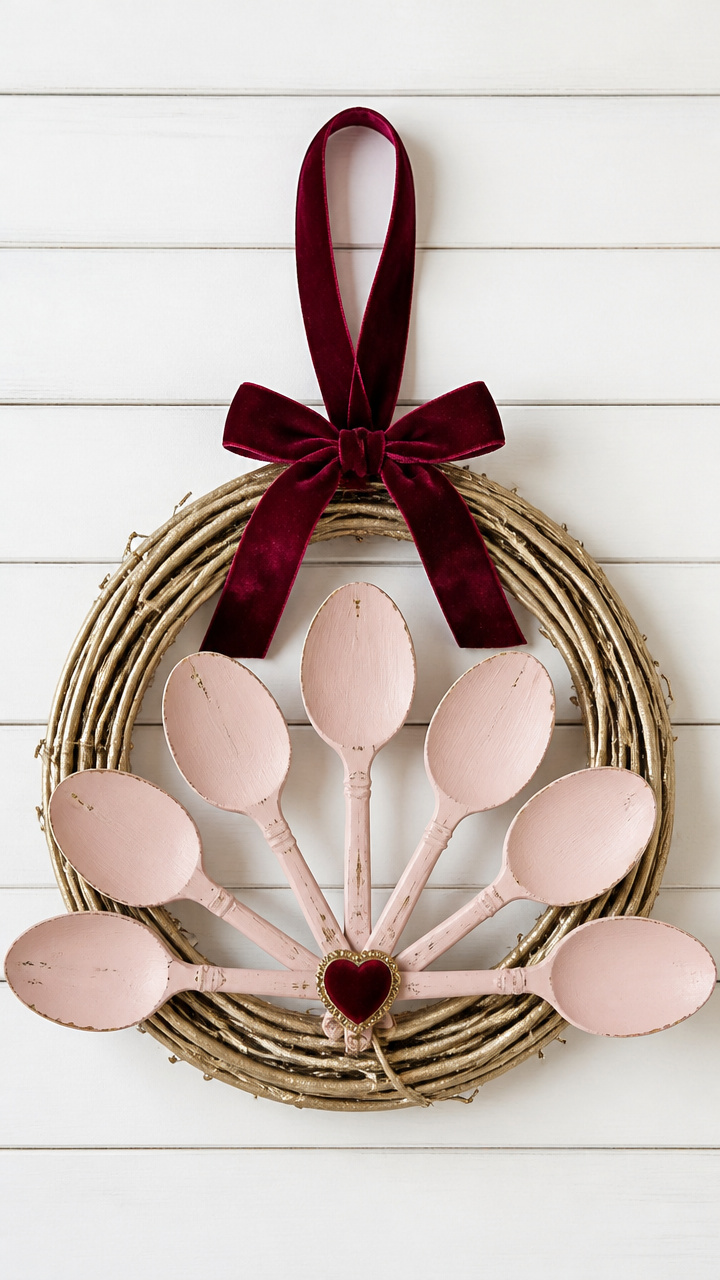
Seven mismatched wooden spoons form a sunburst wreath painted soft blush and hung with a velvet ribbon. It brings whimsy to a blank wall.
Materials Needed
- 7 vintage-style wooden spoons (6 inch bowl size)
- Blush pink acrylic paint (2 oz)
- Small flat paintbrush
- 12 inch wide gold wire wreath frame (grapevine style)
- Hot glue gun with low-temp glue sticks
- 1 – 18 inch length wine-red velvet ribbon
How to Make It
- Paint the bowl of each spoon with blush pink acrylic using the flat brush. Let dry 20 minutes on a scrap paper.
- Arrange the spoons around the outer edge of the grapevine frame, handles pointing outward like rays.
- Use hot glue to attach each spoon handle to the frame. Apply glue to the base of the handle and press firmly for 10 seconds.
- Tie the velvet ribbon into a loop and glue it to the top back of the frame for hanging.
7. Clay Pinch Pot Vases
Moderate
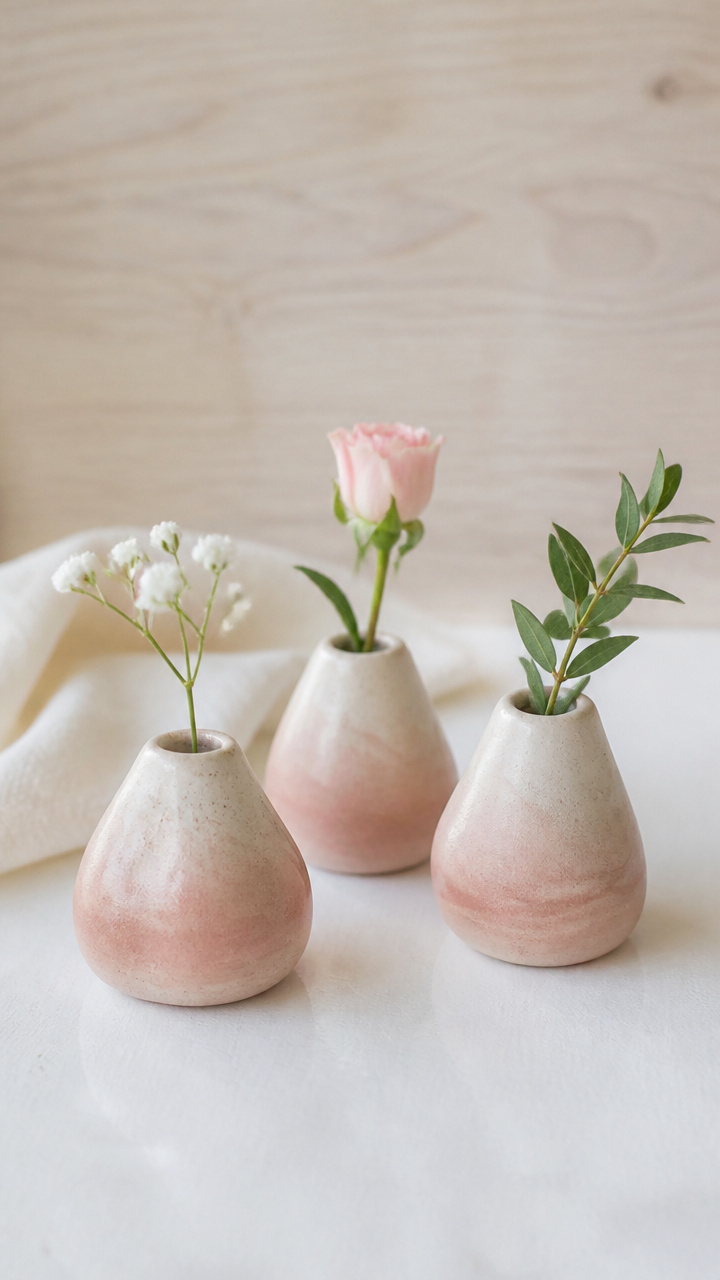
Hand-formed pinch pots made from air-dry clay hold single stems or dried lavender sprigs. Their organic shape feels earthy and tender.
Materials Needed
- 1 lb white air-dry pottery clay
- Rolling pin
- Circular cookie cutter (3 inch diameter)
- Wet sponge
- Acrylic paint (dusty rose and cream)
- Small paintbrush
- Clear glaze sealer (matte)
How to Make It
- Knead the clay until smooth. Roll it to 1/4 inch thickness using the rolling pin.
- Cut out three circles with the cookie cutter. Gently pinch up the sides of each circle with damp fingers to form a pot shape.
- Smooth the rim with the wet sponge. Let pots air dry on a tray for 24 hours.
- Paint the outside of each pot with alternating vertical stripes of dusty rose and cream. Let dry 1 hour.
- Apply one coat of matte glaze sealer and let cure 2 hours before use.


8. Burlap Banner with Hearts
Easy
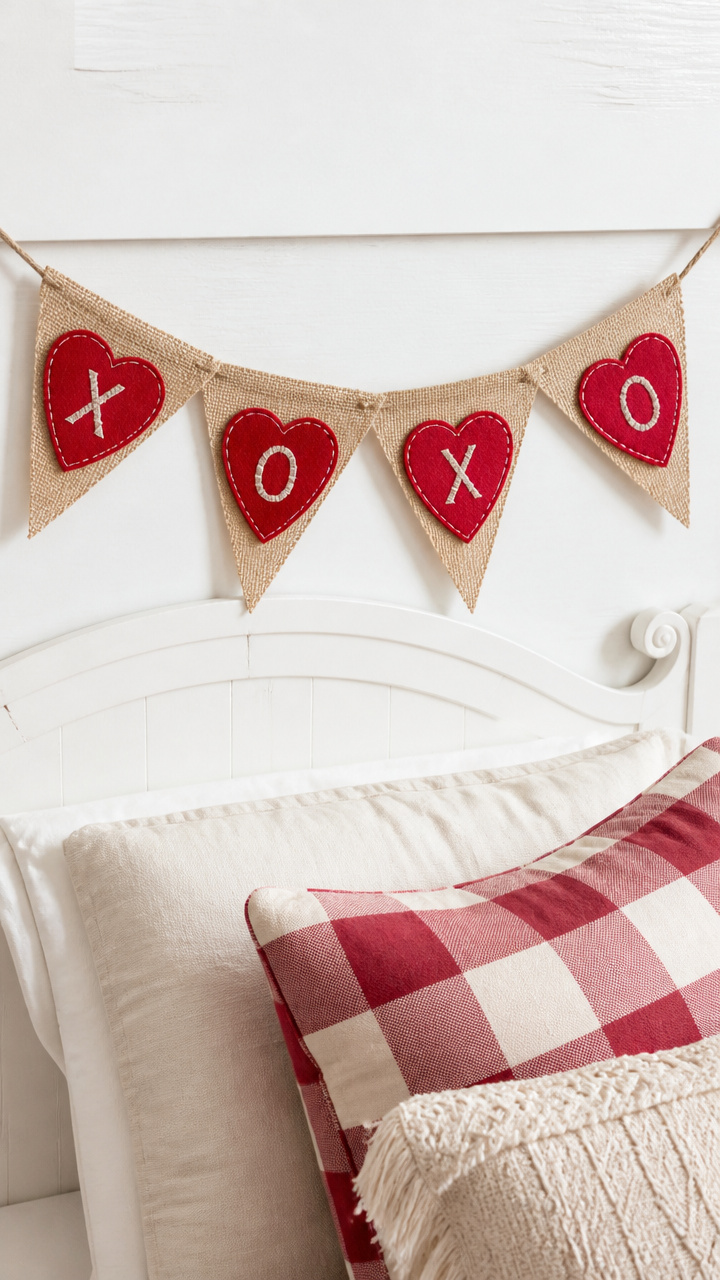
Triangular burlap flags strung on twine spell 'XOXO' with stitched red hearts. It drapes above a bed or doorway.
Materials Needed
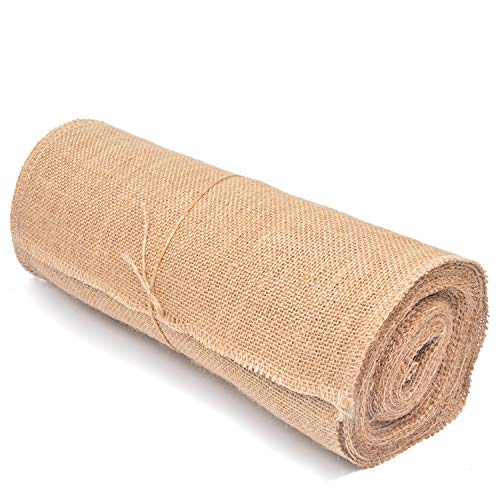
- 1 yard natural burlap fabric
- Fabric scissors
- Red fabric paint pen
- Length of twine (6 feet)
- Ruler
- Pencil
How to Make It
- Cut the burlap into five triangles, each 6 inches wide at the base and 8 inches tall. Use ruler and pencil to mark first, then cut.
- Draw a small heart in the center of each triangle with the red fabric paint pen. Let dry 15 minutes.
- Write one letter per flag: X, O, X, O, and leave one blank with only a heart.
- Punch two small holes at the top corners of each flag. Thread the twine through and tie knots to space them evenly.


9. Antique Mirror Frame Update
Advanced
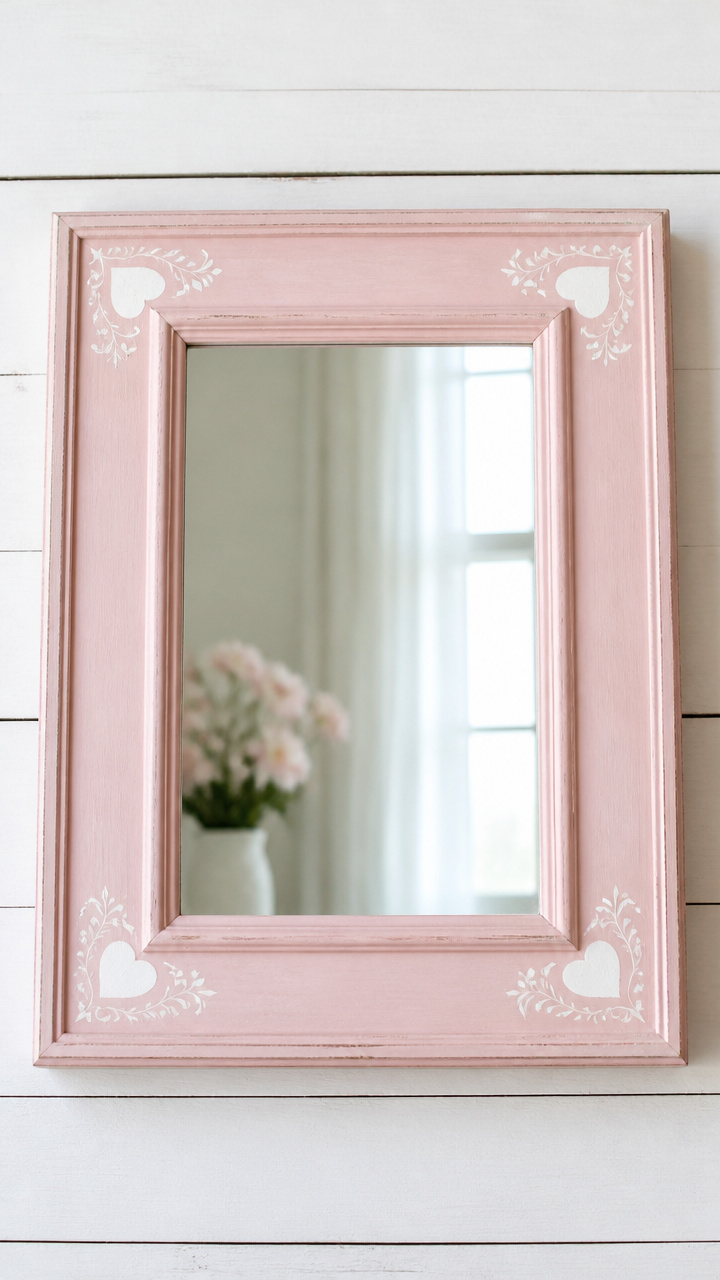
An old thrift-store mirror gets new life with a soft pink wash and stenciled heart corners. It reflects light with gentle charm.
Materials Needed
- 1 – 12×16 inch wooden-framed mirror
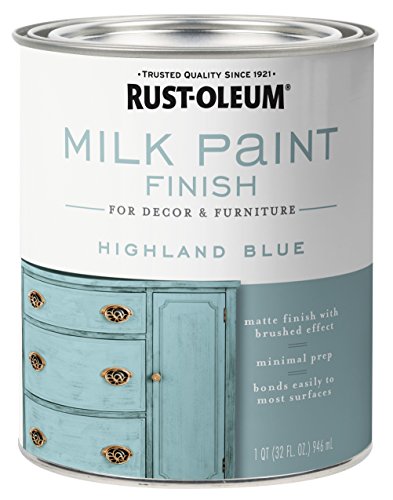
- 1 oz pale pink milk paint
- Small stippling brush
- Heart corner stencil (2 inch)
- Craft sponge
- Clear wax block
- Lint-free cloth
How to Make It
- Remove the mirror from the frame if possible. If not, mask the glass with painter’s tape.
- Dip the stippling brush lightly in milk paint and dab it unevenly across the frame to create a weathered look. Let dry 1 hour.
- Position the heart stencil in each corner. Dab craft sponge in leftover paint and tap inside the cutout. Let dry 30 minutes.
- Rub clear wax over the entire frame with a lint-free cloth using small circles. Buff after 10 minutes for soft shine.
- Reattach the mirror if removed, or carefully peel off tape.


10. Candle-Dipped Pillar Candles
Advanced
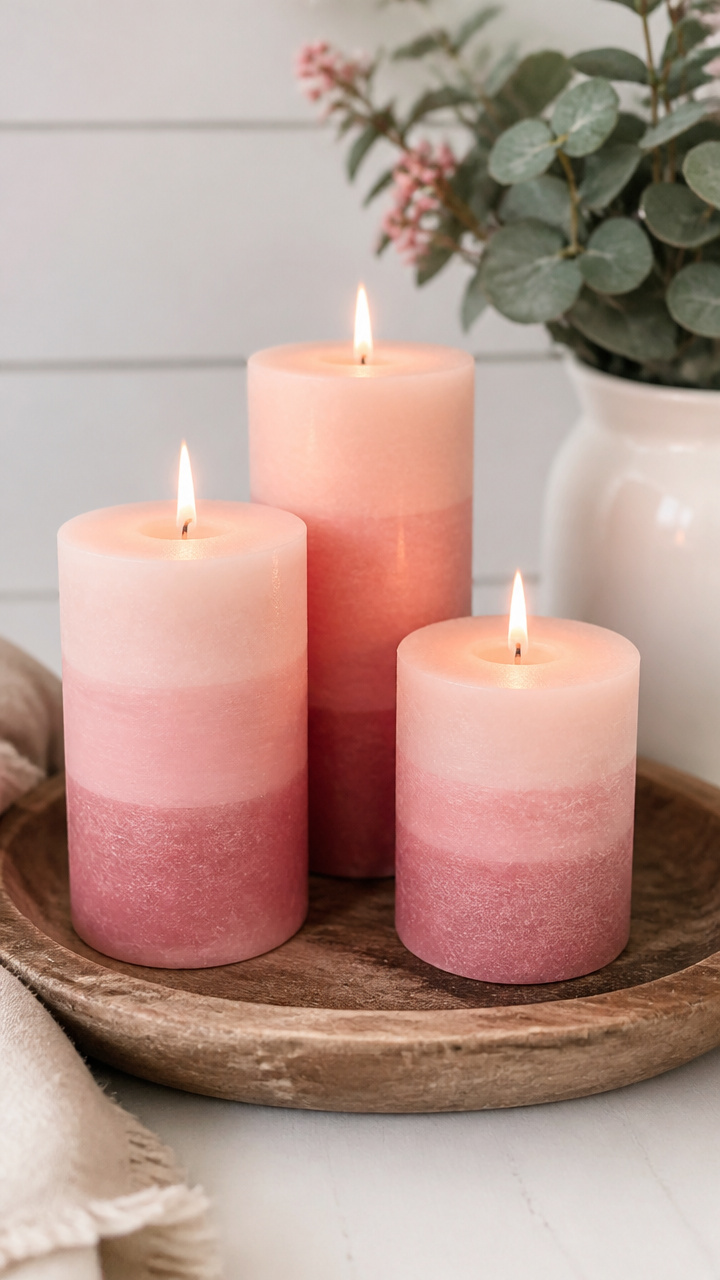
Pure white pillar candles are dipped in layers of blush wax to create an ombre effect. They burn slowly on a farmhouse tray.
Materials Needed
- 3 – 3 inch diameter x 6 inch tall unscented white pillar candles
- 1 lb blush soy wax chips
- Double boiler setup
- Candy thermometer
- Metal skewers
- Parchment paper
- Kitchen tongs
How to Make It
- Place parchment paper on a tray. Insert a skewer through the base of each candle and set aside.
- Melt wax chips in the double boiler over medium heat. Monitor temperature with candy thermometer until it reaches 160°F.
- Holding the skewer, dip one candle halfway into the wax for 5 seconds. Lift and let drain for 10 seconds. Repeat 4 times for depth.
- After each dip, wait 2 minutes for the layer to set slightly before the next. Rotate candles to avoid pooling.
- Let fully cool for 1 hour before removing skewers.
11. Ladder Shelf Love Letters
Moderate
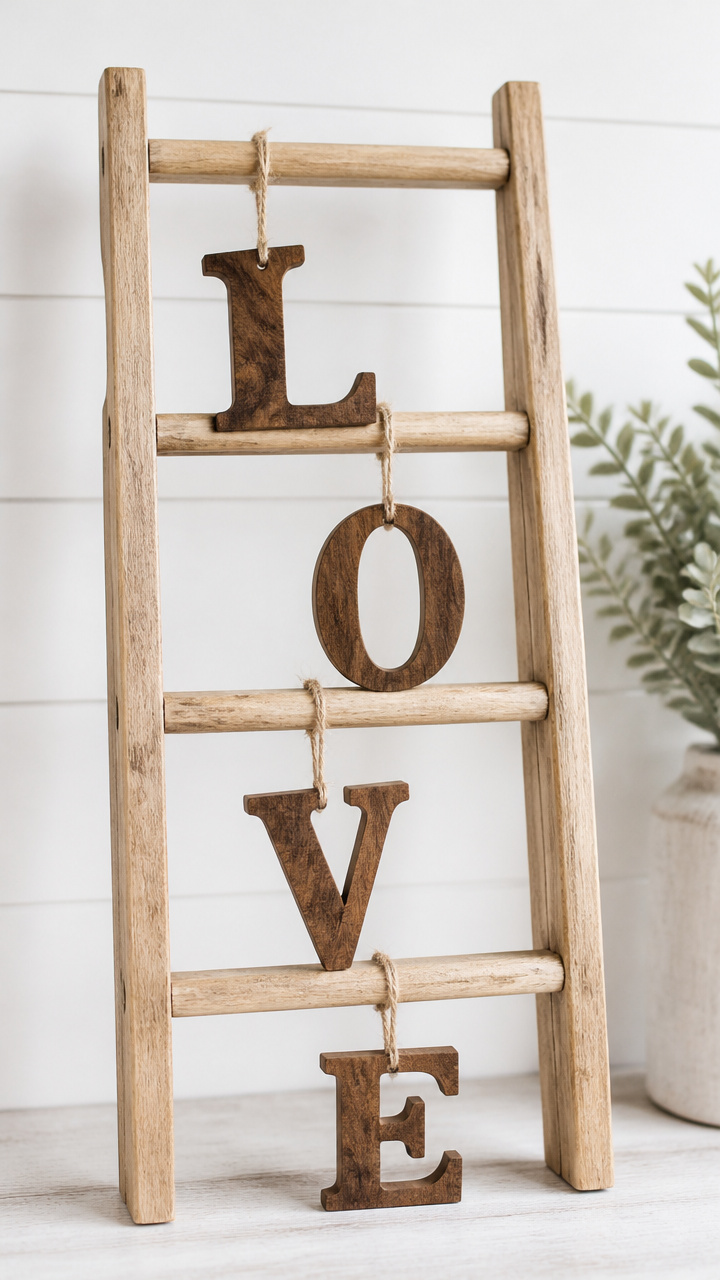
Mini wooden letters spelling 'love' stand proudly on a rustic ladder shelf. Each has a hand-brushed stain and twine hanger.
Materials Needed
- 4 – 4 inch unfinished wood letters (L, O, V, E)
- Walnut wood stain (2 oz)
- Foam brush
- Jute twine (4 pieces, 8 inch each)
- Drill with 1/8 inch bit
- Sandpaper (220 grit)
How to Make It
- Lightly sand each letter with sandpaper to smooth edges. Wipe clean with dry cloth.
- Pour a small amount of walnut stain onto a paper plate. Use the foam brush to coat each letter. Let sit 3 minutes, then wipe excess.
- Let letters dry 1 hour. Drill a small hole at the top center of each.
- Cut four 8 inch lengths of jute twine. Thread one through each hole and tie a knot at both ends.
- Hang letters individually on nails or lay them side by side on a shelf.

12. Ribbon-Wrapped Vase Centerpiece
Easy
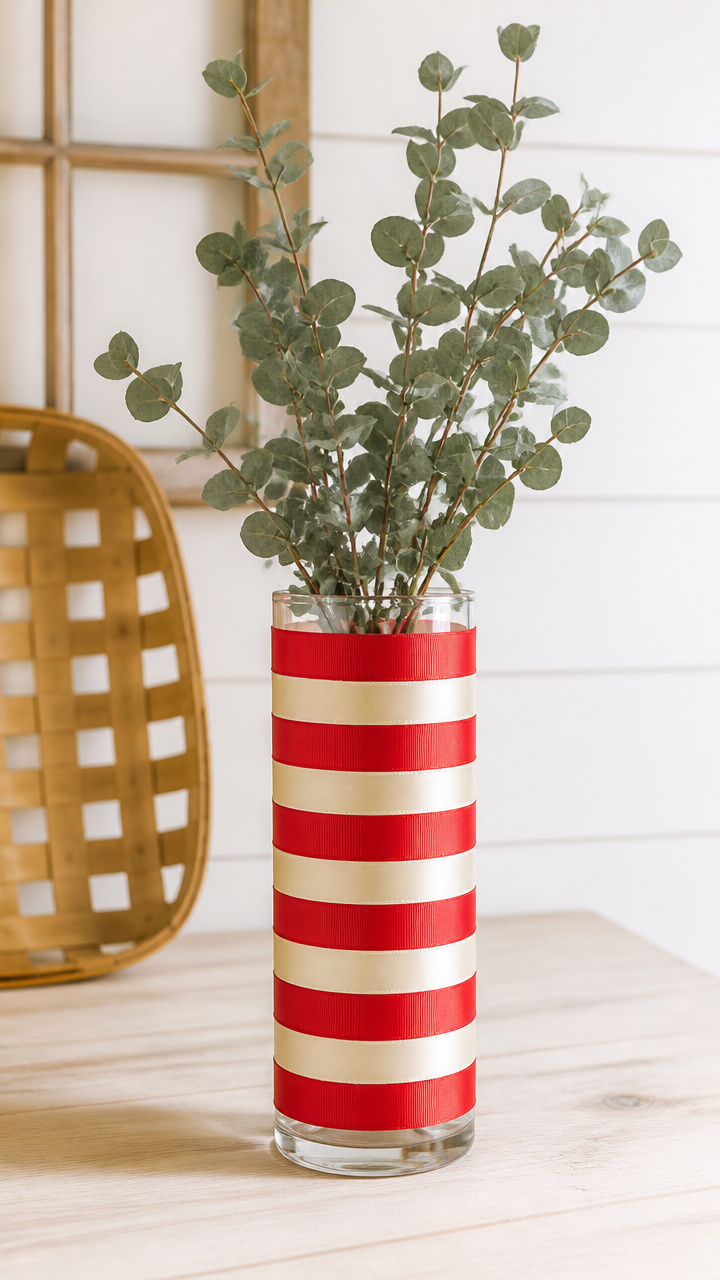
A clear glass vase wrapped in striped red and ivory ribbon holds eucalyptus and dried roses. It sits at the center of a farmhouse table.
Materials Needed
- 1 – 10 inch clear glass vase
- Red grosgrain ribbon (1 inch wide, 3 yards)
- Ivory satin ribbon (1 inch wide, 3 yards)
- Scissors
- Hot glue gun with low-temp glue sticks
- Dried eucalyptus sprig
- 3 dried red roses
How to Make It
- Start at the base of the vase and apply a dot of hot glue. Press the end of the red ribbon down and wrap once around.
- Alternate wrapping red and ivory ribbon, gluing the edge of each new ribbon over the previous one to hide seams.
- Continue until the vase is covered to 1 inch below the rim. Cut and glue the final end.
- Fill the vase with the eucalyptus and roses. Arrange stems naturally.


13. Pressed Flower Shadow Box
Advanced
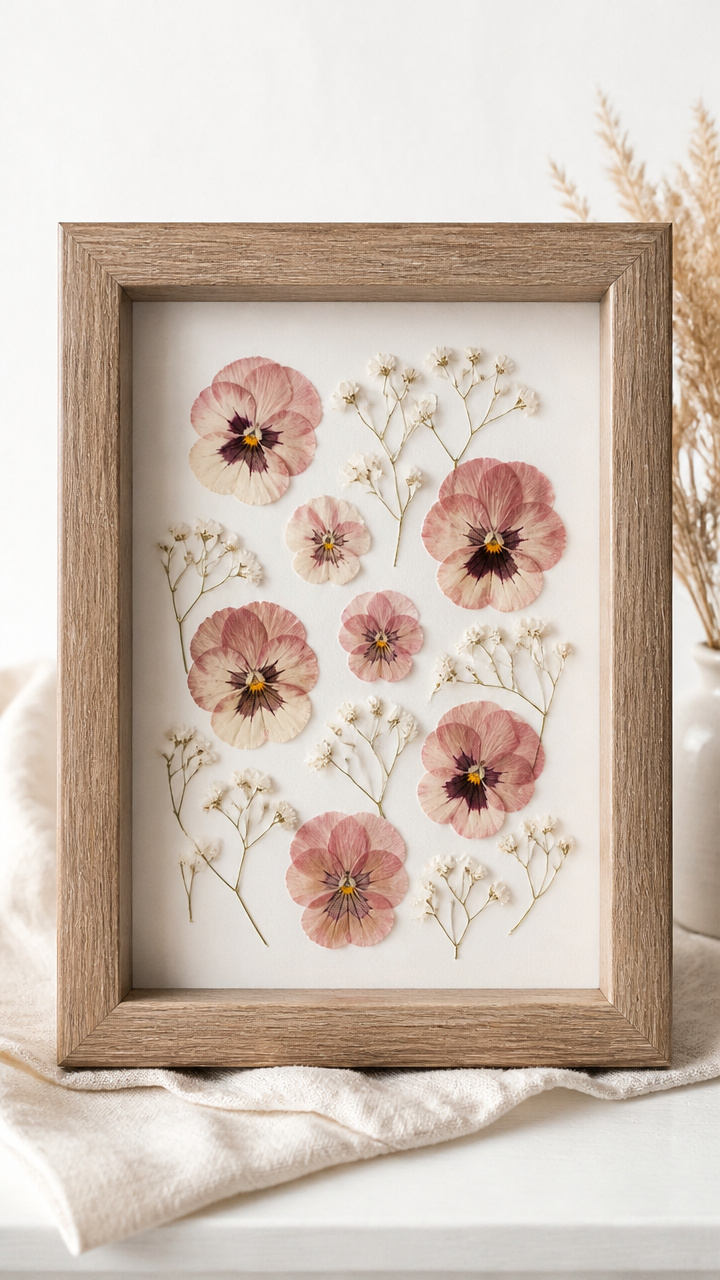
Delicate pink pansies and baby’s breath float behind glass in a deep wooden box. It preserves spring-like love indoors.
Materials Needed
- 1 – 8×10 inch wooden shadow box frame with glass
- 6 pressed pink pansies
- 10 sprigs dried baby’s breath
- White acid-free mounting board
- Double-sided tape squares (small)
- Tweezers
- Ruler
How to Make It
- Cut the mounting board to fit inside the shadow box. Place it face down on a clean surface.
- Use tweezers to position one pansy near each corner and one in the center. Add baby’s breath around and between.
- Press one tape square under each flower stem and sprig. Press gently to secure without crushing petals.
- Let the arrangement sit undisturbed for 5 minutes. Place glass over the board and reassemble the frame.


14. Faux Leather Drawer Pull Tags
Easy
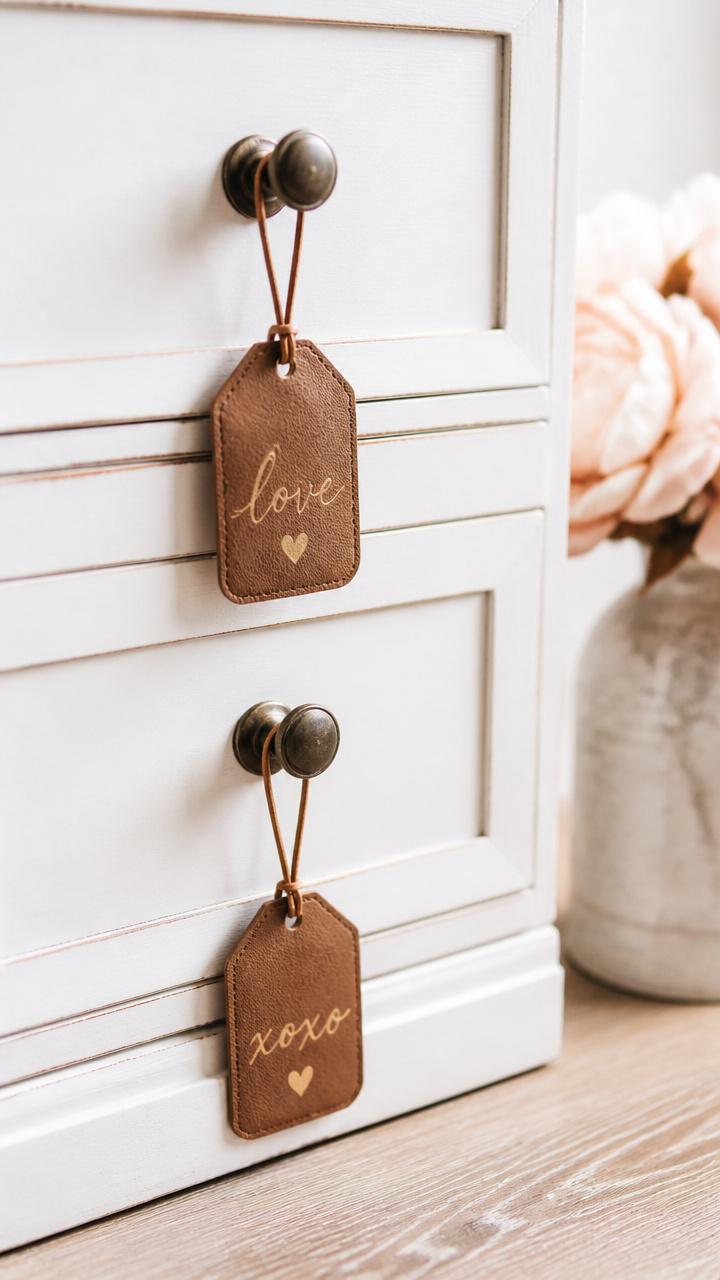
Soft brown faux leather tags hang from dresser knobs with handwritten love words. They add quiet romance to everyday furniture.
Materials Needed
- 1 sheet brown faux leather (9×12 inch)
- Hole punch
- Gold calligraphy pen
- Leather scissors
- 12 inch thin leather cord (4 pieces)
How to Make It
- Cut the faux leather into four 2×3 inch rectangles using leather scissors.
- Use the hole punch to make one hole in the top center of each tag.
- Write one word per tag: 'hug', 'kiss', 'dear', 'sweet' using the gold calligraphy pen. Let ink dry 2 minutes.
- Thread one leather cord through each hole and tie a knot to form a loop. Hang from drawer pulls by the loop.
15. Crocheted Heart Coasters
Advanced
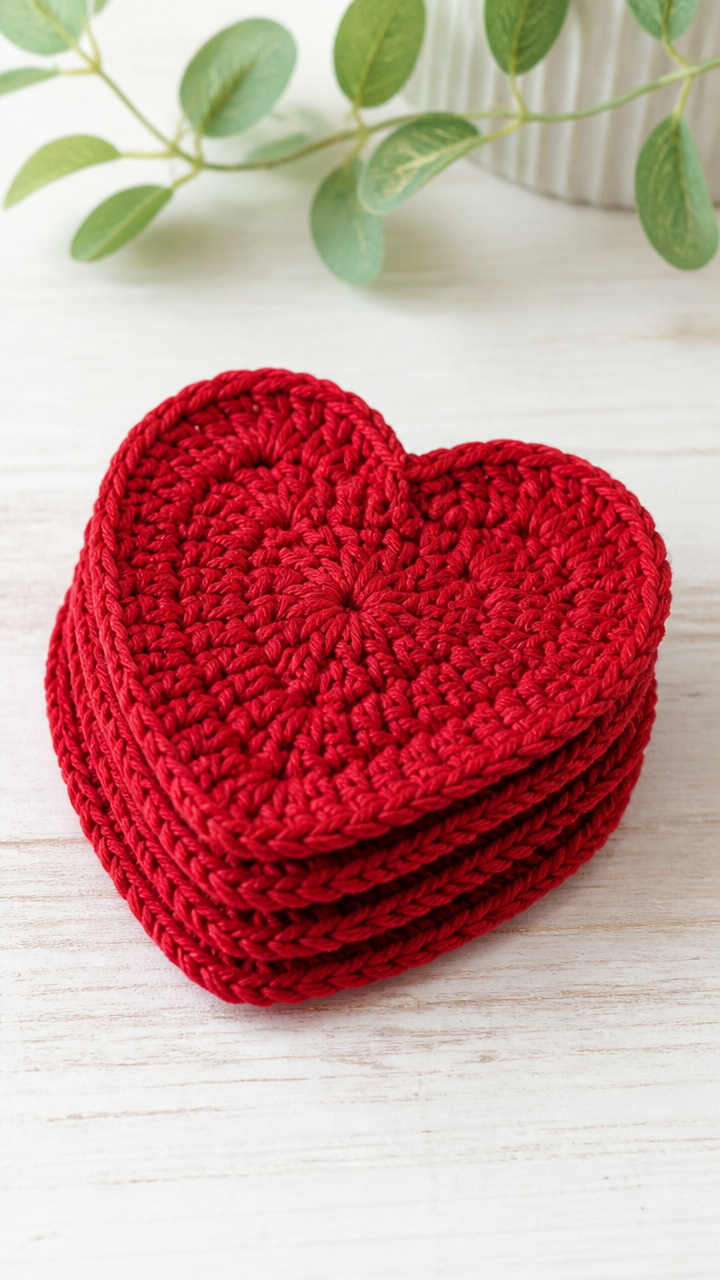
Tiny red hearts made from cotton yarn protect surfaces while adding a handmade touch. They stack neatly when not in use.
Materials Needed
- Red cotton yarn (worsted weight, 50 yards)
- Size H (5 mm) crochet hook
- Yarn needle
- Scissors
How to Make It
- Chain 2. Work 6 single crochets into the second chain from hook. Join with a slip stitch to form a ring. (6 sts)
- Chain 1, work 2 single crochets in each stitch around. Join with slip stitch. (12 sts)
- Single crochet in first stitch, 2 single crochets in next. Repeat around. Join. (18 sts)
- Work even single crochets for 4 rounds. Shape the top by decreasing two stitches at the center front and back.
- Fasten off and weave in ends with yarn needle. Make 4 total.
Each of these crafts brings a little more warmth and intention to your space. Pick one that speaks to you and start creating today.