15 Valentine’s Day Centerpiece Crafts for Your Table

Soft candlelight glows against red paper hearts strung like garlands across the dining table, and a bowl of glossy candy apples catches the afternoon sun. These little handmade moments turn an ordinary meal into something that feels deeply personal.
You don’t need fancy supplies or years of crafting experience to make your home feel full of love. With scissors, glue, and a few thoughtful materials, you can create centerpieces that draw smiles and spark conversation.
1. Rustic Mason Jar Vase
Easy
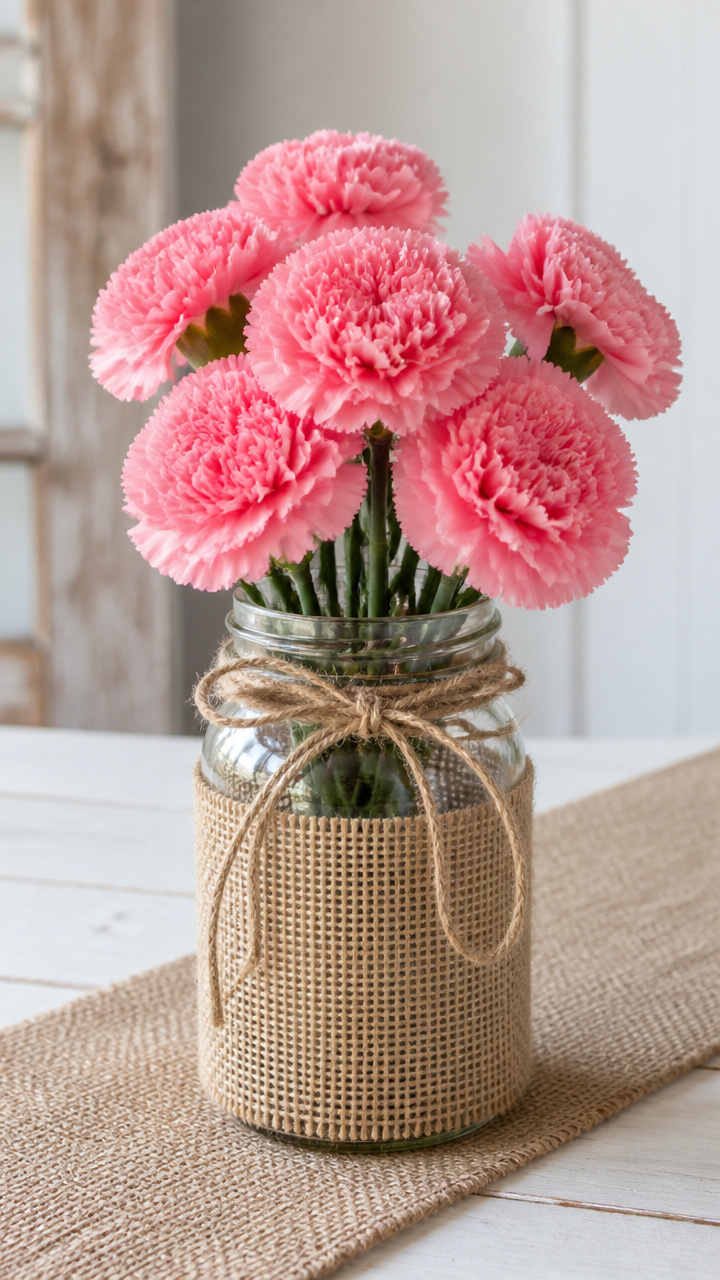
A cluster of fresh pink carnations stands tall in a mason jar wrapped with burlap and twine, radiating cozy charm. This centerpiece suits farmhouse tables and casual dinners where comfort matters most.
Materials Needed
- 1 quart-sized mason jar
- 12-inch square burlap fabric
- 6-inch length jute twine
- Hot glue gun and glue sticks
- Scissors
- Fresh pink carnations (6 stems)
- Floral shears
How to Make It
- Cut the burlap square to fit around the outside of the mason jar, leaving a 1/2-inch overlap.
- Apply hot glue along the back edge of the burlap and wrap it snugly around the jar, pressing to secure.
- Tie the jute twine around the neck of the jar and knot it into a bow at the front.
- Fill the jar halfway with water and arrange the carnations inside, trimming stems with floral shears to fit.


2. Felt Heart Tree
Moderate
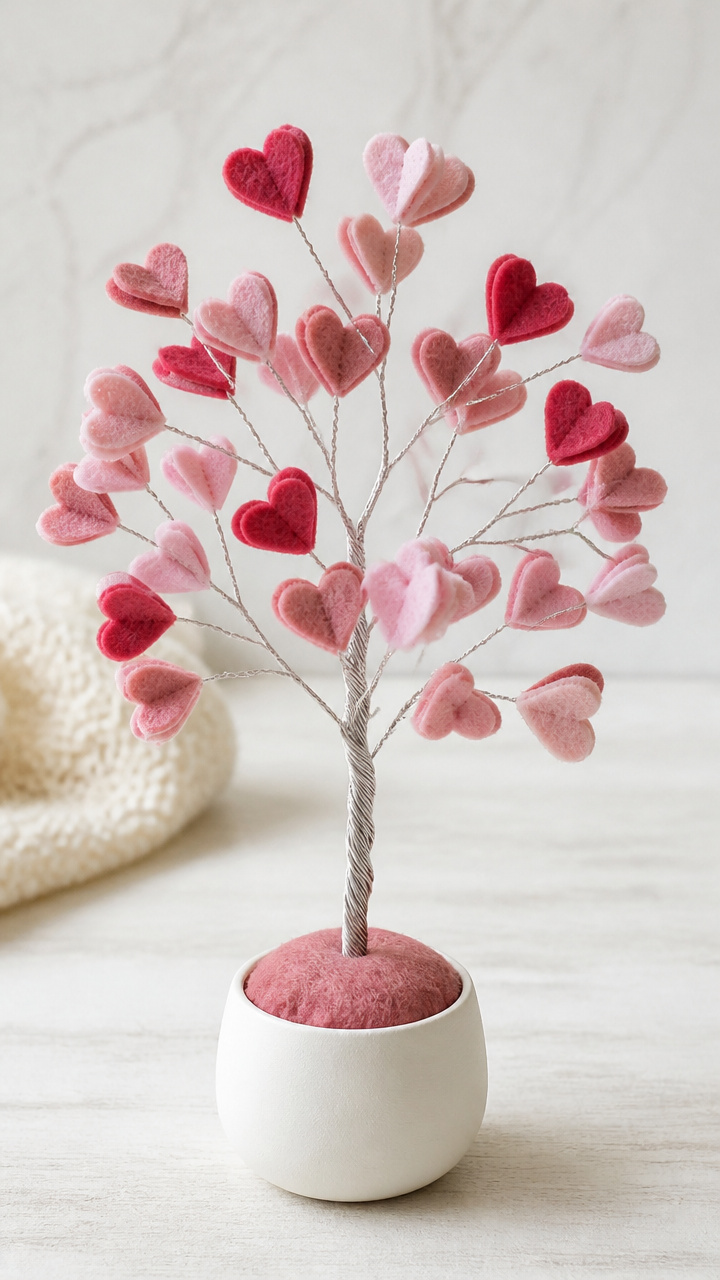
Tiny hearts in gradated pinks stack up a wire branch to form a sculptural tree that casts delicate shadows on your table. The soft texture invites touch and adds whimsy without overwhelming the space.
Materials Needed
- 30 x 30 cm piece blush pink felt
- 30 x 30 cm piece deep rose felt
- 30 x 30 cm piece dusty pink felt
- 12-inch galvanized steel wire (14 gauge)
- 6-ounce air-dry clay
- Heart-shaped cookie cutter (1.5 inch)
- Needle and matching thread
- Wire cutters
- Small round base (4 inch diameter)
How to Make It
- Roll the air-dry clay into a ball and press it into the small base to anchor the wire stem.
- Use wire cutters to trim the steel wire to 10 inches, then insert one end into the clay and bend slightly to secure.
- Trace the heart cutter onto each felt color and cut out 8 hearts per color using scissors.
- Stack one heart from each color together and sew through the center with needle and thread, leaving a loop at the top.
- Slide each threaded heart onto the wire stem, pushing them upward to form a vertical arrangement.


3. Candlelit Wine Bottle Glow
Easy
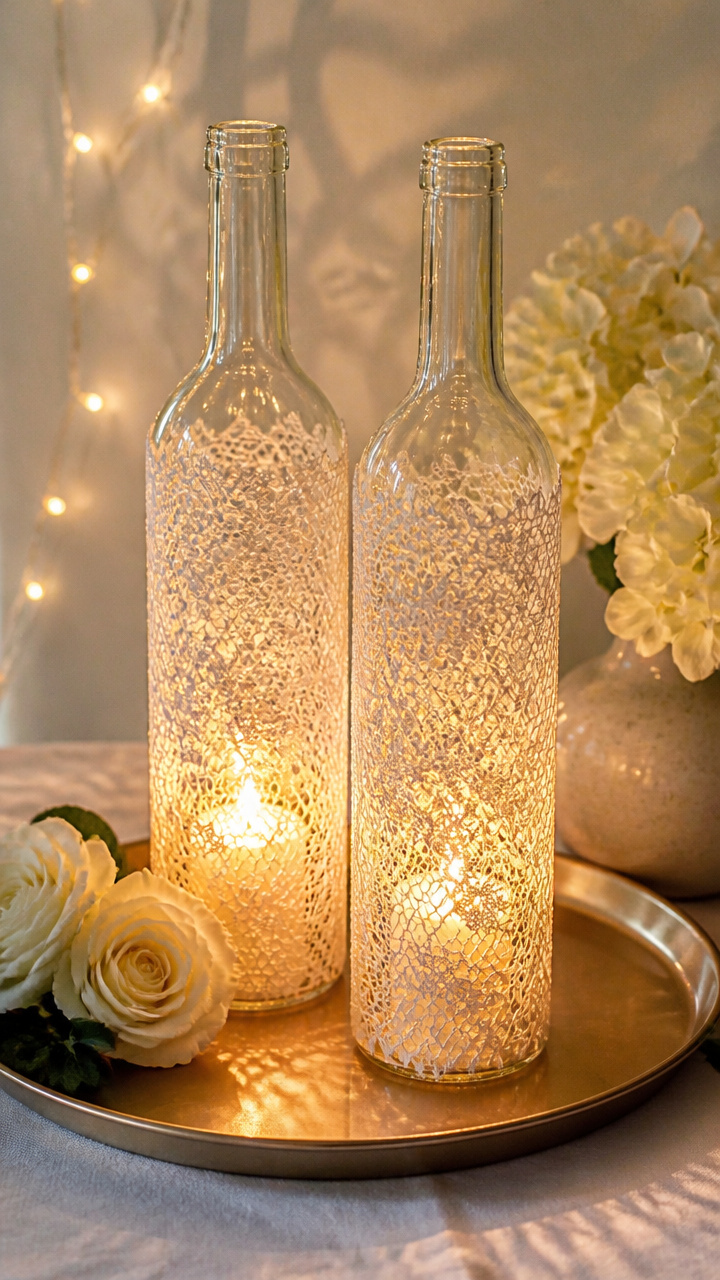
Empty wine bottles become elegant lanterns when wrapped in lace and lit from within by flickering LED candles. The warm light dances through the pattern, casting romantic shadows.
Materials Needed
- 2 empty wine bottles (cleaned, labels removed)
- 1 yard cotton lace ribbon (2 inch width)
- Craft glue
- Paintbrush
- 2 flameless LED tea lights
- Ribbon scissors
How to Make It
- Brush a thin line of craft glue along the bottom edge of the lace ribbon.
- Starting at the base of the bottle, wrap the lace tightly around the glass, overlapping slightly as you go upward.
- Press the lace firmly to the bottle and let the glue dry completely for 20 minutes.
- Place one LED tea light inside each bottle opening and turn them on at dusk.
4. Paper Doily Flower Wreath
Moderate
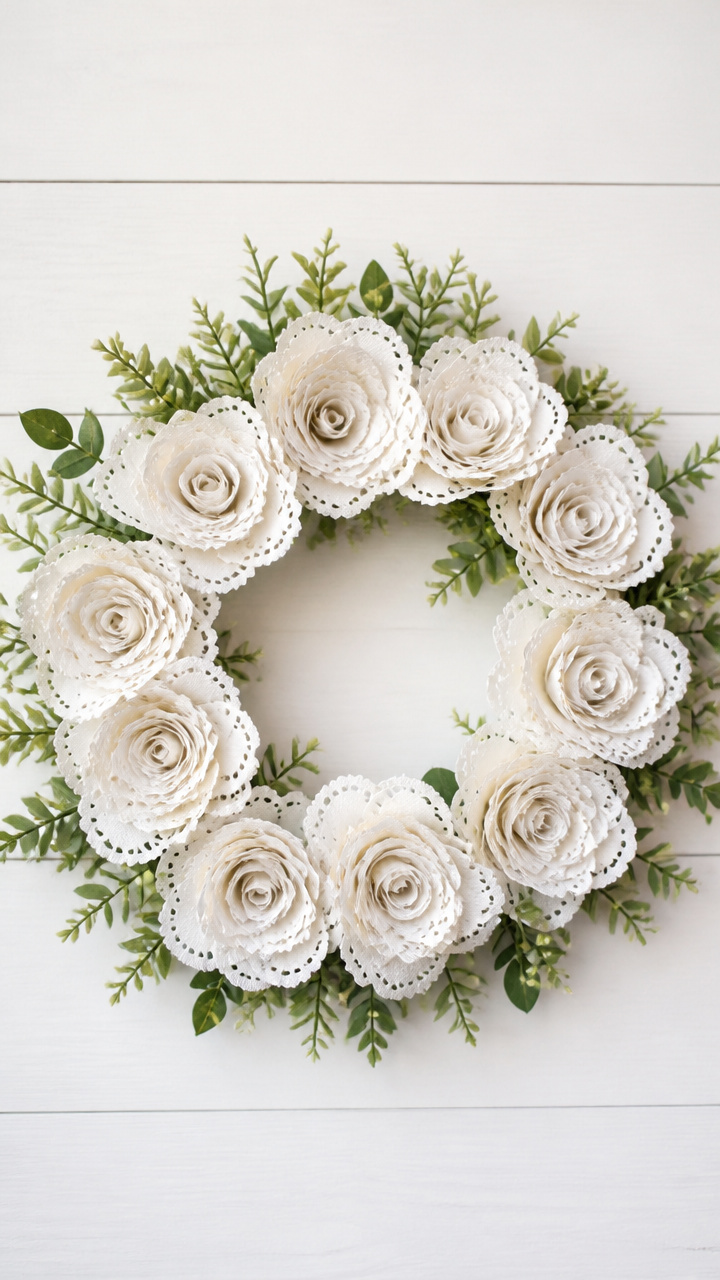
Delicate paper doilies are shaped into layered roses and arranged in a circular foam base to form a flat centerpiece. It sits low enough for easy conversation but rich enough in detail to impress.
Materials Needed
- 6 paper doilies (10 inch diameter, white)
- 9-inch foam wreath base (2 inch thickness)
- Hot glue gun and glue sticks
- Dessert spoon
- Scissors
- Artificial greenery sprig (3 inch)
How to Make It
- Lay a doily flat and use the rounded edge of the dessert spoon to gently curl the outer edges upward, creating petal shapes.
- Pinch the center of the doily and gather it into a bud, securing the base with a dot of hot glue.
- Repeat with five more doilies to make six flowers total.
- Glue each flower evenly spaced around the foam wreath base, placing them close together for fullness.
- Tuck the greenery sprig under one cluster of flowers and glue it in place.


5. Mini Chalkboard Love Signs
Easy
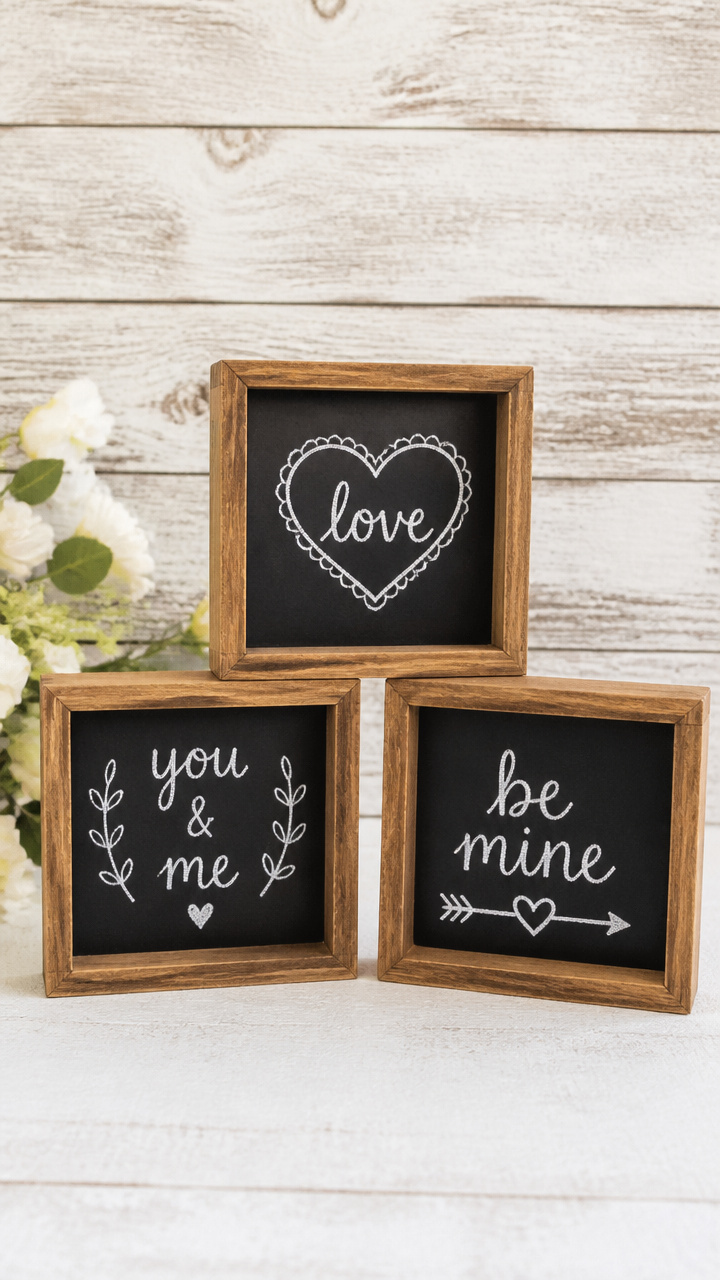
Three tiny wooden frames hold chalkboard panels scrawled with sweet messages like 'You're Mine' and 'Be Mine'. Set them between plates for guests to take home.
Materials Needed
- 3 unfinished wood shadow box frames (4×6 inch)
- 3 sheets black chalkboard paper (cut to 4×6 inch)
- Chalk marker (white)
- Ruler
- Craft knife
- Double-sided tape
How to Make It
- Measure and cut the chalkboard paper to fit the backing of each frame using the ruler and craft knife.
- Adhere each sheet to the frame backing with double-sided tape, smoothing out air bubbles.
- Write one phrase per panel using the chalk marker: 'Be Mine', 'You're Mine', 'Love You'.
- Stand each frame upright on the table, spacing them evenly among dinner settings.


6. Floating Rose Petal Bowl
Easy
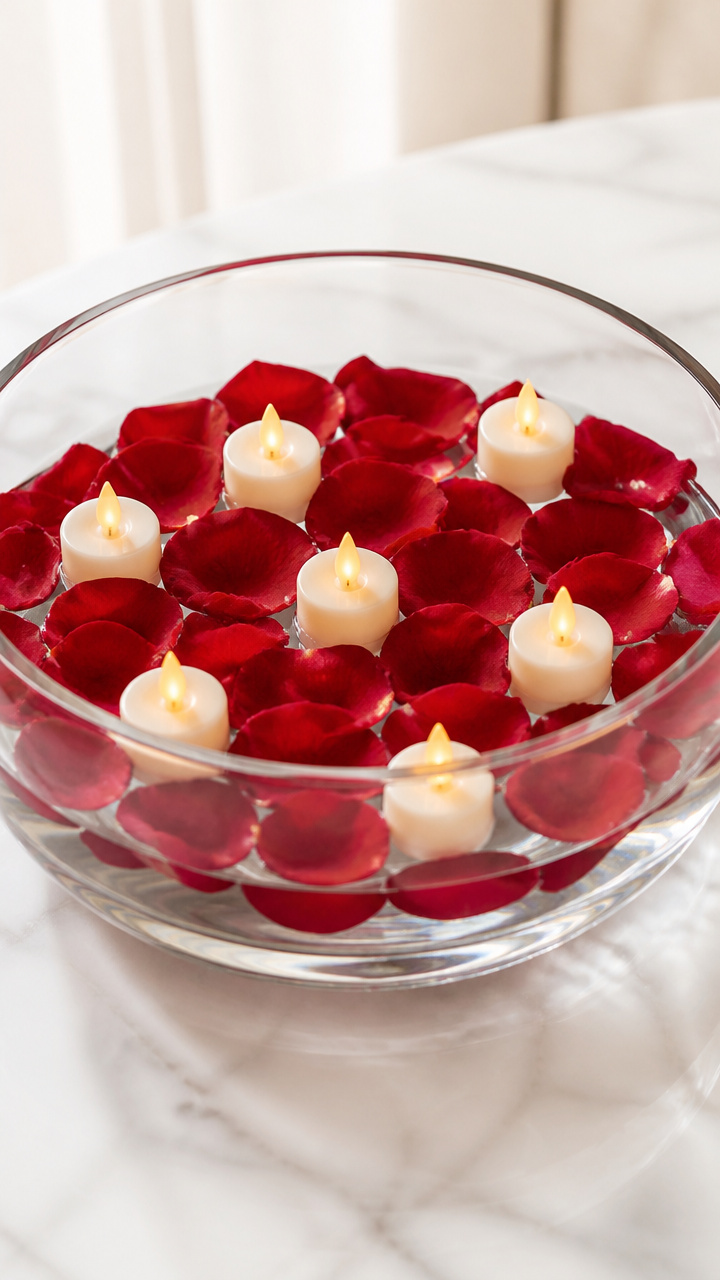
Real rose petals drift on water inside a clear glass bowl, with floating candles adding gentle movement and glow. This centerpiece feels luxurious but takes just minutes to set up.
Materials Needed
- 10-inch clear glass bowl (low and wide)
- Dried red rose petals (1/2 cup)
- 3 floating LED candles (ivory)
- Distilled water (4 cups)
- Measuring cup
How to Make It
- Pour distilled water into the glass bowl using the measuring cup, filling it three-quarters full.
- Scatter the rose petals evenly across the surface of the water.
- Place the three LED candles on top of the water, spacing them apart so they float freely.
7. Twine-Wrapped Heart Letters
Moderate
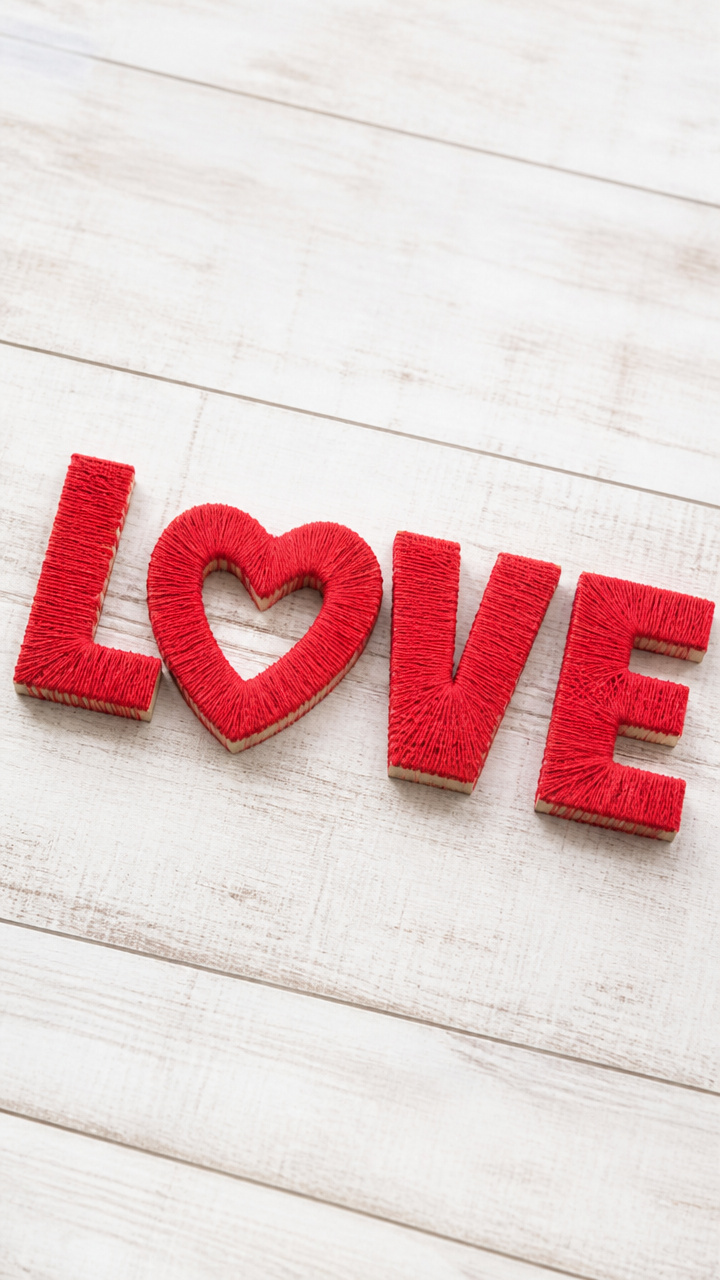
Wooden letter tiles spelling 'LOVE' stand strong beneath layers of red twine, their textured surfaces catching the light. Each letter becomes a sculptural accent on its own.
Materials Needed
- 4 wooden letter tiles (6 inch height, unpainted)
- Red embroidery floss (3 skeins)
- School glue
- Paintbrush
- Scissors
- Sandpaper (180 grit)
How to Make It
- Lightly sand the surface of each wooden letter with sandpaper to help the glue adhere.
- Brush a thin layer of school glue onto the front face of the 'L' tile.
- Wrap the red embroidery floss tightly around the glued surface, covering it completely and overlapping threads slightly.
- Snip the floss with scissors and secure the end with a dab of glue, repeating this process for each letter until 'LOVE' is fully wrapped.
8. Pressed Flower Resin Coaster
Advanced
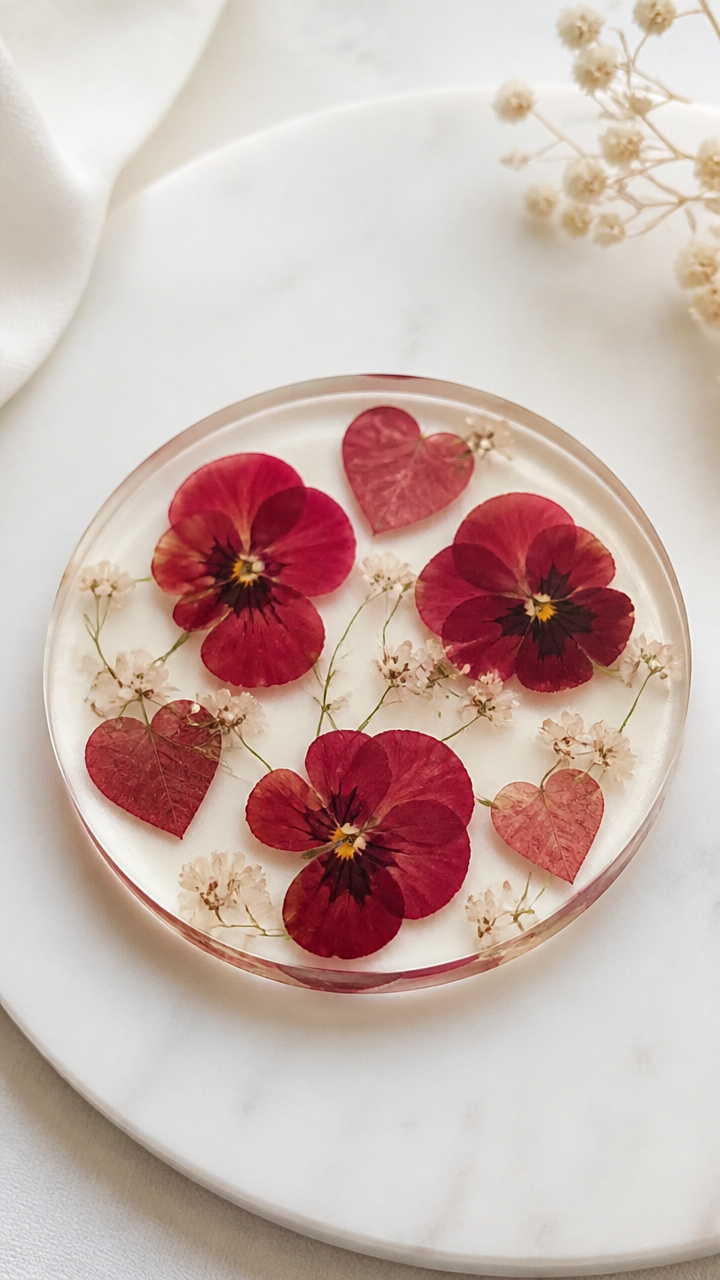
Translucent coasters hold tiny red violas and heart-shaped leaves suspended in glossy resin. They double as keepsakes after the meal ends.
Materials Needed
- Silicone coaster mold (set of 4, round 4 inch)
- Epoxy resin kit (8 oz total)
- Pressed red viola flowers (4 blooms)
- Mini heart-shaped dried leaves (4 pieces)
- Disposable plastic cups (2 oz, 4 needed)
- Stirring sticks (4)
- Latex gloves
- Toothpicks
How to Make It
- Put on latex gloves and mix the epoxy resin according to the kit instructions in a well-ventilated area.
- Pour equal amounts of mixed resin into four plastic cups.
- Pour one cup of resin into each mold cavity until half full.
- Place one viola and one heart leaf into each mold, arranging them with toothpicks.
- Slowly pour the remaining resin over the flowers to fill each mold completely.
- Let cure undisturbed for 24 hours before removing from molds.


9. Luminous Paper Lantern Hearts
Moderate
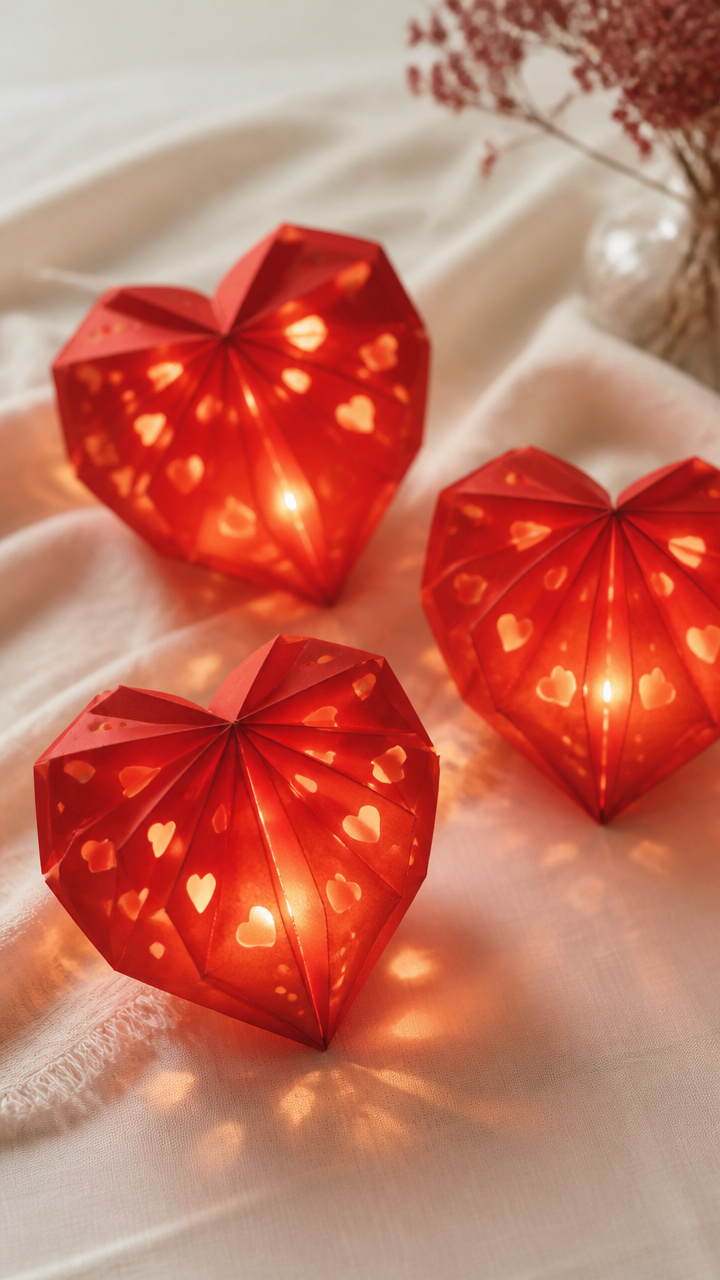
Hand-folded red paper lanterns bloom open to reveal battery-powered fairy lights inside. Their soft inner glow makes the entire table feel enchanted.
Materials Needed
- 6 sheets red origami paper (6×6 inch)
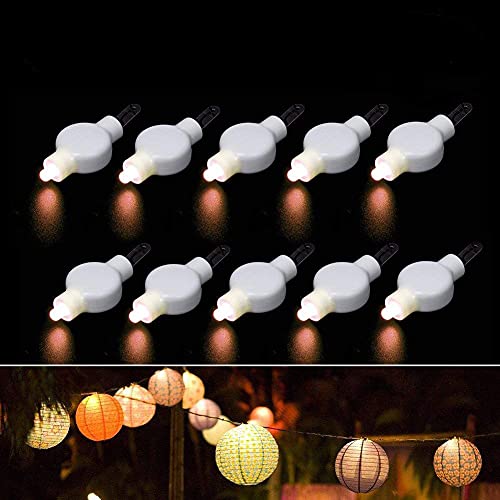
- 1 string of battery-powered fairy lights (20 LEDs, 33 inch length)
- Double-sided tape
- Ruler
- Bone folder
- Scissors
How to Make It
- Fold one sheet of origami paper in half diagonally to form a triangle, then unfold.
- Use the bone folder to crease sharply along the fold line for precision.
- Repeat folding and creasing to form accordion pleats across the square, each 1/2 inch wide.
- Once fully pleated, bring the two ends together and join them with double-sided tape to form a circle.
- Gently pull alternating layers outward to create a lantern shape, repeating for all six sheets.
- Weave the fairy light string through the center of each lantern and turn on the battery pack.
10. Vintage Spoon Wind Chime
Advanced
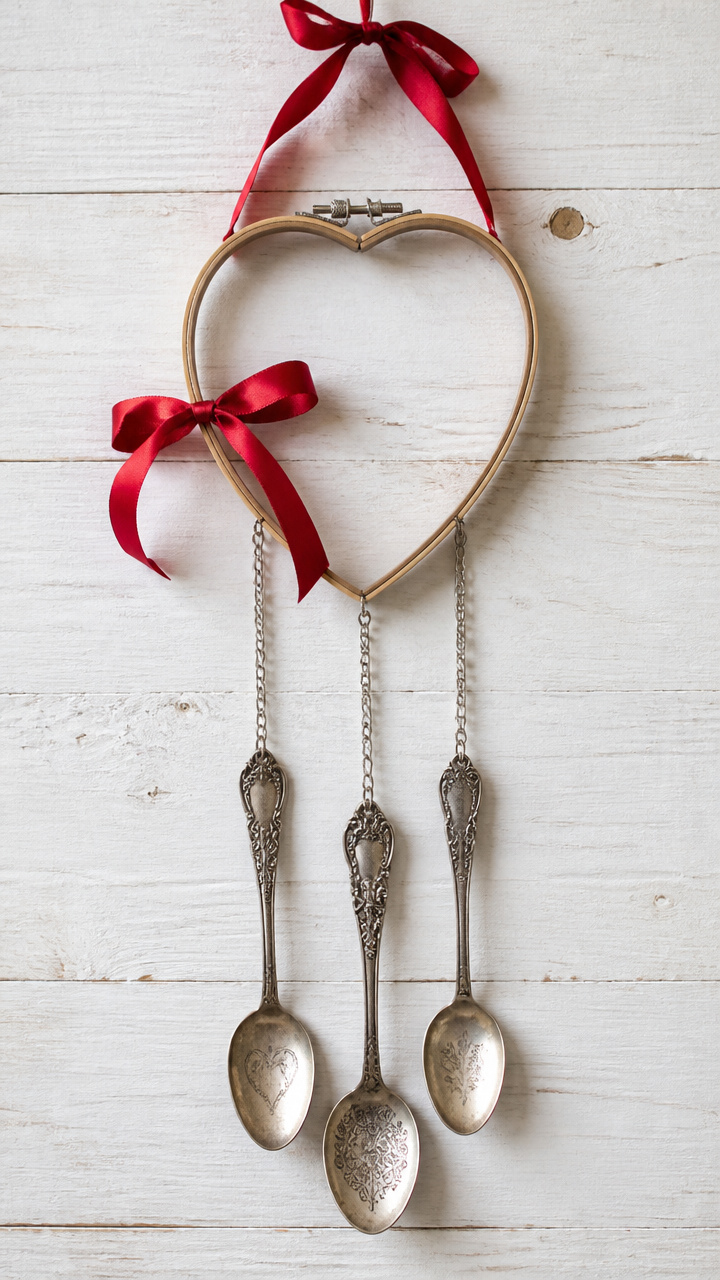
Antique-style silver spoons dangle from a heart-shaped embroidery hoop, chiming softly when brushed by passing hands. It’s unexpected, musical, and full of nostalgic grace.
Materials Needed
- 10-inch heart-shaped embroidery hoop
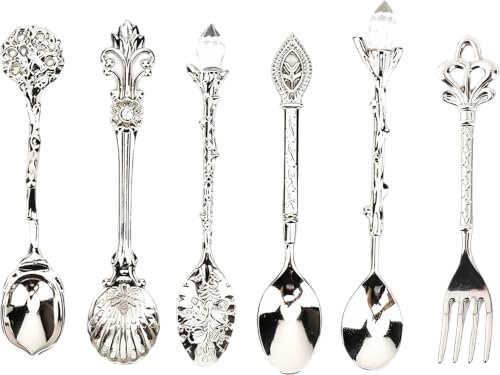
- 3 vintage-style teaspoons (with ornate handles)
- 12-inch length silver chain (3 strands)
- Jump rings (6 mm, 6 pieces)
- Pliers (chain-nose and round-nose)
- Ribbon (red satin, 18 inch)
- Drill with 1/16 inch bit
How to Make It
- Use the drill to carefully make a small hole near the handle end of each spoon.
- Open a jump ring with pliers and slide it through the hole in one spoon and one end of a chain strand.
- Close the jump ring securely using both pliers.
- Repeat for the other two spoons and chains.
- Attach each free end of the chain to the top curve of the embroidery hoop using jump rings.
- Tie the red satin ribbon across the top of the hoop for hanging and secure with a bow.


11. Heart-Shaped Succulent Planter
Moderate
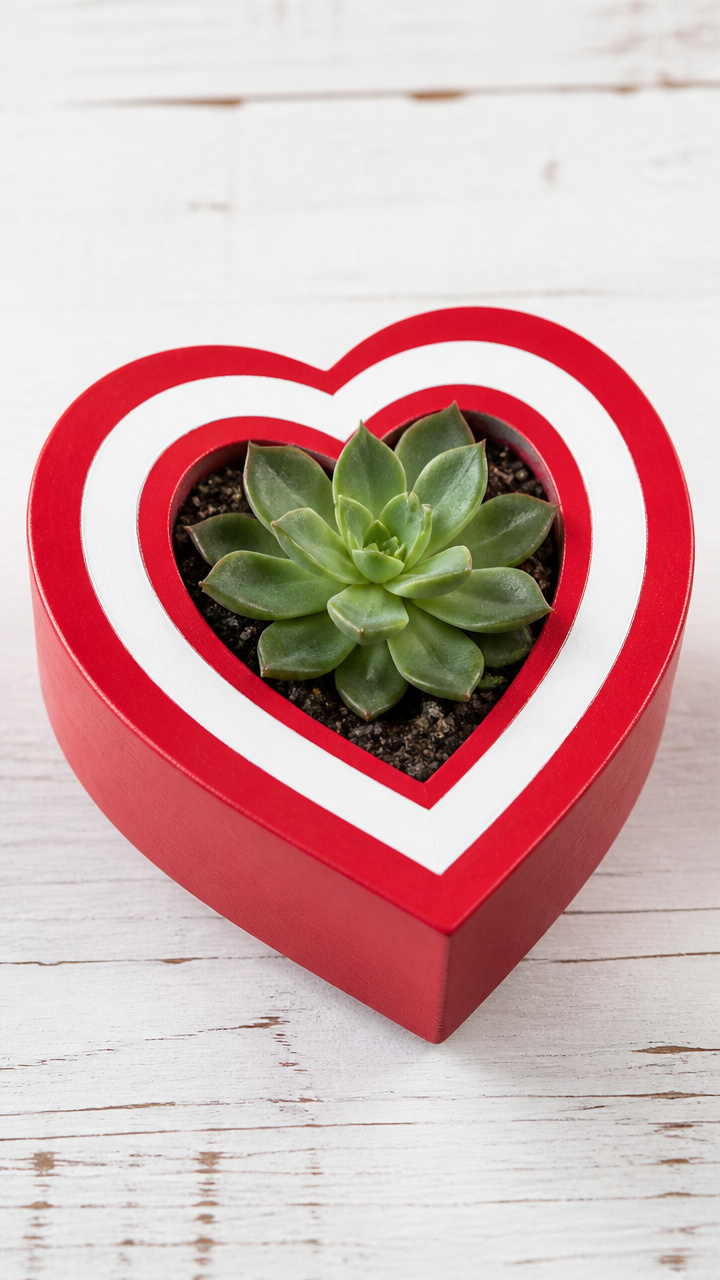
A living centerpiece thrives in a terracotta pot hand-painted with concentric red hearts. The real succulent grows slowly, reminding you of love that lasts.
Materials Needed
- 4-inch terracotta pot
- Acrylic paint (glossy red, matte white)
- Paintbrush (fine tip, 1/8 inch)
- Pencil
- Sponge brush
- Baby succulent plant (e.g., Echeveria)
- Potting soil for cacti (1 cup)
How to Make It
- Sketch concentric heart outlines on the pot with a pencil, starting small at the center and growing outward.
- Use the fine-tip brush to paint red acrylic inside each heart, letting paint dry 15 minutes between layers.
- Outline each heart with a thin white border using the same brush and matte white paint.
- Let the paint cure for 1 hour, then apply a clear sealer with the sponge brush if desired.
- Fill the pot with cactus soil and plant the succulent, pressing soil gently around the base.
12. Candy-Filled Apothecary Jar
Easy
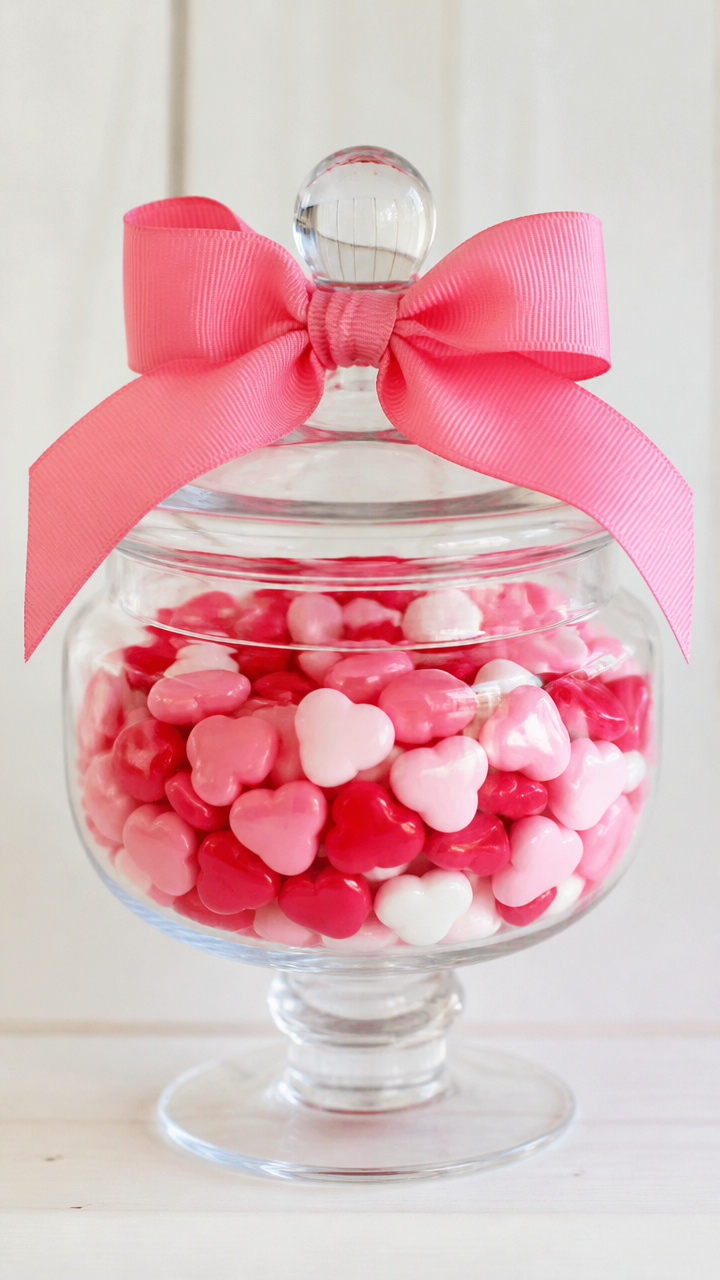
A glass apothecary jar brims with red and pink conversation hearts, tied with a grosgrain ribbon. It doubles as decoration and dessert, inviting guests to reach in and grab a sweet.
Materials Needed
- 8-inch tall glass apothecary jar with lid
- Assorted conversation hearts candy (8 oz)
- Pink grosgrain ribbon (1 inch width, 24 inch length)
- Scissors
- Hot glue gun
How to Make It
- Pour the conversation hearts into the jar until full, tapping gently to settle the candy.
- Cut the ribbon to 24 inches and tie it around the neck of the jar in a bow.
- Secure the knot with a small dot of hot glue to prevent slipping.
13. Embroidered Hoop Love Quote
Advanced
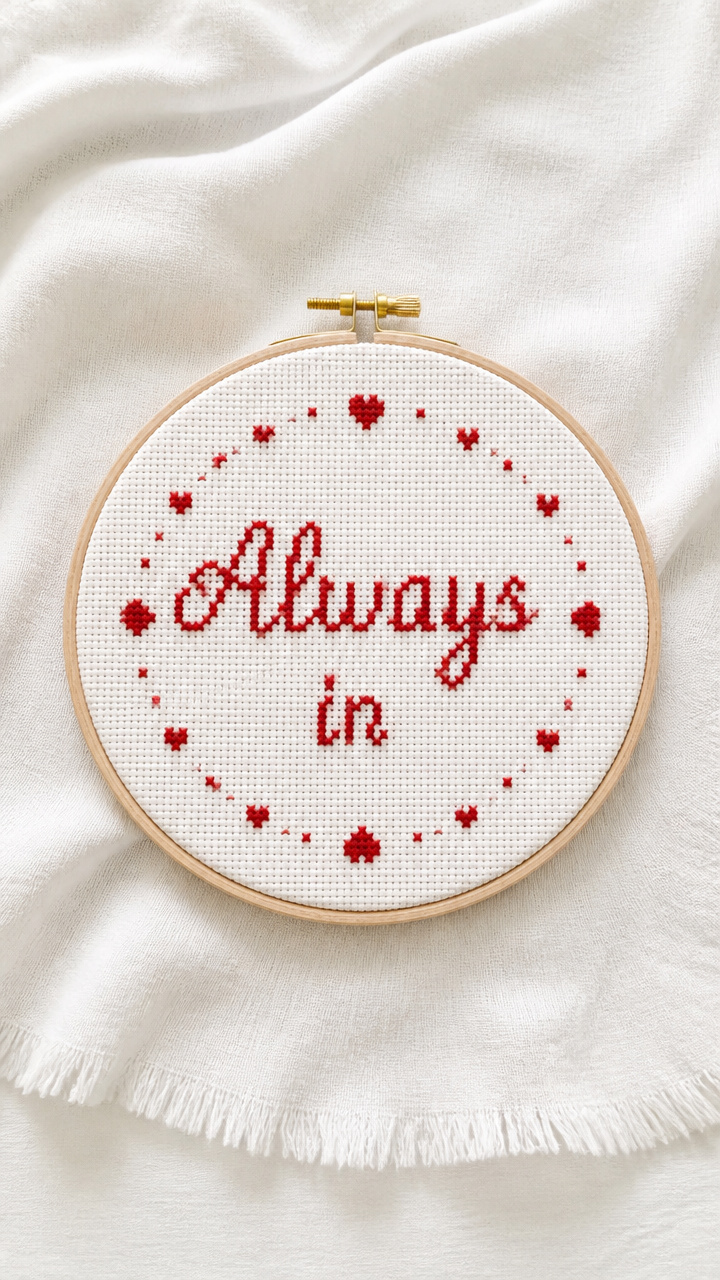
A tight-stretched fabric circle framed in wood displays cross-stitched words like 'Always' in crimson thread. It stands alone or pairs with candles for layered impact.
Materials Needed
- 6-inch embroidery hoop
- White cotton fabric (9×9 inch)
- Crewel needle
- Crimson embroidery floss (1 skein)
- Water-soluble fabric marker
- Scissors
- Printable cross-stitch pattern ('Always' in cursive)
How to Make It
- Print and trace the 'Always' pattern onto the white fabric using the water-soluble marker.
- Stretch the fabric taut in the embroidery hoop, tightening the screw to secure.
- Thread the crewel needle with a 18-inch length of crimson floss, knotting the end.
- Stitch over the traced letters using backstitch technique, keeping tension even.
- Trim excess fabric to 1 inch beyond the hoop edge and fold it neatly to the back, securing with glue if needed.
- Wipe away any visible marker lines with a damp cloth after stitching.


14. Dipped Ombre Candles
Moderate
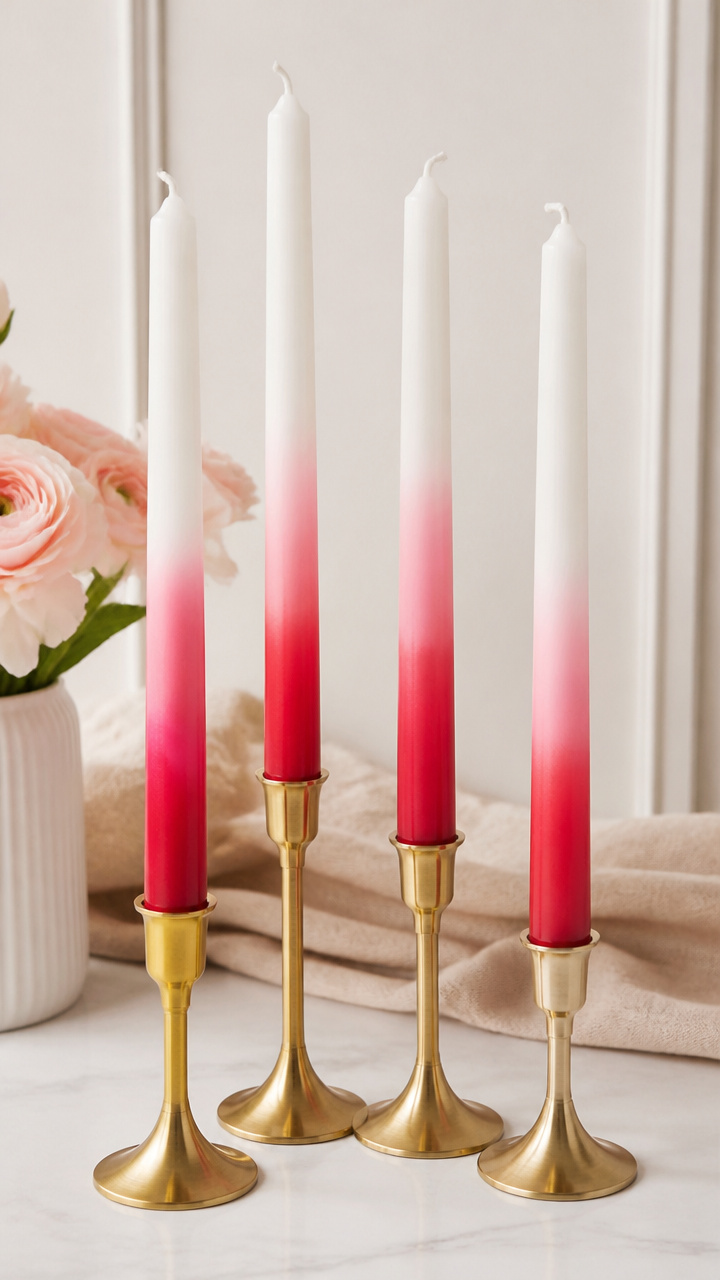
Plain white tapers transform into rosy gradients with a dip-dye technique using melted crayons. The colorful bases catch the eye without distracting from dinner.
Materials Needed
- 2 white unscented taper candles (10 inch)
- 2 red Crayola crayons
- 1 red pink Crayola crayon
- Double boiler or heat-safe bowl and saucepan
- Wooden skewer
- Aluminum foil
- Oven mitt
How to Make It
- Line a work surface with aluminum foil and set aside.
- Break the crayons into small pieces and place them in the top of a double boiler.
- Heat over simmering water until fully melted, stirring gently with the skewer.
- Hold one candle by the wick and dip the bottom 2 inches into the melted wax for 5 seconds.
- Pull out and let cool for 30 seconds, then repeat dipping 3 more times to build color depth.
- Repeat for the second candle, using oven mitt to protect hands during handling.
15. Pom-Pom Garland Drapes
Easy
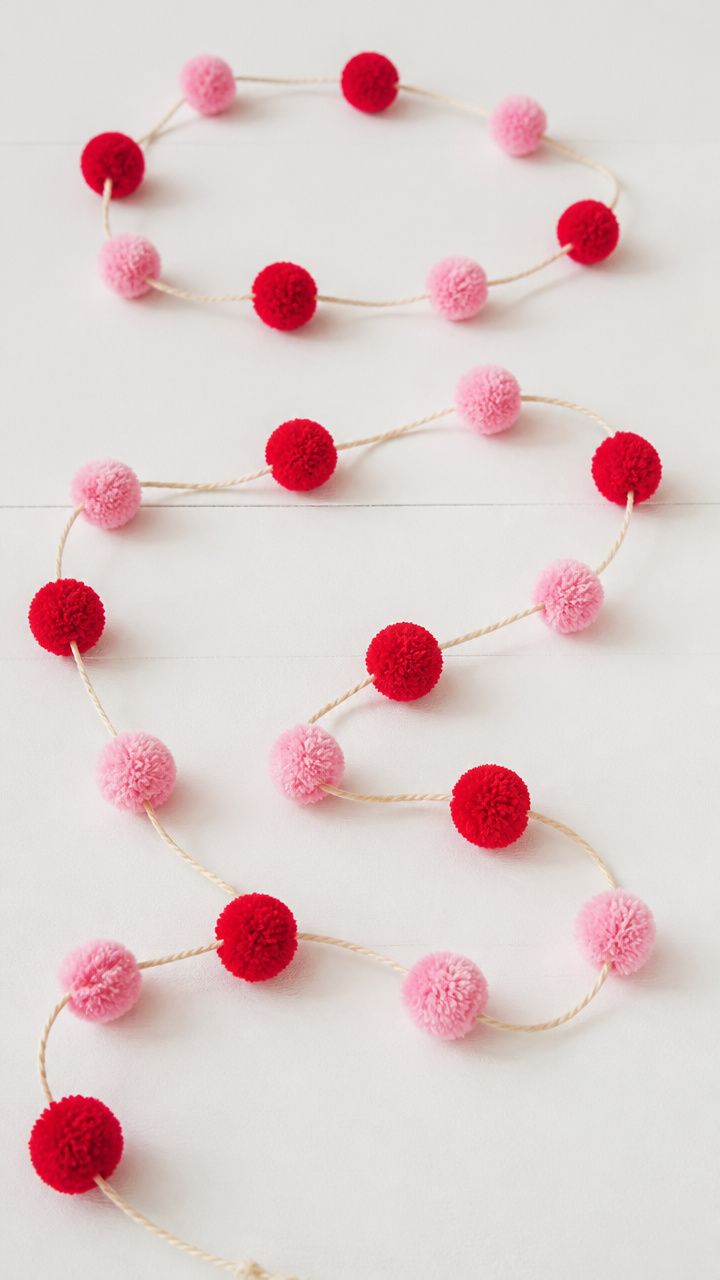
Fluffy red and pink pom-poms march along a cotton cord, draped loosely over a mirror or laid across the table. Their bounce and softness add joy with zero sharp edges.
Materials Needed
- Red wool blend pom-poms (1 inch, 10 pieces)
- Pink wool blend pom-poms (1 inch, 10 pieces)
- Cotton cord (3 yards, natural beige)
- Tapestry needle
- Scissors
How to Make It
- Thread the tapestry needle with the cotton cord and knot one end.
- Slide one red pom-pom onto the needle and push it down to the knot.
- Alternate colors, adding one pink then one red pom-pom, spacing each 2 inches apart on the cord.
- Continue until all 20 pom-poms are strung, then tie the ends of the cord together to form a loop.
- Drape the garland across the centerpiece or hang it behind a tray.
Pick one idea that speaks to your style and gather what you need. Your table will thank you with warmth and beauty.