15 Easy Valentine’s Day Crafts Anyone Can Make

Red paper hearts fluttering on a string, soft pom-poms spilling from tiny jars, glitter catching the light in hand-painted frames — these small handmade touches carry big love.
You don’t need years of crafting experience to make something meaningful. With simple supplies and clear steps, you can create heartfelt gifts and decorations that feel personal and full of care.
Each idea here is designed to be doable, delightful, and different from the last.
1. Heart-Shaped Paper Garland
Easy
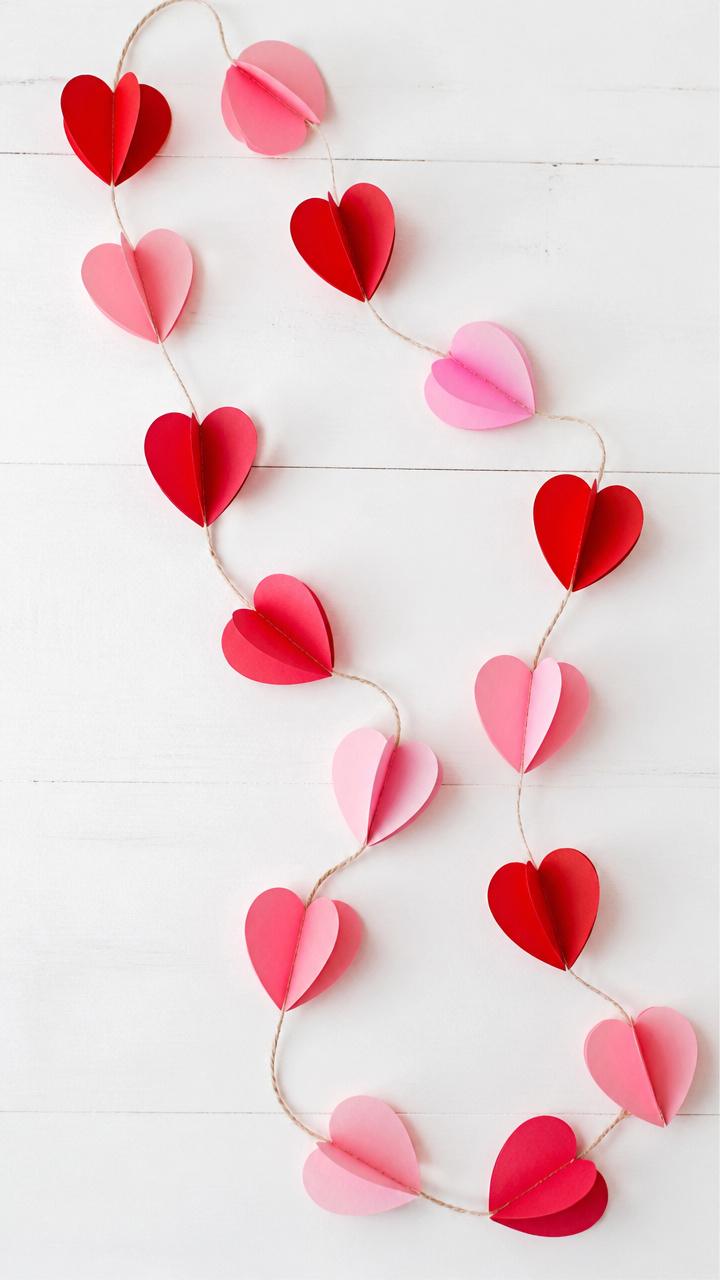
Delicate folded hearts dangle from twine in a soft cascade of color, perfect for mantels or bedroom walls. This airy decoration adds charm without clutter.
Materials Needed
- 8 sheets red construction paper
- 4 sheets pink construction paper
- Scissors
- Ruler
- Pencil
- White glue
- 6 feet cotton twine
How to Make It
- Fold one sheet of red paper in half lengthwise, then draw half a heart along the folded edge, 2 inches wide. Cut it out to make a full heart when opened.
- Repeat with remaining paper, mixing red and pink, until you have 24 hearts total.
- Use the pencil to poke a small hole at the top center of each heart.
- Cut a 6-foot piece of cotton twine. Apply a dot of glue to the back of each heart where the hole is, then thread the twine through and let the glue secure it in place.
- Let dry flat for 15 minutes before hanging.
2. Candy-Filled Cellophane Pouches
Easy

Bright cellophane bags burst with conversation hearts and ribbon, making cheerful little gifts for classmates or coworkers. They take minutes but feel thoughtfully assembled.
Materials Needed
- 10 clear 4×6 inch cellophane treat bags
- 1 cup assorted conversation hearts
- 10 pieces 12-inch red satin ribbon
- Glue dot roller
- Small heart-shaped confetti (optional)
How to Make It
- Fill each cellophane bag with 3 tablespoons of conversation hearts.
- Sprinkle a pinch of heart confetti on top if using.
- Fold the top edge of the bag down 1 inch, then press a glue dot across the fold to seal it shut.
- Tie a red satin ribbon around the sealed top and knot it into a bow.
3. Painted Rock Love Bugs
Easy
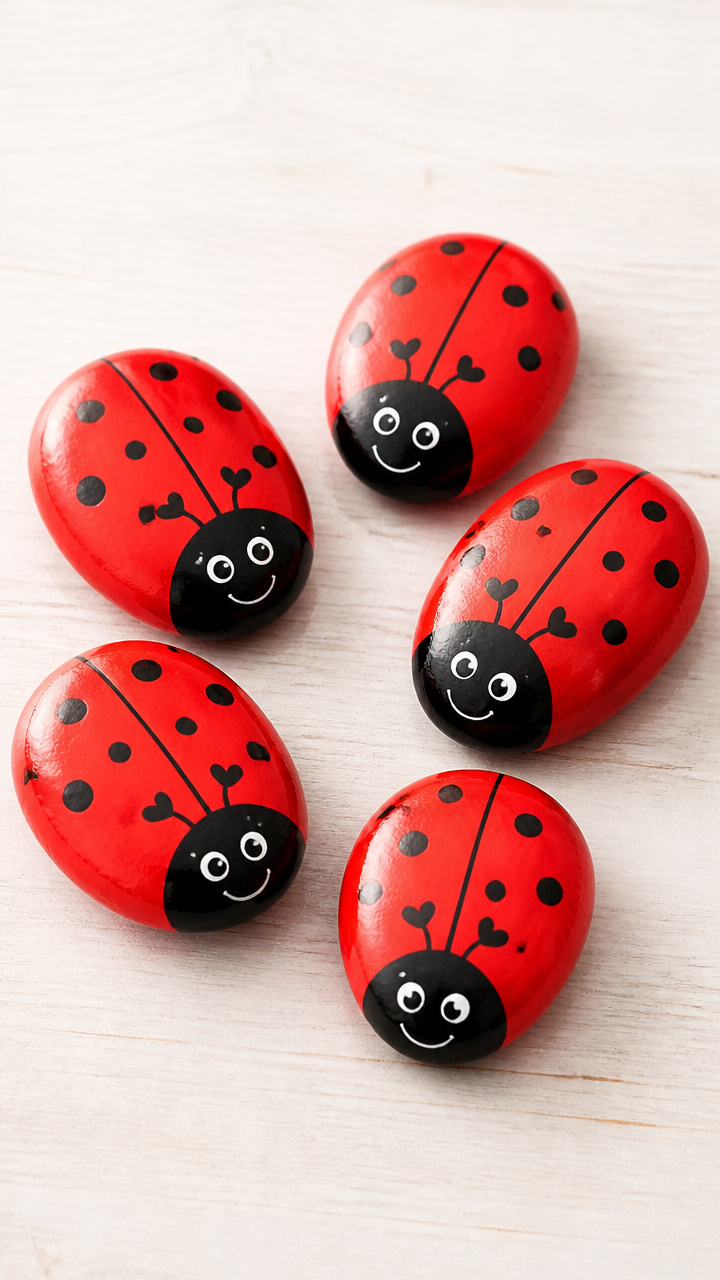
Smooth river rocks become smiling ladybugs with red paint and black markers, charming garden markers or desk decor. Their glossy finish makes them weather-resistant.
Materials Needed
- 5 smooth river rocks (about 2 inches long)
- Red acrylic paint
- Black acrylic paint pen
- Clear acrylic sealer spray
- Paintbrush (1/2 inch flat)
- Paper plate
How to Make It
- Pour a small puddle of red paint onto the paper plate. Use the brush to coat the top and sides of each rock, leaving the bottom unpainted.
- Let the rocks dry for 20 minutes on a flat surface.
- Draw a thick black line down the center of each dried rock to split it in half.
- Add six short black lines extending from the sides for legs, then draw a smiling face above the line.
- Hold the sealer spray 10 inches away and apply one even coat over each rock. Let dry 30 minutes.
4. Felt Heart Magnets
Easy
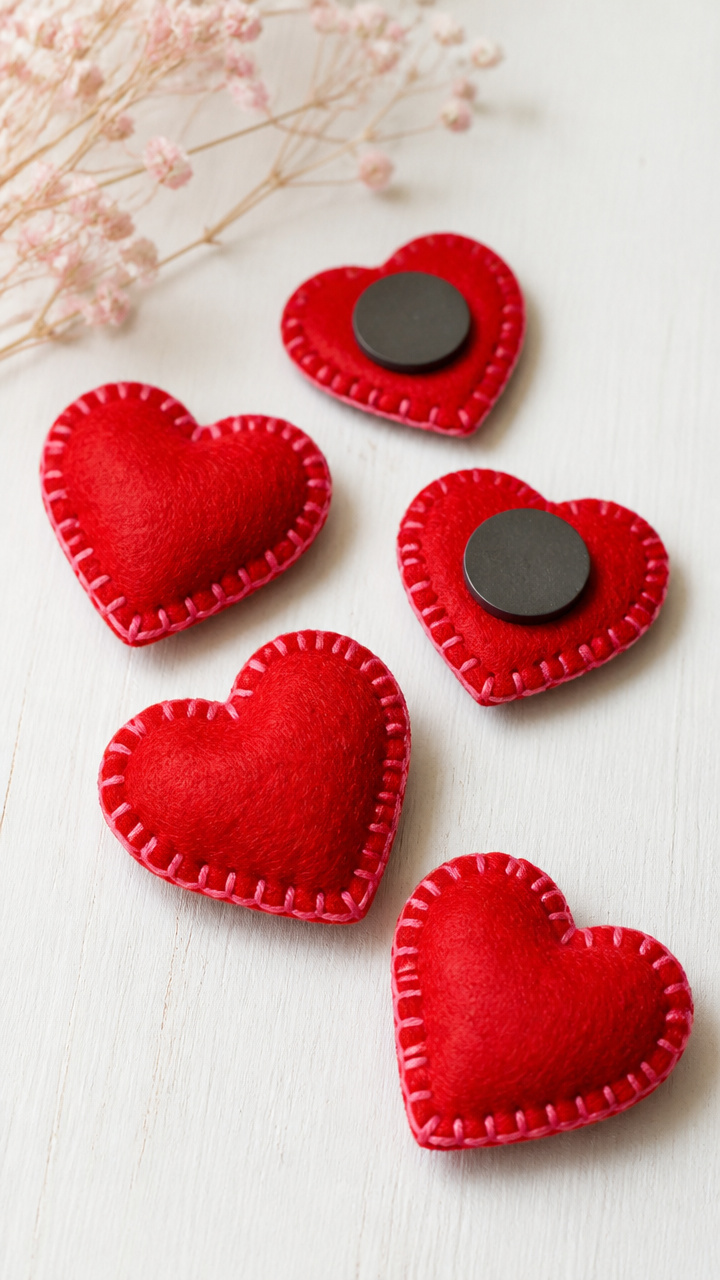
Plump red hearts edged in pink stitching stick to the fridge, holding up cards or grocery lists with quiet cheer. These soft magnets are sewn by hand with basic stitches.
Materials Needed
- 1 sheet red felt
- 1 sheet pink felt
- Embroidery needle
- Pink embroidery floss (6-strand)
- Scissors
- Round magnet discs (1 inch diameter), 5 pieces
- Fabric glue
How to Make It
- Cut 5 hearts from red felt, each 2 inches tall. Cut 5 smaller hearts from pink felt, each 1.5 inches tall.
- Thread the needle with 18 inches of pink floss, double it, and tie a knot at the end.
- Place a pink heart centered on a red heart. Stitch around the pink edge using a running stitch, 1/8 inch from the edge.
- Knot the thread on the back and trim. Repeat for all five.
- Glue one magnet disc to the back of each heart with fabric glue. Let dry 20 minutes.
5. Salt Dough Ornaments
Easy
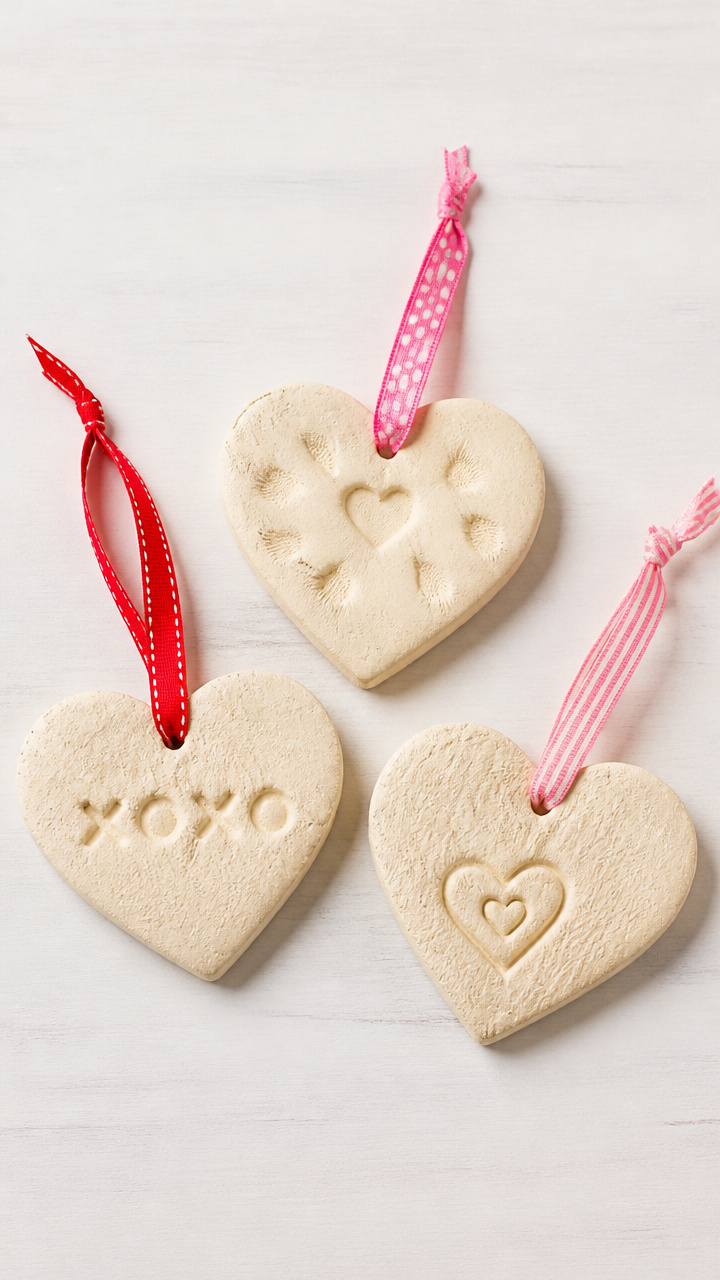
Hand-rolled ornaments keep fingerprints and sweet messages from little ones, baked firm and hung with ribbon. These timeless keepsakes harden into lasting mementos.
Materials Needed
- 1 cup all-purpose flour
- 1/2 cup table salt
- 1/2 cup warm water
- Rolling pin
- Heart-shaped cookie cutter (3 inches)
- Straw
- Baking sheet
- Parchment paper
- Red ribbon (12 inches per ornament)
- Acrylic paint (red and white)
- Paintbrush
How to Make It
- Mix flour, salt, and warm water in a bowl until a smooth dough forms. Knead for 2 minutes on a floured surface.
- Roll the dough to 1/4 inch thickness. Cut out 6 hearts using the cookie cutter.
- Press a straw through the top center of each heart to make a hanging hole.
- Line a baking sheet with parchment paper. Place hearts on the sheet and bake at 200°F for 3 hours until hard.
- Let cool completely. Paint each heart solid red and add a white initial or heart in the center. Let dry 30 minutes.
- Thread a 12-inch red ribbon through each hole and tie the ends.
6. Washi Tape Picture Frames
Easy
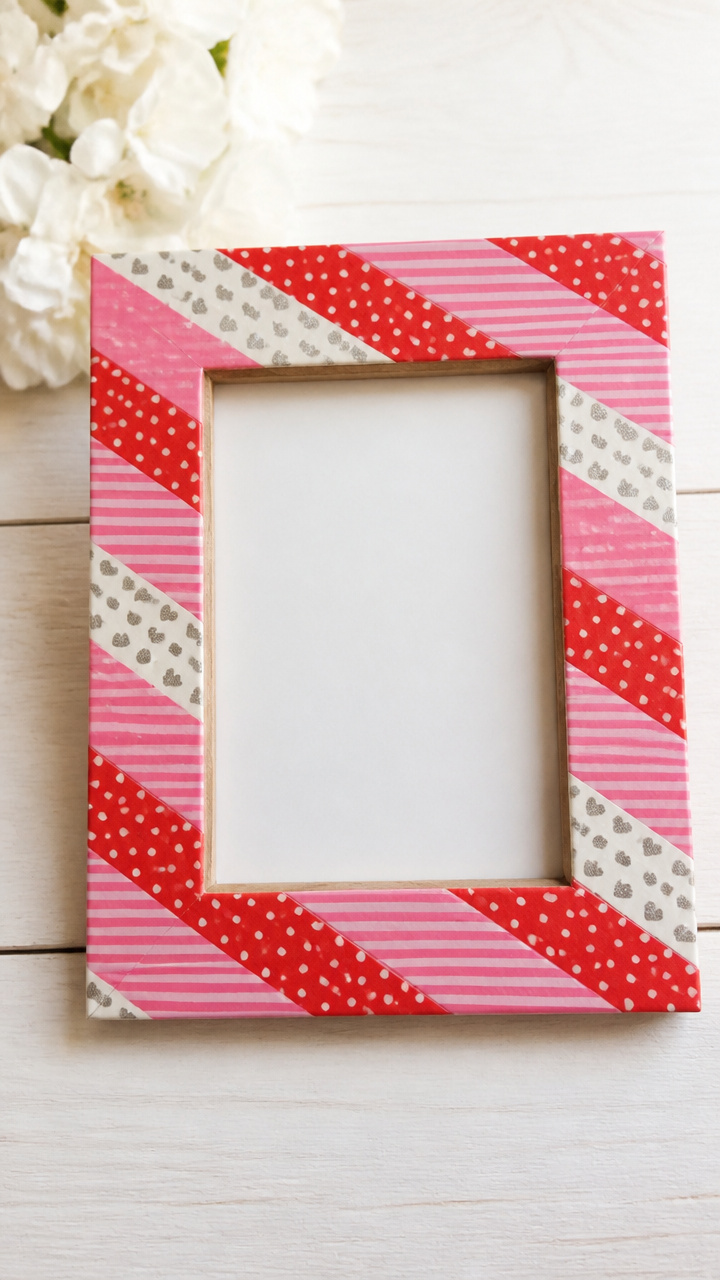
Plain wooden frames turn vibrant with diagonal stripes of patterned tape, framing photos with playful energy. No paint or drying time needed.
Materials Needed
- Wooden photo frame (5×7 inch, unfinished)
- 3 rolls washi tape (red polka dot, pink stripe, silver heart pattern)
- Craft knife
- Ruler
- Scissors
How to Make It
- Measure and cut 8 strips of washi tape, each 6 inches long, alternating patterns.
- Starting at the bottom left corner of the frame, apply one strip diagonally upward to the right side, trimming excess with the craft knife.
- Continue layering strips side by side until the entire front border is covered, with no gaps.
- Use scissors to neatly trim any overhang at the inner photo opening.
7. Lavender Scented Sachets
Easy
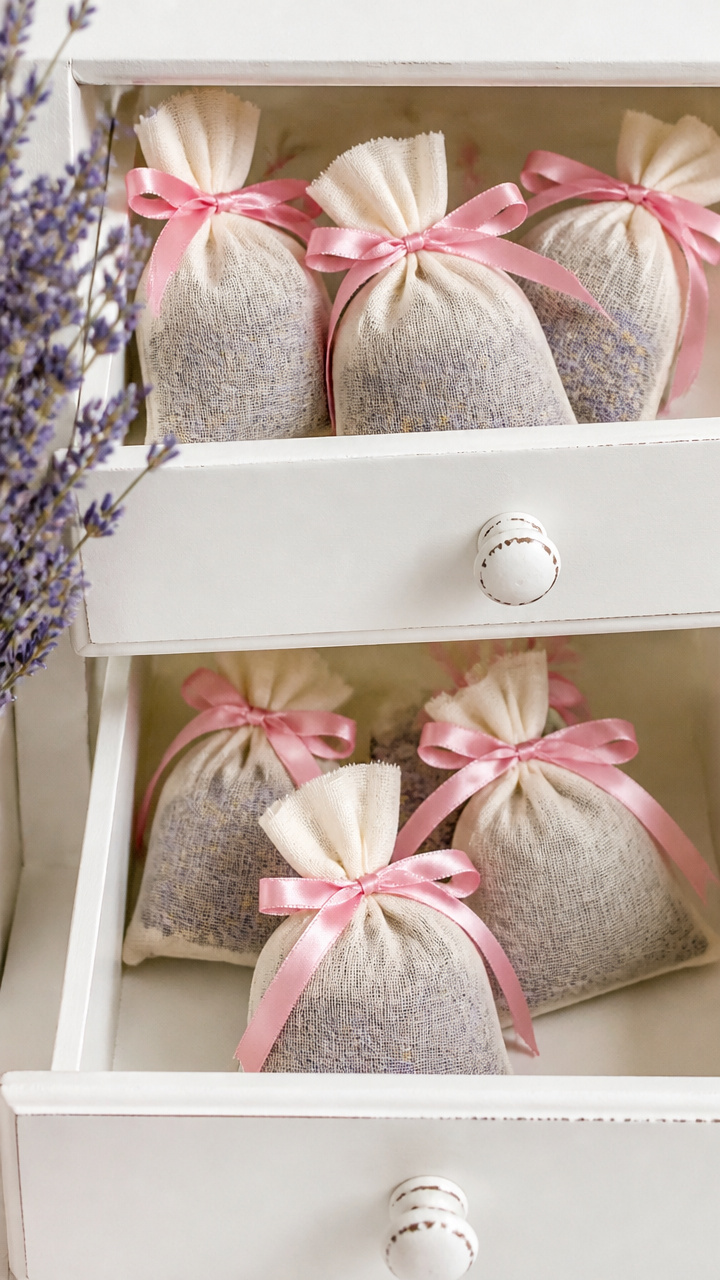
Tiny linen pouches filled with fragrant lavender rest in drawers or hang from knobs, offering calm and a whisper of romance. The scent lingers for months.
Materials Needed
- 1 yard unbleached muslin fabric
- Scissors
- Sewing needle
- White thread
- 1/2 cup dried lavender buds
- 10-inch length pink ribbon
- Pencil
How to Make It
- Cut two rectangles from muslin, each 4×3 inches.
- Place them together, right sides facing. Sew around three edges with a 1/4 inch seam, using a backstitch at start and end.
- Turn the pouch right side out through the open edge.
- Fill with 2 tablespoons of dried lavender buds.
- Fold the open edge inward 1/4 inch and slip the pink ribbon through the fold. Stitch the edge closed over the ribbon, securing it as a hanger.
8. Pom-Pom Love Monsters
Easy
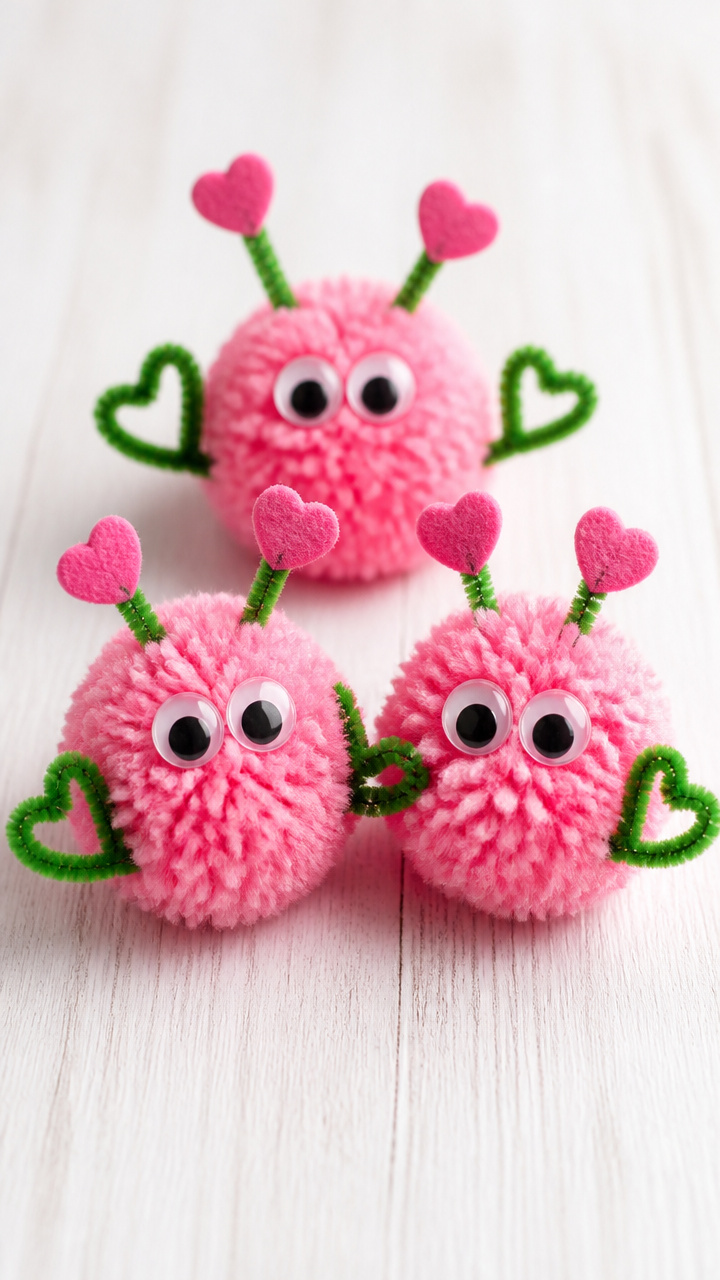
Fluffy pink pom-poms grow googly eyes and pipe cleaner arms, becoming silly valentines for kids' parties. These goofy friends are quick to assemble.
Materials Needed
- 10 pink yarn pom-poms (1.5 inch size)
- 20 black mini googly eyes (1/4 inch)
- 5 green pipe cleaners
- Hot glue gun
- Hot glue sticks
- Scissors
How to Make It
- Plug in the hot glue gun and let it heat for 3 minutes.
- Apply a dab of hot glue to the back of each googly eye and press two onto the front of a pom-pom. Hold 10 seconds until set.
- Cut each pipe cleaner into two equal lengths. Bend one end of each piece into a small loop for an arm.
- Glue one arm to each side of the pom-pom. Hold until secure.
- Repeat for all five monsters.
9. Pressed Flower Bookmarks
Easy
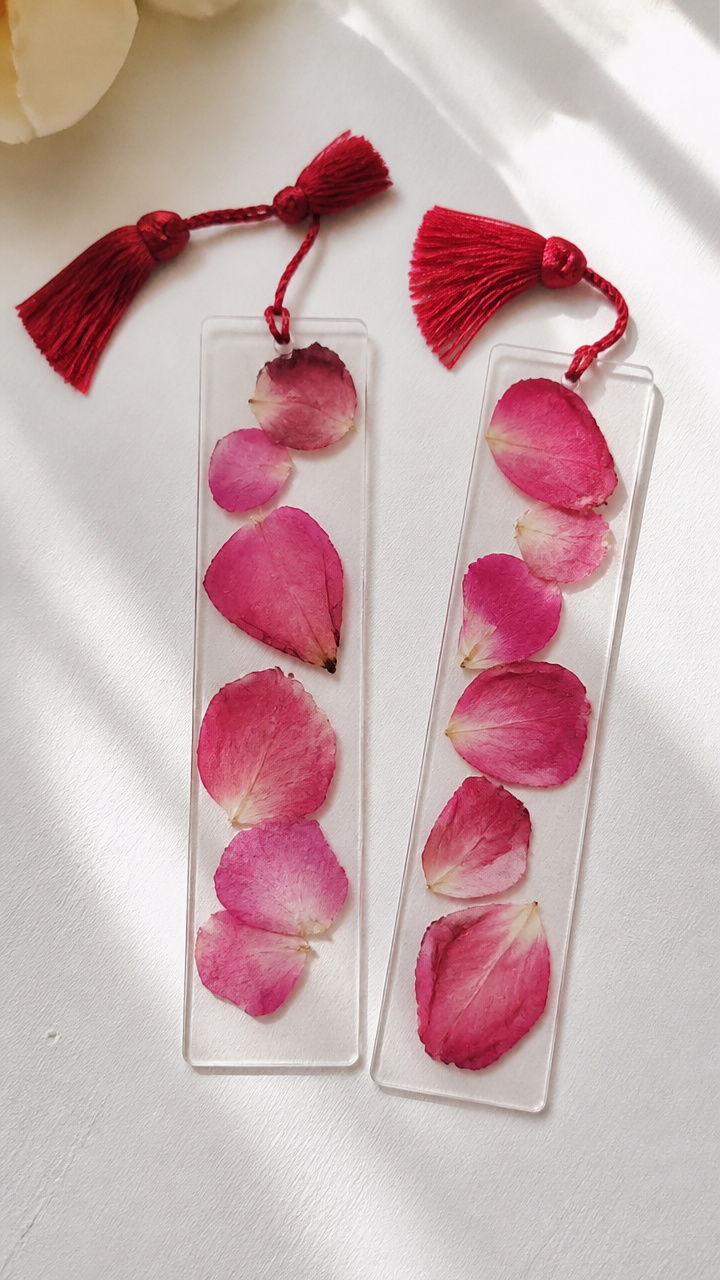
Delicate pink rose petals sealed in laminate strips slide between pages, marking your place with natural beauty. These preserve blooms like tiny stained glass.
Materials Needed
- 5 dried pink rose petals (flat, not curled)
- 5 self-adhesive laminating sheets (4×8 inch)
- Scissors
- Hole punch
- 12-inch red tassel (5 pieces)
How to Make It
- Peel the backing off one laminating sheet. Center a rose petal near the top third of the sticky side.
- Carefully lay the protective film back over the petal and press gently to seal.
- Trim the excess laminate around the bookmark, leaving a 1/8 inch border.
- Punch a hole at the top and thread a red tassel through. Knot the end.
10. Cinnamon Roll Ornaments
Easy
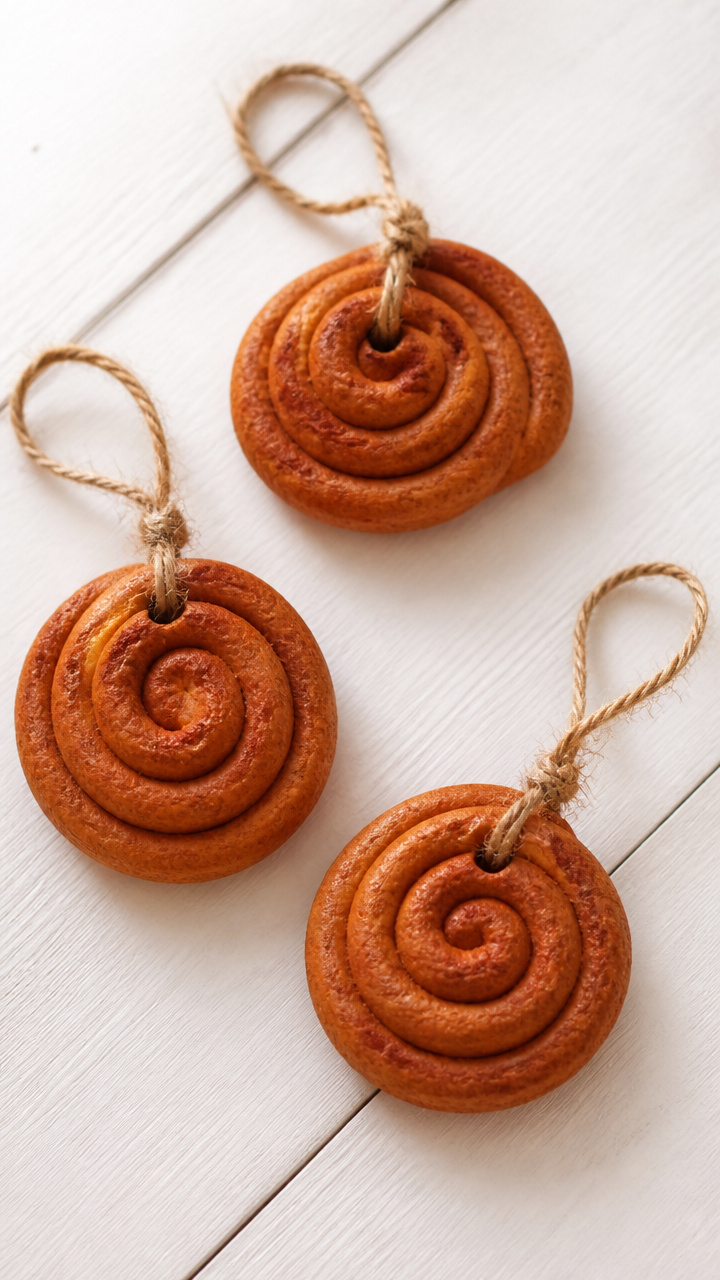
Spiced dough shaped into tight spirals becomes rustic holiday charms that smell like warmth and comfort. Baking them deepens the rich cinnamon scent.
Materials Needed
- 1 cup ground cinnamon
- 1/2 cup applesauce
- Mixing bowl
- Rolling mat or plate
- Pencil
- Baking sheet
- Parchment paper
- Twine (10 inches per ornament)
How to Make It
- Mix cinnamon and applesauce in a bowl until a stiff dough forms, about 2 minutes.
- Roll a teaspoon of dough into a rope 6 inches long. Coil it tightly from the outside in to form a spiral.
- Place on a parchment-lined baking sheet. Repeat for four more ornaments.
- Bake at 175°F for 2 hours. Turn off oven and leave inside overnight to dry fully.
- Thread twine through the center swirl and tie for hanging.
11. Button Flower Bouquets
Moderate
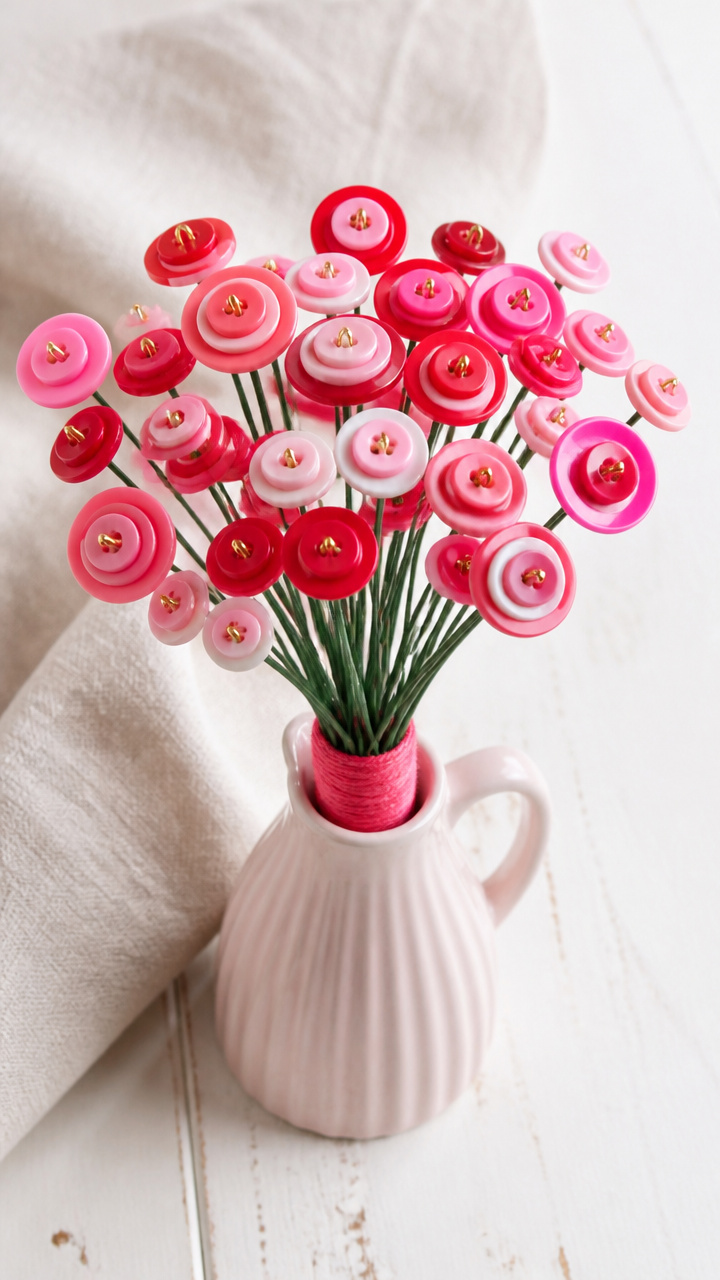
Colorful buttons with shanks become petals on wire stems, bundled into cheerful no-wilt bouquets. These sit pretty in tiny vases or as table scatter.
Materials Needed
- 20 red 4-hole buttons (3/4 inch)
- 10 pink 4-hole buttons (1 inch)
- 5 green pipe cleaners
- Needle
- Green embroidery floss
- Wire cutters
- Small vase
How to Make It
- Cut each pipe cleaner in half to make 10 stems.
- Thread the needle with 18 inches of green floss. Slide a red button onto the floss, then pass the needle up through opposite holes to secure.
- Wrap the floss around the base of the button twice, then push it down the pipe cleaner stem. Repeat with 3 more red buttons on the same stem.
- Top the cluster with a large pink button, stitching it in place with two wraps.
- Fluff the 'petals' outward. Arrange five stems in a small vase.
12. Glitter-Dipped Mason Jars
Easy
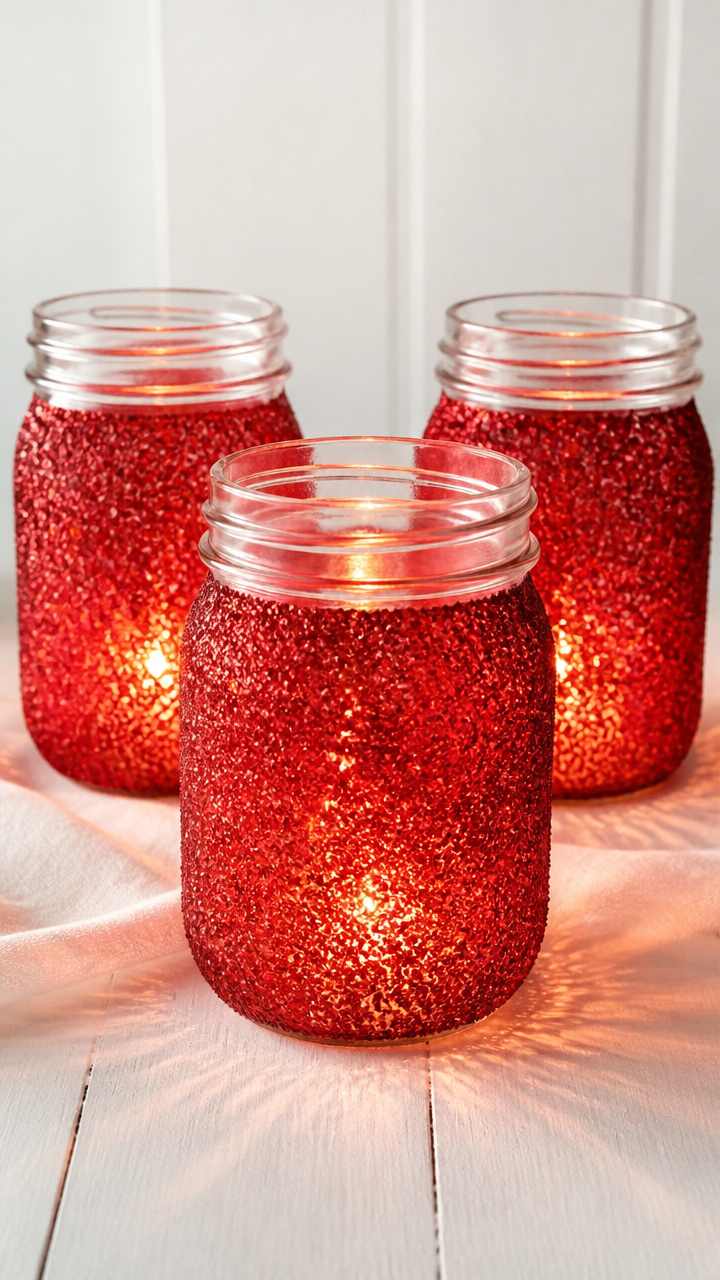
Clear jelly jars glow with candlelight through layers of fine red glitter, casting sparkled shadows on walls. Dipping them creates a dense, frosty look.
Materials Needed
- 5 clean 8-ounce mason jars
- Red fine glitter
- White school glue
- Foam brush (1 inch)
- Paper plate
- Tray or box for drying
How to Make It
- Pour a puddle of white glue onto the paper plate.
- Use the foam brush to coat the lower half of a jar with a thin, even layer of glue.
- Pour glitter onto the tray. Hold the jar upside down and press the glued section into the glitter, turning to cover completely.
- Set upright on a flat surface to dry for 30 minutes. Repeat for all jars.
13. Yarn-Wrapped Hearts
Easy
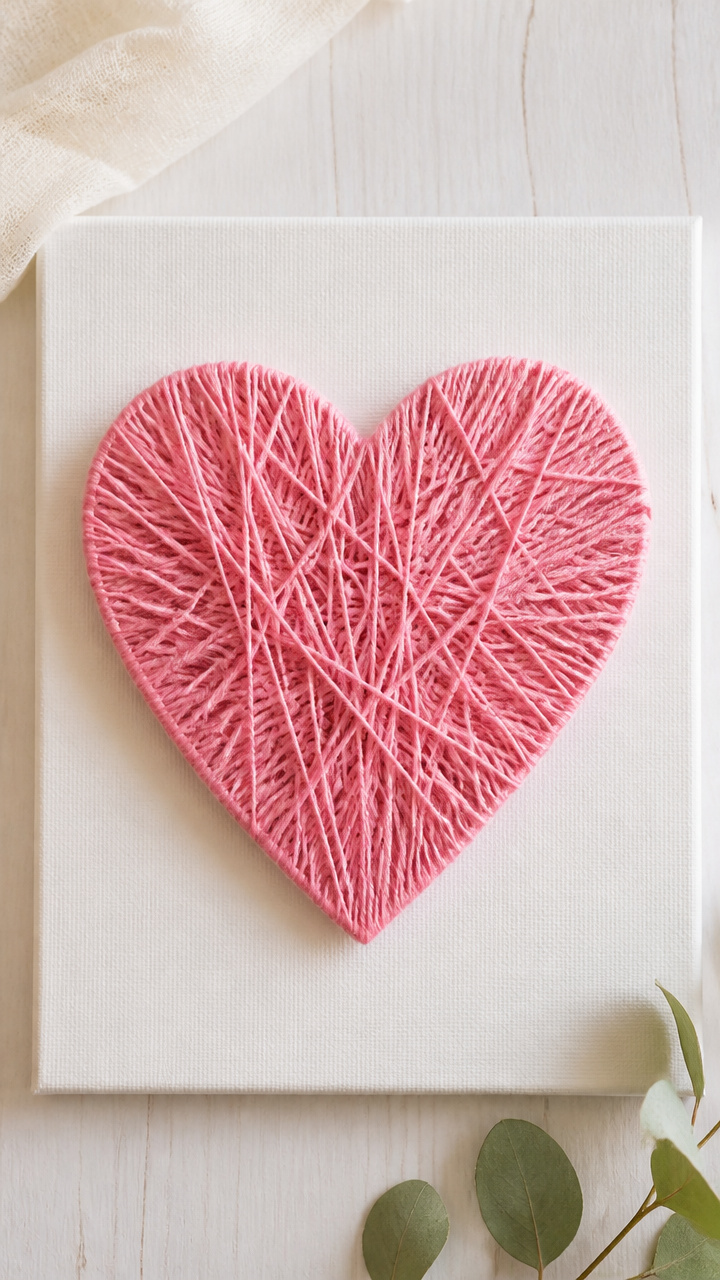
Stiff cardboard hearts wrapped tightly in pink yarn become soft wall art with a modern twist. The texture catches light and adds warmth.
Materials Needed
- Cardboard sheet
- Pencil
- Scissors
- Pink yarn (size 4, 50 yards)
- White glue
- Foam brush (1/2 inch)
How to Make It
- Draw a heart 5 inches tall on cardboard and cut it out. Repeat for four more hearts.
- Put a dot of glue on the bottom tip of a heart. Press the yarn end to it and let set 1 minute.
- Wrap the yarn tightly around the heart, moving upward. Add a dab of glue every inch to hold loose ends underneath.
- When the surface is fully covered, cut the yarn and glue the end down. Let dry 15 minutes.
- Hang with a loop of extra yarn glued to the back top.
14. Love Note Fortune Cookies
Moderate
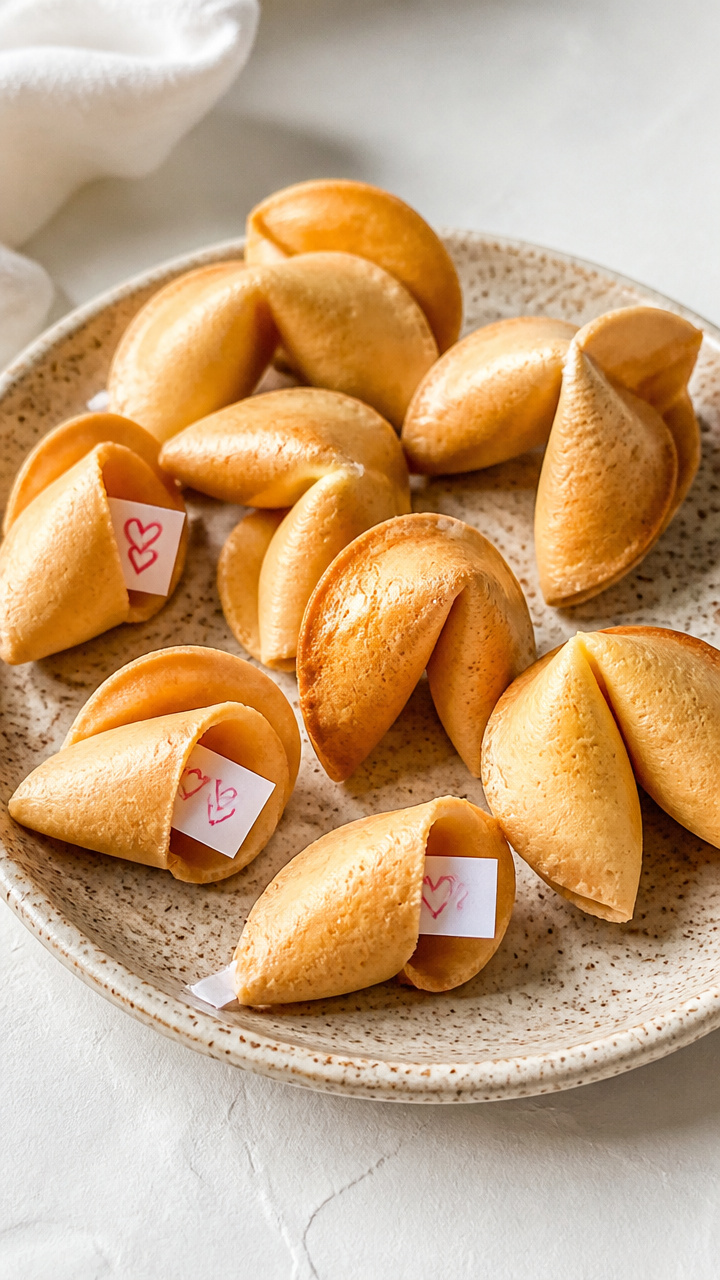
Crisp sugar cookies folded while warm hold handwritten messages, cracking open like edible secrets. These sweet treats surprise with personal notes inside.
Materials Needed
- Fortune cookie mix (one package)
- Water (as directed on mix)
- Cookie sheet
- Parchment paper
- Pastry brush
- Butter
- Small paper strips (1×3 inches), 10 pieces
- Pen
How to Make It
- Preheat oven to 300°F. Mix cookie batter with water as directed. Spoon 1 tablespoon per cookie onto a parchment-lined sheet, spacing 3 inches apart.
- Bake 10 minutes until golden. Remove and let sit 1 minute.
- Brush the back of each cookie with melted butter. Fold in half, then pinch the edges together to form a U-shape.
- Write a short message on each paper strip. Slide one into each warm cookie crack before it sets.
- Let cool fully on the sheet for 10 minutes.
15. Crayon Heart Suncatchers
Moderate
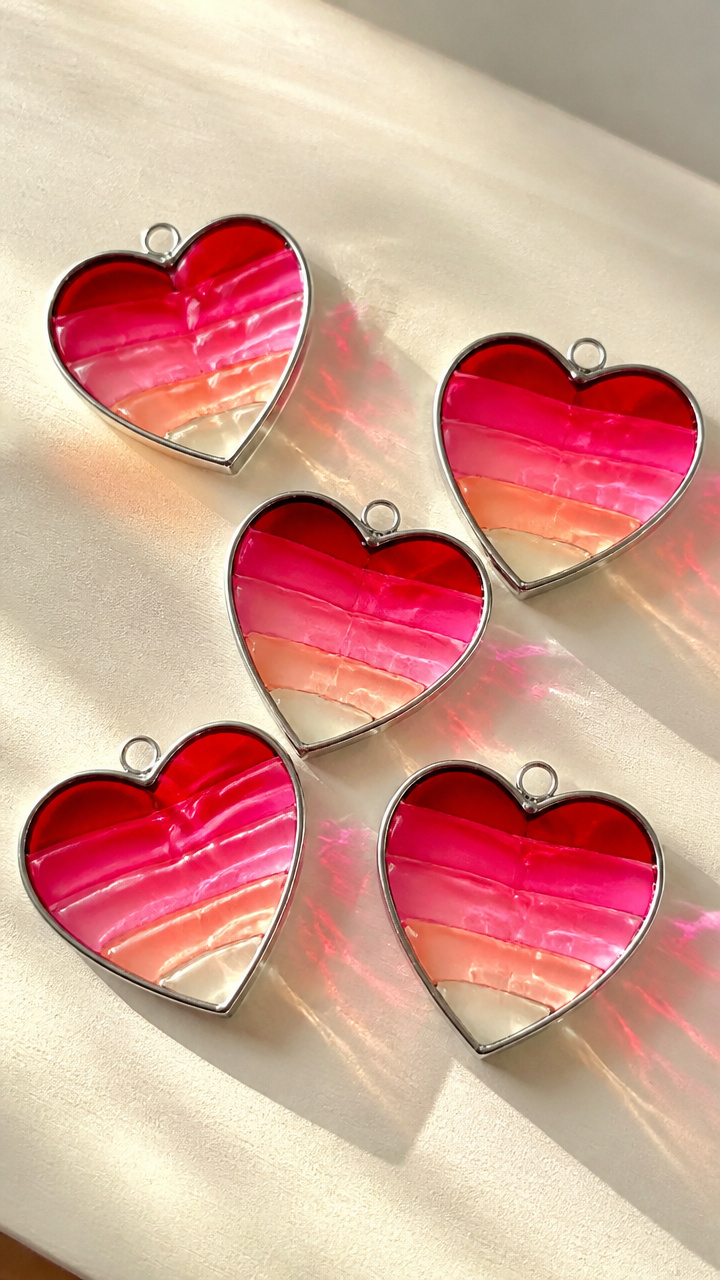
Broken crayon bits melt into rainbow hearts inside metal frames, transforming sunlight into colored beams. Watching them drip is part of the fun.
Materials Needed
- Silicone heart molds (3 inch, 5 cavities)
- Assorted red, pink, and white crayons (peeled, 10 total)
- Knife
- Cutting board
- Oven-safe tray
- Metal heart keychains (2 inch, 5 pieces)
How to Make It
- Preheat oven to 250°F. Chop crayons into 1/4 inch pieces on the cutting board.
- Fill each silicone mold cavity halfway with mixed crayon pieces.
- Place molds on an oven-safe tray and bake 15 minutes until fully melted.
- Remove and let cool 10 minutes. Pop out each wax heart.
- Slide a metal keychain frame over the top edge of each wax heart to hold it.
Grab your scissors, glue, and a bit of heart. You’ve got everything you need to make something lovely today.