20 Winter Crafts for Seniors in Care Centers and Activity Groups

Soft yarns, shimmering papers, and the quiet joy of making something with your hands—winter invites creativity that warms more than just a room. These crafts are designed with care, using materials that are easy to handle and techniques that honor patience and precision.
Each project fits comfortably in a seated setting, requires minimal setup, and delivers a satisfying sense of completion. Whether you're crafting for comfort, connection, or celebration, these ideas bring color and calm to group gatherings.
1. Felt Mitten Ornaments
Easy
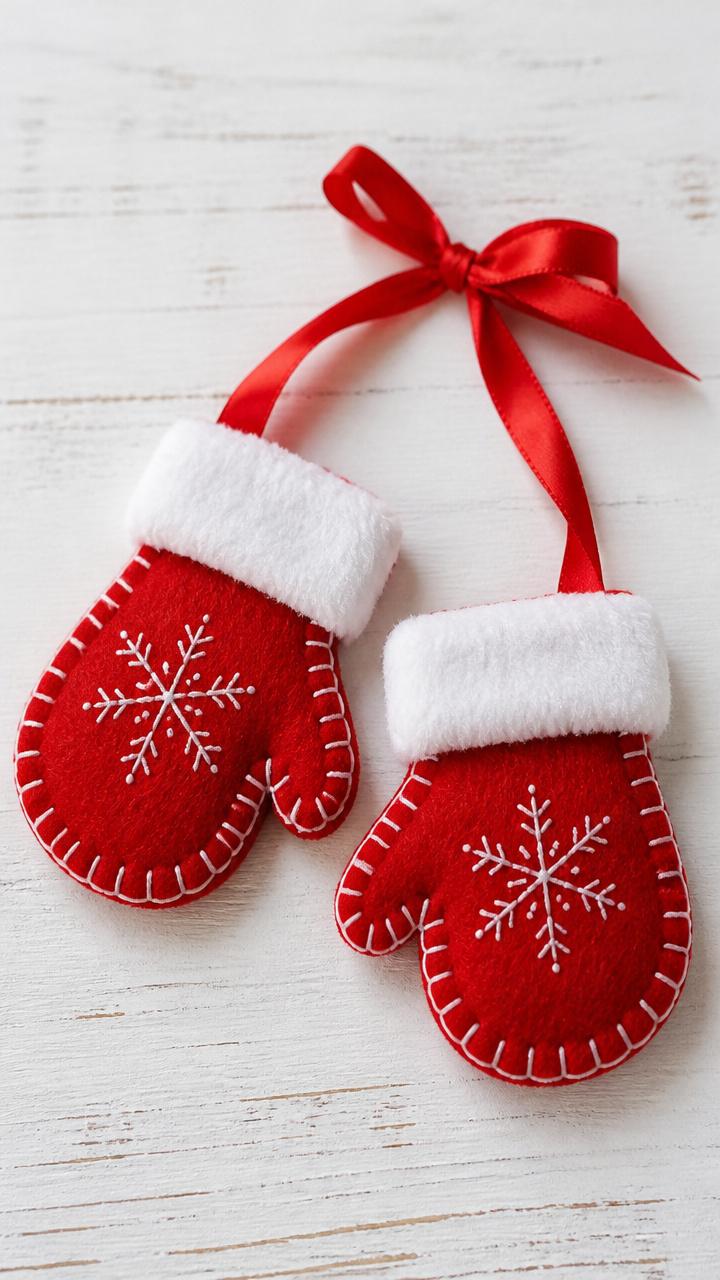
Bold red mittens trimmed with white fur evoke cozy winter mornings and holiday cheer.
Materials Needed
- Two 4-inch red felt squares
- White craft fur trim, 12 inches
- Red embroidery floss
- Needle
- Scissors
- Ribbon for hanging, 6 inches
How to Make It
- Cut one mitten shape from each red felt square using scissors.
- Place the two pieces together and sew around the edges with red embroidery floss using a running stitch.
- Glue white craft fur trim along the top edge of one mitten before sewing shut.
- Sew a loop of ribbon to the top for hanging.


2. Pinecone Cinnamon Wreath
Easy
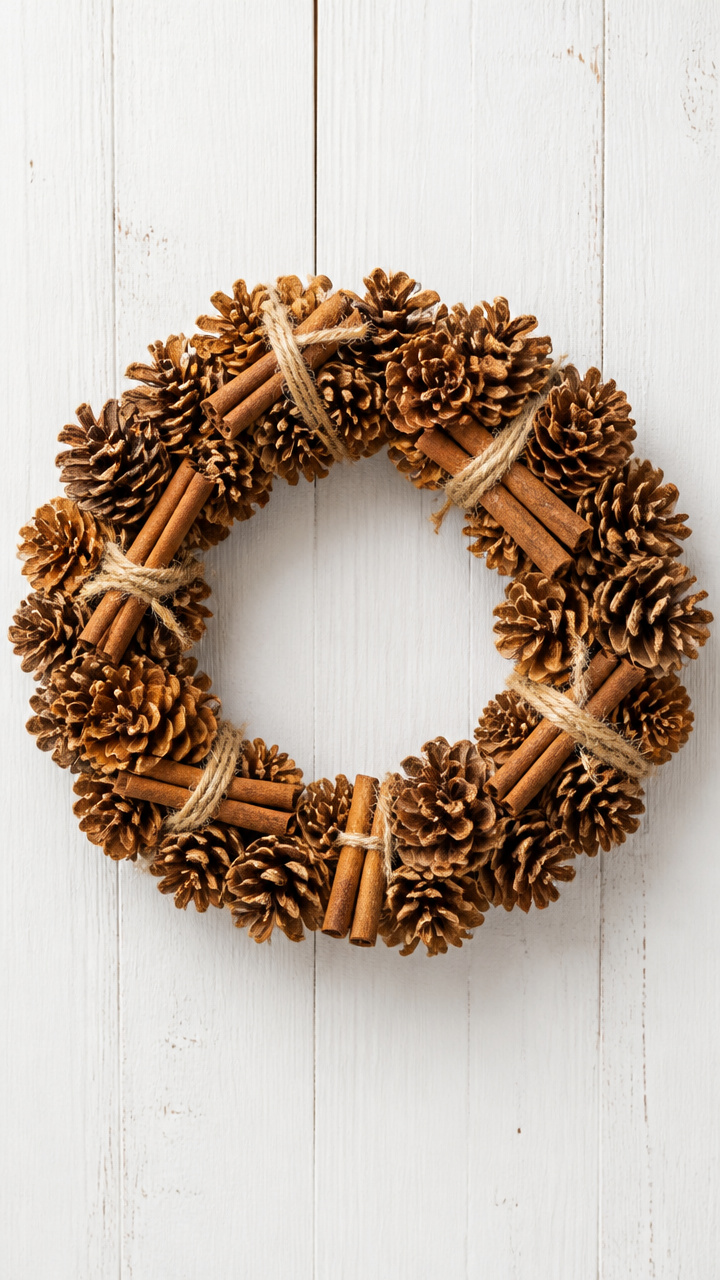
A fragrant, golden-brown wreath fills the room with the scent of spice and forest.
Materials Needed
- One 8-inch wire wreath frame
- Twelve medium pinecones
- Cinnamon sticks, 10 full-length
- Hot glue gun and glue sticks
- Jute twine, 12 inches
How to Make It
- Apply hot glue to the base of each pinecone and attach them evenly around the wire frame.
- Fill gaps between pinecones by gluing cinnamon sticks upright around the frame.
- Tie jute twine into a loop and glue it to the back for hanging.


3. Knit Hat Snowman Magnets
Moderate
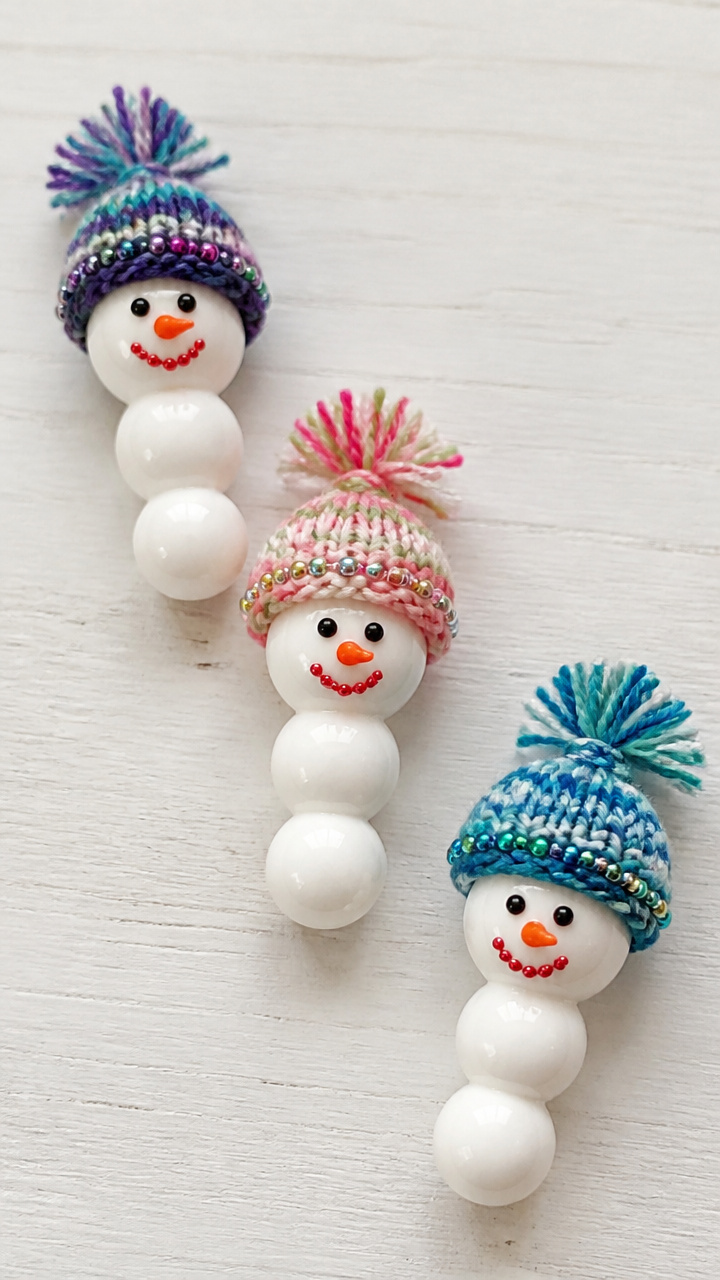
Tiny snowmen wearing colorful knit hats stand proudly on any refrigerator or magnetic board.
Materials Needed
- Three polymer clay balls: white (1 inch), orange (small), black (tiny)
- Acrylic paint: orange, black, red
- Paintbrush
- Magnetic strips, 1×0.5 inch, self-adhesive
- Beaded yarn scraps, assorted colors
- White craft glue
How to Make It
- Roll white polymer clay into a ball and bake according to package instructions.
- Paint the orange and black clay balls to resemble a carrot nose and coal eyes/mouth.
- Glue the facial features and orange nose onto the large white ball.
- Wrap a small strip of beaded yarn around the head as a hat band and glue in place.
- Attach a magnetic strip to the back with white craft glue.


4. Window Frost Art
Easy
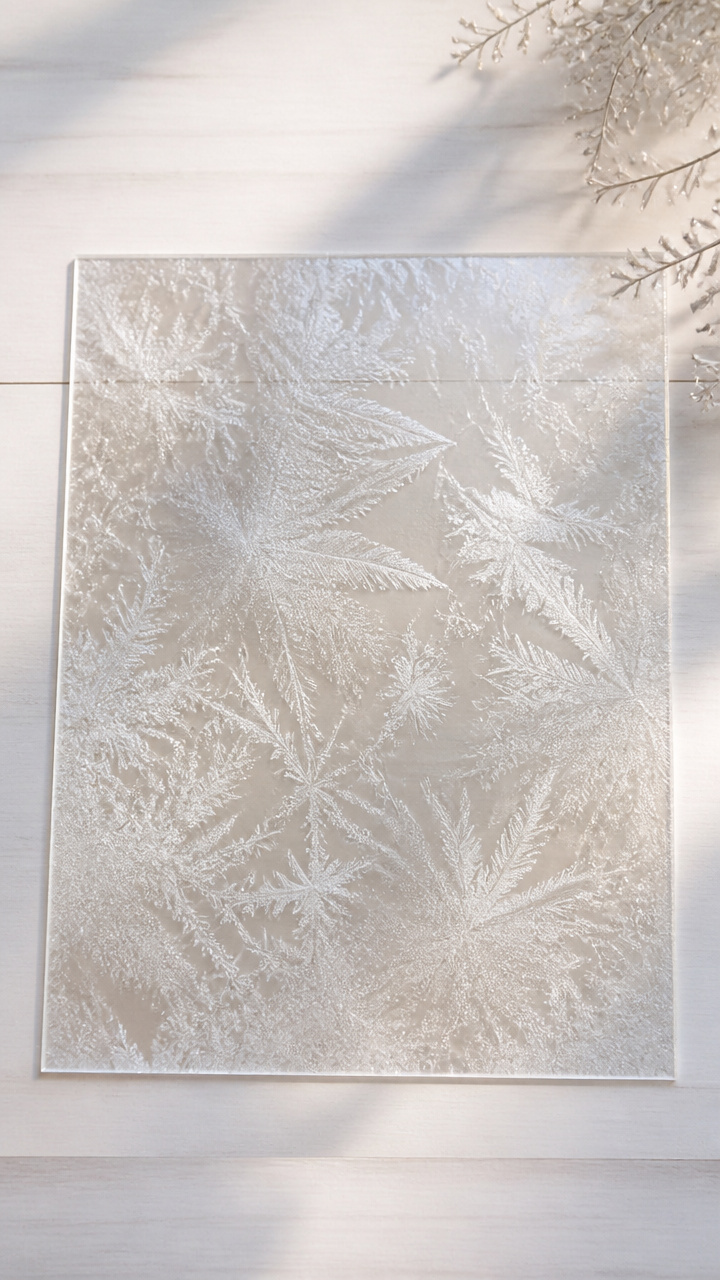
Delicate frost patterns cling to glass like real winter ice, glowing when backlit.
Materials Needed
- Contact paper, 9×12 inch sheet
- Craft knife
- Pencil
- Wax paper
- Scissors
- Double-sided tape
How to Make It
- Draw intricate snowflake designs on the contact paper with a pencil.
- Carefully cut out the designs using a craft knife on a flat surface.
- Peel the backing and apply the sticky side to a clean window using double-sided tape at the corners.
- Place wax paper behind the design to create contrast if needed.


5. Yarn-Wrapped Jars
Easy
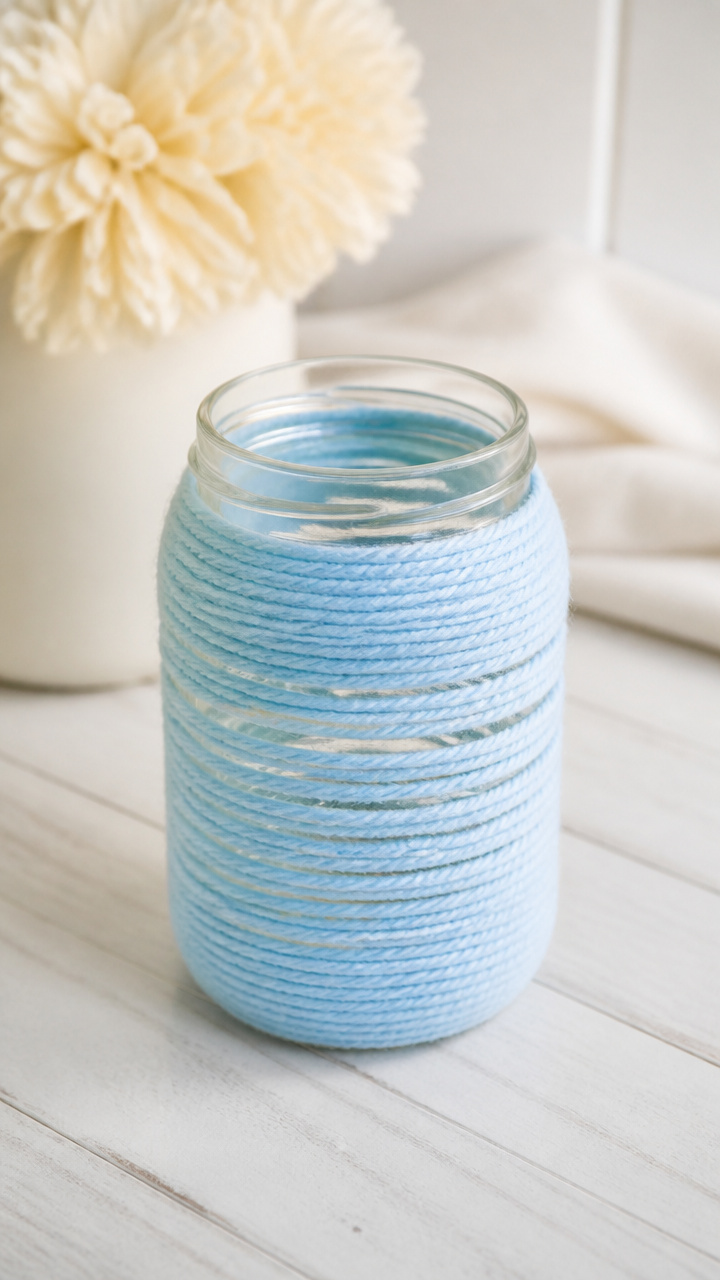
Soft pastel yarn wraps around glass jars, turning them into gentle candleholders.
Materials Needed
- Mason jar, 8 oz
- Pastel blue yarn
- White craft glue
- Paintbrush
- Scissors
How to Make It
- Brush a thin layer of white craft glue around the lower third of the jar.
- Start wrapping the pastel blue yarn tightly around the glued section, pressing each turn into place.
- Continue until the entire glued area is covered, then cut the yarn and secure the end with a dab of glue.
- Let dry completely before placing a tea light inside.


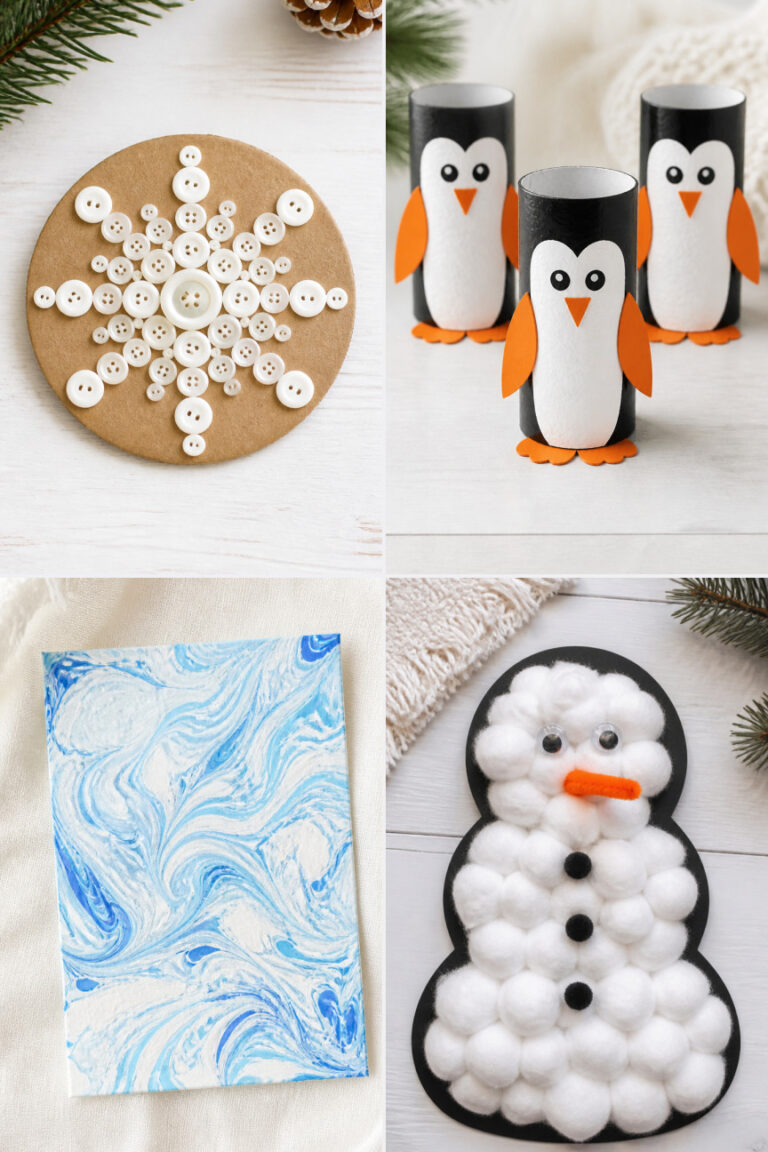
6. Button Snowflakes
Moderate
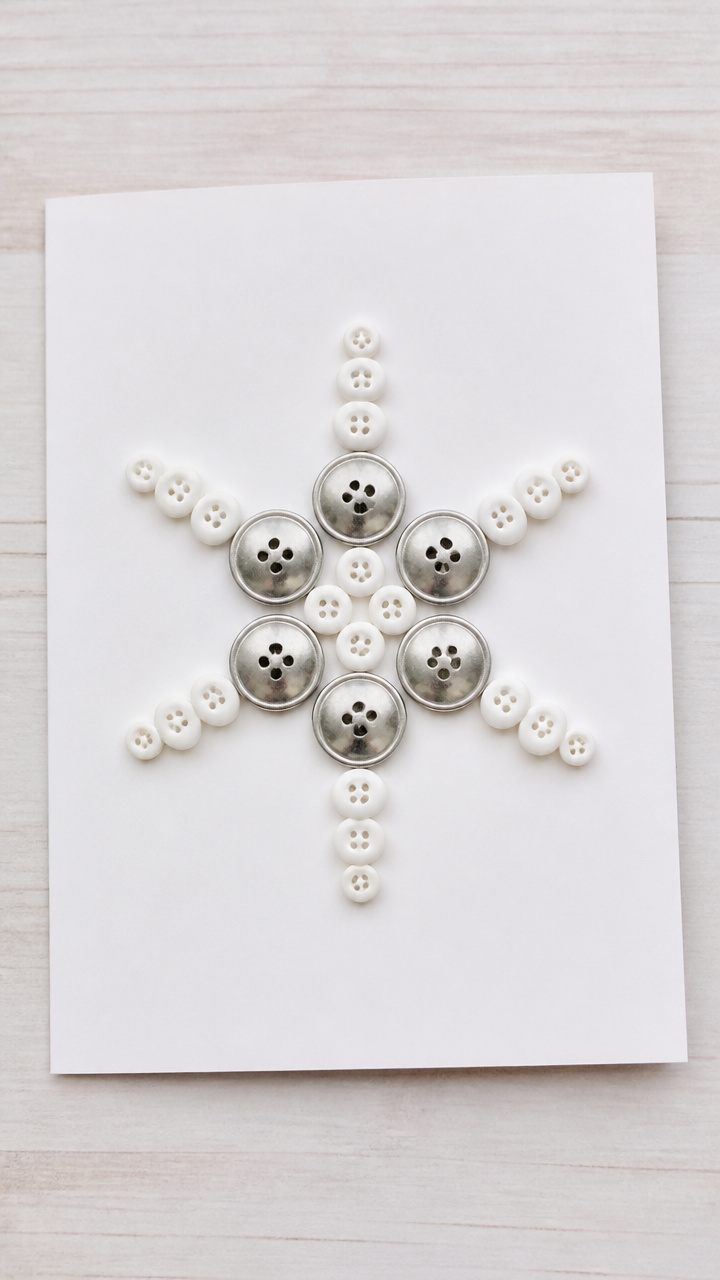
Shiny buttons in silver and white form symmetrical stars that catch the winter light.
Materials Needed
- Six silver buttons, 1 inch diameter
- Twelve white buttons, 0.5 inch
- White cardstock
- Compass or circular stencil
- Pencil
- White craft glue
- Paintbrush
- Scissors
How to Make It
- Draw a 4-inch circle on white cardstock using a compass or stencil.
- Cut out the circle and draw six evenly spaced lines from center to edge.
- Glue one silver button at the center using a paintbrush to spread glue evenly.
- Place a small white button at the end of each line and glue in place.
- Add a second white button beside each outer button to complete the flake shape.


7. Mini Quilt Coasters
Moderate
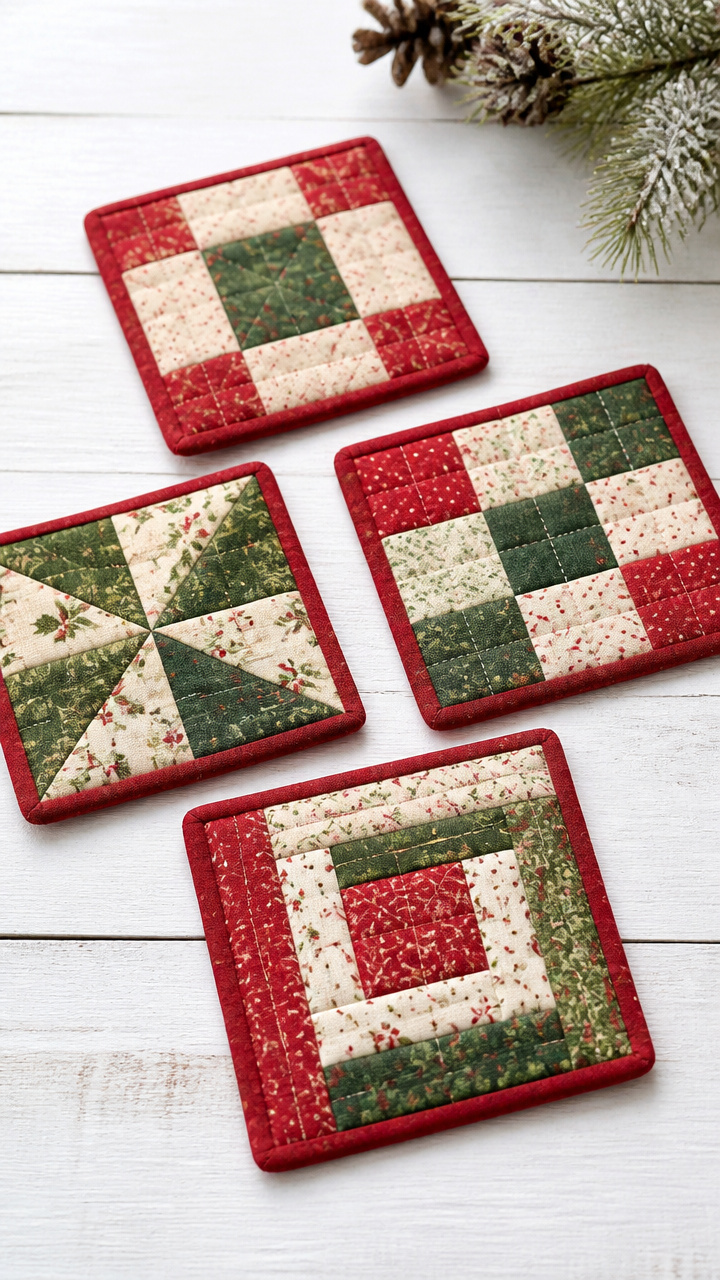
Patchwork squares stitched together make durable, decorative coasters for daily use.
Materials Needed
- Cotton fabric scraps: red, green, cream (each 4×4 inch)
- Batting squares, 4×4 inch, three pieces
- Quilting needle
- Thread: red
- Scissors
- Straight pins
How to Make It
- Layer one fabric scrap, one batting square, and a second fabric scrap face down to form a sandwich.
- Pin the layers together at the corners and center.
- Stitch around the edges using a quilting needle and red thread in a simple running stitch.
- Repeat for all three coasters.
8. Salt Dough Ornaments
Moderate
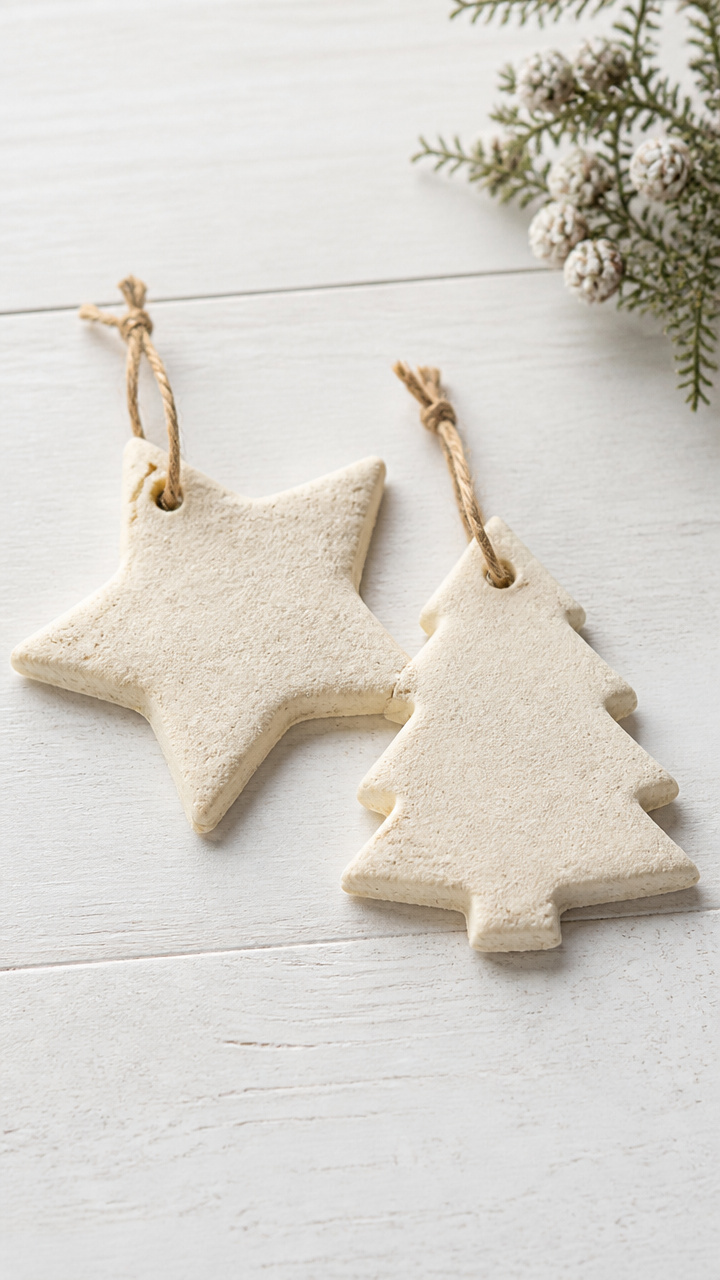
Homemade ornaments shaped like stars and trees carry personal charm and last for years.
Materials Needed
- Flour, 1 cup
- Salt, 1/2 cup
- Water, 1/2 cup
- Mixing bowl
- Wooden spoon
- Cookie cutters: star, tree
- Straw
- Baking sheet
- Oven
- Red acrylic paint
- Red embroidery floss, 6 inches
How to Make It
- Mix flour, salt, and water in a bowl with a wooden spoon until a firm dough forms.
- Roll out the dough to 1/4 inch thickness and press shapes with cookie cutters.
- Use a straw to poke a hole near the top edge of each ornament.
- Bake on a baking sheet at 200°F for 3 hours until hard.
- Paint the tops with red acrylic paint and let dry.
- Thread red embroidery floss through the hole for hanging.


9. Knit Scarf Bookmark
Easy
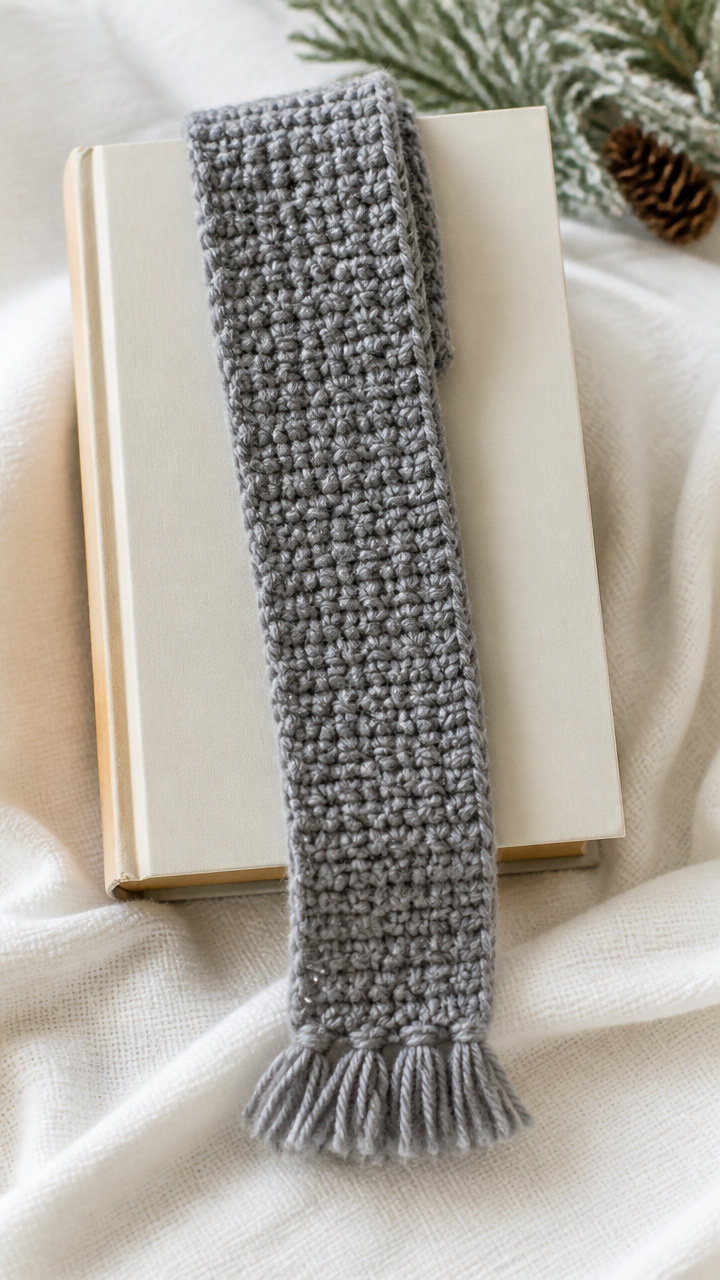
A soft, narrow scarf wraps around a book's spine, marking your page with warmth.
Materials Needed
- Chunky gray yarn
- Size 10 knitting needles
- Scissors
How to Make It
- Cast on 6 stitches using chunky gray yarn and size 10 needles.
- Knit every row for 8 inches using the garter stitch.
- Bind off loosely and cut yarn, leaving a 4-inch tail.
- Weave in the ends with a finger.


10. Glitter Pine Branches
Easy
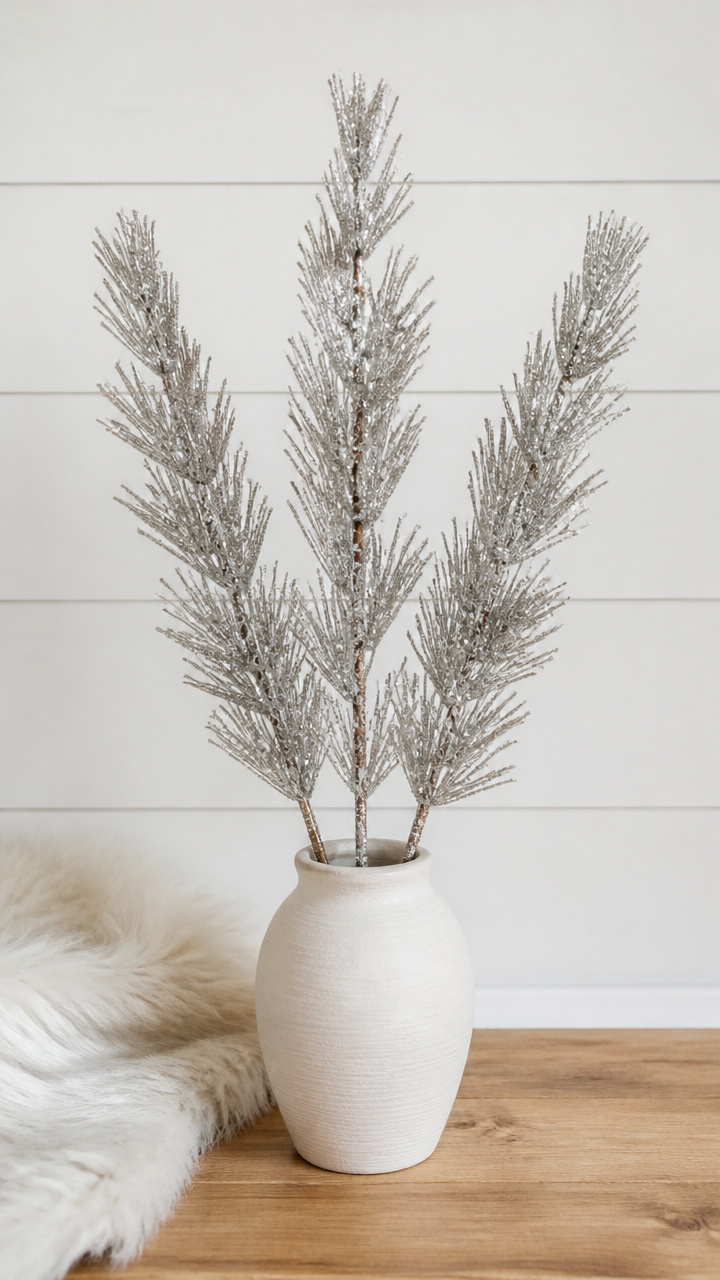
Slender pine branches dipped in glue and glitter stand tall in a simple vase.
Materials Needed
- Three dried pine branches, 12 inches long
- White craft glue
- Fine silver glitter
- Shallow dish
- Vase
- Paper plate
How to Make It
- Pour white craft glue into a shallow dish.
- Dip the top third of each pine branch into the glue.
- Sprinkle fine silver glitter over the wet glue section while holding over a paper plate.
- Let dry completely before arranging in a vase.


11. Crocheted Doily Snowmen
Moderate
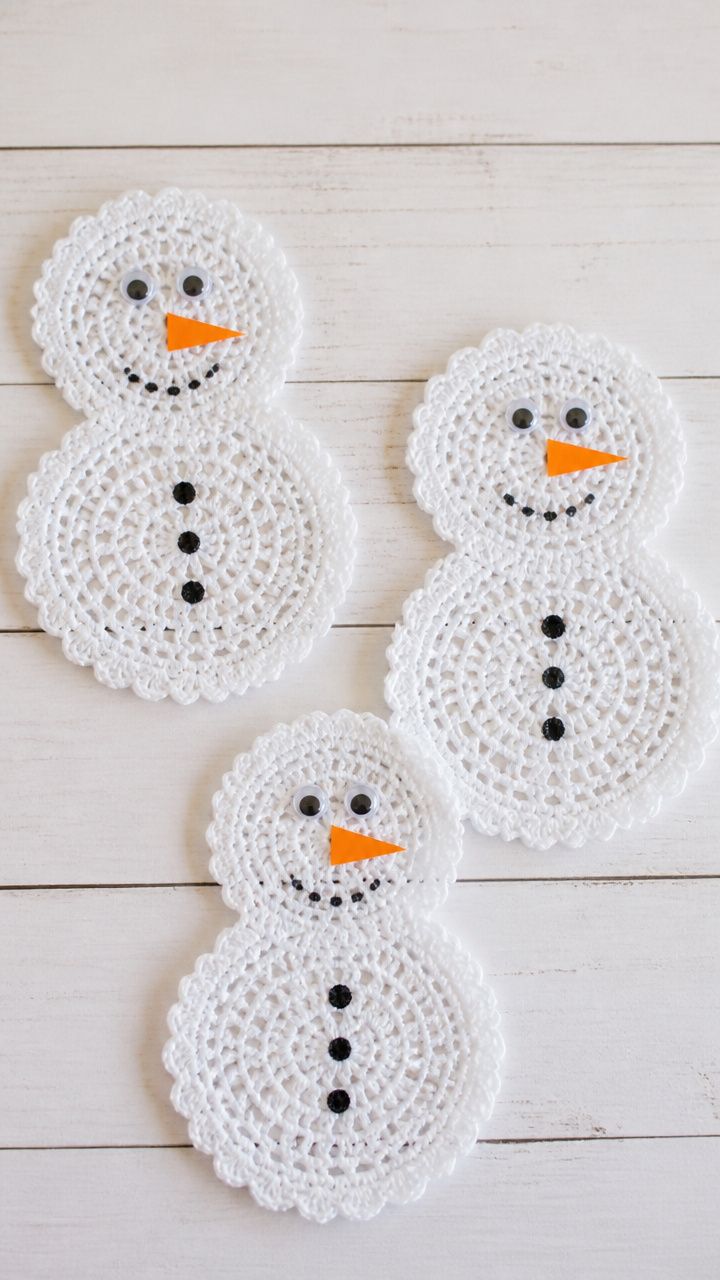
Lace-edged doilies become cheerful snowmen with just a few added details.
Materials Needed
- Three 6-inch white crocheted doilies
- Orange construction paper
- Black marker
- Googly eyes, 0.5 inch, two per snowman
- White craft glue
- Paintbrush
- Scissors
How to Make It
- Cut a triangle shape from orange construction paper for a nose.
- Glue the nose and two googly eyes near the center of each doily.
- Draw a smile below the eyes with a black marker.
- Let dry completely before displaying.


12. Tissue Paper Lanterns
Easy
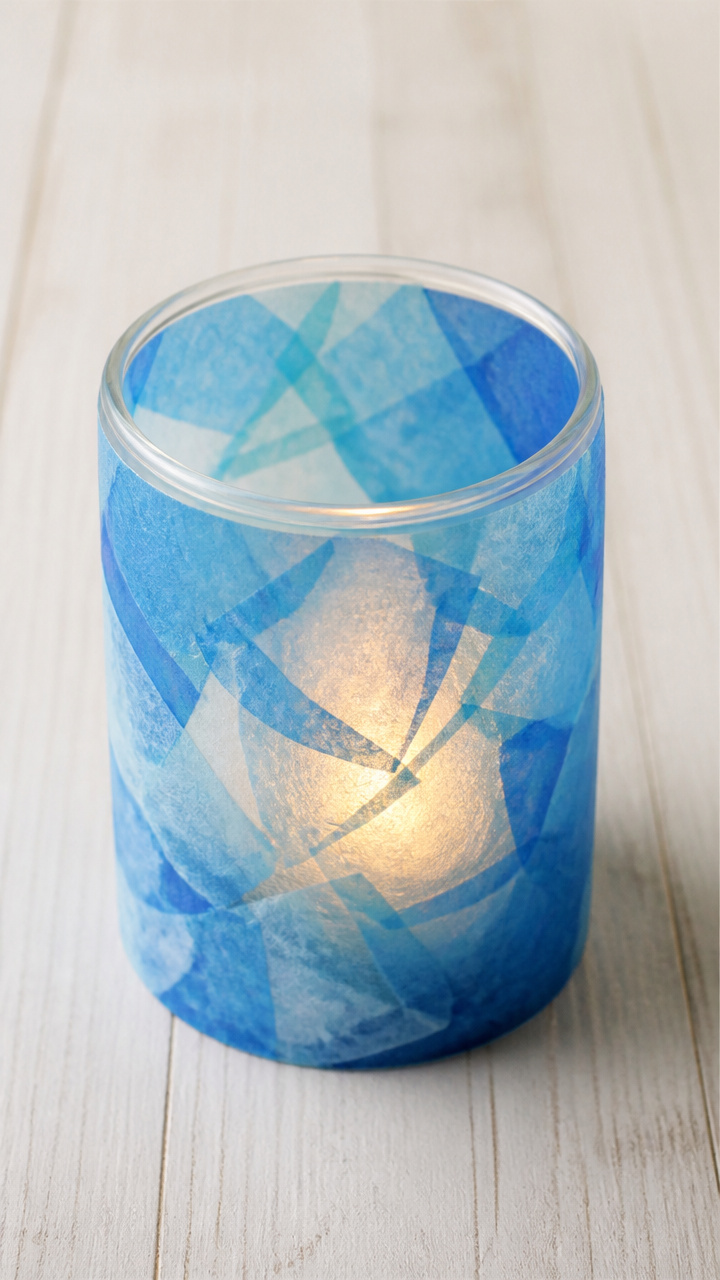
Layers of soft blue tissue paper glow warmly when lit from within.
Materials Needed
- Clear plastic cup, 12 oz
- Blue tissue paper sheets, four
- White craft glue
- Paintbrush
- Battery-powered tea light
How to Make It
- Cut blue tissue paper into 2×3 inch rectangles.
- Brush white craft glue lightly on the outside of the plastic cup.
- Apply tissue paper pieces smoothly to the cup, overlapping slightly.
- Let dry completely before placing a battery-powered tea light inside.


13. Popsicle Stick Reindeer
Moderate
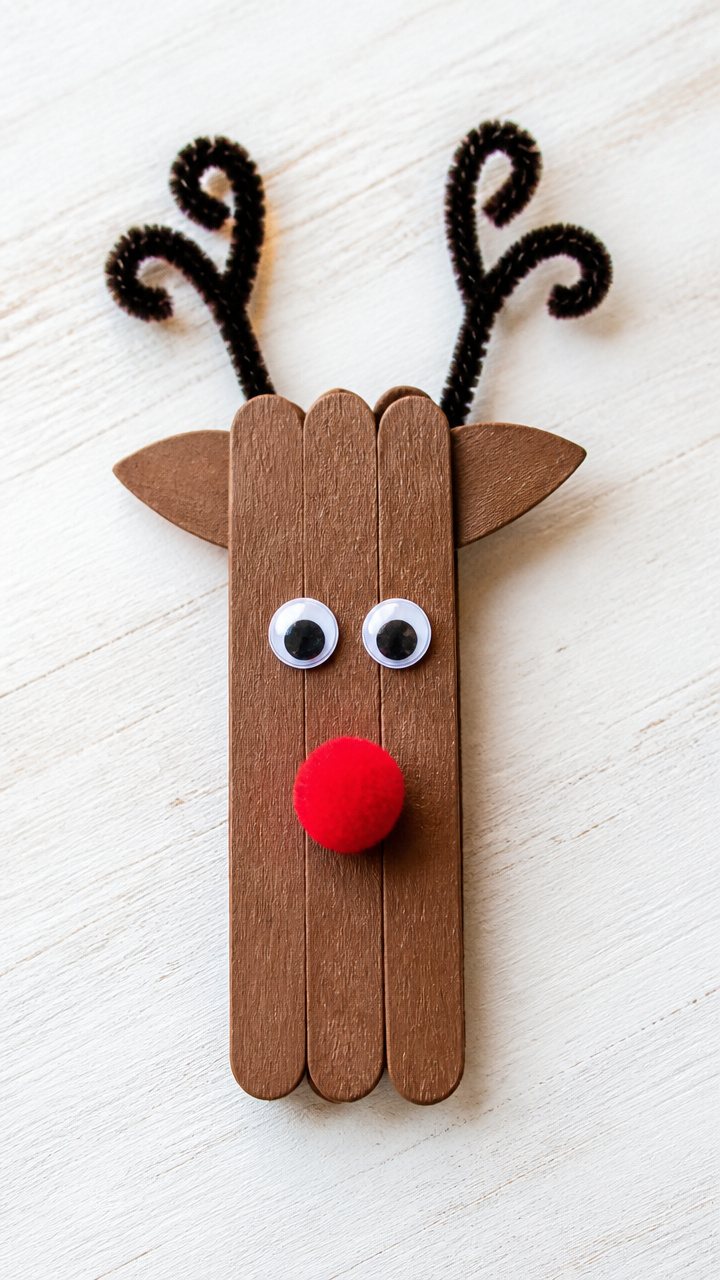
Simple wooden sticks transform into whimsical reindeer with painted faces and curly wire antlers.
Materials Needed
- Five popsicle sticks
- Brown acrylic paint
- Paintbrush
- Red pom-pom, 0.25 inch
- Googly eyes, 0.25 inch, two
- Black pipe cleaner, 6 inches
- White craft glue
- Scissors
How to Make It
- Paint all five popsicle sticks brown and let dry.
- Glue one stick vertically as the body and one horizontally across the top for the neck.
- Glue googly eyes and a red pom-pom below them for the face.
- Cut the pipe cleaner in half, curl the ends, and glue to the top as antlers.


14. Pressed Flower Ice Orbs
Advanced
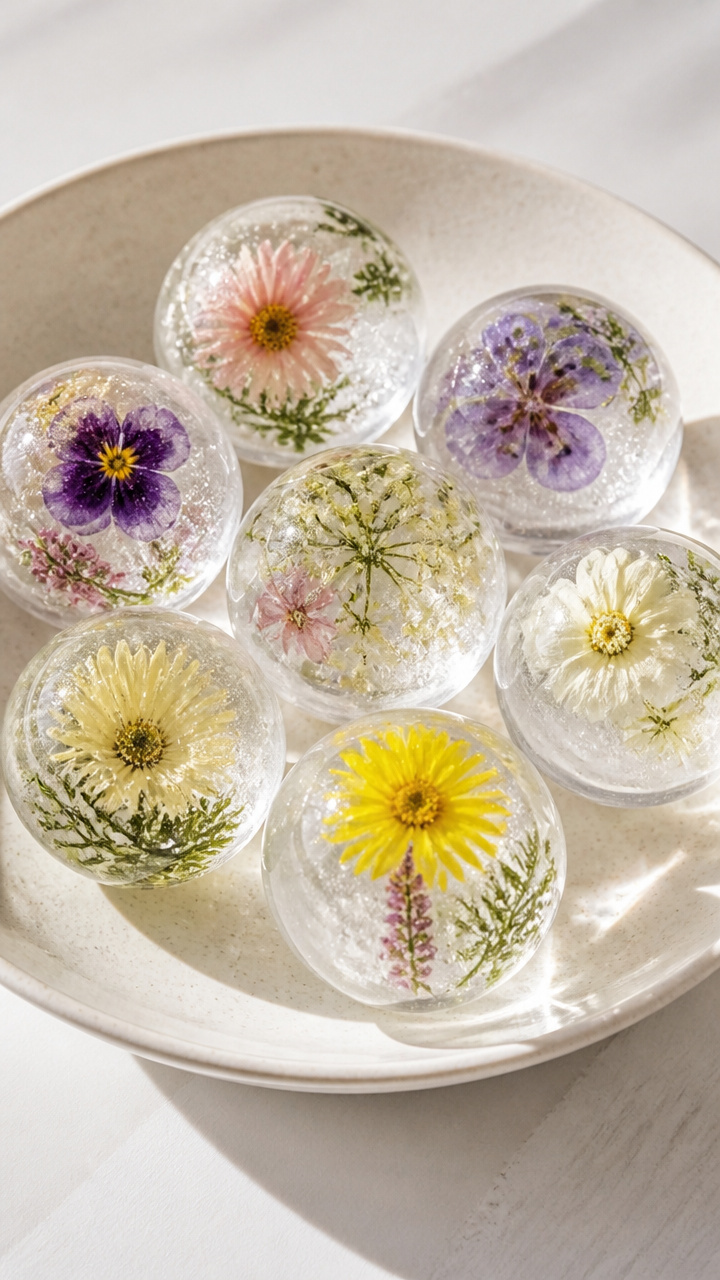
Delicate flowers suspended in clear ice orbs sparkle like frozen garden jewels.
Materials Needed
- Silicone orb mold, 3-inch
- Distilled water
- Small pressed flowers
- Freezer
- Measuring cup
How to Make It
- Fill the silicone mold halfway with distilled water and freeze for 2 hours.
- Place 2-3 pressed flowers on the surface of the half-frozen orb.
- Slowly add more distilled water to fill the mold and return to the freezer.
- Freeze for 12 hours or until solid.


15. Fabric Scrap Wreath
Moderate
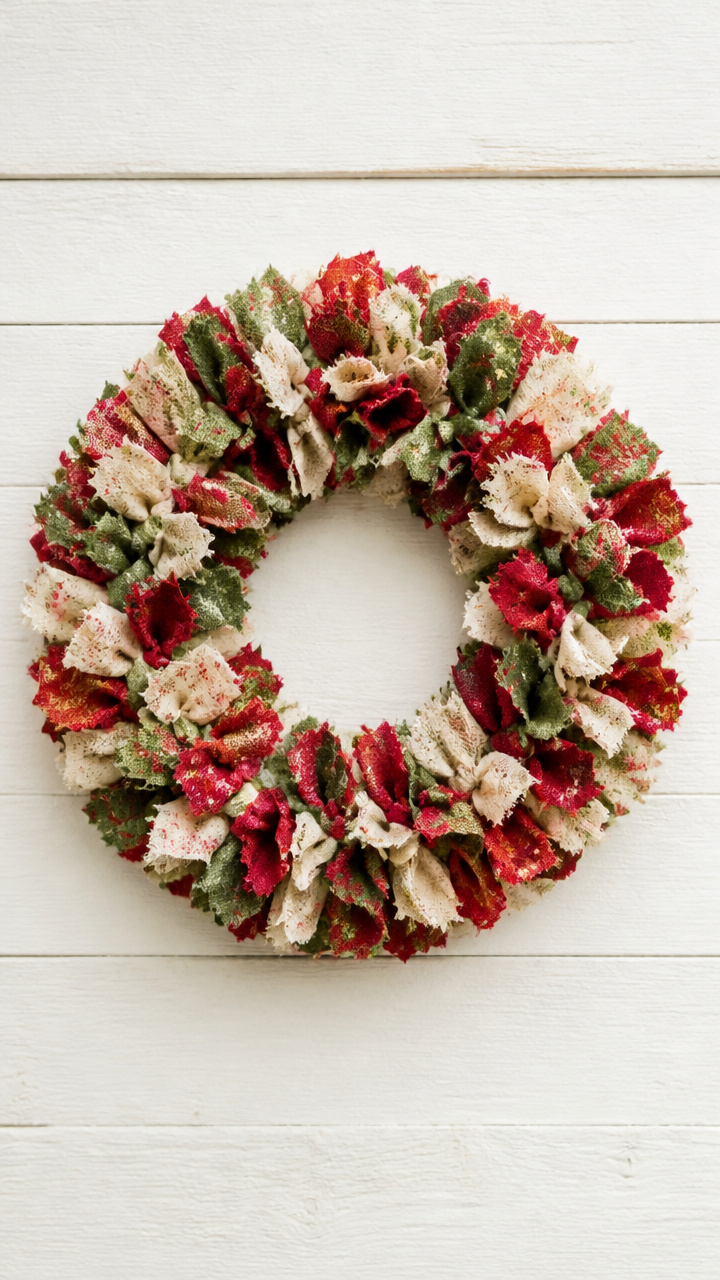
Colorful strips of leftover fabric twist into a full, soft-textured wreath.
Materials Needed
- Cardboard ring, 6-inch inner diameter
- Fabric scraps: red, green, cream (each 1×8 inches, ten strips)
- Scissors
- Hot glue gun and glue sticks
How to Make It
- Cut all fabric scraps into 1×8 inch strips.
- Fold each strip in half lengthwise and glue the short ends together to form loops.
- Pull each loop through the cardboard ring and secure the other end with a dab of hot glue.
- Continue until the ring is fully covered and no cardboard shows.


16. Crayon Melts
Moderate
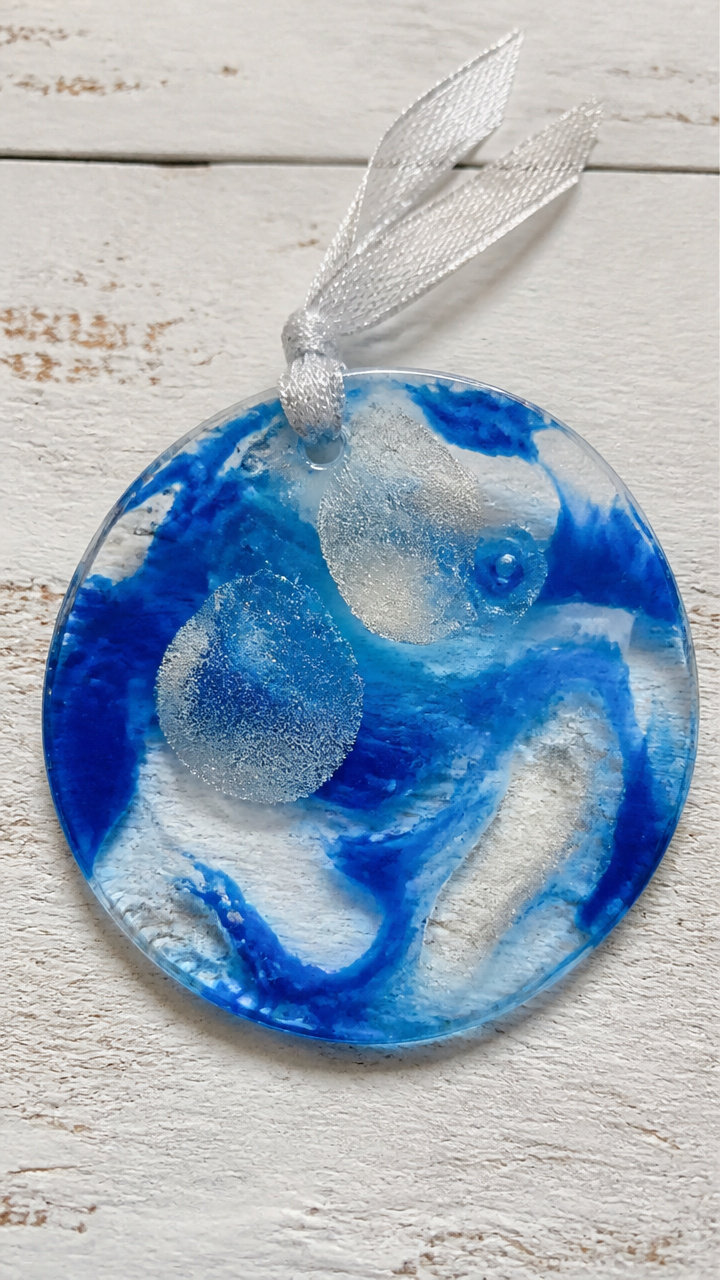
Old crayons melt into swirling disks of color that hang like tiny stained glass.
Materials Needed
- Broken crayons, peeled, in winter colors (blue, white, silver, 12 total)
- Silicone muffin mold
- Oven
- Parchment paper
How to Make It
- Preheat oven to 250°F.
- Break crayons into small pieces and sort by color.
- Fill each muffin cup with a mix of blue, white, and silver pieces.
- Place the mold on a parchment-lined baking sheet and bake for 15 minutes until melted.
- Cool completely before popping out the disks.


17. Maple Seed Angels
Easy
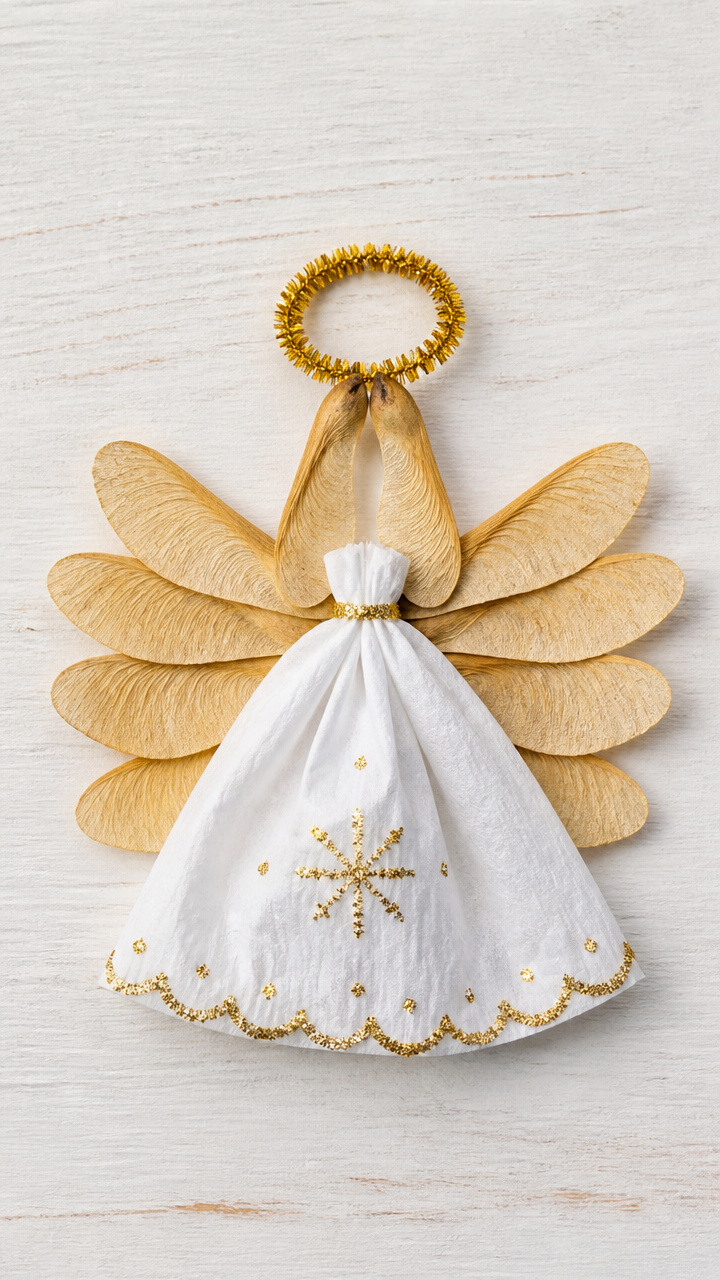
Delicate maple seeds form angel wings with a hand-folded paper robe.
Materials Needed
- Maple seed pairs, five
- White tissue paper, 3×3 inch square
- Gold pipe cleaner, 6 inches
- Glitter glue
- Scissors
How to Make It
- Fold the tissue paper square in half and cut a small notch at the fold to form a robe shape.
- Cut the gold pipe cleaner in half and twist one piece into a halo.
- Glue the maple seed pair to the back of the robe with the stems pointing up.
- Add a drop of glitter glue where the halo meets the robe and attach the halo.


18. Quilted Tea Cozy
Advanced
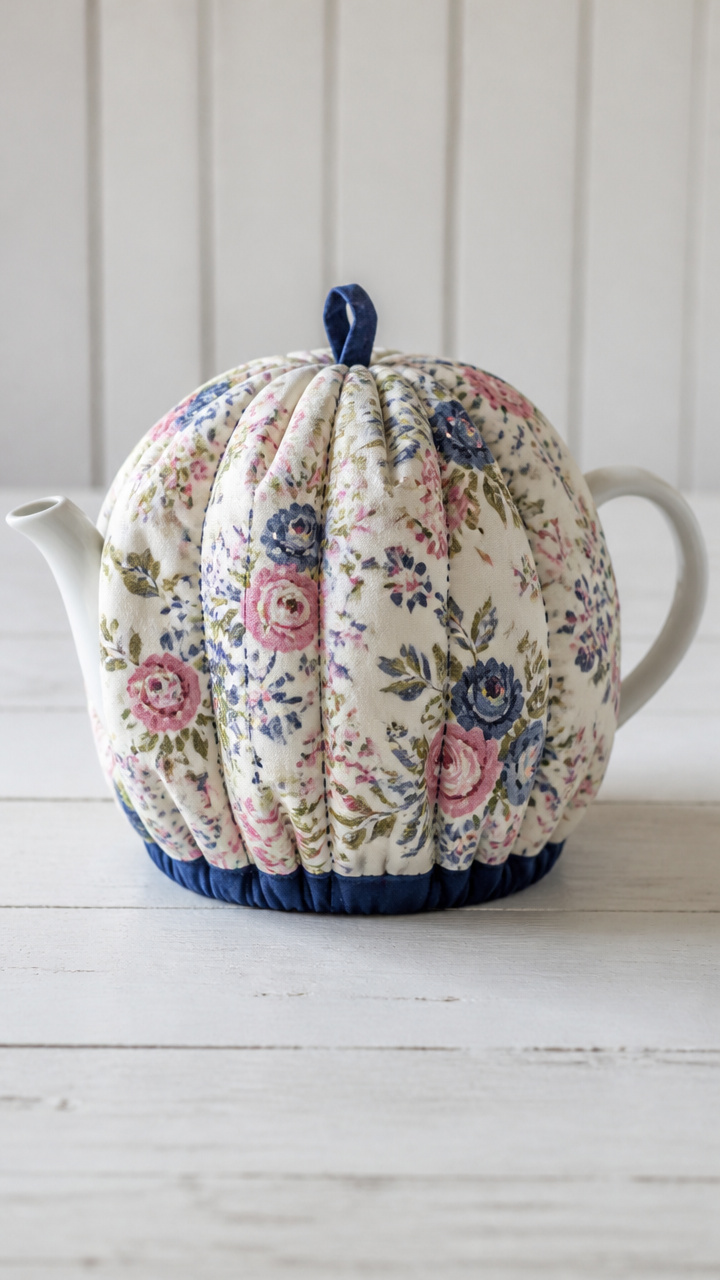
A padded cotton cover keeps teapots warm while showcasing hand-stitched detail.
Materials Needed
- Cotton fabric: floral print, 9×10 inch
- Cotton batting: 9×10 inch
- Needle
- Thread: navy blue
- Scissors
- Elastic band, 1/4 inch wide, 8 inches
- Safety pin
How to Make It
- Layer the cotton fabric and batting and pin together at edges.
- Stitch around the border with navy blue thread using a backstitch.
- Fold the top edge down 1 inch and sew a 1/2 inch channel.
- Thread the elastic through the channel using a safety pin and tie ends.
- Fit snugly over a standard teapot spout.


19. Snow Globe Jars
Moderate
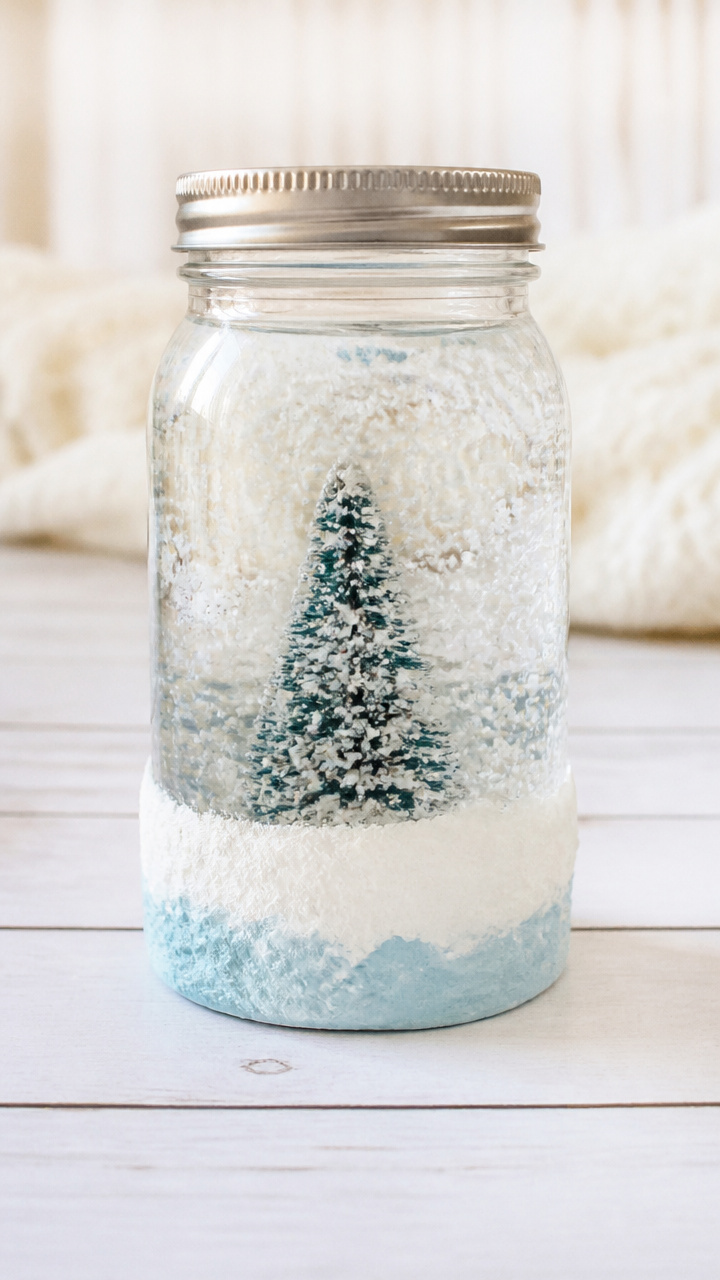
A sealed mason jar holds a miniature winter scene that swirls with every shake.
Materials Needed
- Mason jar with lid, 8 oz
- Polymer clay: white, blue
- Miniature pine tree figurine, 1 inch
- Glitter, fine white
- Distilled water
- Glycerin, 1 teaspoon
- White craft glue
How to Make It
- Shape a small mound from white polymer clay and bake according to instructions.
- Glue the baked base to the inside of the jar lid with white craft glue.
- Attach the miniature pine tree and a dot of blue clay as a pond.
- Fill the jar with distilled water and add glycerin and glitter.
- Screw the lid tightly onto the jar and shake gently.


20. Laced Card Holder
Easy
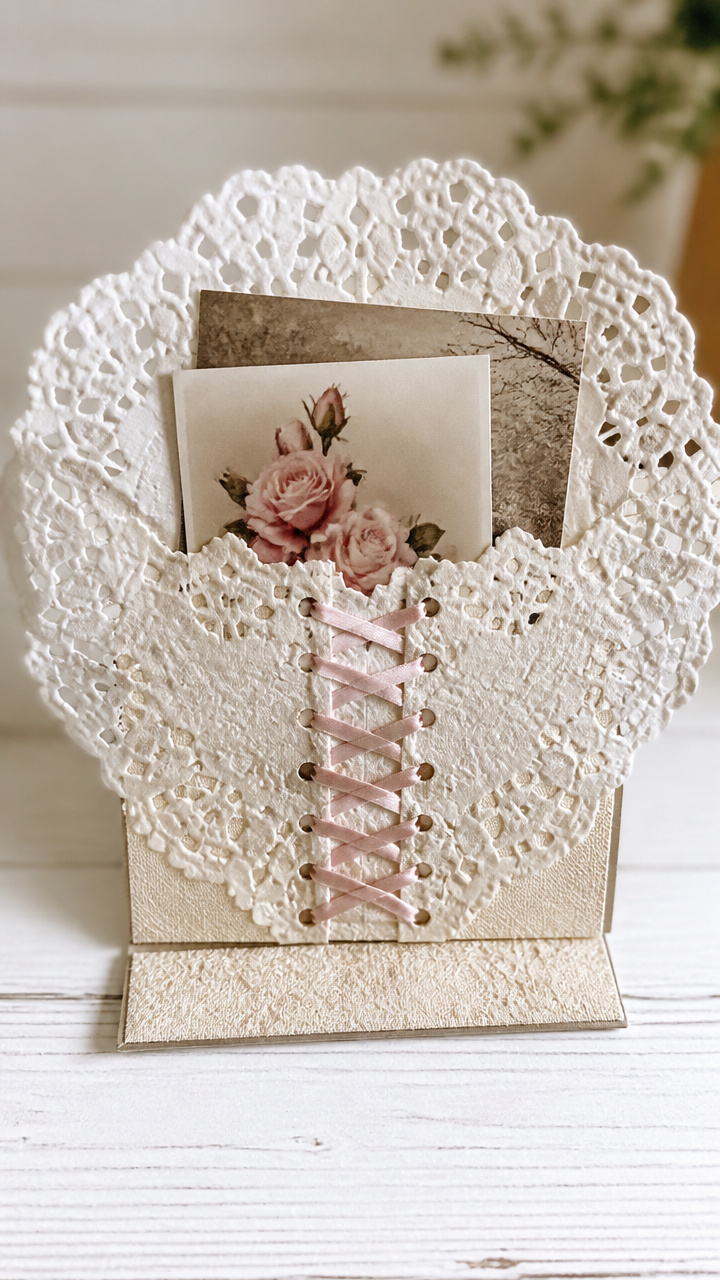
A stiffened lace rectangle stands upright to display handwritten notes and photos.
Materials Needed
- Lace doily, 6-inch diameter
- Mod Podge
- Paintbrush
- Popsicle stick
- Clothespin
- Cardboard base, 2×3 inch
How to Make It
- Coat both sides of the lace doily with Mod Podge using a paintbrush.
- Place it over a popsicle stick laid flat and clip with a clothespin to hold in place.
- Let dry for 2 hours until stiff.
- Glue the popsicle stick upright to the cardboard base.


Pick one that calls to you, gather your supplies, and let the rhythm of creating bring peace and pride to your day.