15 Budget-Friendly New Year Crafts

Glittering confetti catches the light as it spills across your table, and a fresh sheet of cardstock waits to become something joyful. These crafts bring celebration within reach, using simple supplies and clear steps to create keepsakes that feel personal and bright.
You don’t need a craft room or a big budget to mark the turning of the year. Each idea here is designed to be doable, delightful, and made with materials you can find easily or already have on hand.
1. Tissue Paper Fireworks Banner
Easy
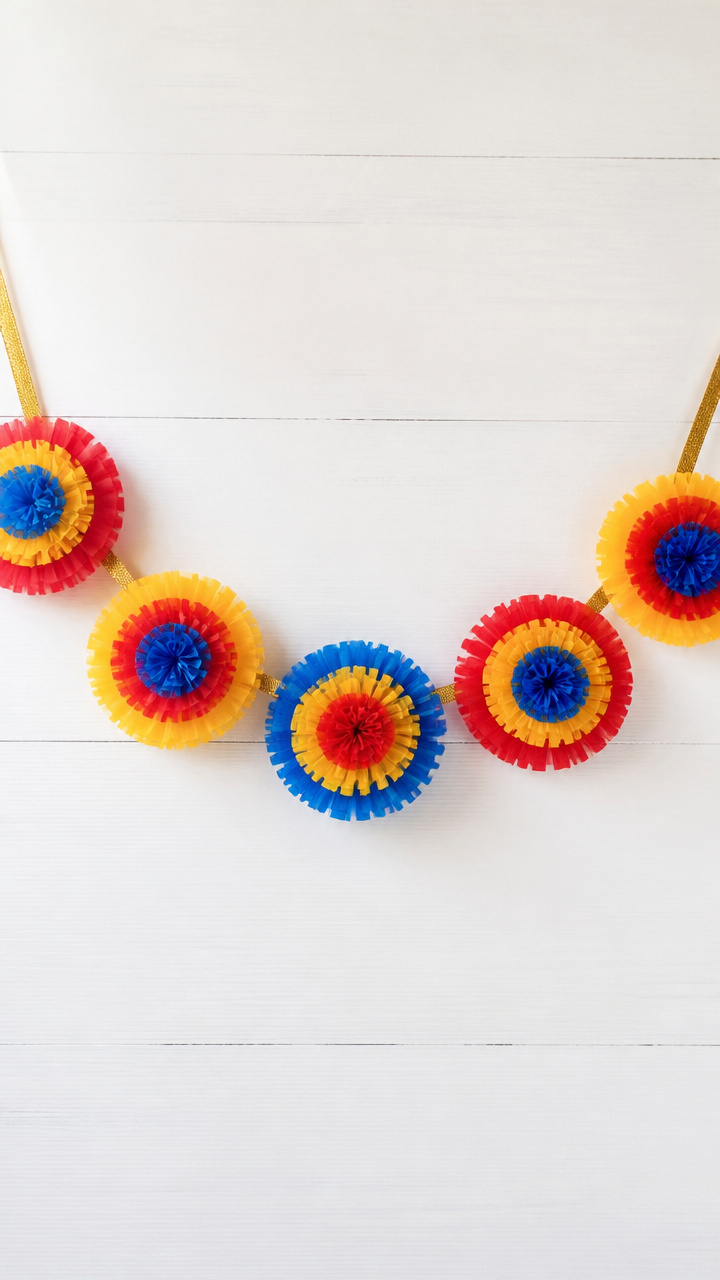
Bold bursts of color fan out like midnight fireworks, strung together into a cheerful garland perfect for mantels or doorways.
Materials Needed
- 6 sheets red tissue paper
- 6 sheets yellow tissue paper
- 6 sheets blue tissue paper
- 12-inch length gold ribbon (½ inch wide)
- Scissors
- Glue stick
How to Make It
- Fold one sheet of red tissue paper accordion-style into 1-inch pleats, then repeat with one yellow and one blue sheet.
- Pinch the center of each stack and twist a small piece of ribbon around it to secure, forming a starburst shape.
- Gently pull each layer outward to open the firework, starting from the outer edges and working inward.
- Apply glue to the back of each firework’s center and attach it to the long gold ribbon, spacing them 4 inches apart.
- Repeat with remaining tissue paper stacks to make five total fireworks on the banner.


2. Pom-Pom Clock Renewal Craft
Moderate
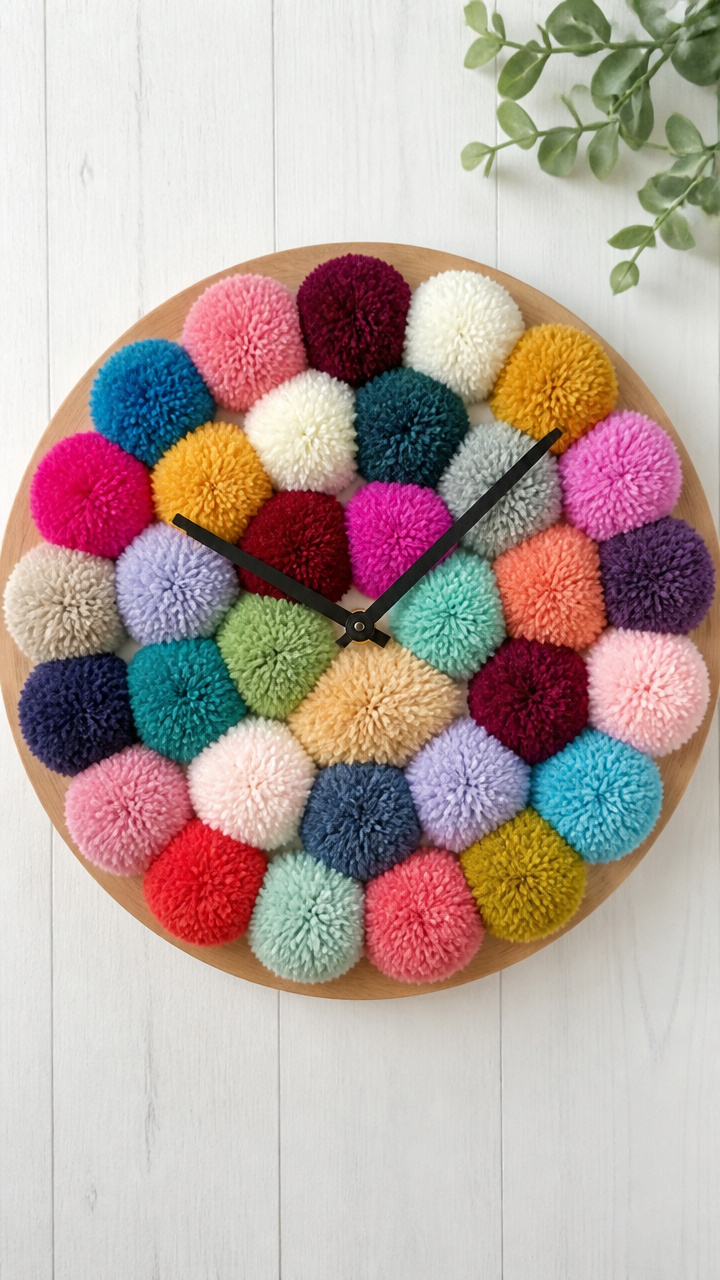
A quiet moment captured in soft texture, this handmade clock reminds you of fresh starts with every glance.
Materials Needed
- 12-inch circular wooden craft clock base
- Black clock hands (hour, minute, second)
- Clock mechanism kit with nut and washer
- Hot glue gun
- Hot glue sticks
- 30 multicolor yarn pom-poms (1.5 inches each)
- Number stencil set (1–12)
How to Make It
- Insert the clock mechanism through the hole in the wooden base from the front side.
- Secure it from behind with the washer and nut, tightening by hand.
- Use the number stencil to lightly mark where each hour goes around the edge of the circle.
- Hot glue one pom-pom at each number position, pressing gently to adhere without flattening the fluff.
- Attach the clock hands according to the kit instructions, starting with the hour hand.


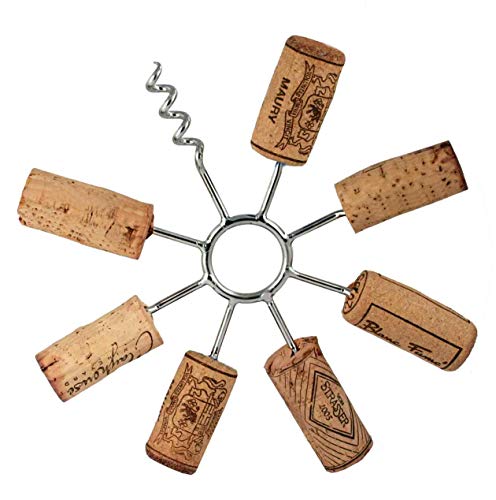
3. Wine Cork Noisemakers
Easy
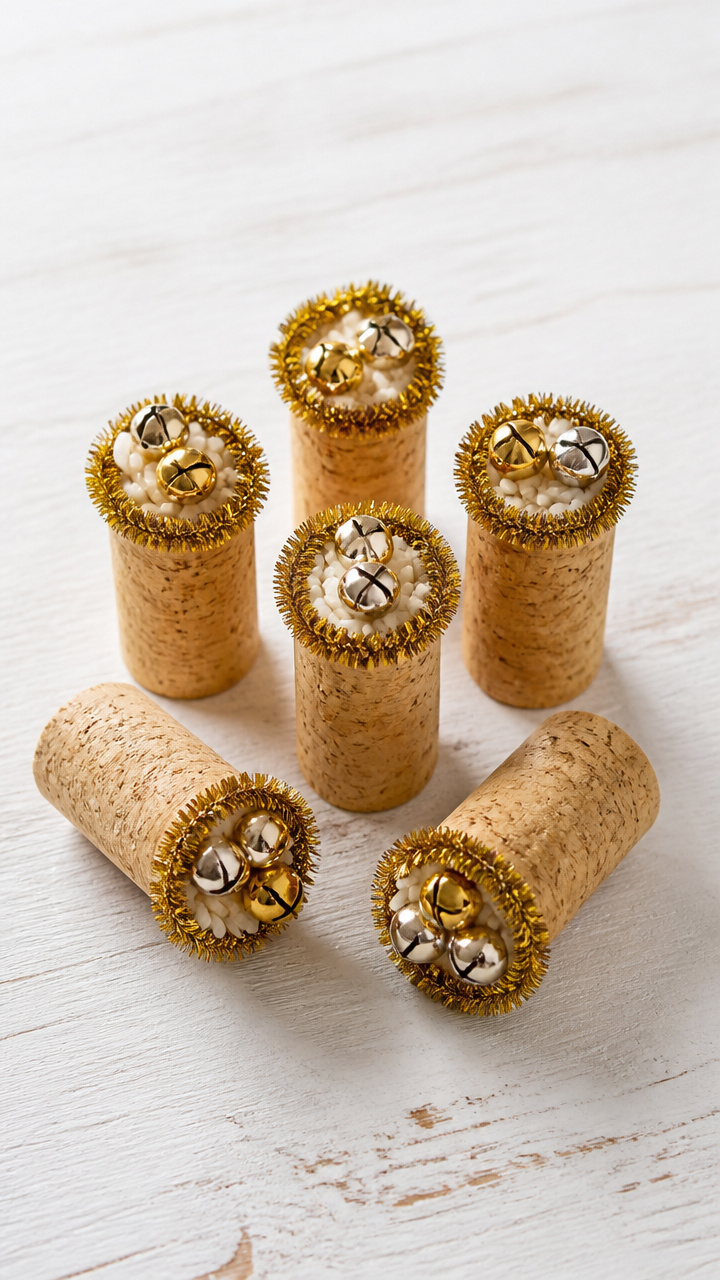
Rattle and cheer with handheld party favors made from leftover corks and fun fillers.
Materials Needed
- 6 used wine corks
- 6 jingle bells
- 6 feet thin gold pipe cleaner
- Small funnel
- Uncooked rice (¼ cup)
- Craft glue
- Scissors
How to Make It
- Cut each cork in half widthwise using a serrated knife, creating 12 flat-bottomed pieces.
- Fill each cork cup halfway with rice using the funnel, then place a jingle bell on top.
- Fold the pipe cleaner in half and insert both ends into the cork, twisting tightly at the top to seal.
- Bend the twisted end into a small loop for easy holding.
- Secure the fill inside with a dot of craft glue at the pipe cleaner base if needed.


4. Painted Rock Resolution Stones
Easy
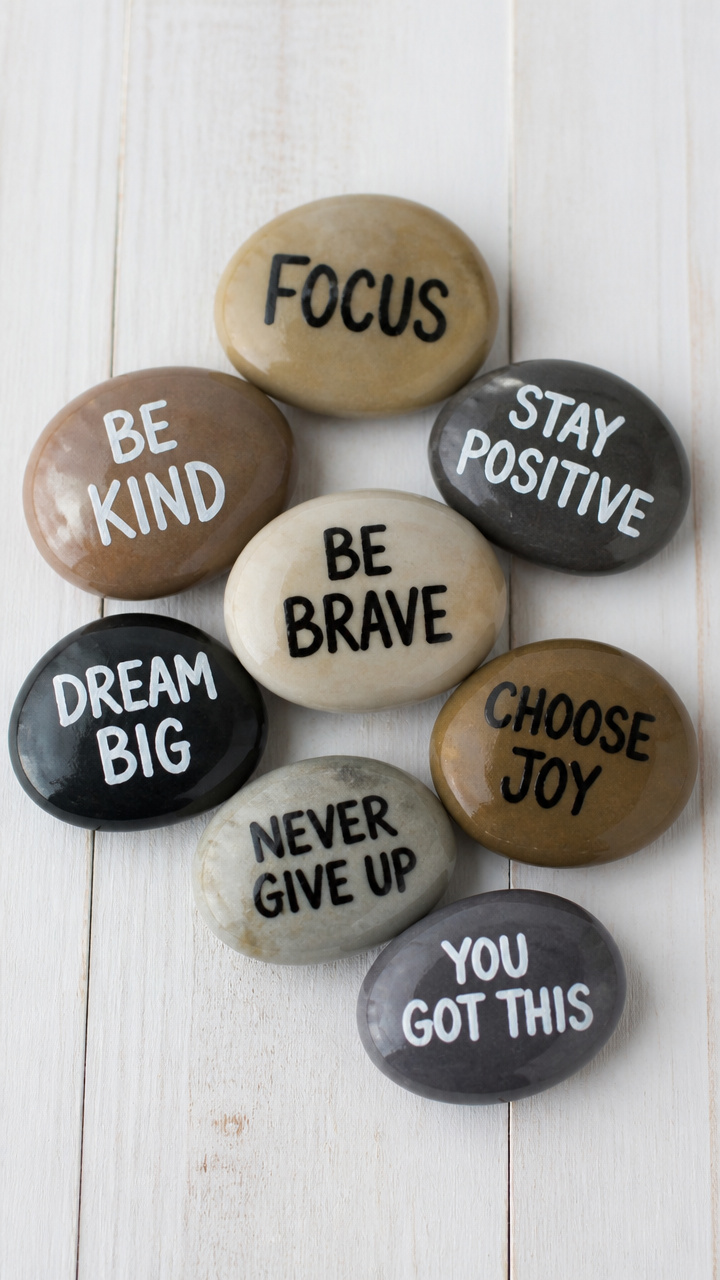
Smooth river stones carry your intentions in bold paint, ready to tuck into pockets or display on desks.
Materials Needed
- 8 smooth river stones (about 1.5 inches long)
- Black acrylic paint pen
- White acrylic paint pen
- Clear acrylic sealer spray
- Paper plate
- Paper towel
How to Make It
- Clean each stone with damp paper towel and let dry completely on the plate.
- Use the black paint pen to write one word per stone, such as 'Joy', 'Calm', or 'Move'.
- Add small white dots or lines as accents if desired, letting paint dry between details.
- Spray both sides lightly with sealer in a well-ventilated area, holding 10 inches from the surface.
- Let stones cure for two hours before use.


5. Felt Confetti Popper Tubes
Moderate
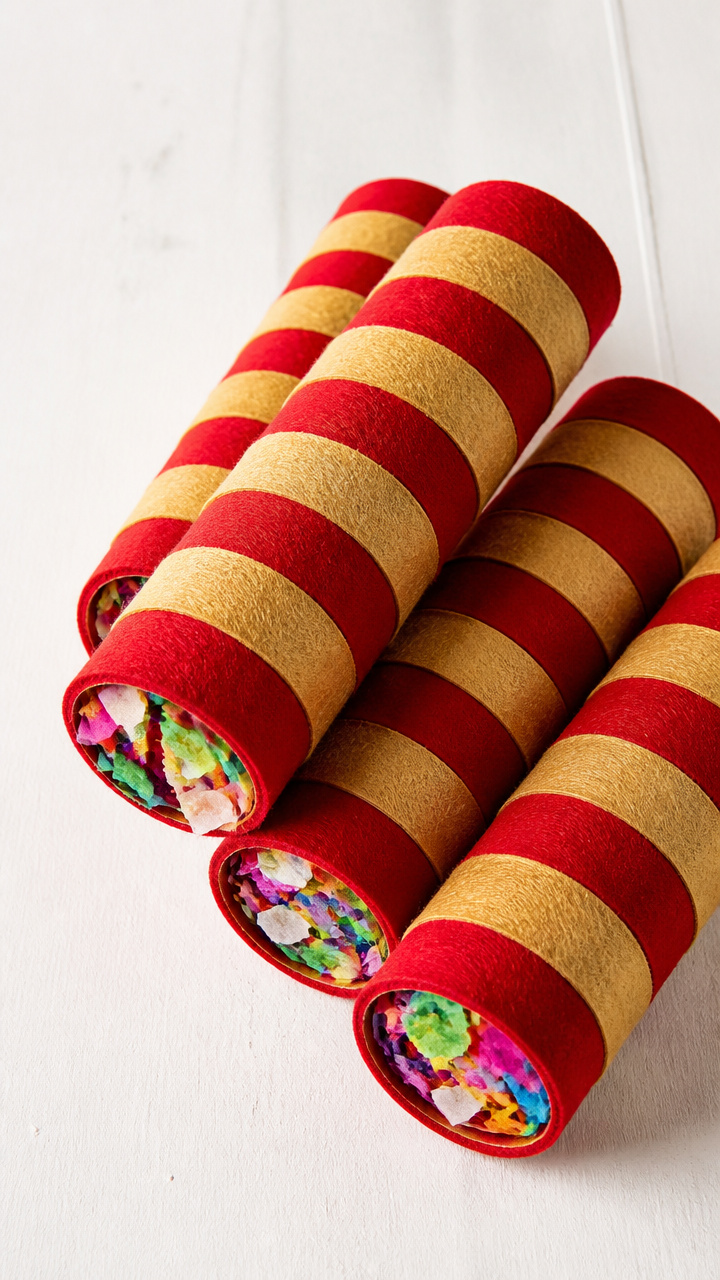
Peek inside striped cardboard tubes to find a burst of colorful scraps ready to fly when pulled.
Materials Needed
- 6 empty toilet paper rolls
- Red felt sheet (9 x 12 inches)
- Gold felt sheet (9 x 12 inches)
- Scissors
- Glue stick
- Confetti punch cutter
- Colored paper scraps (assorted, 5 sheets)
- Ribbon (gold, 12 inches per tube)
How to Make It
- Alternate cutting strips of red and gold felt, each 1 inch wide and 4 inches long.
- Glue each strip vertically around a toilet paper roll, overlapping slightly for full coverage.
- Use the confetti punch to cut 20 shapes from colored paper scraps.
- Push a small handful of confetti into one end of each tube.
- Crumple a 3-inch square of tissue paper and plug the end, securing it with double-sided tape.
- Tie a ribbon bow around the sealed end and trim ends to 4 inches.

6. New Year Memory Jar
Easy
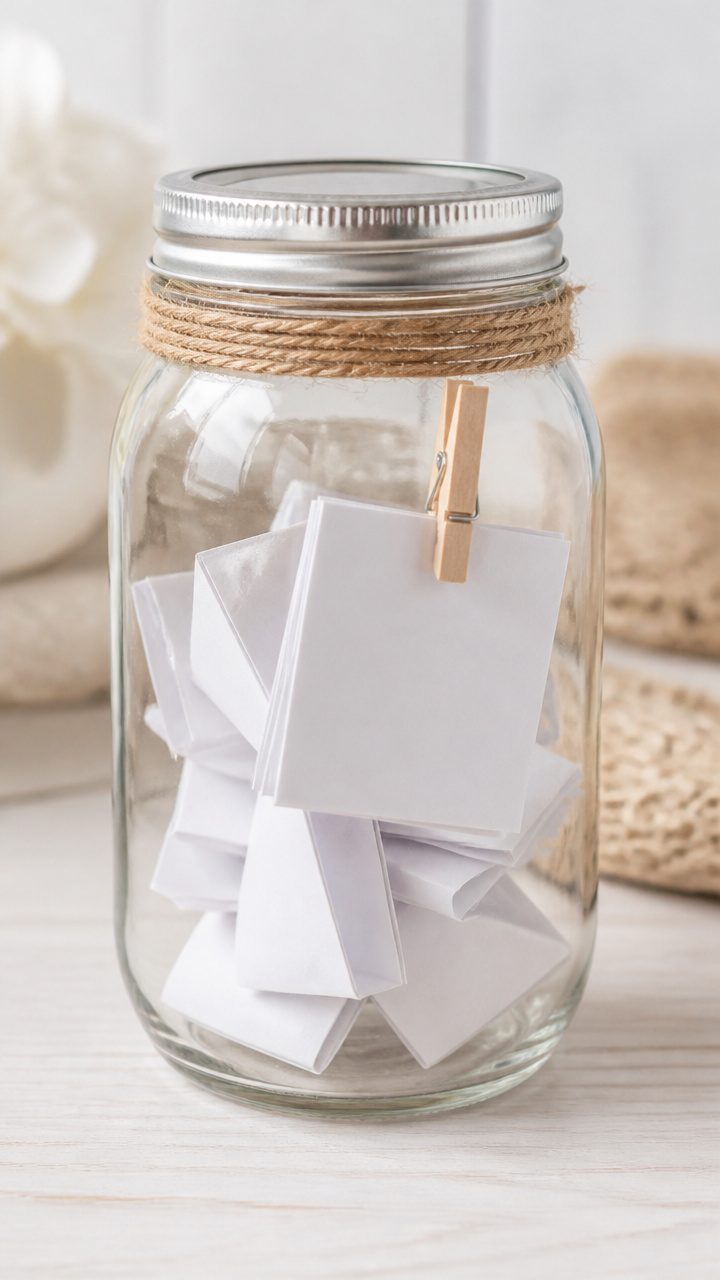
A mason jar gathers handwritten moments from the past year, wrapped in twine and tucked under ribbons.
Materials Needed
- 1 quart-sized mason jar with lid
- Jute twine (18 inches)
- Small clothespin
- 30 blank white paper rectangles (2 x 3 inches)
- Fine-tip blue marker
- Glue dot
How to Make It
- Write one happy memory on each paper rectangle using the blue marker, letting ink dry.
- Fold each note in half and clip it to the clothespin.
- Tie the jute twine around the jar neck and secure the clothespin to the twine with a glue dot.
- Drop all notes into the jar and screw the lid on tightly.
- Display with the clothespin holding an extra note that reads 'Best Moments'.


7. String Art Number Display
Moderate
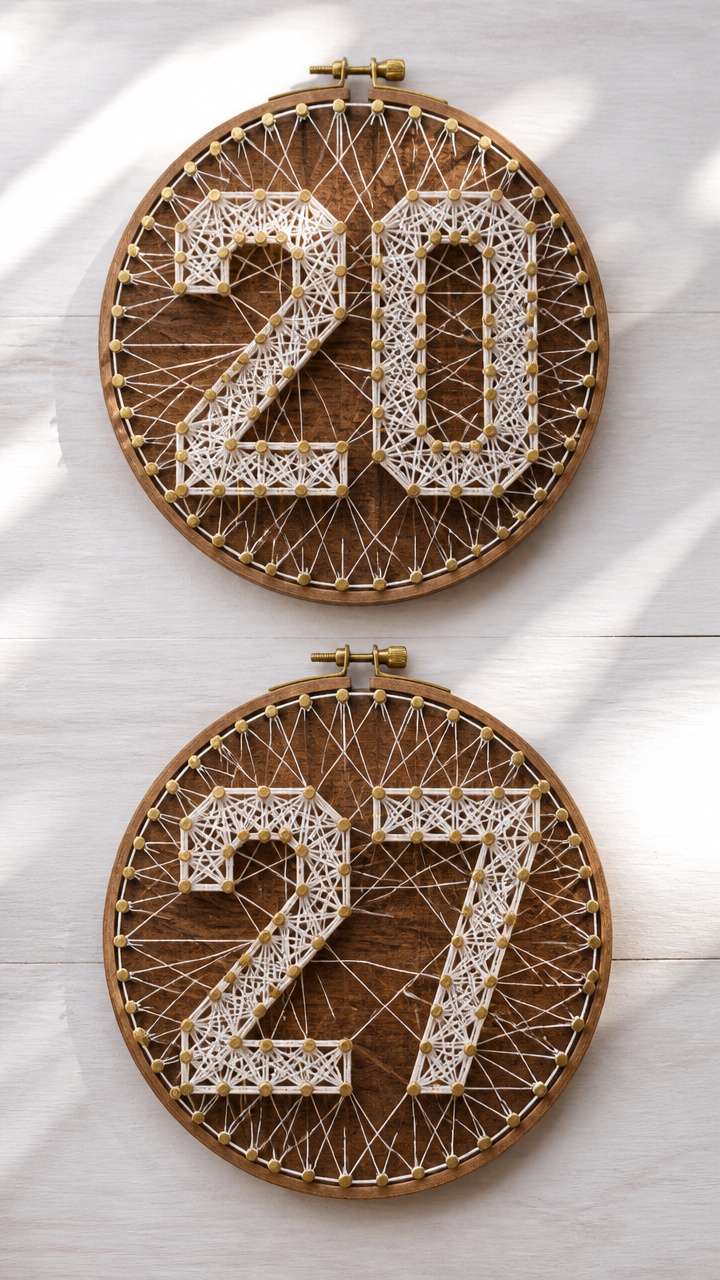
Geometric numbers glow with crisscrossed thread, casting delicate shadows on your wall.
Materials Needed
- 2 wooden embroidery hoops (6 inches)
- Embossing hammer
- Number stencil (choose current year digits)
- 12 brass thumbtacks per hoop
- White cotton embroidery floss (20 yards)
- Craft knife
- Sandpaper (120 grit)
How to Make It
- Remove inner hoop and lightly sand the outer ring's edge for better grip.
- Place stencil on the hoop and tap along the lines with the embossing hammer to imprint the shape.
- Reinsert the inner hoop and tighten the screw to secure wood.
- Position six thumbtacks evenly along each side of the imprinted number, using the craft knife tip to start holes.
- Tie floss to one tack and weave diagonally across to opposite tacks, building a dense web.
- Trim and knot the end at the final tack.


8. Foam Stamp Countdown Calendar
Moderate
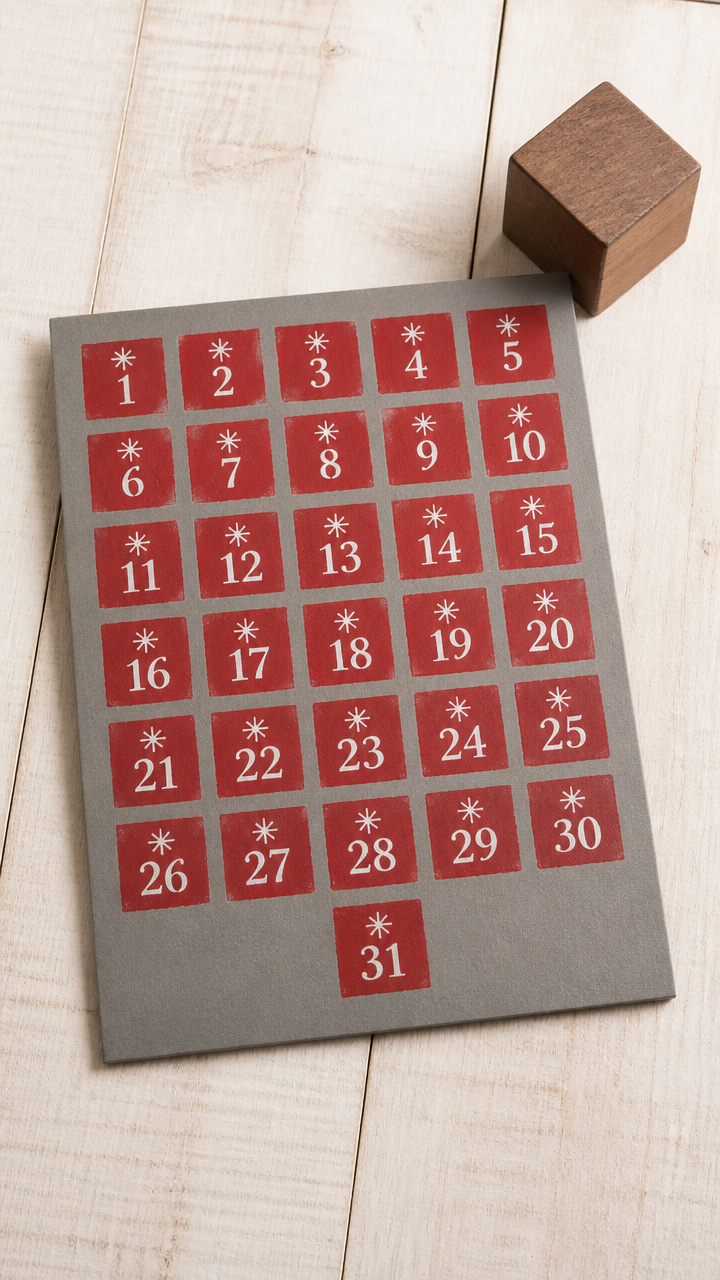
Each day peels away a stamped square, revealing what’s next in a cheerful grid of anticipation.
Materials Needed
- A4 gray cardstock
- Self-healing cutting mat
- Craft knife
- Ruler
- Red foam sheet (8 x 10 inches)
- Wooden craft block (1 inch cube)
- Red acrylic paint
- Brush
- Glue stick
- Number stickers (1–10)
How to Make It
- Cut the gray cardstock into ten 2.8-inch squares using the ruler and craft knife on the mat.
- Draw a small circle on the foam sheet and cut it out with the craft knife.
- Glue the foam circle centered on the wooden block to make a stamp.
- Paint the foam surface with red acrylic and press firmly onto one cardstock square, repeating for all ten.
- Arrange squares in two rows of five on a poster board, gluing each down except the bottom edge.
- Peel up each square from the bottom after the corresponding day passes.
- Place number stickers on the exposed areas beneath each flap.


9. Twine-Wrapped Countdown Cone
Easy
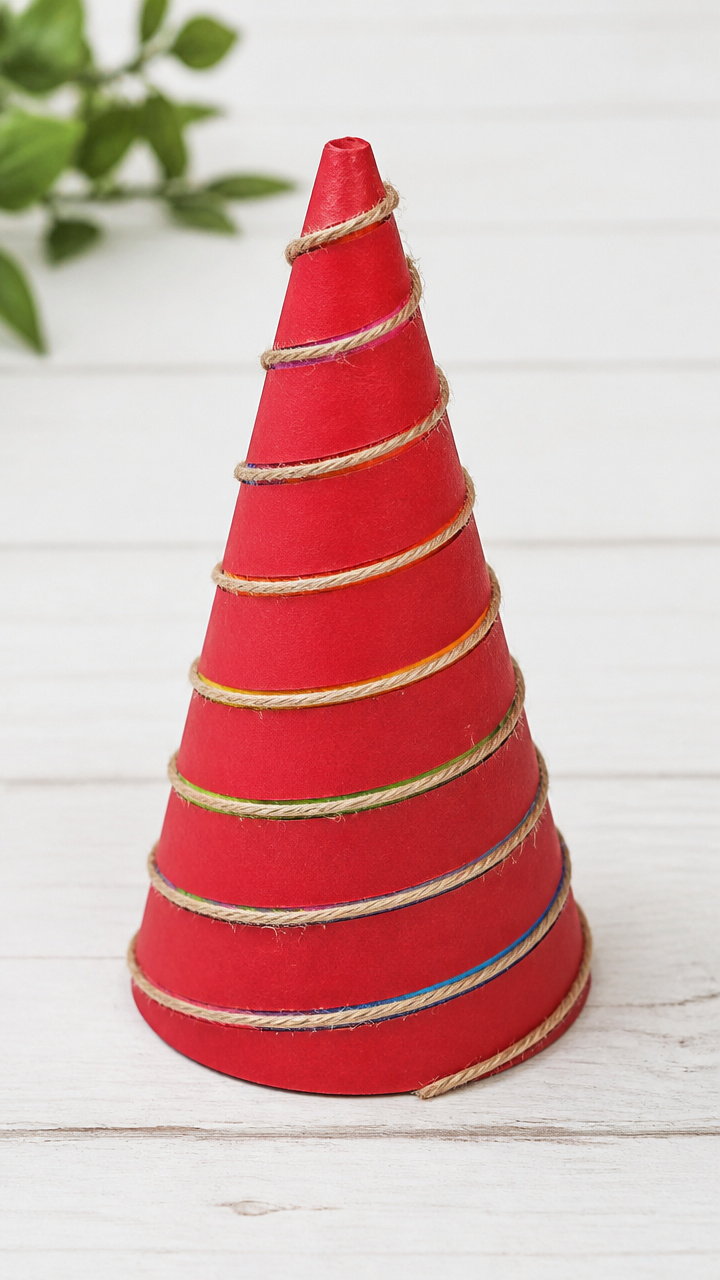
A spiral of string unwinds daily, revealing colors beneath as the days slip by.
Materials Needed
- Cardboard cone template (printable, 6 inches tall)
- Scissors
- Pencil
- Ruler
- Red construction paper
- Glue stick
- Green embroidery floss (15 yards)
- Hole punch
How to Make It
- Trace and cut the cone shape from red construction paper using the template and scissors.
- Roll into a cone and glue the tab to secure, letting dry flat for 5 minutes.
- Punch a small hole near the tip.
- Start wrapping floss tightly around the base, moving upward in a spiral, gluing the end every inch.
- Each day, unwind one loop to expose more red paper underneath.
- Hang by threading a short floss strand through the top hole.


10. Button Flower Wall Bouquet
Moderate
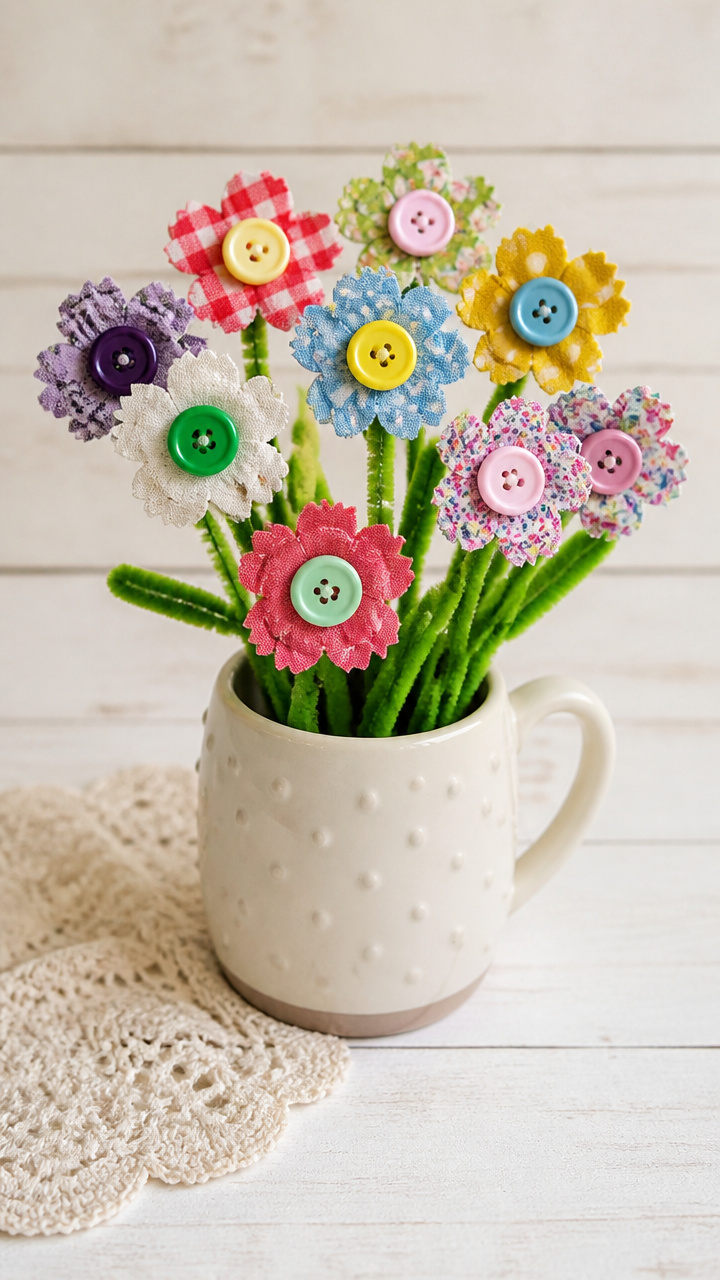
Tiny blooms made from mismatched buttons cluster on wire stems, lasting forever in a thrifted vase.
Materials Needed
- 15 assorted buttons (⅝ inch, various colors)
- 15 green pipe cleaners
- Needle
- Green thread
- Hot glue gun
- Small ceramic mug
- Dried moss (handful)
How to Make It
- Thread needle with double-strand green thread and knot the end.
- Sew through four holes of one button, wrapping thread around the center to gather it into a bloom.
- Knot securely on the back and trim excess.
- Hot glue the flat side of each flower to the top of a pipe cleaner.
- Bend the bottom inch of each stem into a hook for stability.
- Arrange stems in the mug, tucking moss around the base to hide wires.


11. Mirror Bead Frame Glow
Advanced
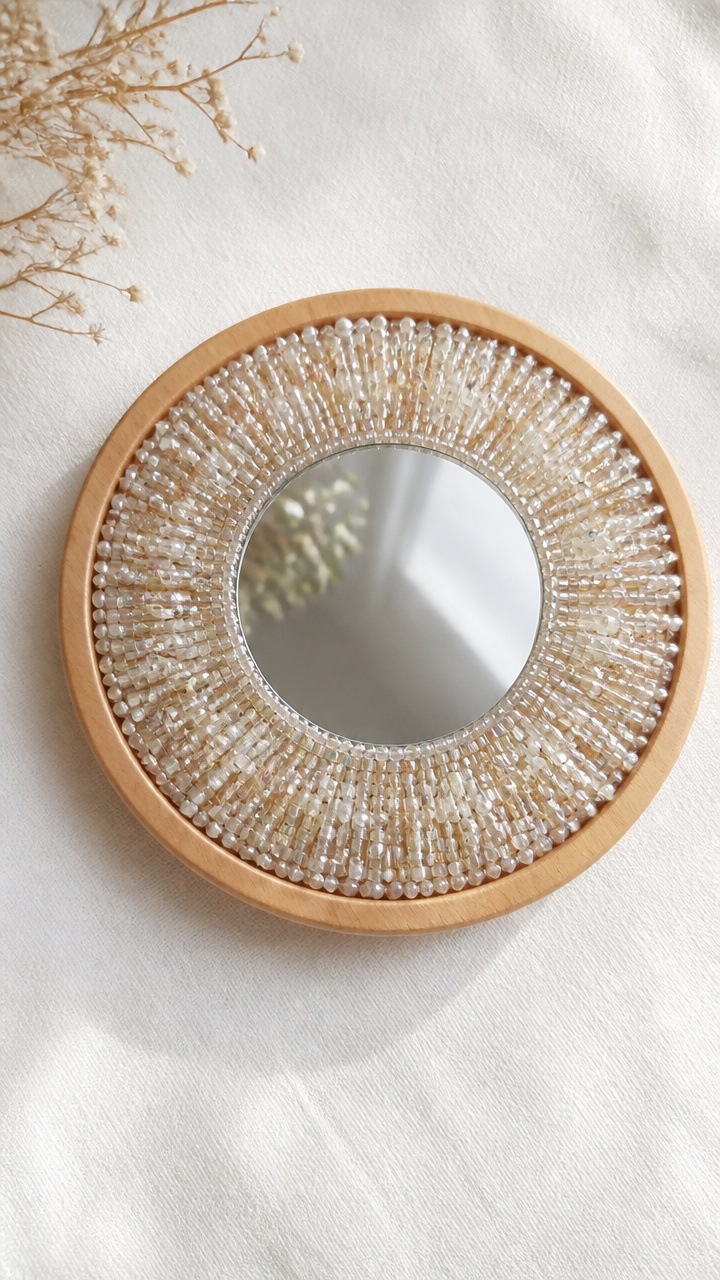
A round mirror shines through a halo of shimmering beads, catching light like stars at midnight.
Materials Needed
- 6-inch round wooden frame with glass
- Remove glass and set aside
- 240 iridescent seed beads (size 8)
- Beading needle
- Nylon thread (2 yards)
- Fabric glue
- Tweezers
How to Make It
- Thread the needle with nylon thread and tie a knot at one end, leaving a 3-inch tail.
- Apply a thin line of fabric glue to the outer edge of the wooden frame.
- Use tweezers to place one bead at a time into the glue, pressing gently to secure.
- Work in a clockwise circle, overlapping threads slightly to maintain even spacing.
- After placing 40 beads, re-thread if needed and continue until the entire rim is covered.
- Tie off the thread on the backside and tuck the tail into the bead row.


12. Paper Chain Time Tracker
Easy
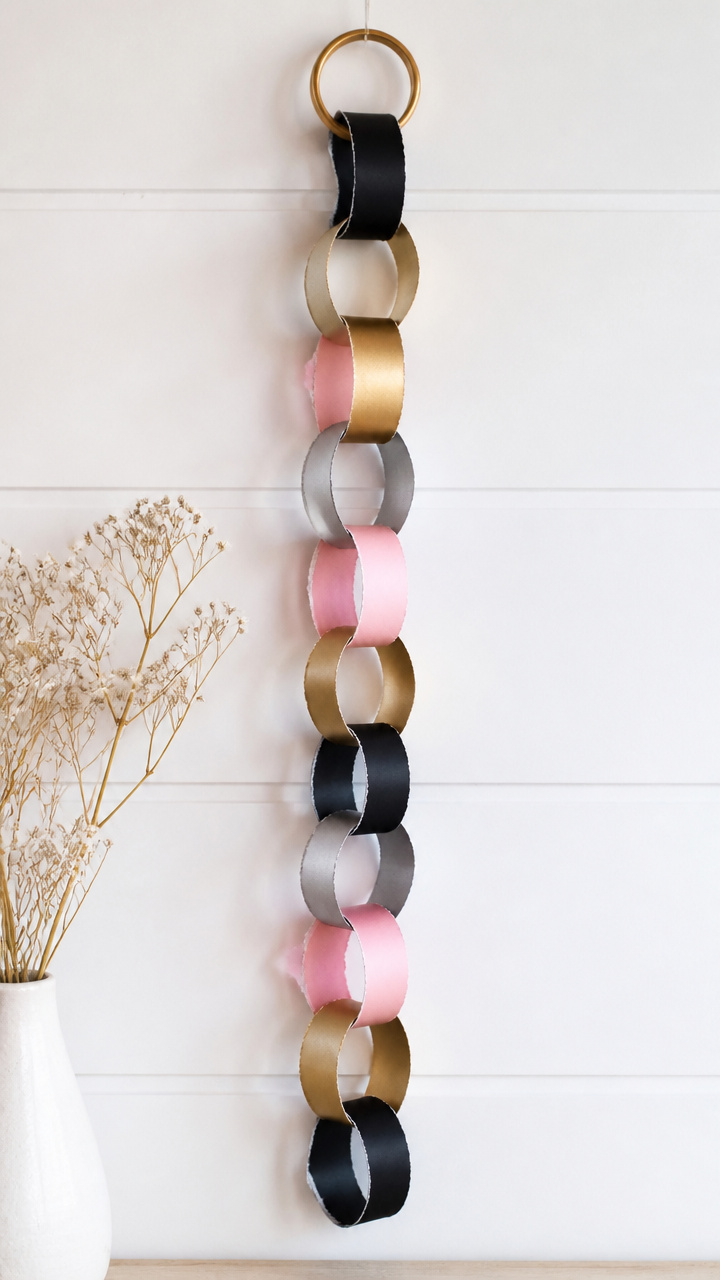
Interlocking rings count down each week, torn away with satisfaction every Sunday night.
Materials Needed
- 8 sheets A4 colored construction paper (two each: silver, black, pink, gold)
- Scissors
- Glue stick
- Ruler
How to Make It
- Cut each sheet into seven 1.5-inch-wide strips using the scissors and ruler.
- Form a loop with the first strip and glue the ends together.
- Link the next strip through the first before sealing, creating a chain.
- Continue adding one strip per day for 52 days, alternating colors weekly.
- Hang the chain from a door handle and remove one ring each day.


13. Salt Dough Star Ornaments
Moderate
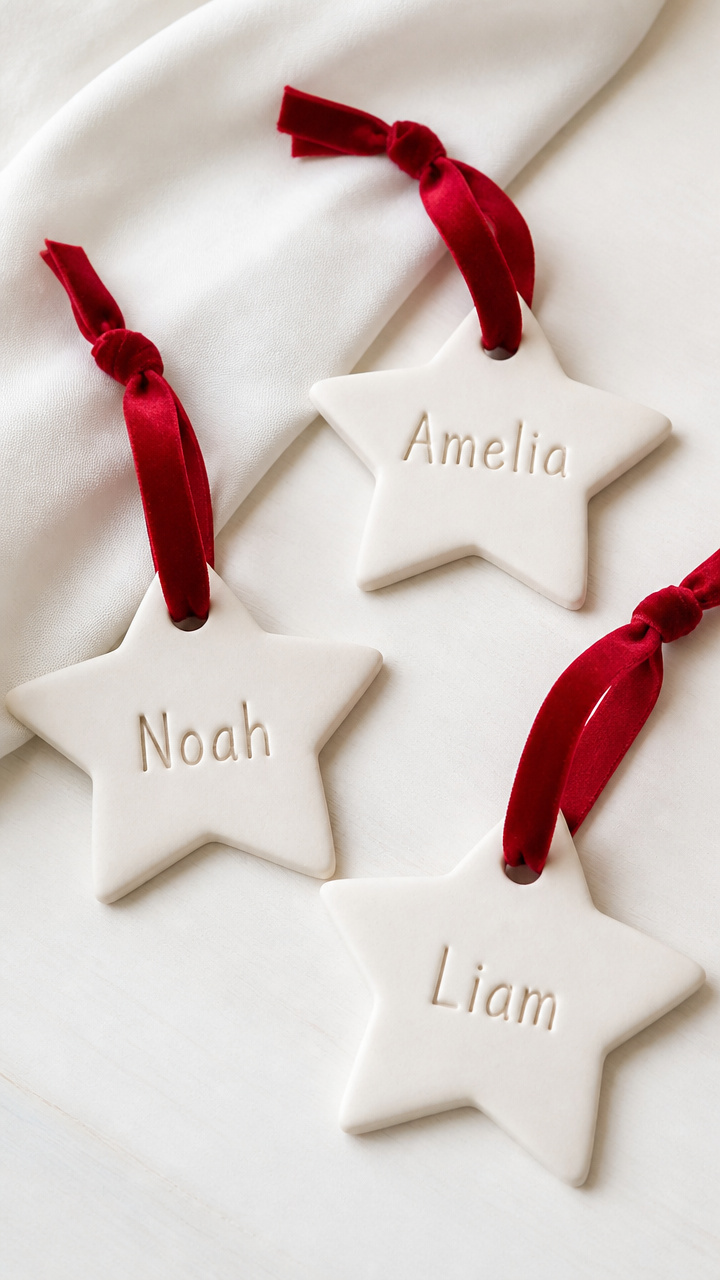
Simple dough bakes into crisp stars, etched with names and hung with velvet ribbon.
Materials Needed
- 2 cups all-purpose flour
- 1 cup table salt
- ¾ cup warm water
- Star cookie cutter (3 inches)
- Parchment paper
- Baking sheet
- Pencil
- Red velvet ribbon (6 feet)
- Clear varnish
How to Make It
- Mix flour, salt, and water in a bowl until a smooth dough forms, kneading for 3 minutes.
- Roll to ¼ inch thick on a floured surface and cut out eight stars.
- Use the pencil to carve a name or word into each star’s surface.
- Place on parchment-lined baking sheet and bake at 250°F for 2 hours.
- Cool completely, then brush with varnish on both sides.
- Thread ribbon through the top hole and knot for hanging.



14. Photo Countdown Coaster Set
Moderate
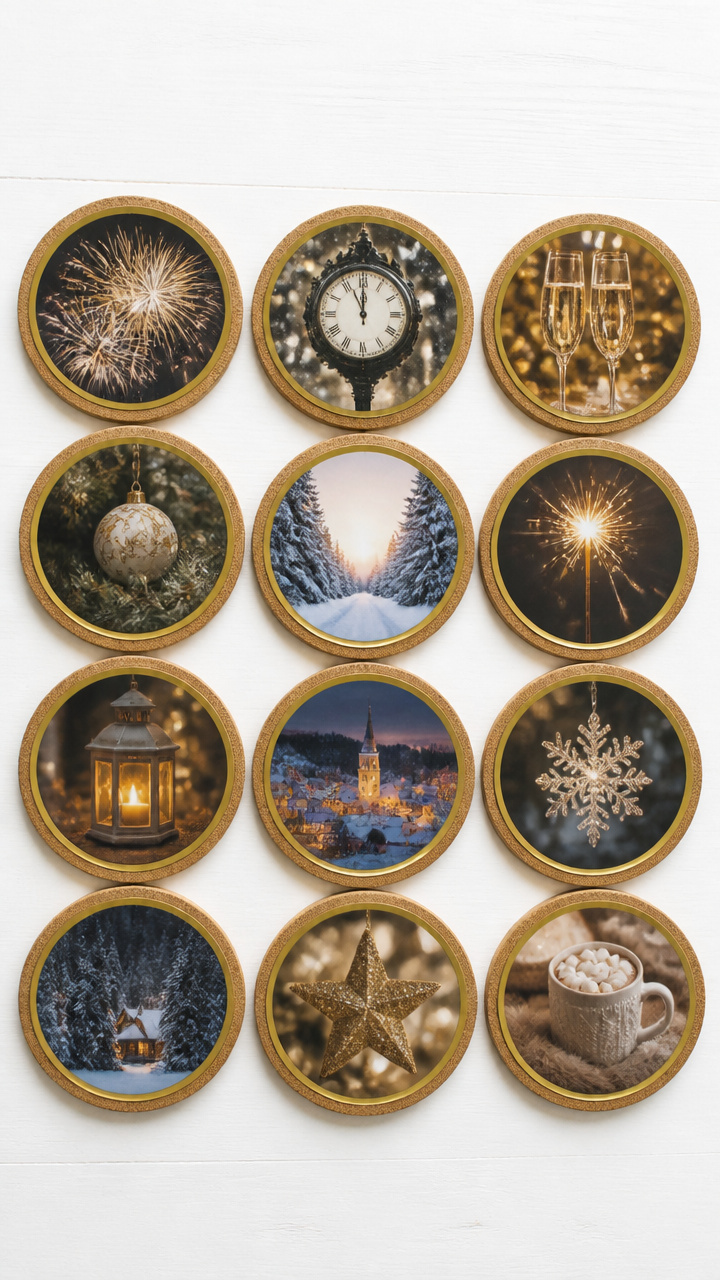
Each sip rests on a favorite memory, with twelve images hidden beneath cork rounds.
Materials Needed
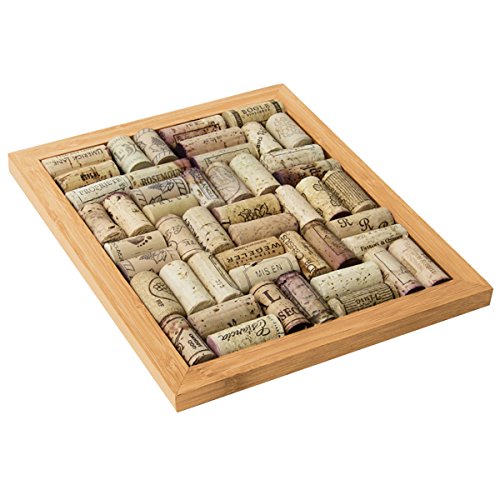
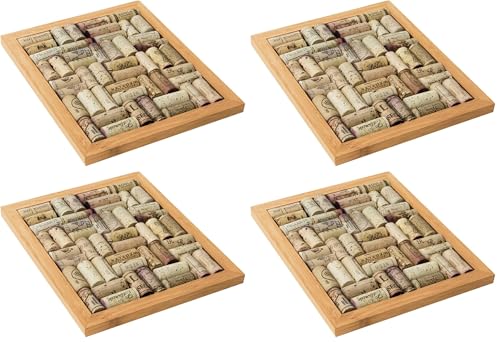
- 12 unfinished cork trivets (4 inches)
- 12 printed photos (3.5-inch circle)
- Mod Podge matte finish (4 oz)
- Foam brush
- Circle punch (3.5 inches)
- Gold paint pen
How to Make It
- Use the circle punch to cut each photo to size.
- Apply a thin layer of Mod Podge to the top of one cork trivet with the foam brush.
- Center a photo on the glue and press gently to avoid bubbles.
- Seal with another coat of Mod Podge over the photo, extending slightly beyond the edge.
- Let dry 30 minutes, then repeat for all coasters.
- Outline each photo with a gold ring using the paint pen.
15. Ribbon Tassel Door Hanger
Easy
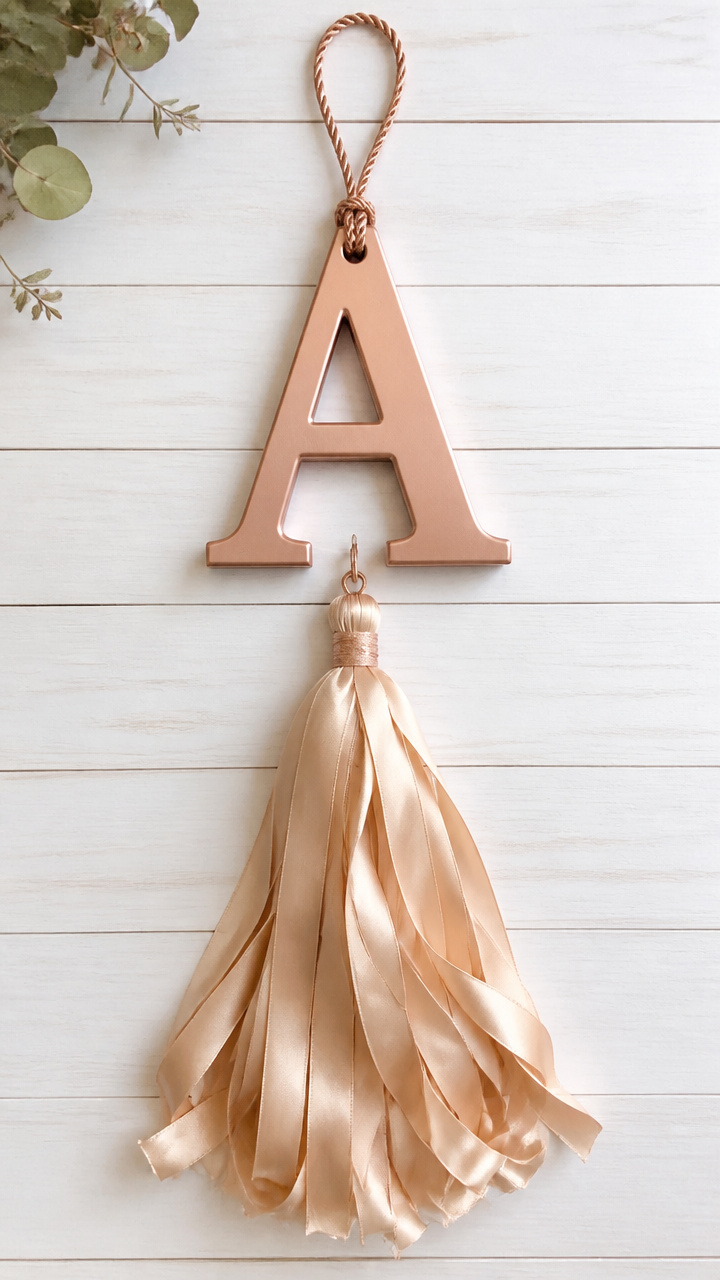
A fluffy tassel swings from a painted wooden initial, welcoming the new year with flair.
Materials Needed
- Wooden letter (your first initial, 6 inches tall)
- Acrylic paint (rose gold, 2 oz)
- Paintbrush
- 12-foot satin ribbon (½ inch wide, champagne color)
- Scissors
- Glue gun
How to Make It
- Paint the wooden letter with rose gold acrylic, covering all sides, and let dry for 1 hour.
- Cut the ribbon into twelve 12-inch strands.
- Hold all strands together and fold in half to form a loop at the top.
- Use a 4-inch ribbon piece to wrap tightly around the folded top, tying a knot at the back.
- Trim the ends evenly and fluff the tassel.
- Hot glue the tassel’s knot to the back of the letter’s top curve.


Grab your scissors, dig out that glue stick, and let your hands make something bright. You’ve got everything you need to start the year with joy.